
- What to know
- Haul chassis system details
- How to reach the first haul chassis fragment location
- How to locate the second haul chassis fragment
- How to reach the deepest haul chassis fragment
- How to build the Tadpole haul chassis after scanning
- Materials overview for the haul chassis
- How to fit modules and use the haul chassis
What to know
-
The Tadpole haul chassis blueprint is unlocked by scanning three wreck fragments, not by a single book or terminal.
-
All three fragments sit around the eastern and mid‑eastern regions of the map, generally in and around old pioneer structures and wreckage fields.
-
After scanning, you craft the chassis at the Moonpool / vehicle station using titanium, glass‑type materials, and a few metal alloys.
-
The haul chassis trades some speed for heavier storage and hauling capacity compared with the Scout Ray chassis for the same Tadpole frame.
In Subnautica 2 the Tadpole is your first deep submersible, and it comes in two main chassis forms: the lighter Scout Ray and the bulkier Haul Chassis. The haul variant focuses on being a workhorse, letting you haul materials, equipment, and even small critters without needing constant runs back to base. Before you can build it, you must find and scan the three Tadpole haul chassis fragment locations that appear across the eastern half of the map.
Haul chassis system details
How to reach the first haul chassis fragment location
The first haul chassis fragment sits in a shallow hollow just off the eastern edge of the main starting shelf, near the remains of a collapsed hab platform.
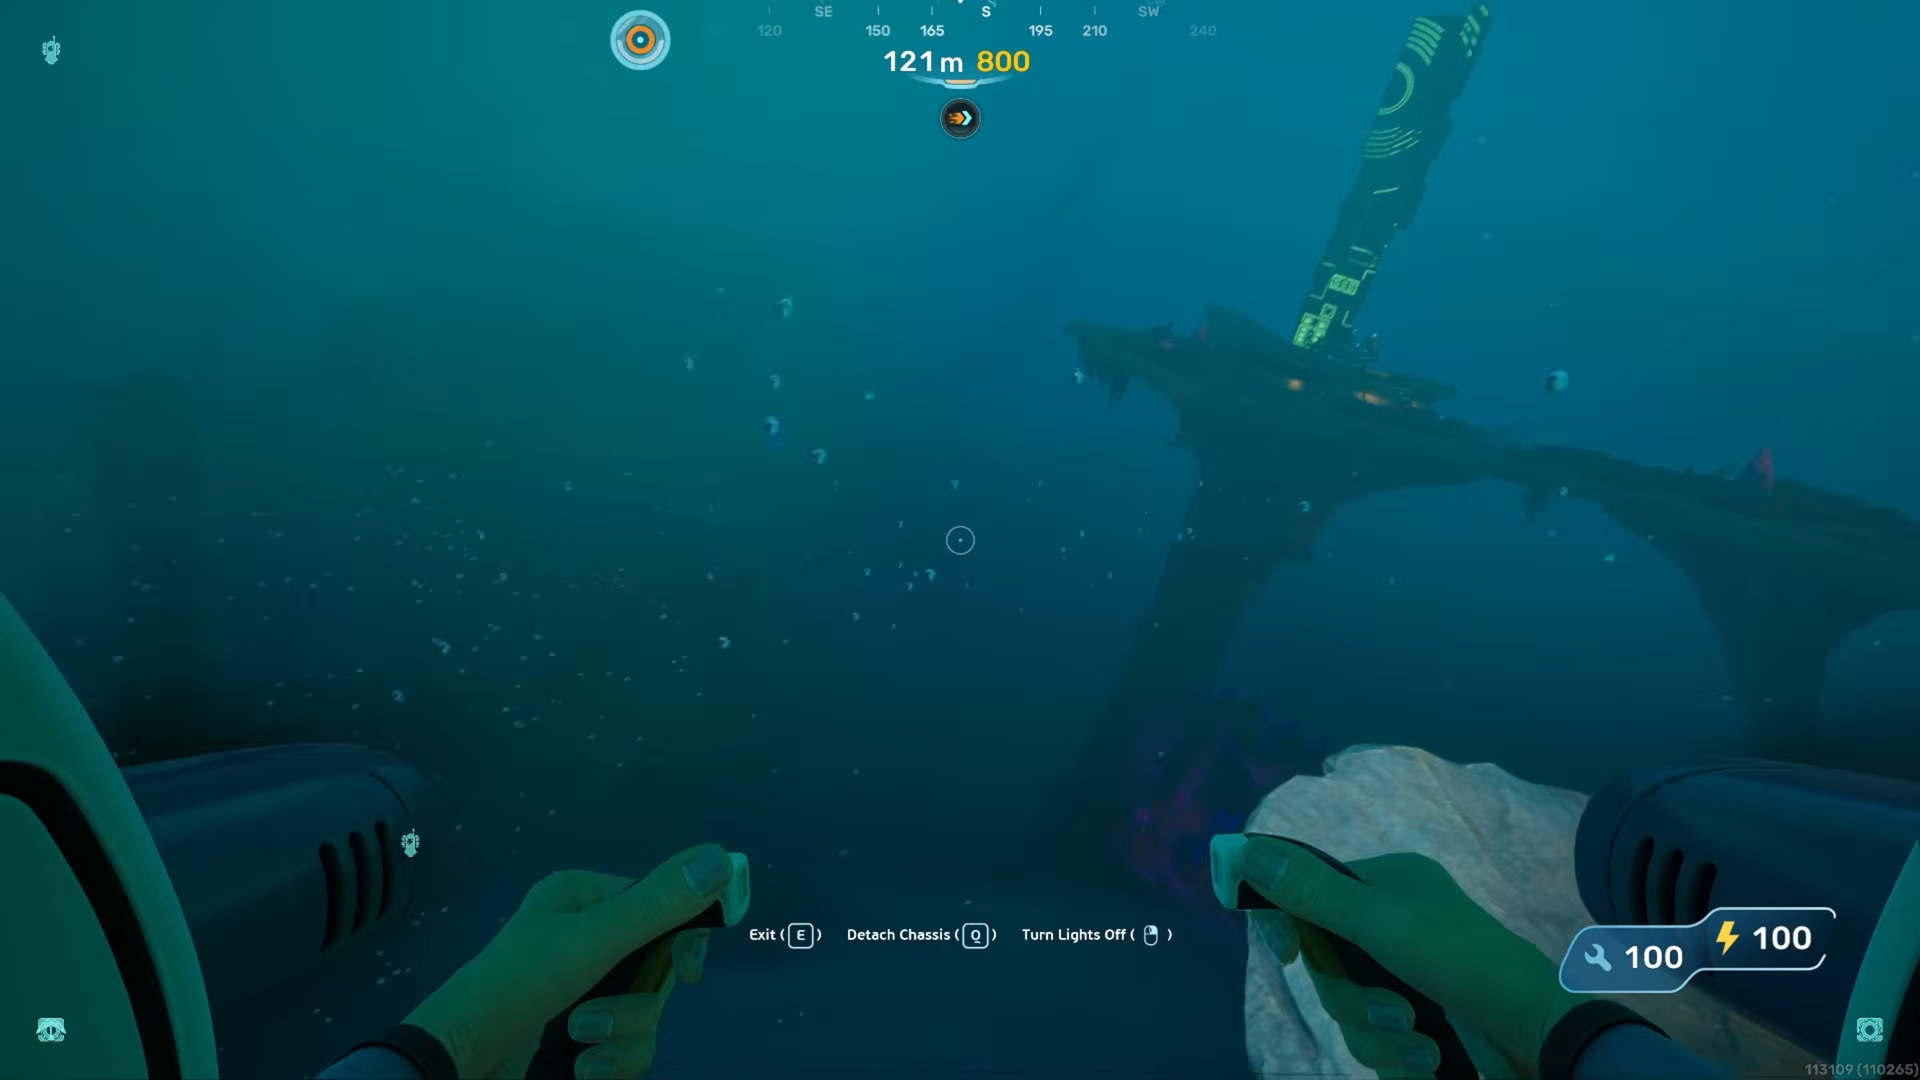
From the Lifepod, you follow the eastern coastline until you see a cluster of metal girders and debris suspended over a rocky drop‑off; the fragment is embedded in the skeleton of a downed pioneer vehicle, clearly visible from the surface.
Step 1
Swim along the eastern edge of the main starting shelf, keeping the cliff wall to your left.
Step 2
Look for a cluster of twisted metal beams and a half‑buried storage crate at the lip of the drop.
Step 3
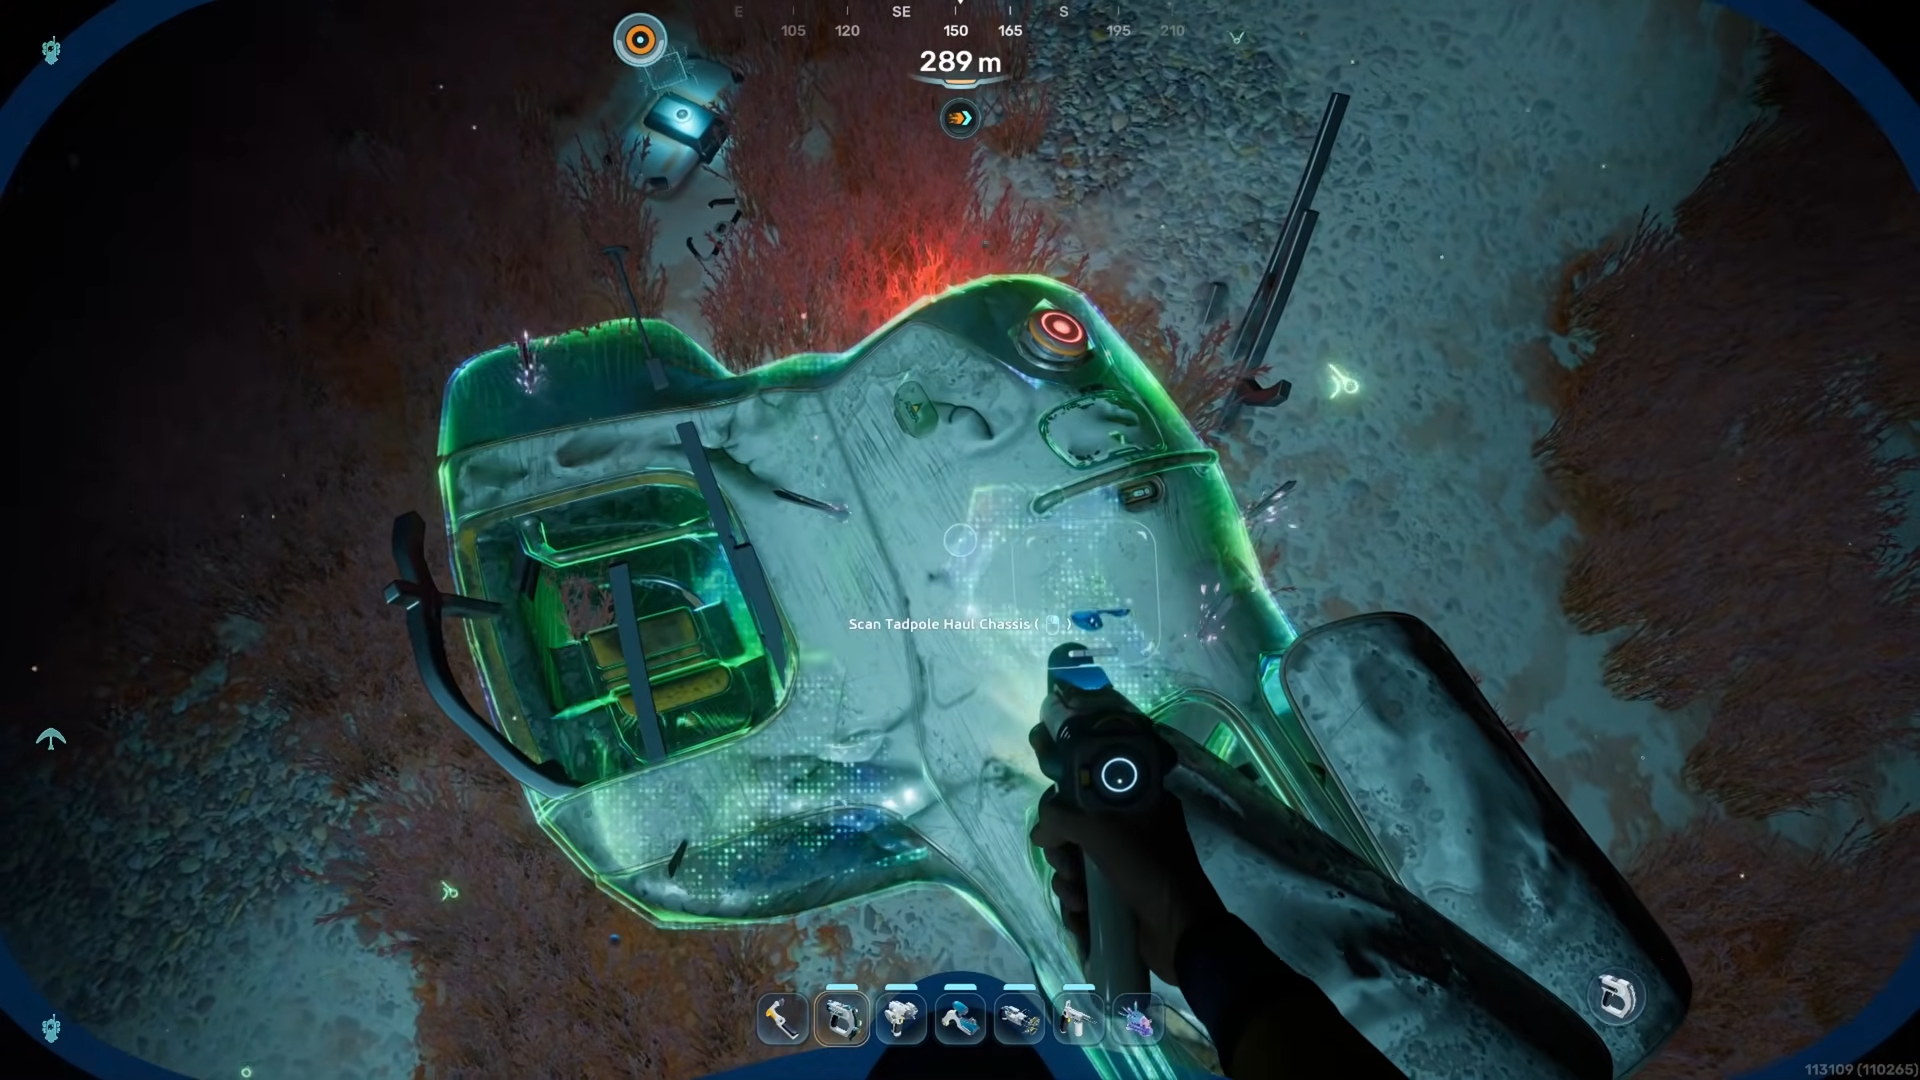
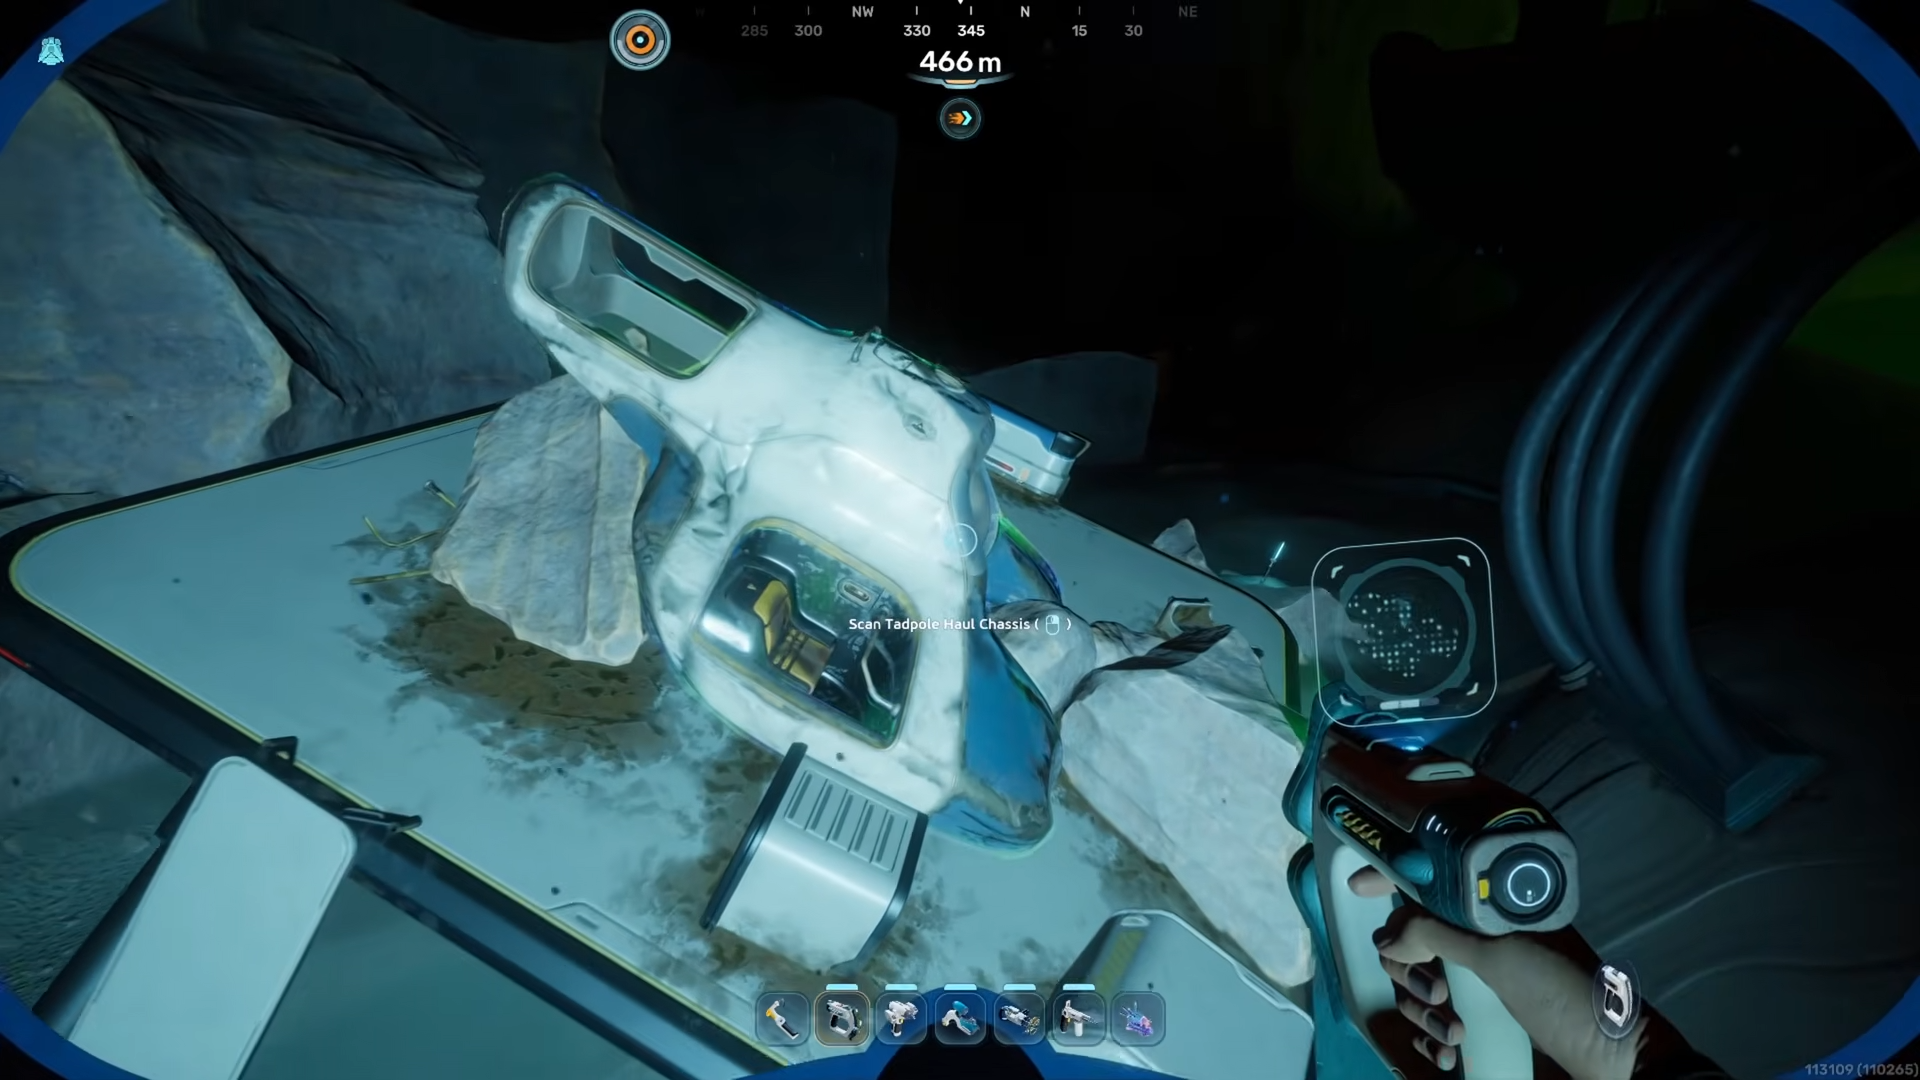
Use the beams as a handrail and descend into the shallow wreck, then scan the labeled haul chassis schematic on the side of the smashed vehicle frame.
How to locate the second haul chassis fragment
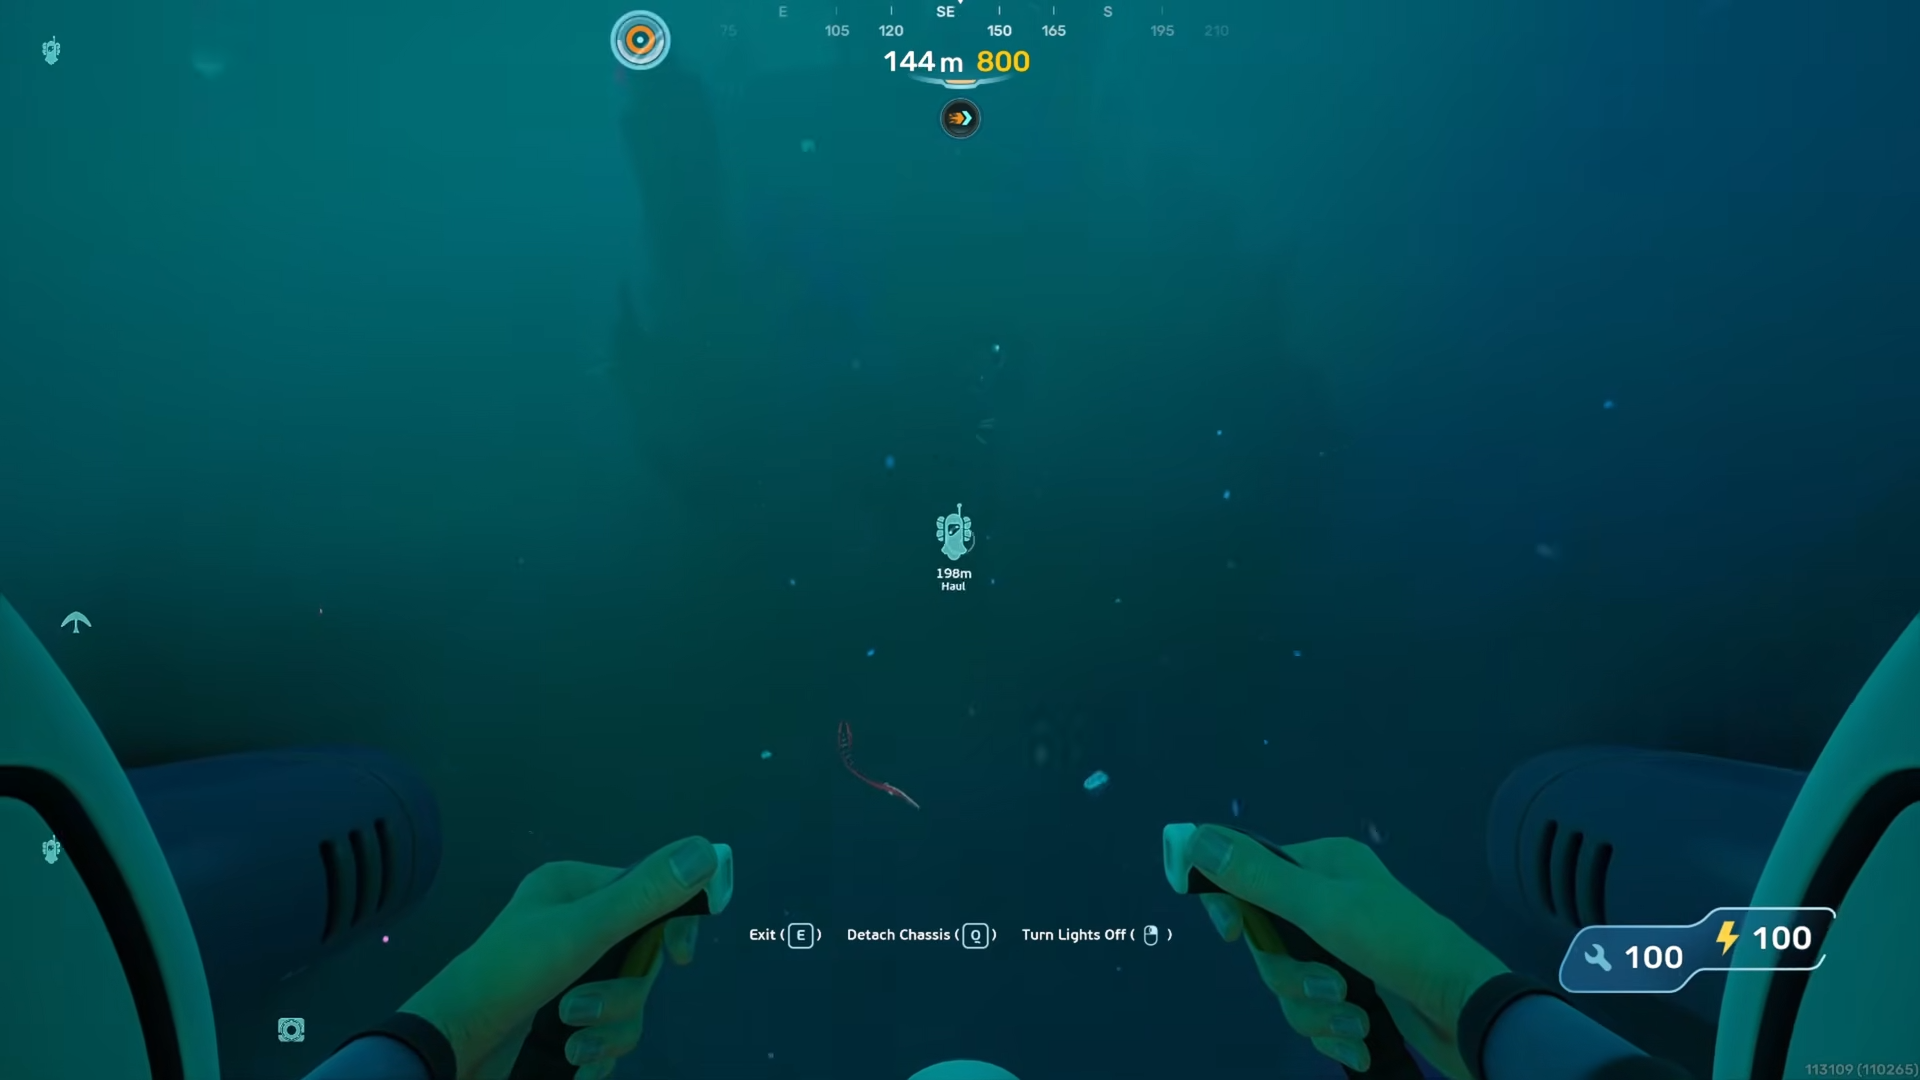
The second fragment is in a narrow ravine cutting into the eastern mid‑depths, wedged inside a small, breached hab module surrounded by loose hull plates. This location is slightly deeper than the first, but still within the early safe zone, and the wreck is tucked into a small cove that catches ambient light from the surface.
Step 1
From the first fragment, head roughly southeast along the wall, following the downward slope of the seafloor.
Step 2
As the depth increases, watch for a collapsed archway of metal framing that hints at an old hab entrance.
Step 3
Enter the wrecked interior, where the second haul chassis fragment lies on a shelf or console inside the ruined module; lock‑on and scan the tagged schematic.
How to reach the deepest haul chassis fragment
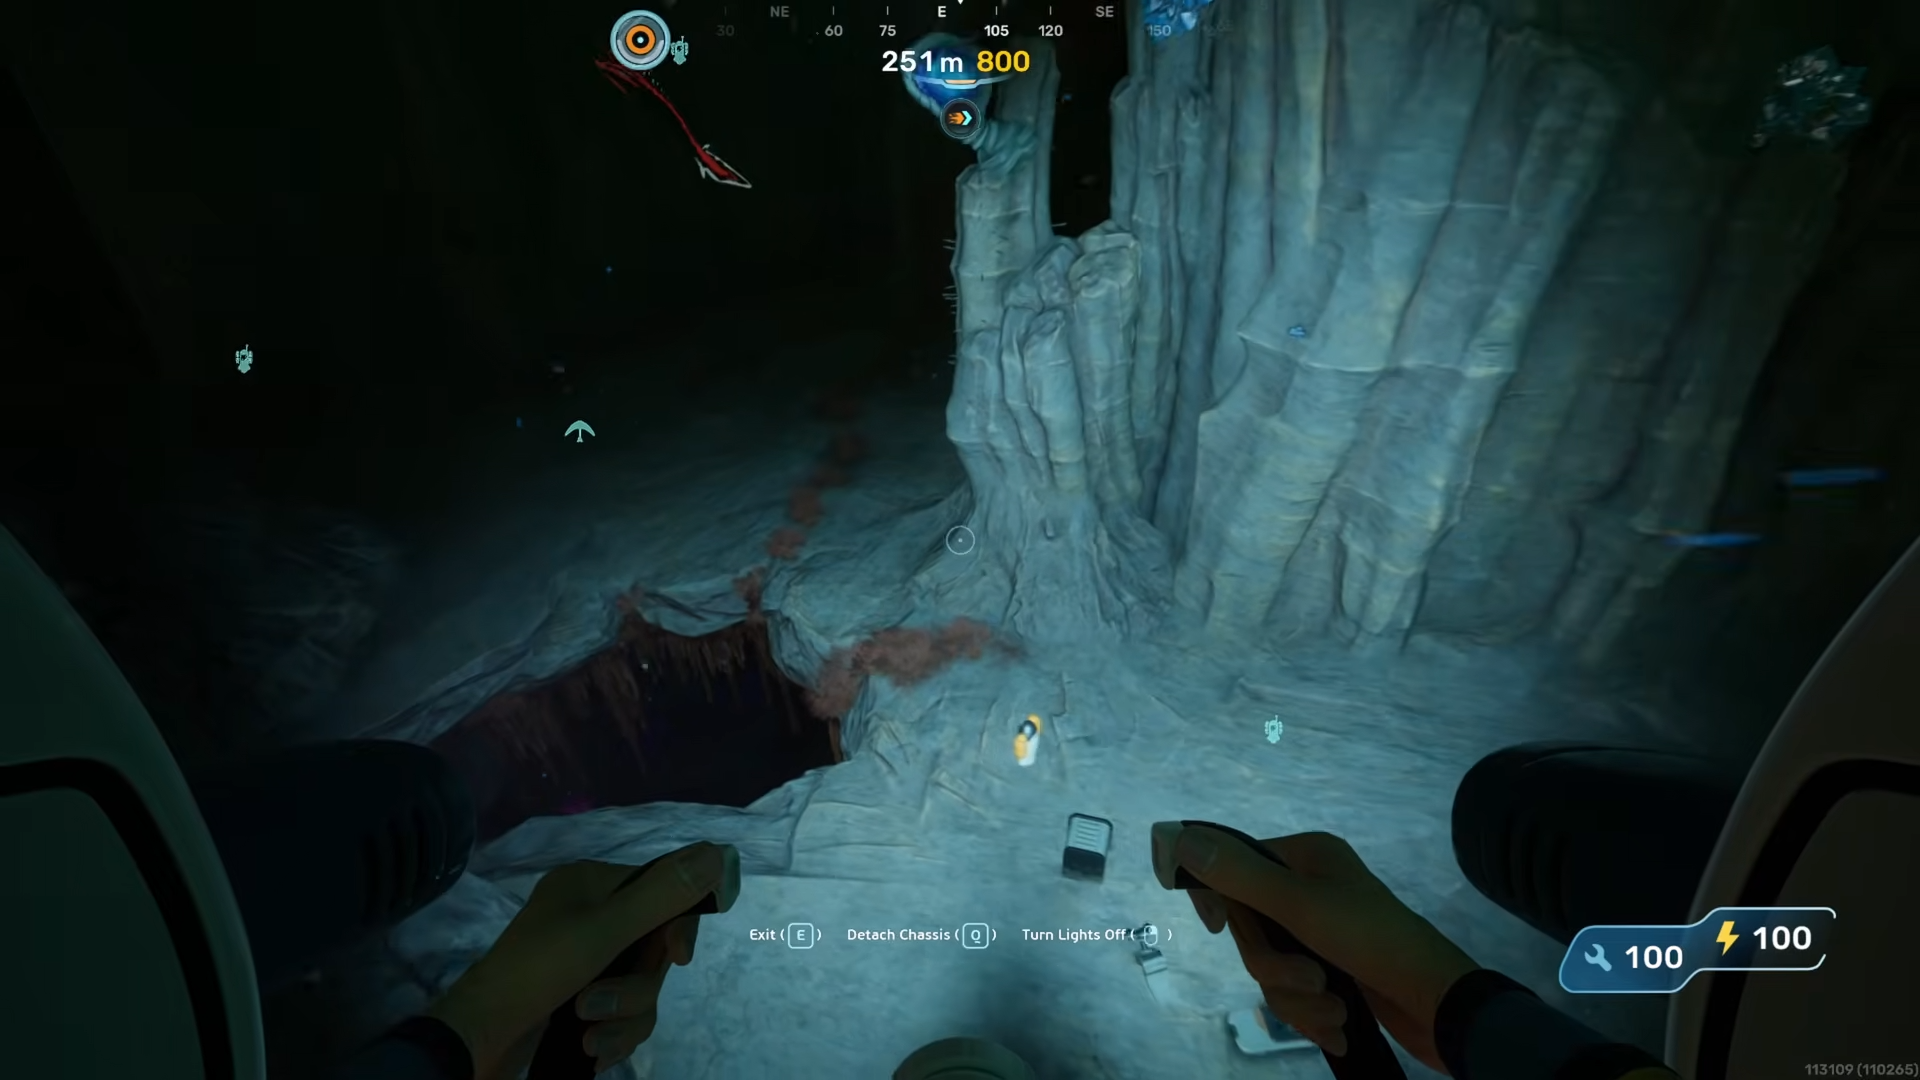
The third fragment is placed in a deeper, rocky trench that runs along the eastern edge of a larger abyssal drop, sitting just above the abyssal crater rim. The surrounding area is littered with pieces of older pioneer craft and broken beacon structures, making the haul chassis piece stand out as one of the cleaner, more intact wreckage segments.
Step 1
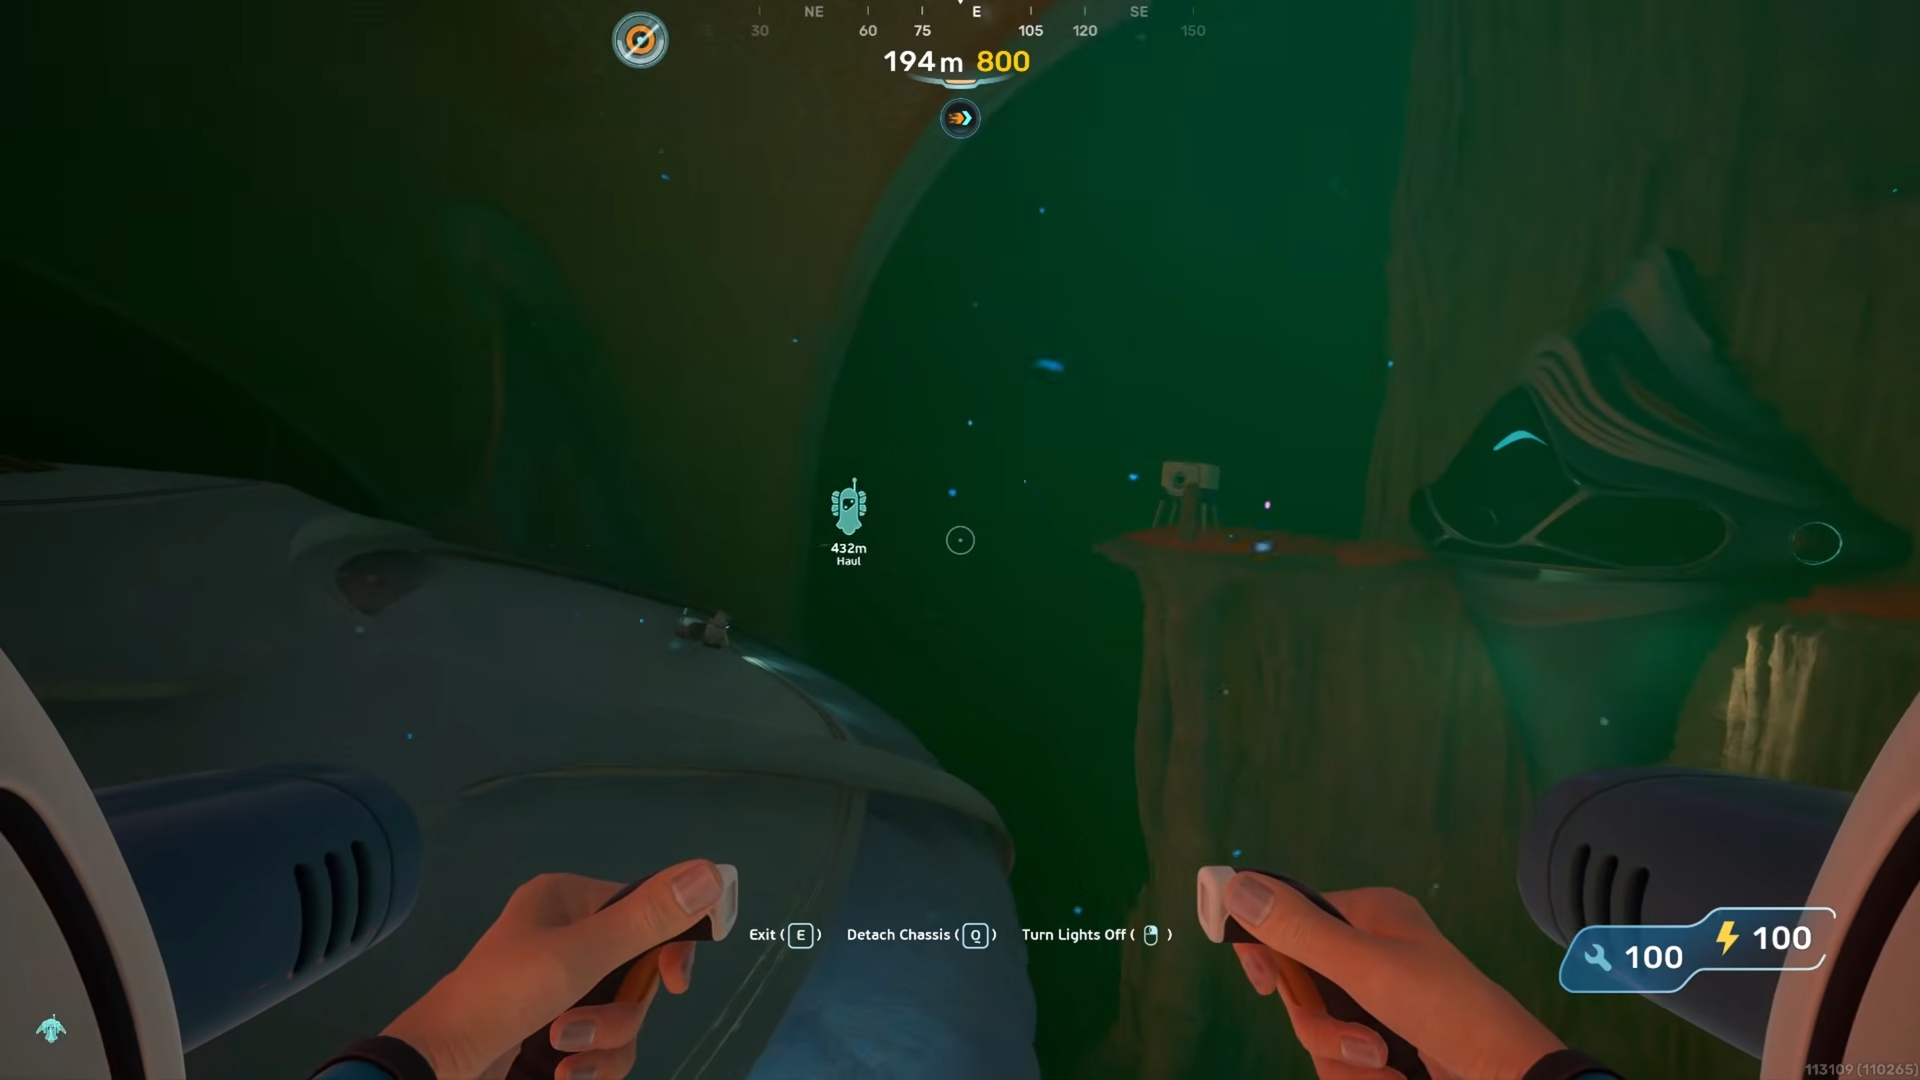
From the second fragment, continue southeast toward the main abyssal cliff, following the gradient until the seafloor sharply drops away.

Step 2
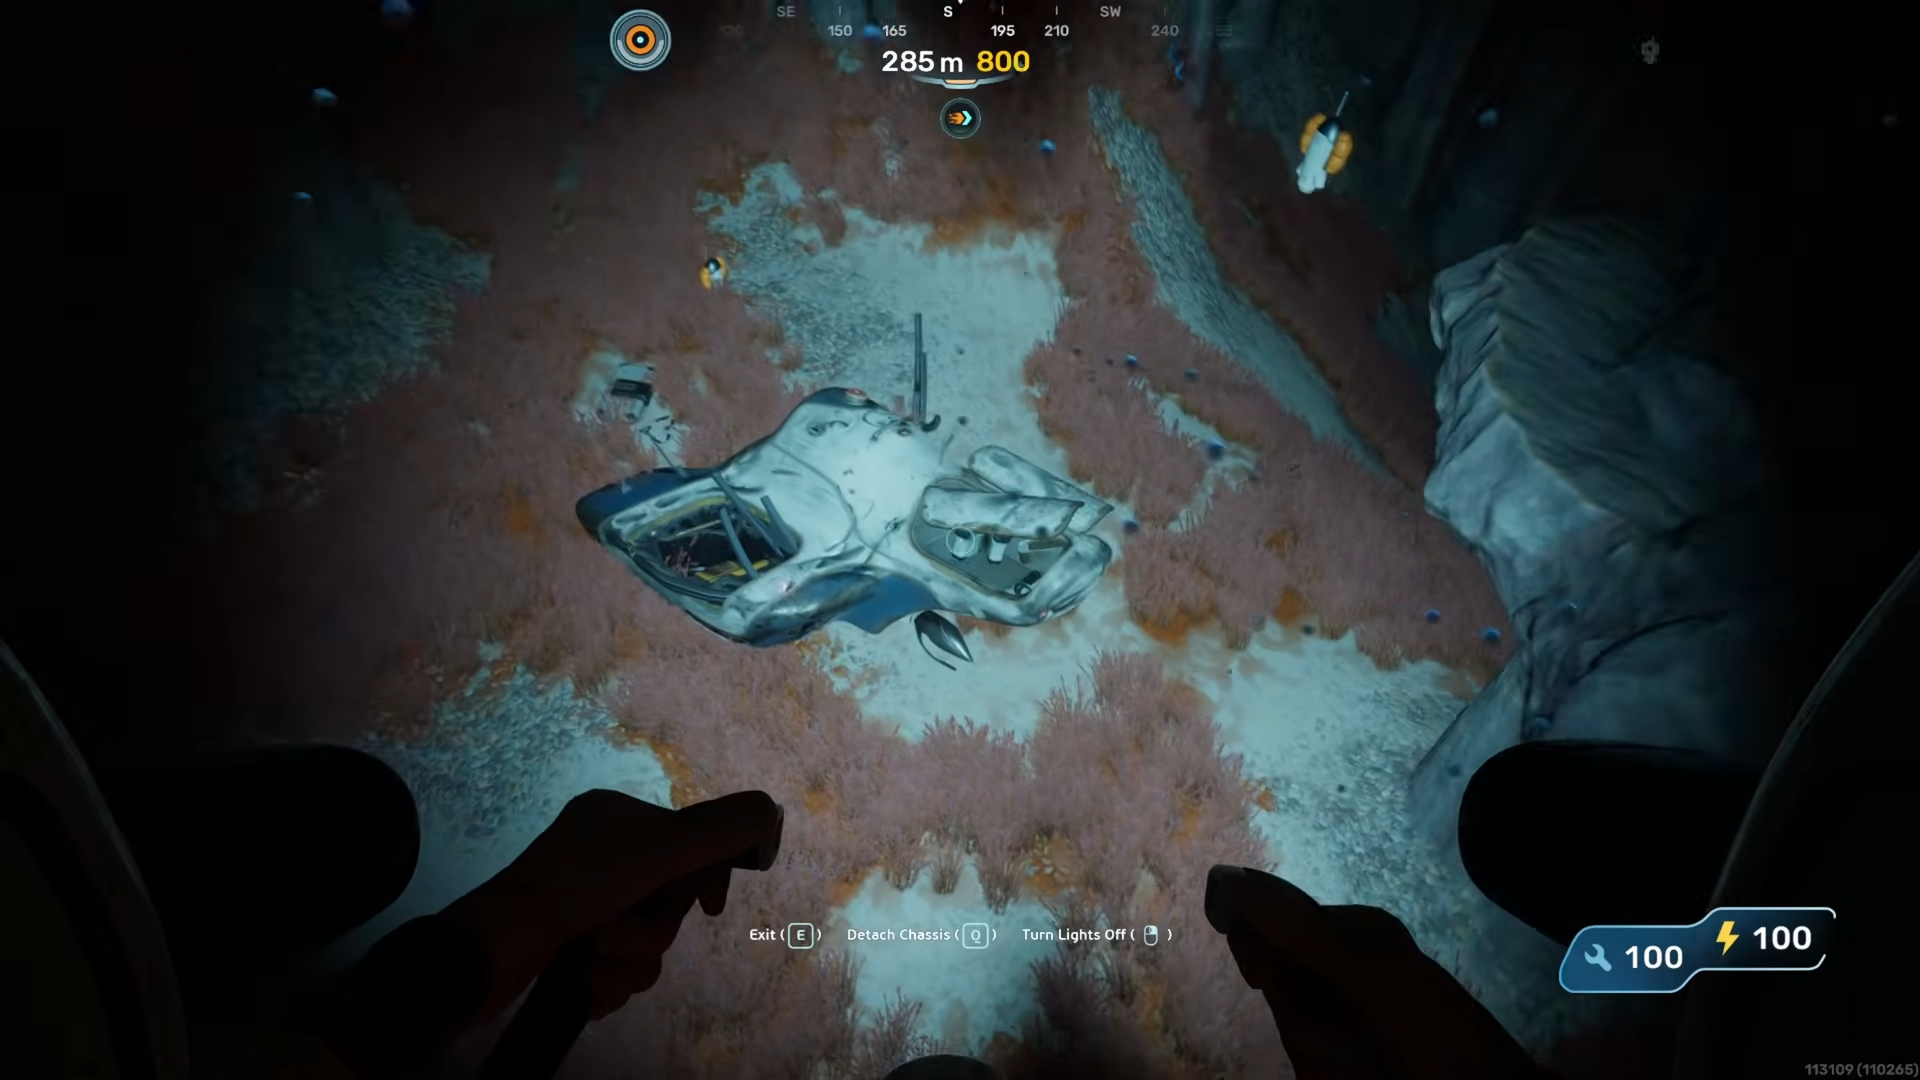
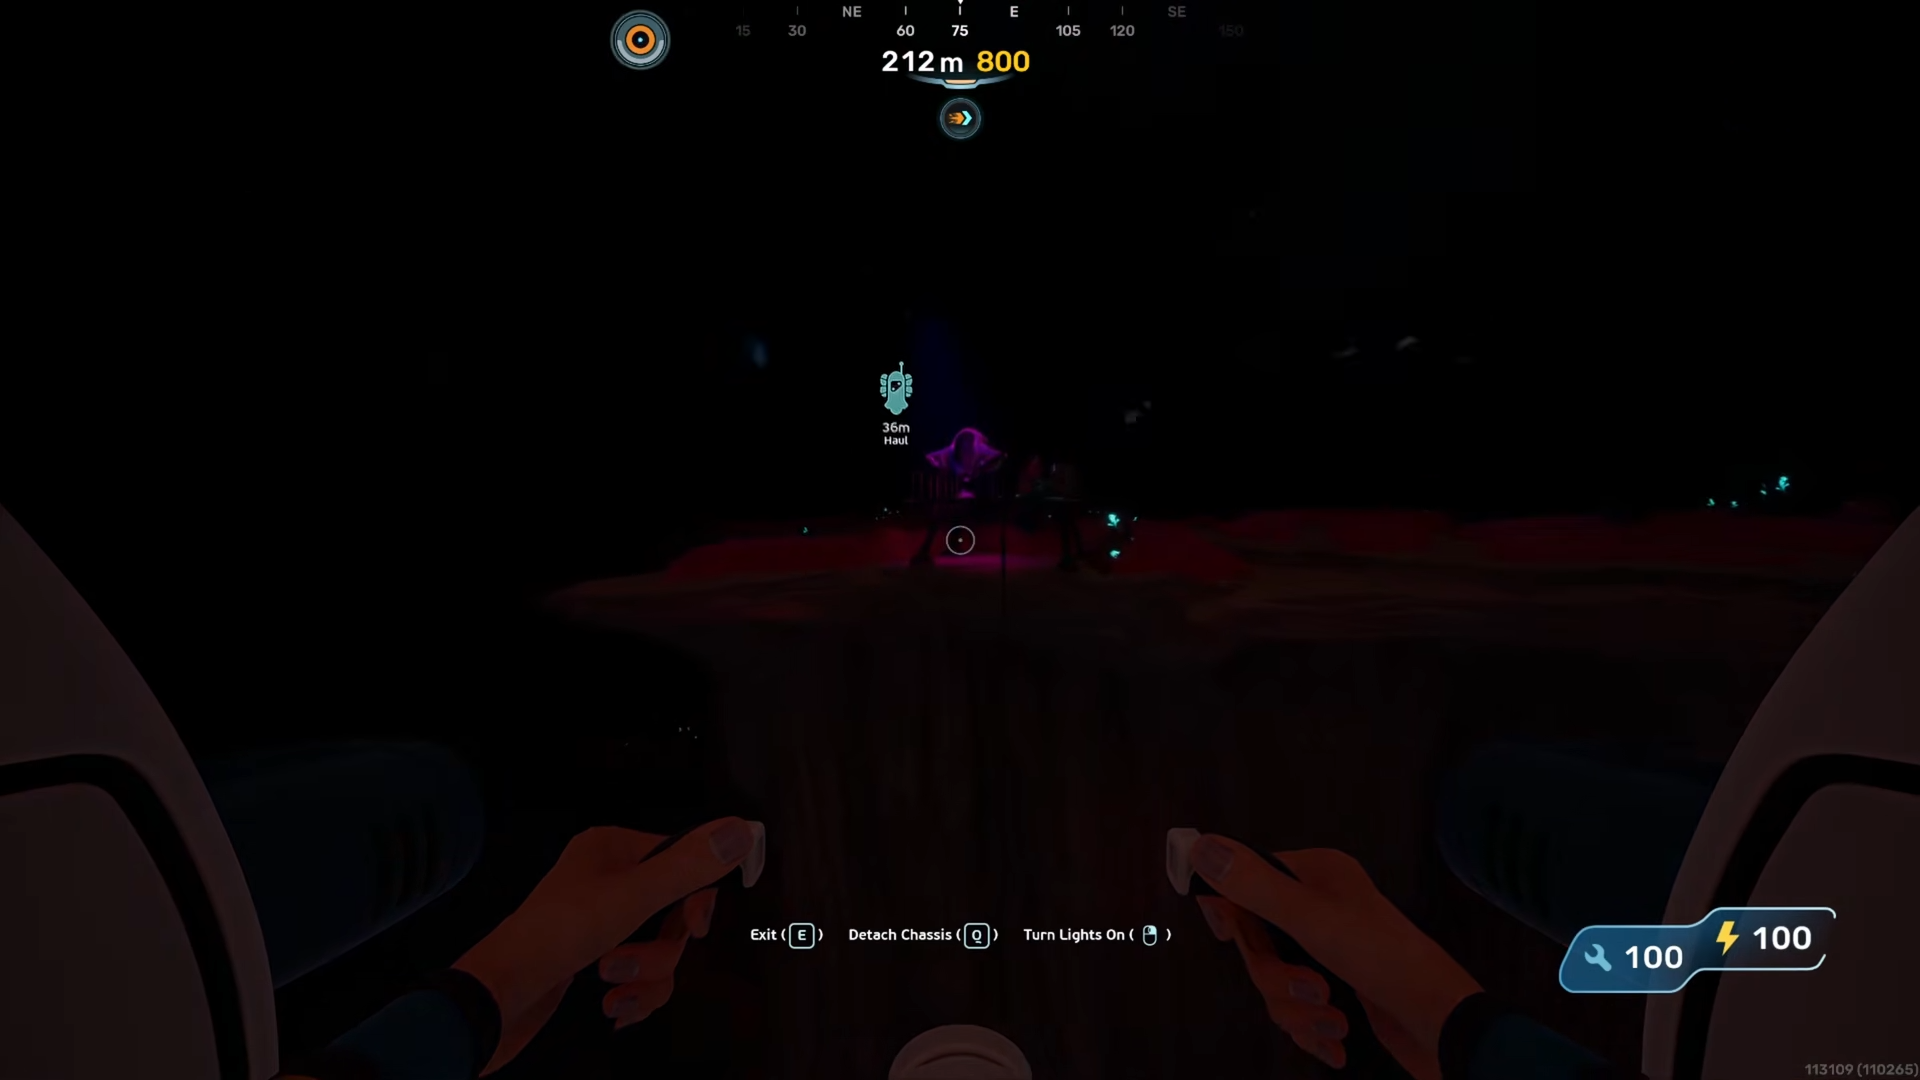
Trace the upper edge of the trench just above the main drop, where a cluster of wrecked hull sections forms a small debris field.

Step 3
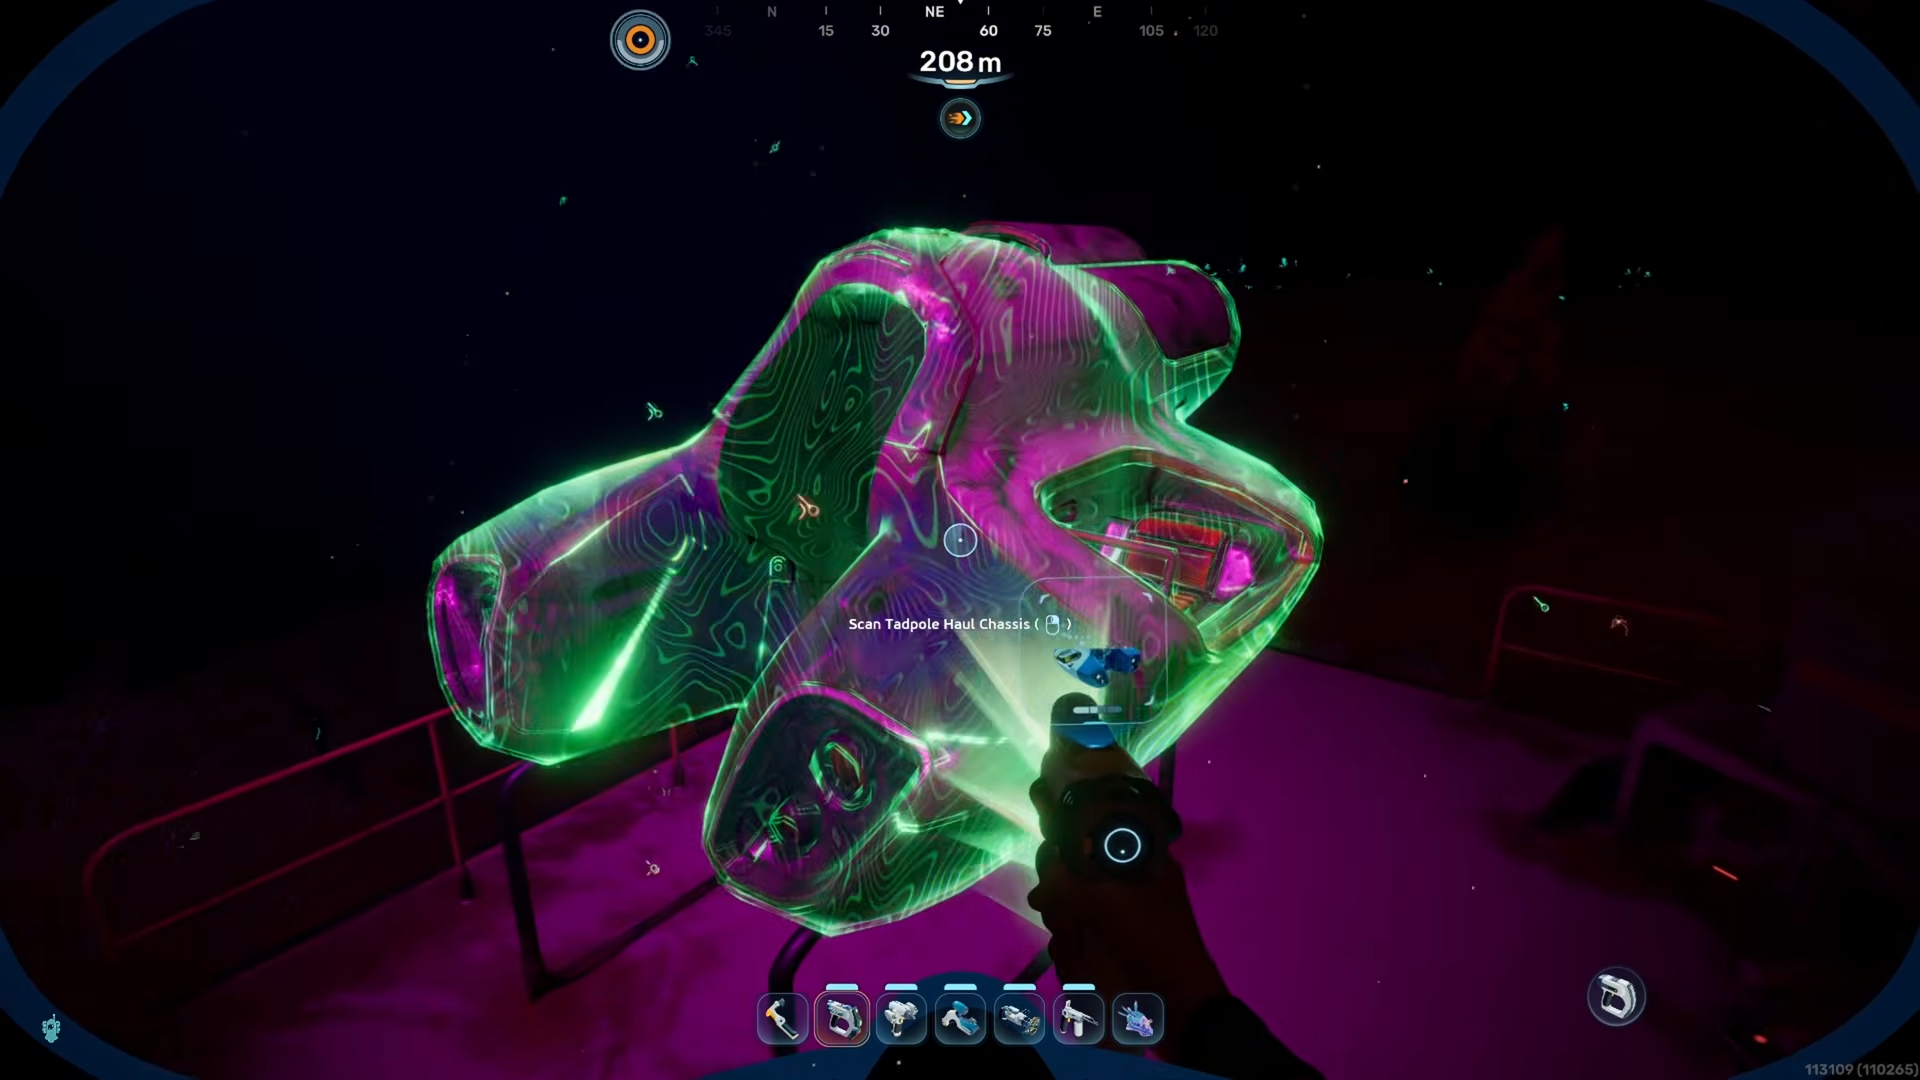
The third haul chassis fragment is lashed into the side of a partially sunken transport hull; scan the labeled schematic once you have it in view.
How to build the Tadpole haul chassis after scanning
Once all three fragments are scanned, the haul chassis blueprint appears in your vehicle section, and you can assemble the chassis at the Moonpool / vehicle station. The recipe requires a mix of base metals, some specialty glass, and a few alloy components produced in the processor, so you should plan to stockpile titanium, glass precursors, and a couple of rarer metals before attempting the final build.
Materials overview for the haul chassis
How to fit modules and use the haul chassis
With the chassis built, you can dock the Tadpole at the Moonpool and swap between Scout Ray and haul configurations, then add modules like storage expansions, depth‑improvement packages, and power‑efficiency upgrades. The haul chassis is particularly useful once you start mining quartz, sulfur, and other mid‑depth materials, since you can fill the extra storage and run long collection loops without needing to return to base every trip.
Once you have the haul chassis, treat it as your primary construction and resource shuttle, and keep spare glass and metal alloys ready so you are not stuck rebuilding the vehicle mid‑expedition.


Leave a Reply