What to know
-
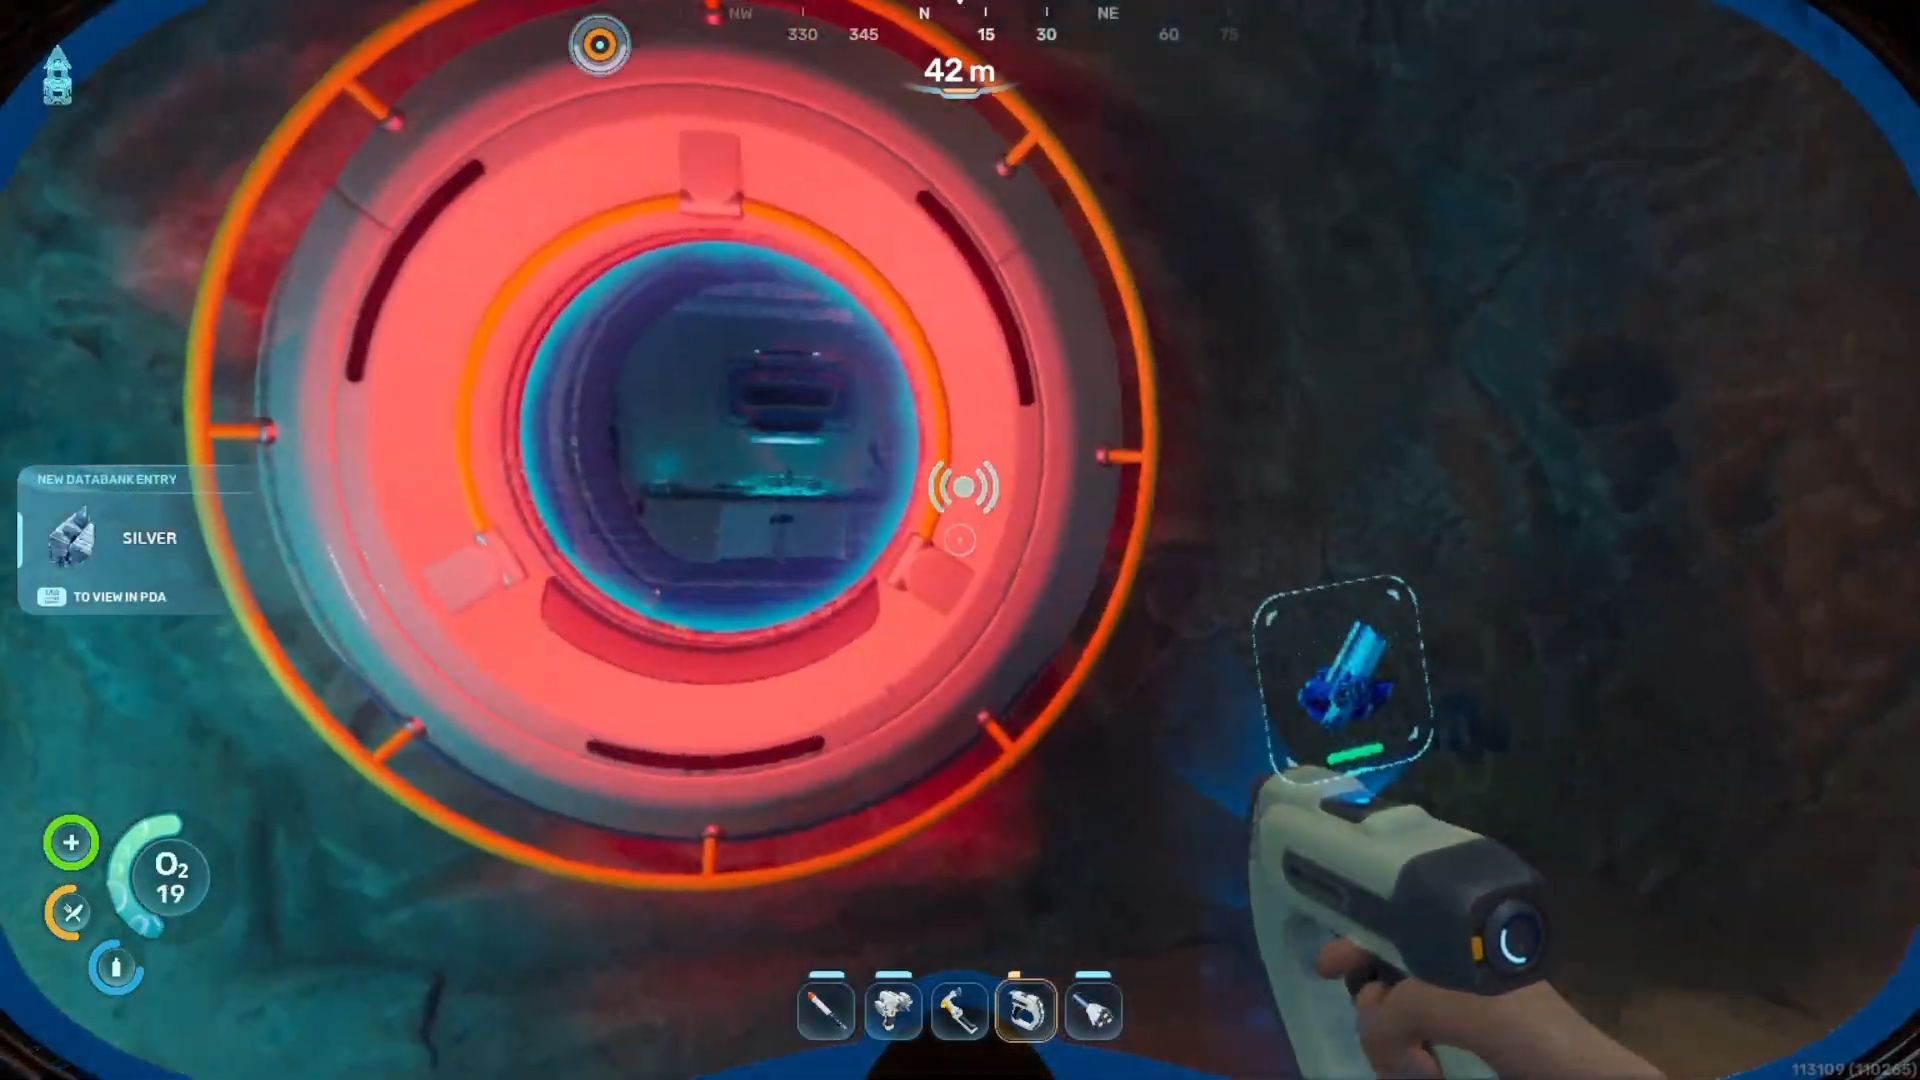
The biobed blueprint requires scanning fragments found in abandoned colonist bunkers.
-
You must travel to specific coordinates relative to the starting lifepod.
-
Scanning the biobed grants a permanent inventory expansion and a respawn point.
-
Basic diving equipment is necessary to reach the required depth safely.
Securing a reliable respawn point and extra inventory slots early in your underwater journey makes survival much easier in Subnautica 2. Locating the biobed blueprint requires a brief expedition away from the safety of the initial drop pod to explore forgotten underwater structures.
Biobed requirement details
Colonist bunker location for the biobed blueprint
The primary sites for discovering biobed fragments are situated within the submerged colonist bunkers scattered across the starting biome. One highly accessible bunker lies approximately 200 meters southwest of the main lifepod at a depth of 80 meters along a steep cliffside. Another reliable bunker can be found roughly 220 meters to the southeast, nestled inside a cave system illuminated by a distinct artificial light near the entrance of the cavern.
Step 1
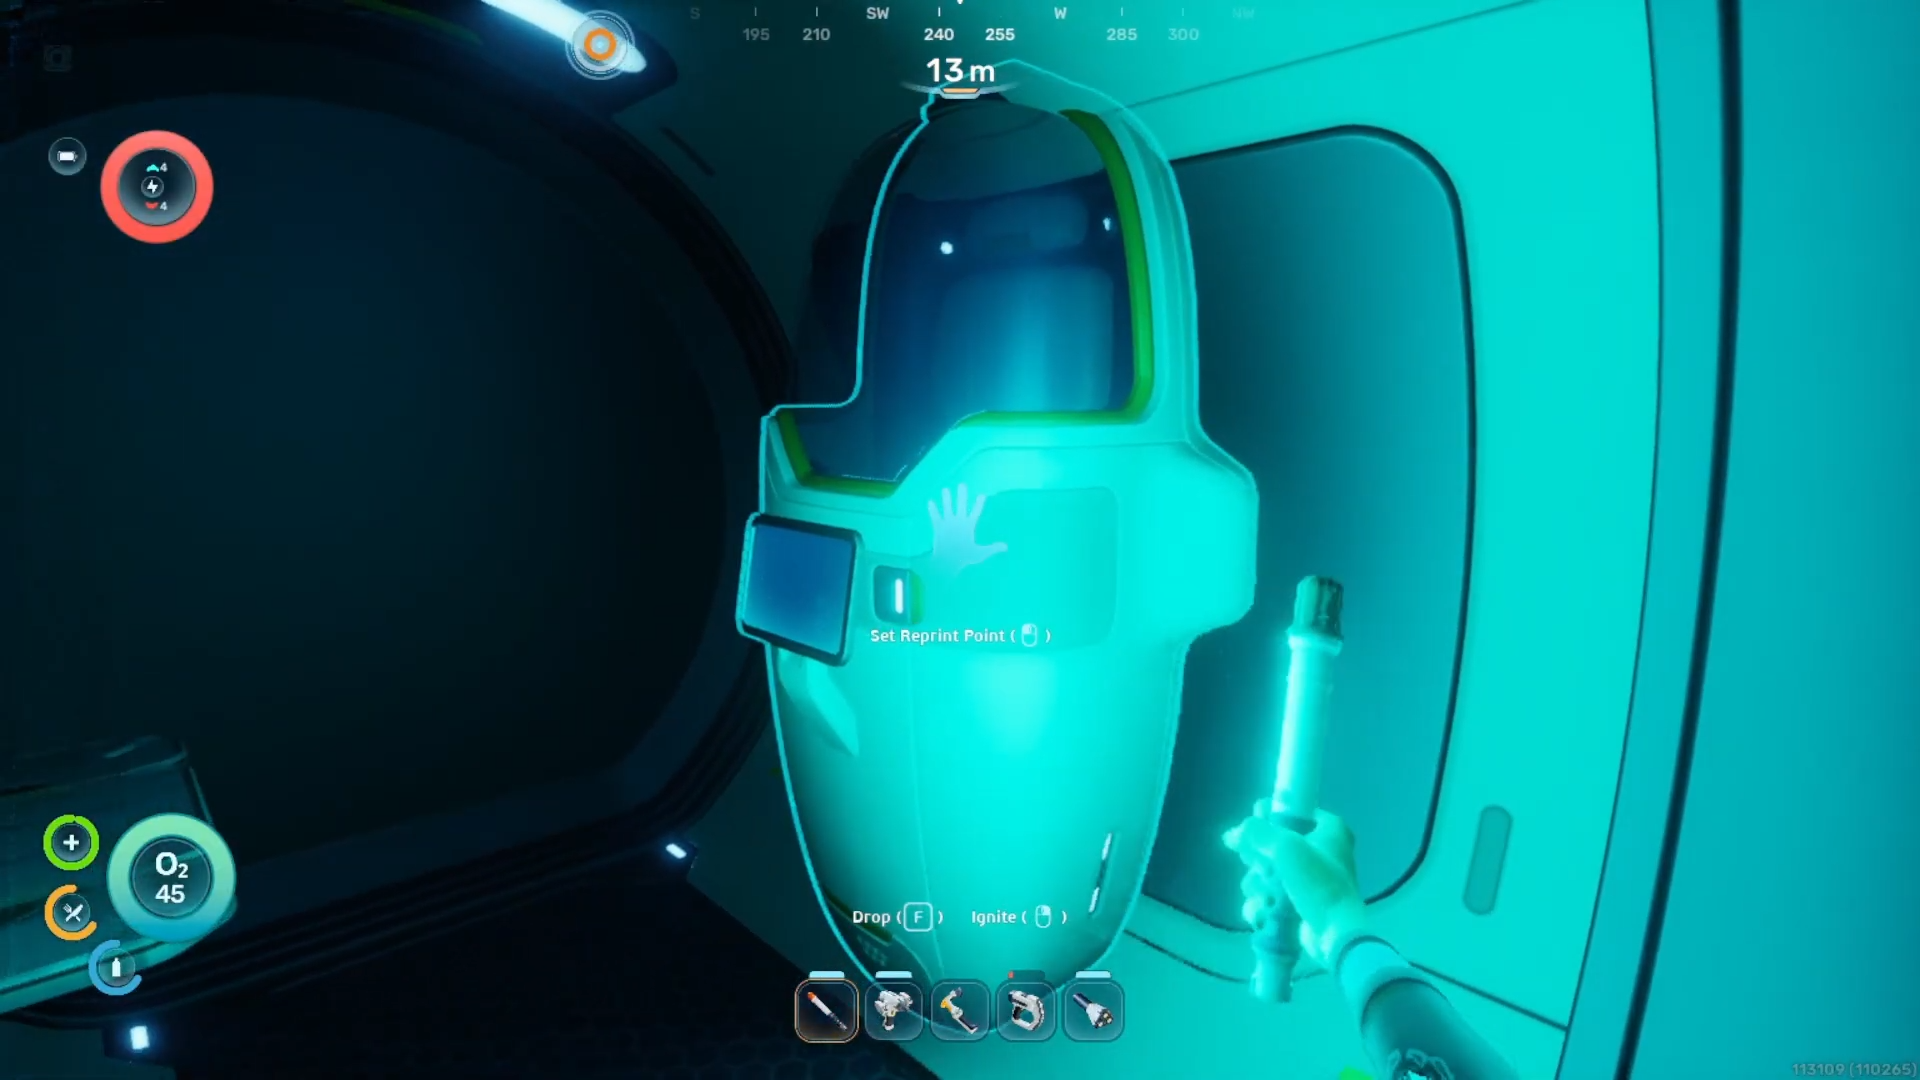
Craft a standard scanner using the fabricator inside the starting lifepod before beginning the journey.
Step 2
Go to NOA.
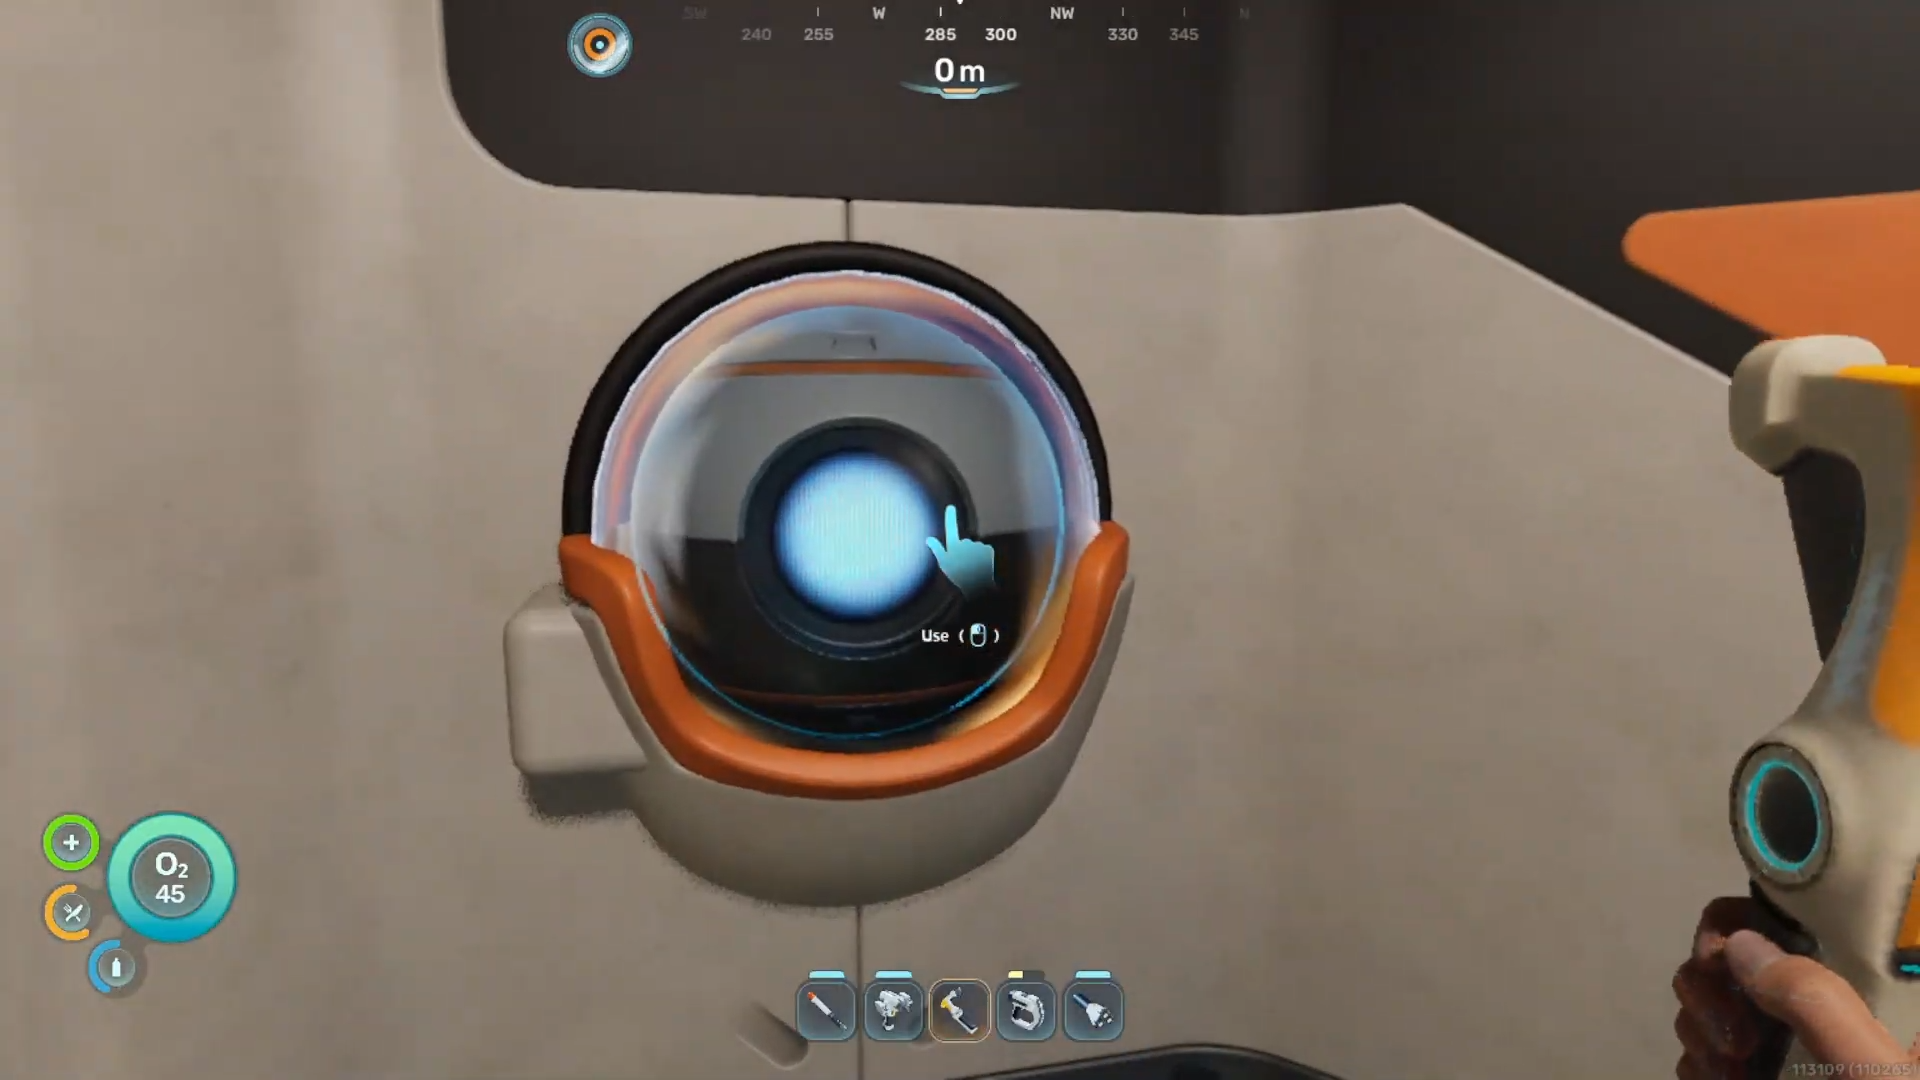
Open up Chap.

Once the dialogue is done, you will get the coordinates for another black box.
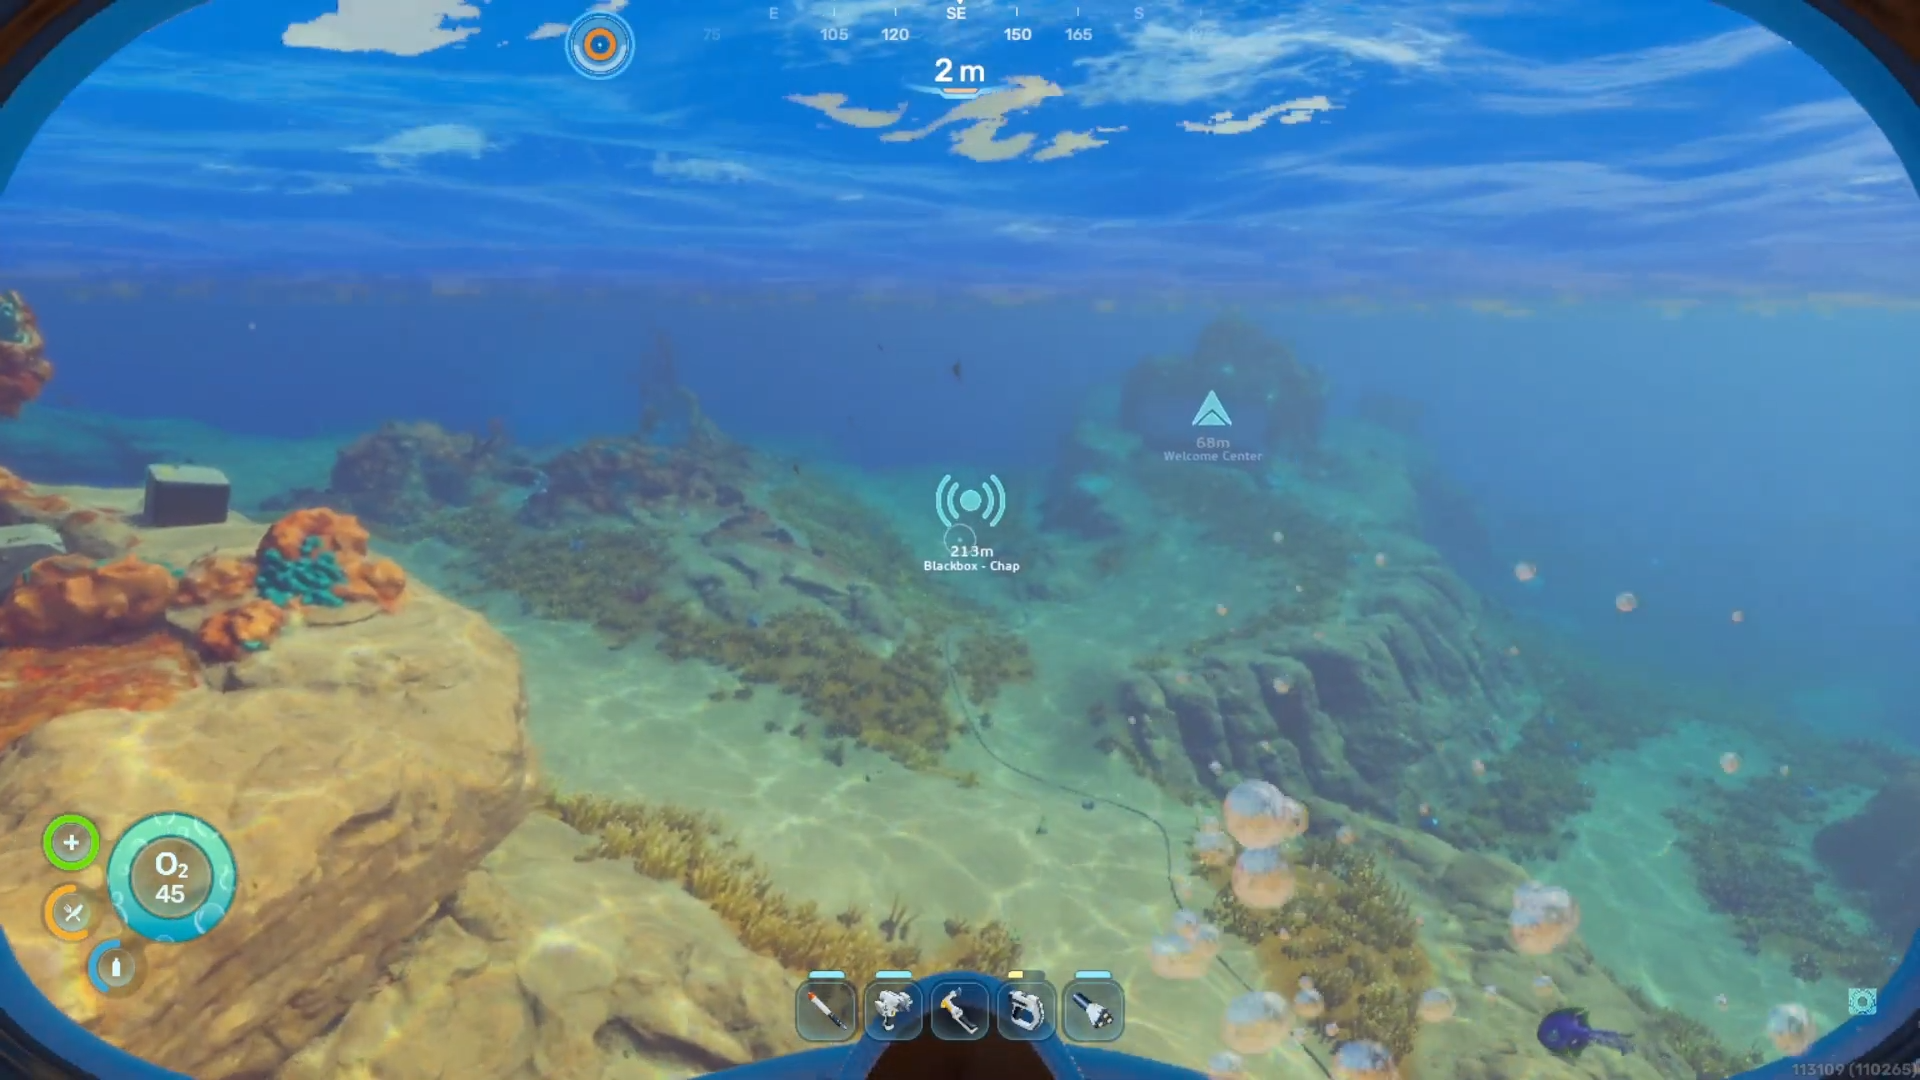
Orient yourself facing southwest from the lifepod and swim approximately 200 meters away from the starting zone.
Step 3
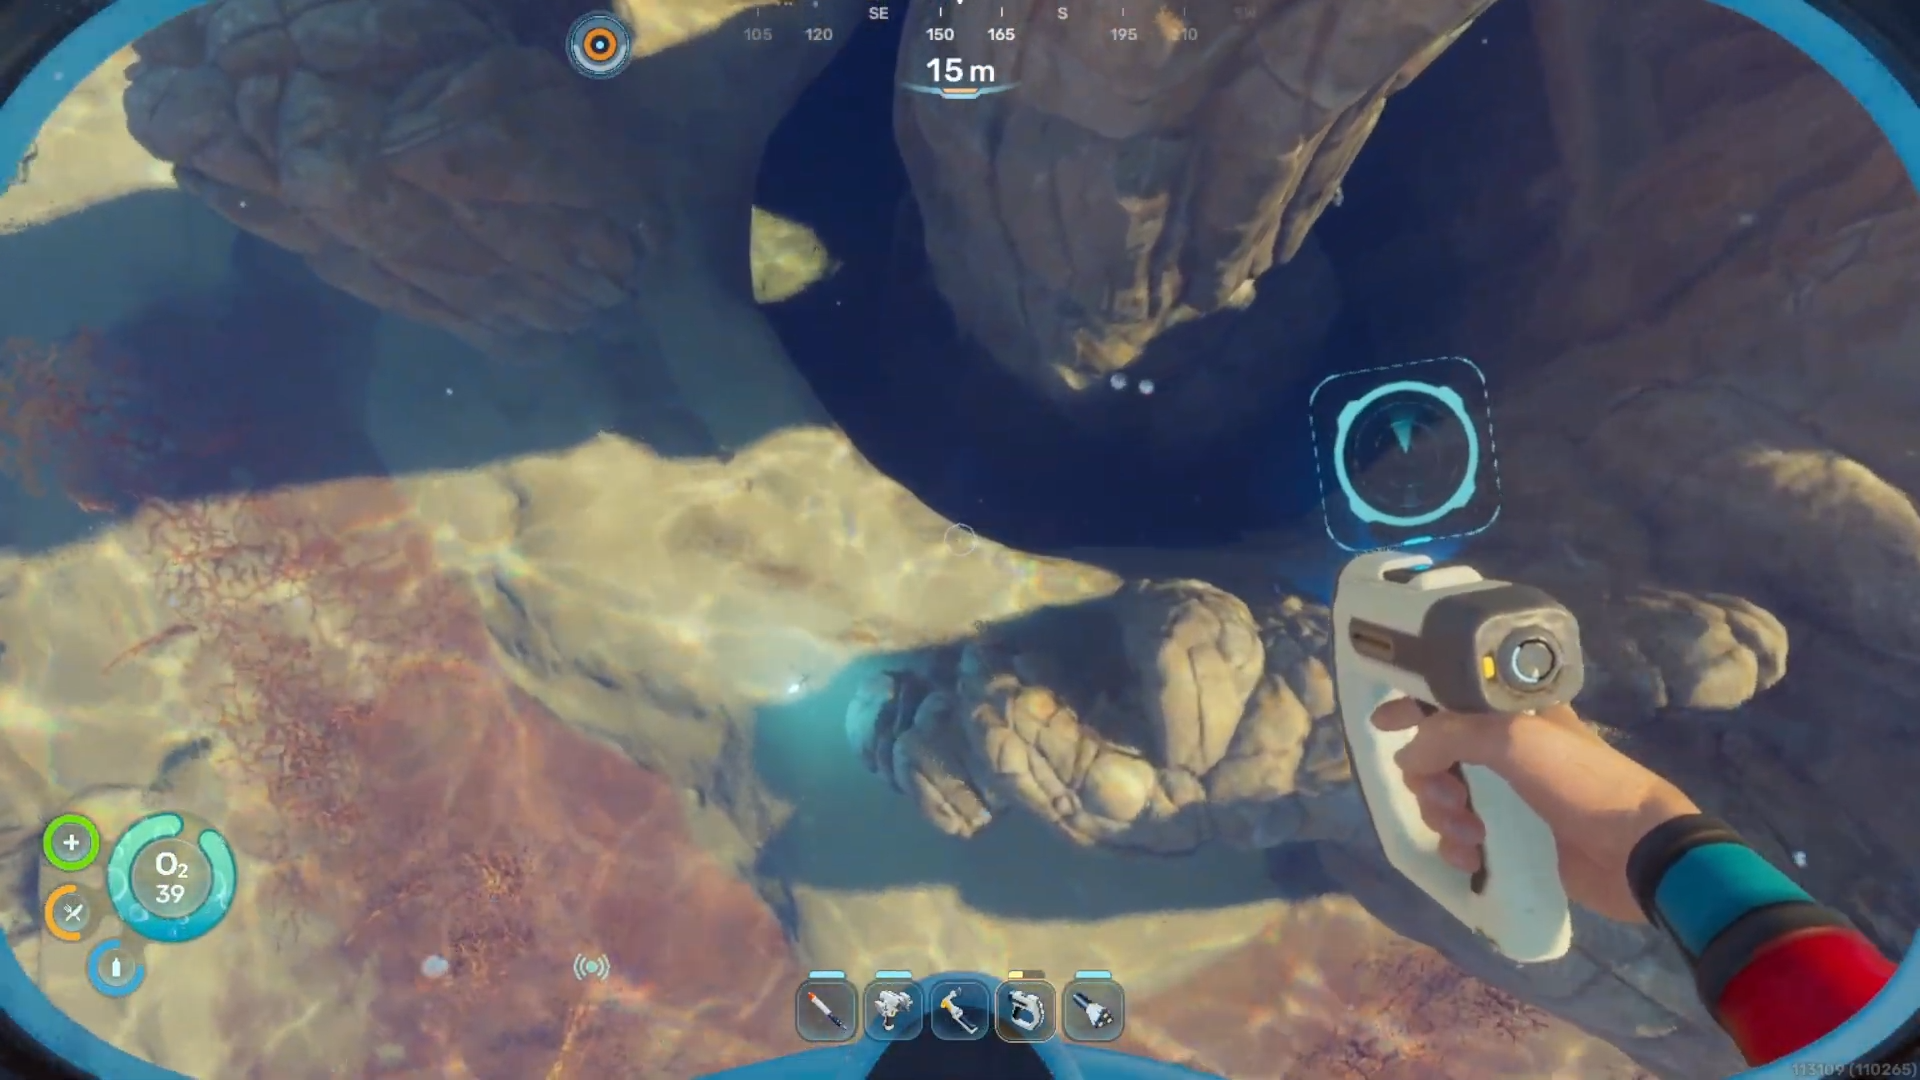
Dive to a depth of roughly 80 meters until reaching a prominent underwater cliffside.
Step 4
Follow the edge of the cliff to locate a ruined colony wreckage resting on the seabed.
Step 5
Swim inside the open wreckage structure and locate the intact biobed resting in the corner of the room.
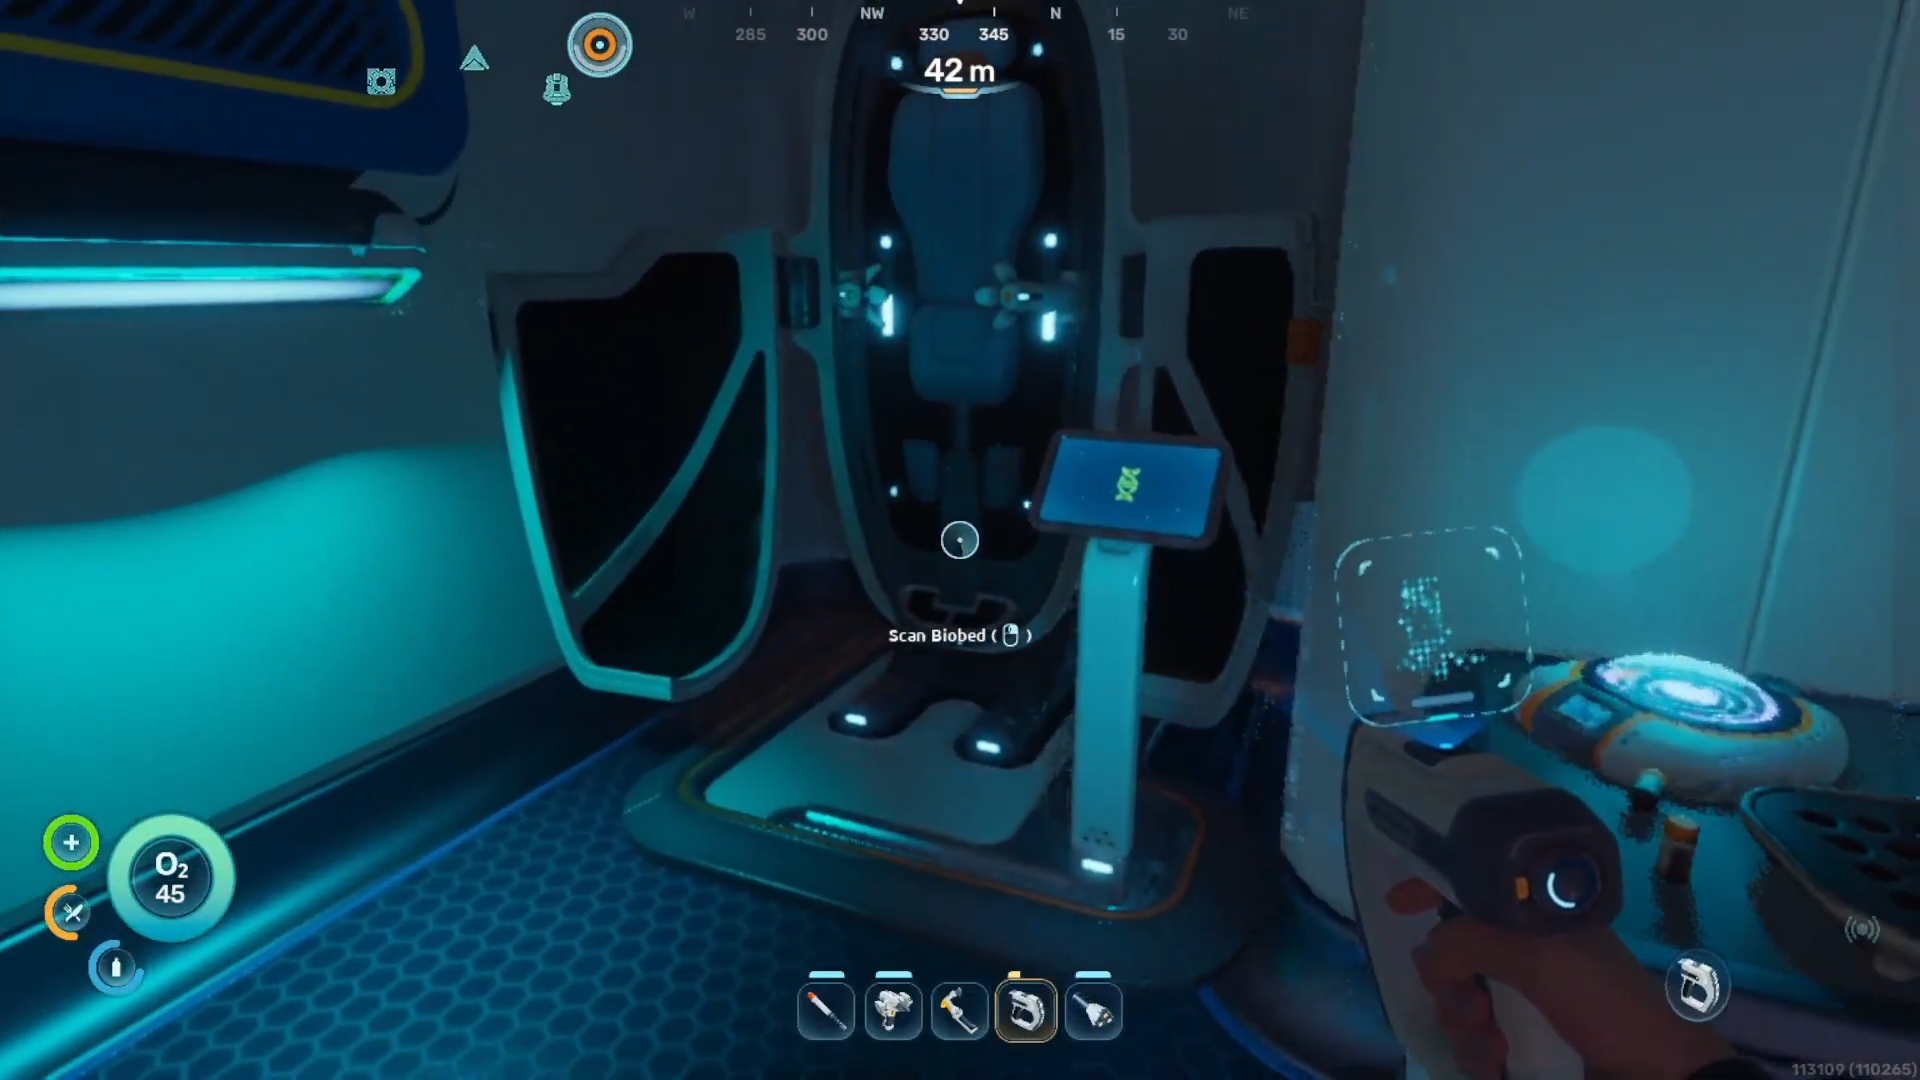
Step 6
Equip the scanner and scan the furniture piece fully to unlock the blueprint for base construction.

Step 7
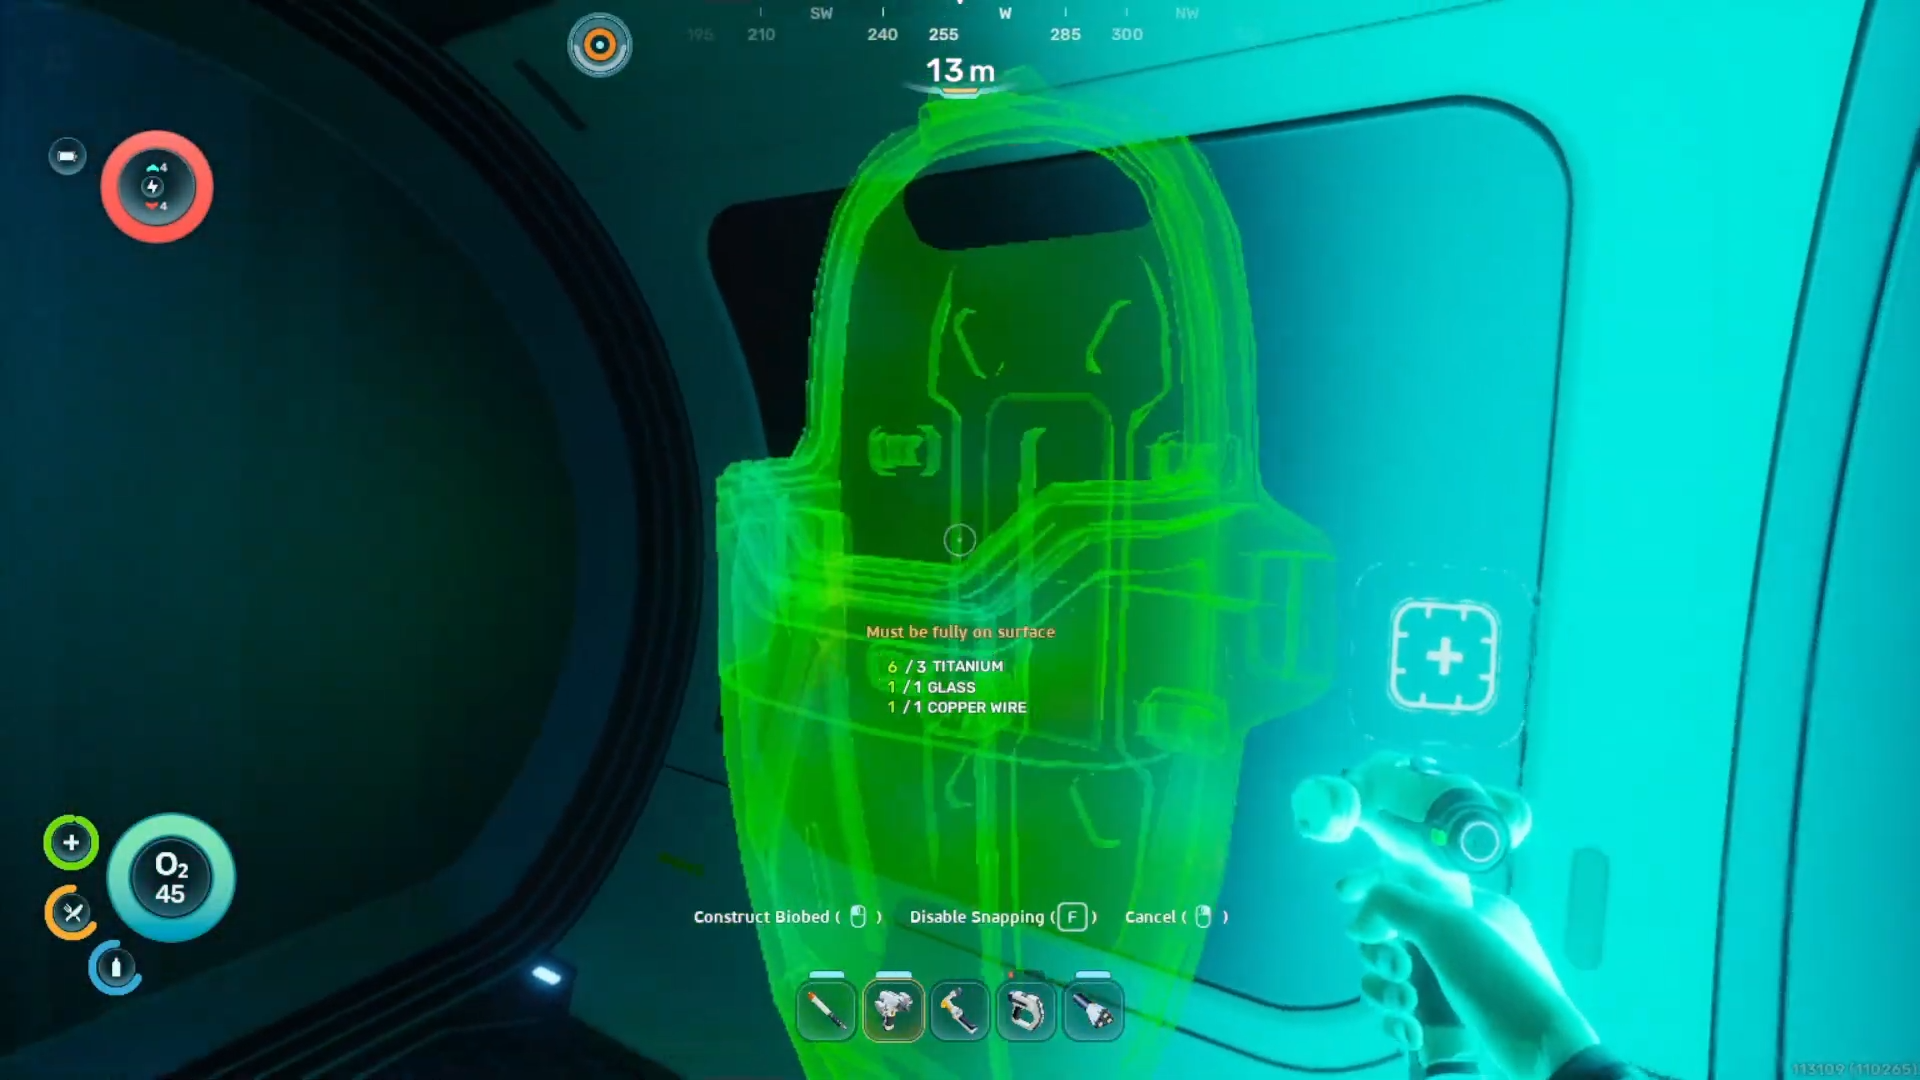
Return to your custom habitat and equip the habitat builder tool.
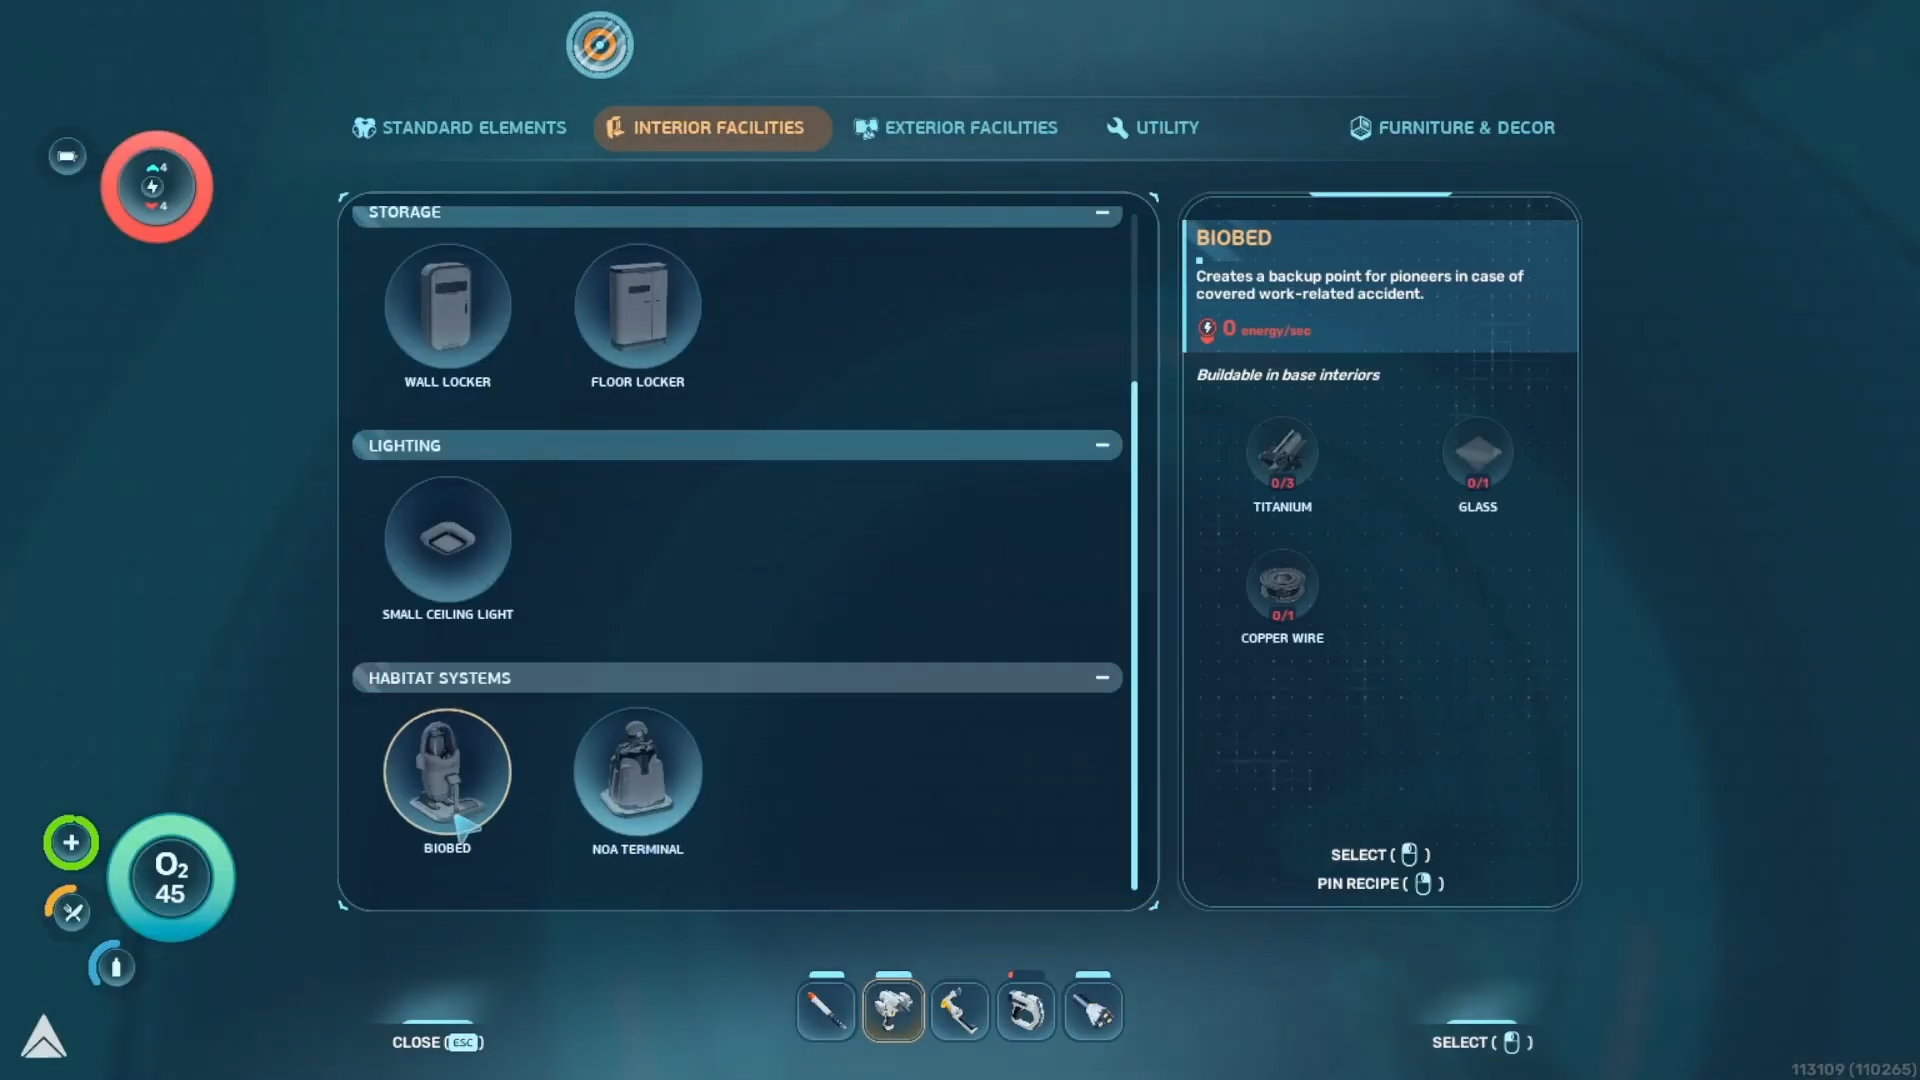
Step 8
Construct the biobed using three titanium, one glass, and one copper wire to finalize the installation.
Rewards from scanning the biobed
| Reward type | Description |
|---|---|
| Base blueprint | Unlocks the ability to construct the biobed in custom bases |
| Status upgrade | Grants the endurance adaptation for three permanent inventory slots |
| Base utility | Provides a secure respawn location upon defeat |


Leave a Reply