
The Snipping Tool is an amazing native Windows tool that lets you take screenshots and save them in a snap. Recently, Microsoft has further improved the Snipping Tool to include screen recording capabilities as well, including options to add sound and narration.
Here’s what you need to know to start using it to record your screen on Windows.
How to Screen record using Snipping Tool: Step-by-step guide
- Press Start, type Snipping Tool, and start the app.

- The Snipping Tool will open up in a small window. Here, click on the ‘Record’ icon at the top and switch to screen recording. Alternatively, press
Win+Shift+Sto bring up the Snipping Tool.

- Now, click on New to start a new recording.

- This will cause the screen to fade out, and you will see a small record window at the top. Use the cursor to select the portion of the screen that you want to record.
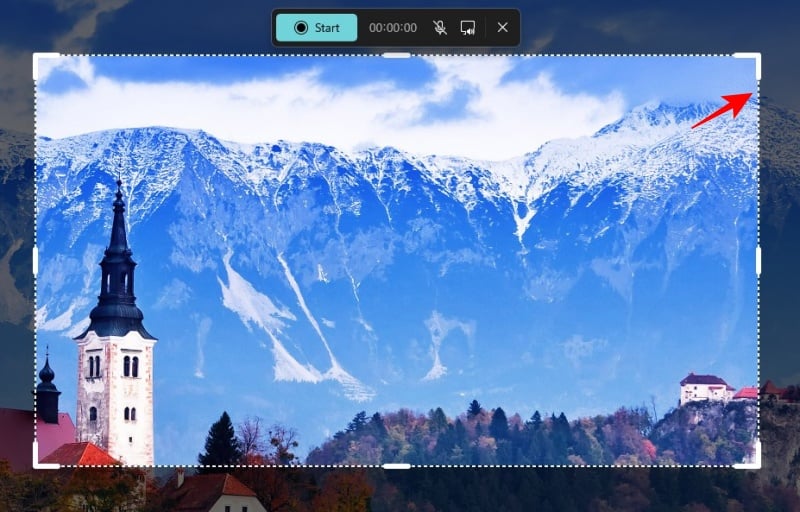
- Then click on Start to begin recording the screen.

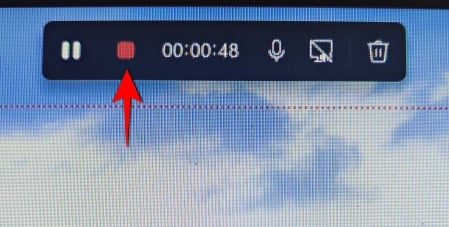
- You will see a 3-second countdown before the recording begins. Once it starts, the recording can be paused and resumed by clicking on the pause/play button in the recording toolbox. If you want to discard the recording, click on the trashcan icon. To save your recording, click on the red button.
- You will be able to preview your video before saving it. Here, click on the save icon on top to do so.

- You will be asked where you want to save the recorded video. The default location will be the ‘Videos’ folder. Click on Save to save the recorded video.

- Your recorded screen will be in the saved location.
If you want to learn how to record audio as well, refer to our guide on How to Record Audio while Screen Recording with the Snipping Tool on Windows 11.
FAQs
Let’s take a look at a few commonly asked queries about the screen record feature in the Snipping Tool.
Can I screen record with Snipping Tool?
Yes, screen recording is a new Snipping Tool feature that lets you record and save whatever’s happening in the selection portion of your screen.
Where are Snipping Tool screenshots and videos saved?
The default location for screenshots taken with the Snipping Tool is the ‘Screenshots’ folder in ‘Pictures’. The complete location is – C:\Users\(username)\Pictures\Screenshots. For screen recording, Snipping Tool will ask you where you want to save the video, though the default folder presented at the time of saving is the ‘Videos’ folder.
What is the format for videos recorded with the Snipping Tool?
Videos recorded with the Snipping Tool are saved in MP4 format.
The screen recording feature is a welcome addition to the Snipping Tool. Though it doesn’t provide a lot of editing options, the convenience of having a native tool that lets you record your screen cannot be understated.
You can even ditch your third-party screen-capturing app for the Snipping Tool. So, what’re you waiting for? Snip away!


