
There was never any doubt about it, but now we can confirm that both TWRP recovery and root access are now available for the Galaxy S9 and the Galaxy S9 Plus. Although it may depend on which model you have because not all the variants of the S9 and S9+ have TWRP available at the moment, and without TWRP you can’t get root access at the moment.
To be able to root your Galaxy S9 and Galaxy S9+ you would first need to install the TWRP recovery. There could be other solutions like CF Auto Root or patched images files, that could root your device without needing TWRP, but installing the SuperSU root package using TWRP remains the most popular way to achieve root access on any device.
Note: You must pay special attention to model no. of your device and the compatibility of the TWRP file provided for download here. As the download varies from model no. to model no., not to mention it’s different for the s9 and S9+, you have to download the TWRP recovery exactly meant for your Galaxy S9 device.

AT&T, Sprint, T-Mobile, and Verizon variants
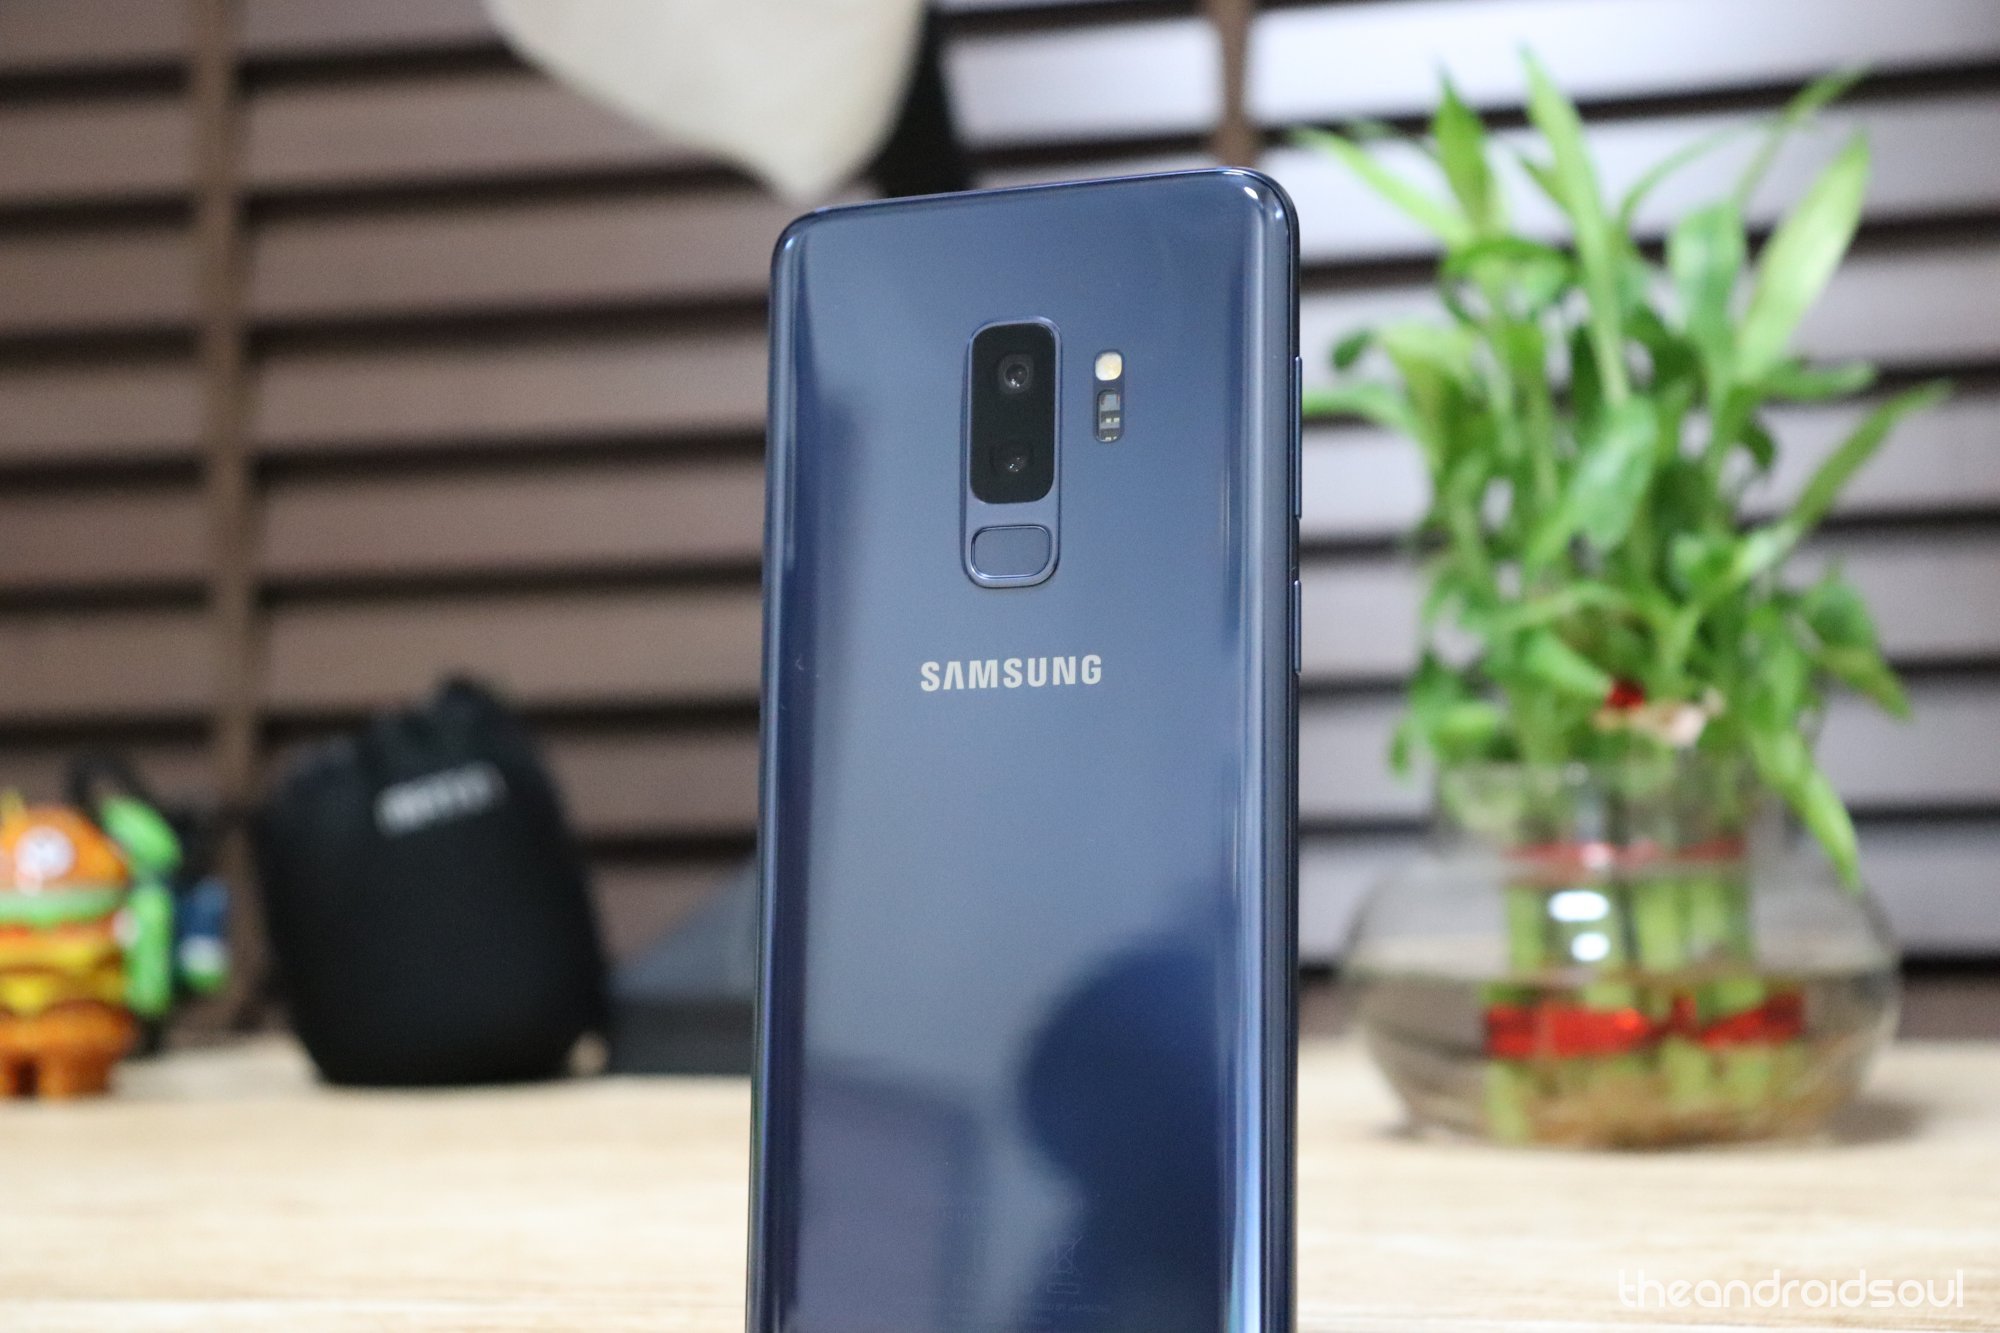
At the moment, both of the S9 and S9+, whose codename is starlte and star2lte respectively, and is powered by the Samsung’s own processor, the Exynos 9810, have the compatible TWRP recovery available. Which means that you can root only these two kinds of Galaxy S9 variants at the moment. Samsung is selling the Exynos-powered S9 handsets in India, Europe, Australia, etc. and they come as model no. SM-G960F/FD/N (s9) and SM-G965F/FD/N (S9+).
[March 15, 2018]: The S9 handsets sold in the US, China, and Japan do not have TWRP and root available at the moment. Hence, the device carrying the model no. SM-G960U/U1/W/0/8/SC (S9) and SM-G965U/U1/W/0/8/SC (S9+) do not have root and TWRP available. Yes, if you bought it from T-Mobile, Verizon, Sprint or AT&T, then root isn’t available yet.
Related:
Let’s see how we can root our Galaxy S9 and S9+.

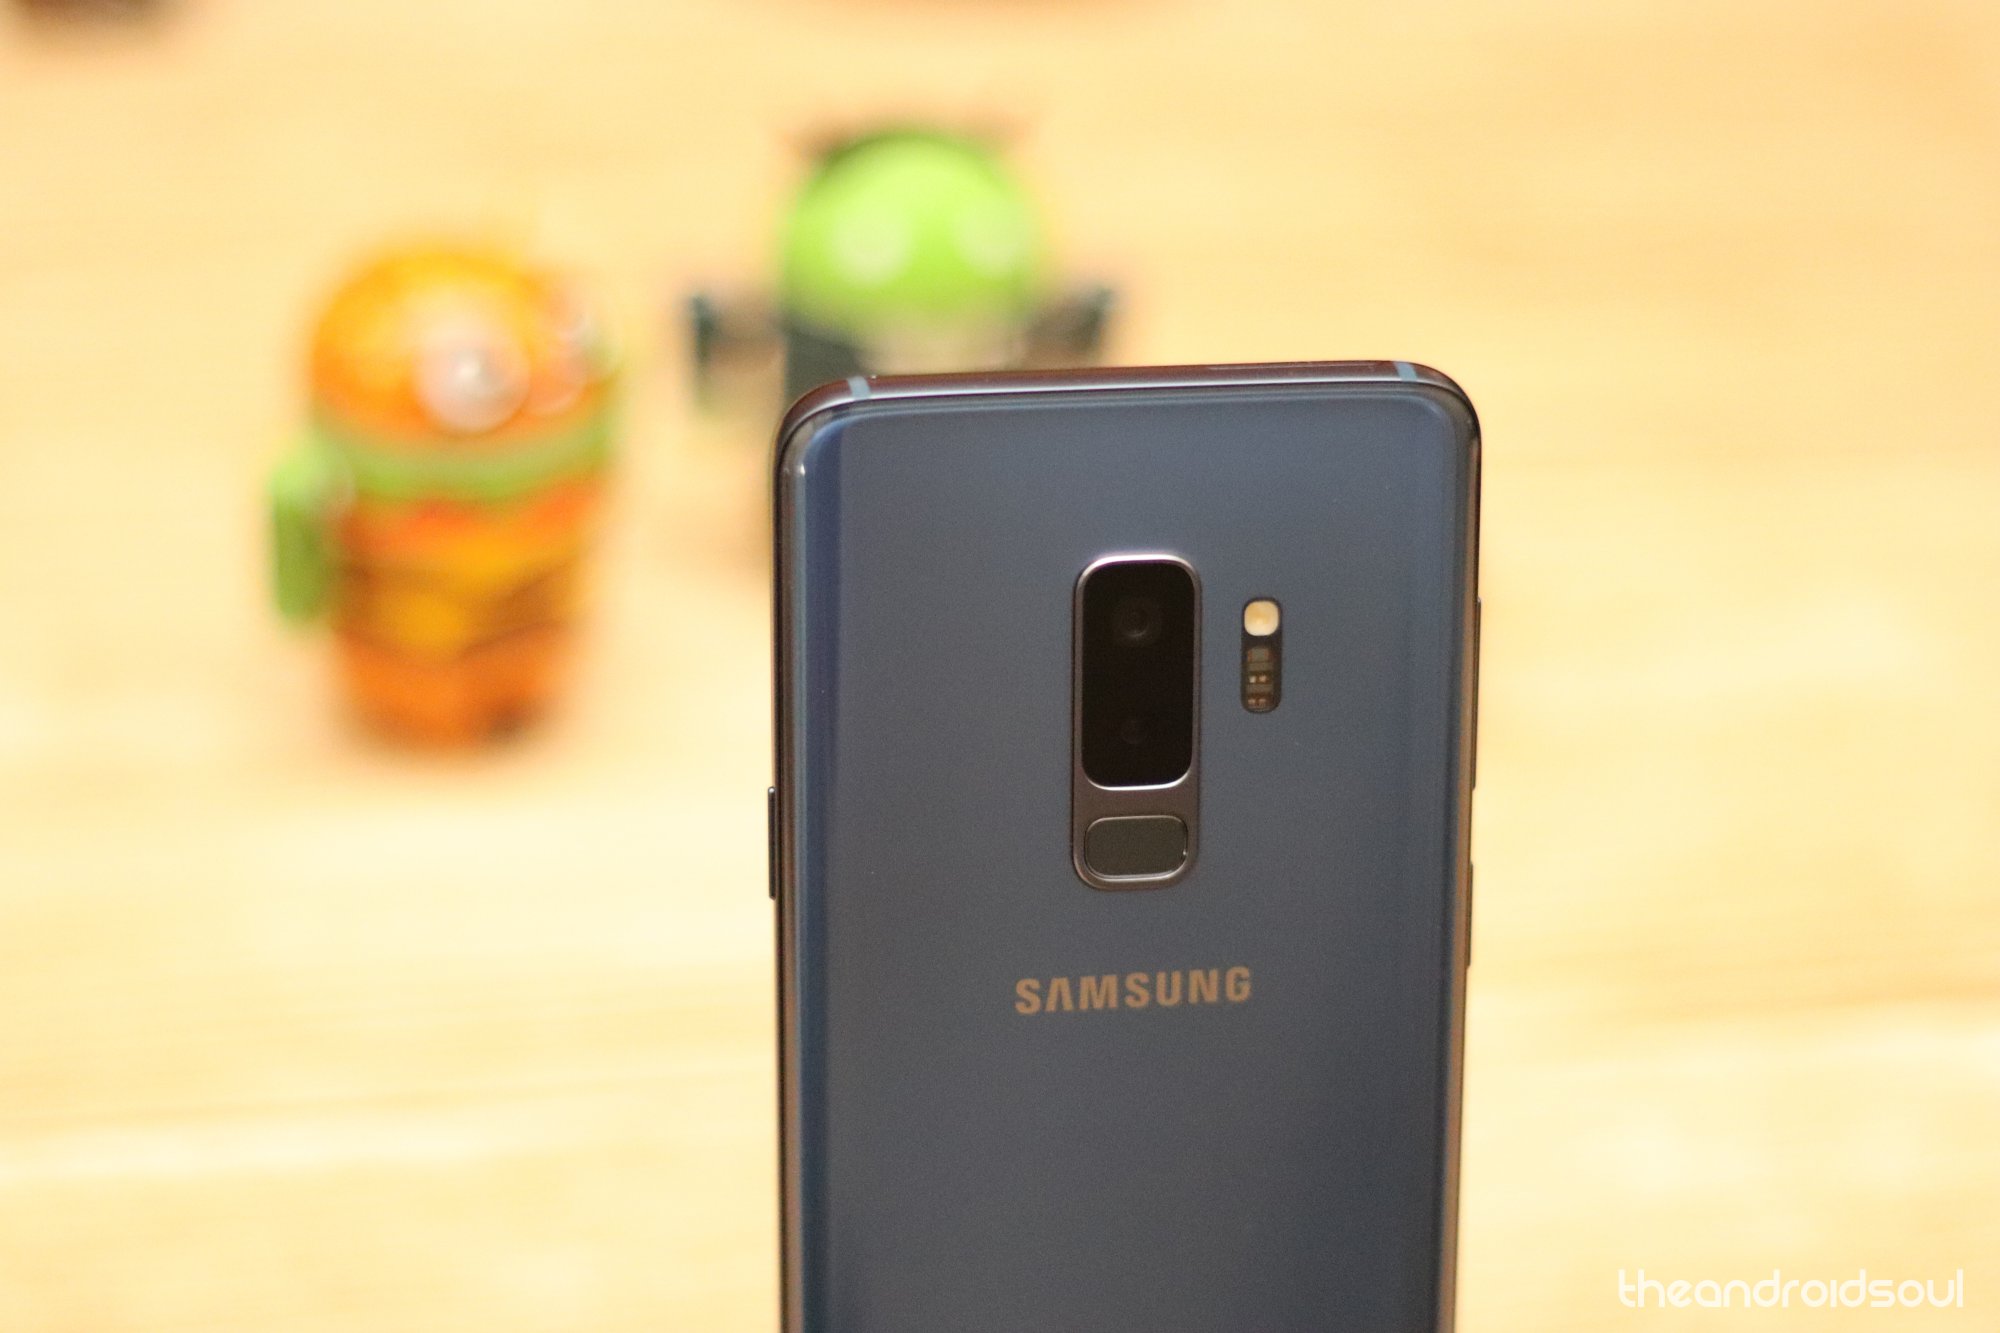
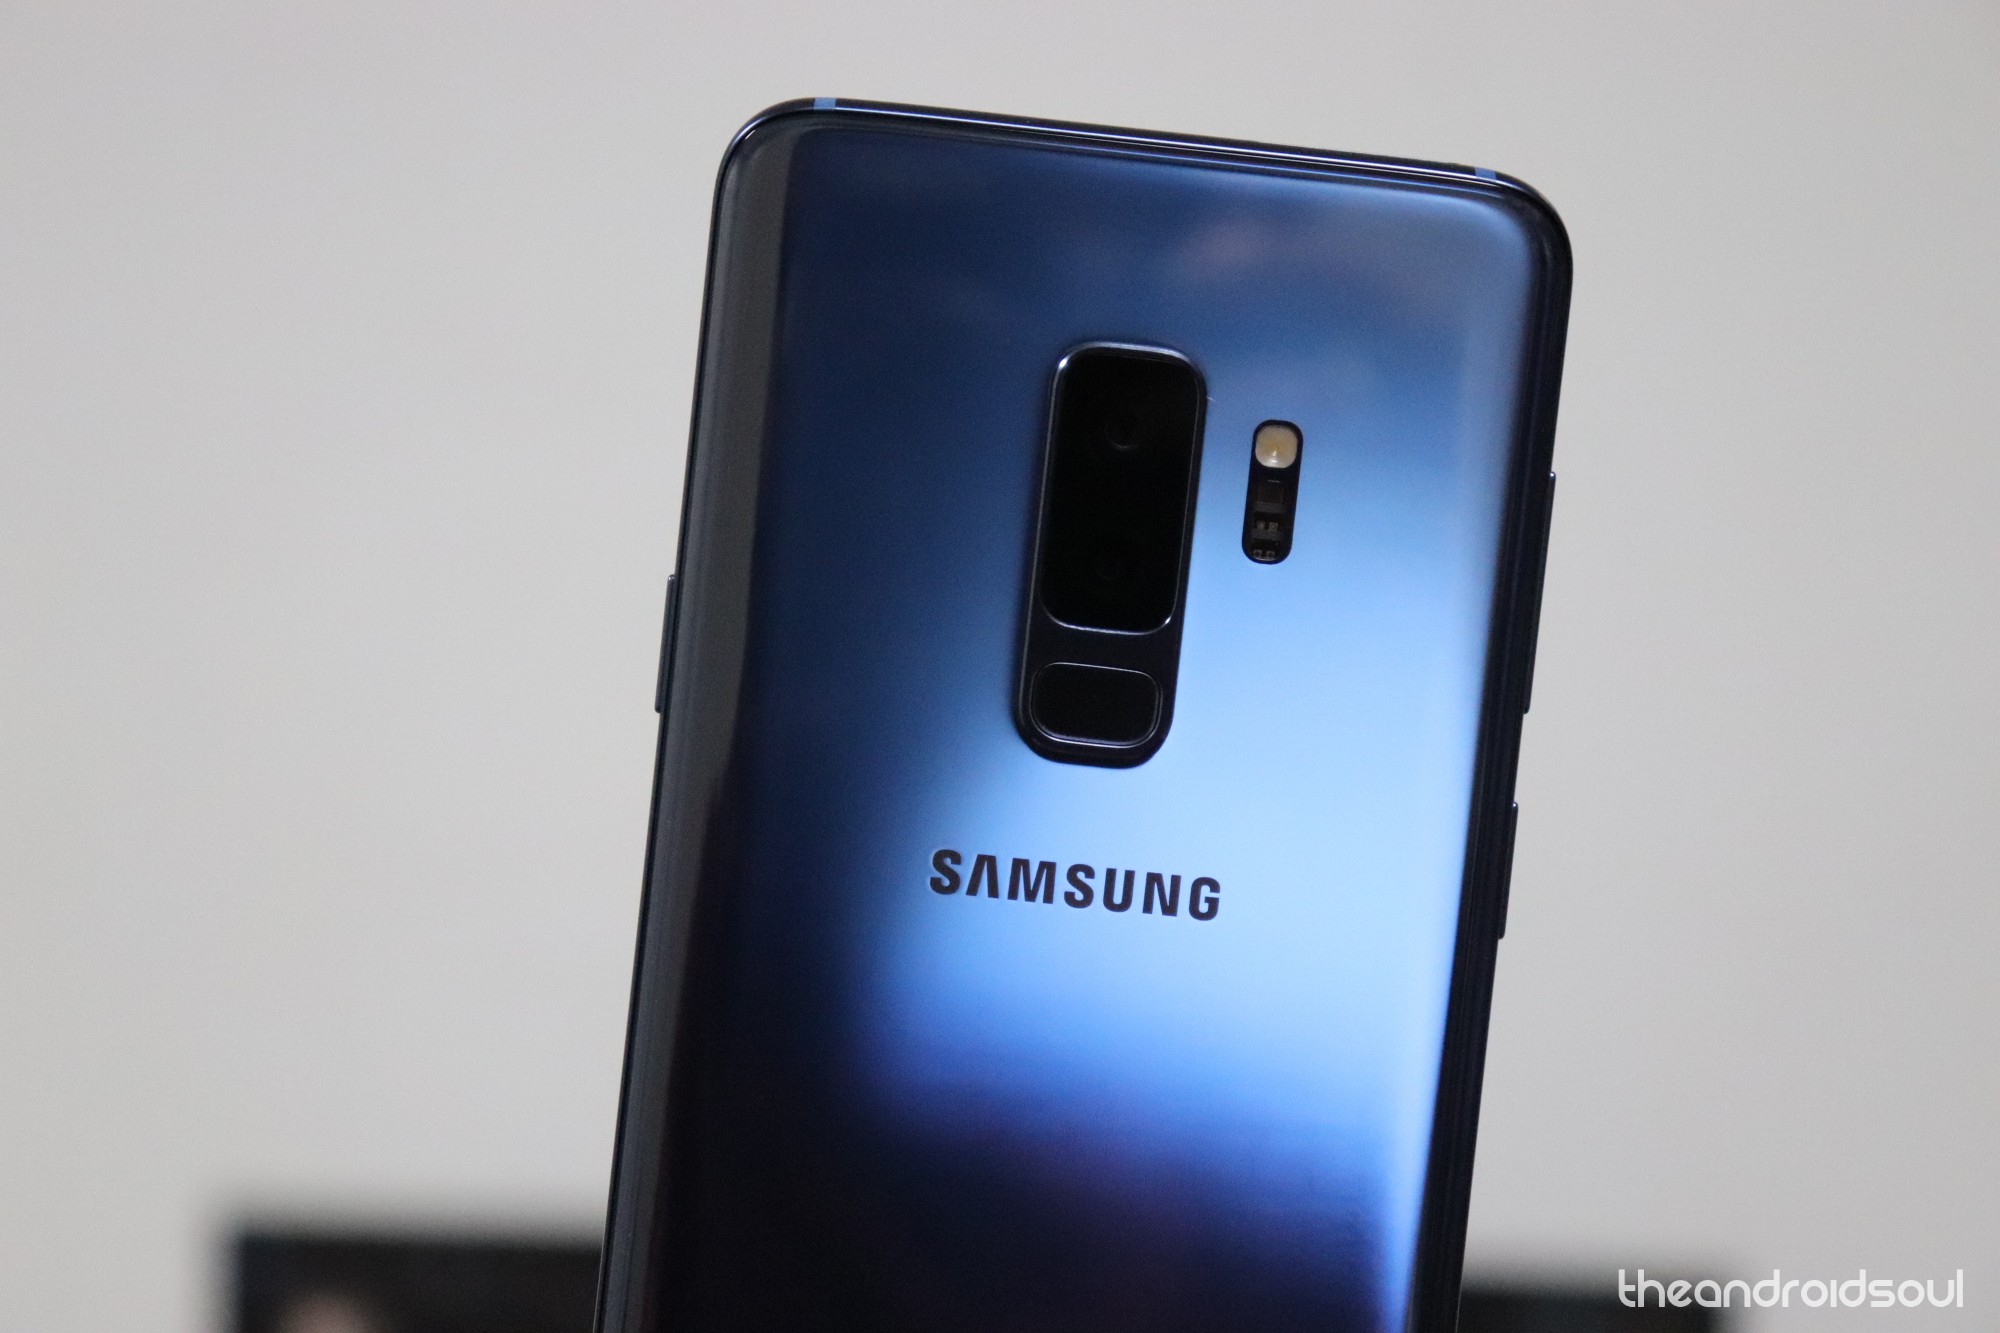
Galaxy S9 Root and TWRP recovery
Warning!
Warranty may be void of your Galaxy S9 (or S9 Plus) if you follow the procedures given on this page. You only are responsible for your device. We won’t be liable if any damage occurs to your device and/or its components.
Backup!
You must backup important files stored on your device before proceeding with the instructions below so that in case something goes wrong, you’ll have a backup of all your important files.
Supported devices
- Samsung Galaxy S9
- Compatible: Model no. SM-G960F/FD/N/X (powered by Exynos processor); codename starlte
- Not Compatible: It won’t work with Galaxy S9 Plus handsets with these model nos.: SM-G965U/U1/W/0/2/8/SC; codename starqlte
- Samsung Galaxy S9+
- Compatible: Model no. SM-G965F/FD/N/X (powered by Exynos processor); codename star2lte
- Not Compatible: It won’t work with Galaxy S9 Plus handsets with these model nos.: SM-G965U/U1/W/0/2/8/SC; codename star2qlte
- Don’t try on any other device whatsoever!
Important: Check your device’s model no. on its packaging box, or in Settings > About device. BTW, you can also use an app like Droid Info to find your device’s model no. but in case you are not able to find the model no. of your device, DO NOT try this on your device.
Downloads
- TWRP Recovery
- Galaxy S9
- Model no. SM-G960F/FD/N/X – download 3.2.3-0 (latest here)
- Model no. SM-G960U/U1/W/0/2/8/SC – not available
- Galaxy S9 Plus
- Model no. SM-G965F/FD/N/X – download 3.2.3-0 (latest here)
- Model no. SM-G965U/U1/W/0/2/8/SC – not available
- Galaxy S9
- Odin version 3.13.1 PC software — Link
- DM Verity disabler — Link
- OEM Unlock fix — Link
- Magisk 18.0 root package — Link
How to install TWRP recovery on Galaxy S9 and S9+
- Make sure you have covered the pre-requisite section well, and that your Galaxy S9 (or S9+) is not RMM locked, as given above.
- Install Samsung USB driver.
- Disconnect your Galaxy S9 from PC if it is connected.
- Download the required files from above.
- Extract the Odin file. You should get this file Odin3 v3.13.1.exe (ignore other files from the extraction).
- Double click on the extracted file of Odin, Odin3 v3.13.1.exe, to open the Odin window, as shown below. Be careful with Odin, and do just as said to prevent problems.

- Boot the Galaxy S9/S9+ into download mode:
- Power off your Galaxy S9. Wait 6-7 seconds after screen goes off.
- Press and hold the three buttons Volume down + Volume up + Power buttons together until you see the Warning screen.
- Press Volume Up to continue to download mode.
- Connect your Galaxy S9/S9+ to PC now using a USB cable. Odin should recognize your Galaxy S9. It’s a must. When it recognizes, you will see Added!! message appearing in the Log box in the bottom left, and the first box under ID:COM will also show a no. and turn its background blue. Look at the pic below.
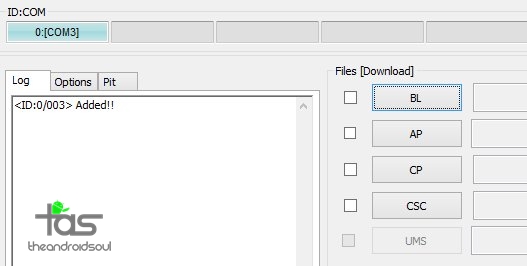
- You cannot proceed until Odin recognizes your device and you get the Added!! message.
- If it doesn’t, you need to install/re-install drivers again and use the original cable that came with the device. Mostly, drivers are the problem.
- You can try different USB ports on your PC too, btw.
- Load the TWRP file into Odin. For this, click the AP button on Odin and the select the TWRP file you download above.
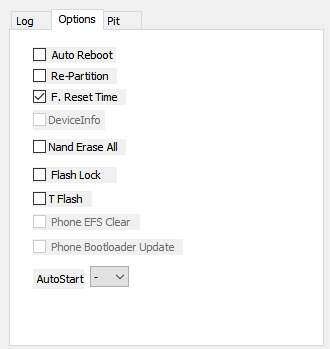
- In Odin, under the options tab, make sure the Re-partition and Auto Reboot checkboxes are NOT selected. Don’t use the PIT tab either. Go back to Log tab btw, it will show the progress when you hit the start button in next step.

- Click the Start button on Odin now to start installing the TWRP recovery on your Galaxy S9. Wait till installation is finished, after which, you’ll get PASS message as shown below upon successful installation from Odin.

- If Odin gets stuck at setup connection, then you need to do this all again. Disconnect your device, close Odin, boot device into download mode again, open Odin, and then select the TWRP and flash it again as said above.
- If you get FAIL in the top left box, then also you need to flash the TWRP file again as stated just above.
- Your Galaxy S9 would remain in download mode itself — it won’t restart automatically because we turned off Auto Reboot above, to buy you time to boot into recovery mode from here. Read the twp steps below fully before doing this. You have to force reboot the device to access the recovery mode directly to get to access TWRP recovery right away. Here’s how:
- Press and hold Volume down + Power button together until the screen goes off.
- Once the screen goes off, do this quickly: while still holding the Power button, press Volume Up in place of Volume down button to reboot into recovery mode.
[In essence, when the device restarts (screen goes off), you must be holding Volume Up and Power button together. We have to press the Volume down + Power buttons first to force restart the device from download mode.]
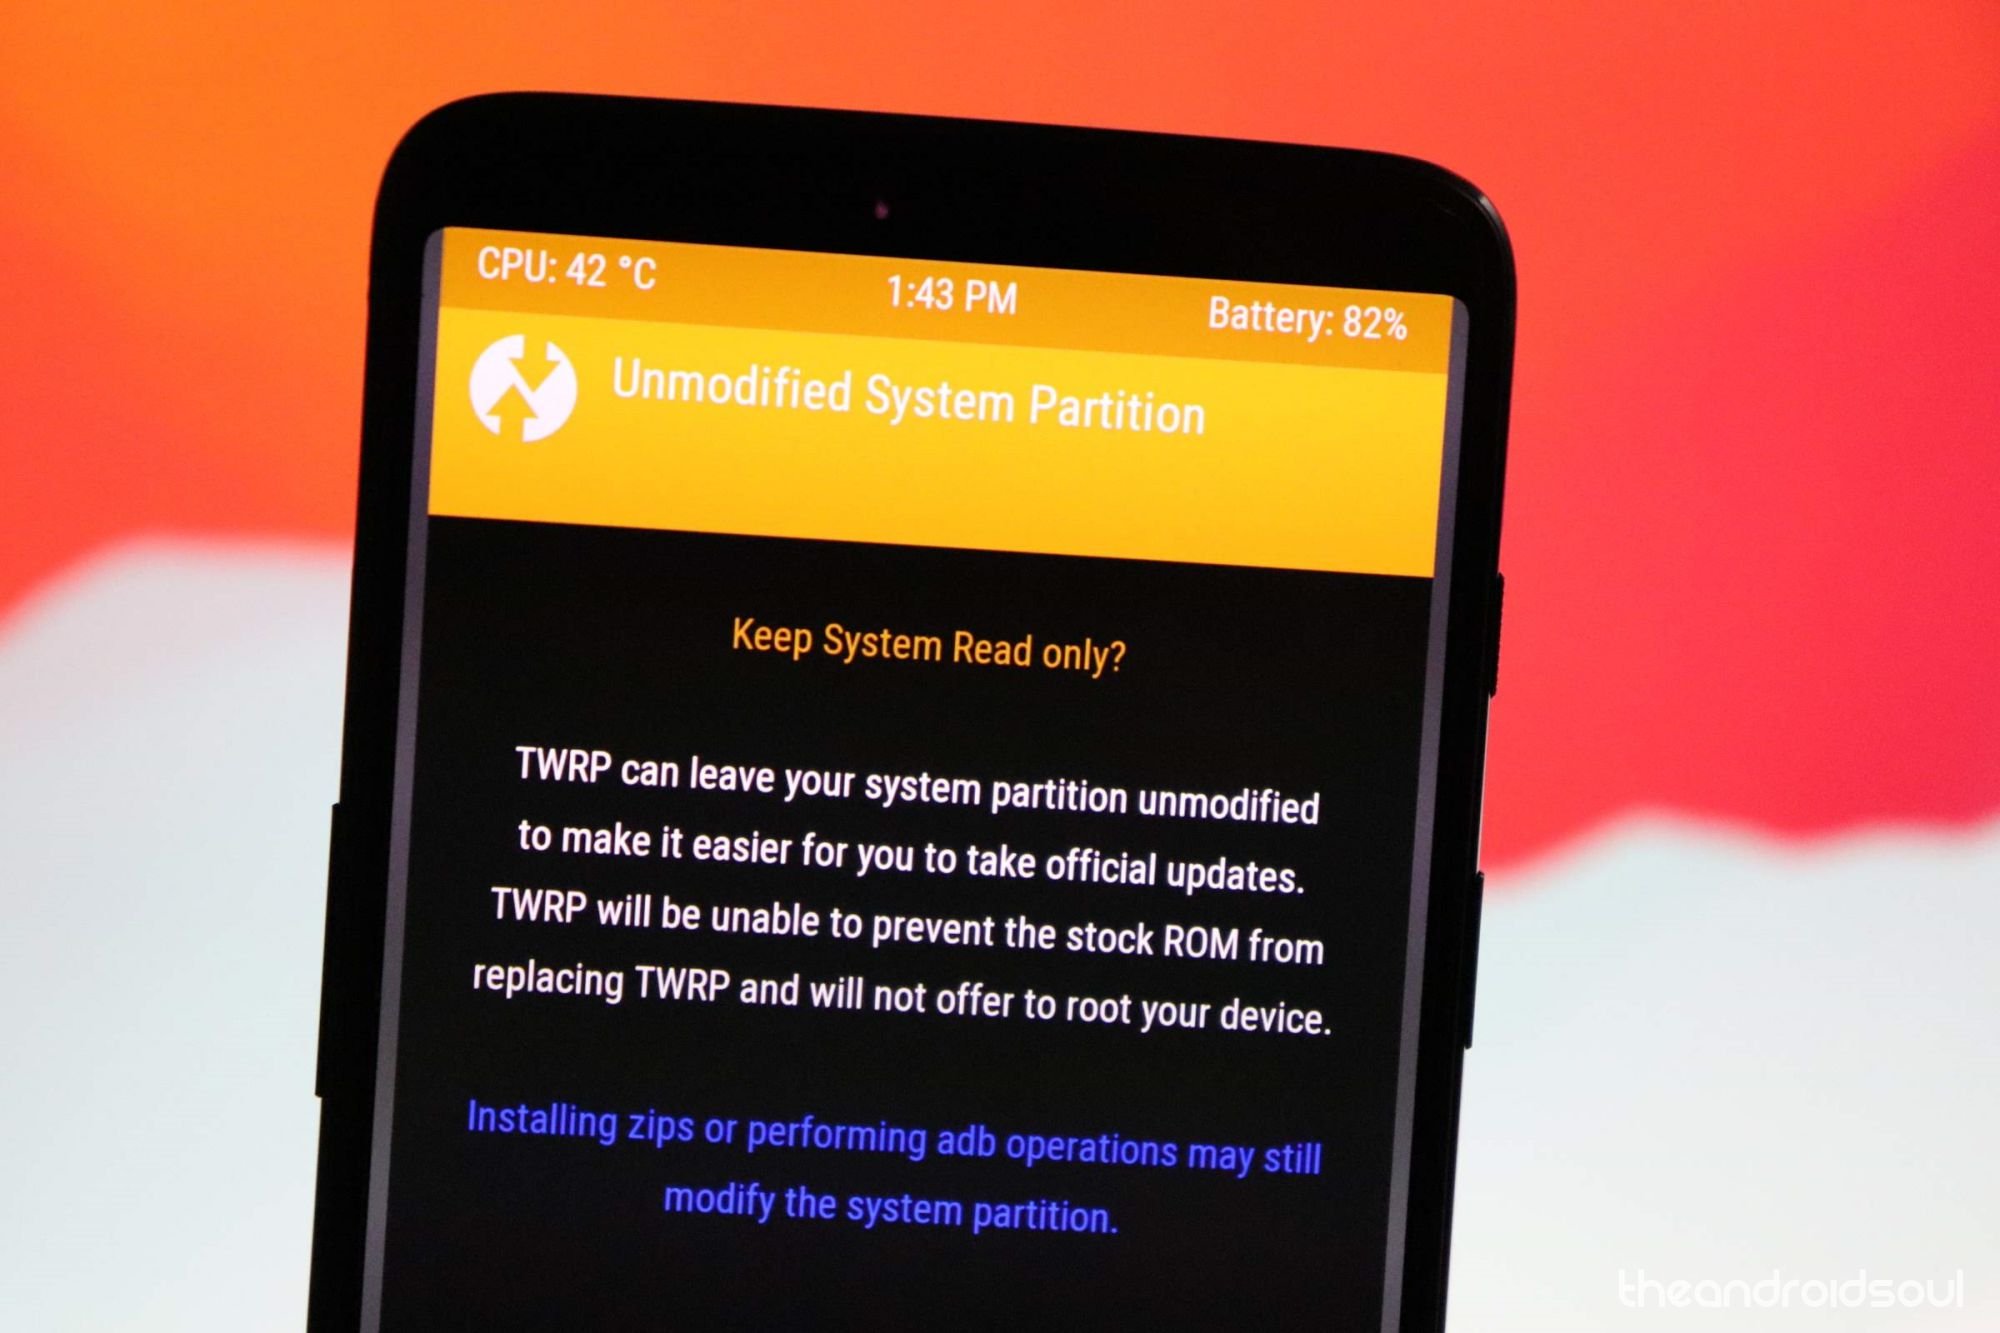
- Important! So, your device will boot into TWRP recovery. It would ask for ‘allow for System modification’. DO NOT ALLOW THAT. Tap on the ‘Keep Read Only’ button to not allow system modification and access TWRP safely.

- Now, you will be taken to the home page of the TWRP. Wipe the data partition now.
- Tap on Wipe option, and and then select Format Data option.
- Type yes on the next screen to delete the data partition, which will delete everything on the device, including apps, data, and all the files on the internal storage. (Make sure you have an appropriate backup of data and files with you saved on PC before doing this!)
→ We need to wipe data partition to avoid errors/warnings like ‘Integrity verification failed’ or ‘RMM Lock’.

- Reboot the device in TWRP recovery again. For this, press the home button, then Reboot, and then Recovery. Data partition should be mountable now.
- Install DM Verity disabler and RMM Bypass (and root file if you want to) files:
- Connect the Galaxy S9 to your PC now using a USB cable.
- Transfer the DM Verity disabler and RMM files from PC to your Galaxy S9. Remember the location on the device.
- You can now disconnect the device to PC.
- In TWRP, tap on Install option on the home screen, and then select the DM verity disabler file. Then do the swipe action at the bottom to install it.

Example of file installation in TWRP! - Install the RMM Bypass file the same way.
- [Optional] Root the Galaxy S9 now to avoid deleting everything on the device again because if you install root package later after rebooting the device from here, you will need to format the data partition again, which would delete everything (including the internal storage) again. To root Galaxy S9/S9+ now, do this:
- Download the Magisk root package: Magisk-v16.7.zip
- Connect the device to PC is disconnected.
- Transfer the Magisk file to your Galaxy S9/S9+.
- Install root access. In TWRP, tap on Install option on the home screen, and then select the Magisk file. Then do the swipe action at the bottom to install it.
- Install the RMM Bypass file again.
- Now, let’s restart the device. Tap on the Reboot System button. Or from the home page of TWRP, tap on Reboot option, and then on System to restart your Galaxy S9/S9+, and it shall reboot alright. You don’t have to worry about the RMM lock now.
That’s it.
How to root Galaxy S9 and S9+
FYI, we already mentioned the root guide in the optional step 16 above to allow you to install the root package wit TWRP guide itself so that you don’t have to format the data partition again because that’s a requirement. If you didn’t install the root package above, follow the guide below thoroughly and avoid installing the root package only.
Here is how you can install root access safely on your Galaxy S9 without needing to worry about the new RMM lock trick of Samsung.
- Make sure you have installed the TWRP recovery using the guide given above.
- Download the required files:
- Magisk root package: Magisk-v16.7.zip
- DM Verity disabler boot patch: no-verity-opt-encrypt-6.0.zip
- RMM Bypass – RMM-State_Bypass_Mesa_v2.zip
- Reboot into TWRP recovery. For this, power off the device. Once the screen goes off, wait for at least 5-6 seconds, and then press and hold the Volume Up and Power buttons together to reach TWRP.
- Wipe the data partition now.
- Tap on Wipe option, and and then select Format Data option.
- Type yes on the next screen to delete the data partition, which will delete everything on the device, including apps, data, and all the files on the internal storage. (Make sure you have an appropriate backup of data and files with you saved on PC before doing this!)
→ We need to wipe data partition to avoid errors/warnings like ‘Integrity verification failed’ or ‘RMM Lock’.
- Reboot the device in TWRP recovery again. For this, press the home button, then Reboot, and then Recovery. Data partition should be mountable now.
- Root the Galaxy S9/S9+ now. Here’s how:
- Connect the device to PC if disconnected.
- Transfer the Magisk file to your Galaxy S9.
- Install the Magisk file. On the TWRP’s home screen, tap on Install button, and then select the Magisk file. Swipe at the bottom of the screen to confirm the installation.
- Install the RMM Bypass file too the same way.
- Tap on the Reboot System button. Or, from the home page of TWRP, tap on Reboot option, and then on System to restart your Galaxy S9/S9+.
That’s all.
Do let us know if you need any help in installing TWRP and root on the Galaxy S9 and S9+.

15 responses to “How to root the Galaxy S9 and S9+ and install TWRP recovery”
Hello,
Thanks for the instructions, I was able to root my S9(SM-G960F), but I cant get root access. Could you let me know how I can fix this issue?
ho fatto tutto, ma non mi trova le reti wifi, cerca manon trovanessuna rete
Hey, i tried this with my S9+, but when i enter yes for wipe date, i get an error message: “failed to mount /cpefs”. Does anybody know why/what to do?
Hey, I have a question – when I download the TWRP file it is in .img format (twrp-3.2.1-0-starlte.img); do I have to convert it to .tar.md5 so that I can flash with it Odin or should the .img file work as well? Thank you!
Hey, the download is available in the .TAR format already. I have updated the links to latest version of the recovery, and have made it easier to directly download the .TAR file. See above.
Thanks for the tutorial! Guys, I have one question, I will get an S8 which I want to root it, but I need to unlock it from its network. Do you know a service where I can do it?
Nope. GIYF.
Does this work for Model no. SM-G960F/DS? It’s the dual sim version from the UK.
Yes, it would work alright.
BTW, guide updated with a lot more info, all of which you should know.
Try it now. Do install the DM Verity disabler file, as well as OEM Issue fixer file before installing root tool (Magisk/SuperSU).
Great! thanks for the update. I will give it a try.
Did it work ?
Yes, it does. BTW, hold on for about half an hour. I am in the process of updating the guide. Providing more info that you should know. So, just wait for about an hour at the max.
Does the OEM Unlock Fix mean this will work even if the OEM Unlock option isn’t available under Developer Options?
Nope. If you don’t see OEM Unlock option on your Galaxy S9, then OEM Unlock fix won’t work.
BTW, without OEM unlock, you cannot install the OEM Unlock fix either.
You need TWRP recovery to install OEM Unlock fix. But you need OEM Unlock enabled in order to install TWRP.
As I mentioned in the article above, the OEM Unlock option appeared (on S8/Note8) magically for some users after some 7 days, so you can be hopeful.
Thanks, I’ve seen some people saying it disappeared after the OTA update, so hopefully it will come back in a week.