The flagship device of 2018 from Samsung may be less than a month old, but it is already being built up to be on the most popular Android devices of the year. Samsung may have fixed the broken elements of the Galaxy S8 with the new smartphone, but the Galaxy S9 (and the Galaxy S9 Plus, for that matter)is not a perfect Android flagship device just yet.
Not less than a week since the phone was made available for sale across the globe, users are reporting issues left and right. While some of these are more hardware-intensive than software, the only sure-shot way to fix the common Galaxy S9 and S9+ errors is to wait for a software update from Samsung or take matters into your own hands. Speaking of which, the root is available for the S9 handsets now.
We’ve sifted through the Samsung community forums to find the most painstaking and annoying issues that Galaxy S9 and S9+ users are facing. Here’s our take on how you can resolve the most common problems with the flagship devices yourself right now.
- Galaxy S9 face unlock (Intelligent Scan) issue
- Galaxy S9 connectivity issues
- Galaxy S9 Samsung Pay issue
- Galaxy S9 Edge Lighting issue
- Galaxy S9 missing apps drawer
- Galaxy S9 fingerprint scanner issue
- Notification badge icon problem
- Galaxy S9 Camera issue
- Galaxy S9 Music playback issues
- Galaxy S9 Ads problem
- Galaxy S9 Chromecast issues
- Galaxy S9 charging issue
- Google Pay not working with Pie Beta update
- Galaxy S9 Plus camera focusing problem
- Unable to hide navigation bar after Pie update
- Double tap to launch camera not working after One UI update
- Recents menu glitch
- High amount of noise in images taken with Live focus
- Notifications not expanding on lockscreen
- Hotspot icon not showing in status bar
- Auto calling person after texting
- Troubleshooting guide
Galaxy S9 face unlock (Intelligent Scan) issue
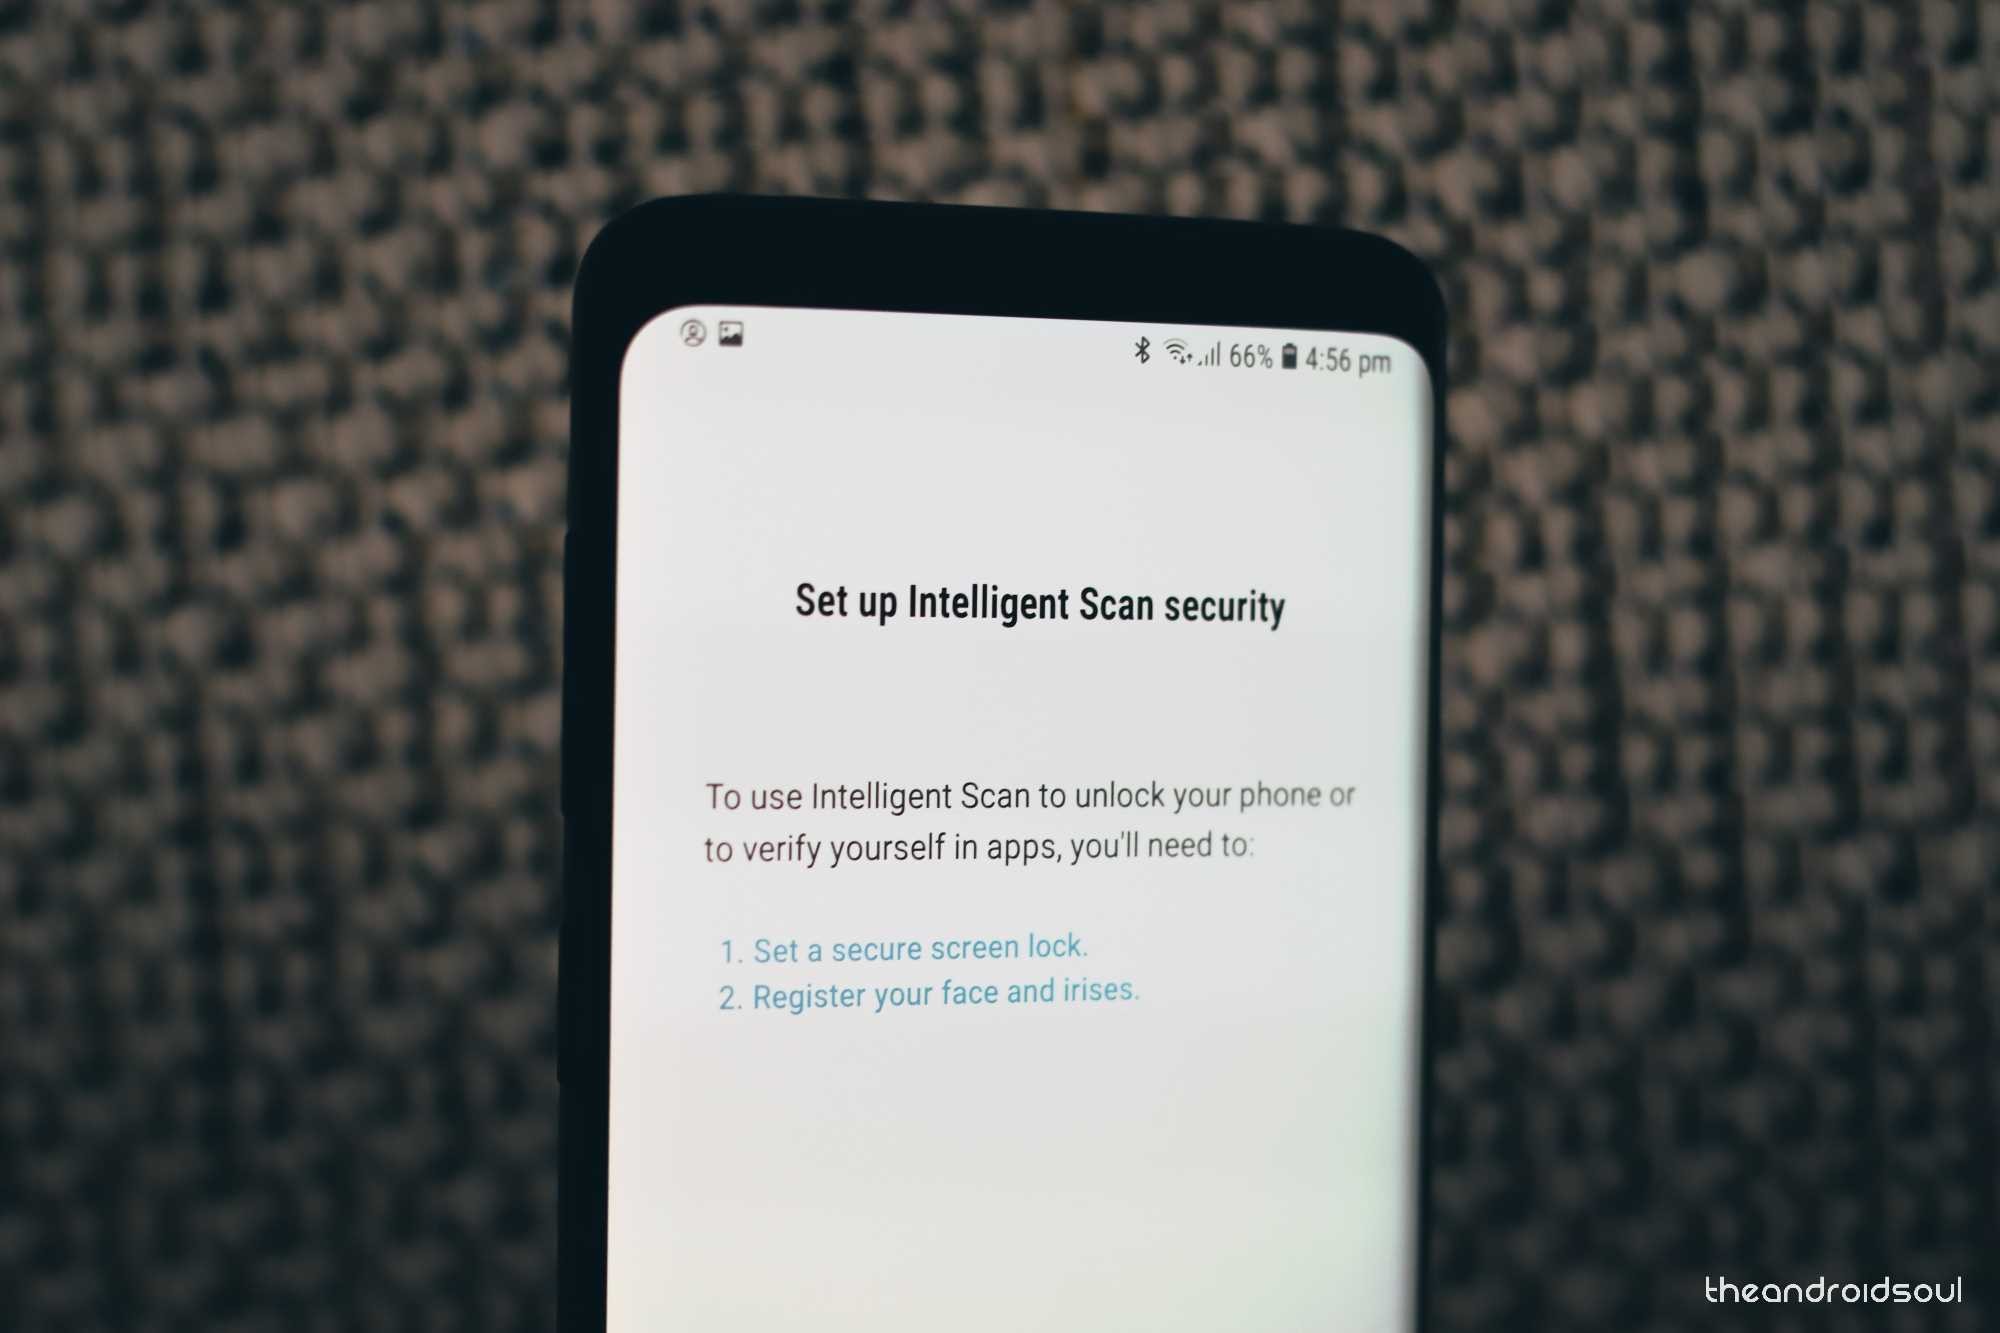
Samsung may not have taken on iPhone X’s TrueDepth Camera yet, but the front-facing camera with the combination of the iris scanner can still do wonders. However, users have reported that the combination of facial recognition technology and iris scanner is not functioning with 100% accuracy as one would expect.
Samsung has already got a software update out for the Galaxy S9 and S9+ which is directed towards fixing the face unlock feature of the front camera. However, you can follow these steps to improve accuracy with the Intelligent Scan feature on the Galaxy S9.
- Make sure that you aren’t wearing accessories like a hat or your glasses when setting up Intelligent Scan on your Galaxy S9.
- In order to get more accurate results, make sure that your eyes are open wide for the iris scanner to register properly, and the lighting conditions are bright.
Galaxy S9 connectivity issues
Connectivity issues are one of the earliest problems to pop up on a brand new device, and the Galaxy S9 is no exception. The issue has been reported by users, but it seems to be more of a device-specific error rather than a widespread issue like the Intelligent Scan feature problem. Either way, there are a bunch of steps you can take to fix most of the common Bluetooth and Wi-Fi connectivity issues that most Android devices face.
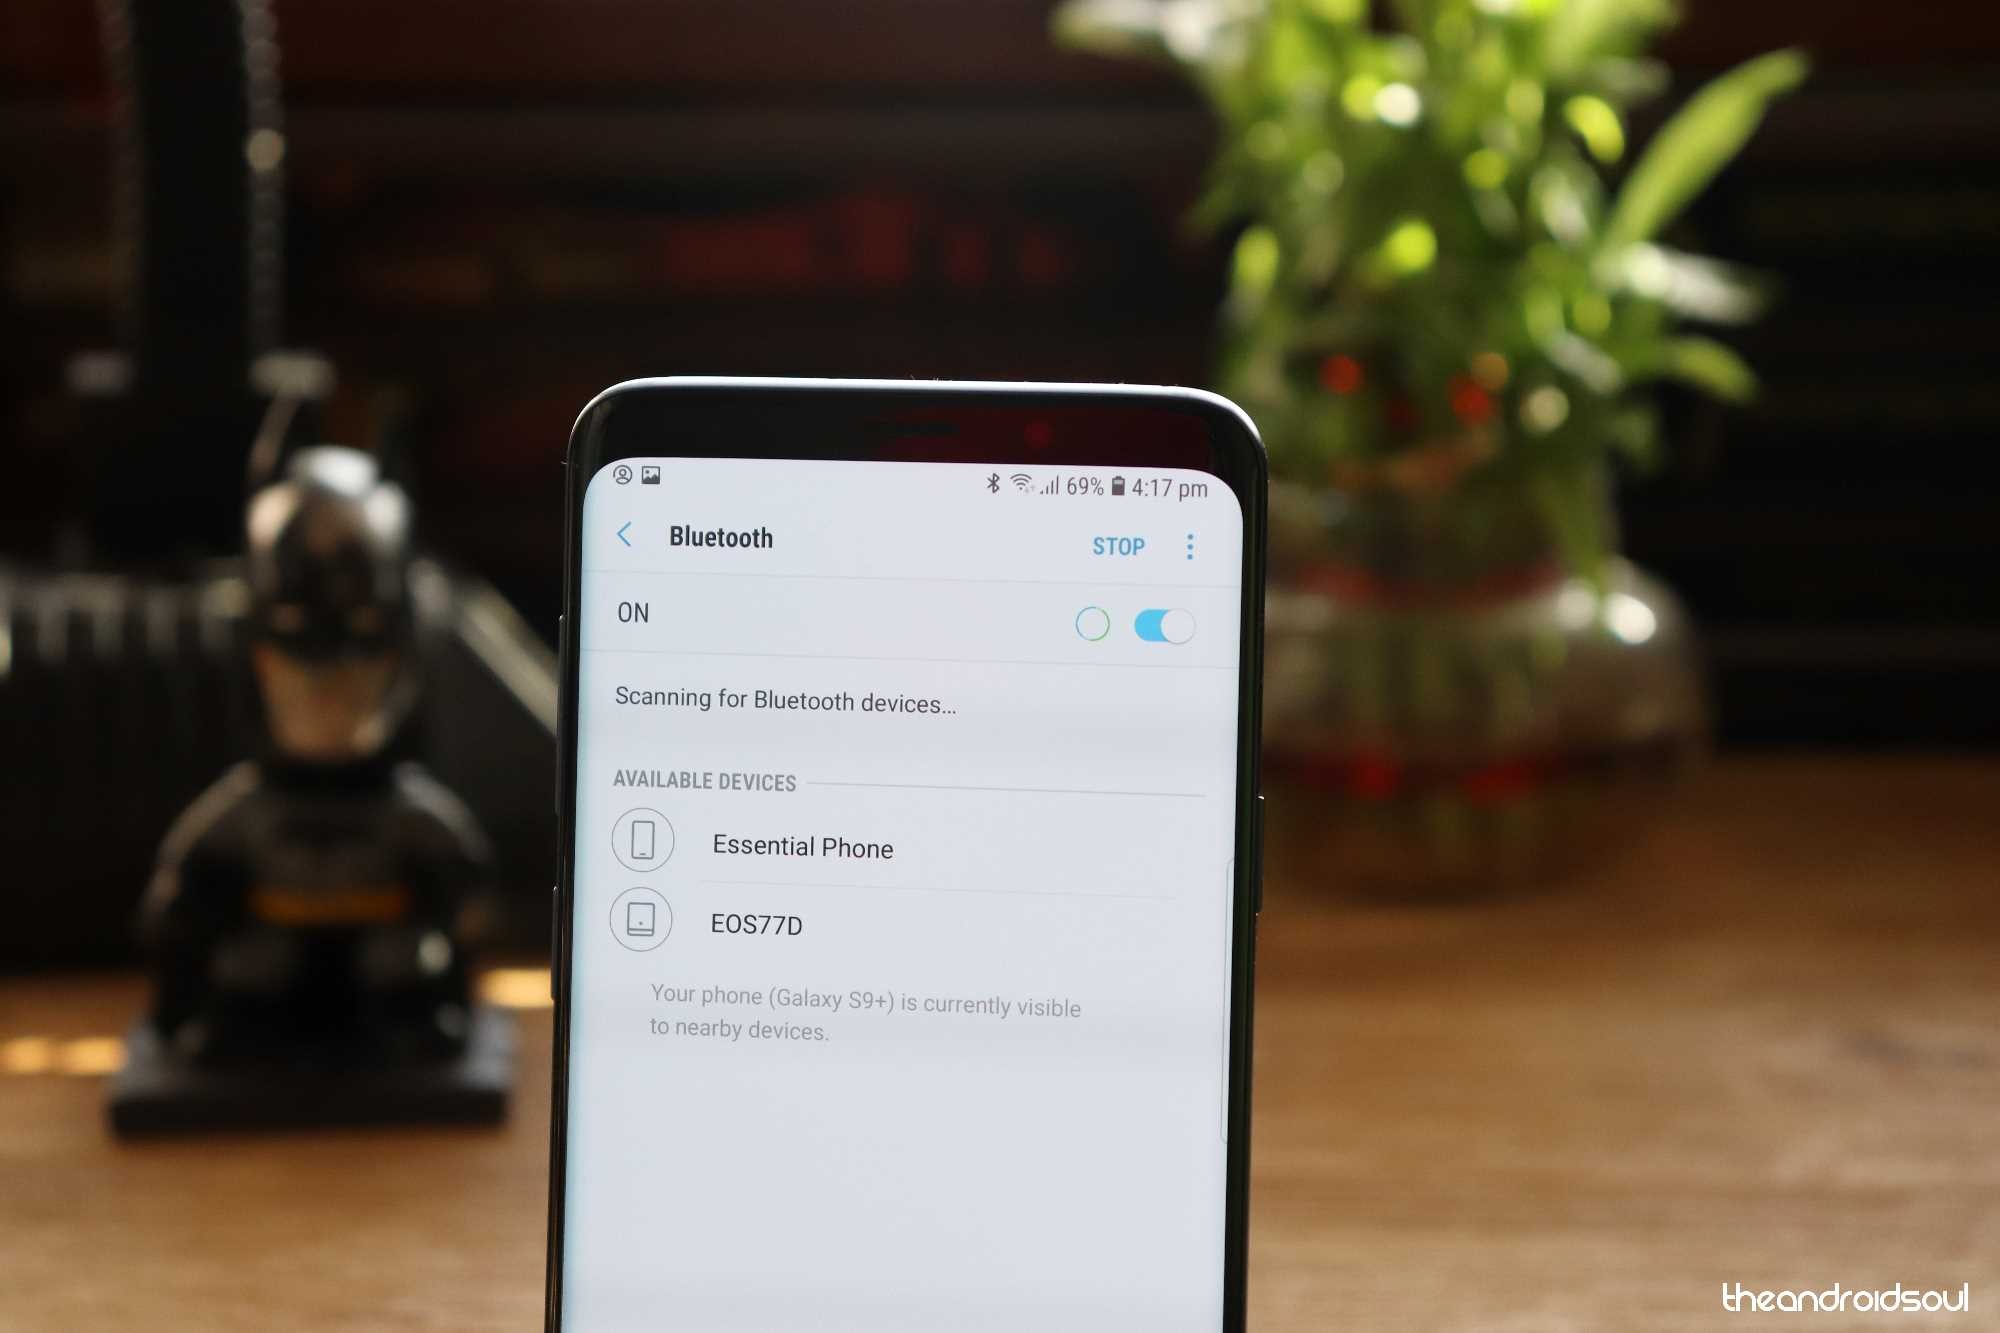 Bluetooth issues
- If you have successfully paired with a Bluetooth device and are facing playback issues, turn both the devices off. Now turn them back on and delete the Bluetooth profile for the device from your Galaxy S9 by heading over to Settings – Bluetooth. You can then pair again with the Bluetooth accessory to see if the issue is fixed.
- Cache files from your older Bluetooth devices can sometimes cause an issue as well. Head over to Settings – Apps and press the three-dot button to select Show system apps. Scroll down to find Bluetooth and use the Clear Cache button to erase all of your pairing histories and start afresh.
- If you’re unable to stream audio over Bluetooth, then we’d suggest checking the Bluetooth device manual to make sure which Bluetooth audio codec is supported by the device. Once you’ve figured that out, simply follow these steps:
- Unlock the developer options on your Galaxy S9.
- Go to Settings > About phone > Software information > Tap on Build number 7 times.
- Go back to the Settings menu and scroll to the bottom and select Developer options.
- Scroll to the Networking section and then tap on Bluetooth audio codec and select the audio codec which is supported by the device.
- If you aren’t able to figure out which audio codec is supported by the Bluetooth device, then simply select All codecs.
- Unlock the developer options on your Galaxy S9.
Wi-Fi issues
- If you are having trouble with a previously connected Wi-Fi network, simply forget it and add the network again. To do so, head over to Settings – Connections – Wi-Fi and push the Forget button on the network that you’re facing issues with.
- The issue could also be with your wireless router, so attempt a simple unplug, and then replug the router after 10 seconds for a quick soft reset.
If you have used Samsung Smart Switch to move your Bluetooth and Wi-Fi settings from the old device to your new Galaxy S9, it can most likely be the culprit behind your connectivity issues. We suggest that you hit the Network Reset button and add all of your Wi-Fi and Bluetooth profiles manually to keep connectivity issues at bay. To do so, simply head over to Settings – General Management – Reset – Reset Network Settings and you’re all done.
Mobile data/LTE issues
Several users have been experiencing issues with LTE connectivity after updating their device with the Android 9 Pie update. The problem does not seem to be fixed with a quick reboot or re-inserting of the SIM card; however, there’s still one thing you could do to help solve the problem.
- Some users have reported that resetting the network settings does solve the LTE connectivity issue hence here’s how to reset your Network Settings on the Galaxy S9.
- Settings – General Management – Reset – Reset Network Settings – Reset.
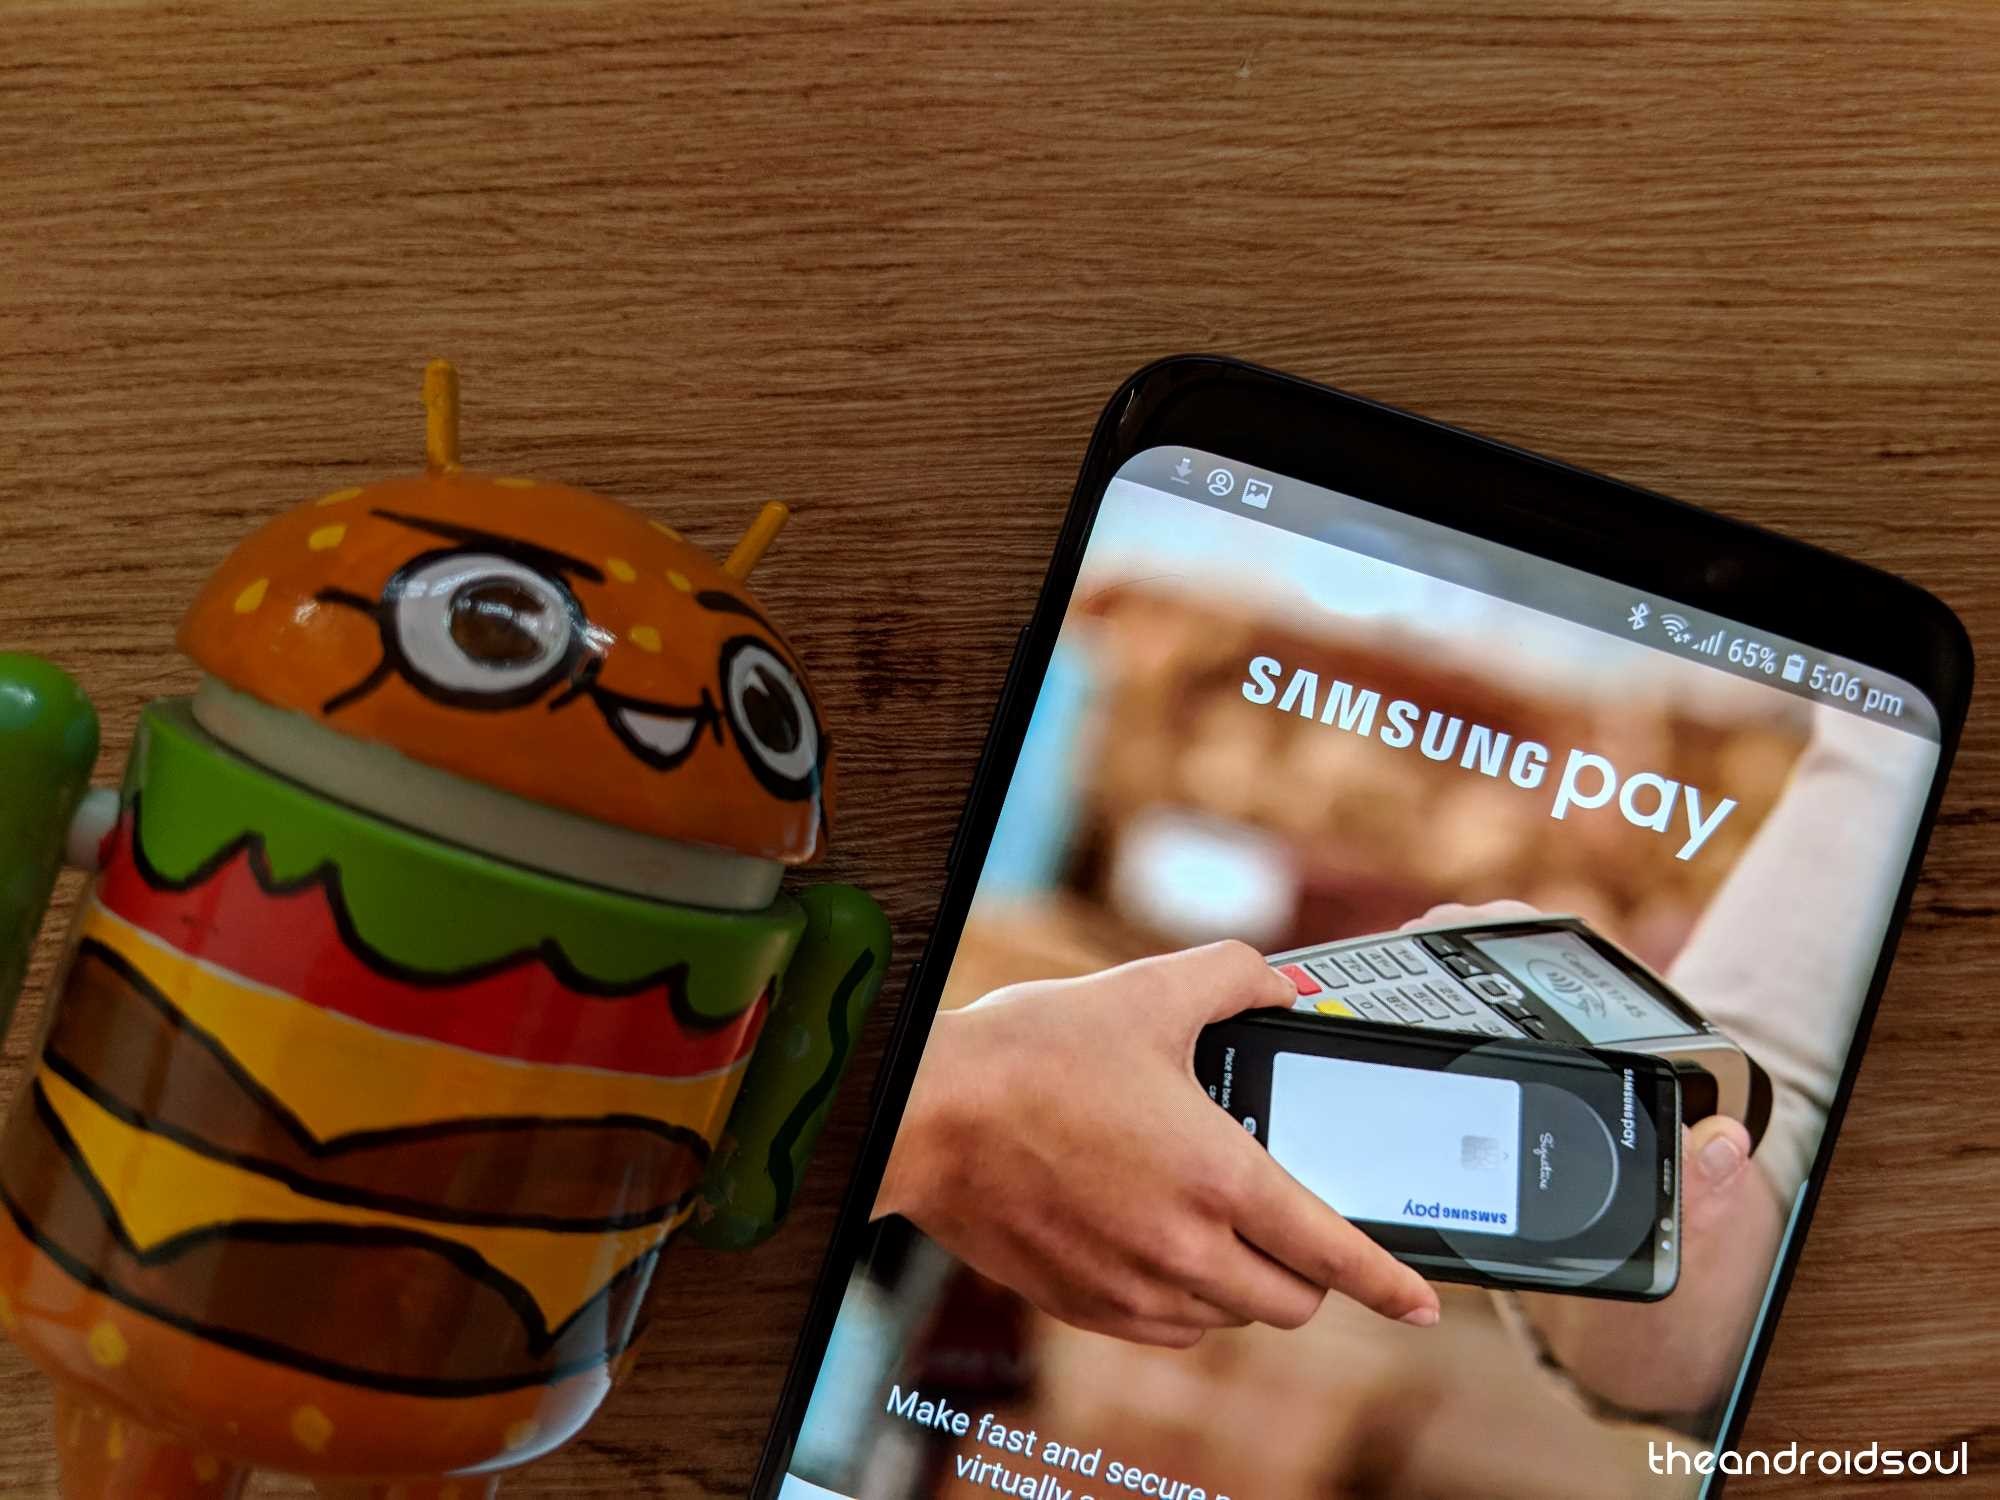
Galaxy S9 Samsung Pay issue
Now that the world is going cashless, features like Samsung Pay are the backbone financial service for a lot of mobile users. However, the cashless payment feature seems to be completely out of order on the new Galaxy S9 and S9+ as the app constantly crashes and asks the users to update the app when it is on the latest version.
Unfortunately, all attempts to fix the app itself have failed, but Samsung has acknowledged the issue. A software update is already out to resolve the Samsung Pay app issue on the Galaxy S9, and you can fix it manually too. Simply head over to the Galaxy App Store and you should be able to see an update available for the Samsung Pay app. Users have reported that trying to update Samsung Pay from the app itself causing the app to crash, so you need to go to the Galaxy App Store to do it.
Galaxy S9 Edge Lighting issue
With the release of Galaxy S8, Samsung introduced a new way of making the best out of the curved display with Edge Lighting. The feature has been ported to the Galaxy S9 as well and the people love it, but it does not come without issues either. Several users have reported that Edge Lighting either doesn’t seem to work at all, or only works with specific apps.
- From your home screen, head over to Settings – Display – Edge Screen – Edge Lighting.
- Enable the feature by setting it to “Always” to make sure that Edge Lighting is displayed for all notifications.
- In the Edge Lighting menu, navigate to the Manage notifications tab to see which apps and services is this feature enabled.
- You can choose to add all of the apps or specific ones to make sure that Edge Lighting notifications only show up for your favorite apps.
Galaxy S9 missing apps drawer
Following in the footsteps of other Android OEMs, Samsung decided to do away with the apps drawer button on the home screen to give you more real estate for app icons. All you need to do is swipe from the bottom to the top to bring out the apps drawer, but for those who like things old-school, there’s an easy way to go back.
- Press and hold anywhere on the home screen to bring up the layout editor page on the screen.
- Tap on the gear-shaped icon to access the layout setting and find the Apps Button Open it to view the show apps button option and enable it.
You will now have the old and familiar apps drawer icon on the home screen of your Galaxy S9. Samsung has also included the Home screen only option in the layout settings for you to change the layout of your Galaxy S9 to something similar to that of the iPhone, getting rid of the app drawer and bringing all of your apps to the home screen.
Galaxy S9 fingerprint scanner issue
Samsung hit all the right chords with customers when it decided to move the fingerprint scanner placement to somewhere more naturally reachable on the Galaxy S9. Now that you’d expect people to not be complaining about it, there are some software-related issues that continue to bother users.
The issue with the fingerprint scanner has already been acknowledged by Samsung, and the issue seems to be with the new fingerprint gestures that the Galaxy S9 has introduced. When setting up your fingerprint, Samsung notifies you to swipe your finger rather than tap your finger on the sensor to make the process of fingerprint recognition faster.
- Head back to the Settings app and navigate to Lock screen & Security and remove all of the fingerprints that you have registered on your Galaxy S9.
- Add your fingerprint again, slowly and carefully this time without using the swiping motion to make sure that your fingerprint is added from all angles.
- Additionally, head over to Settings – Advanced features – Finger sensor gestures and make sure to disable it.
Reboot your Galaxy S9 and try to use the fingerprint scanner now to unlock your device. Once Samsung issues an update to fix fingerprint gestures feature, you can enable and start using it again.
Notification badge icon problem
Many Galaxy S9 users are reporting the problem with notification badge on the home screen, where it shows the count of notifications for an app on its icon. On the Oreo OS, Google introduced the Notification dots, where just a dot would appear on the icon, and you can touch and hold the icon to check out the notifications of the app right there on the home screen. Samsung allows you to have one fo the both, as you can choose whether to have a dot in the app’s icon or traditional count. But if you are seeing none, then that is a problem.
To solve this, check out detailed article on how to fix notification badge problem on Samsung Galaxy phones.
New Voicemails notification missing
What’s the point of having an active Voicemail if your Galaxy S9 doesn’t notify you about them? Several reports have emerged that the voicemail app doesn’t seem to notify about the pending voicemails, but here’s how you can fix it.
- Head over to the Phone app to access the Dialer and press and hold “1” key or the “Voicemail” icon. Make sure that the Voicemail is set up properly.
- To enable notification badge for the voicemails, head over to Settings – Notifications – Advanced and select the Voicemail app from the list. Ensure that “App icon badges” is turned on and underneath the Categories section, select General Notifications and Voicemails and toggle on for both of them and set the Importance to High.
Persistent phantom notifications problem
While some users are annoyed by the Galaxy S9 not notifying them when a new message or voicemail is available, others are going nuts over random notification sounds that seem to go off regardless of what you’re doing on the phone.
- Head over to Settings – Notifications and turn off notifications for all of the apps that you don’t want to be notified by.
- Third-party apps can sometimes send out ghost notification sounds and still not show up on the display screen, so you can turn on Safe Mode to see if a third-party app is an issue. Turn off the Galaxy S9 and turn it on by holding down the Power and Volume Down buttons until the Samsung logo appears, at which point you can let go of the Power button. If the ghost notifications are no more, then it is most likely a third-party app that is giving you grief.
- An Accessibility feature called Notification Reminder could also be causing this issue, so head over to Settings – Accessibility – Notification Reminder and turn it off.
- If you can’t pinpoint when the issue started arising, then resetting the app notification preferences is your best bet. Go to Settings – Notifications – Advanced and press the three-dot menu button to select Reset Preferences.
- Finally, if none of the solutions work, performing a factory reset is a dependable way of setting your Galaxy S9’s notification issues straight.
Alarm volume resets to low setting
For those of us who have a hard time getting up in the morning, relying on our smartphone to wake us up is a serious use. But for some users, the Galaxy S9 alarm tone seems to reset itself to medium or low even when the ringer is set all the up to high.
- Make sure that the Alarm sound is set to high from the Clock app itself. After adding an alarm, tap on Alarm sound and after choosing your desired tone, make sure that you drag the slider to the maximum.
- Cache files can sometimes cause an issue with the Clock app as well. Head over to Settings – Apps and press the three-dot button to select Show system apps. Scroll down to find Clock and use the Clear Cache and Clear Data button to start afresh.
- If you can’t seem to clear the Clock app cache and data, wipe cache partition of the entire device.
Calls rejected automatically
Most Android devices these days come with a built-in “call reject” feature that allows you to send out a text message with a single swipe when you aren’t able to answer a call. On the Galaxy S9 however, some users have experienced that the call is automatically rejected when pulled out of the pocket, and the callers get a quick reply message saying “Sorry Can’t talk right now. Call back later”. If you have a paid messaging plan, this could end up costing you money.
The issue seems to be related to Edge Lighting, and unfortunately, the only solution to it right now is turning off the Edge Lighting feature partially. you can do this by heading over to Settings – Edge Screen – Edge Lighting and enable it for only “When screen is on“.
Galaxy S9 Camera issue
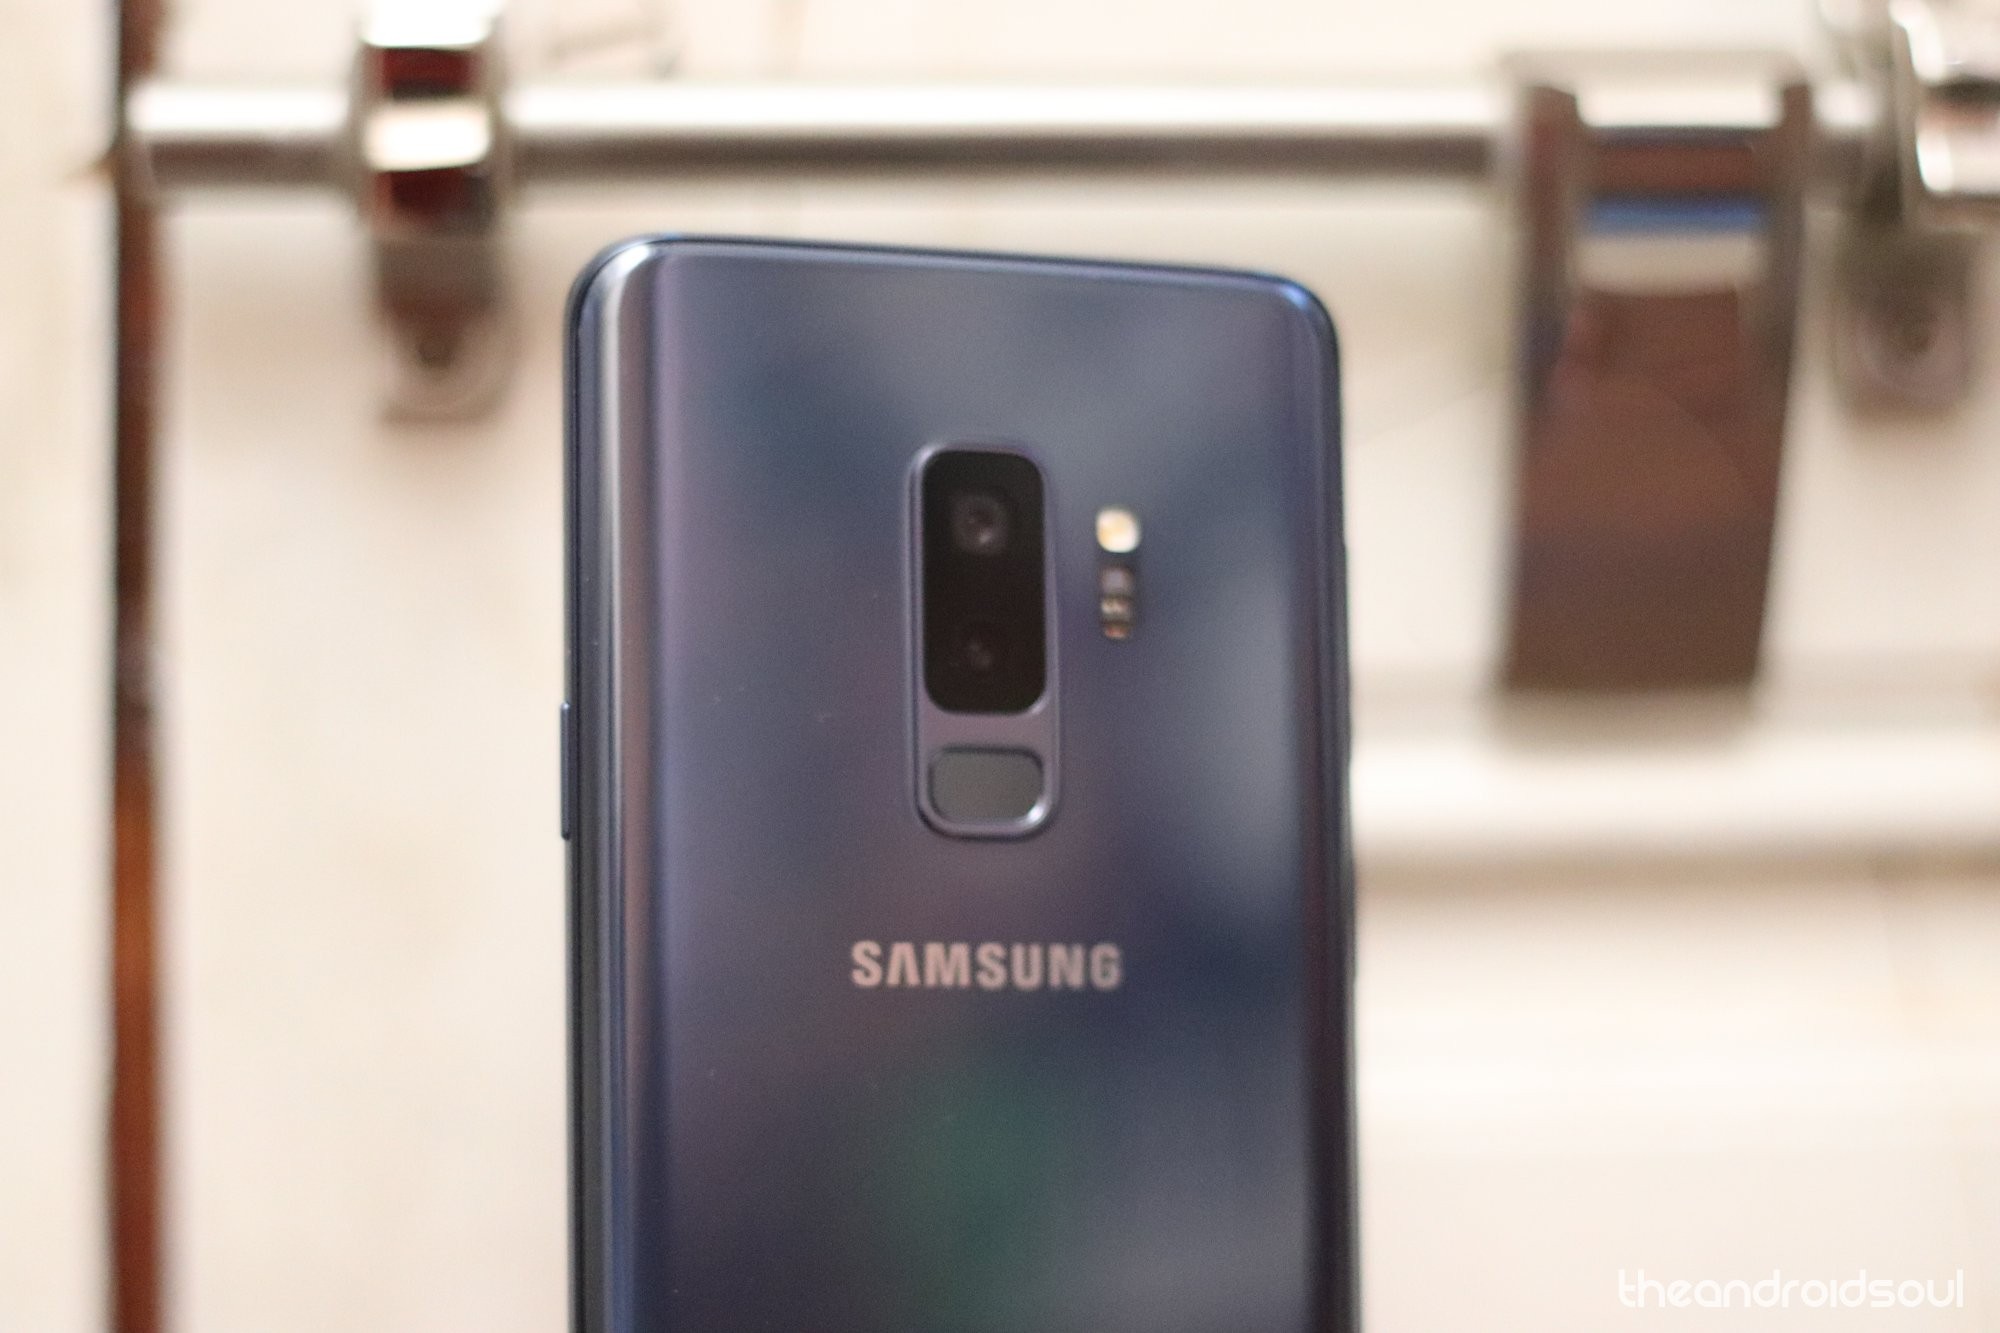
The dual-aperture camera setup on the Galaxy S9 is one of the unique features it has over the other flagships, and it certainly has caught the eye of many. However, some users have been experiencing issues while using the Camera app to focus on certain objects. Users complain that the view becomes blurry and the auto-focus does not kick in to rectify the problem.

- Turn the device around and try cleaning the lens cover of the rear camera with a dry and clean cloth.
- Cache files can sometimes cause an issue with the Camera app as well. Head over to Settings – Apps and press the three-dot button to select Show system apps. Scroll down to find Camera and use the Clear Cache button to start afresh.
- Since multiple users have faced the Camera focus problem, it could very likely be hardware related. We recommend you reach out to Samsung or the retailer and get the Galaxy S9 replaced as it is still within the warranty period.
- Additionally, multiple reports have surfaced indicating that the Galaxy S9 rear camera lens is cracking spontaneously. Samsung is yet to address the issue officially and while it would be hard to convince the service reps that it wasn’t caused as a result of physical force, if you do face the issue, report it to Samsung customer service right away.
Galaxy S9 Music playback issues
While music playback has been an issue widely related to the Android 8.0 Oreo version, it seems to be even more persistent among Galaxy S9 users as a whole. The forums are packed with users facing issues when trying to listen to music through third-party apps such as Spotify, Google Play Music, Pandora and many others. Music playback seems to stop by itself after playing for around 20-30 minutes, even if the app is playing in the background.
- Some reports suggest that the issue is related to Bluetooth headphones playback. Samsung is aware of the issue and is expected to roll out a fix, most likely with the Android 8.1 Oreo update.
- Third-party apps are competing to use similar resources on a single device, which could cause the playback to cut off. Try removing similar third-party apps and see if it fixes the issue.
- If you cannot root out the app that might be causing the issue, try clearing the cache of all apps at once by using the Wipe cache partition option from the recovery menu.
Galaxy S9 Ads problem
While you do expect free apps to bring up random ads and pop-ups when you’re using them, Galaxy S9 users are experiencing ads directly on the lock screen and in the notification shade even when all the apps are closed. These ads could either by directly from Samsung as a part of their Marketing Information option that is included in the system or more likely, a third-party app you recently installed. Either way, getting rid of it is easy, so follow the instructions in the guide below to do it.
How to stop random Pop-up Ads on your Galaxy S9 and other Samsung devices
Galaxy S9 Chromecast issues
One of the trending issues with the Galaxy S9 seems to be its inability to connect to certain devices. In the case of Google Chromecast, users are unable to find their Chromecast device with the Google Home app on the Galaxy S9.
- It seems that an OTA update from Samsung has fixed the issues for the majority of users. Make sure you are updated to the latest software version and then checking again.
- The issue could be caused due to the network conflict, which can be easily corrected by resetting the network settings. Head over to Settings – General Management – Reset – Reset Network Settings and you’re all done.
Galaxy S9 charging issue
Some Galaxy S9 users are facing a weird issue while trying to charge their device since the USB Type-C cable seems to only charge the device with one side while when plugged in the other way around the device does not charge.
Since the included Type-C charger should be able to charge the device when plugged in either way, we’d suggest trying out the following to fix the issue:
Possible solution:
- Make sure the charging port of the device is clean. To do this try using a compressed air can to blow out any debris from the device’s charging port.
- Be sure to use the power brick and cable that came with the device or use a certified USB Type-C cable when charging the device.
- In case you still aren’t able to fix the issue, then we’d suggest visiting the nearest Samsung service center to have the issue looked at since the issue could be due to hardware problems or a damaged USB Type-C port.
Google Pay not working with Pie Beta update
Several users have been reporting that after installing the Android Pie Beta update on their Galaxy S9, they aren’t able to use Google Pay to make payments.
Possible solutions:
- Given that the users have installed the Beta update, currently, the device isn’t Google Play certified due to the software being in Beta testing.
- Simply install the Stable version of the Pie update which is now available on the Galaxy S9.
- Go to Settings > Software update > Download and install.
- After updating the device to the stable build of Android Pie, try using Google Pay once again.
Galaxy S9 Plus camera focusing problem
Fortunately, this isn’t a common issue and has only been reported by one Galaxy S9 Plus user. The user claims that the camera isn’t focusing on objects further than 2 inches away.
This seems to be rather strange and could indeed be a hardware issue; however, before you send in your device for any repairs, try these few steps below:
Possible solutions:
- Clear the Camera app cache and data: Go to Settings > Apps > Camera > Storage > Clear cache and data.
- Reboot the device: Press and hold the Power button and then tap on Restart.
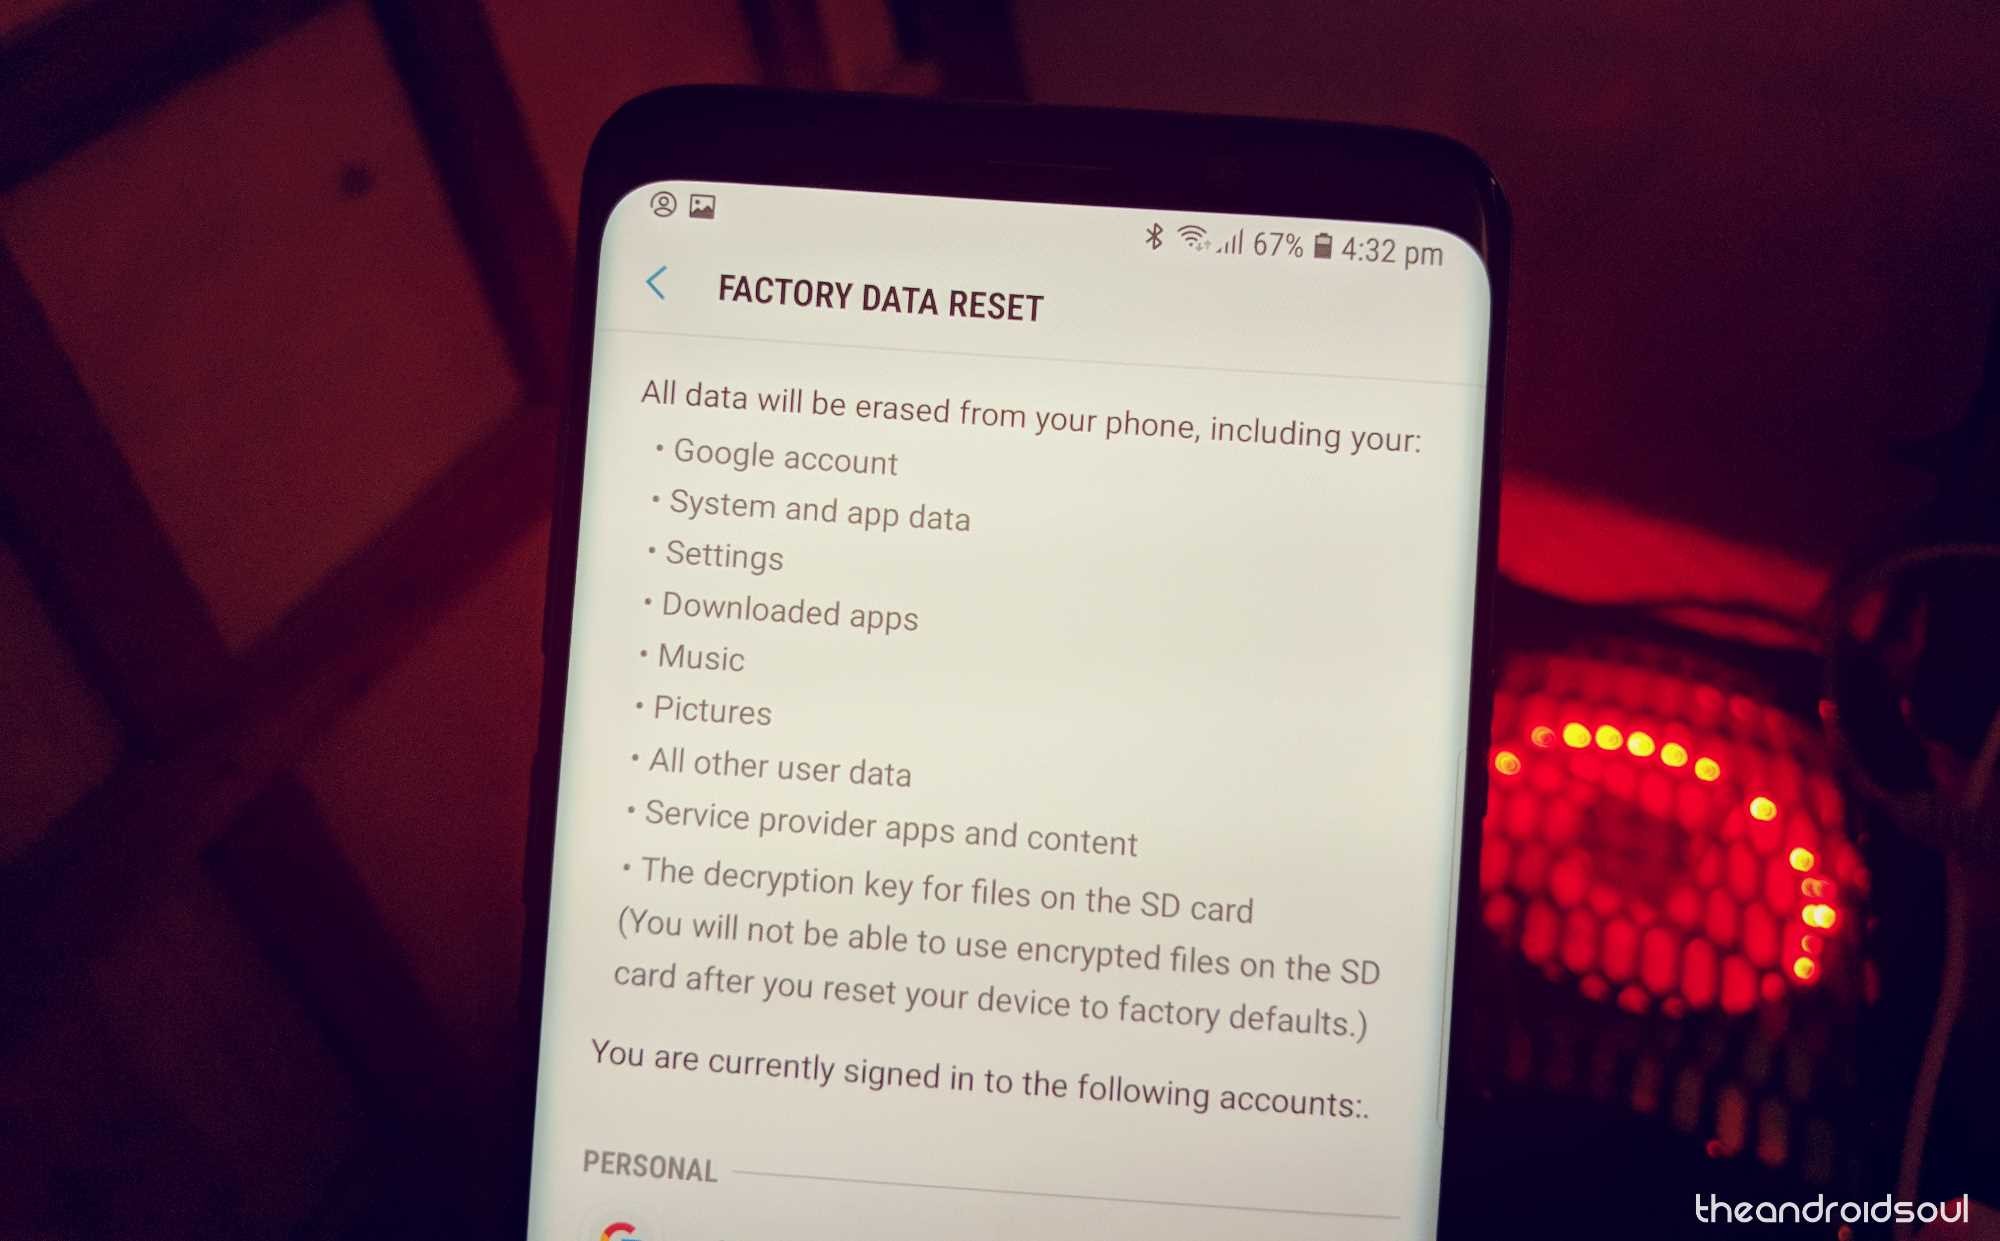
- Perform a factory reset: Before proceeding to do so, make sure to create a backup of your device to avoid any data loss.
- Go to Settings > General management > Reset > Factory data reset > Tap the ‘blue’ reset button.
If you followed the above steps with no success, then the problem most likely is hardware related and we’d suggest visiting the nearest Samsung service center to have the issue sorted.
Some users are reporting that the option to hide the navigation bar is missing after updating their device to One UI. This, unfortunately, isn’t a bug or glitch, rather the feature has been completely removed with One UI.
While there’s no official reason from Samsung as to why the feature has been removed, our best guess is because the company now wants more users to use the Full screen gestures to navigate and enjoy a full screen experience.
The only way to get rid of the navigation bar is to toggle it off completely and use the Full screen gestures feature with One UI.
- Go to Settings.
- Tap on Display and then select Navigation bar.
- Tap on Full screen gestures.
Double tap to launch camera not working after One UI update
Before Samsung launched the Galaxy S8 which got rid of the home key, previous Samsung devices had a double tap home key to launch the camera feature which was pretty useful; however, with the Galaxy S8 Samsung added the same feature to the power button and users could double tap the power button to launch the camera.
Unfortunately, the feature has been completely removed with the new One UI update which is pretty disappointing since there’s no reason to justify the removal of this useful feature.
A user on Reddit posted a video showing a wierd recents menu glitch on the Galaxy S9 running on One UI. Fortunately, the issue does not seem to be widespread since this seems to be affecting only a few users and we haven’t noticed the same issue on our Galaxy S9 running on Android Pie.
Possible solutions:
- As of now, the only possible solution might be to perform a factory rest on your device. To do this, simply check out our troubleshooting guide at the bottom of this post.
- You might also want to make sure you’re running the latest update for your device.
- Go to Settings > Software update > Download and install.
- In case the issue still isn’t fixed for you, then we’d suggest waiting for a new OTA update to be released which might help solve the problem.
High amount of noise in images taken with Live focus
Some users are reporting that they are seeing way too much noise in images taken with the Live focus mode.
Possible solutions:
- Clear the camera app cache and data: Go to Settings > Apps > Camera > Storage > Clear app cache and data.
- You might also want to double check to see if the camera lens is clean since a dirty camera lens might introduce a few distortions in the image.
Notifications not expanding on lockscreen
The issue isn’t actually an issue; however, several users are confused as to why their notifications aren’t expanding on the lockscreen.
Possible solution:

- To view the entire contents of a notification, you must toggle off the Hide content option in the Lockscreen settings.
- Go to Settings > Lockscreen > Notifications > Toggle off Hide content.
Now you would be able to see and expand the notification on the lockscreen; however, others would be able to view the notifications on your device as well without unlocking the phone.
Hotspot icon not showing in status bar
Some users aren’t able to see the Hotspot icon on the status bar on their Galaxy S9. This might be the result of the Network status notification being on silent and minimized in the Notifications setting.
This may sound a bit tricky; however, simply follow the steps below to solve the problem.
Possible solution:
![]()
- With the hotspot turned on, pull down the notification panel and simply press and hold on the Hotspot active notification.
- Tap on Details and then select Network status.
- Now, tap on Notification style and make sure it is on Silent rather than on Silent and minimized.
If you want a sound to play each time you enable the Hotspot, then you could also select Sound from the notification style.
Auto calling person after texting
Some users are reporting that after texting a person when the place the device in their pocket the said person is automatically called without any user input.
While this might seem a bit weird, it actually might be caused by the Direct call feature. When enabled, the Direct call feature lets users initiate a call to whichever contact is on the screen by simply holding the phone up the ear.
Possible solution:
- Turn off the Direct call feature:
- Go to Settings > Advanced features > Motions and gestures > Toggle off direct call.
Once the feature has been disabled, you should no longer face the issue on your Galaxy S9.
Troubleshooting guide
Your brand spanking new Galaxy S9 will hardly give you system issues that most Android devices do after a year of use. However, if you experience random reboots, app crashes, and screen freezing issues every now and then, using the basic reset methods is always a good way to bypass most errors.
Soft Reset
Press and hold the Power and Volume Down button simultaneously for 10 seconds until the Galaxy S9 powers off. This is ideal for situations when your device screen becomes unresponsive.
Hard Reset
- Turn off the Galaxy S9, and then press and hold the Volume Up and Power button simultaneously.
- Release the Power button when the Samsung logo appears, but continue to hold the Volume Up
- On the Android recovery screen, use the Volume Down button to navigate down to wipe data/factory reset and press the Power button to select it.
- Use the Volume Down button to select Yes — delete all user data, and then press the Power button to confirm.
- Wait for the reset to finish and press the Power button when prompted with the message to Reboot system now.
Wipe cache partition
- Turn off the Galaxy S9, and then press and hold the Volume Up, Bixby and Power button simultaneously.
- Release the Power button when the Samsung logo appears, but continue to hold the Volume Up and Bixby buttons.
- On the Android recovery screen, use the Volume Down button to navigate down to wipe cache partition and press the Power button to select it.
- Use the Volume Down button to select Yes — delete all user data, and then press the Power button to confirm.
- Wait for the reset to finish and press the Power button when prompted with the message to Reboot system now.
Are you facing any of the aforementioned issues with your brand new Galaxy S9 or S9+ yet? Be sure to let us know in the comments section if this guide helped you fix any of it.



I’m having an issue where my volume randomly spikes up to full blast anyone have this issue or a solution? (A factory reset did fix it for a while but it’s returned)
I’m having the same issue with the volume. Came here looking for answers
I found an old thread for the s7 were it turned out the IMSA app (edurance racing) was causing it…so i got rid of all my apps and if anything changes ill know whitch one…turns out since i got rid of that app it fixed the issues
It could be an hardware issue. The volume button might be damaged because of a fall, or liquid or any such reason. This doesn’t seem software related. You shall take the device to Samsung service center.
I just a new (open box) Galaxy 9+. I have done all updates, but the Camera settings menu still does not include Face Shape Correction. I also do not see how to get to settings for Front Camera. I hope someone sees and answers this because this feature was one I was really interested in. Thank you.