- What to know
- REPLACED Chapter 2 collectibles details
- Chapter 2 Scans – 12
- Chapter 2 Immune Modulator – 1
- Chapter 2 Arcade Games – 1
- Chapter 2 Rechargeable Ampoule – 1
- Chapter 2 Genetic Profiles – 1
- Chapter 2 Music – 2
- Chapter 2 Cats – 1
- Doctor’s questline collectibles and upgrades
- Late-chapter terminal collectibles and hidden scans
- Chapter 2 rewards and collectibles wrap up
What to know
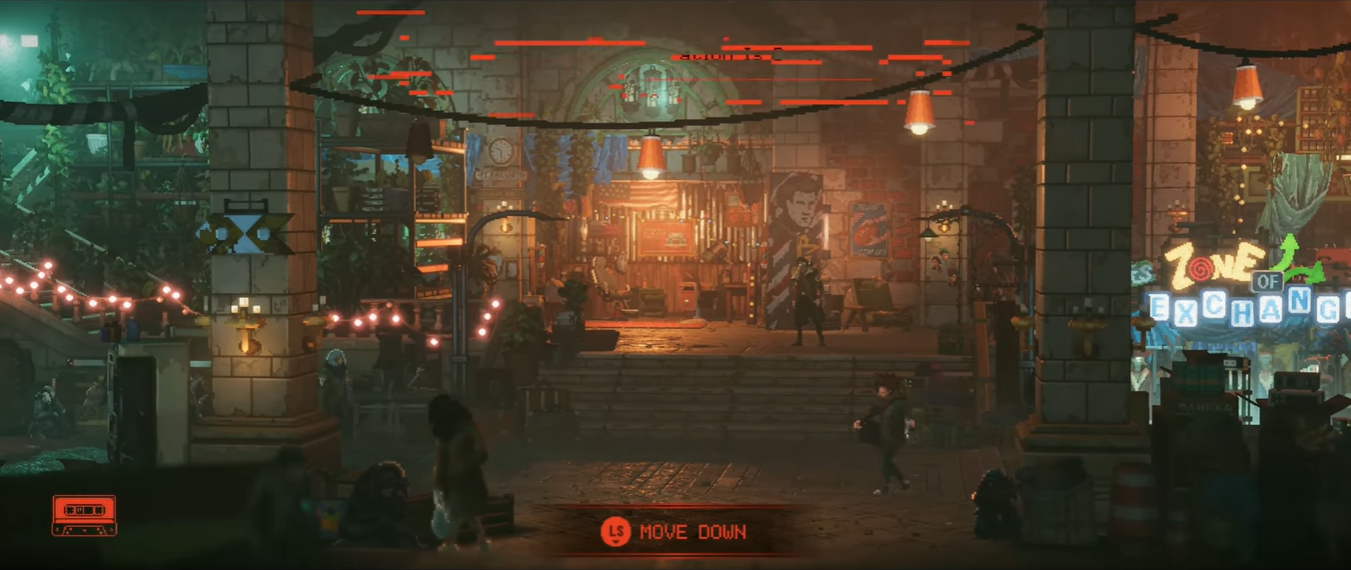
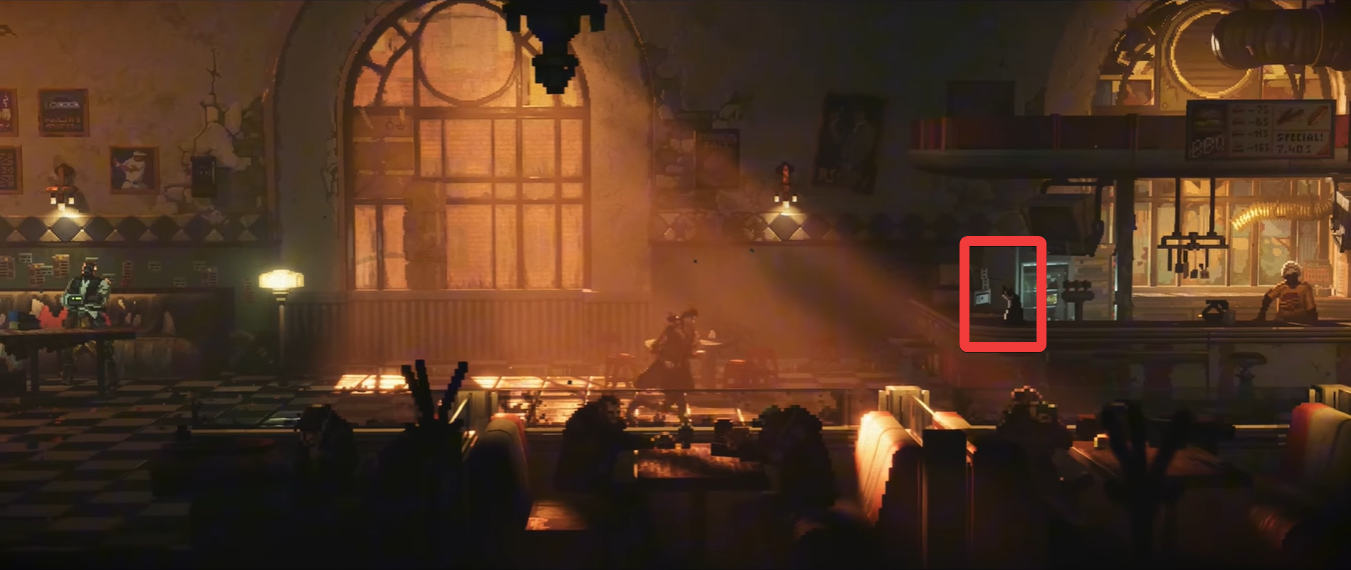
- Chapter 2 revolves around the railway station hub and safe zone exploration.
- Most collectibles are tied to David’s and the Doctor’s questlines.
- Several items are missable depending on choices and interactions.
- Careful exploration is required to reach 100% completion.
Chapter 2 in REPLACED significantly expands the gameplay experience, placing you in a densely packed hub filled with hidden collectibles, interactive NPCs, and layered questlines. As you explore the railway station and safe zone, you’ll uncover scans, upgrades, music tracks, and unique collectibles that reward curiosity. Organizing your progress by collectible names rather than steps helps you track everything more efficiently and avoid missing key items.
REPLACED Chapter 2 collectibles details
| Category | Total Items | Key Sources |
|---|---|---|
| Scans | 12 (Scan #13–24) | Quests + exploration |
| Music Tracks | 2 | Safe zone |
| Upgrades | 2 | Quest rewards |
| Arcade Machines | 1 | David’s quest |
| Cats | 1 | Bar area |
| Genetic Profiles | 1 | David’s quest |
Chapter 2 Scans – 12
David’s questline connects multiple collectibles into one continuous progression path, making it one of the most important sections in Chapter 2. Completing it fully ensures you unlock upgrades, scans, and unique rewards tied to other NPCs like Susan.
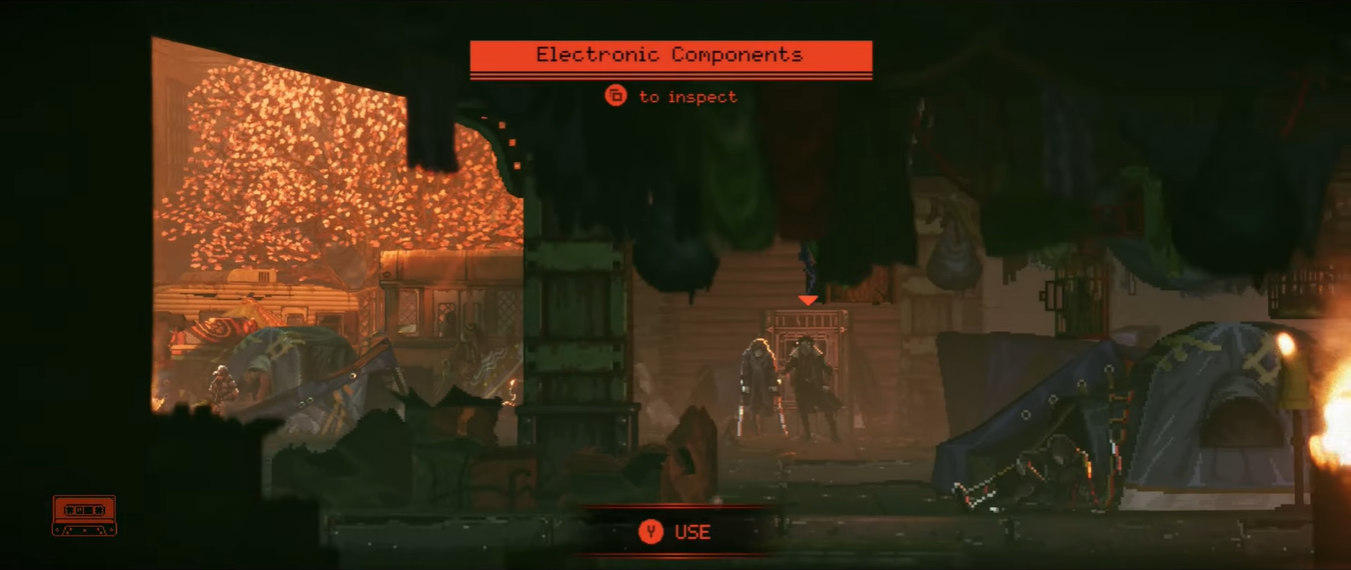
Scan #13 – Electronic Components
Obtained by scanning the ticket machine during David’s quest after interacting with it. This item is also required to repair the arcade machine.
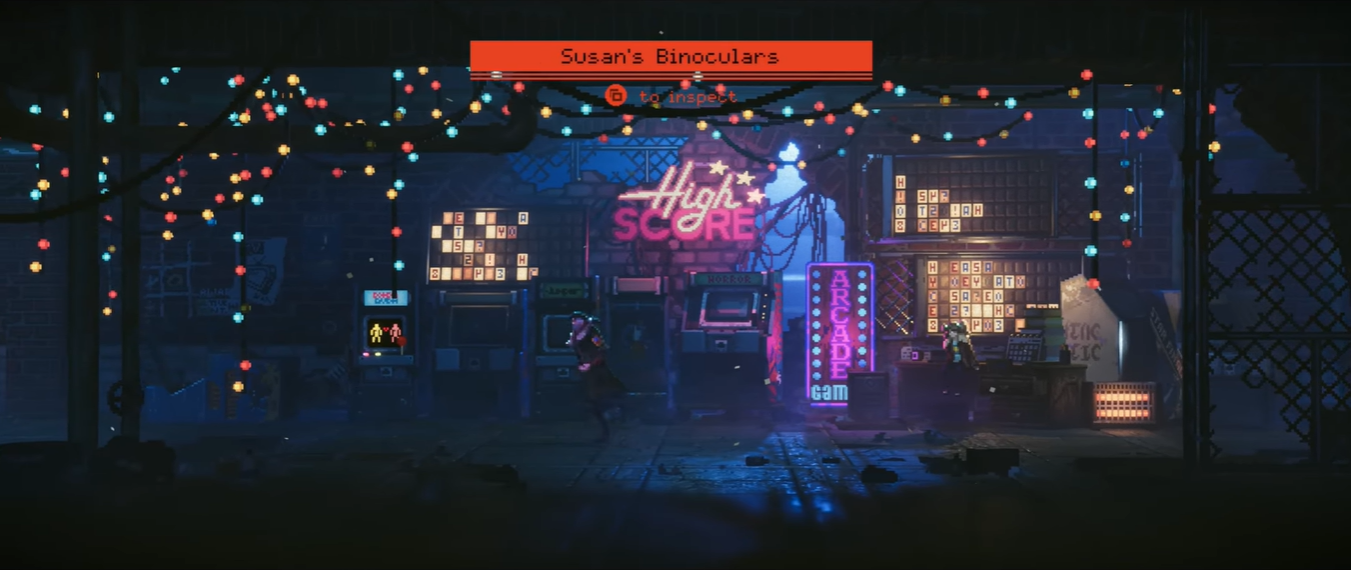
Scan #14 – Susan’s Binoculars
Awarded when you choose the binoculars reward after beating the arcade high score. This is a missable collectible if you select a different reward.
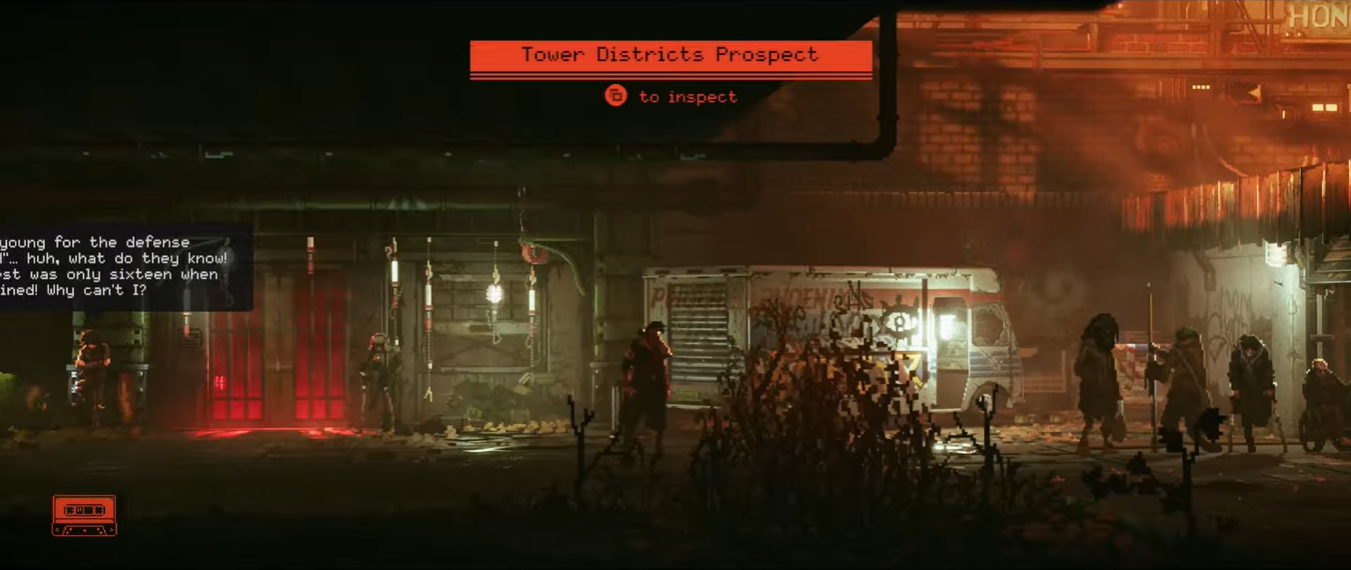
Scan #15 – Tower Districts Prospect
Located in the first room on the right at the very start of the chapter, sitting on a trash can.
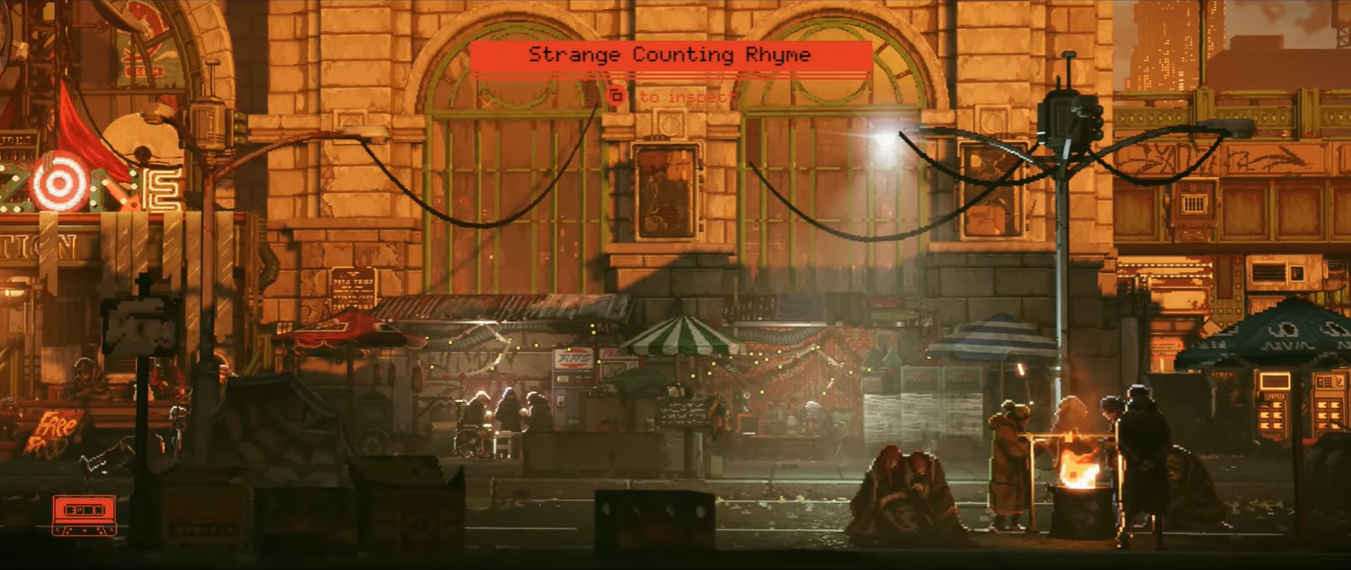
Scan #16 – Strange Counting Rhyme
Found outside after exiting the initial area, on a signboard to the left.
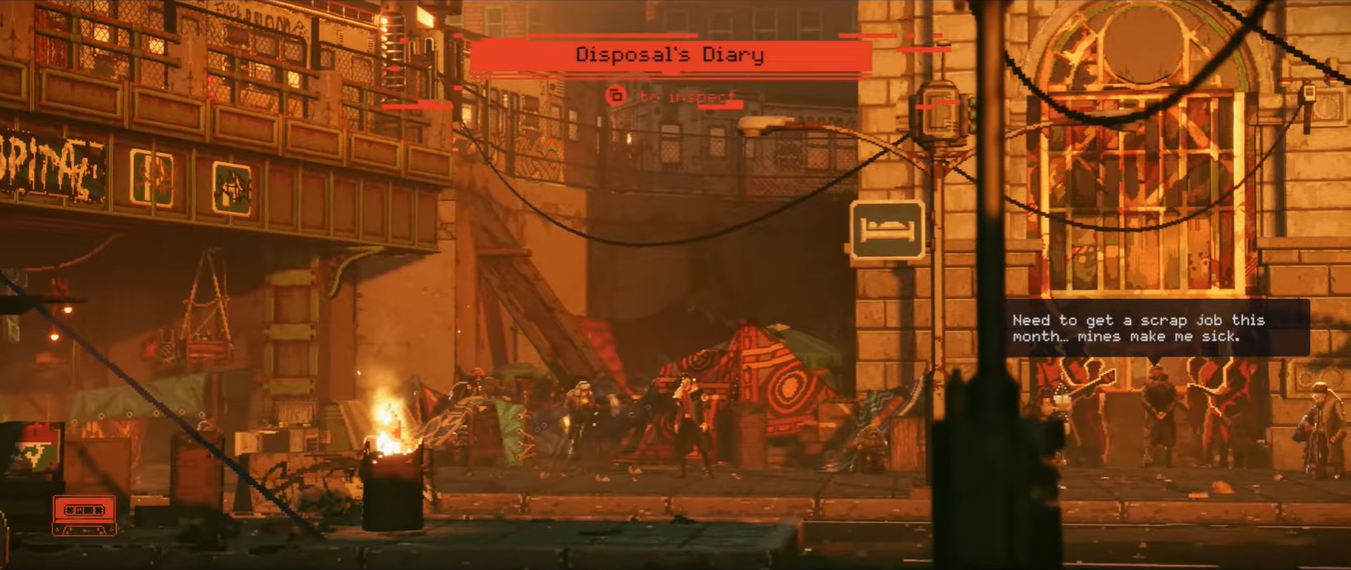
Scan #17 – Disposal’s Diary
Positioned near the left edge of the safe zone settlement.
Scan #18 – Old Frps Brooklet
Inside the hospital at the far left; head all the way right after entering to find it.

Scan #19 – Phoenix Corporation is Born
Found slightly left of the safe zone entrance, just off the main path.
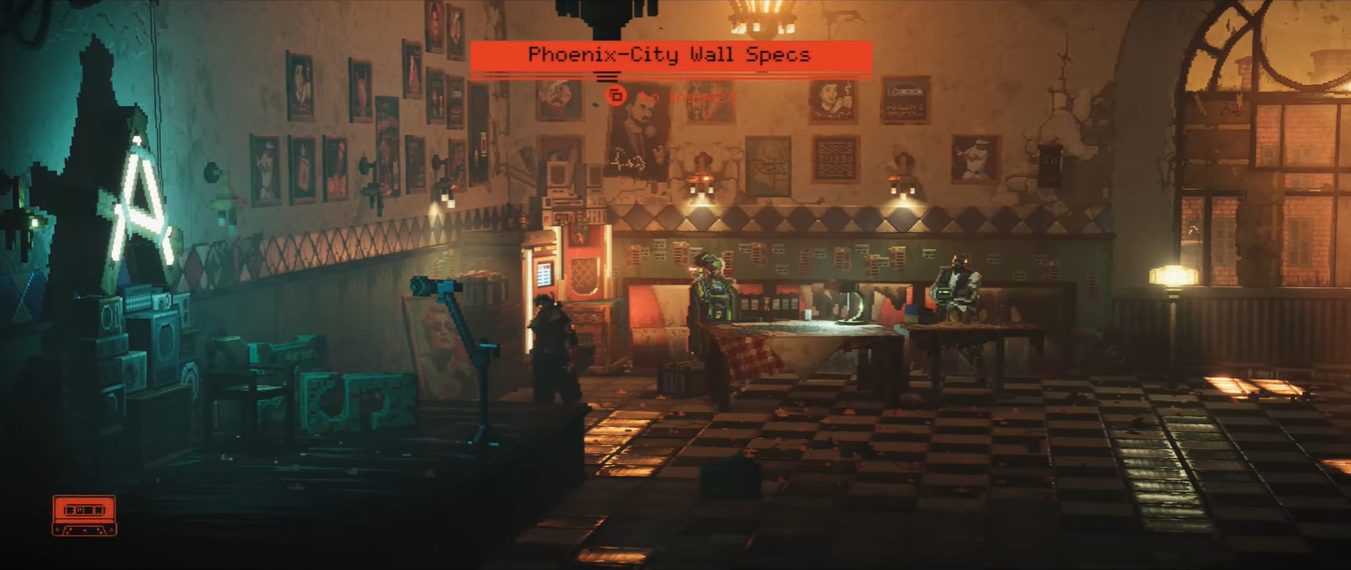
Scan #20 – Phoenix-City Wall Specs
Inside the bar above the station; climb the stairs and scan the blueprint at the far left.
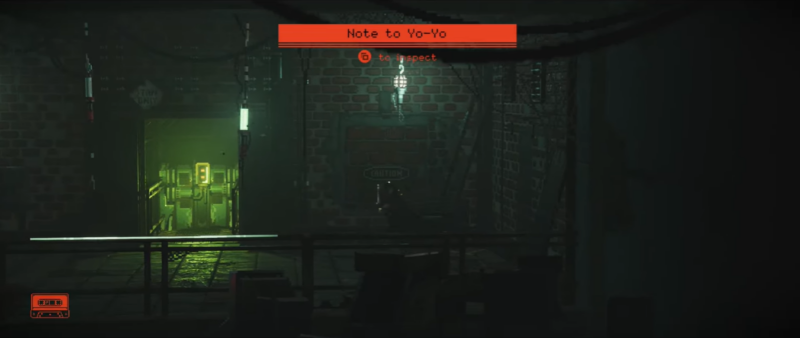
Scan #21 – Note to YO-YO
Found in the station interior near the stairs after starting the Doctor’s quest.
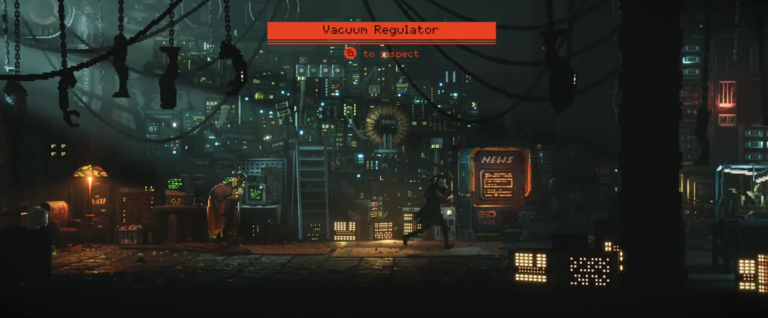
Scan #22 – Vacuum Regulator
Obtained after confronting YO-YO and Tempest and selecting the regulator dialogue option.
Chapter 2 Immune Modulator – 1
Quests plays a major role in Chapter 2, with many collectibles hidden in plain sight across the safe zone and nearby buildings. You’ll need to carefully inspect interiors, signage, and less obvious areas to collect everything.
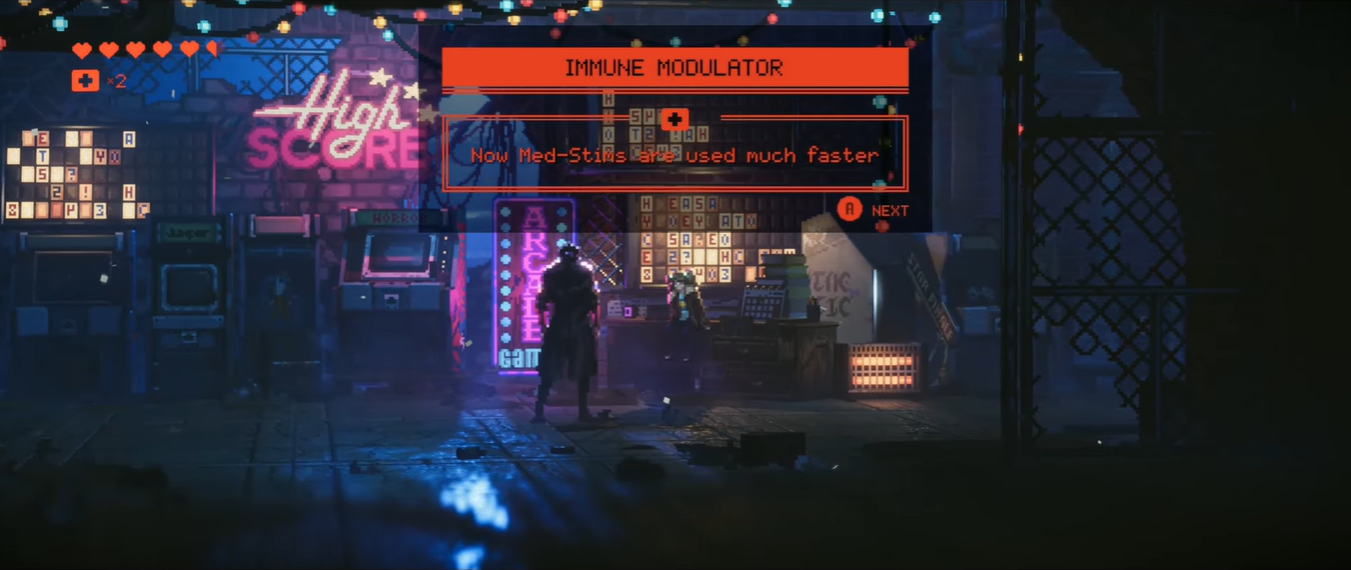
Immune Modulator #1
A health-related upgrade received while progressing through the safe zone interiors during David’s questline.
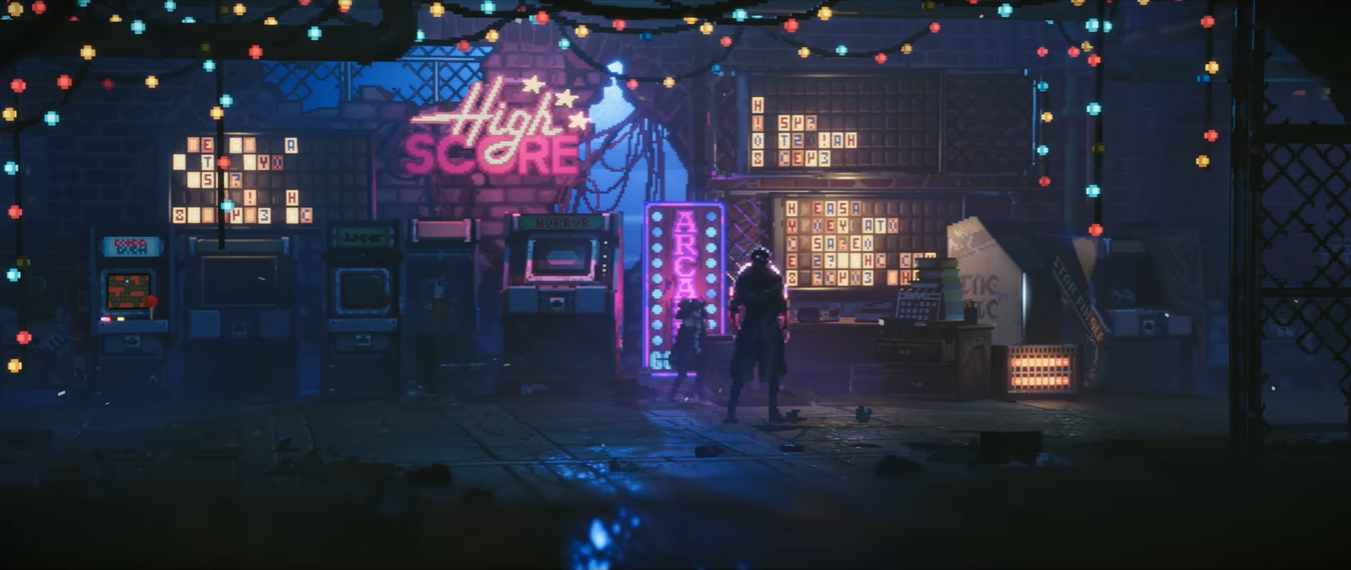
Chapter 2 Arcade Games – 1
Arcade Game #1
Unlocked by repairing the arcade machine using the Electronic Components given to Susan. Beating the high score is required for progression rewards.
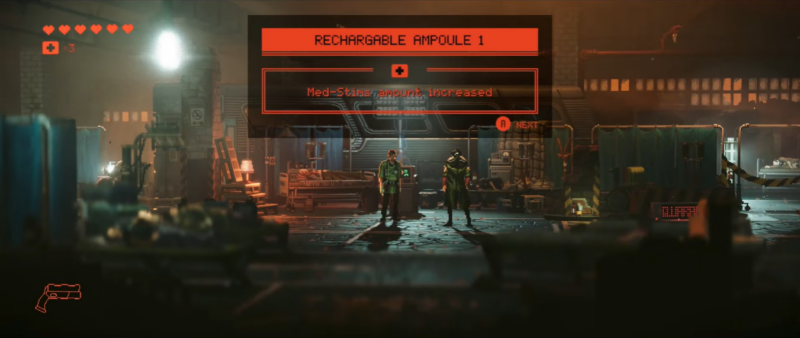
Chapter 2 Rechargeable Ampoule – 1
Rechargeable Ampoule #1
Rewarded by the doctor after returning the Vacuum Regulator, along with a health upgrade and progression benefits.
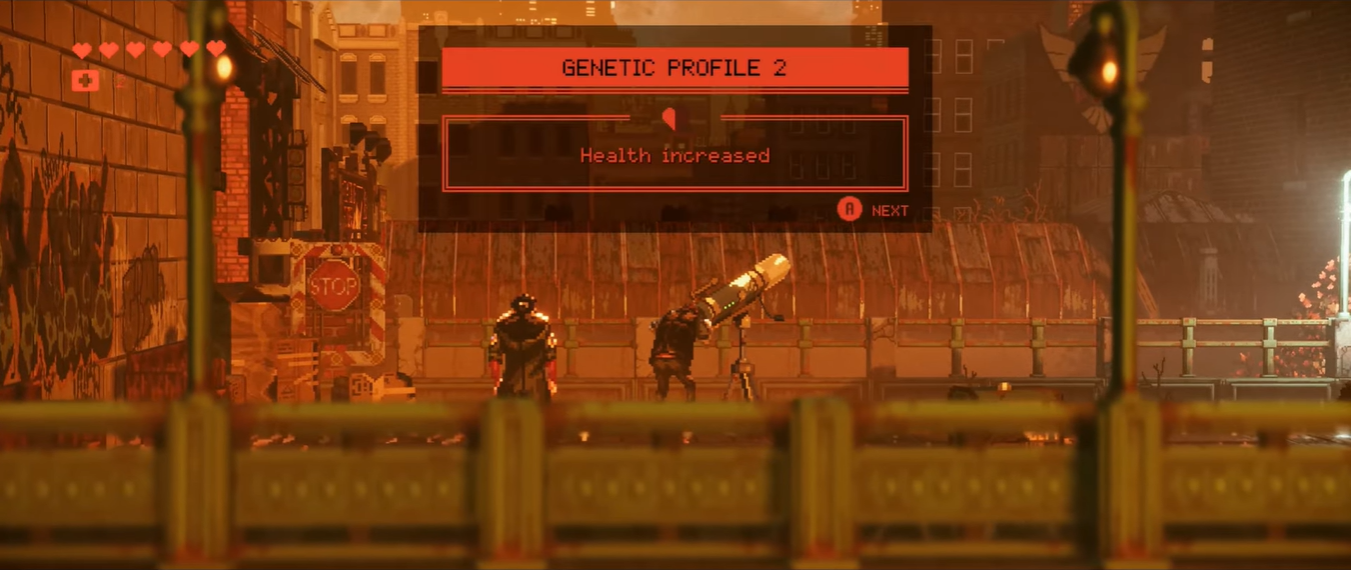
Chapter 2 Genetic Profiles – 1
Genetic Profile #2
Granted after fully completing David’s questline and speaking to him once the generator is restored.
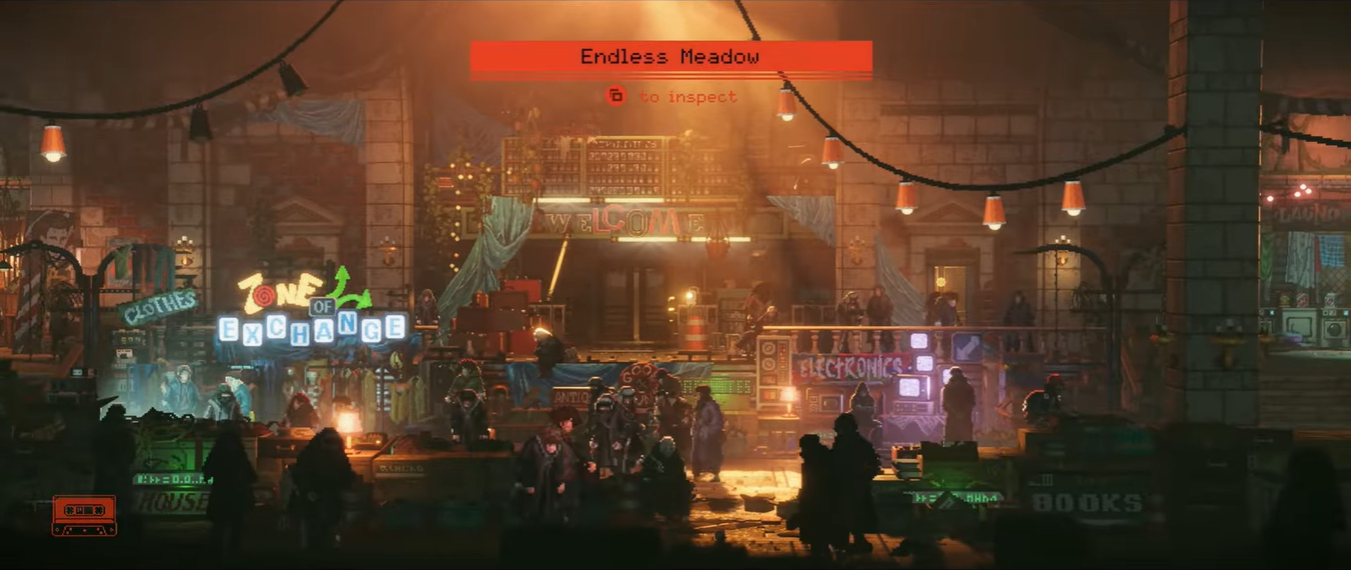
Chapter 2 Music – 2
Music #2 – Endless Meadow
Picked up just inside the safe zone entrance, on the left side, after getting down from stairs.
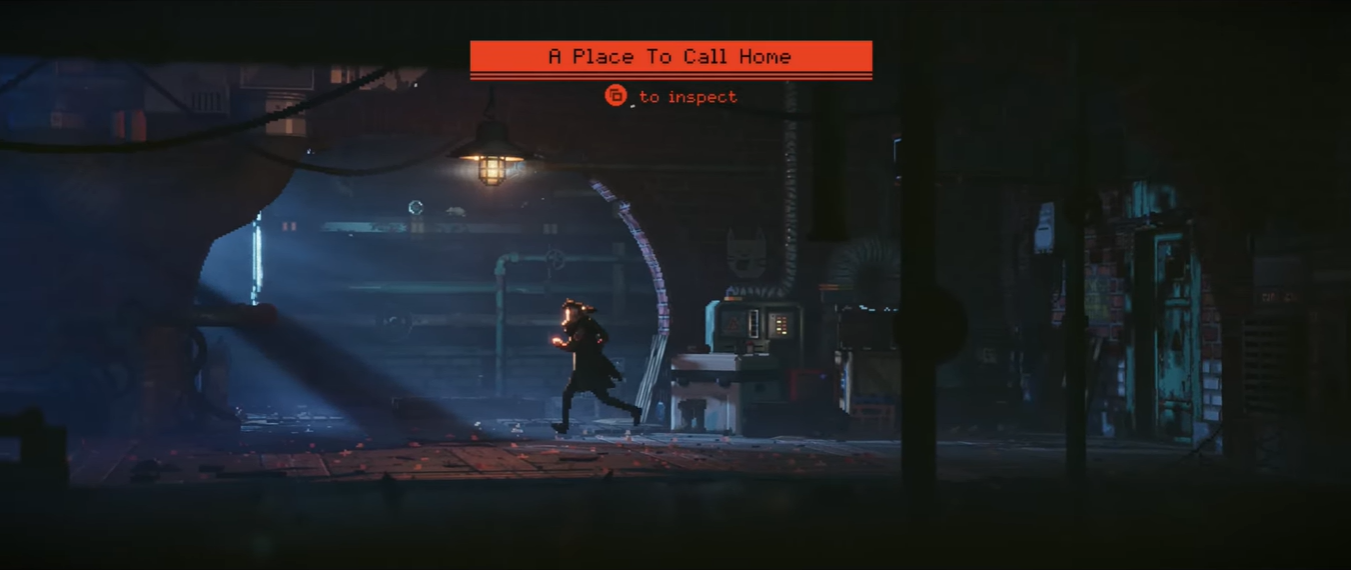
Music #3 – A Place to Call Home
Located in the left extension of the Arcade area, at the far right of the area.
Chapter 2 Cats – 1
Cat #1
Sitting on the bar counter in the same room as Scan #20; interact with it to collect.
Doctor’s questline collectibles and upgrades
The Doctor’s quest introduces another set of important collectibles tied to dialogue choices and exploration within the station interior. Completing this quest also grants a valuable upgrade.
Toward the end of Chapter 2, additional scans become available through terminal interactions, which are easy to miss if you don’t revisit earlier locations.
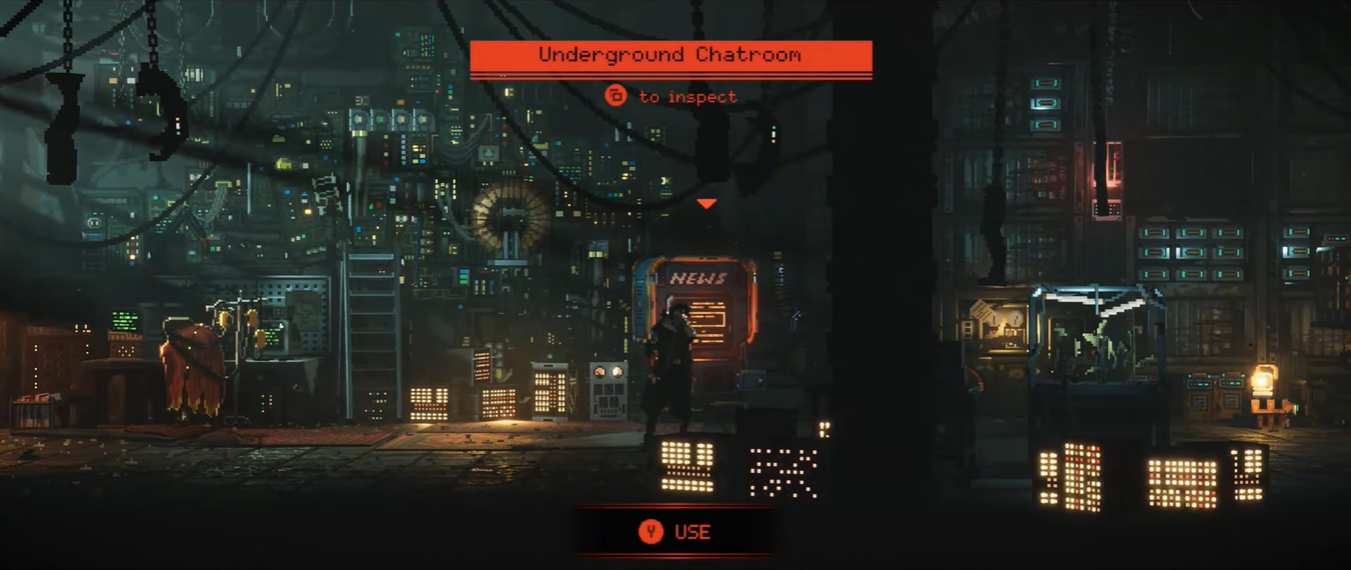
Scan #23 – Underground Chatroom
Unlocked by interacting with the terminal in YO-YO’s earlier room and reading all messages.
Scan #24 – Laboratory Incident News Article
Available on the same terminal after continuing through all readable files.
Chapter 2 rewards and collectibles wrap up
On completing the Doctor’s quest in Chapter 2 in REPLACED you get the Let There Be Blood acheivement.
| Collectible | Type | Source |
|---|---|---|
| Scan #13 | Scan | Ticket machine |
| Immune Modulator #1 | Upgrade | David’s quest |
| Scan #14 | Scan | Arcade reward |
| Arcade Game #1 | Activity | Susan |
| Genetic Profile #2 | Reward | David’s quest |
| Scan #15–20 | Scans | Exploration |
| Music #2–3 | Music | Safe zone |
| Cat #1 | Collectible | Bar |
| Scan #21–22 | Scans | Doctor’s quest |
| Rechargeable Ampoule #1 | Upgrade | Doctor reward |
| Scan #23–24 | Scans | Terminal |
Chapter 2 is designed to reward players who explore thoroughly and engage with every system the game introduces.
Make sure to complete both major questlines, revisit key areas for terminal interactions, and carefully scan your surroundings, as many collectibles blend seamlessly into the environment.


Leave a Reply