
What to know
- Chapter 1 has a single music track, nine lore scans, and one genetic upgrade profile that you can grab in one playthrough if you stay thorough.
- Many collectibles are on the main path, but a few sit just off-screen in foreground/background alleys, stairs, or small side rooms that are easy to miss.
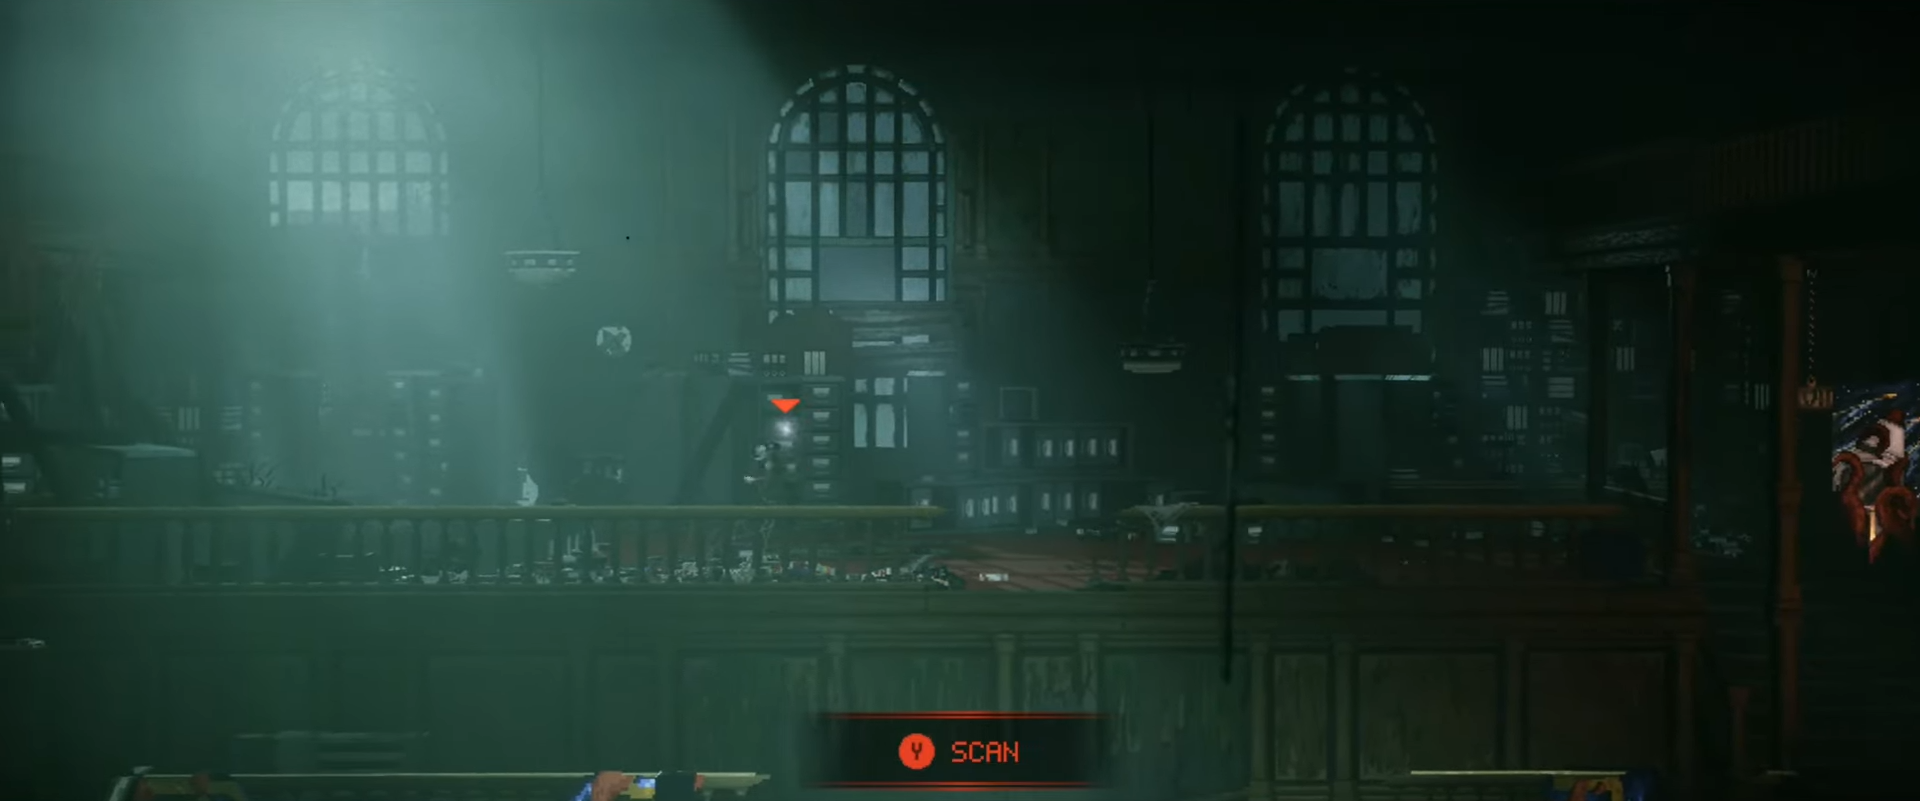
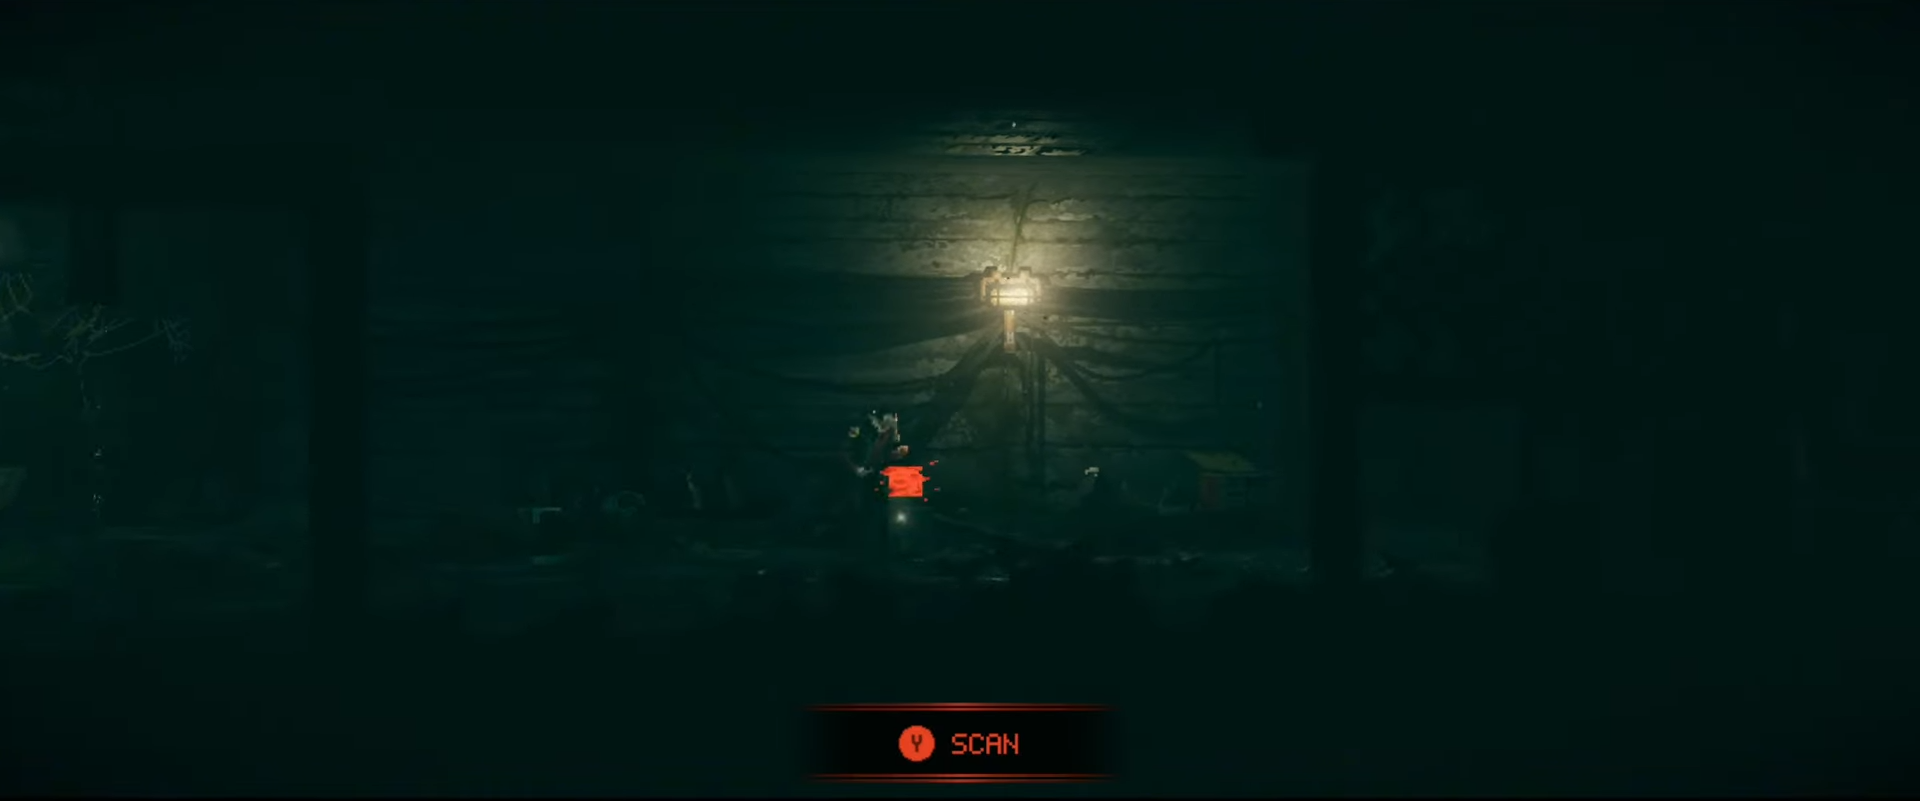
- Side content like optional terminals and environmental details usually hint that you are close to a collectible, so watch for prompts before moving to the next screen.
- There are no missable collectibles in the prologue, and Chapter 1 formally begins when the “Job” chapter title pops, which is where this guide starts.
Chapter 1 of REPLACED is your first real opportunity to chase 100% completion, with story, lore, and power upgrades all intertwined. The guide below follows a natural, start‑to‑finish route that gathers every Chapter 1 scan, upgrade, side quest beat, and the lone music track without backtracking.
REPLACED Chapter 1 collectibles
| Category | Count in Chapter 1 | Examples / names | Notes |
|---|---|---|---|
| Music tracks | 1 | Lab Rat | Unlocked very early in the chapter. |
| Scans (lore) | 9 | Survivor’s Memoir, Eviction Notice, Preacher’s Diary | Text logs that deepen the city’s backstory. |
| Genetic profiles | 1 | Genetic Profile 1/1 | Functions as an upgrade item. |
| Side‑quest moments | Light, embedded | Dialogue/interaction chains around some scans | Mostly part of the natural story flow. |
| Missables risk | Moderate | Several items sit on edges of walkable screens | Check both foreground and background paths. |
All scans, music tracks, and genetic profiles in Chapter 1
Scans (12)
Scan #1 – Huxley
This is a story‑related scan available at the start of the chapter, and is triggered automatically as you progress.
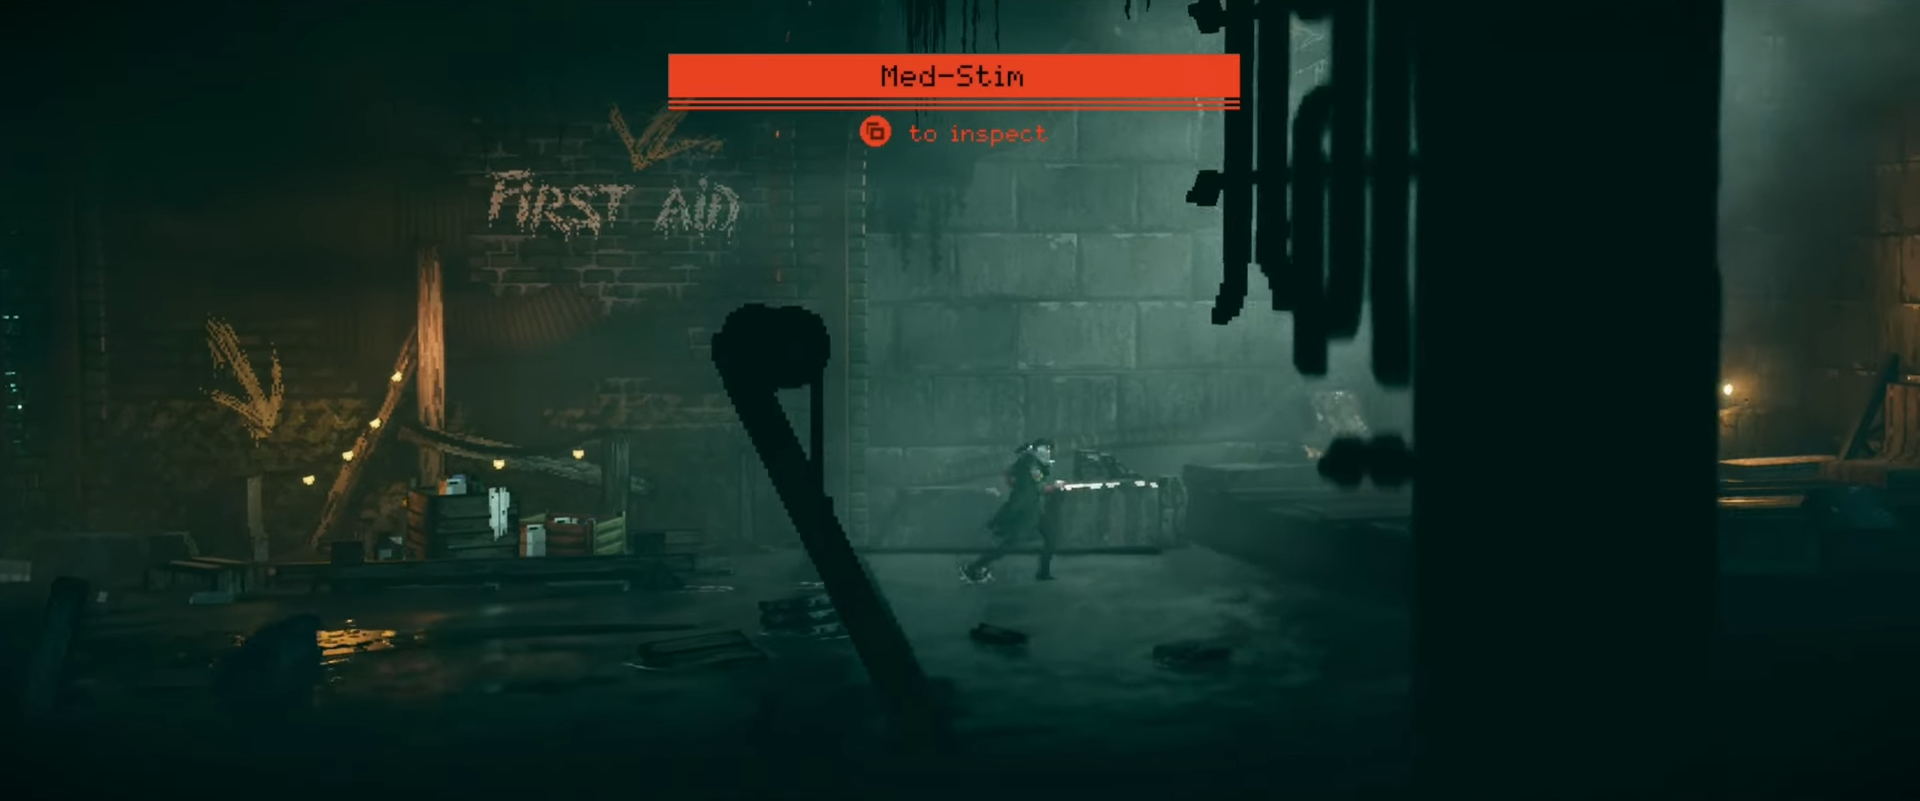
Scan #2 – Med‑Stim
This is paired with Huxley at the opening, and is scanned as you interact with the initial med‑stim prompt.
Scan #3 – Survivor’s Memoir
After the first enemy encounter, you can grab the scan directly ahead on the path.
Scan #4 – The Catastrophe: 20 Years Later
From the last scan, move forward and scan the wall panel before climbing up to the higher area.
Scan #5 – Board Game Box
After another small fight, this scan sits in front of you in the next open area.

Scan #6 – Goodbye Letter
When you reach the road near the end of the chapter, head to the far right side before leaving to scan the letter.

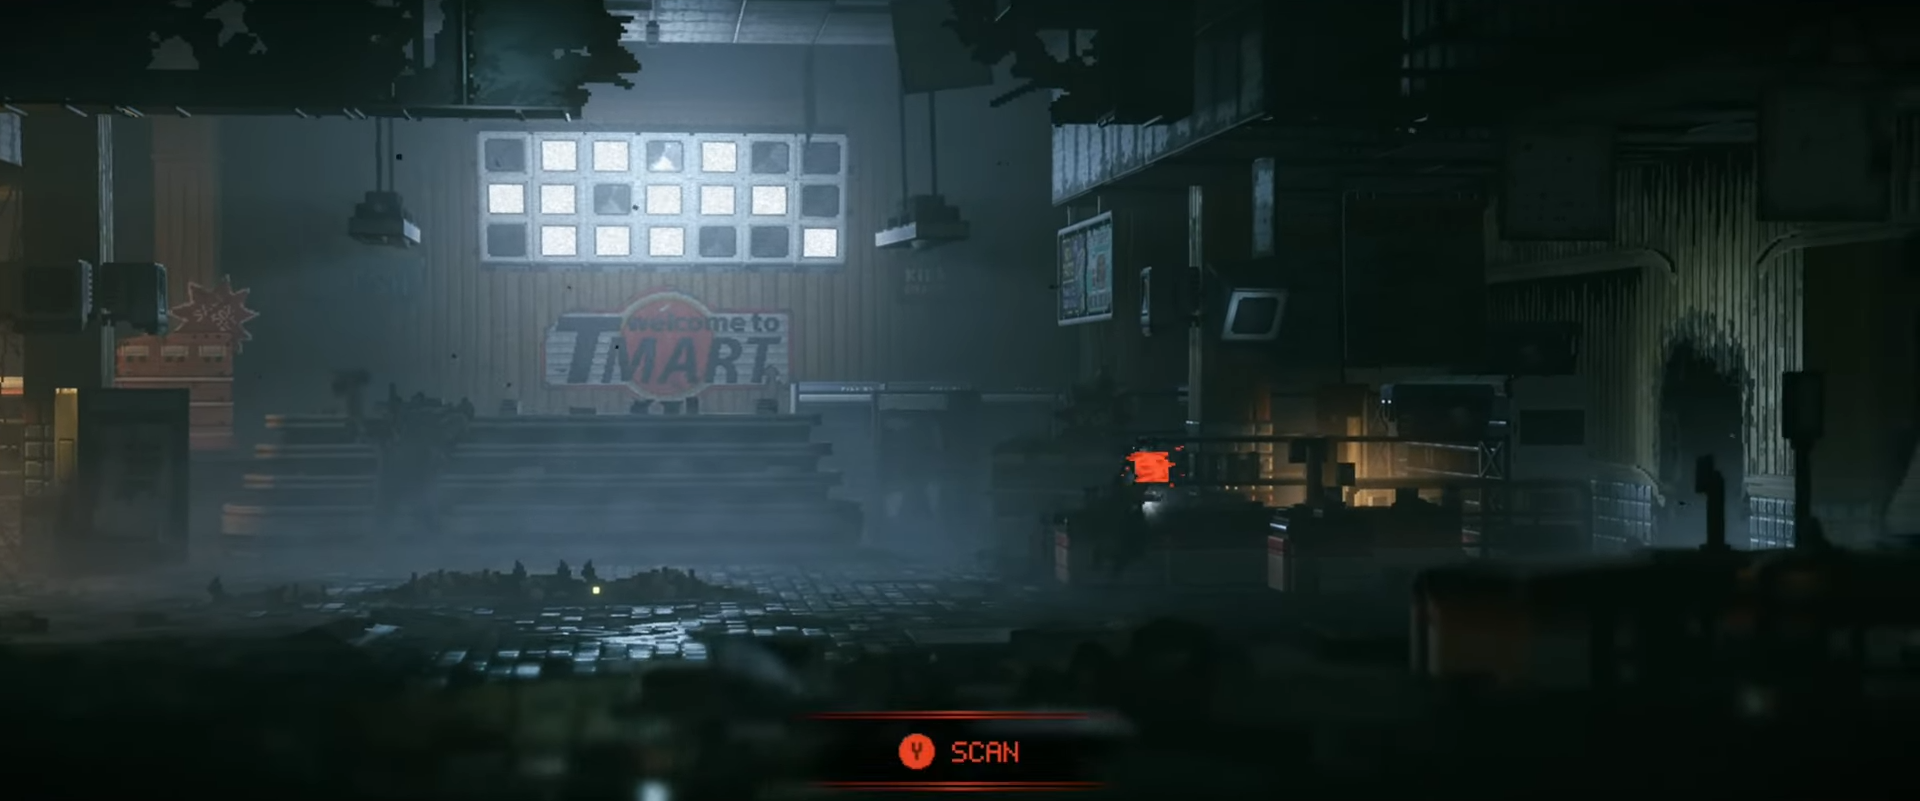
Scan #7 – Eviction Notice
After dropping to the street and finding the first Genetic Profile, continue right and scan the notice on the wall.
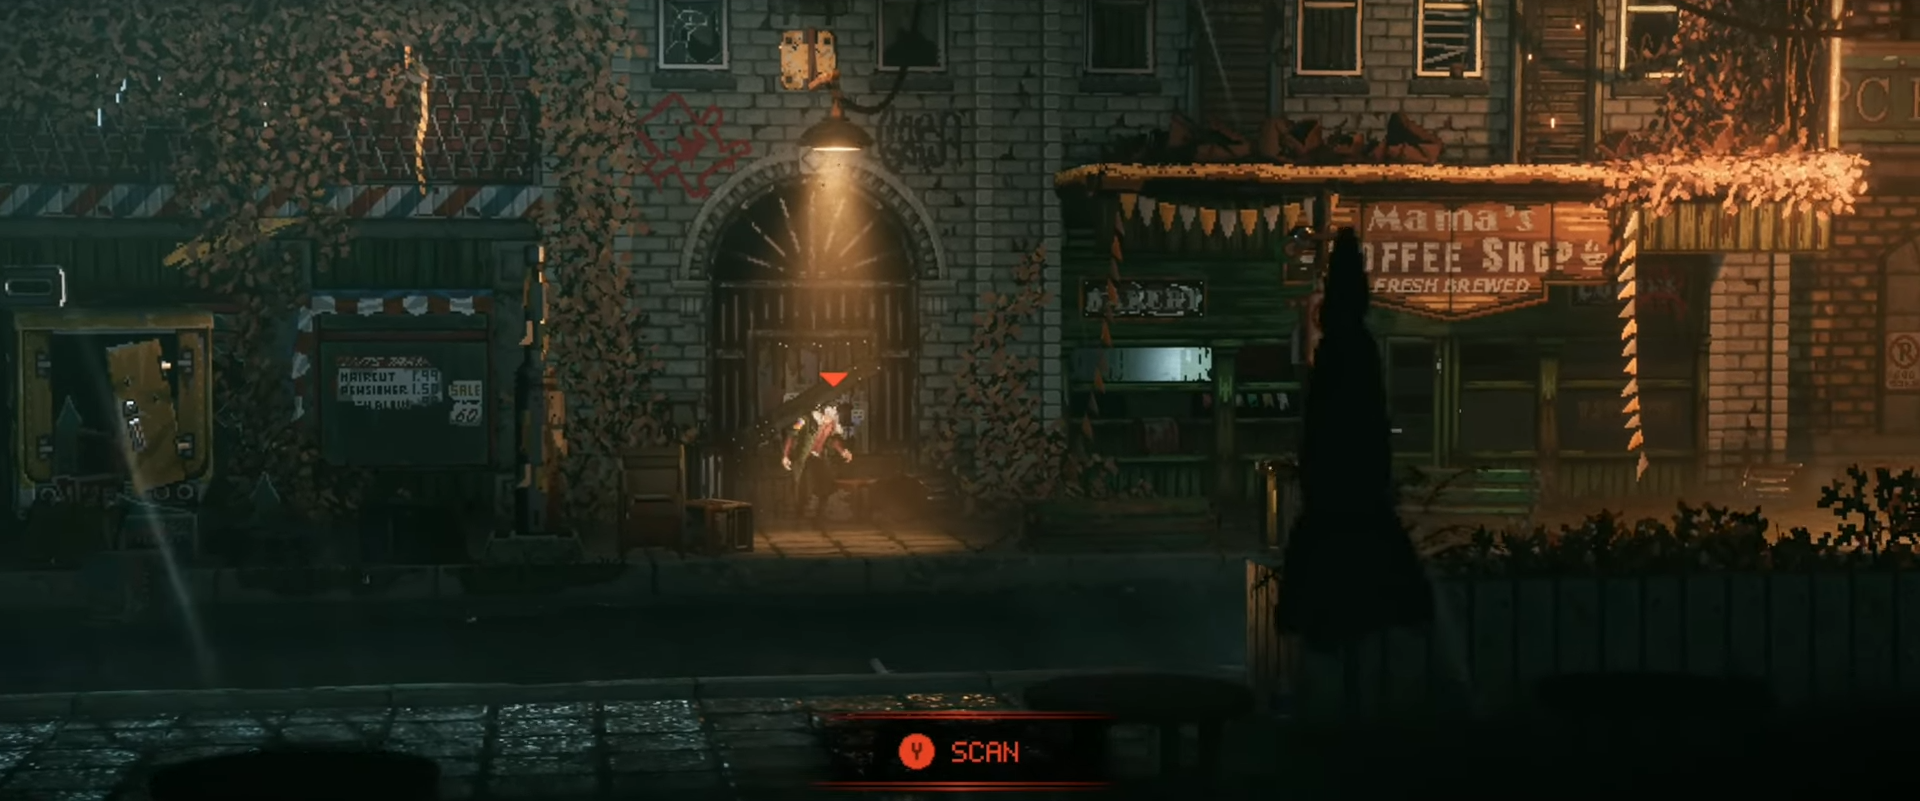
Scan #8 – Pawn Shopkeeper’s Note
Following the fight near the Tmart, this note is directly in front of you.
Scan #9 – Preacher’s Diary
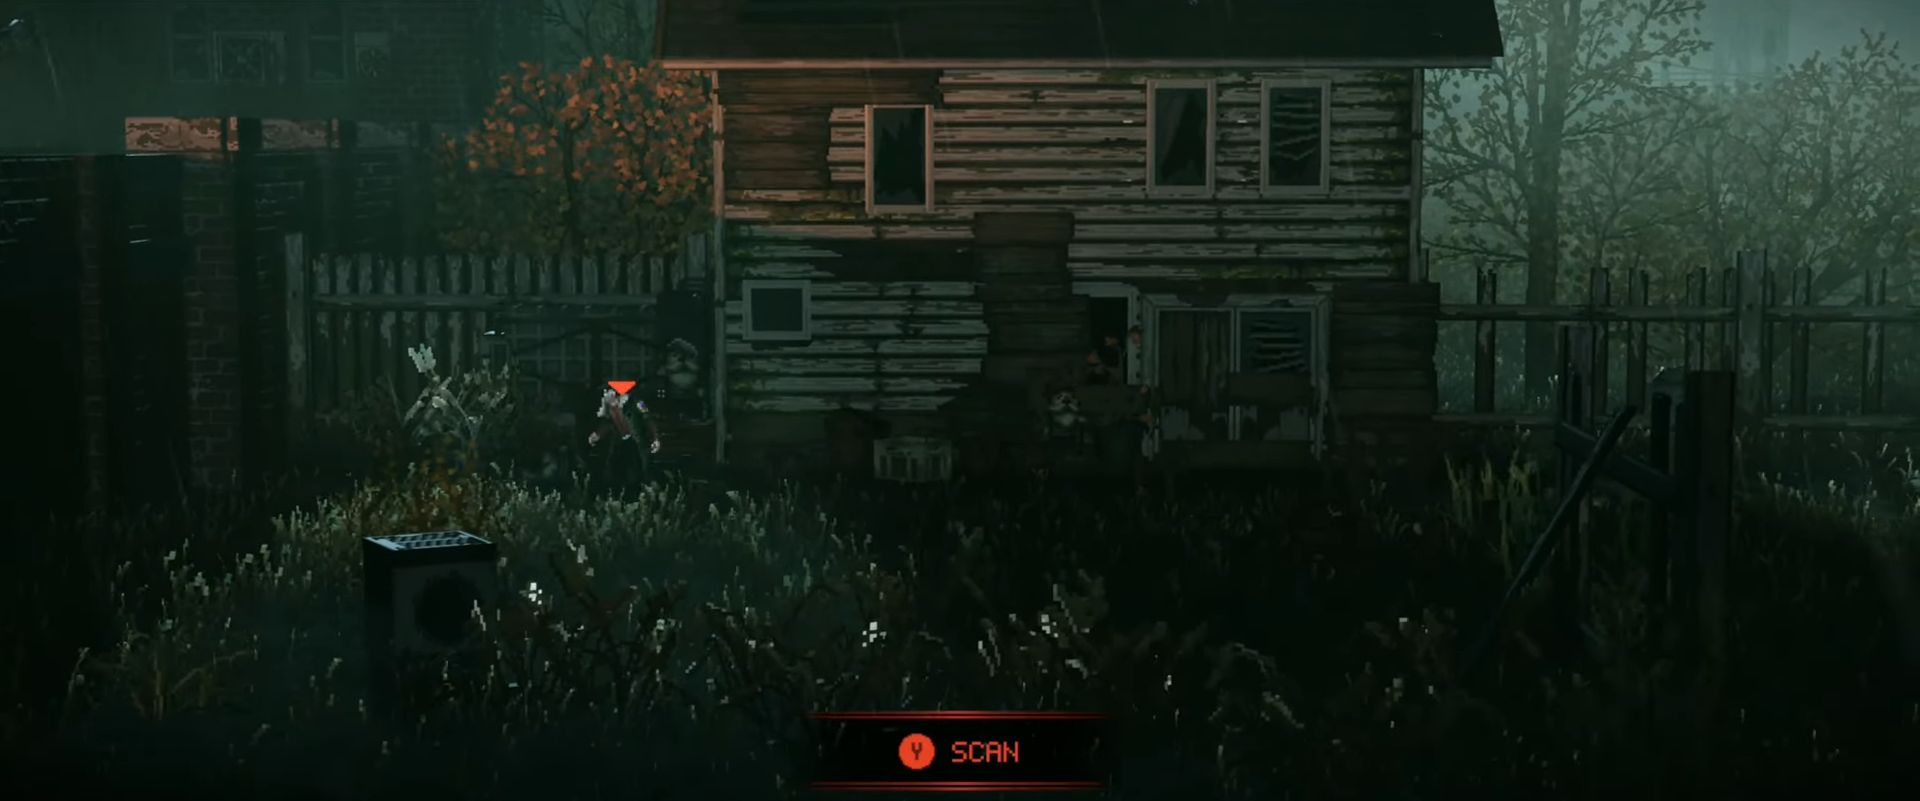
After jumping over a wall later in the chapter, scan the diary just ahead.
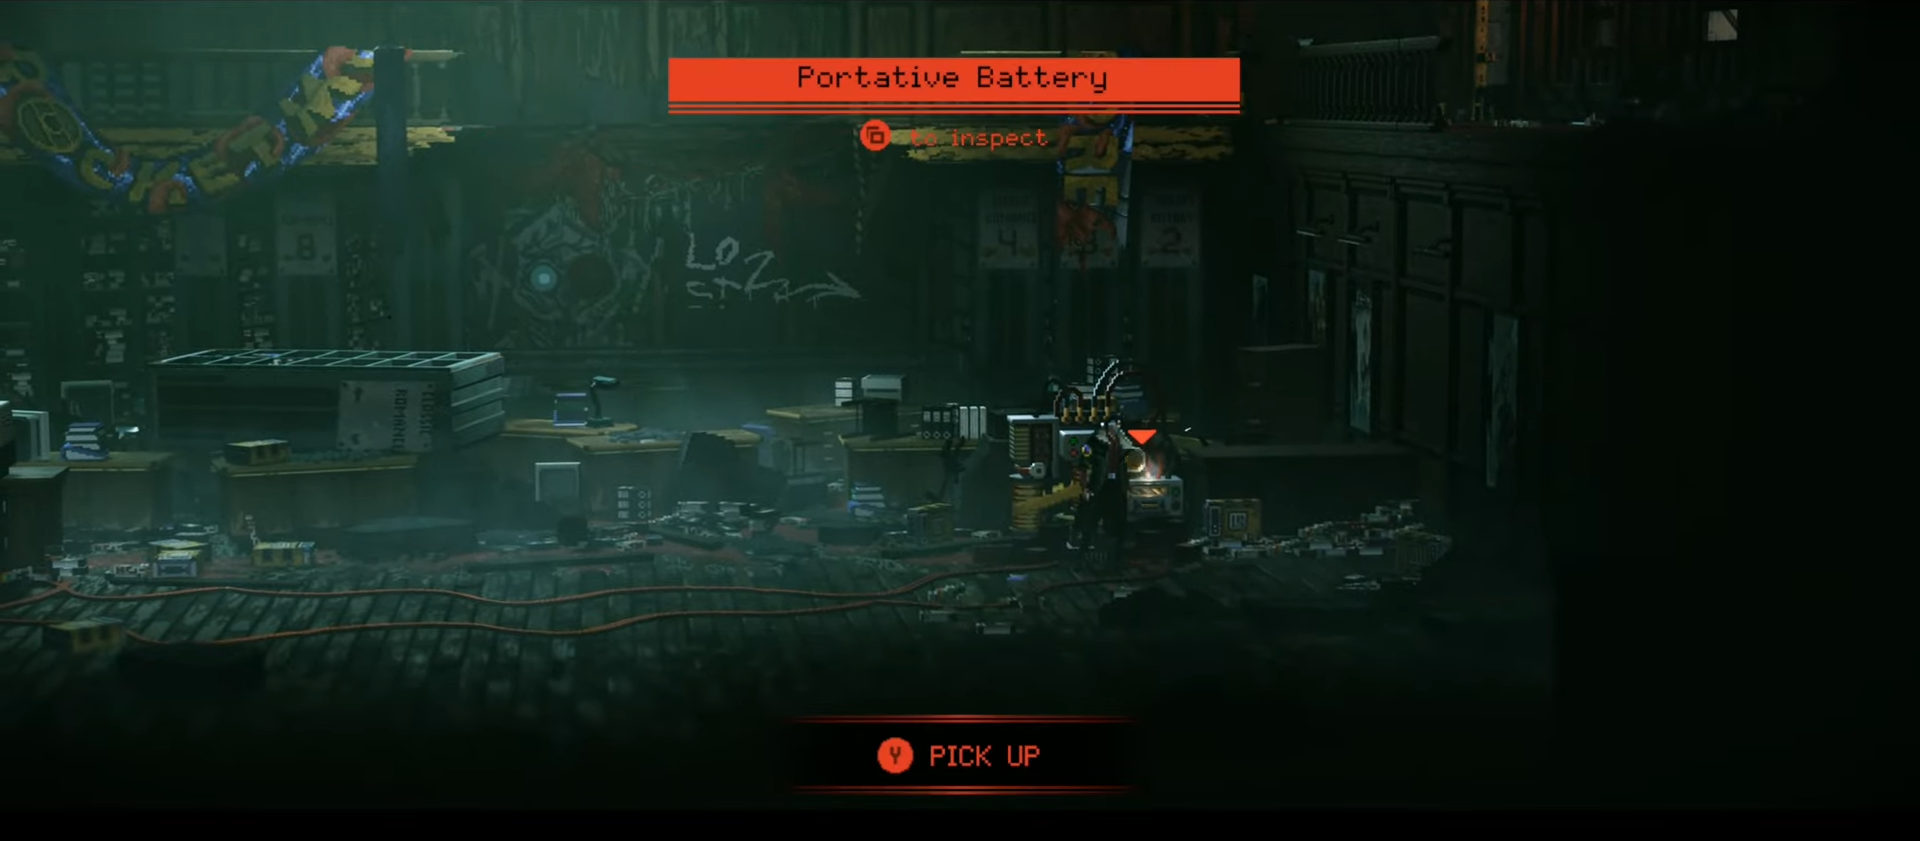
Scan #10 – Portative Battery
This is automatically scanned when you pick up the story‑critical battery required to restore power.
Scan #11 – Inaugural Address
After restoring power and moving a platform, climb the stairs instead of proceeding right to find this on the upper level.
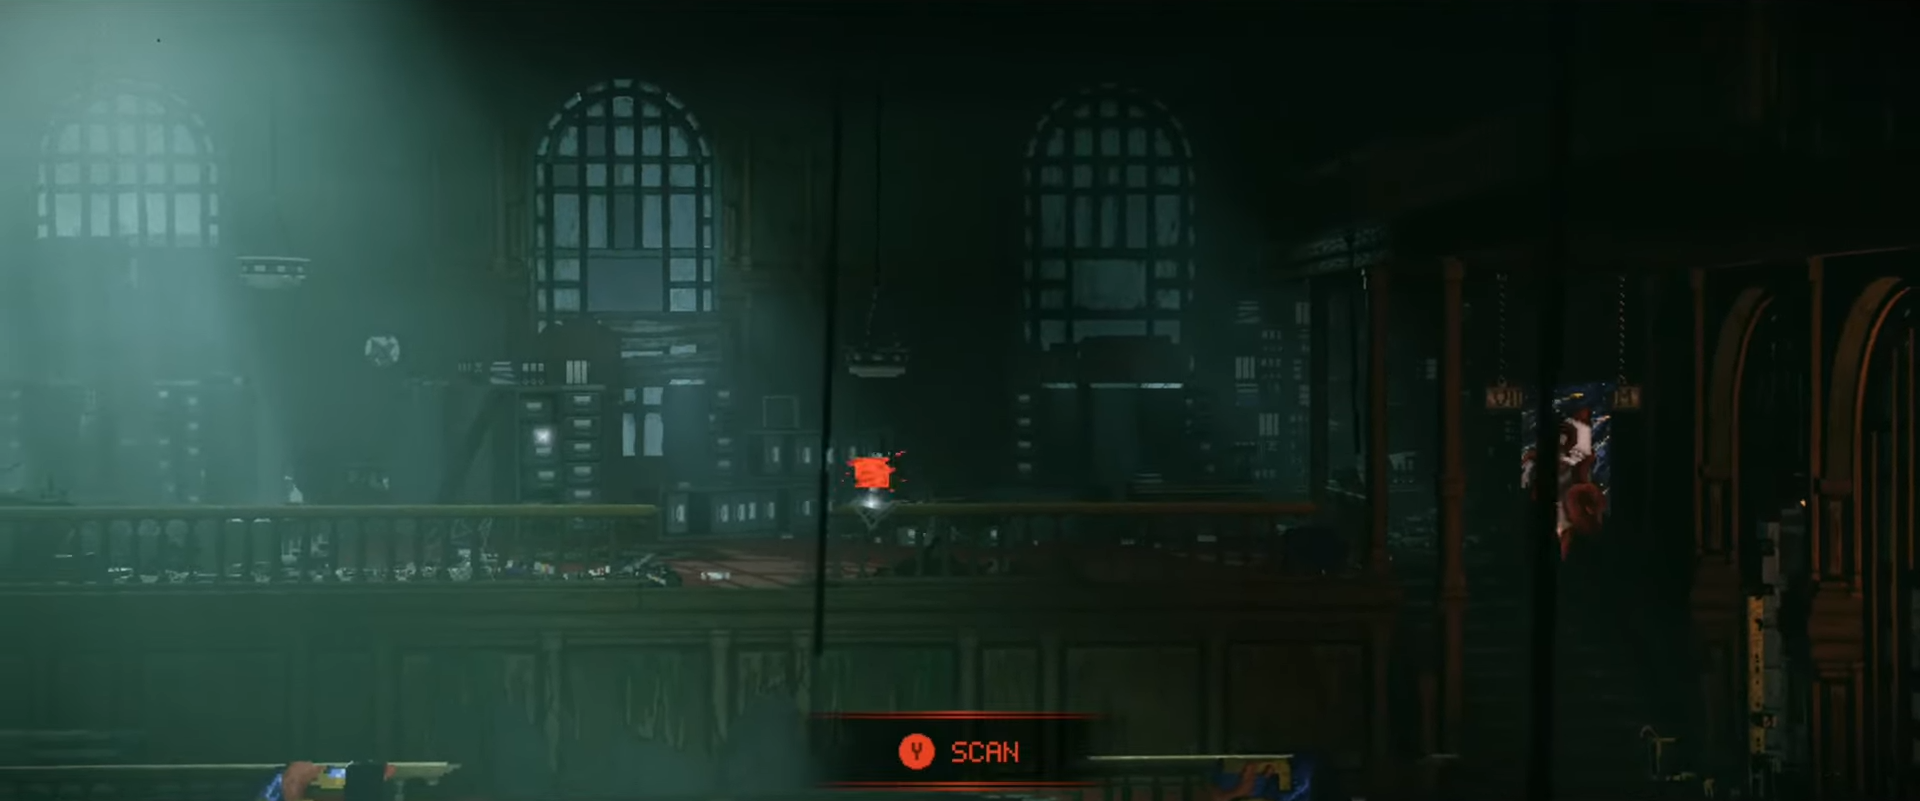
Scan #12 – Archived Poster
In the same upper platform area as the Inaugural Address, scan the nearby poster.
Music Tracks (1)
Music #1 – Lab Rat
Near the chapter start after a platforming section, grab the glowing music pickup before continuing onward.
Genetic Profiles (1)
Genetic Profile #1
After sneaking past a car’s headlights on the rooftop route and dropping down, pick up the health upgrade on the left side of the area.

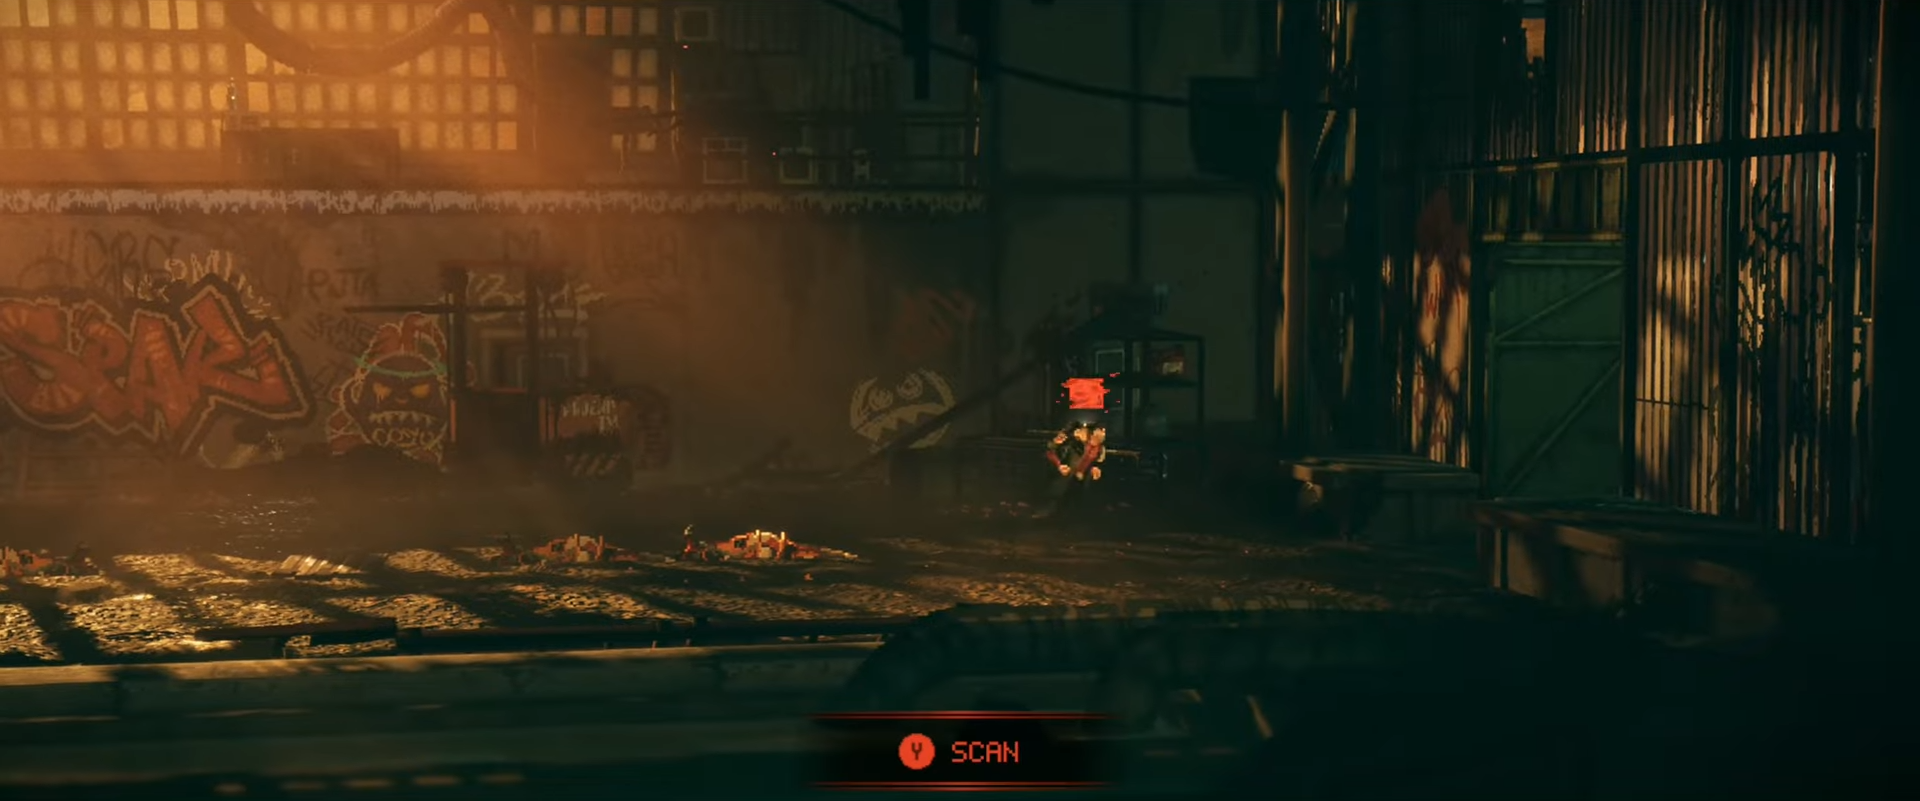
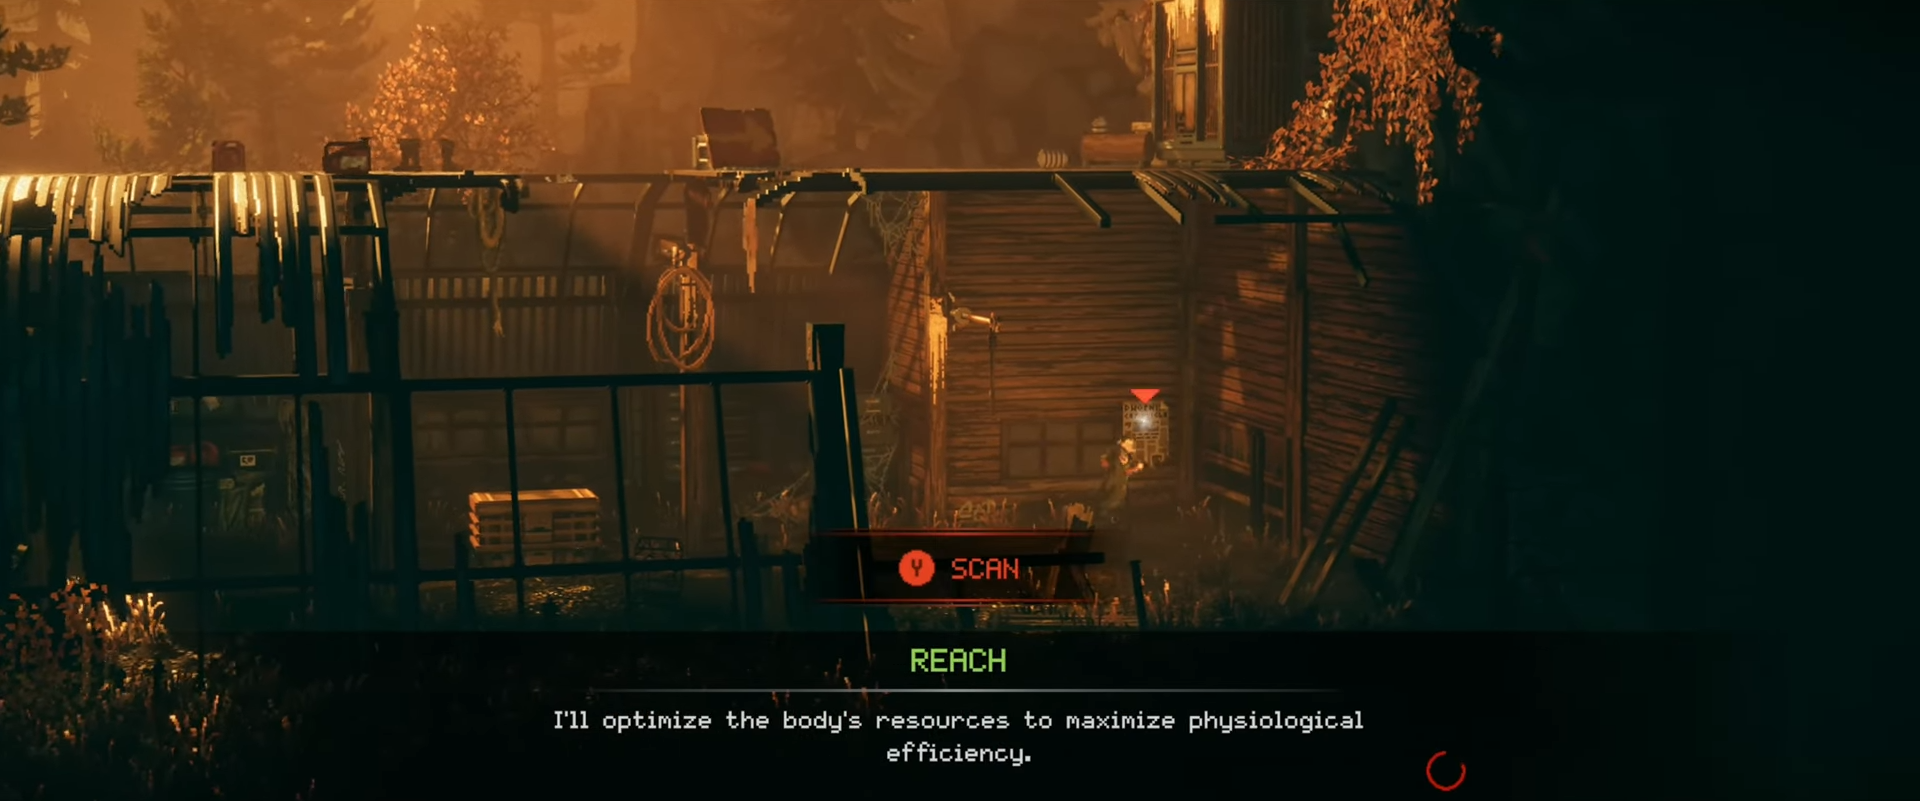
Locations you will naturally pass while collecting everything
Over the course of Chapter 1 you will move through a sequence of tightly linked spaces: an introductory lab or interior, lived‑in apartments, narrow stairwells and corridors, a storefront strip including a pawn shop, and a more civic or propagandistic zone heavy with posters and speeches. Every scan and the lone music track are tied to these specific environmental shifts, so as long as you slow down in each new “type” of location and sweep every interactable object, you will automatically gather them in a single, clean route.
Rewards you gain from Chapter 1 collectibles
While Chapter 1 does not drown you in raw stat boosts, its collectibles feed into multiple long‑term achievements and story rewards.
| Reward type | How Chapter 1 collectibles contribute |
|---|---|
| Music‑track achievements | “Lab Rat” counts toward full soundtrack collection achievements. |
| Scan‑based achievements | 9/9 Chapter 1 scans keep you on pace for “all scans” trophies later. |
| Upgrade / profile progress | Genetic Profile 1/1 pushes global upgrade‑style achievements forward. |
| Lore and context | Survivor’s Memoir, Preacher’s Diary, and others deepen story choices. |
| Route learning | Practicing a perfect Chapter 1 route sets habits for later, denser chapters. |


Leave a Reply