Building with blueprints in Paralives requires you use the Steam Workshop carpet/rug mod, place the rug as a blueprint overlay, load a blueprint image into the rug, scale it to the right size, trace the rooms and openings, then delete the rug and build normally on top of the guide.
How to build with blueprints
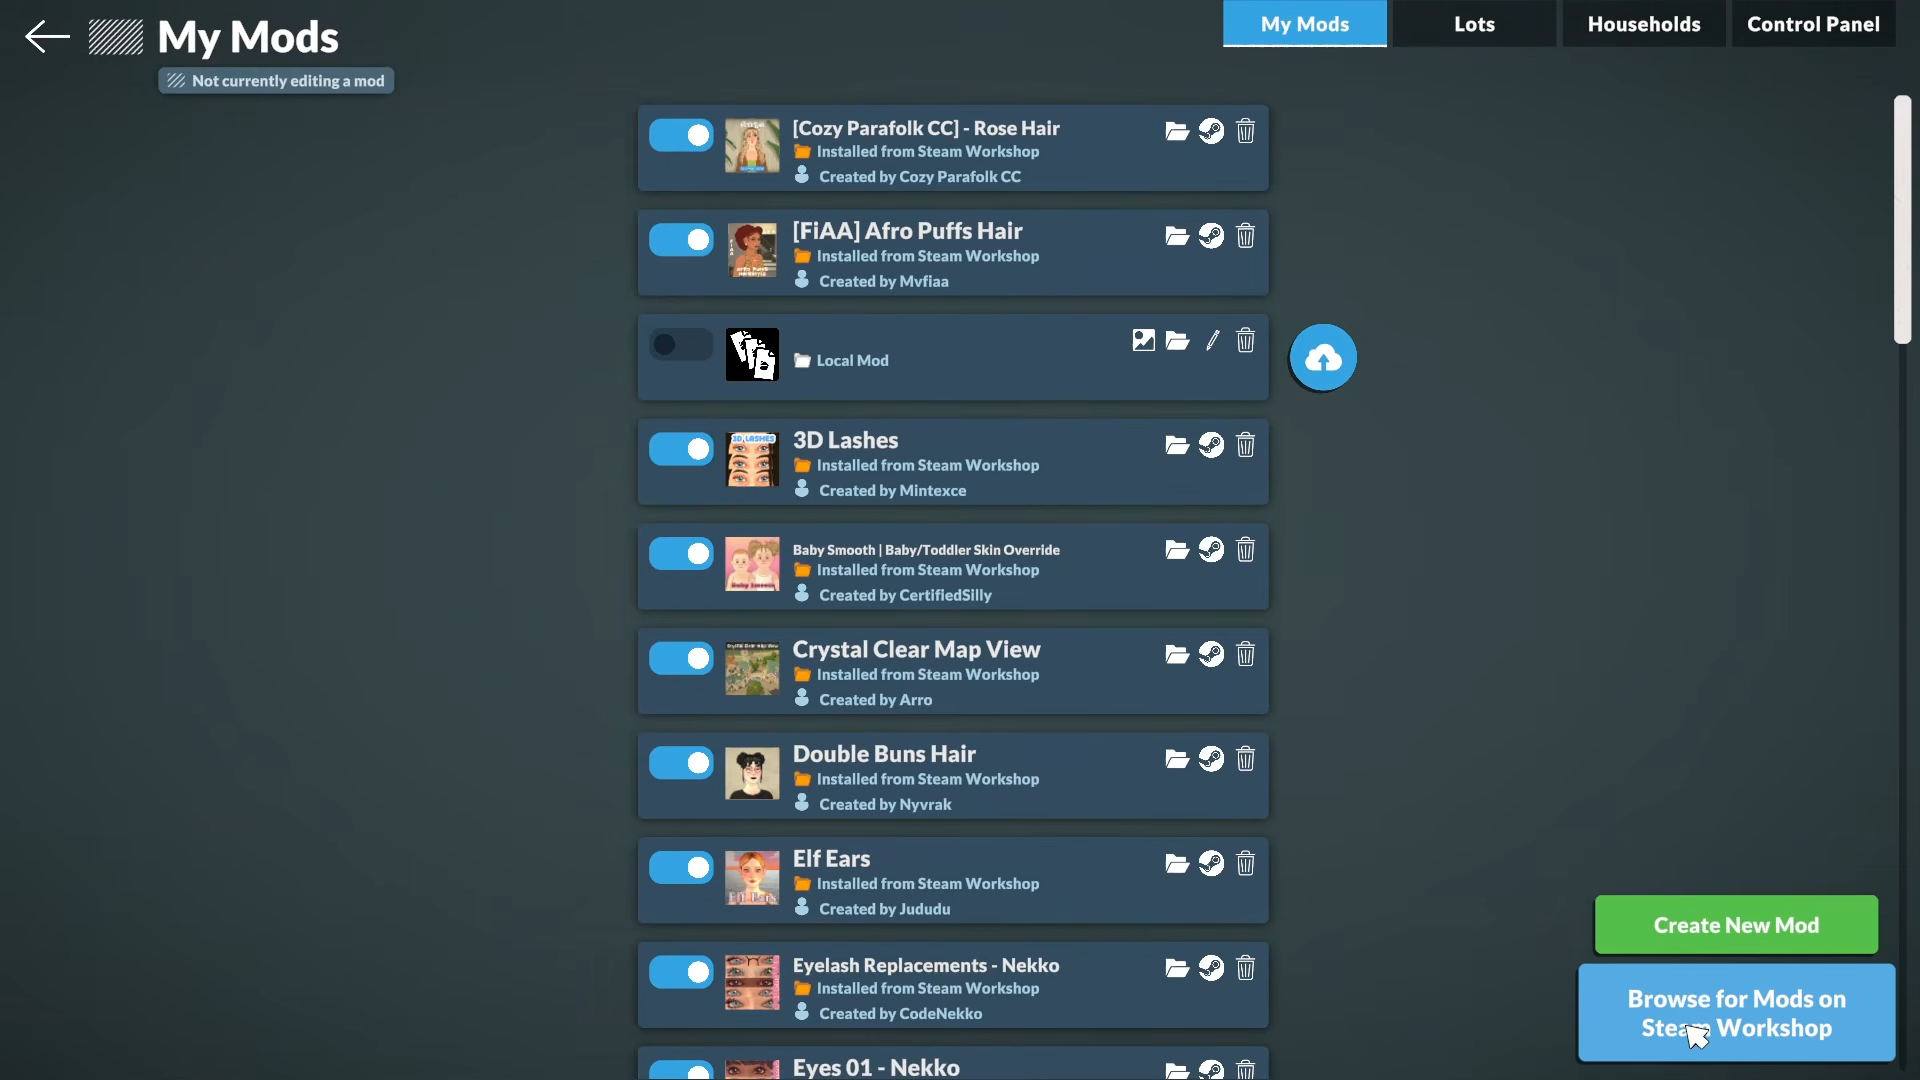
Step 1: Install the blueprint rug mod
Open Mods.
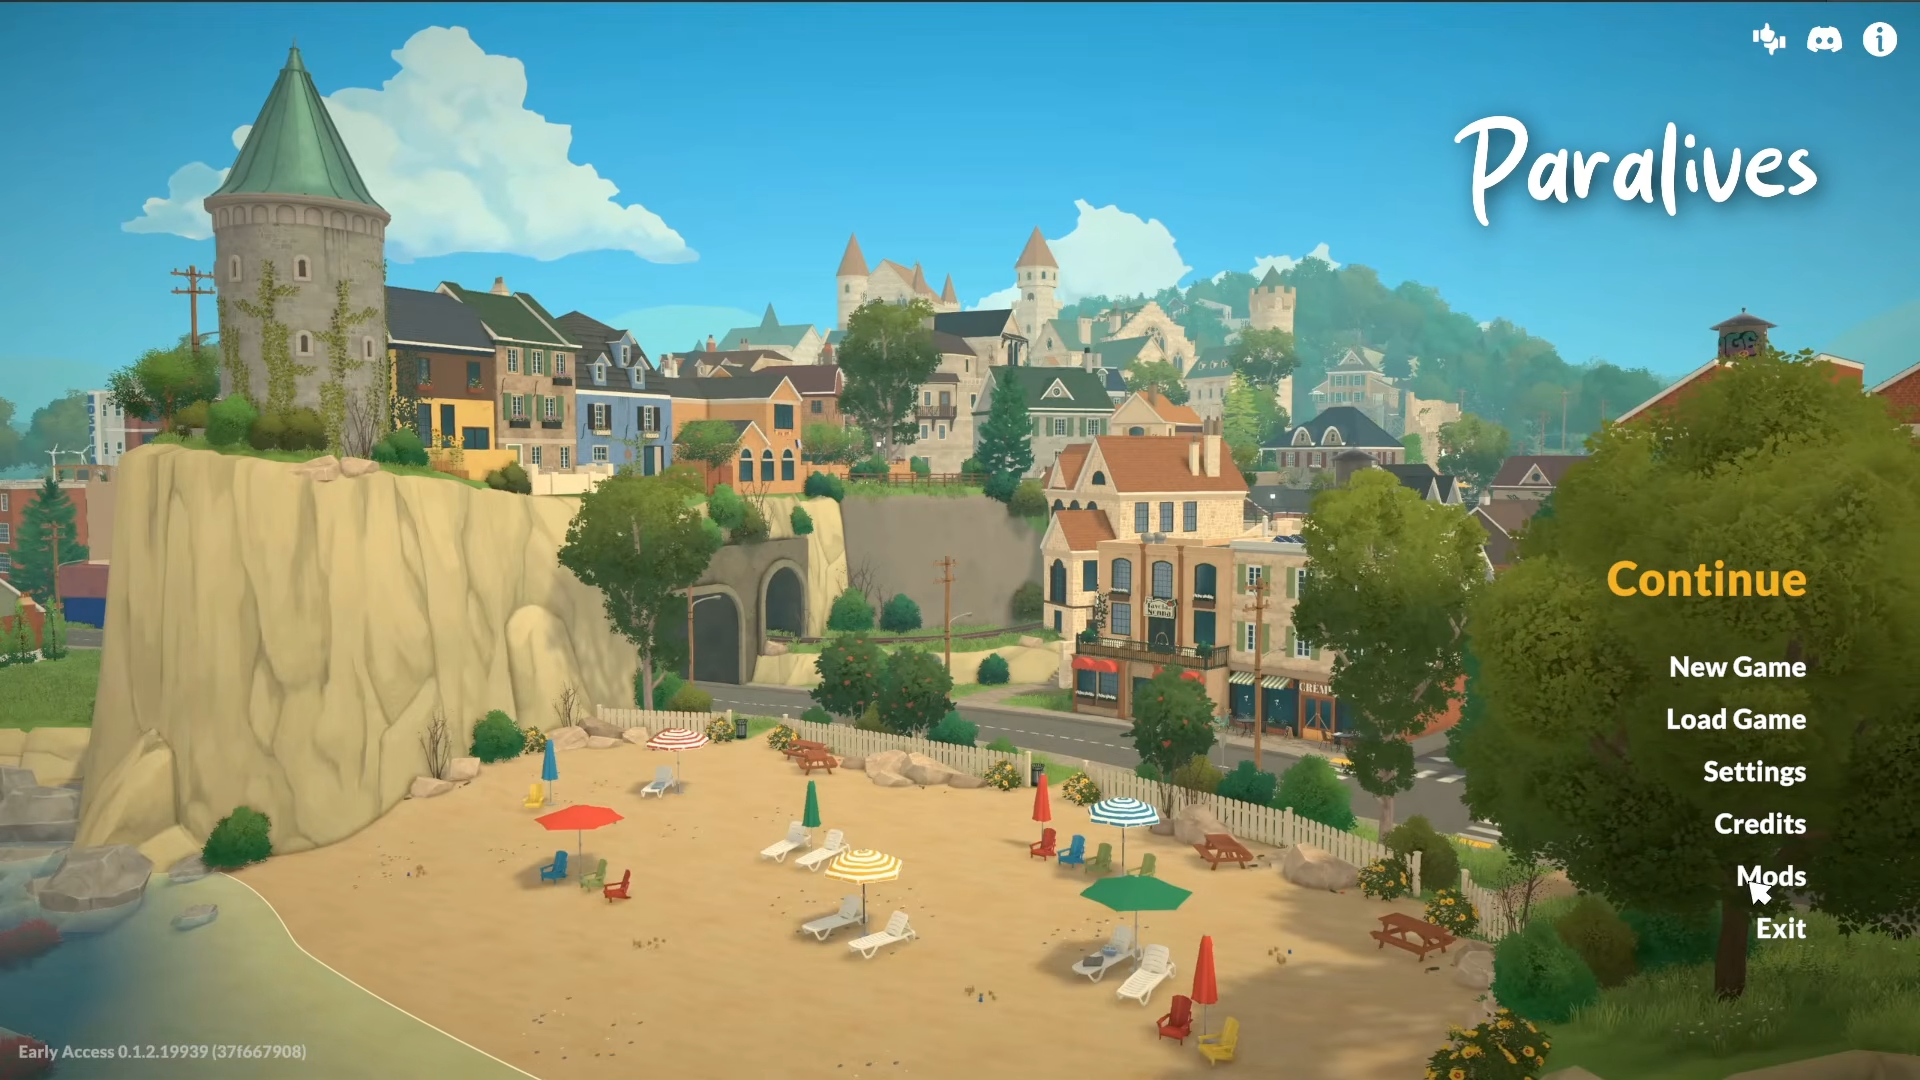
And select Browse for Mods on the Steam Workshop inside Paralives.
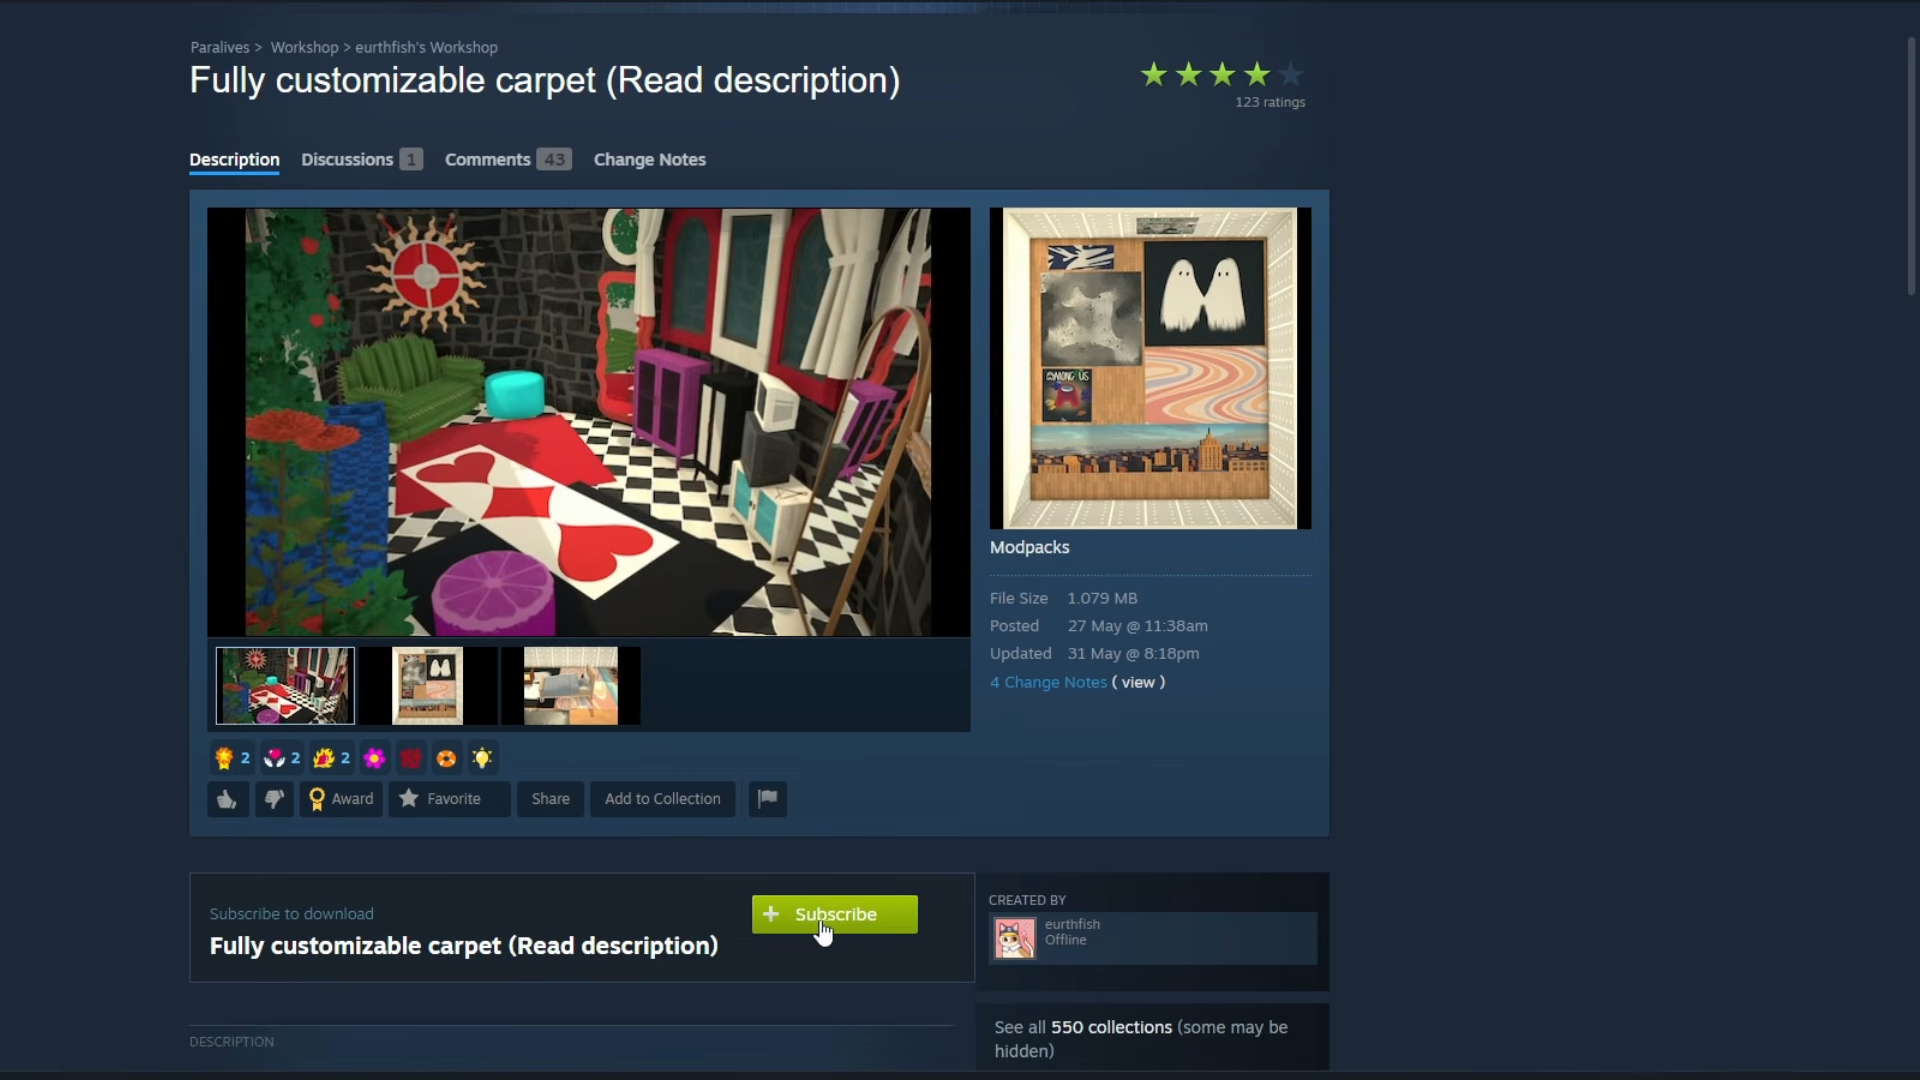
Or go through Steam, then search for rug and subscribe to the carpet mod to be used for blueprint building.
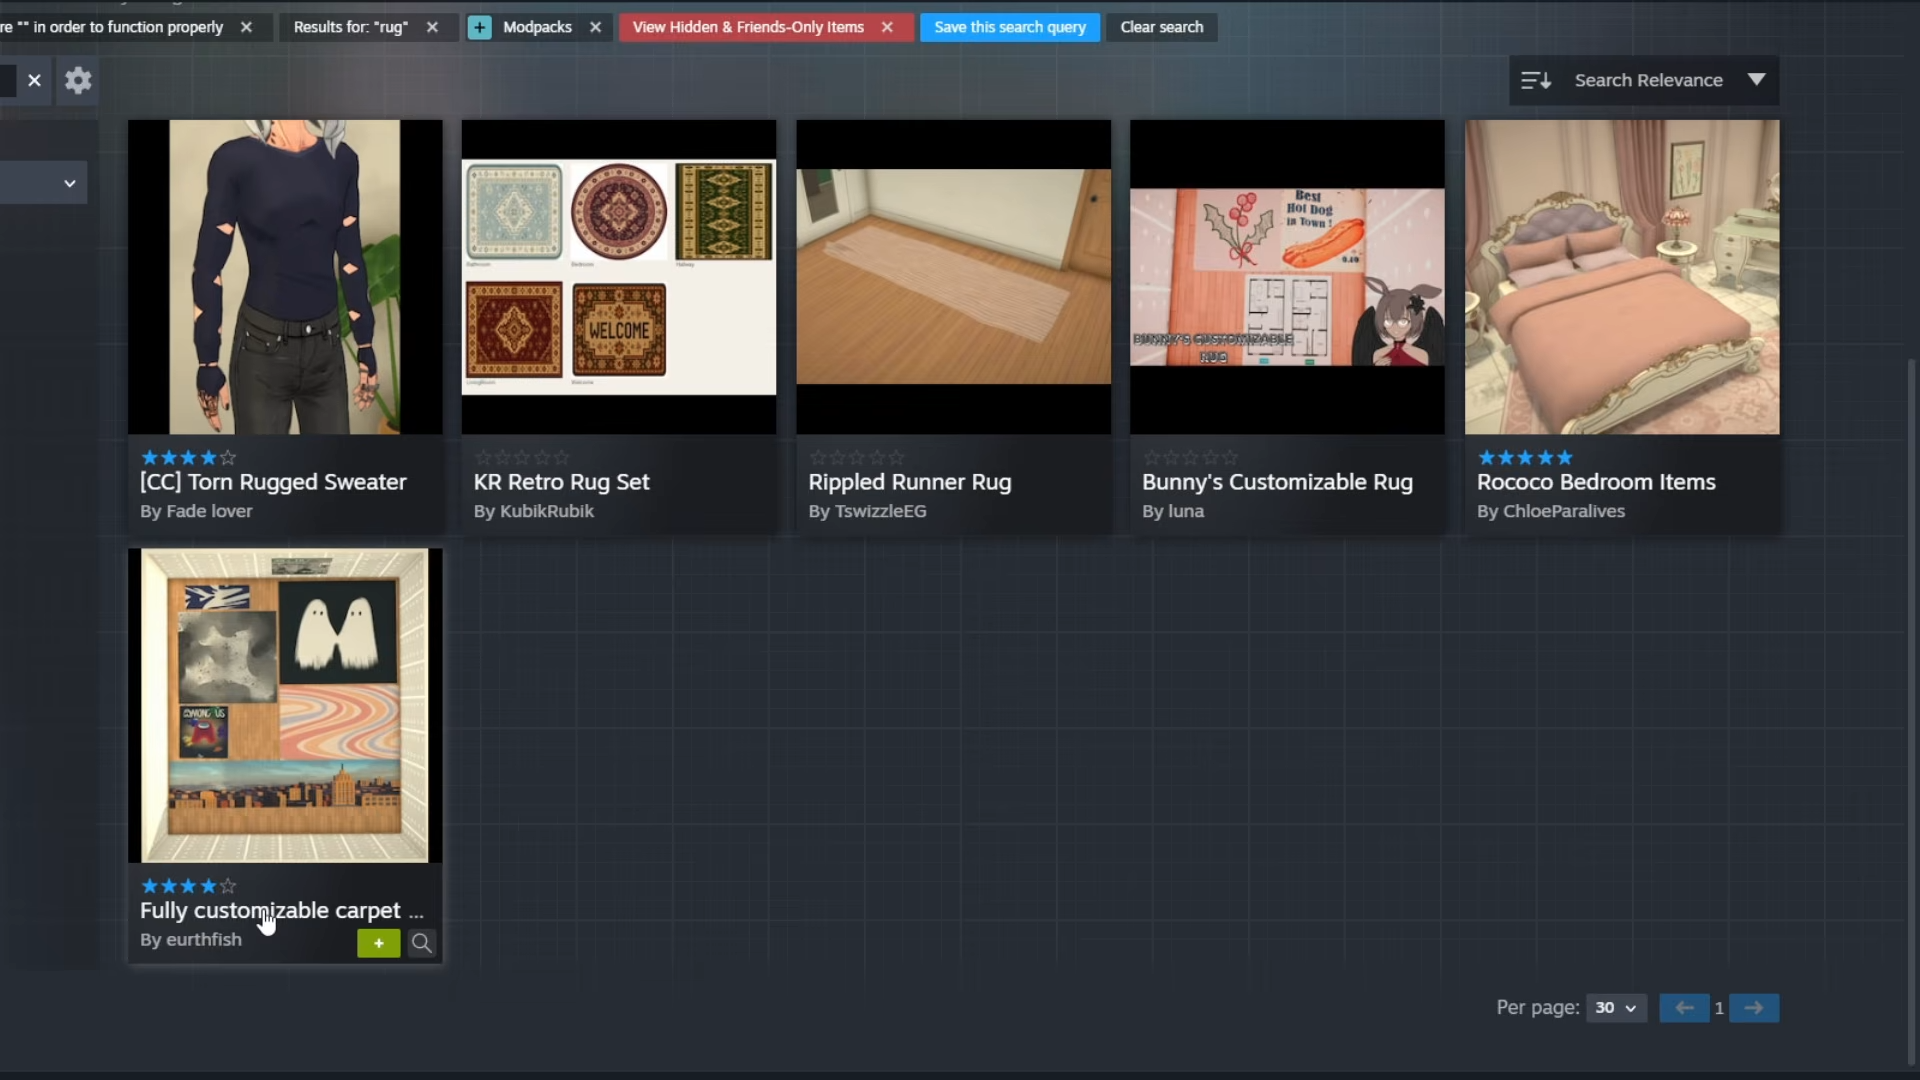
A good one is the Fully customized carpet by Eurth Fish, which becomes available in your game after subscribing.
Step 2: Start on a clean lot
Go into your lot and enter Build Mode. Bulldoze the lot so the blueprint can be placed on a blank canvas.
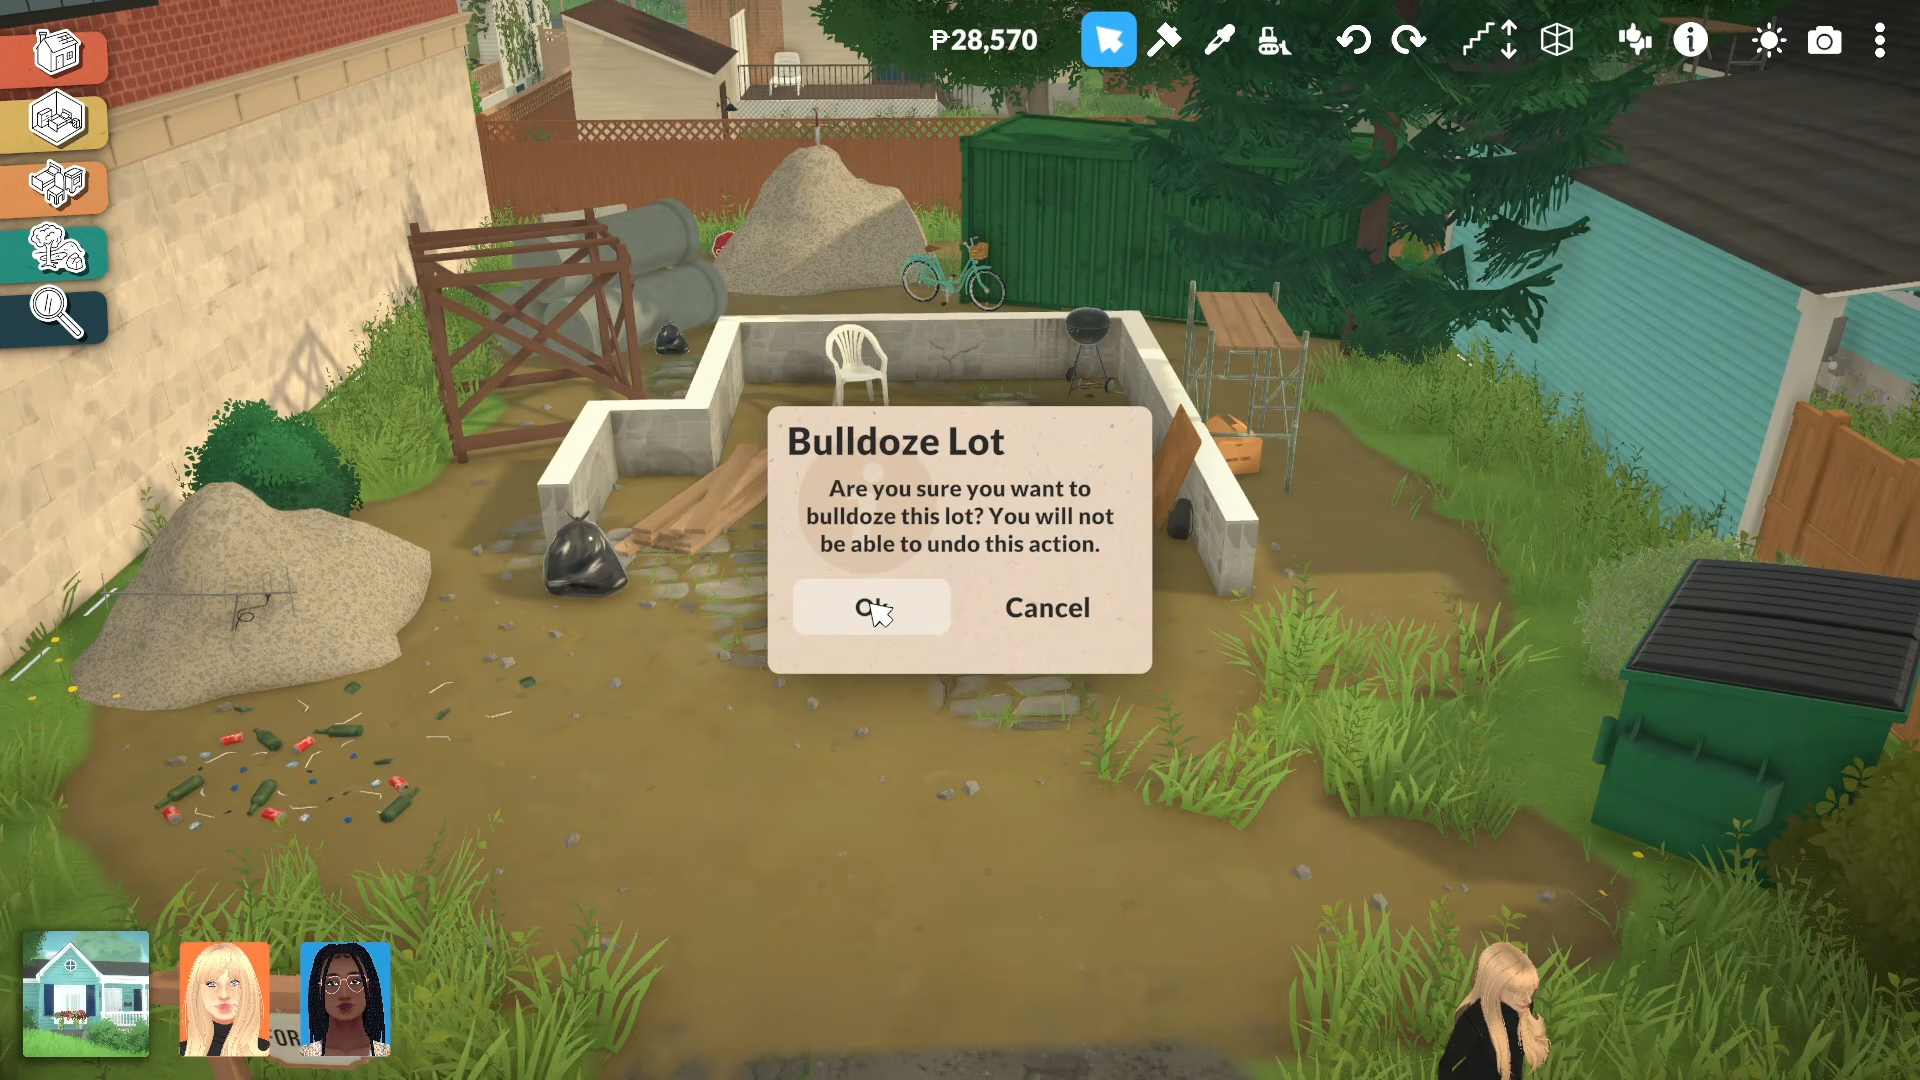
This makes it easier to line up walls, windows, and doors from scratch.
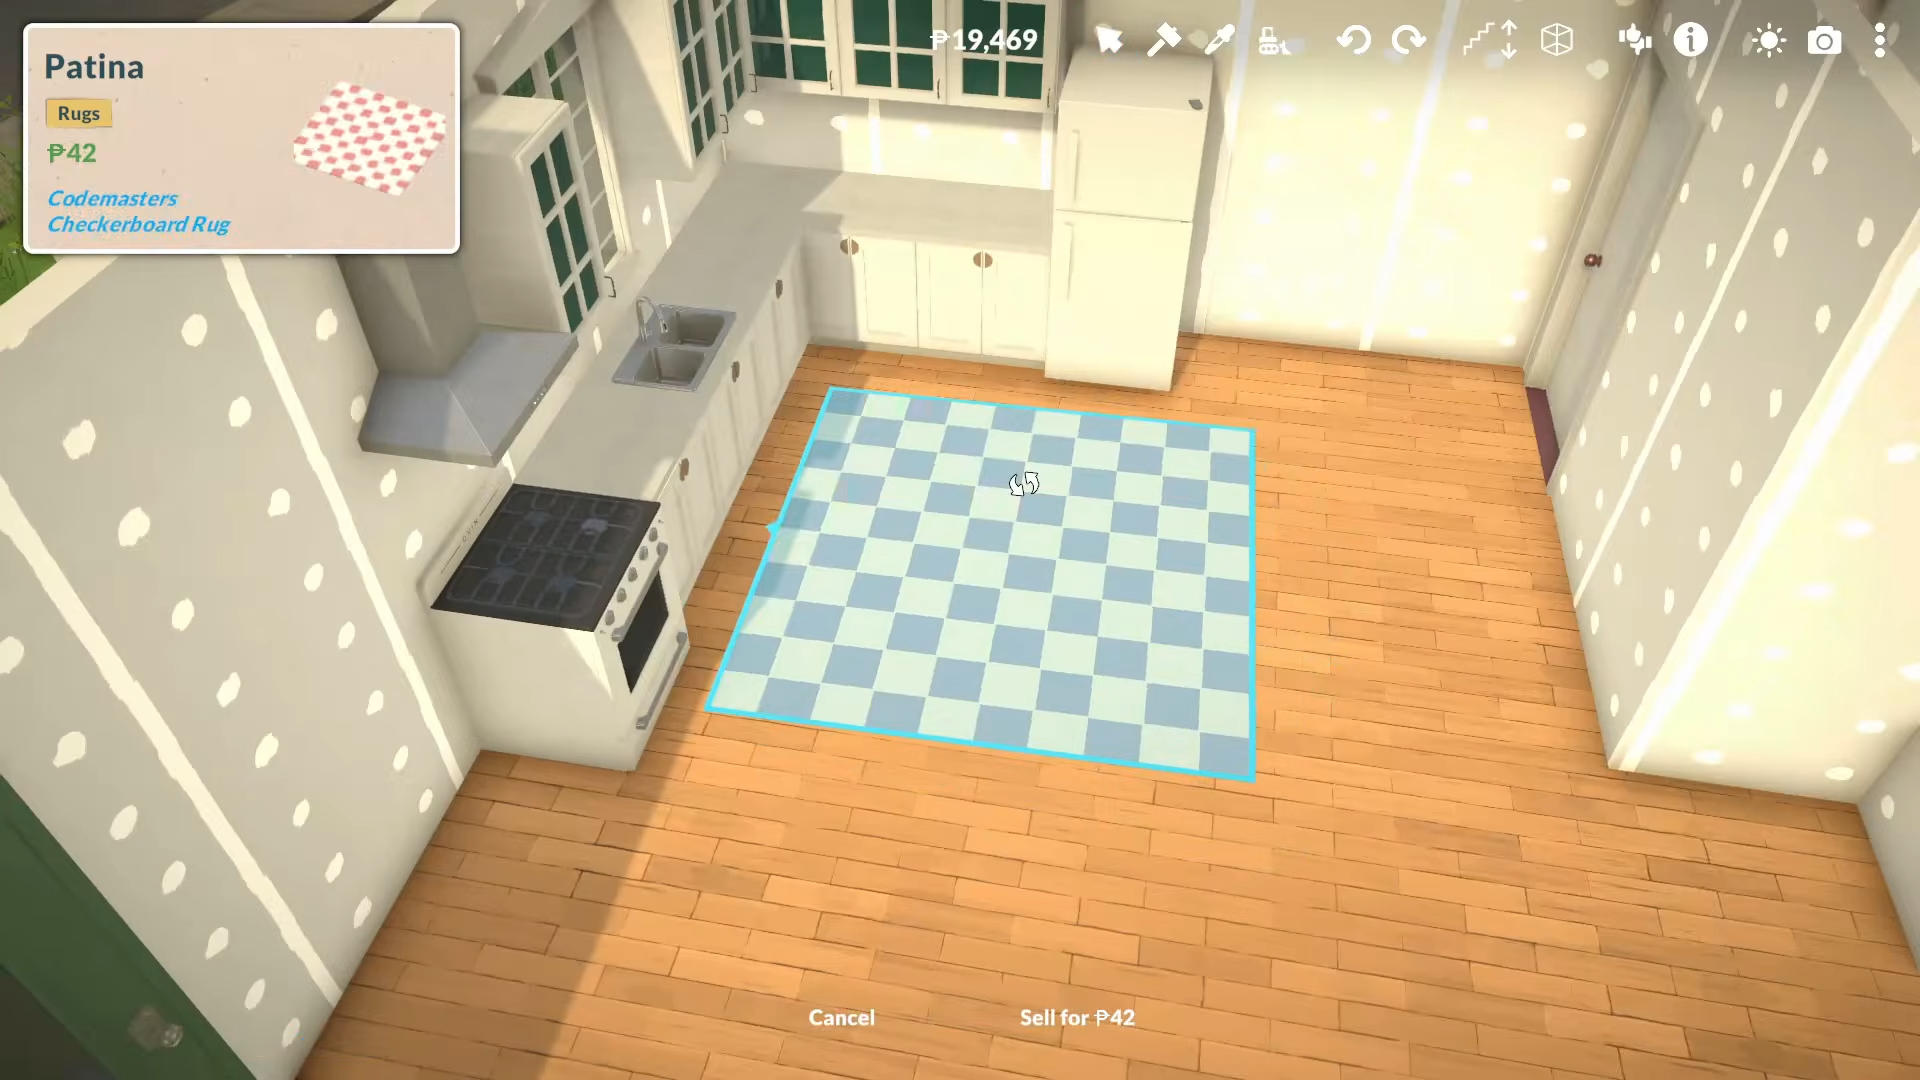
Step 3: Place the rug
Search for rug in the build catalog again, then place the modded rug on the ground.
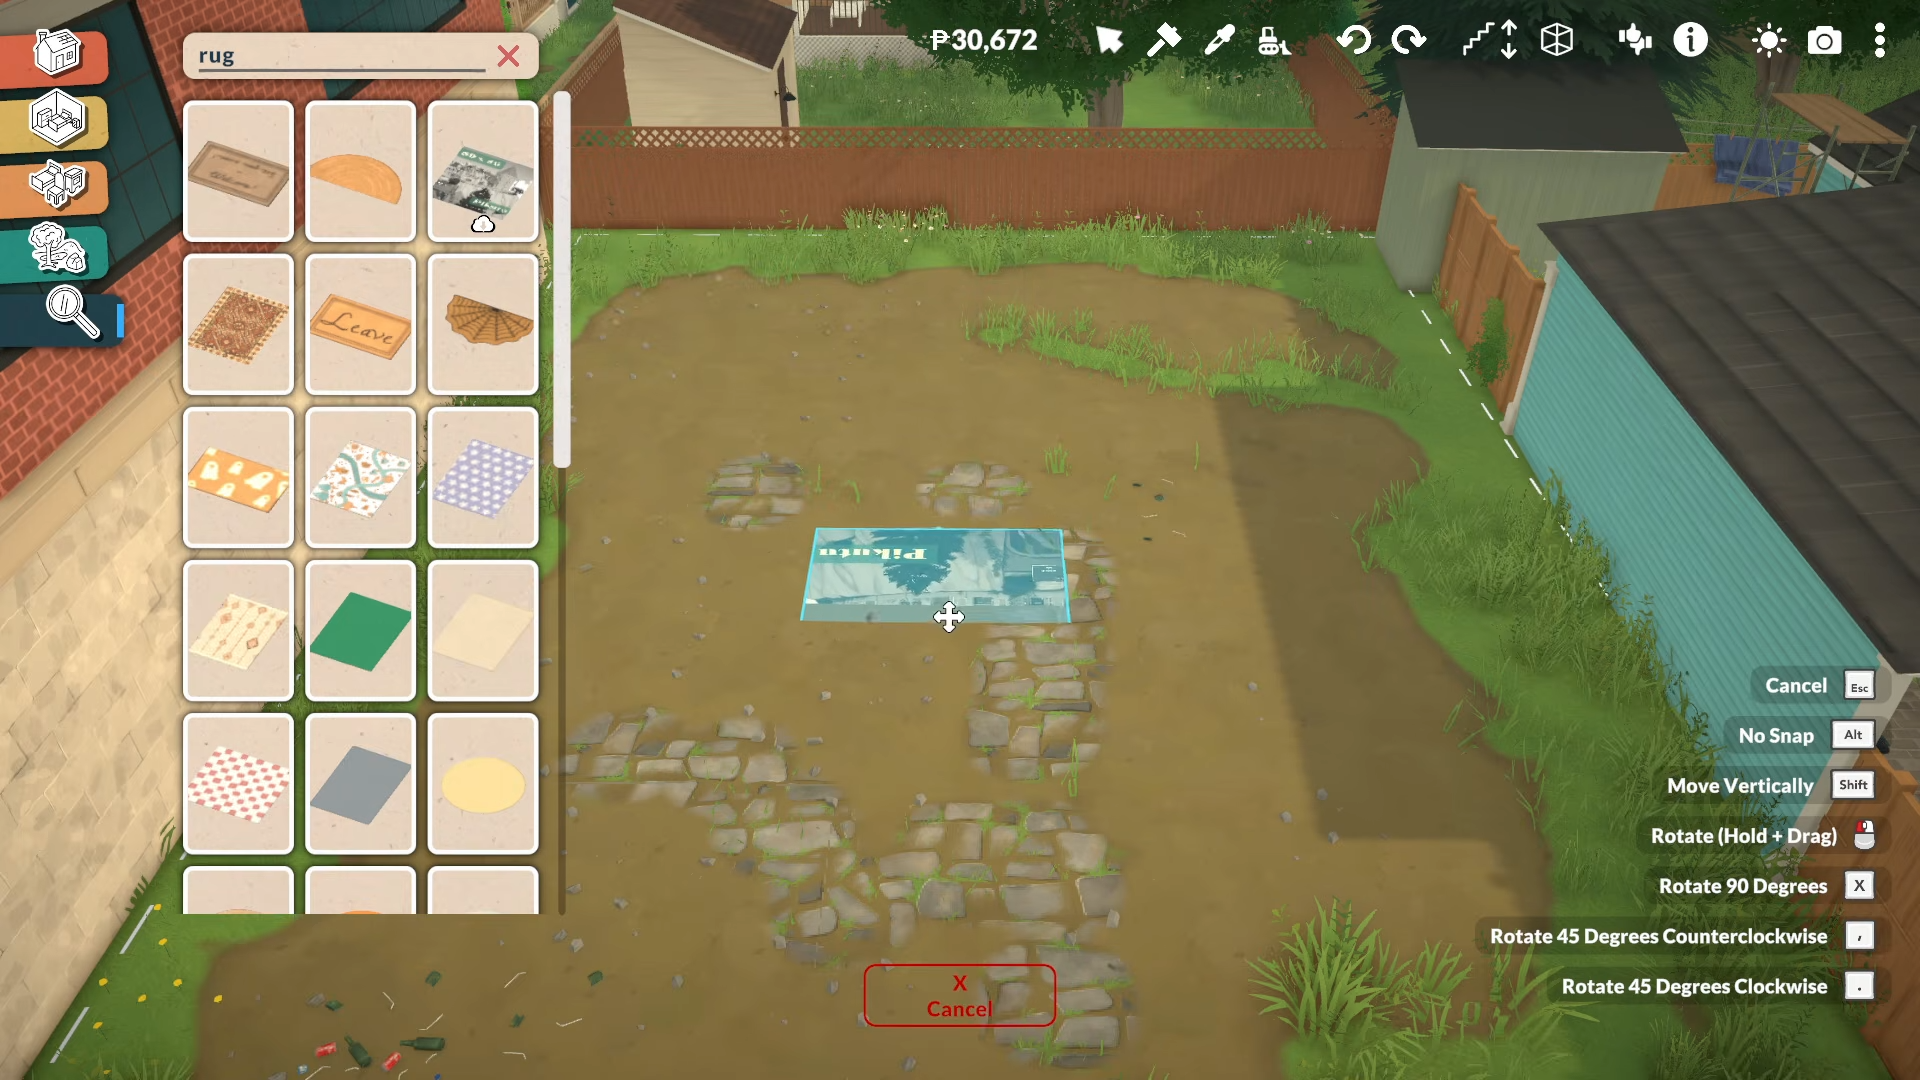
The modded item is identifiable by the Steam Workshop cloud-arrow icon, and the rug is what you’ll use as the blueprint surface.
Step 4: Upload the blueprint image
Click the rug, open its image controls, and press the plus sign to browse your folders.

Pick a floorplan image, confirm it, and the blueprint will appear on the rug so you can trace the layout.
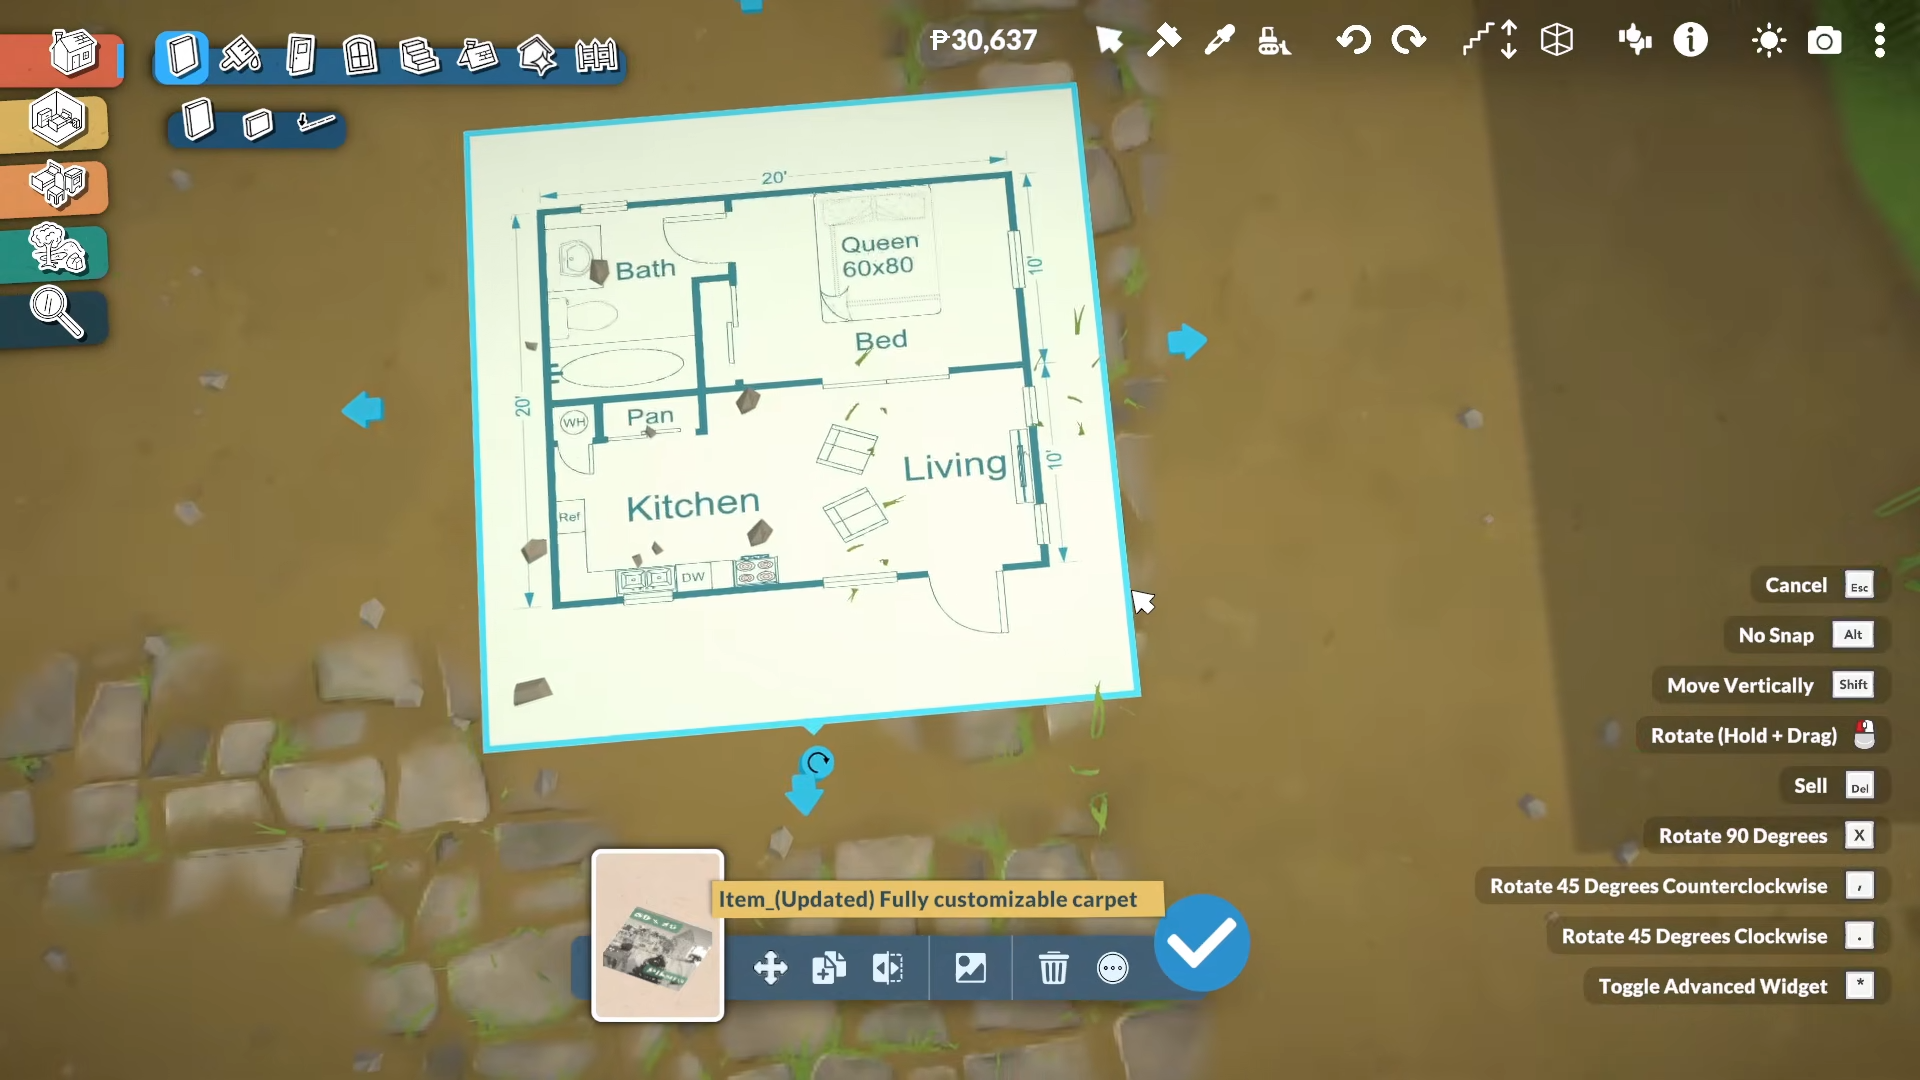
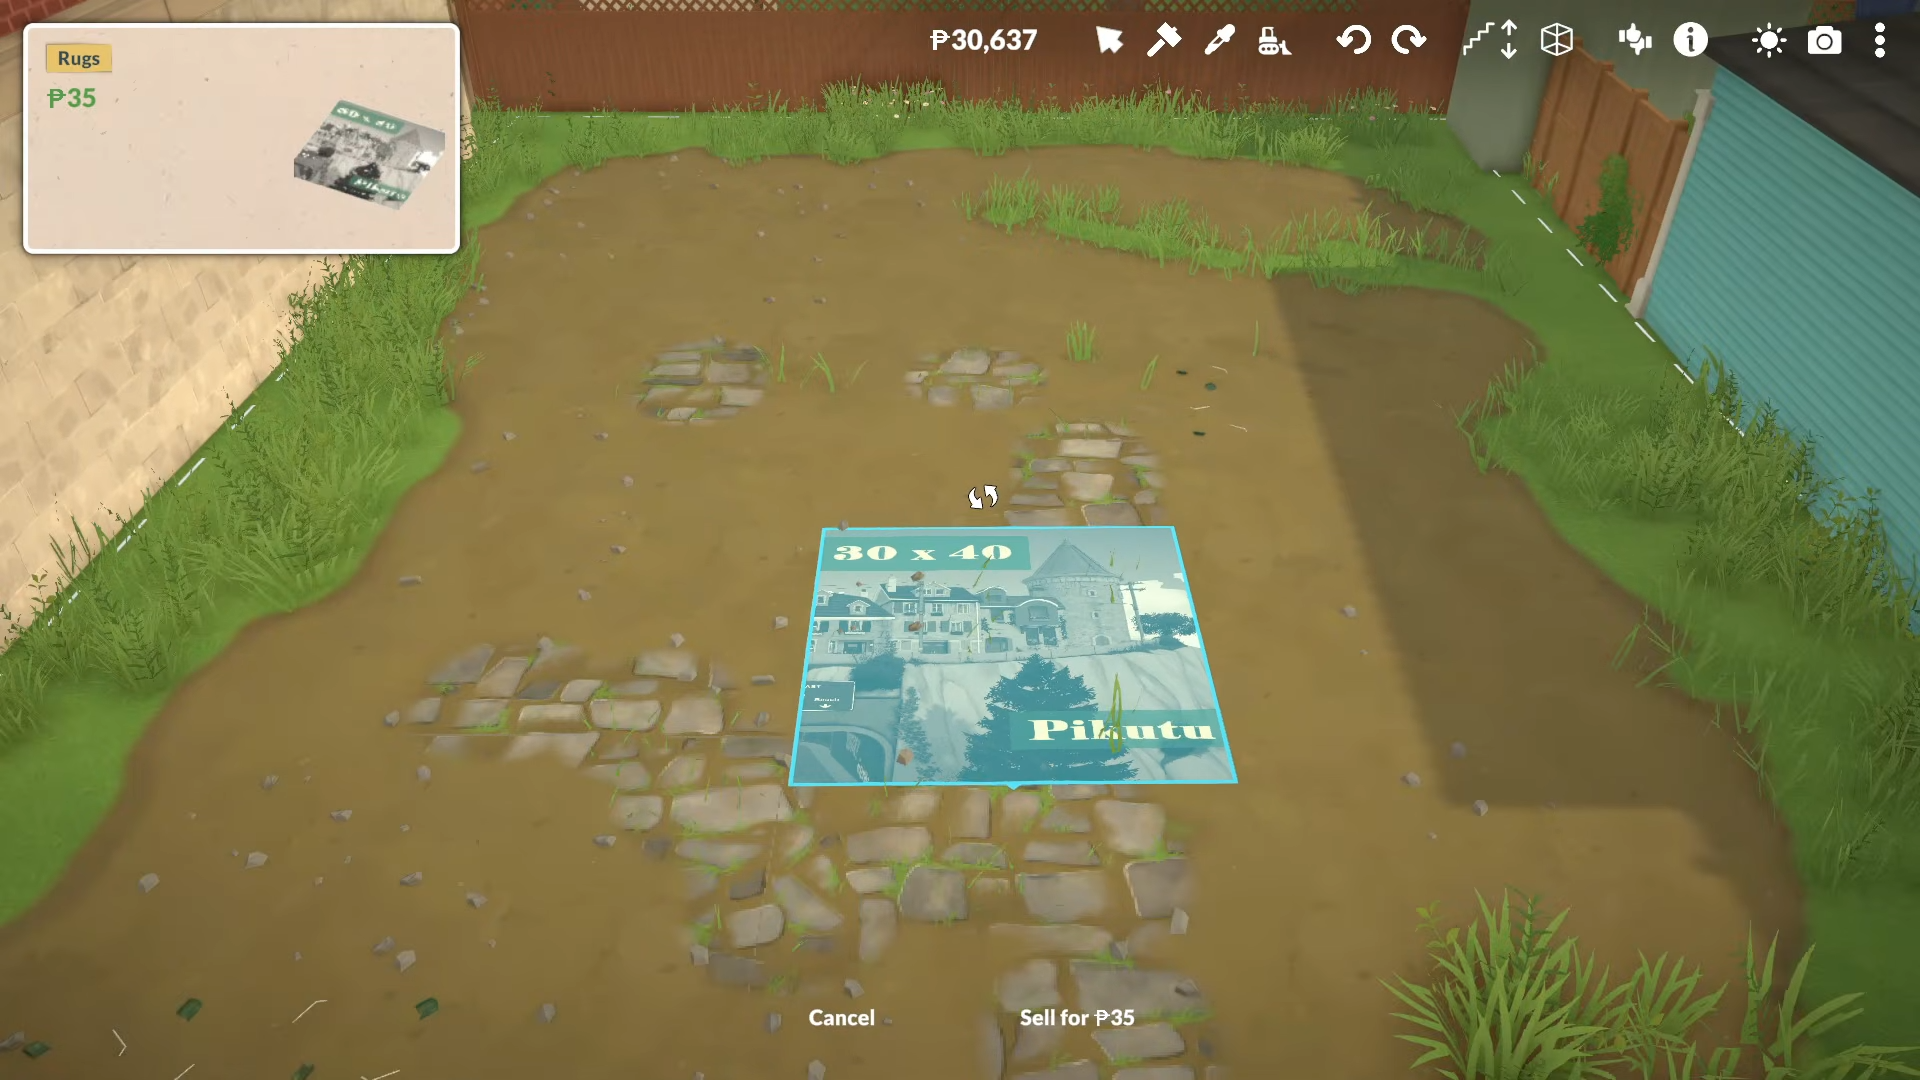
Step 5: Resize the blueprint to scale
Stretch or shrink the rug until the rooms match the size you want in-game.
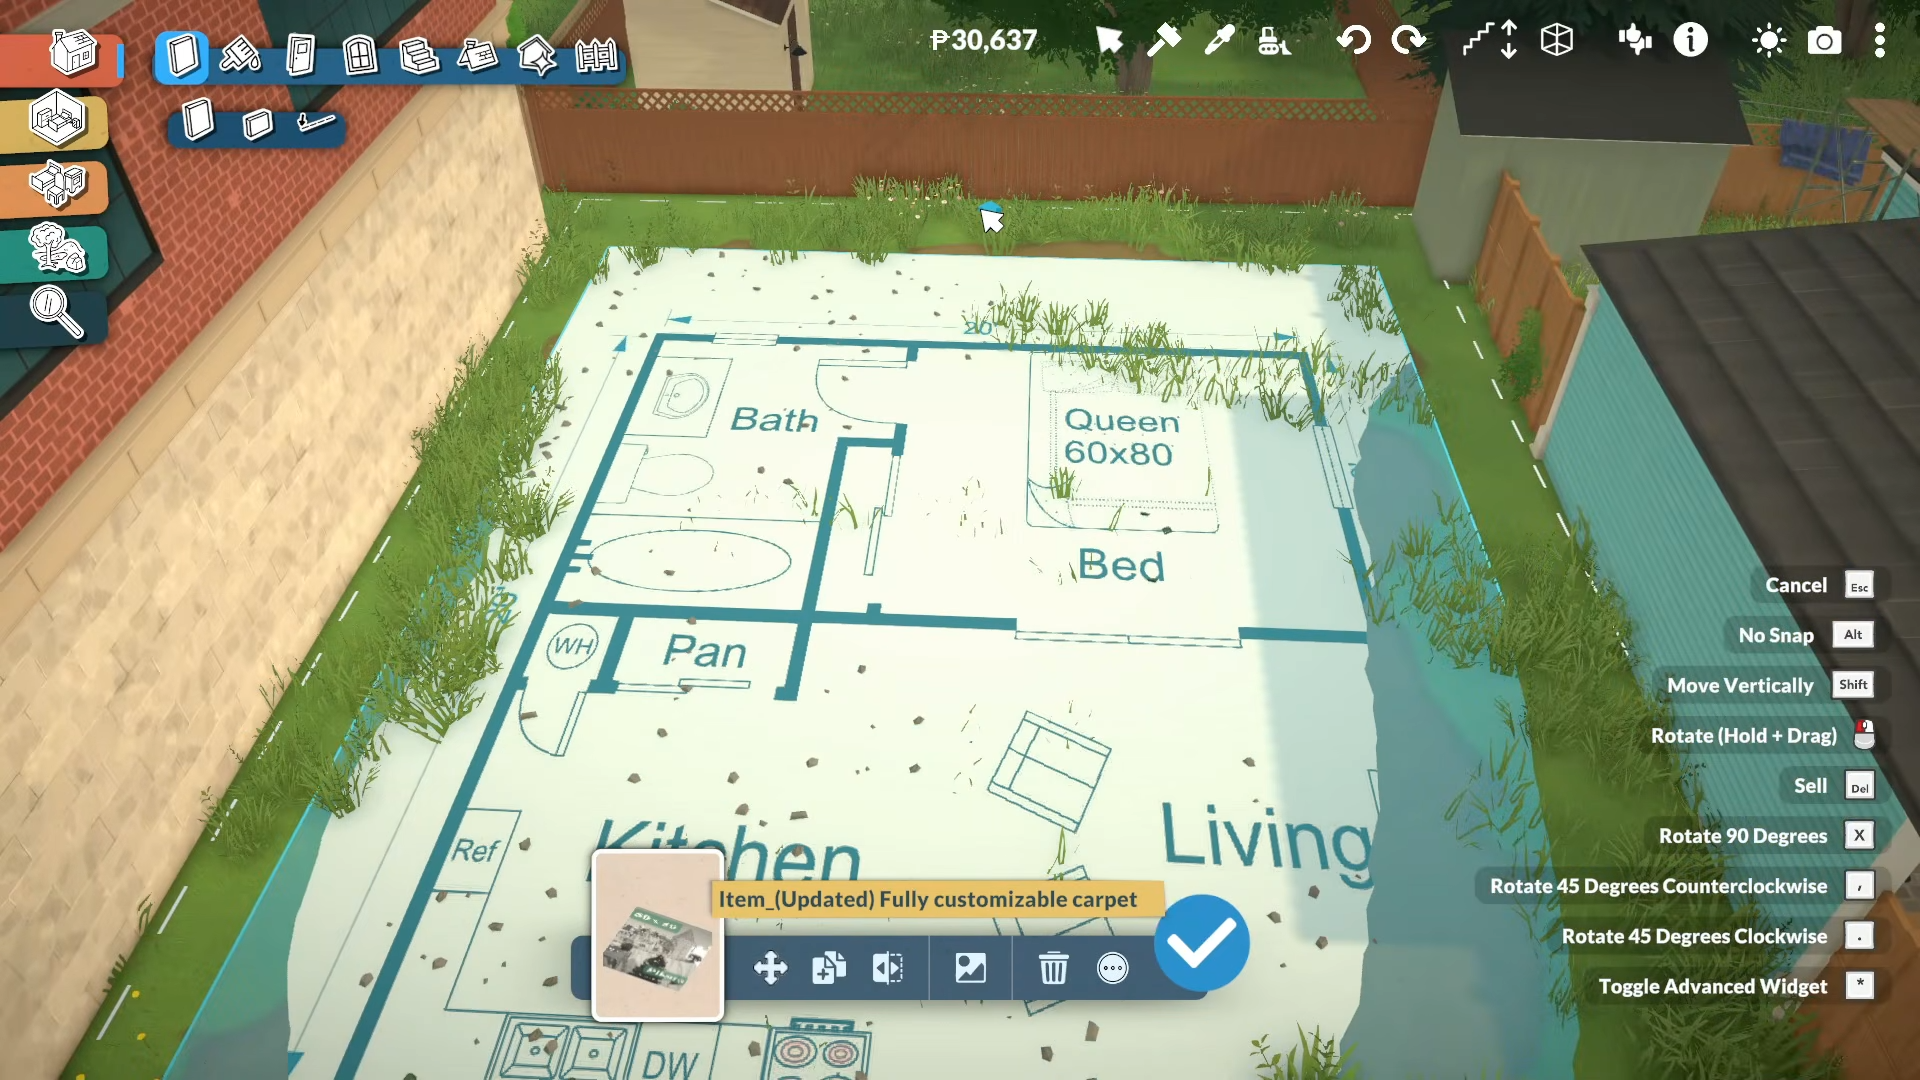
If the image feels too large or too small, adjust it before you start wall placement, because getting the scale right early makes every later step cleaner.
Step 6: Trace walls and openings
Use the blueprint image to place walls.
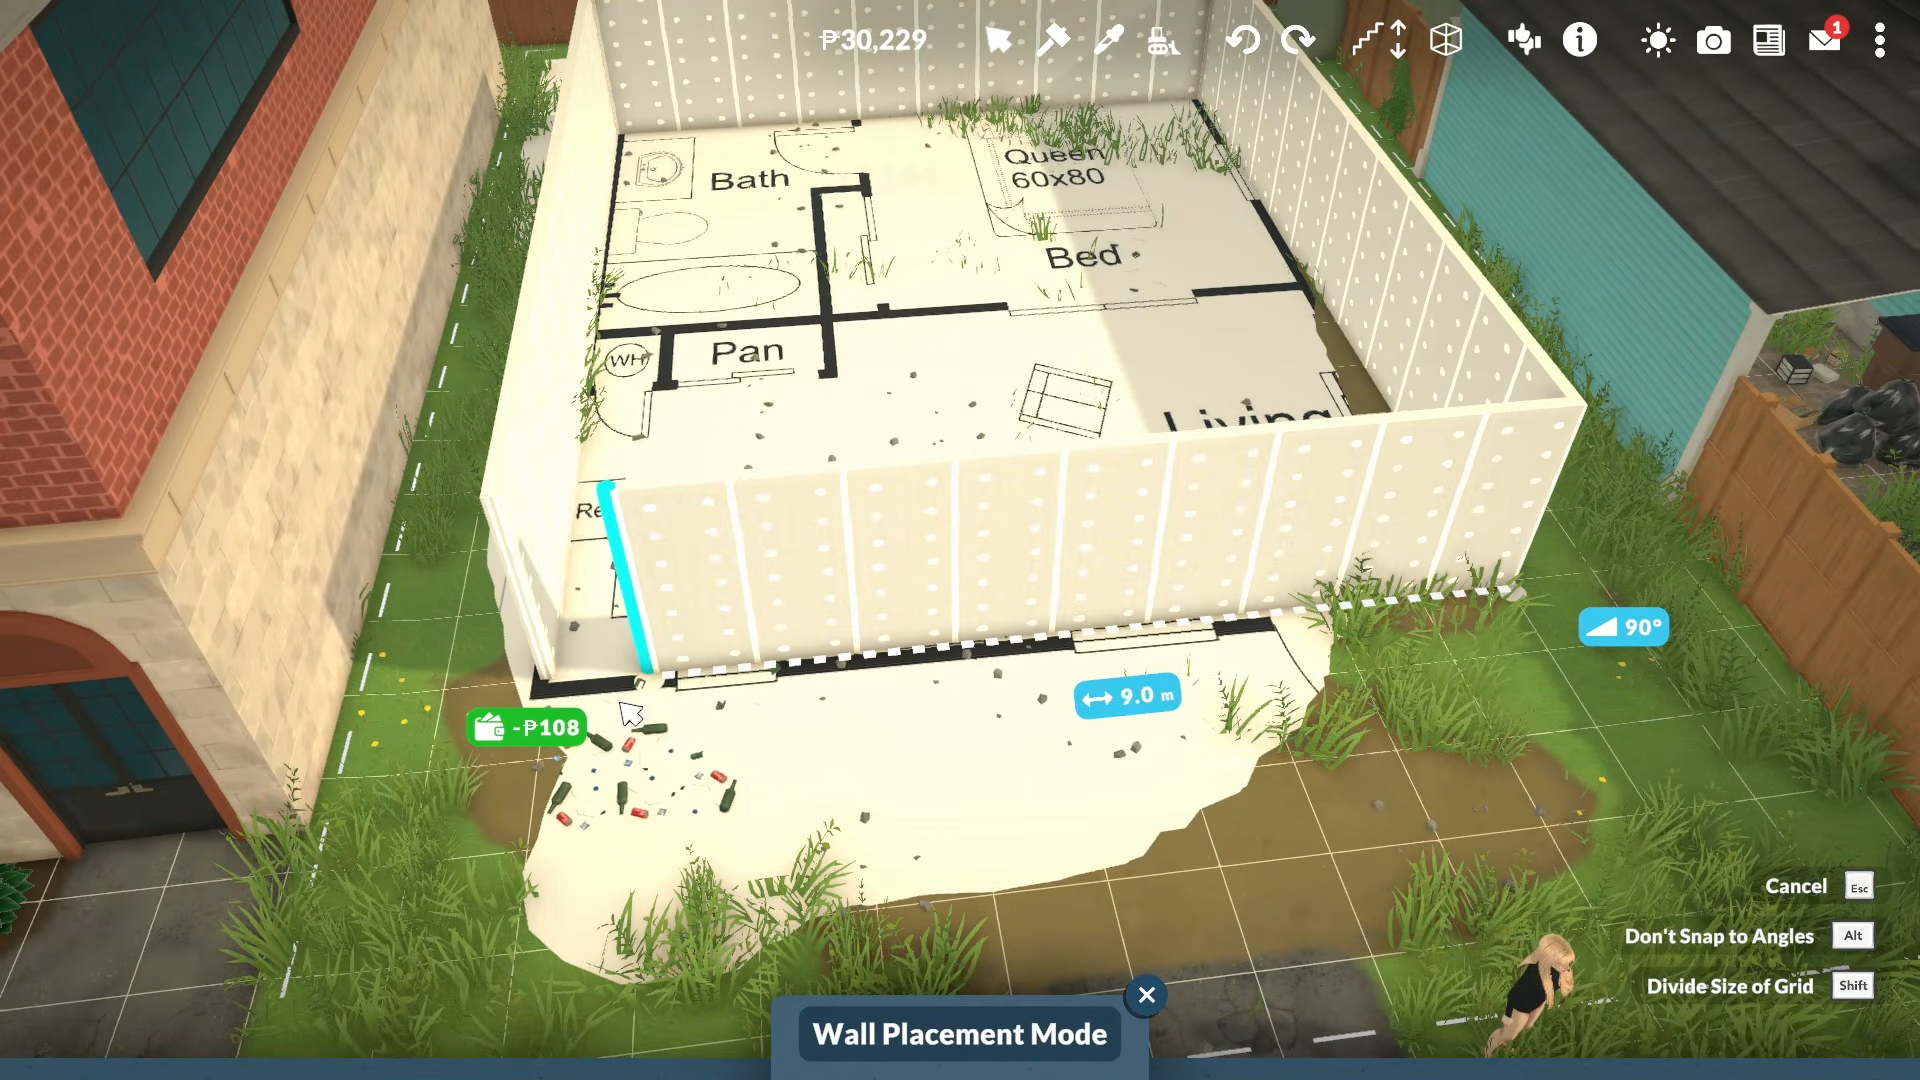
Then match doors.
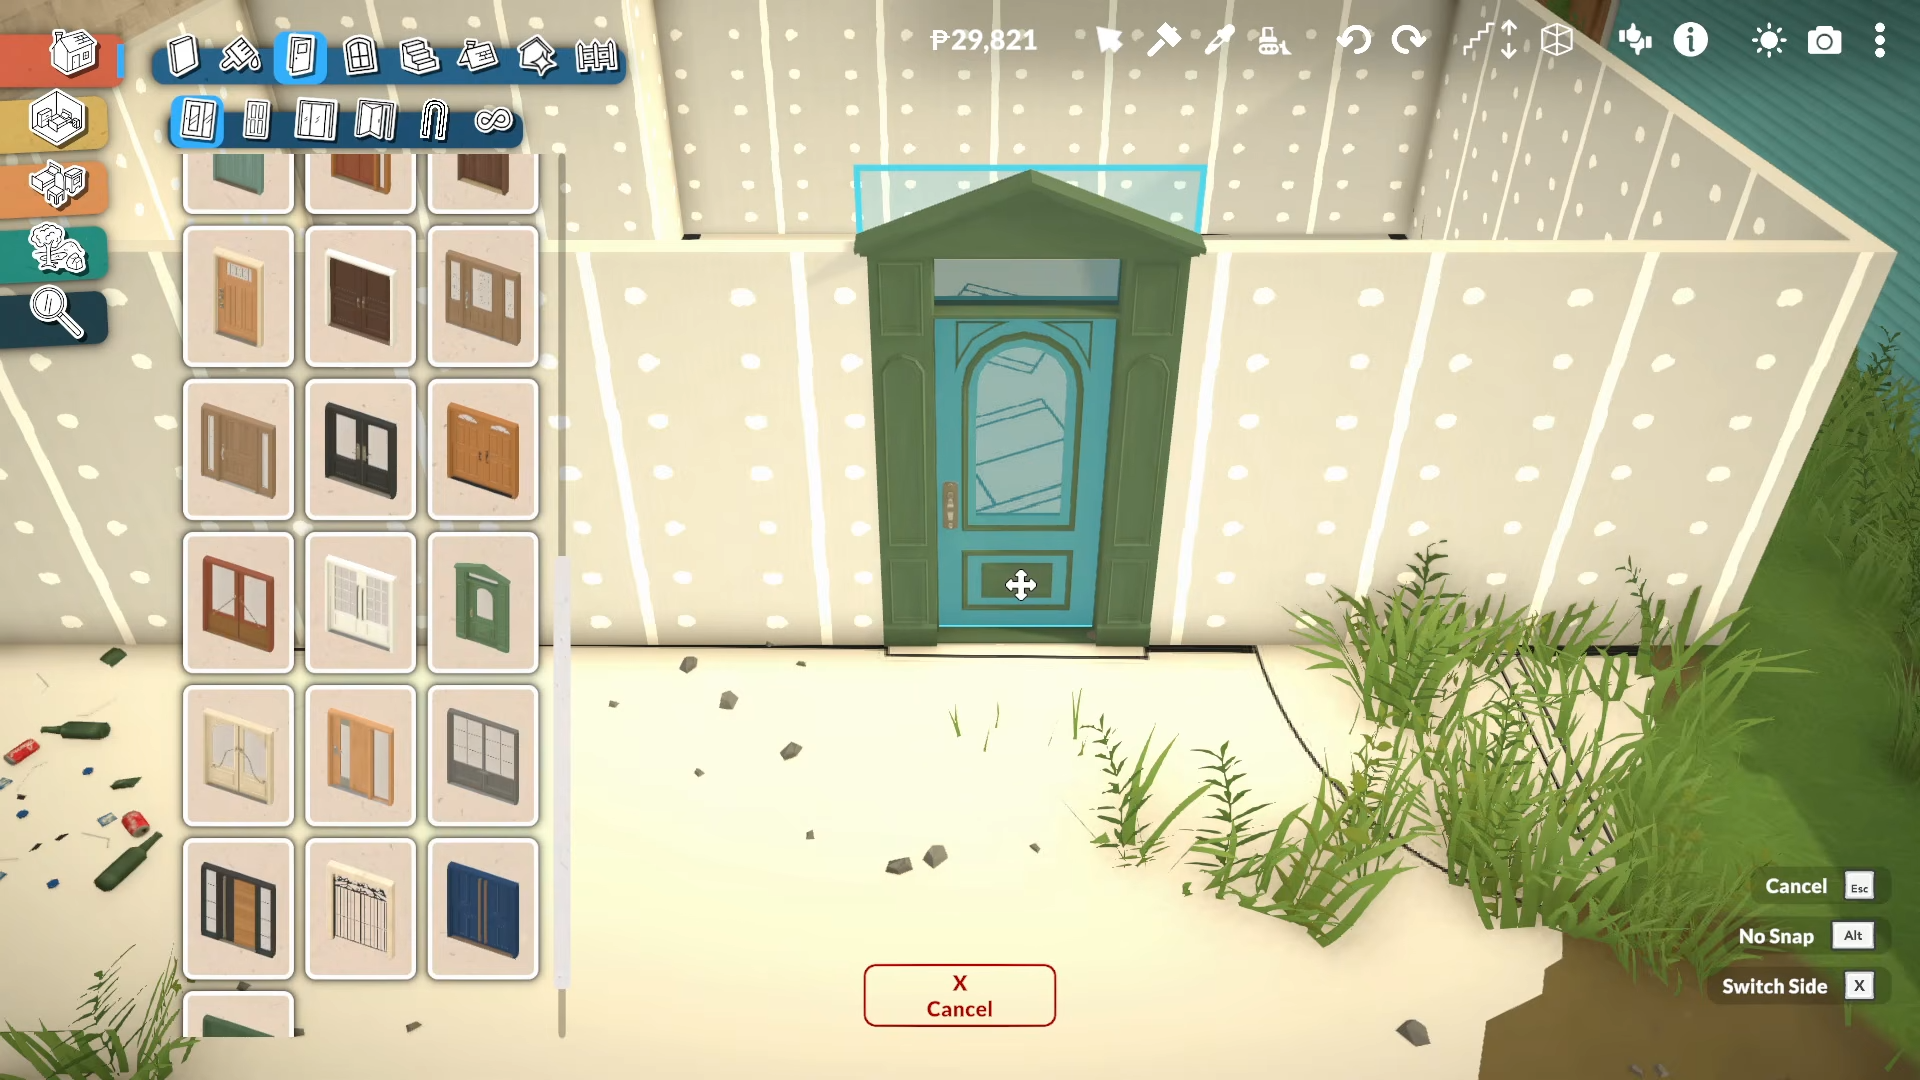
Add windows.
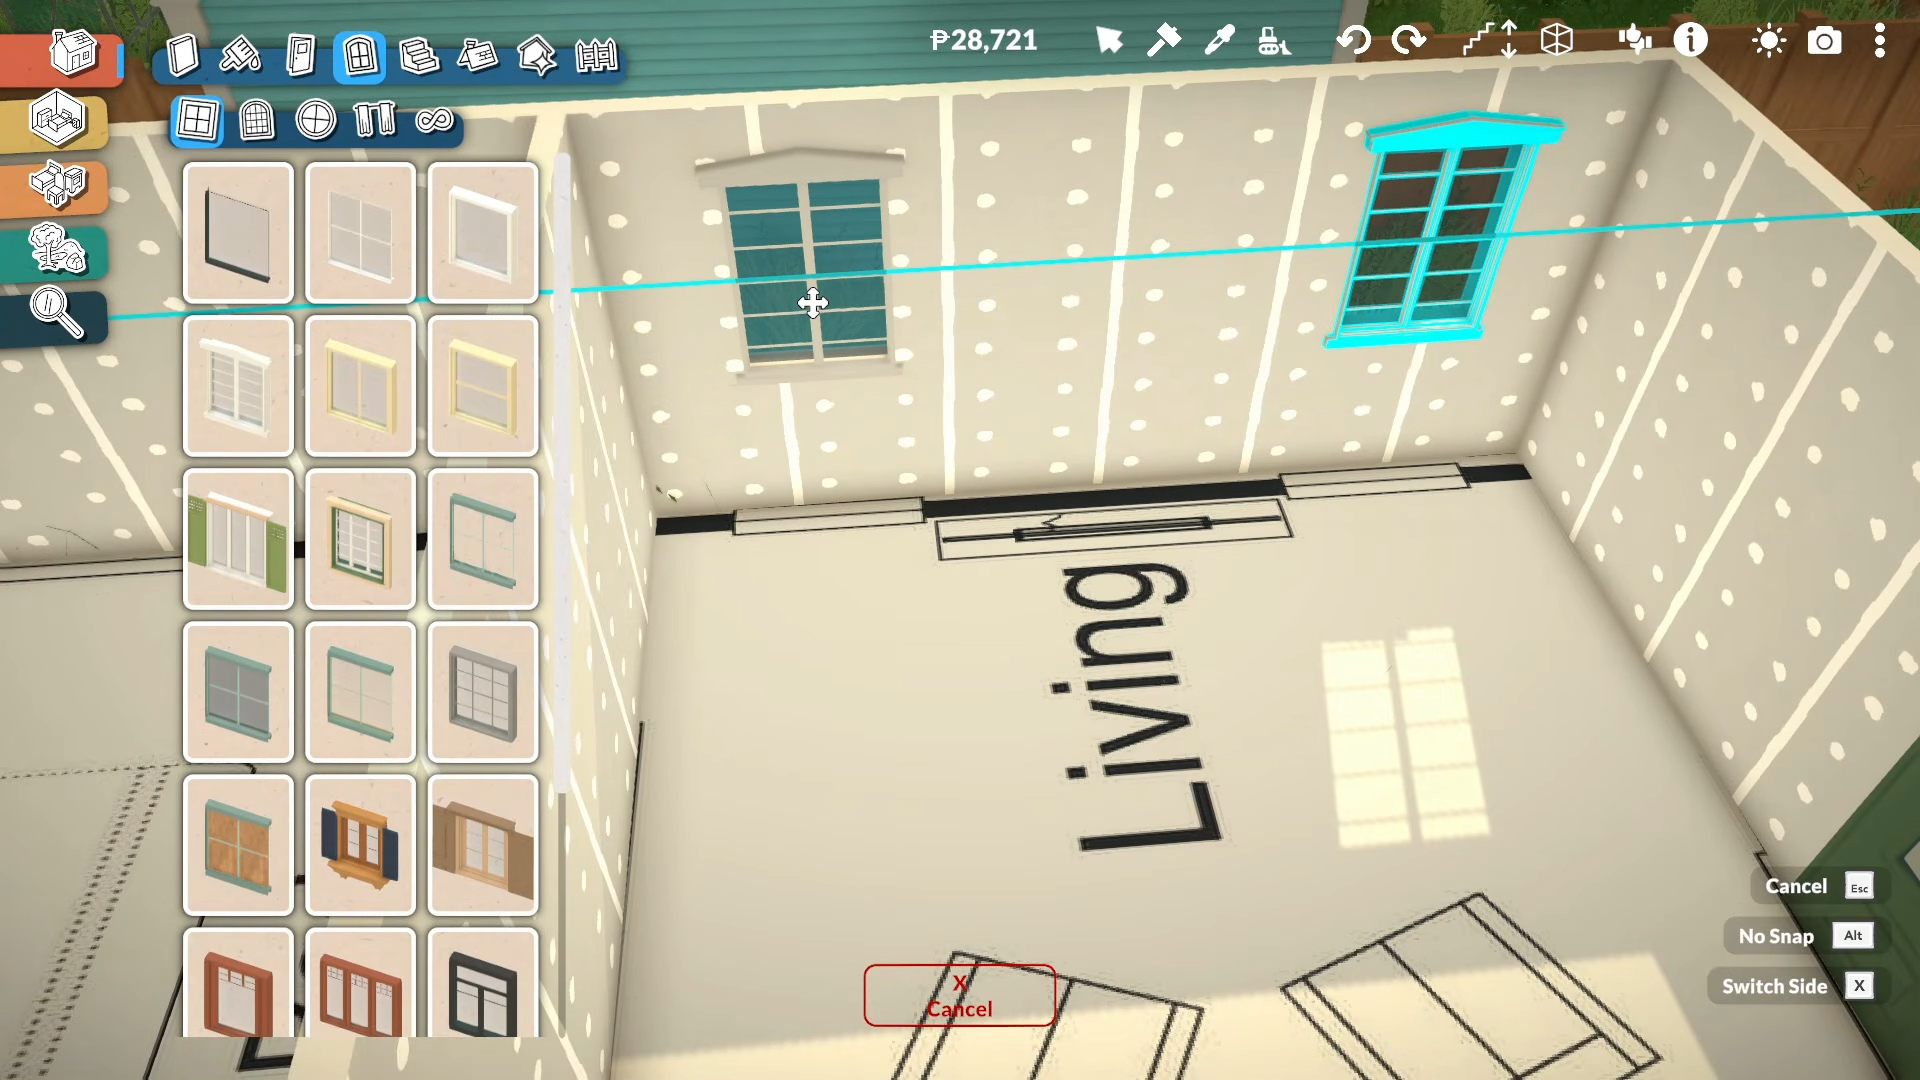
And room separations to the plan.
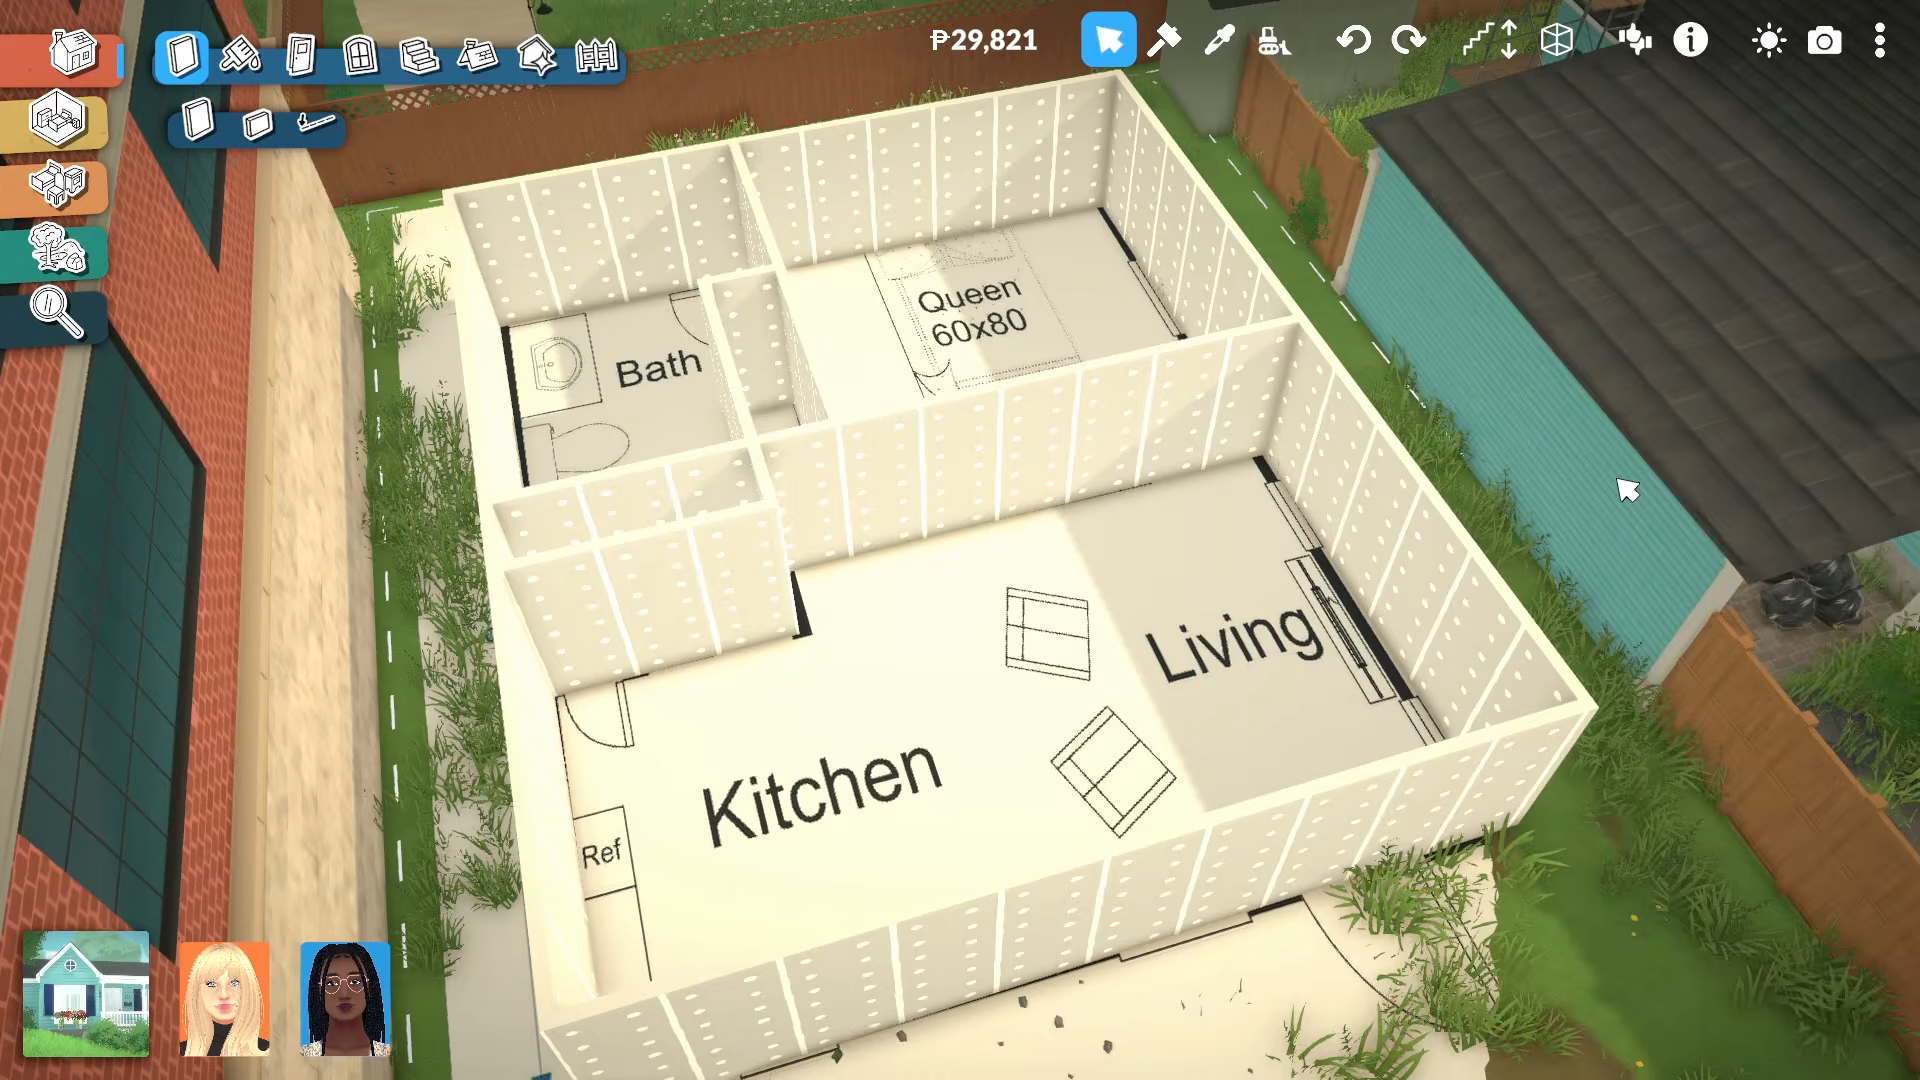
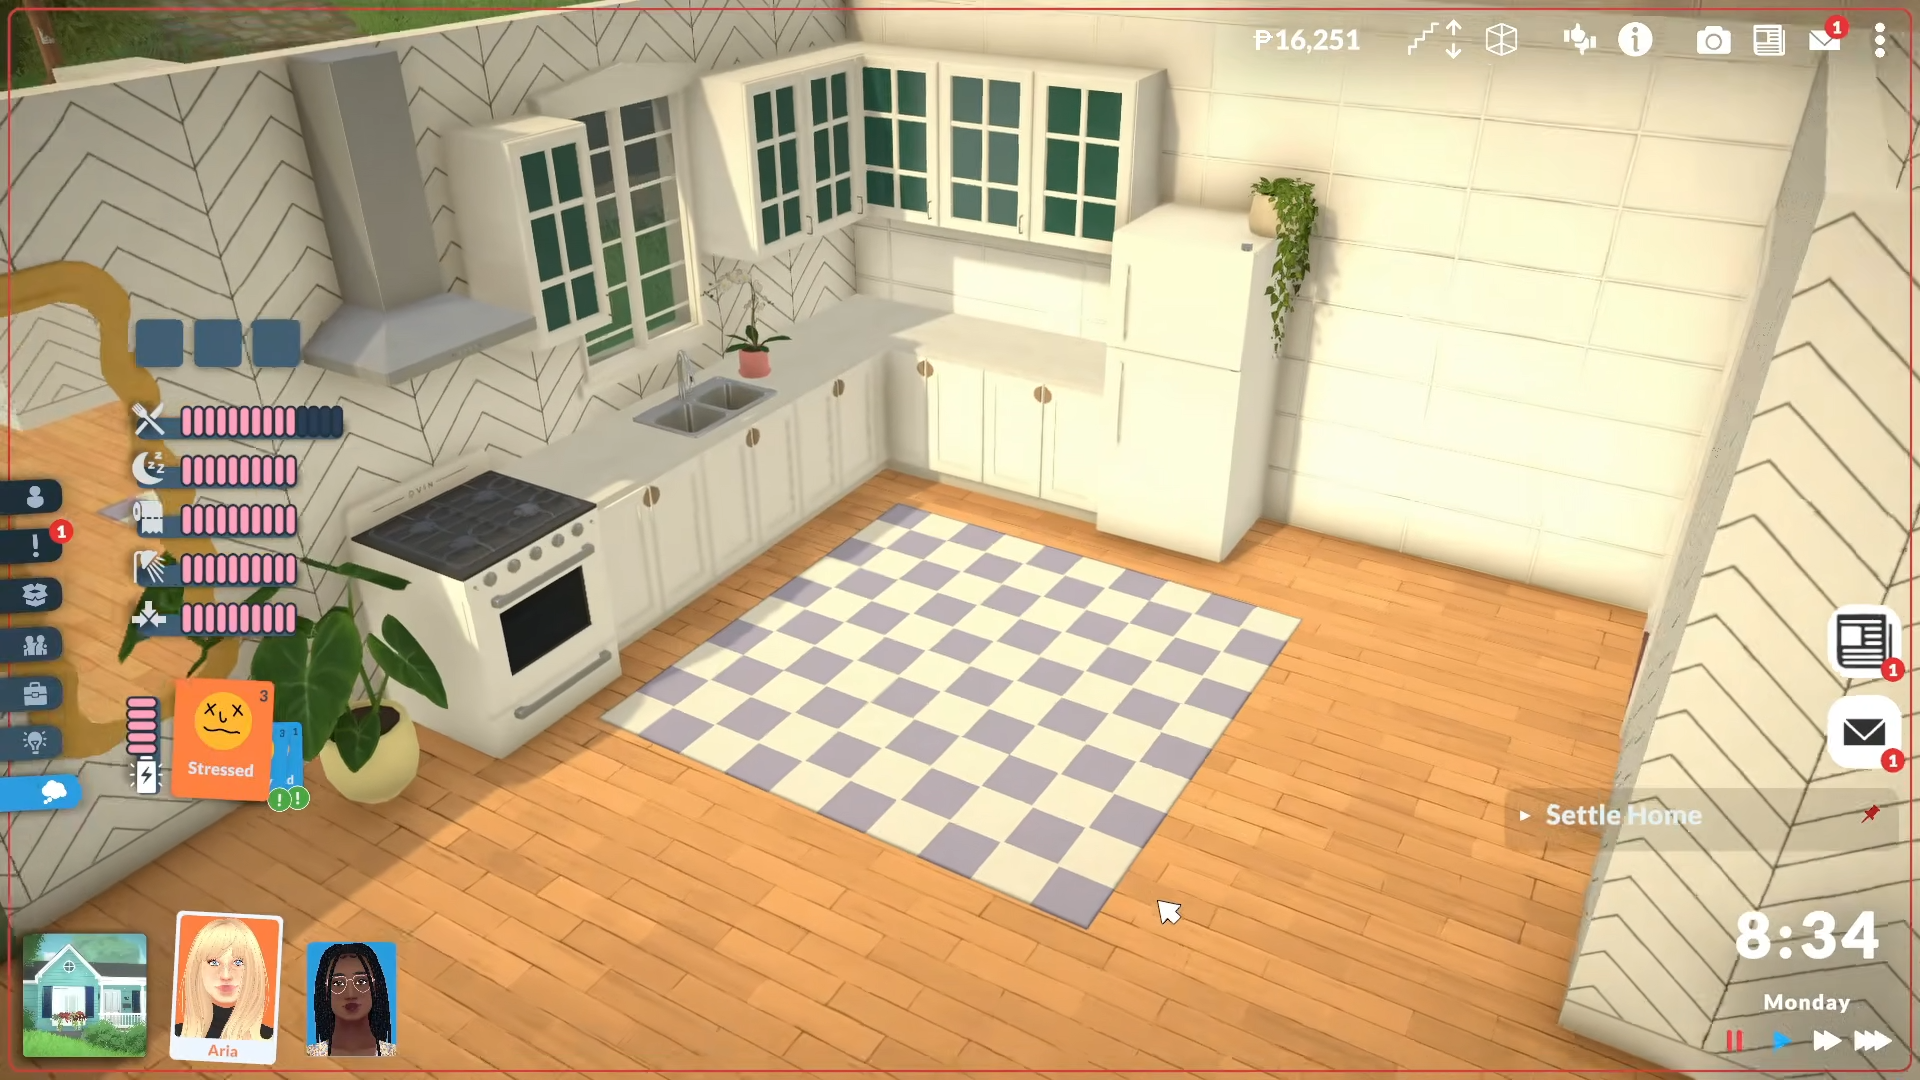
Line up spaces like the kitchen, living room, bedroom, closet, pantry, and bathroom by following the blueprint directly.
Step 7: Remove the rug and finish the house
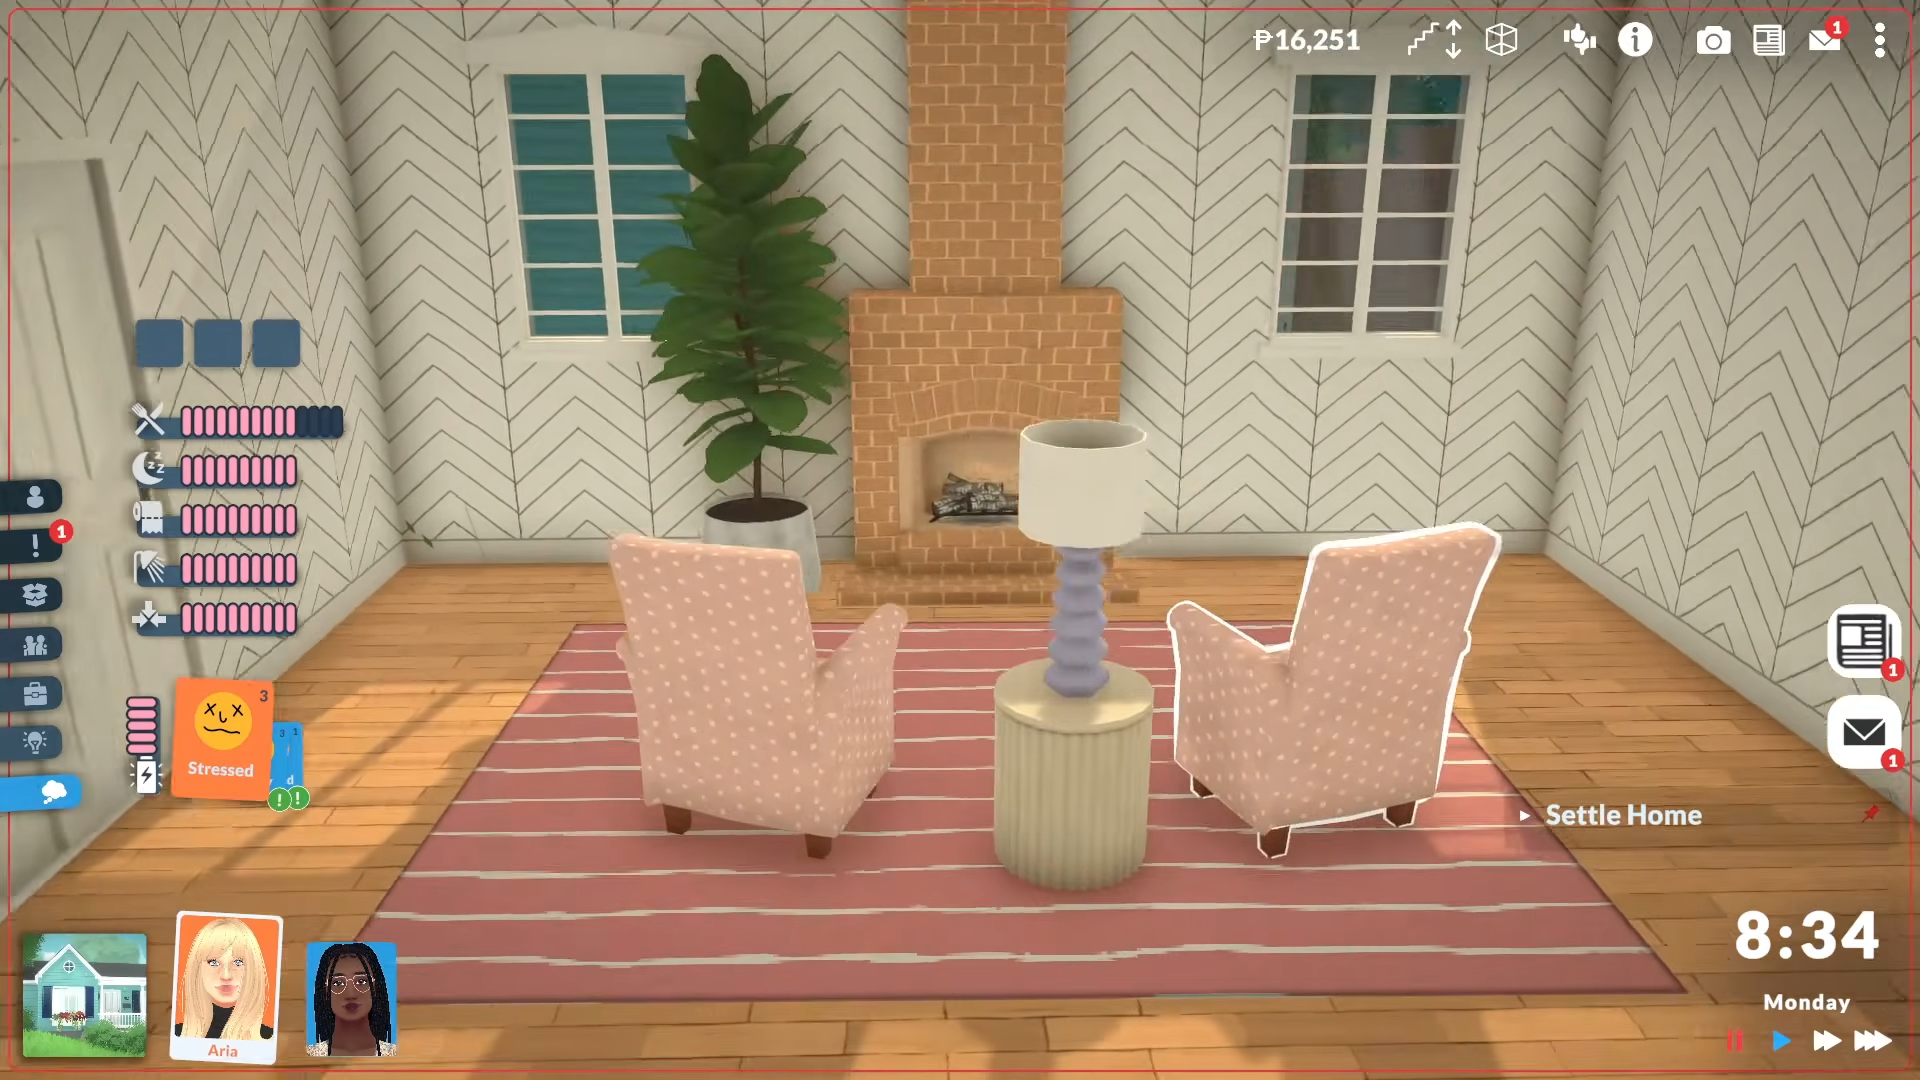
Delete the rug once the walls and openings are in place. That leaves the actual build intact, so you can decorate it normally and tweak the layout if you think a room, like the bedroom, needs to be smaller or tighter.
Mistakes to avoid
-
Don’t skip the scale check. If the blueprint is too big or too small, every wall placement will drift out of alignment.
-
Don’t build before confirming the rug is the modded Workshop version. The tutorial relies on the item marked with the cloud-arrow icon.
-
Don’t keep the rug in place after tracing unless you want it visible in the final build.
-
Don’t assume every room needs the same number of windows.
-
Don’t be afraid to adjust room size after tracing.
This blueprint method makes Paralives building more beginner-friendly because it turns a rough floorplan into a visible on-lot guide. It is especially useful if you struggle with layout planning, room proportions, or placing windows and doors in the right spots. It also helps you build faster because you are not designing the house from imagination first. Instead, you trace the structure, remove the guide, and move straight into decorating.


Leave a Reply