
Gear in DragonSword: Awakening is mainly about keeping a useful 3-piece set plus a separate 2-piece set active, while Karma is weapon-mounted progression where Basic Karma should match your hero’s element or status role and Exclusive Karma is the long-term character-specific best-in-slot target.
DragonSword: Awakening can make a higher-color item look like an automatic upgrade, but gear only works if the set bonus, main stat, substats, and Karma all point in the same direction. Once you treat gear as a 3+2 set puzzle and Karma as a weapon-mounted build layer, the upgrade path becomes much easier to judge.
- 3+2 gear sets beat five matching pieces
- Dungeon drops, upgrades, and reforging loop
- Main stats and substats by character role
- How to level up gear in DragonSword: Awakening
- Disassembly, transmutation, and crafting materials
- Runes from raids
- Basic Karma on weapons
- Exclusive Karma as character gear
- How to get Karma materials in DragonSword: Awakeing
- Early and mid-game investment order
- Frequently Asked Questions
3+2 gear sets beat five matching pieces
| Gear choice | Result |
|---|---|
| 3 pieces of Set A + 2 pieces of Set B | Activates a role-defining 3-piece effect plus a secondary 2-piece effect. |
| Five matching pieces | Keeps the 3-piece effect but wastes two slots that could activate another bonus. |
| Random high-rarity pieces | Can raise raw stats while disabling the bonuses your build is using. |
Set bonuses are the first thing to check before rarity. A useful loadout normally runs three pieces of one armor set for the 3-piece effect, then two pieces of another set for a second bonus. Equipping five pieces from the same set gives up that extra 2-piece value.
This is also why a brighter drop can be a downgrade. If swapping one slot turns an active 3+2 setup into a broken set count, the character may lose more from the set bonus than they gain from item color or a few levels.
Check set counts before pressing Equip; a shiny replacement is only an upgrade if the active bonuses still support the hero.
Dungeon drops, upgrades, and reforging loop
| System | Use |
|---|---|
| Dungeons | Farm higher-tier gear as story progression opens stronger stages. |
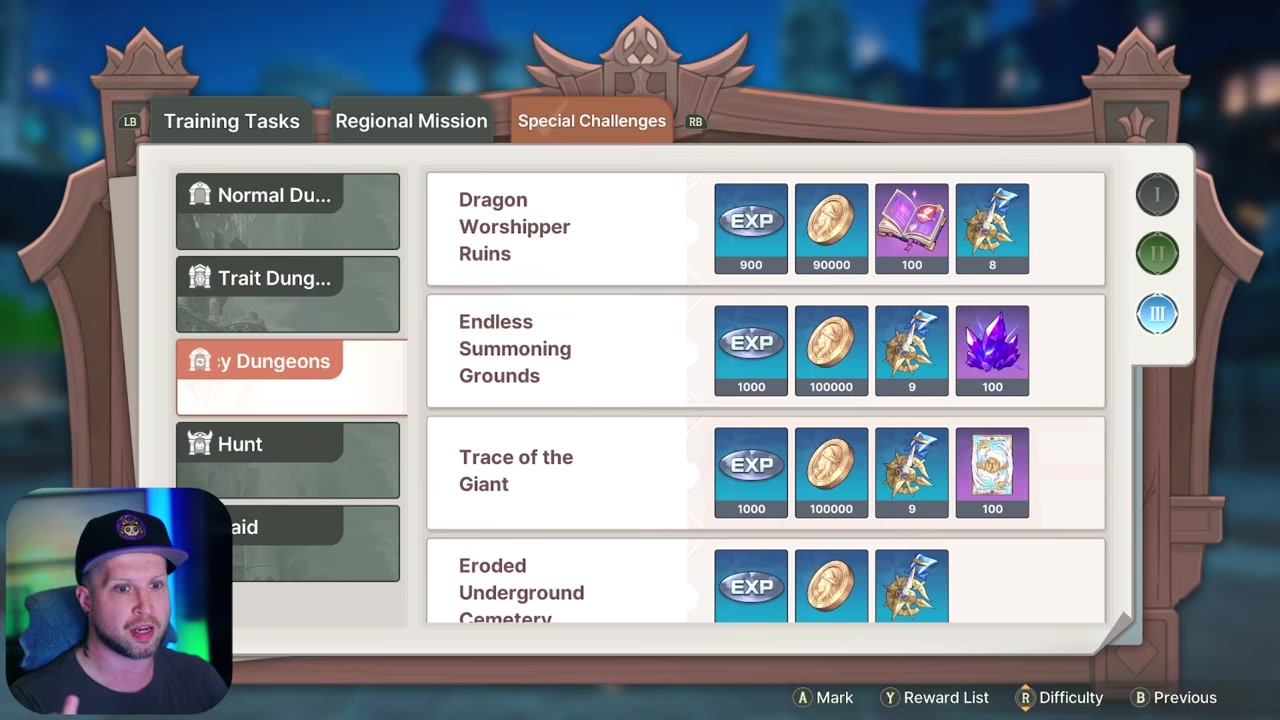
| Merc Guide, Special Challenges | Check which dungeon drops the set pieces you need. |
| Currency dungeons | Farm ore, gold, EXP books, Karma cards, and higher-tier upgrade materials as later stages unlock. |
| Raids | Farm runes and related resources once your gear tier supports rune slots. |
| Upgrades | Spend ore and gold to raise a piece to its current cap. |
| Reforging | Use Shape Grinder on max-level gear to reroll substats, with higher gold costs when substats are locked. |
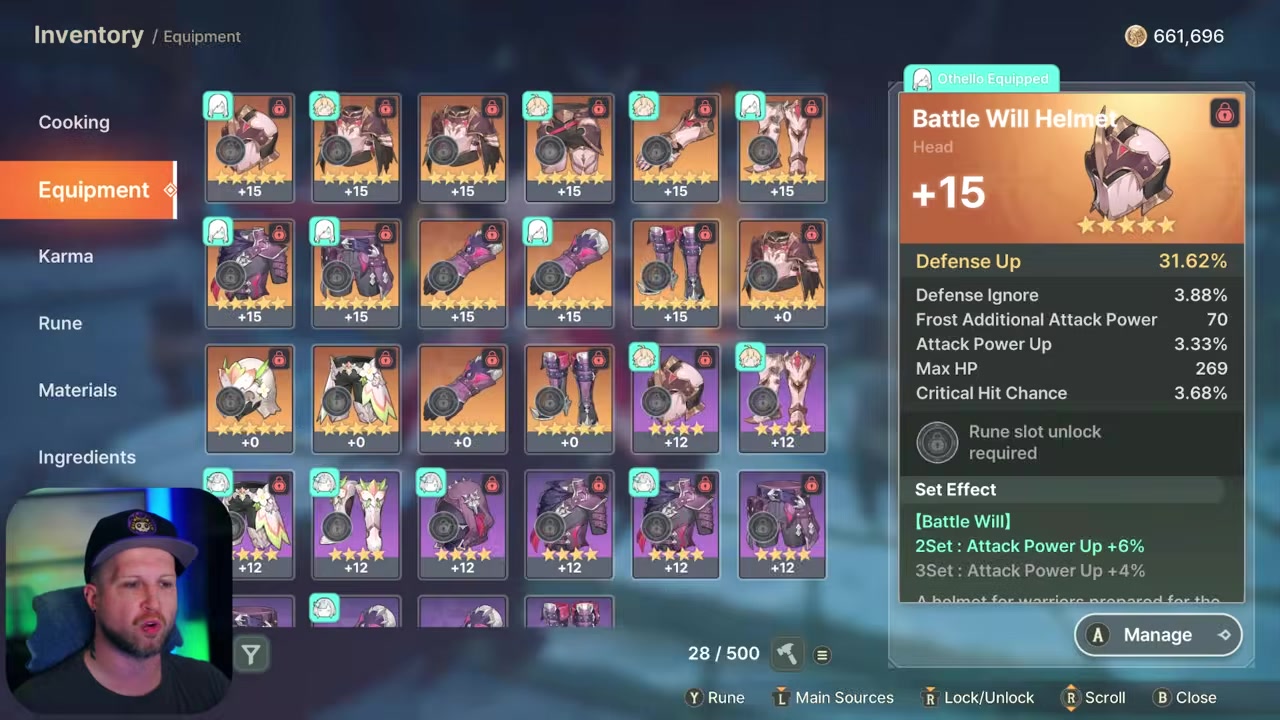
Gear progression starts with dungeon drops. Lower-tier gear has a lower level cap and fewer substats, while higher-tier gear has more upgrade room and can reach level 15. As you push story and unlock more dungeons, the same set idea returns at stronger tiers instead of making every old piece worth keeping forever.
The Merc Guide is the practical lookup tool here. Open Special Challenges to see which dungeon drops which sets; normal dungeon rewards revolve around the base armor sets Battle Will, Ballad of Life, and Intruder, while more niche sets come from crafting.
Main stats and substats by character role
Good gear is not just high-tier gear. A frost damage dealer gets poor value from a bleed substat unless the team is actually using bleed, while a stun, knockdown, aerial, or break-focused hero wants lines that feed that job. The same logic applies to survival stats: they matter most when the hero is actually taking pressure or enabling a Signal setup that needs uptime.
KEY!The main stat deserves extra attention because its strength can differ by armor slot. The chest slot is especially important because it can carry the strongest main-stat value on armor, and crafting with a Forging Mold lets you choose the intended main stat instead of accepting a random one.
Some defensive labels are thinly explained in-game. Read crit hit reduction as reducing incoming crit chance and crit damage reduction as softening incoming crits, but build around clearer role stats before chasing those lines.
How to level up gear in DragonSword: Awakening
Level the gear
Spend ore and gold until the piece reaches its current cap.
Check the slot
Prioritize pieces with a strong main stat for that armor slot, especially the chest.
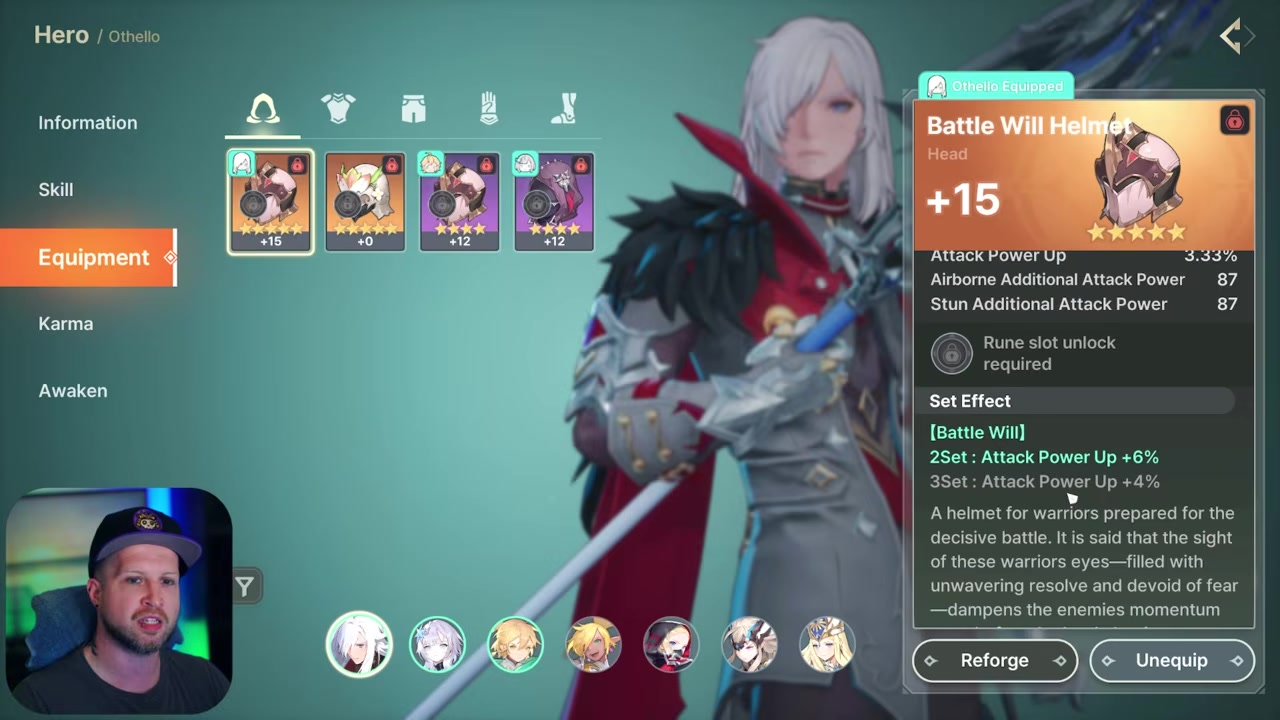
Open reforging
At max level, spend a Shape Grinder to reroll the piece’s substats.
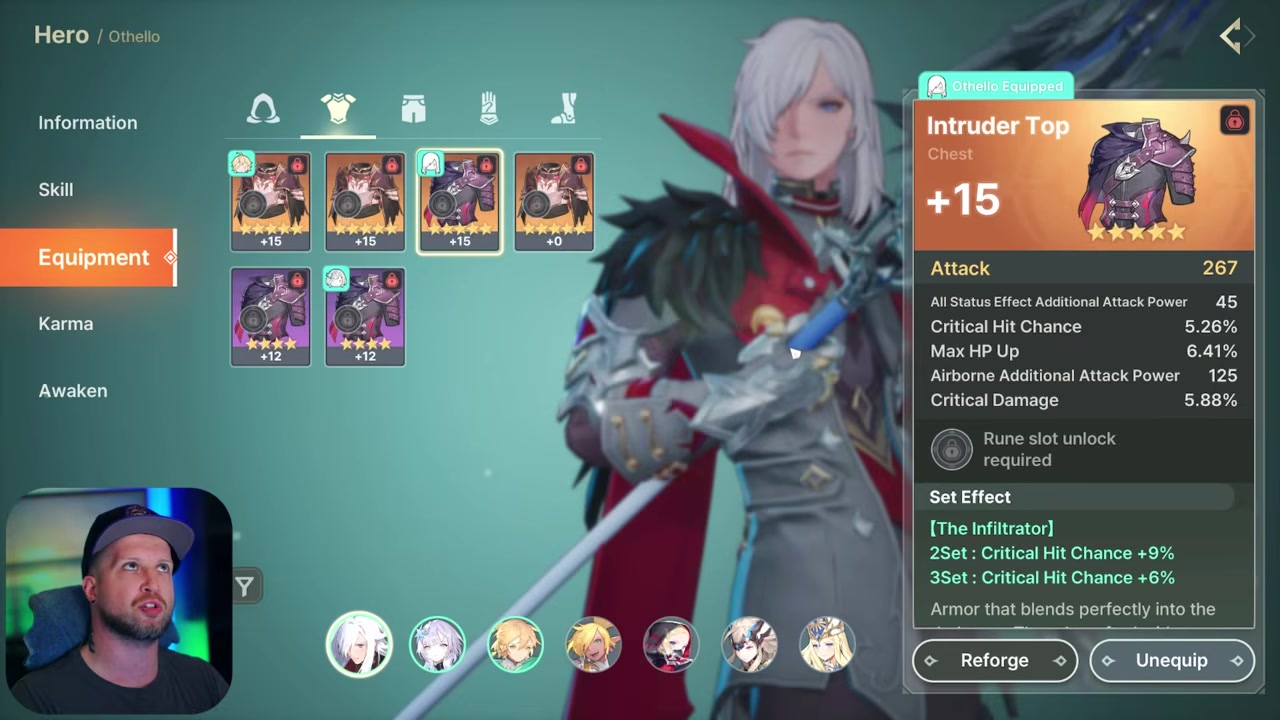
Lock good lines
Lock the substats you want to keep before rerolling; each locked slot raises the gold cost.
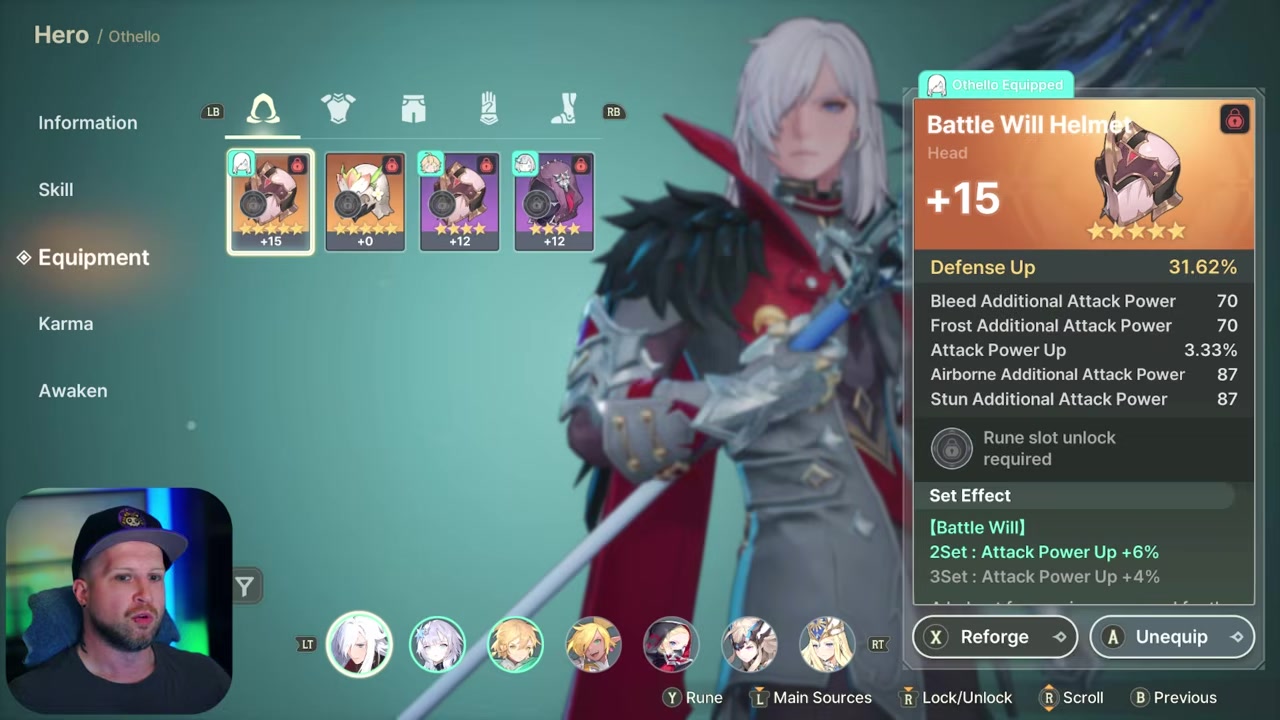
Keep the useful roll
Stop when the piece improves the hero’s real element, break type, status role, damage need, or survival need.
Disassembly, transmutation, and crafting materials
Crafting runs through Modan, the blacksmith. Starting around 3-star gear, recipes ask for materials from disassembled rare gear, exchange shops, mining, and Trait Stones. Higher-tier recipes demand higher-tier Trait Stones, stronger disassembly materials, and more transmuted resources.
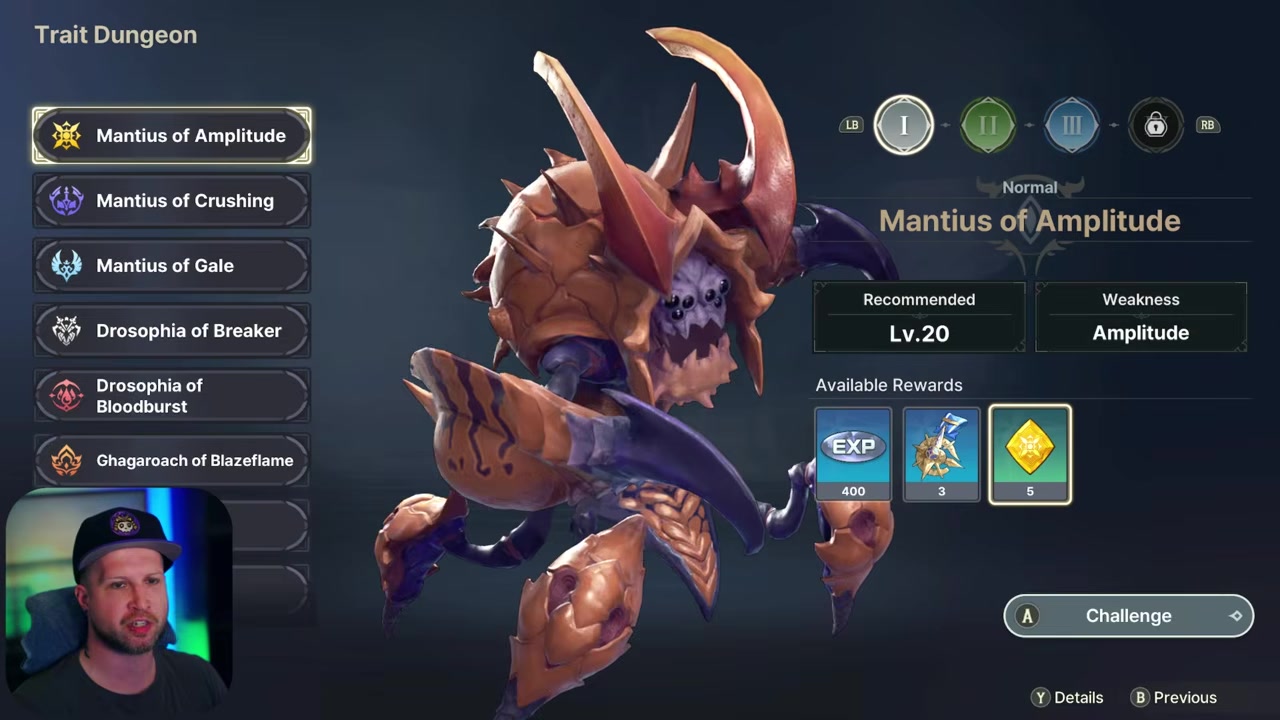
Trait Stones come from the trait dungeon and match the type of gear you are trying to forge. This is where crafted niche sets matter: if you are making a stun set, put it on a stun-role hero such as Luta, not on a character that cannot use that condition.
Unwanted gear should be disassembled from the equipment inventory using the small disassembly icon, or Start on controller. Shanoa handles transmutation, letting you turn a pile of lower-tier materials into the higher-tier resources needed for crafting, including Trait Stones and mining materials. The exchange shop, raids, dungeons, mining routes, and progression shop all feed this economy.
Runes from raids

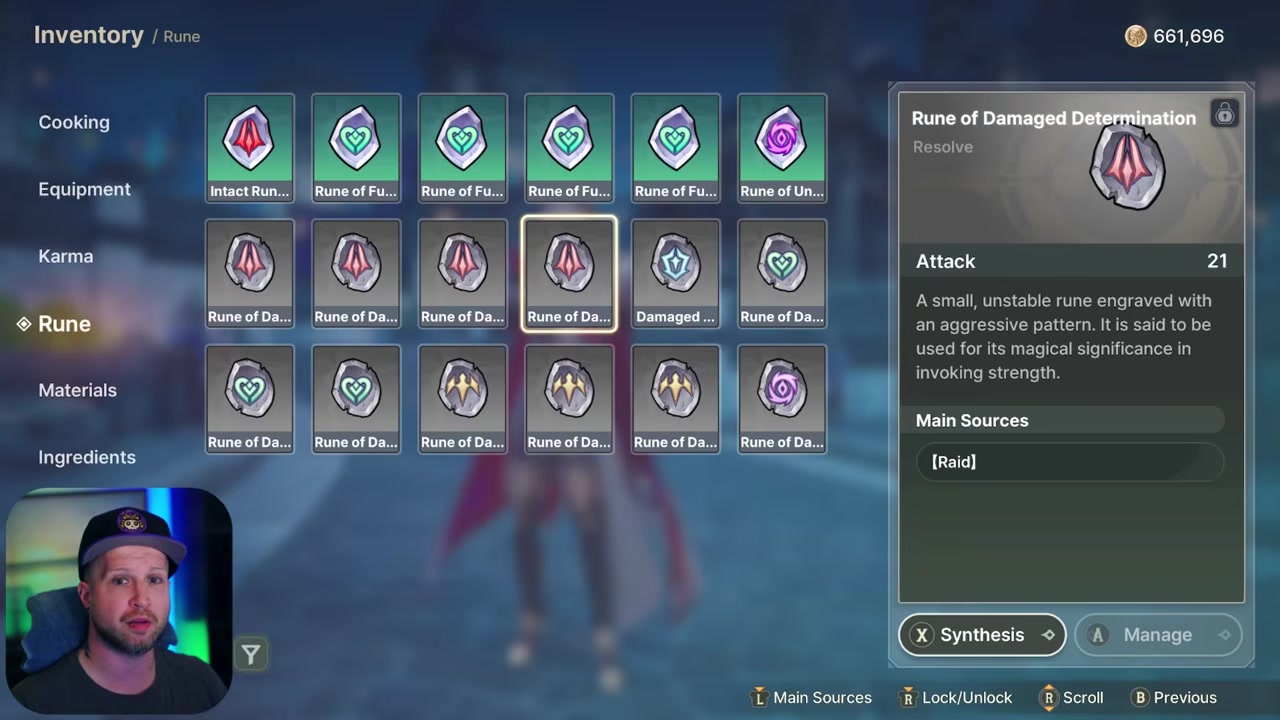
Runes are an extra stat layer for purple gear and above. They come from raids such as Steelheart Fortress Defense and Chase Toward the End, and their stats are random, so treat them as bonus power after your set and main-stat plan is already stable.
Rune synthesis is the duplicate-combining upgrade path for runes. The current synthesis details are light, so save serious rune planning for after you have enough raid drops to compare and combine.
Basic Karma on weapons
| Karma action | Use |
|---|---|
| Equip to weapon | Adds Karma stats to the hero using that weapon. |
| Level | Raises the card’s base stat value. |
| Breakthrough | Pushes the card through resource checkpoints for further growth. |
| Ascend with duplicates | Feeds duplicate cards into the same card to improve its trait effect. |
| Preview requirements | Shows future costs before you commit deeper resources. |
| Match trait to hero | Links the card to element, break type, knockdown, aerial, stun, survival, or Signal use. |
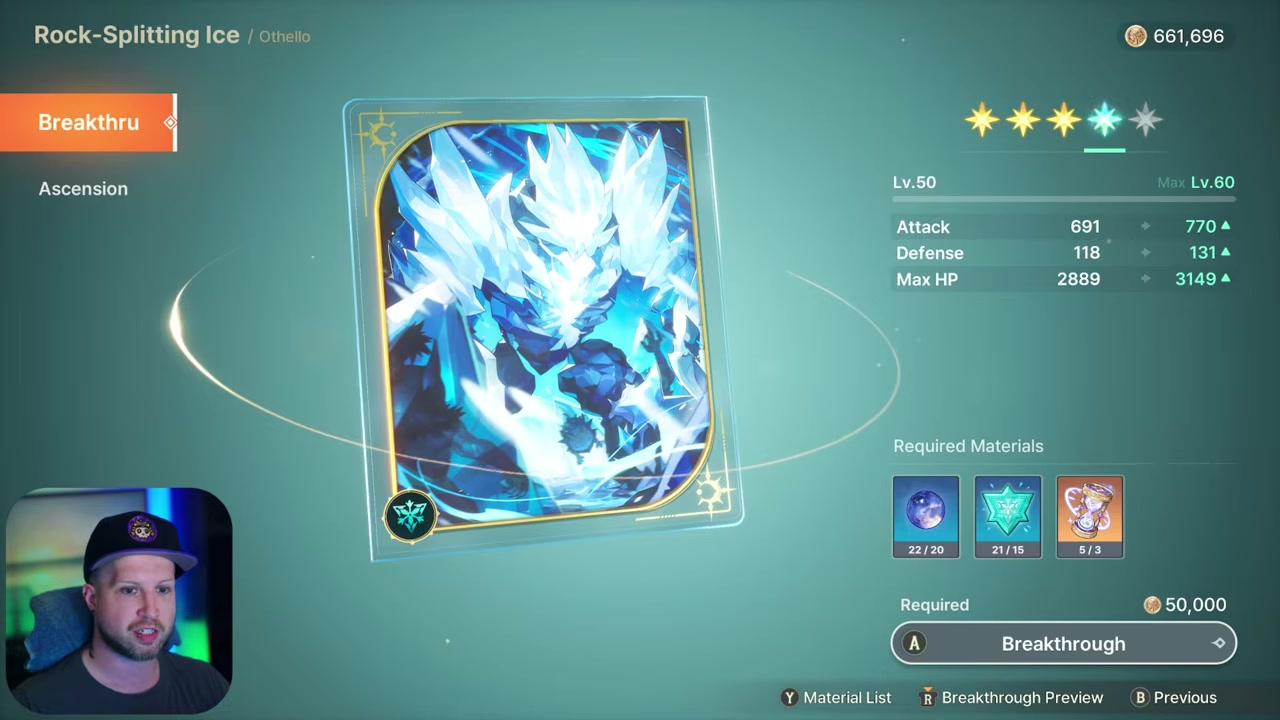
Basic Karma cards equip to a character’s weapon. They add stats, can be leveled, can go through breakthrough, and can be ascended by feeding duplicate copies into the same card. You can also press the right joystick on the Karma screen to preview later requirements before spending into a card.
Any hero can equip any Karma, but the trait only matters when the hero can use it. A frost hero wants a frost-compatible effect, a breaker wants break damage, and a knockdown, aerial, stun, survival, or Signal-focused hero wants a card that supports that exact role. A card with good-looking numbers is still wasted if its trait never triggers for the character holding it.
Exclusive Karma as character gear
| Basic Karma | Exclusive Karma |
|---|---|
| Can be equipped by any hero when the trait fits. | Belongs to a specific character. |
| Boosts general stats, element, break, status, survival, or Signal use. | Adds stats and connects to that character’s own mechanic. |
| Works as an early bridge while your team settles. | Becomes the long-term best-in-slot target for its owner. |
| Grows through leveling, breakthrough, and duplicate ascension. | Needs Exclusive Karma resources for long-term growth. |
| Comes through regular Karma card and currency paths. | Comes through Hero Logs, Tower of Trials exchange paths, dismantling value, and transmutation. |
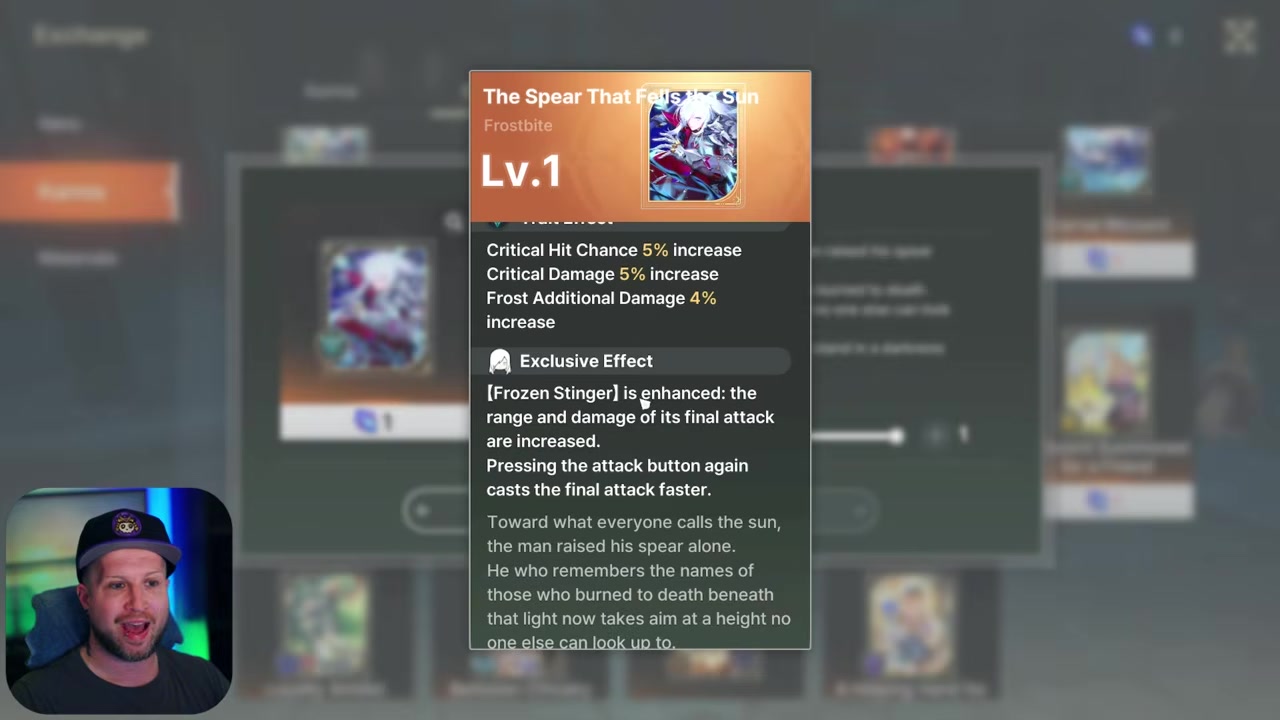
Exclusive Karma is the character-specific version of the system. It gives stats like Basic Karma does, but it is tied to that hero’s own mechanic, which is why it becomes that character’s long-term best-in-slot target when available.
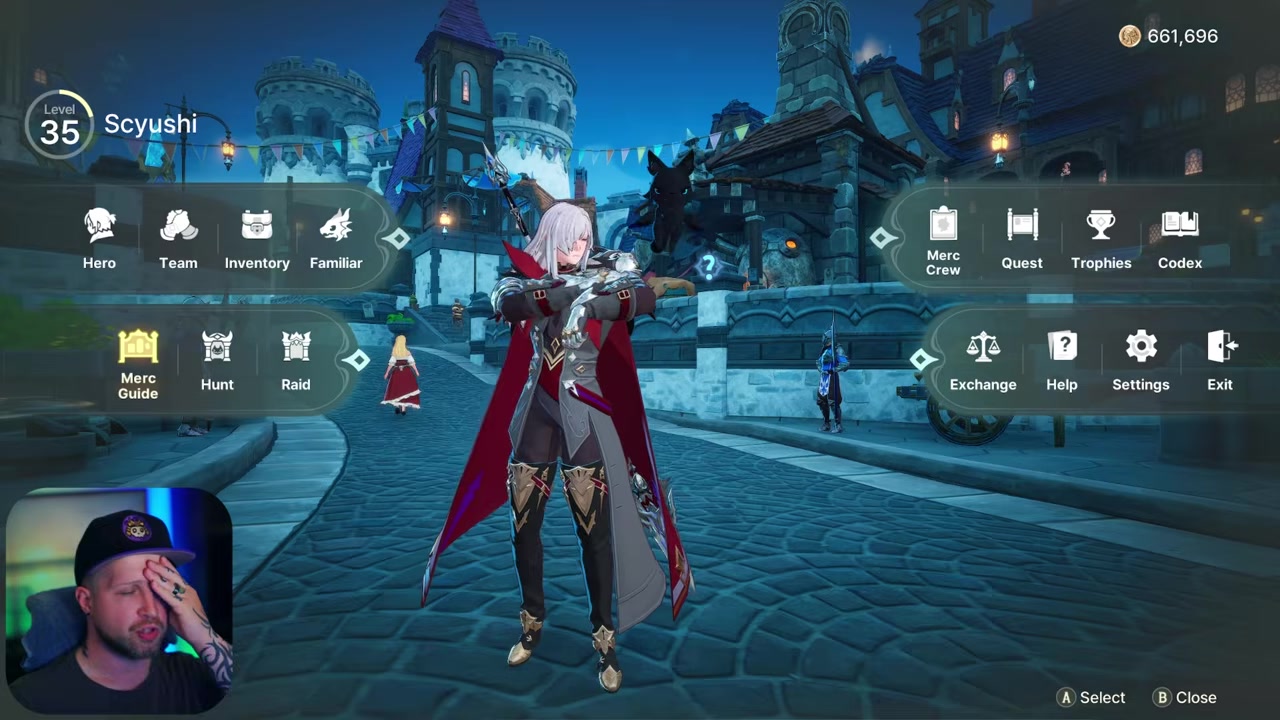
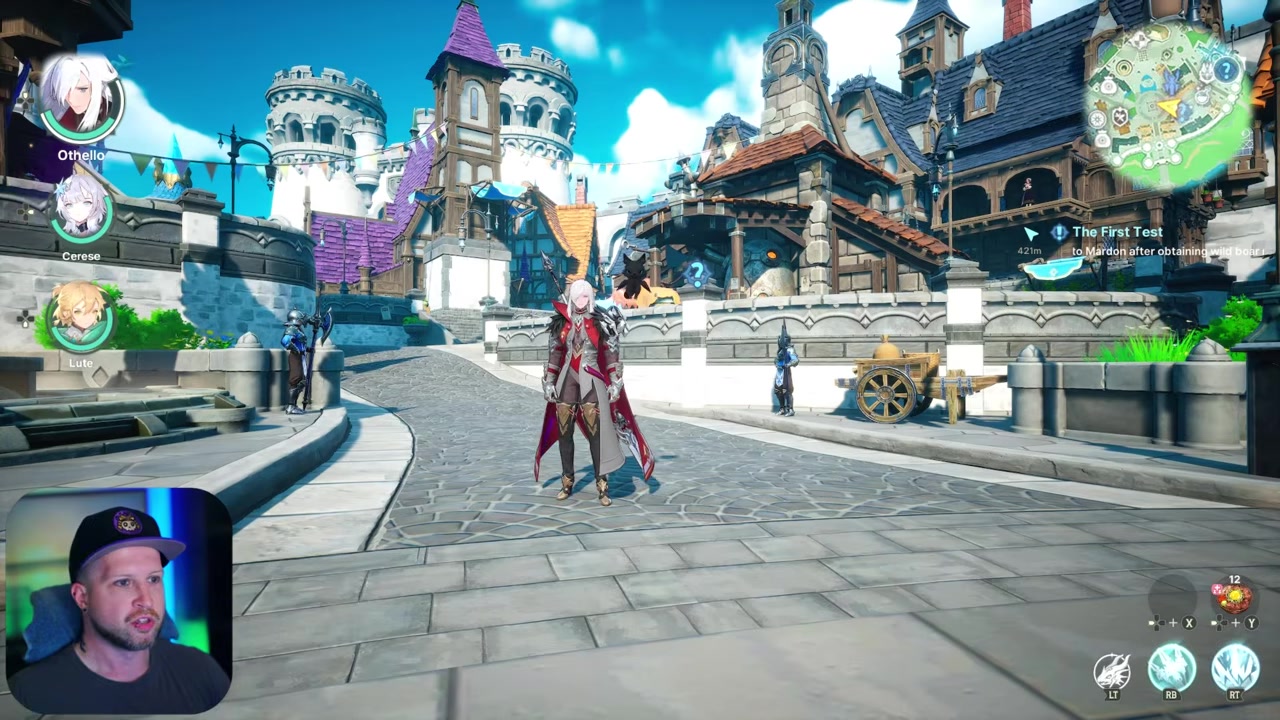
For example, The Spear That Fells the Sun is an Exclusive Karma tied to Othello. This kind of card is not a flexible placeholder for the whole roster; it is a character build goal, and its growth is expensive enough that you should not rush it before the hero’s gear direction is settled.
How to get Karma materials in DragonSword: Awakeing
Collect campaign Karma
Story progression periodically gives Karma cards for early weapon setup.
Open chests
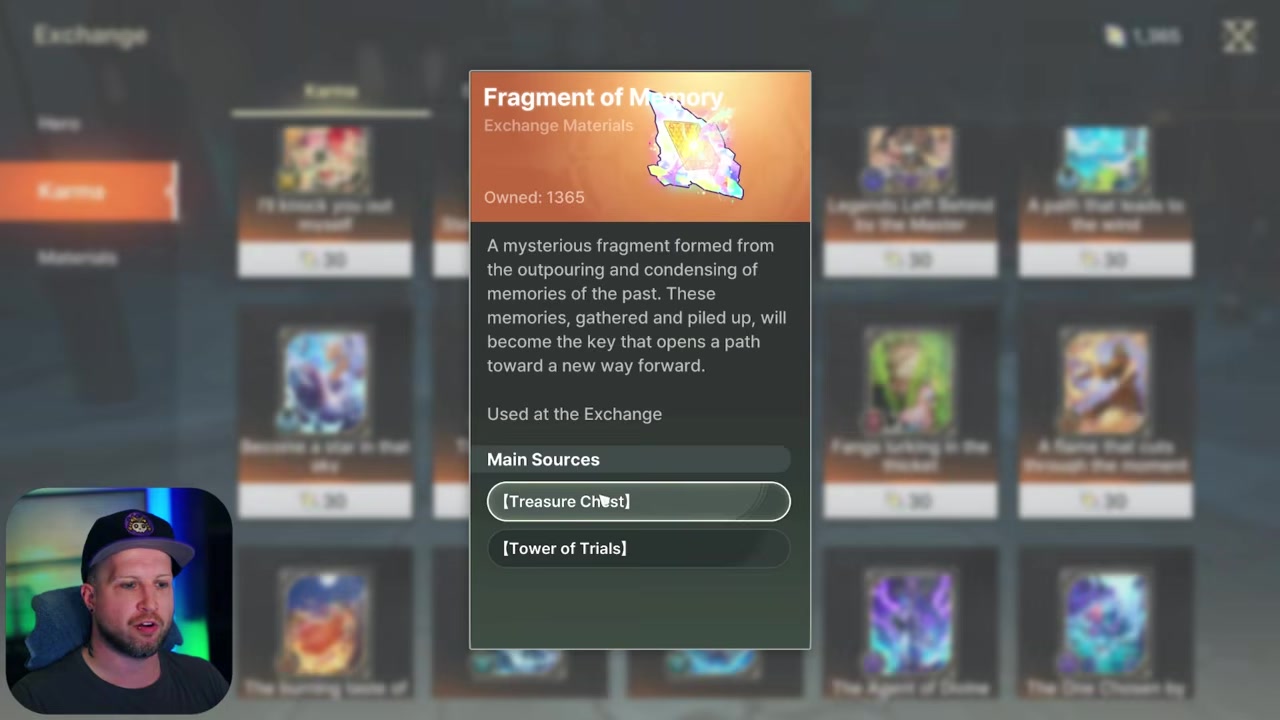
Treasure chests can give the yellow currency used for regular Karma purchases.
Unlock Tower of Trials
After reaching the area, speak with Ceresi and complete her world quest to open Tower of Trials.
Clear tower floors
Earn stars by defeating bosses and clearing floors quickly, with sections such as Tower of Gale favoring specific roles like stun, aerial, or downed.
Claim tower rewards
Collect regular Karma currency and occasional dark hole items from first-time floor rewards.
Transmute Exclusive Karma resources
Use tower materials and dark hole items through Shanoa to create resources for Exclusive Karma.
Recycle unwanted Exclusive Karma
Dismantle cards you do not need to recover exchange value for other character targets.
One account-history note matters for older players: the July 23, 2026 Partial Progression Data Reset affected Karma Codex entries for pre-launch build users, so those entries had to be recollected to register again. Karma obtained after that patch saved normally, though later patches may change codex behavior.
Early and mid-game investment order
| Priority | Do this first |
|---|---|
| 1 | Stabilize one main hero with a working 3+2 gear setup and matching Basic Karma. |
| 2 | Build the next hero so the main hero’s damage condition is reliable. |
| 3 | Bring the third hero up enough to survive and contribute their role. |
| 4 | Reforge only pieces that belong to your longer-term set plan. |
| 5 | Chase Exclusive Karma after the character’s role and gear direction are stable. |
Spend around one core hero first instead of spreading upgrades across every new toy. Get that hero into a functional 3+2 gear setup, give them a matching Basic Karma, then build the rest of the trio around that damage plan.
The biggest traps are leveling every Karma for collection, over-reforging temporary gear, and crafting isolated high-tier pieces that do not complete a useful set. Craft when the new piece completes a set tier, supports the hero’s actual condition, and is likely to survive the next stretch of progression.
Frequently Asked Questions
Should I use five pieces of the same gear set?
No. Use five matching pieces only as a temporary filler while you are missing the second set, then move to 3+2 once you can activate both bonuses.
Is higher-rarity gear always better?
No. Compare the set count, main stat, useful substats, and upgrade cap before replacing a working piece.
When should I reforge gear?
Reforge after the piece is maxed and still belongs to your intended build; temporary story gear is usually a poor place to burn Shape Grinder and gold.
How do I choose a Karma card for a hero?
Read the trait first, then match it to what the hero actually triggers: element damage, break damage, knockdown, aerial, stun, survivability, or Signal interaction.
What is the difference between Basic Karma and Exclusive Karma?
Basic Karma is flexible weapon-mounted progression. Exclusive Karma is character-specific and connects to that hero’s own mechanic, making it the long-term target.
More questions⤵
Where do I unlock Tower of Trials?
Progress until the tower area opens, then talk to Ceresi and complete her world quest. The main story does not simply hand you the tower menu on its own.
Should I level every Karma card I find?
No. Hold resources for cards that your current team can use, especially the main hero first, then the second hero, then the third slot.
Video help






Leave a Reply