
At level 19, the strongest early cake-and-breeding setup is a compact base with one honey ranch, two Breeding Farms, bought cake ingredients, and a Doom Guild breeding loop to fund everything.
A cake and breeding base is one of the first things new players over-build, piling on ranches and crop fields long before they’re worth the space. There’s a much leaner way to do it the moment the Breeding Farm opens up: produce almost nothing, buy the rest, and let a single Pal species pay for it all. Here’s how the compact version comes together.
- Why this base skips the farms and ranches
- Base structures and layout priorities
- The Pal workforce you actually need
- How to set up the early cake and breeding base in Palworld
- Cake cost versus Doom Guild payout
- Optional upgrades once the base runs
- Efficiency settings and mistakes to avoid
- Frequently Asked Questions
Why this base skips the farms and ranches
Most early cake and breeding bases end up as a mess of ranches, crop plots, and Pals working all over the place, and almost none of it is necessary this early. The trick is to stop producing what you can simply buy. Head to the Small Settlement Pal Merchant and pick up wheat, red berries, milk, and eggs, and the only cake ingredient you still have to make yourself is honey.
Base structures and layout priorities
| Structure | Use |
|---|---|
| Palbox | Anchors the base and its work area |
| Feed Box | Keeps working Pals fed |
| Pal beds | Somewhere for your Pals to sleep |
| Hot Spring | Restores Pal sanity between shifts |
| Storage chests | Hold honey and bought ingredients |
| Mill | Turns wheat into flour |
| Cooking Pot | Bakes the cakes |
| Ranch (one) | Beegarde produces honey |
| Breeding Farms (two) | One for chosen breeding, one for gold |
| Egg incubators | Hatch the bred eggs |
Keep the whole layout tight. The less distance your Pals cover between the ranch, the mill, the Cooking Pot, and the storage chests, the faster honey and cakes move through the loop, so cluster the production stations and drop a storage chest right in the middle of them rather than off in a corner.
The Pal workforce you actually need
| Role | Pal |
|---|---|
| Honey | Beegarde (required) |
| Watering (Mill) | Any capable early watering Pal |
| Kindling (cooking) | Any capable early kindling Pal |
| Transport (optional) | Any transport Pal for hauling honey |
You can run this entire base on just three or four Pals. Beegarde is the one you can’t skip, since it’s your honey source. The other two handle crafting: a watering Pal keeps the Mill running and a kindling Pal works the Cooking Pot. A transport Pal is genuinely optional — it only earns a slot if you plan to leave the base running unattended, where it’ll gather the honey the bees drop and stash it for you.
How to set up the early cake and breeding base in Palworld
Build the base in a tight cluster so ingredients, honey, and eggs all move through the loop with minimal walking.
Place the core base
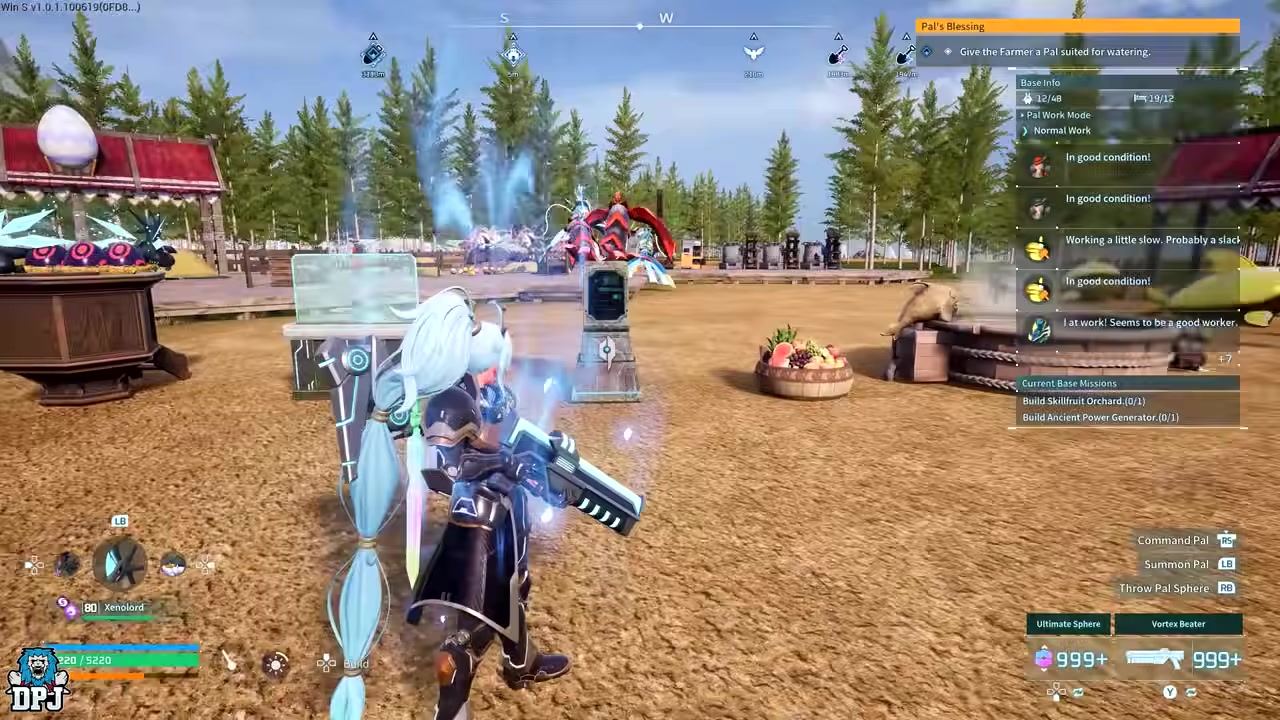
Drop the Palbox, then a Feed Box, Pal beds, a Hot Spring, and a couple of storage chests to anchor the work area.
Add the mill and cooker
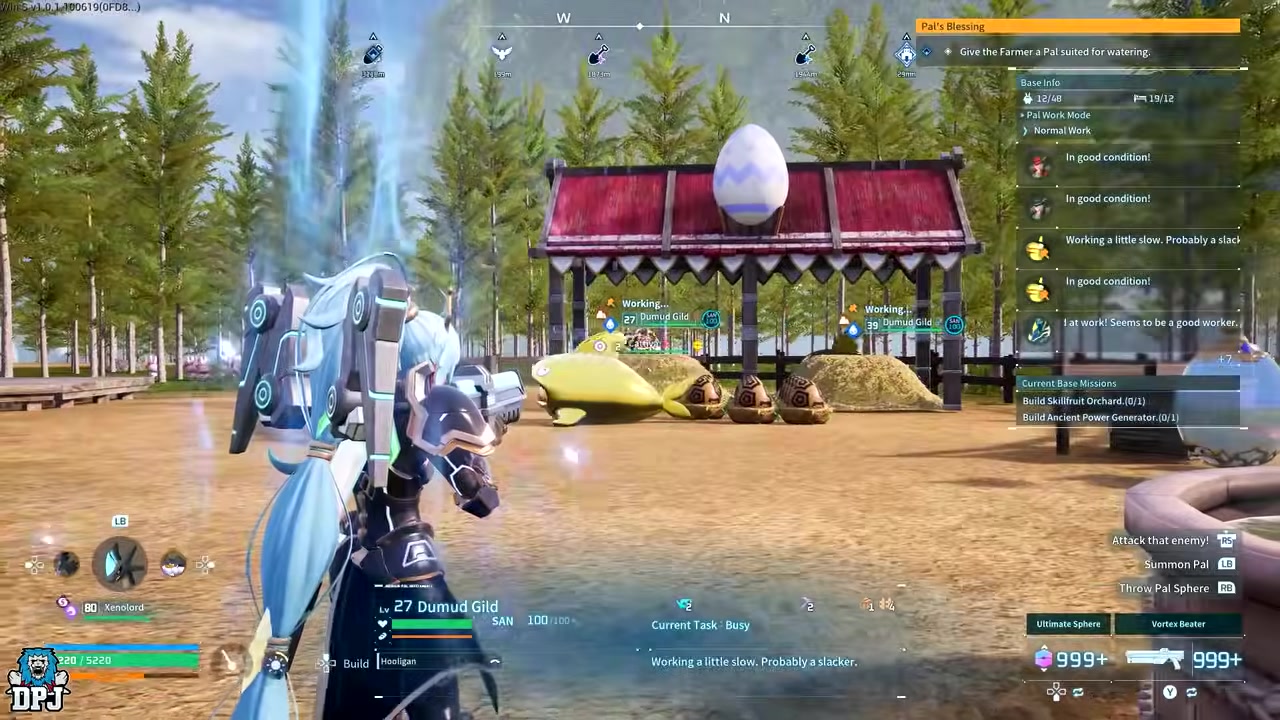
Set down a Mill to turn wheat into flour and a Cooking Pot to bake the Cakes.
Set up one ranch with a Beegarde
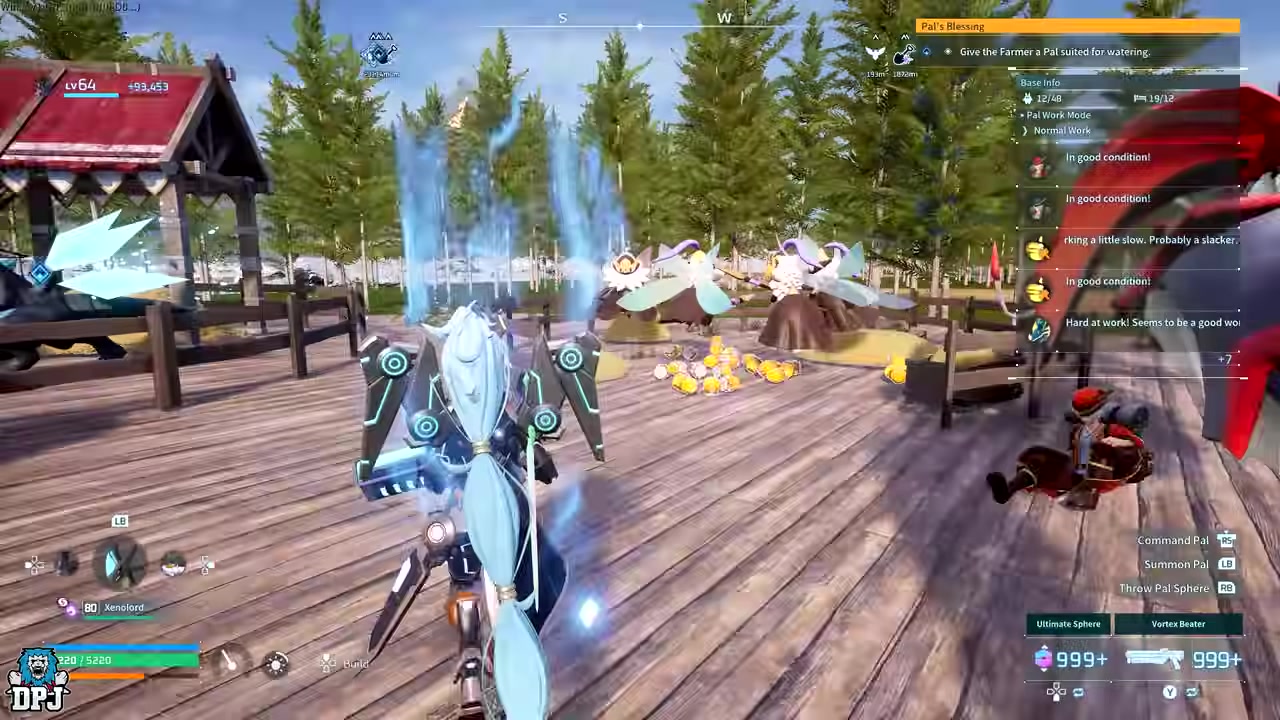
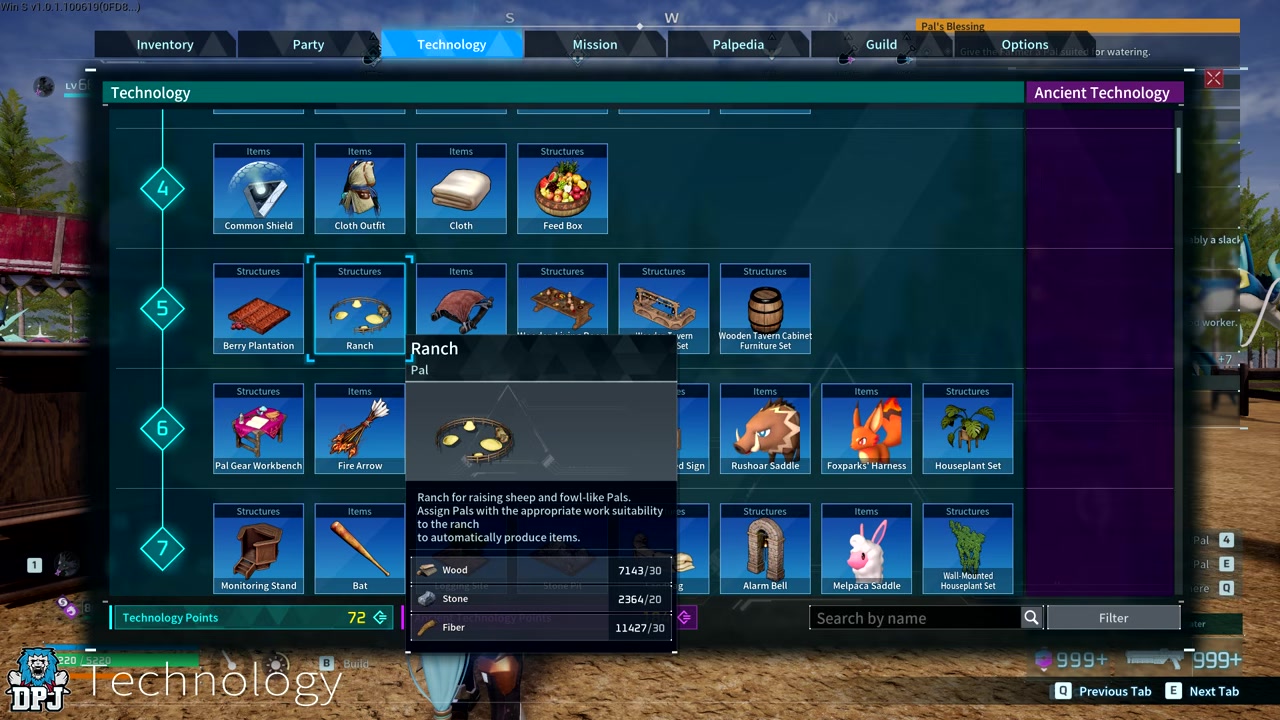
Build a single Ranch and assign a Beegarde to produce your honey.
Place two Breeding Farms
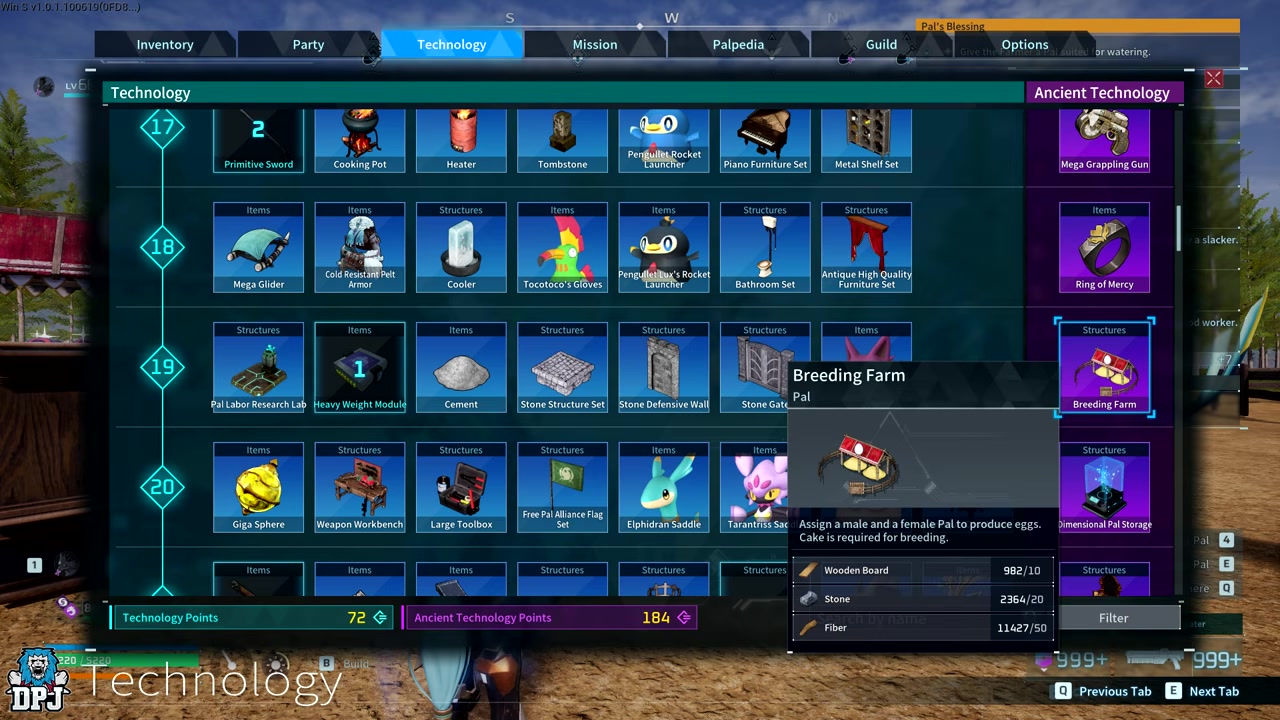
Add both farms — one for whatever you want to breed, and one reserved for the gold Pal pair.
Add incubators and tuck storage in close
Finish with egg incubators and keep a storage chest beside the Cooking Pot and farms so hauling stays short.
Farming gold with the Doom Guild breeding loop
Doom Guild is your money engine — catch a batch, keep a breeding pair, and sell the rest to bankroll every Cake.
- Catch Doom Guilds on the beach — Head to the beach where Doom Guilds run up and down early game and catch as many as you can, since they respawn over time.
- Keep one male and one female — Hold back at least one male and one female so you have a breeding pair for later.
- Sell the extras to the Pal Merchant — Take every Doom Guild you don’t need to the Small Settlement Pal Merchant for a large gold payout.
- Breed the pair in your second Breeding Farm — Put your male and female in the second farm to produce babies indefinitely, then sell each one.
- Buy ingredients and repeat — Spend the gold on cake ingredients at the merchant, cook, breed, and run the loop again.
Capture the Small Settlement Pal Merchant and haul him back to base — then you can buy every cake ingredient and sell your Doom Guilds on the spot, with zero travel back and forth.
Video help
Cake cost versus Doom Guild payout
| Cake item | Approximate cost |
|---|---|
| Eggs | 1,600 gold |
| Milk | 1,400 gold |
| Red berries | 400 gold |
| Wheat (for flour) | 1,050 gold |
| Honey | Made at base, no gold cost |
| Total per Cake | ~4,450 gold |
Every ingredient except honey is a purchase, and the per-Cake spend breaks down like this:
One Doom Guild sells for around 35,000 to 40,000 gold — prices vary, so treat that as a repeat-farm range rather than a fixed payout — which is close to ten Cakes for every Pal you offload. Breed the pair, sell the babies, and the ingredients pay for themselves.
Optional upgrades once the base runs
| Target | Breeding route |
|---|---|
| Jormuntide (top watering Pal) | A multi-step breeding chain built up from common early Pals — optional, not a level 19 requirement |
| Jormuntide Ignis (top kindling Pal) | A further chain once you already have a Jormuntide |
The two best work Pals for this job are Jormuntide for watering and Jormuntide Ignis for kindling, and both are reachable through breeding rather than a tough catch. They’re worth targeting once the base is stable and you want faster milling and cooking.
Treat these as a later project. A solid early Pal such as Blazehowl handles kindling perfectly well until you get there, and passives don’t matter this early either, since you can graft them on at the Pal surgery table once it unlocks.
Efficiency settings and mistakes to avoid
Once you drop a Monitoring Stand, turn off every one of Beegarde’s work traits except Farming. Otherwise she’ll start transporting her own honey and slow the whole ranch down. Beyond that, the biggest early mistake is spreading out — scattered farms and extra ranches add walking time and give you nothing the merchant can’t sell you.
Your Cooking Pot, incubators, and beds all upgrade over time, and later tiers eventually draw electricity, but none of that is needed for this level 19 build. Add power only when you actually reach those upgrades.
Related guides
Frequently Asked Questions
Can you start this breeding base at level 19?
Yes. The Breeding Farm unlocks at level 19, which is exactly what this build is designed around. Higher-level players can run the same base and simply layer the optional upgrades on top.
Which Cake ingredients should you buy instead of farming?
Everything except honey. Buying the wheat, berries, milk, and eggs skips the ranches and crop plots entirely, and because a single Doom Guild sale dwarfs the cost of a Cake, paying for ingredients is far faster than growing them this early.
Do you still need Beegarde for honey?
Yes, and it’s the one ranch Pal you can’t drop. Since honey is the single ingredient the merchant doesn’t stock, one Beegarde in one ranch is mandatory — but that’s also the only ranch this base needs.
Why use two Breeding Farms instead of one?
One farm alone works, but it forces you to choose between breeding what you want and breeding for gold. The second farm runs the Doom Guild loop full-time, so your money supply never blocks the Pals you actually want to hatch.
Is Jormuntide required for the early version of the base?
No. Any capable early kindling or watering Pal covers the Mill and Cooking Pot at level 19. Jormuntide and Jormuntide Ignis are upgrades you breed toward later, not something the base needs to function.






Leave a Reply