
To unlock Nine Guardians, collect all 9 Sacred Figures: Eulalia in South Landing, Sebastian in Scarlet Flower Woods, Michael in Shambler’s Hunting Grounds, Paschal Baylón in Flooded Forest, Barbara in Watching Trees, Dymphna in Cliffs of Ibara, George in Abandoned Mapuche Settlement, Benedict at Wreck of La Favorita, and Raphael in the underground caves near the Mound.
The Sacred Figures are spread across separate expedition areas, so the cleanest run is to collect them in route order instead of trying to sweep the whole jungle at once. Most altars sit close to a landmark, but Watching Trees and Near the Mound take more patience because their paths bend through dense cover or caves.
Sacred Figure locations at a glance
| Sacred Figure | Where to find it |
|---|---|
| Saint Eulalia | South Landing, west coast by the water |
| Saint Sebastian | Scarlet Flower Woods, lower east side |
| Archangel Saint Michael | Shambler’s Hunting Grounds, north loop behind the fort |
| Saint Paschal Baylón | Flooded Forest, lower corner beyond the cave |
| Saint Barbara | Watching Trees, northeast pocket by the waterfall |
| Saint Dymphna | Cliffs of Ibara, central route up the ramps and ladder |
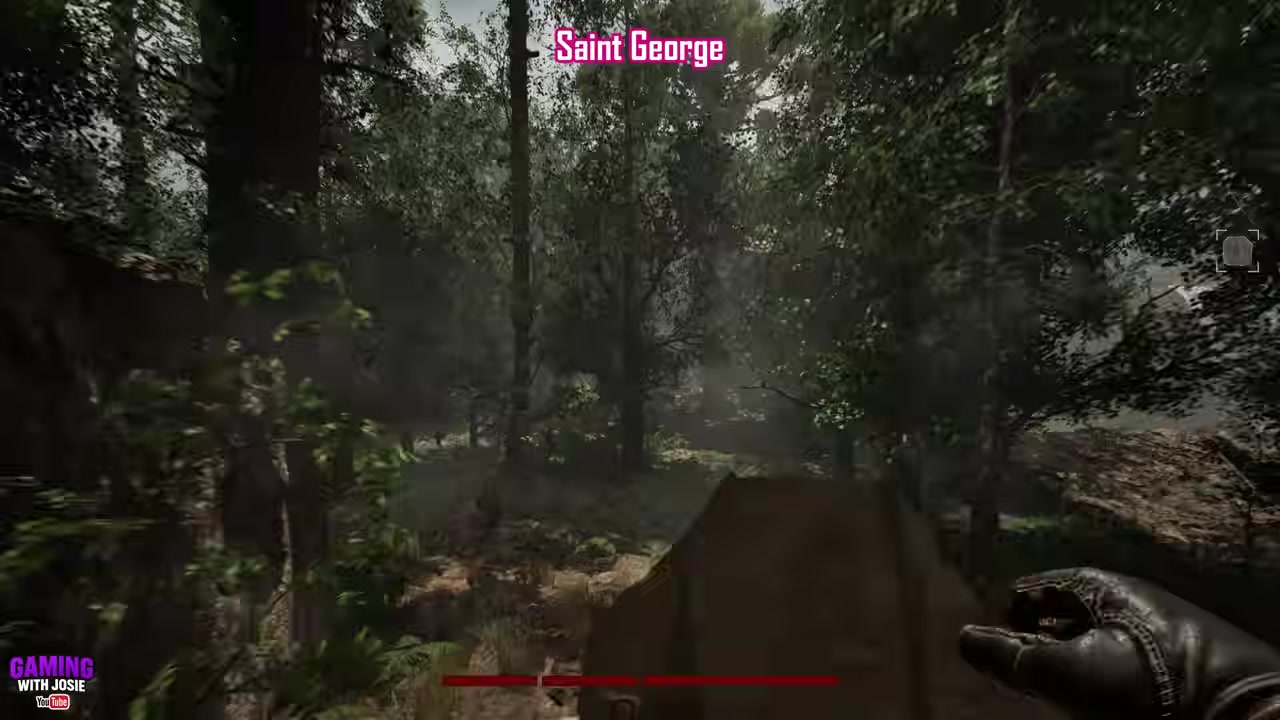
| Saint George | Abandoned Mapuche Settlement, small mound near waterfalls |
| Saint Benedict | Wreck of La Favorita, back of the lower shipwreck area |
| Archangel Saint Raphael | Near the Mound, underground cave below the middle-lower map |
KEY!Use this order if you are starting fresh. It keeps the harder cave pickup for last and makes each Saint a focused stop instead of a long blind search.
Prepare for the Sacred Figure run
Buy the area map for each destination whenever you can. These routes use map-side cues like lower east, bottom center, and middle-lower, so having the map open cuts out most of the wandering.
Bring enough supplies before setting sail. Several altars sit near enemies, and the darker routes through Flooded Forest, Cliffs of Ibara, Wreck of La Favorita, and Near the Mound are much easier when you are ready for cave travel.
The collectible run starts and ends around the ship. After the ninth Saint, return there and finish the captain and Woodworker flow for Nine Guardians.
Return to the rowboat after each altar; the route order is built around one Sacred Figure per destination, which keeps backtracking predictable.
How to find every Sacred Figure in The Mound: Omen of Cthulhu
Follow the route in order and collect each Saint from its altar before rowing back out for the next destination.
- Head west in South Landing — From South Landing, make for the west coast and keep moving down toward the sea.
- Take Saint Eulalia by the water — The altar is on the west side of the map, right beside the water.
- Sail to Scarlet Flower Woods — Use Scarlet Flower Woods for the next stop and move toward the lower east side of the map.
- Pick up Saint Sebastian — Saint Sebastian is on an easy altar in the lower east section.
- Go to the north loop in Shambler’s Hunting Grounds — Head right and north into the loop where the fort sits.
- Move behind the fort — Take the track behind the fort and follow it downward.
- Drop down the rocks — Drop down the rocks at the end of the track.
- Collect Archangel Saint Michael — Turn right after the drop to find Archangel Saint Michael at the altar.
- Move to the lower Flooded Forest — Head to the lower side of the map where the route gets dark.
- Enter the cave toward the light — Go through the cave straight ahead and watch for enemies on the way through.
- Grab Saint Paschal Baylón in the lower corner — Saint Paschal Baylón waits at the altar in the very lower corner beyond the cave.
- Start from the fort in Watching Trees — From the fort on the east side, leave through the north exit.
- Climb the hill — Go up the hill and follow the cart path toward the back.
- Curve right after the first tree — After the first tree, scoop right into the reeds.
- Push past the rocks — Keep going through the reeds and rocks while watching for enemies.
- Find Saint Barbara by the waterfall — Saint Barbara sits in the northeast pocket near the waterfall.
- Aim for the center of Cliffs of Ibara — Start in the central area of the map and wait or run past the enemy if needed.
- Climb the first ramp and steps — Go up the small ramp and steps, then move left.
- Take the second ramp — Head up the ramp on the left and circle left at the top.
- Climb the ladder — Use the ladder after circling around.
- Take Saint Dymphna on the right — The altar for Saint Dymphna is on the right after the ladder.
- Move to the thin lower path — In Abandoned Mapuche Settlement, head for the thin path in the bottom center of the map.
- Walk uphill toward the small mound — Push through the plants and go almost straight up toward the small mound.
- Pass to the right of the mound — Move around the right side of the small mound toward the waterfalls.
- Keep the waterfall on your right — Spin left while keeping the waterfall to your right, then climb toward the altar.
- Pick up Saint George — Saint George waits at the altar at the top.
- Go to the lower Wreck of La Favorita section — Enter the lower map section from the side cave.
- Head out toward the shipwrecks — Follow the side cave route out to the shipwreck area.
- Pass the large wreck — Move past the big shipwreck and continue into the back area.
- Collect Saint Benedict — Saint Benedict is waiting at the altar in the back of the lower section.
- Find the middle-lower Near the Mound area — Move to the middle-lower section and prepare to enter the underground caves.
- Keep the trench on your right — Work around the ground so the small trench stays to your right.
- Turn into the cave on the right — Scoop right and drop into the cave immediately on your right, or take the longer route around to avoid the drop.
- Light the cave route — Use a lantern inside because this altar route stays underground.
- Take the first left split — Go left, then left again when the path splits and follow the small ramp down.
- Drop through the cave — Drop down through the next ledges and keep leaning left.
- Continue left through the route — Go left again, then keep moving straight through the cave.
- Collect Archangel Saint Raphael — The altar for Archangel Saint Raphael appears on the left; this Saint is underground, not on the surface.
Finish Nine Guardians on the ship
Nine Guardians may not pop the moment you pick up Archangel Saint Raphael. Leave the underground caves, return to the ship, and go through the captain and ship flow after collecting all nine Saints.
The unlock is tied to the Woodworker crafting 9 Sacred Figures, so make sure that ship-side crafting step is completed before you call the run done.
Frequently Asked Questions
How many Sacred Figures are needed for Nine Guardians?
Nine Guardians requires 9 Sacred Figures, matching the full Saint set covered by this route.
Why did Nine Guardians not unlock at the final altar?
The last altar is only the final pickup. Return to the ship after Archangel Saint Raphael, speak with the captain as needed, and have the Woodworker craft the Sacred Figures.
Do you need to buy maps before searching for the Saints?
You can search without maps, but buying each destination map makes the route much easier because the altar cues are based on map position.
Which Sacred Figure is hidden underground Near the Mound?
Archangel Saint Raphael is the underground pickup Near the Mound. Enter the cave beside the trench in the middle-lower area and follow the left-leaning route until the altar appears on your left.
Video help






Leave a Reply