
What to know
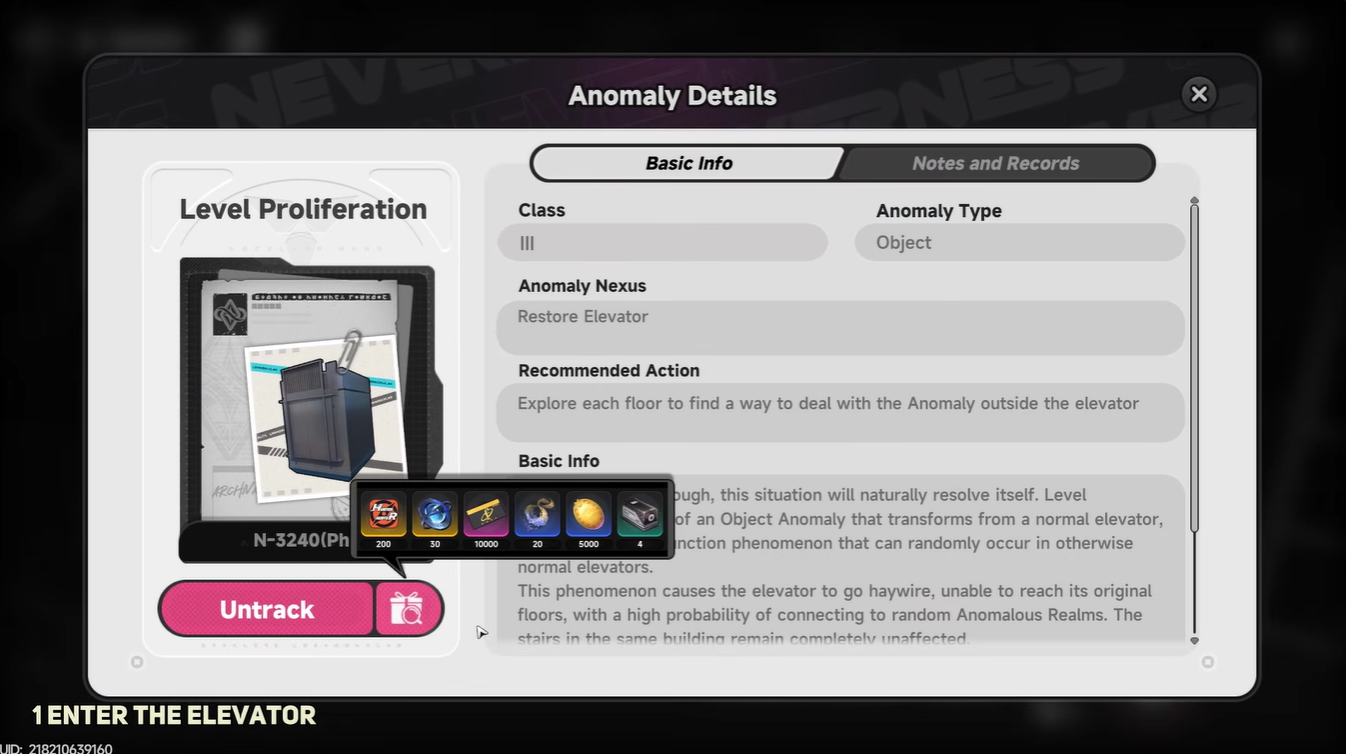
- “Whose Leak Is This?” is a Level Proliferation anomaly mission in Neverness to Everness (NTE).
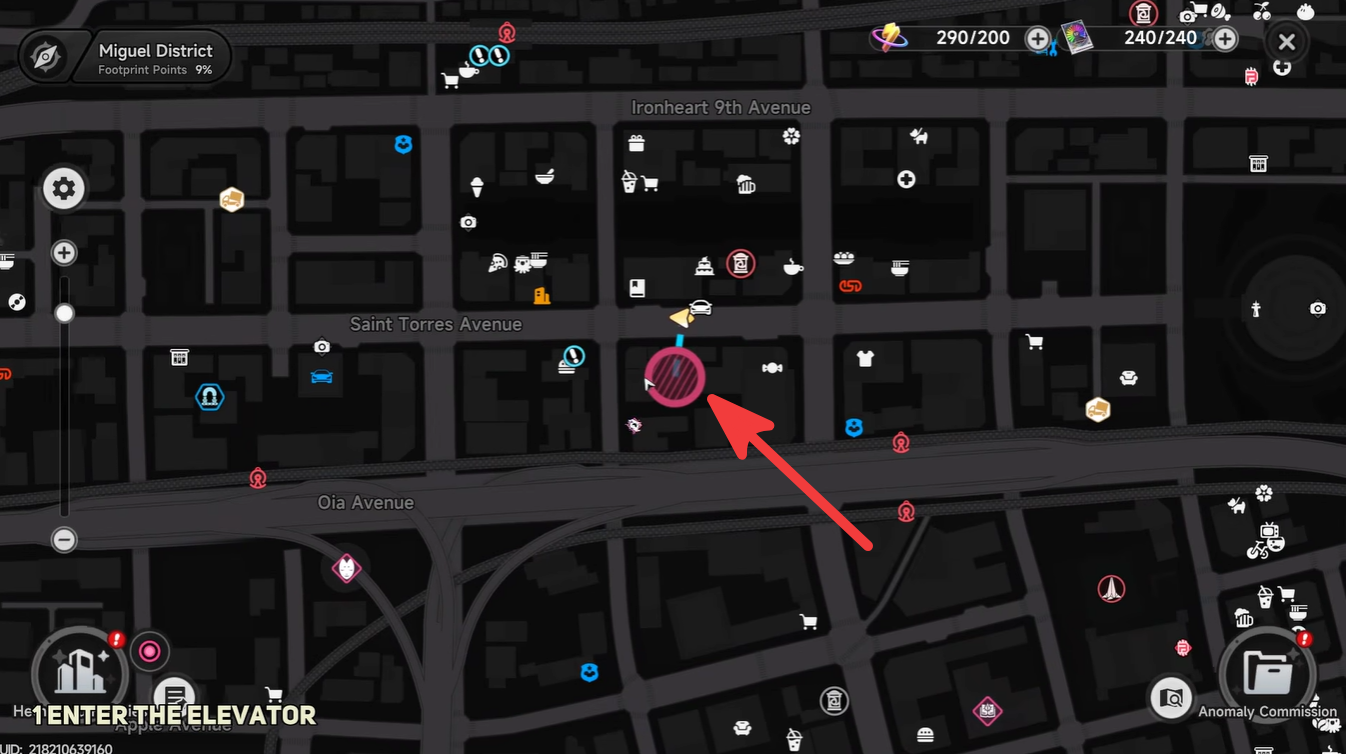
- The anomaly takes place inside a mysterious apartment building in Saint Torres Avenue, Miguel District.
- The mission revolves around elevator puzzles, strange phone calls, and a supernatural faucet anomaly.
- Completing the anomaly rewards Annulith, Fons, Beetle Coins, U-00NE, and Anomaly Material Selection Boxes.
Neverness to Everness continues to expand its collection of atmospheric anomaly commissions, and “Whose Leak Is This?” is easily one of the creepiest exploration-focused missions currently available in the game. Instead of relying on heavy combat encounters, this anomaly uses unsettling environmental storytelling and a looping elevator sequence that gradually leads you deeper into the distorted building.
This complete guide explains how to finish the anomaly step by step, including all floor objectives and rewards.
| Quick Overview | Details |
|---|---|
| Mission | Whose Leak Is This? |
| Game | Neverness to Everness (NTE) |
| Region | Miguel District |
| Exact Location | Saint Torres Avenue |
| Mission Type | Anomaly Commission |
| Main Mechanics | Elevator puzzle and exploration |
| Estimated Time | 10 Minutes |
| Difficulty | Easy to Moderate |
Where to find the “Whose Leak Is This?” anomaly
The anomaly begins inside a suspicious apartment building located in Saint Torres Avenue, Miguel District. Once you approach the entrance, the anomaly interaction becomes available automatically.
The building itself immediately feels abnormal because of:
- Flickering lights
- Distorted ambient sounds
- Water leakage effects
- Unstable elevator behavior
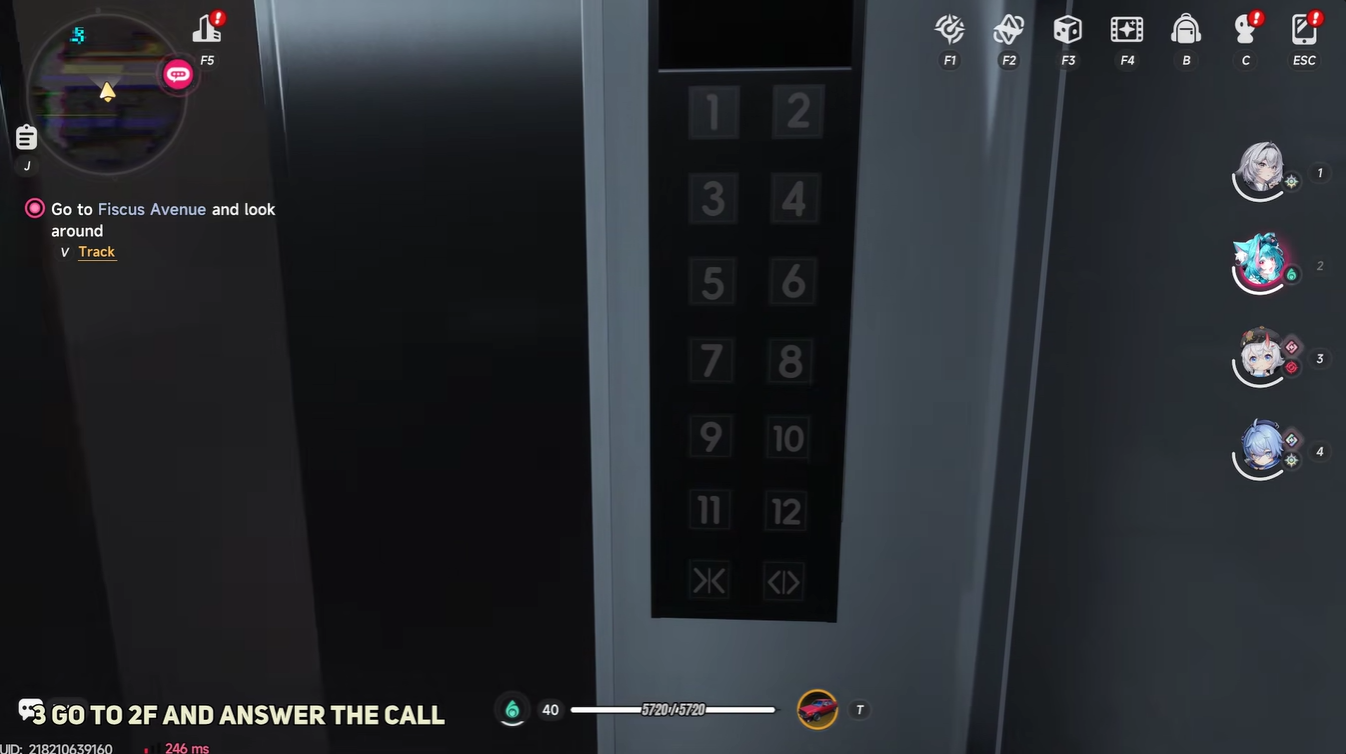
The elevator is the core mechanic of the entire mission, and nearly every objective revolves around using it correctly.
How the anomaly progression works
Unlike standard combat anomalies, “Whose Leak Is This?” is structured like a supernatural puzzle sequence. Each floor advances the anomaly further while revealing more of the building’s distortion.
| Objective Phase | Main Task |
|---|---|
| Elevator Entry | Begin anomaly sequence |
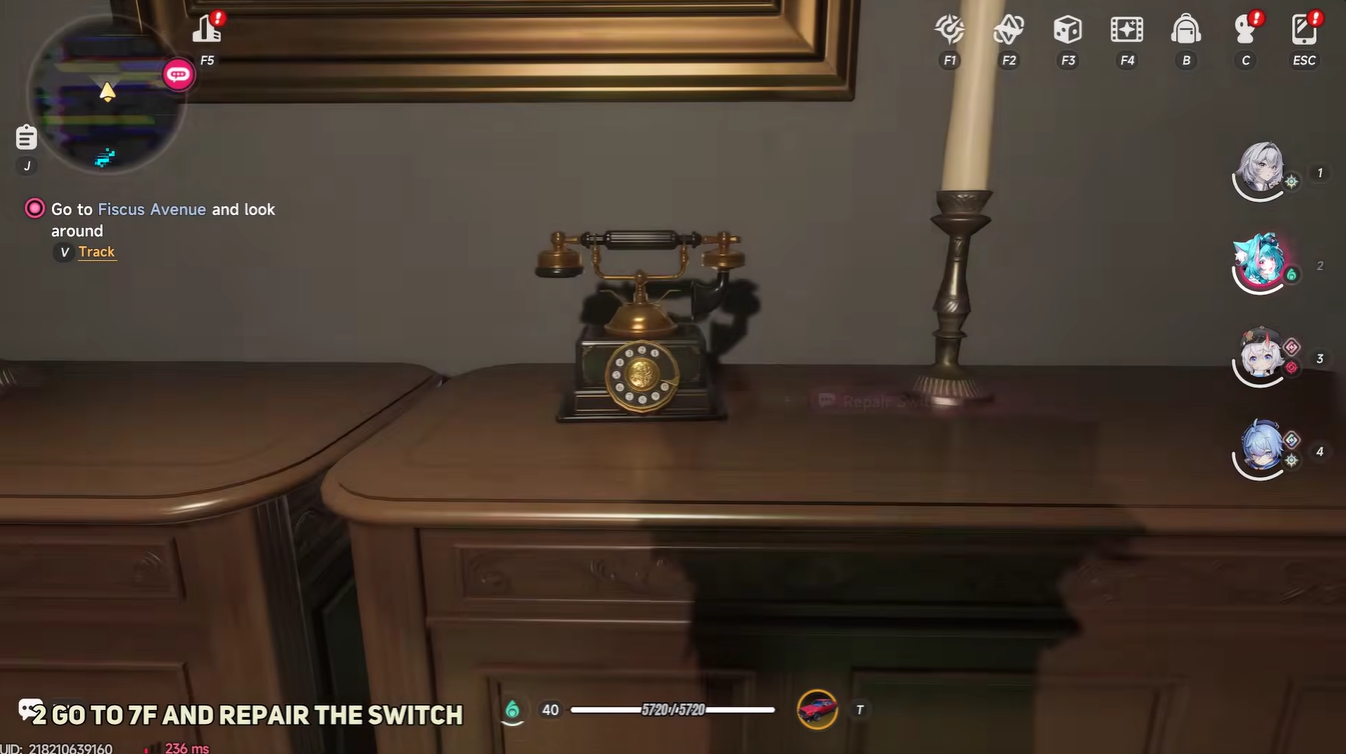
| Floor 7 | Repair the switch |
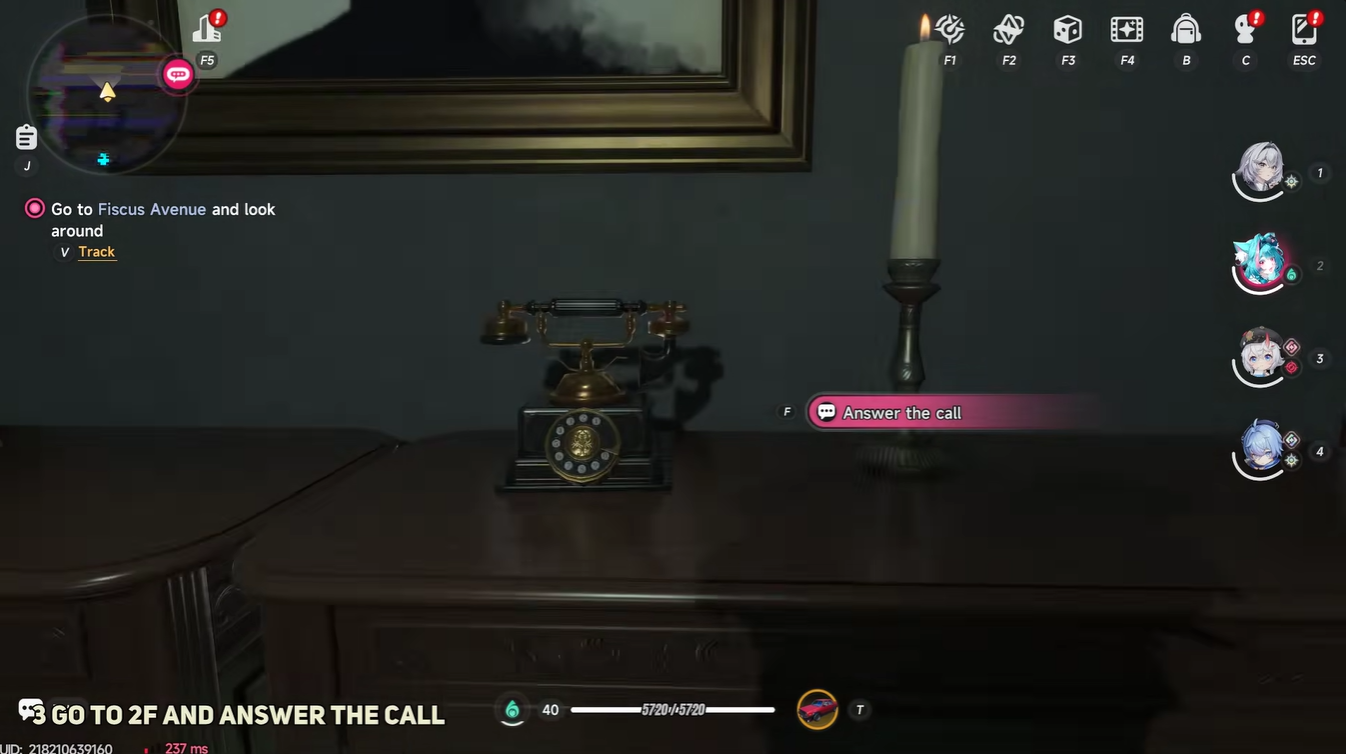
| Floor 2 | Answer mysterious phone call |
| Floor 8 | Collect elevator buttons |
| Distortion Loop | Reach the faucet anomaly |
| Escape | Exit from 1F |
The mission does contain a few environmental scares and distortion effects, but it is mostly exploration-focused.
How to complete “Whose Leak Is This?” in NTE
Enter the apartment building in Saint Torres Avenue and interact with the elevator to begin the anomaly sequence.
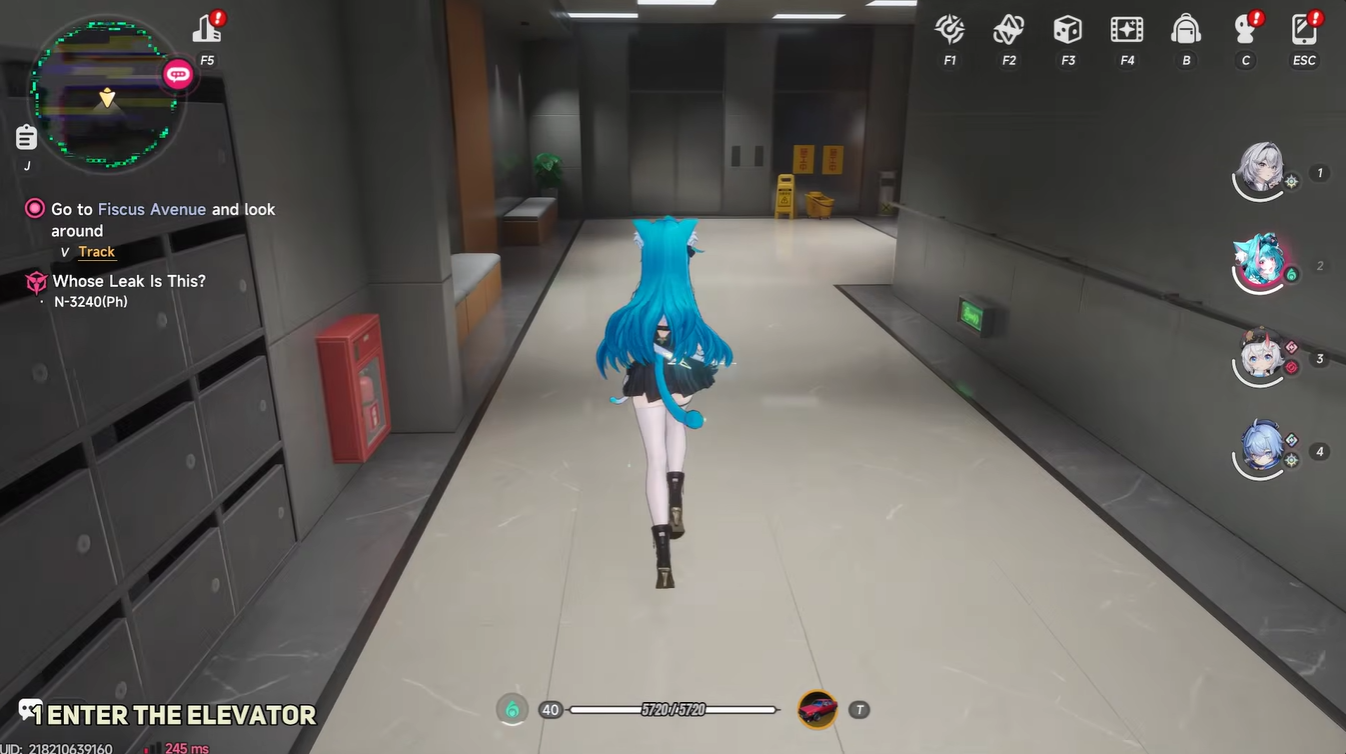
Once inside, the elevator starts behaving abnormally as the Level Proliferation distortion spreads through the building.
Reaching the switch on 7th floor
Select 7F using the elevator controls.
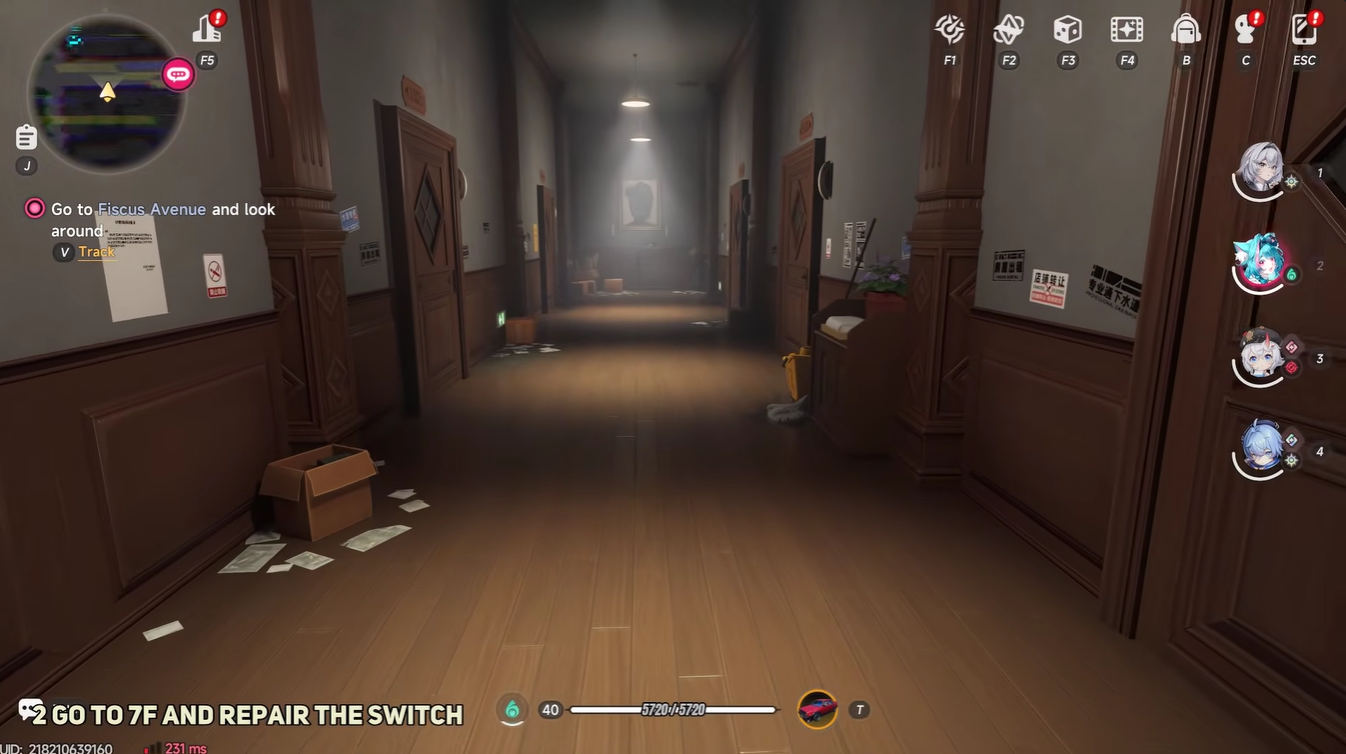
After arriving, explore the hallway until you find the damaged electrical switch tied to the anomaly disturbance.
Interact with the switch to repair it and restore partial building functionality.
This interaction officially activates the next anomaly phase, causing the building distortion to intensify.
Investigating the mysterious call at 2nd floor
Return to the elevator and travel to 2F.
Once you arrive, follow the ringing phone sound through the corridor. Interact with the phone when prompted.
The phone conversation is intentionally unsettling and serves as part of the anomaly’s supernatural narrative progression.
After the call ends, the next objective becomes available automatically.
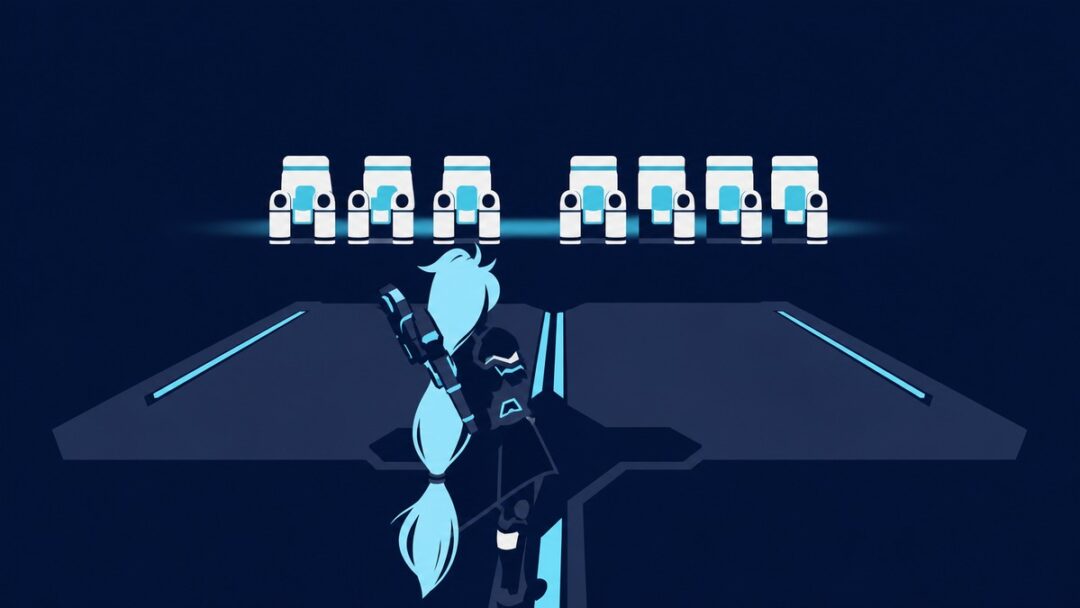
Recovering the missing buttons on 8th floor
Take the elevator to 8F.
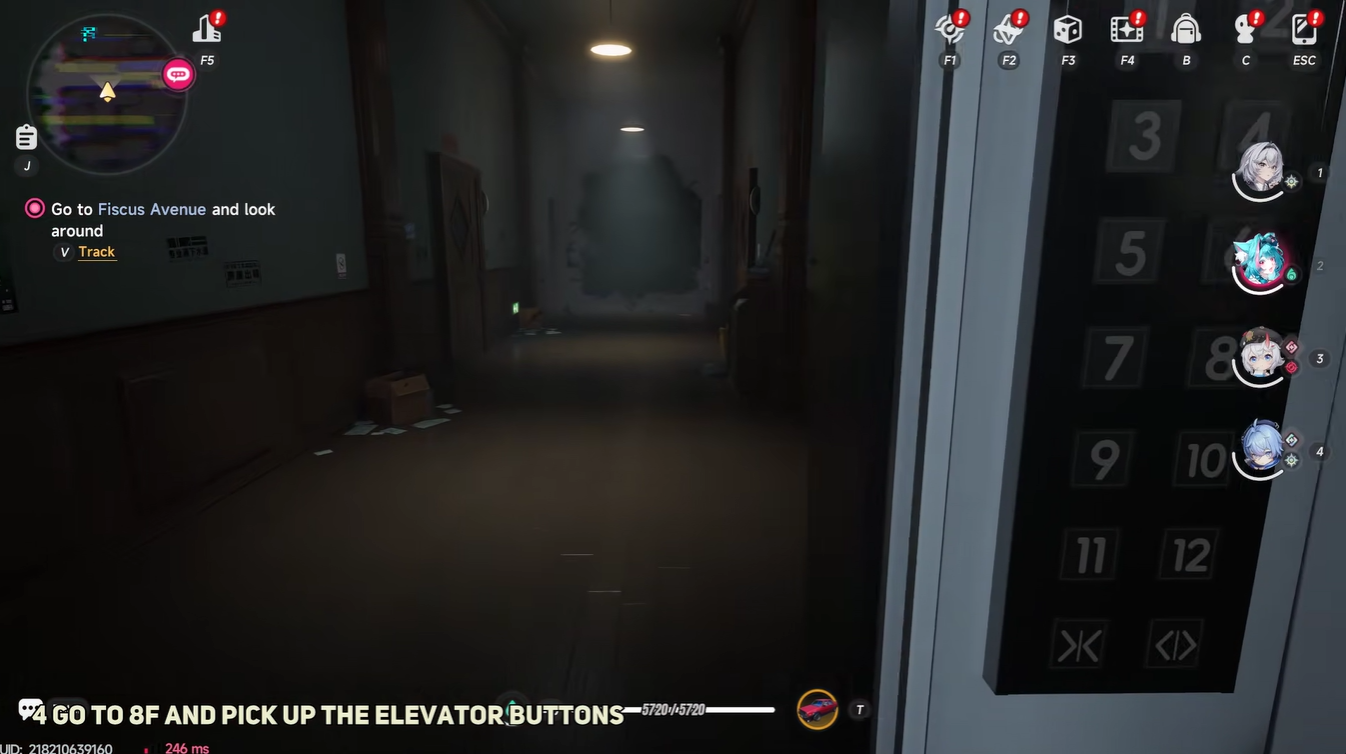
Search the area carefully until you locate the missing elevator buttons. Interact with them to add them back to the elevator system.
This section can feel confusing because of the distorted environment layout, but the buttons are located within the accessible exploration area on the floor.
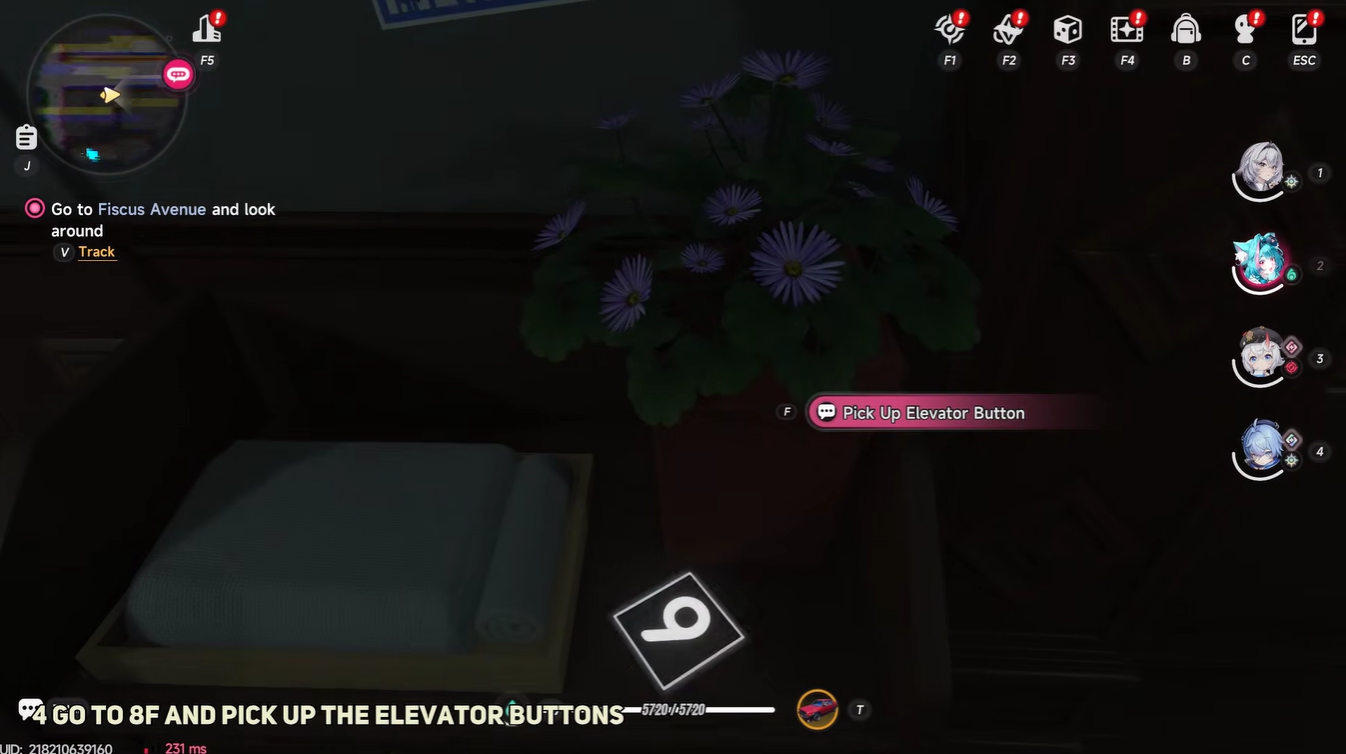
Picking up the buttons unlocks the final anomaly sequence.
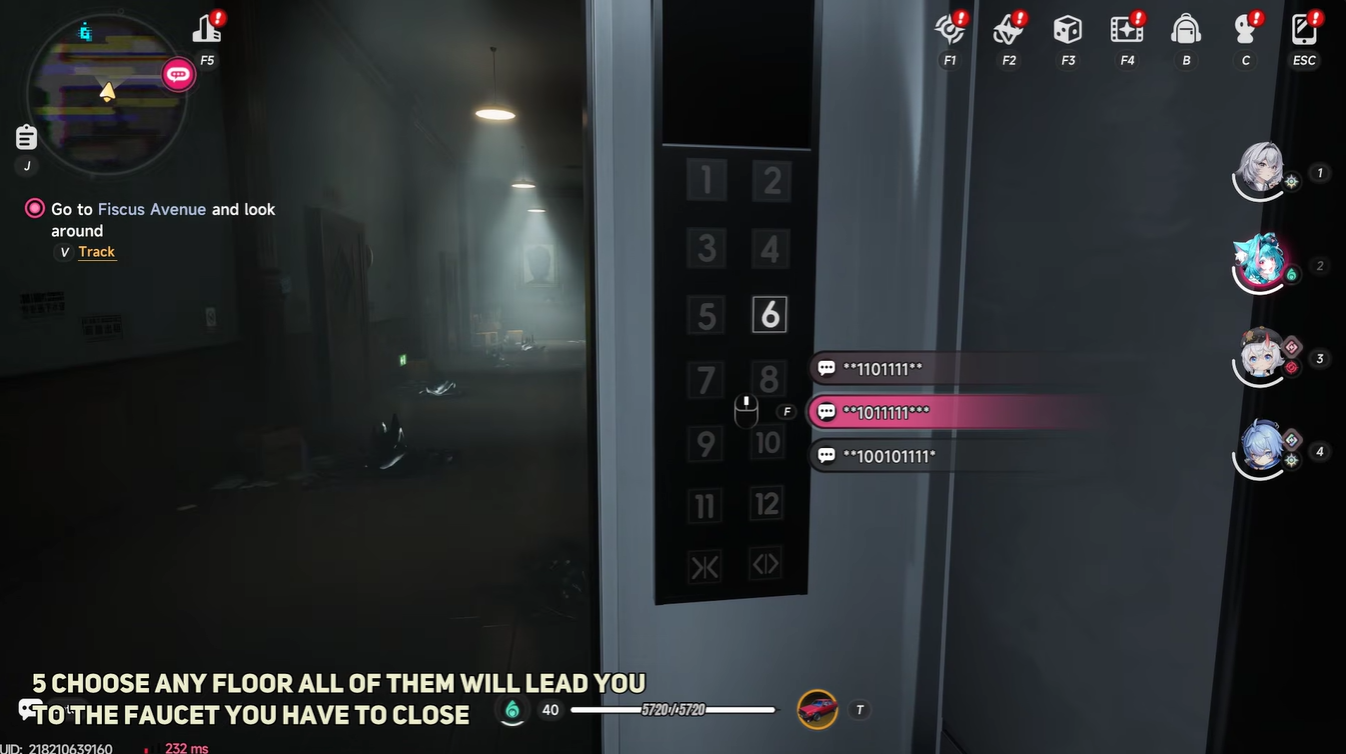
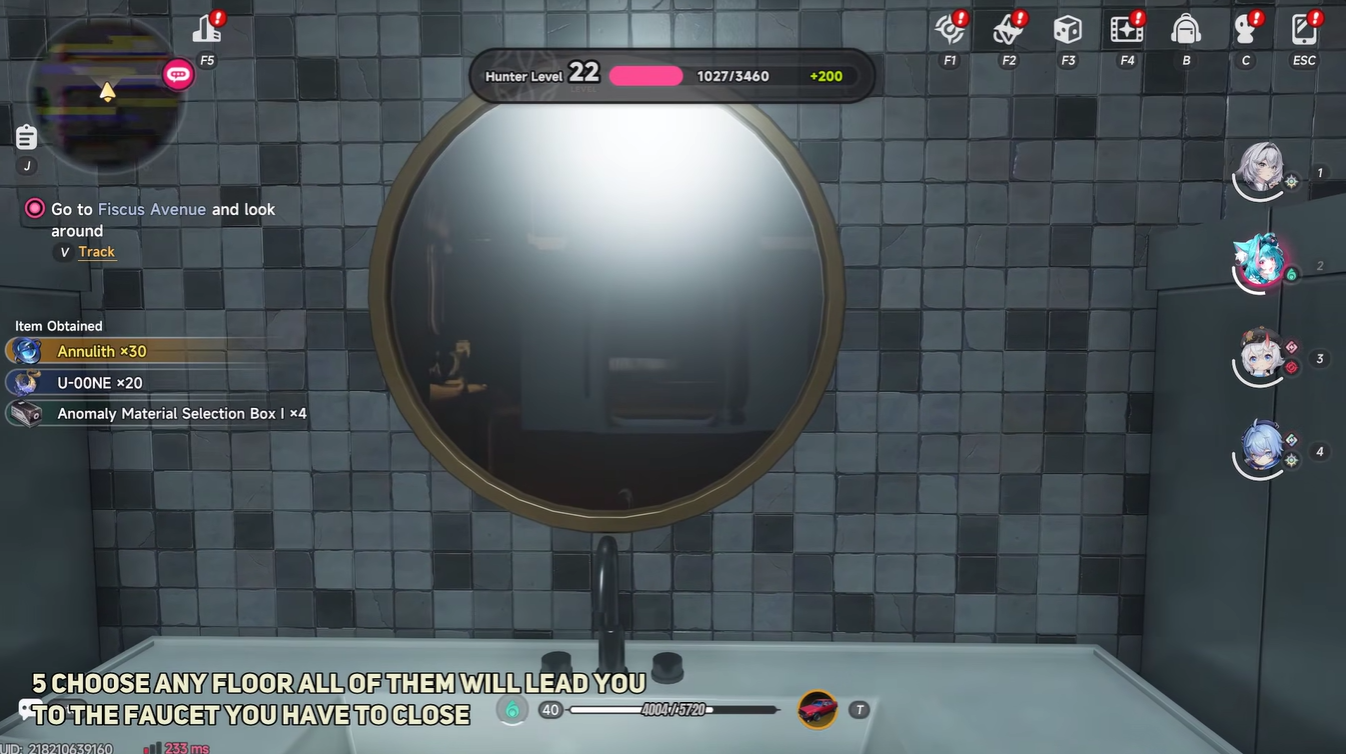
Reaching the faucet anomaly
Return to the elevator and choose any available floor.
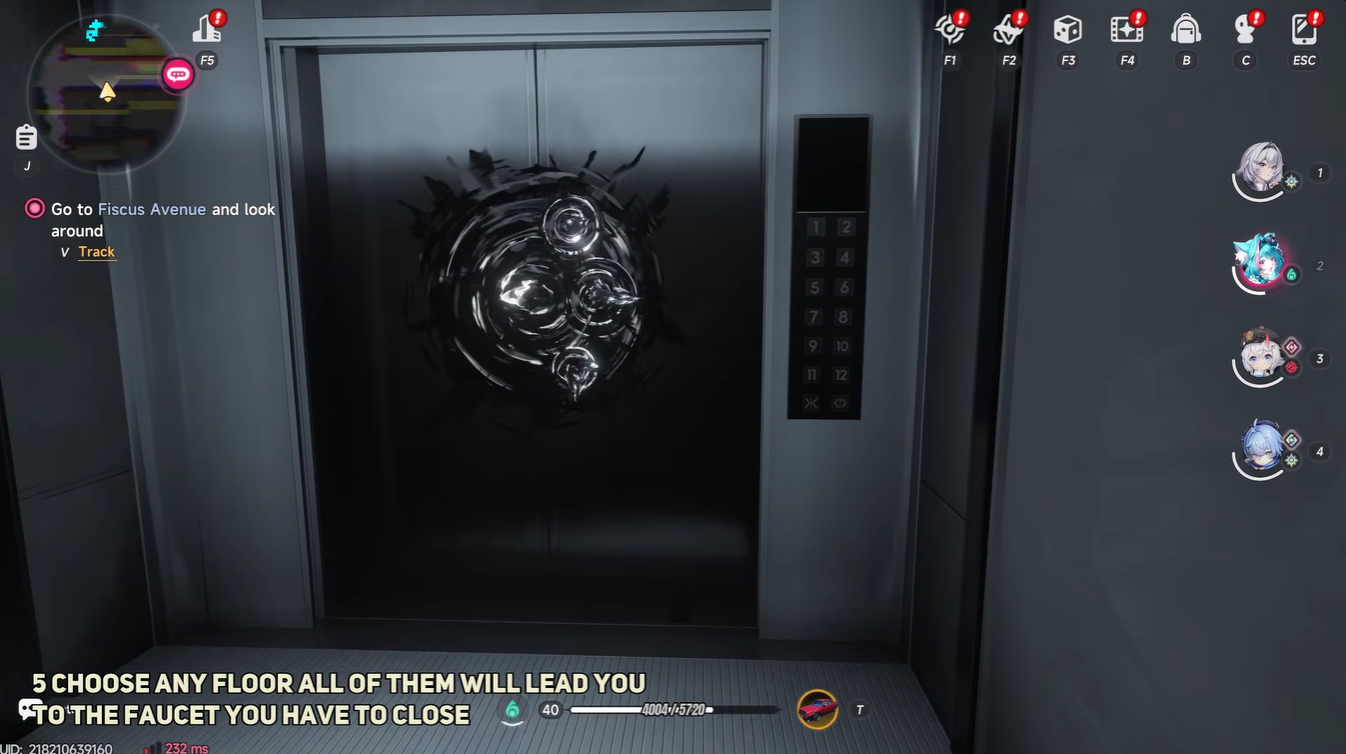
At this point, the anomaly overrides the elevator controls, meaning every floor selection eventually leads to the same distorted faucet location.
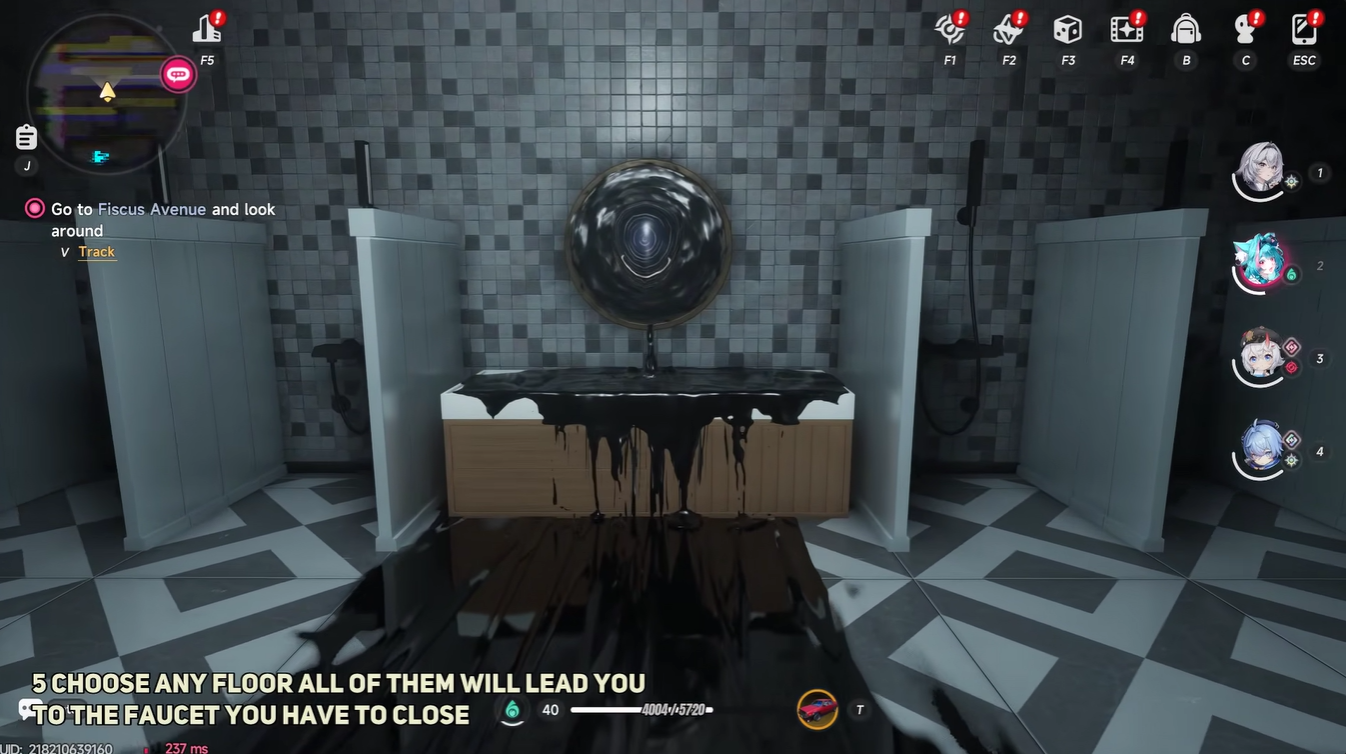
The leaking faucet serves as the core manifestation of the anomaly.
Interact with the faucet area to trigger the final progression phase.
Finishing the anomaly
Step 6
After interacting with the faucet anomaly, return to the elevator one final time and travel to 1F.
Exit the building to complete the anomaly commission successfully.
Once outside, the mission rewards are automatically granted.
Full rewards for “Whose Leak Is This?”
The anomaly provides several valuable progression materials useful for both character growth and upgrade systems.
| Reward | Amount |
|---|---|
| Annulith | 30 |
| U-00NE | 20 |
| Anomaly Material Selection Box I | 4 |
| Beetle Coin | 5,000 |
| Fons | 10,000 |
The Anomaly Material Selection Boxes are especially valuable for early and mid-game progression, making this commission worth completing as soon as it becomes available.
Tips for clearing the anomaly quickly
| Tip | Why It Helps |
|---|---|
| Follow the floor order carefully | Prevents progression confusion |
| Listen for audio cues | Phone rings and distortion sounds guide objectives |
| Fully explore each floor | Important interactions can be hidden |
| Ignore floor logic during the final phase | All floors eventually lead to the faucet |
The final elevator loop is intentional and not a bug, which is something many players initially misunderstand.
Many NTE anomaly commissions focus mainly on combat arenas or enemy waves, but “Whose Leak Is This?” feels much more like a supernatural horror side quest. The looping elevator mechanic, distorted building structure, eerie phone call, and leaking faucet imagery create a memorable atmosphere that stands apart from standard exploration content.


Leave a Reply