
- What to know
- Hunter and appraisal levels
- Buttons and menus
- City Tycoon systems
- Cafe management
- Bank heist rewards
- Housing and affinity
- Combat basics
- Esper Cycles and reactions
- How to build characters
- Modules and console
- Skills and awakenings
- Stamina and farming
- Endgame and anomalies
- Anomaly commissions
- Gacha and shop
- Shop exchanges
- Beginner priorities
- Launch-ready habits
What to know
- Your account progression is tied to Hunter Level and Appraisal Level, and some appraisal milestones require extra quests before your Hunter Level can keep rising.
- The game’s core loop is not just combat; it also includes City Tycoon activities, cafe management, bank heists, housing, and bond systems that all feed progression.
- Combat revolves around four-character teams, dodge and parry timing, Esper Cycles, and leveling the right skills, Arcs, and Modules.
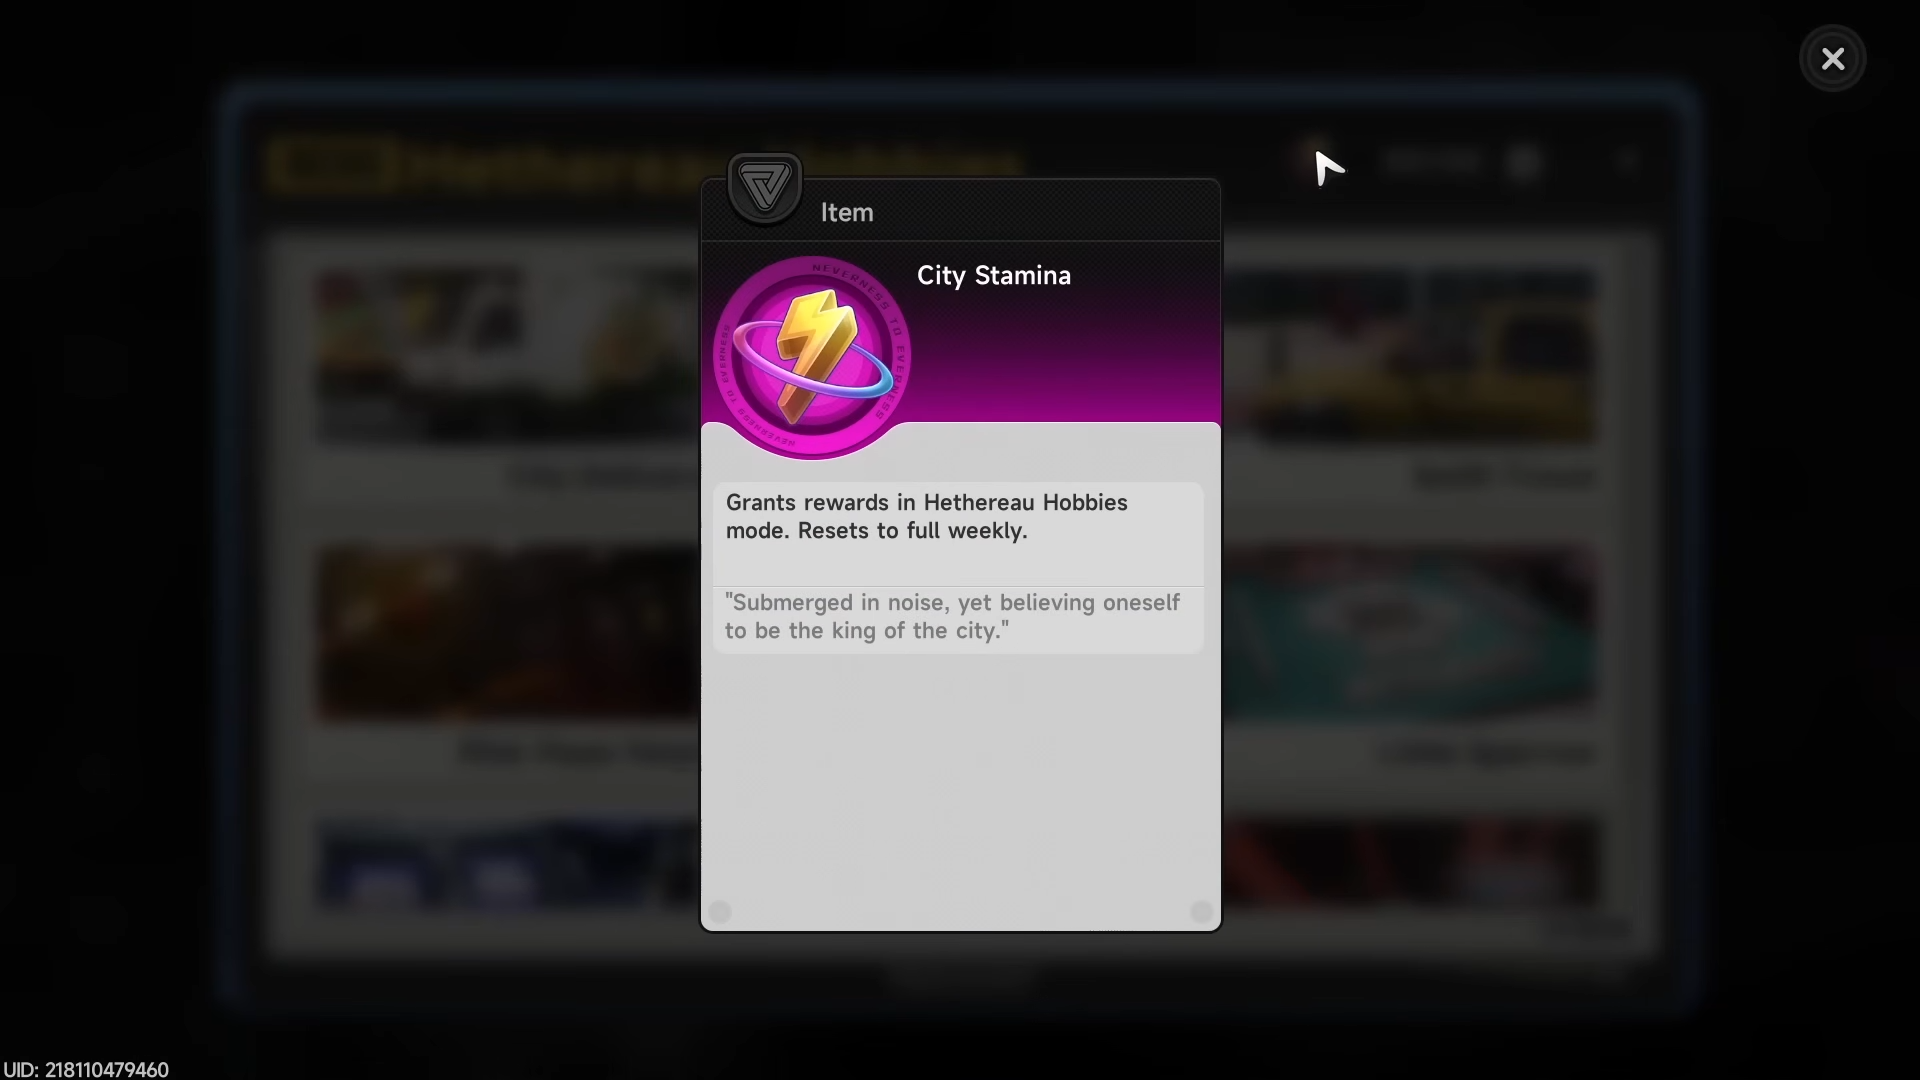
- Stamina is split into character pixels and city life stamina, so you should spend both regularly to keep progressing efficiently.
Neverness to Everness is not a game where you only log in for combat and summons. It mixes action combat with city management, character progression, economy systems, and a lot of menus that matter more than they first appear. The fastest way to avoid early mistakes is to treat every major system as part of the same progression loop.
| Topic | What it affects | Why it matters |
|---|---|---|
| Hunter and appraisal progression | Account level, enemy scaling, rewards | Gates your growth and changes difficulty. |
| City Tycoon | Funds, properties, city stamina, unlocks | One of the main early-game priorities. |
| Combat teams | Damage, survival, reactions | Strong team roles matter more than raw power alone. |
| Character building | Stats, skills, weapon power, modules | Most of your combat strength comes from here. |
| Stamina systems | Farming materials and money | You should use both stamina types every day. |
| Anomaly commissions | Materials, funds, premium currency, arcs | A key repeatable source of rewards. |
| Gacha and shop | Characters, arcs, selectors, exchanges | Important for long-term roster building. |
Hunter and appraisal levels
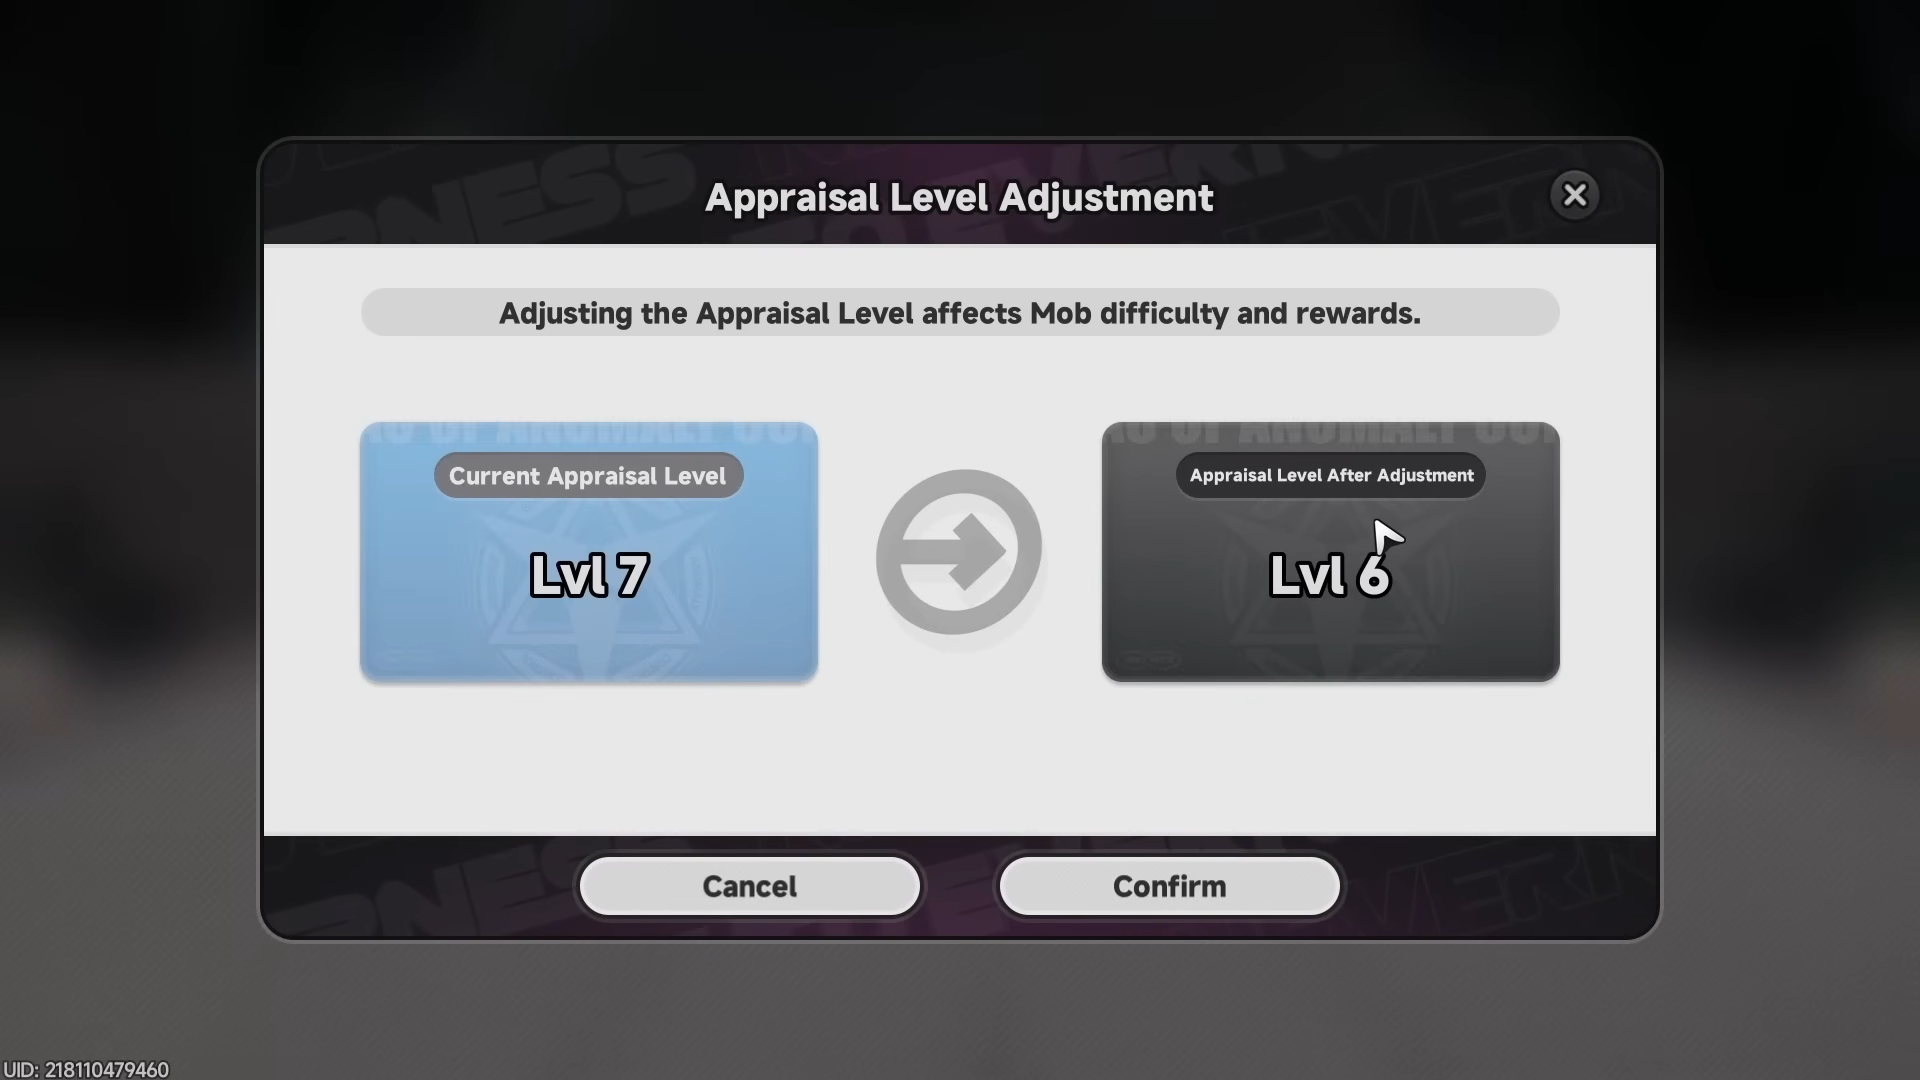
Your account progression is split between Hunter Level and Appraisal Level, and Appraisal Level is the one that directly controls difficulty scaling. Appraisal Level rises at set milestones like 10, 20, 30, 40, 45, 50, and 55, and enemy difficulty and rewards increase with it.
At levels 20, 40, and 50, you must complete an extra quest to keep raising your Hunter Level, so those points act as progression gates. If the game becomes too hard, you can lower your appraisal tier for 24 hours and then raise it again later.
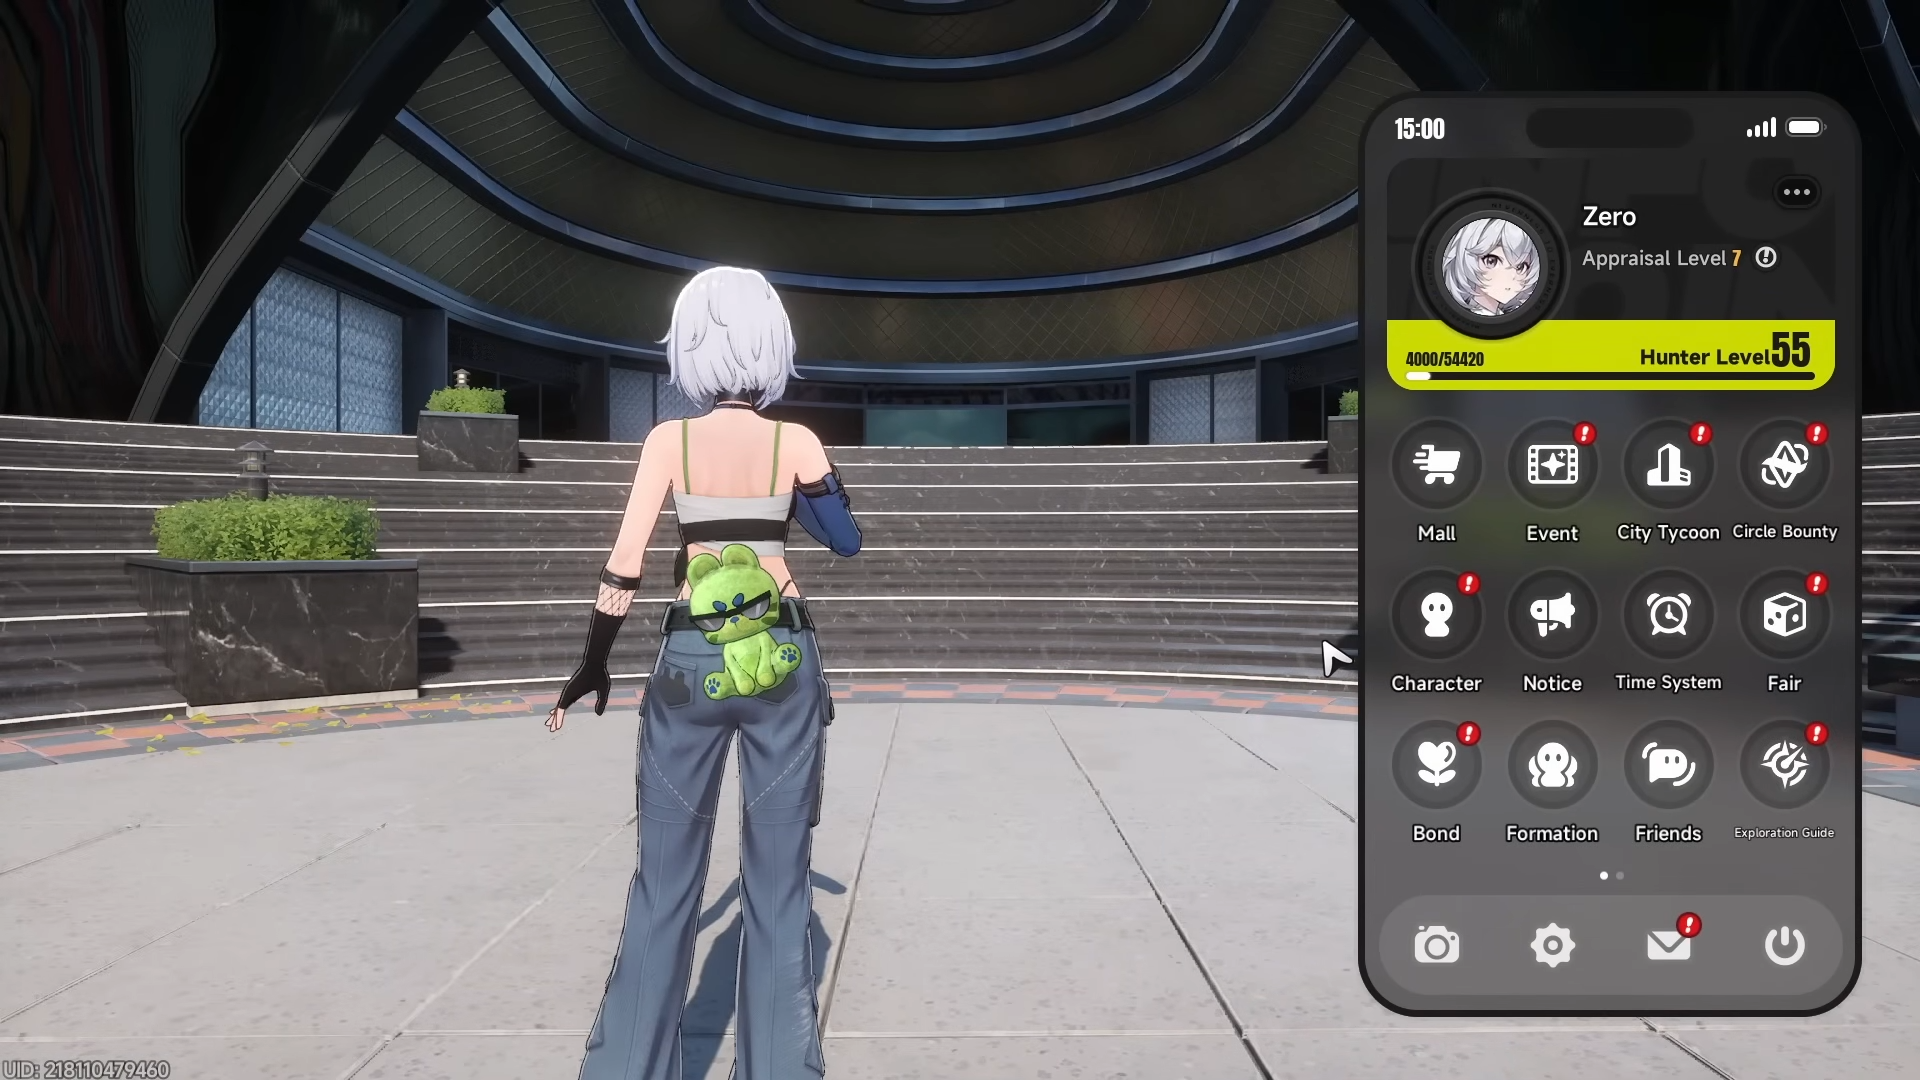
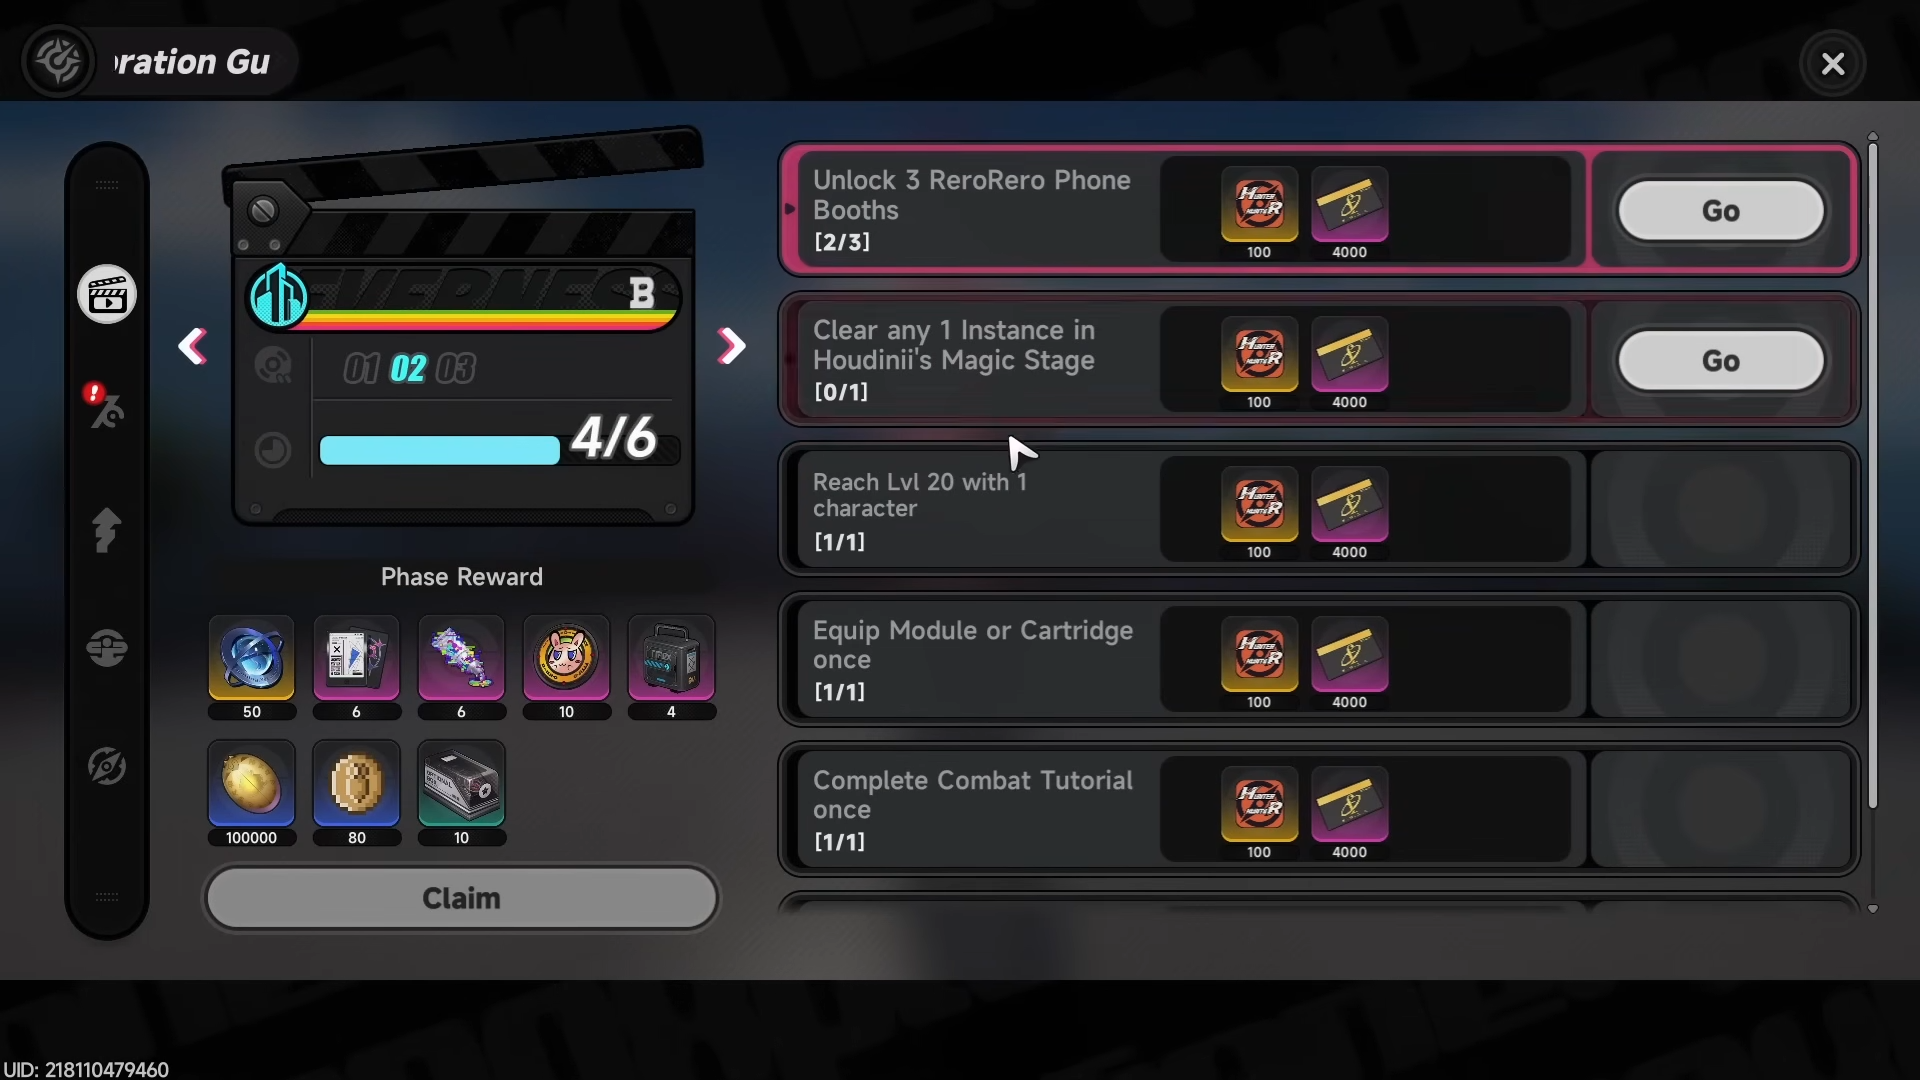
A huge part of the beginner experience is simply learning what each menu does.
The progression tab guides your account and gives extra rewards, the daily tab covers reset-based tasks, and the domain index is where you farm materials like ability upgrades, weapon ascension materials, artifact-type rewards, and weekly boss materials.
Other important menus include the battle pass, gacha, events, backpack, character list, bond menu, formation, achievements, tutorial glossary, multiplayer, hunter rewards, index, messages, camera, settings, and mail.
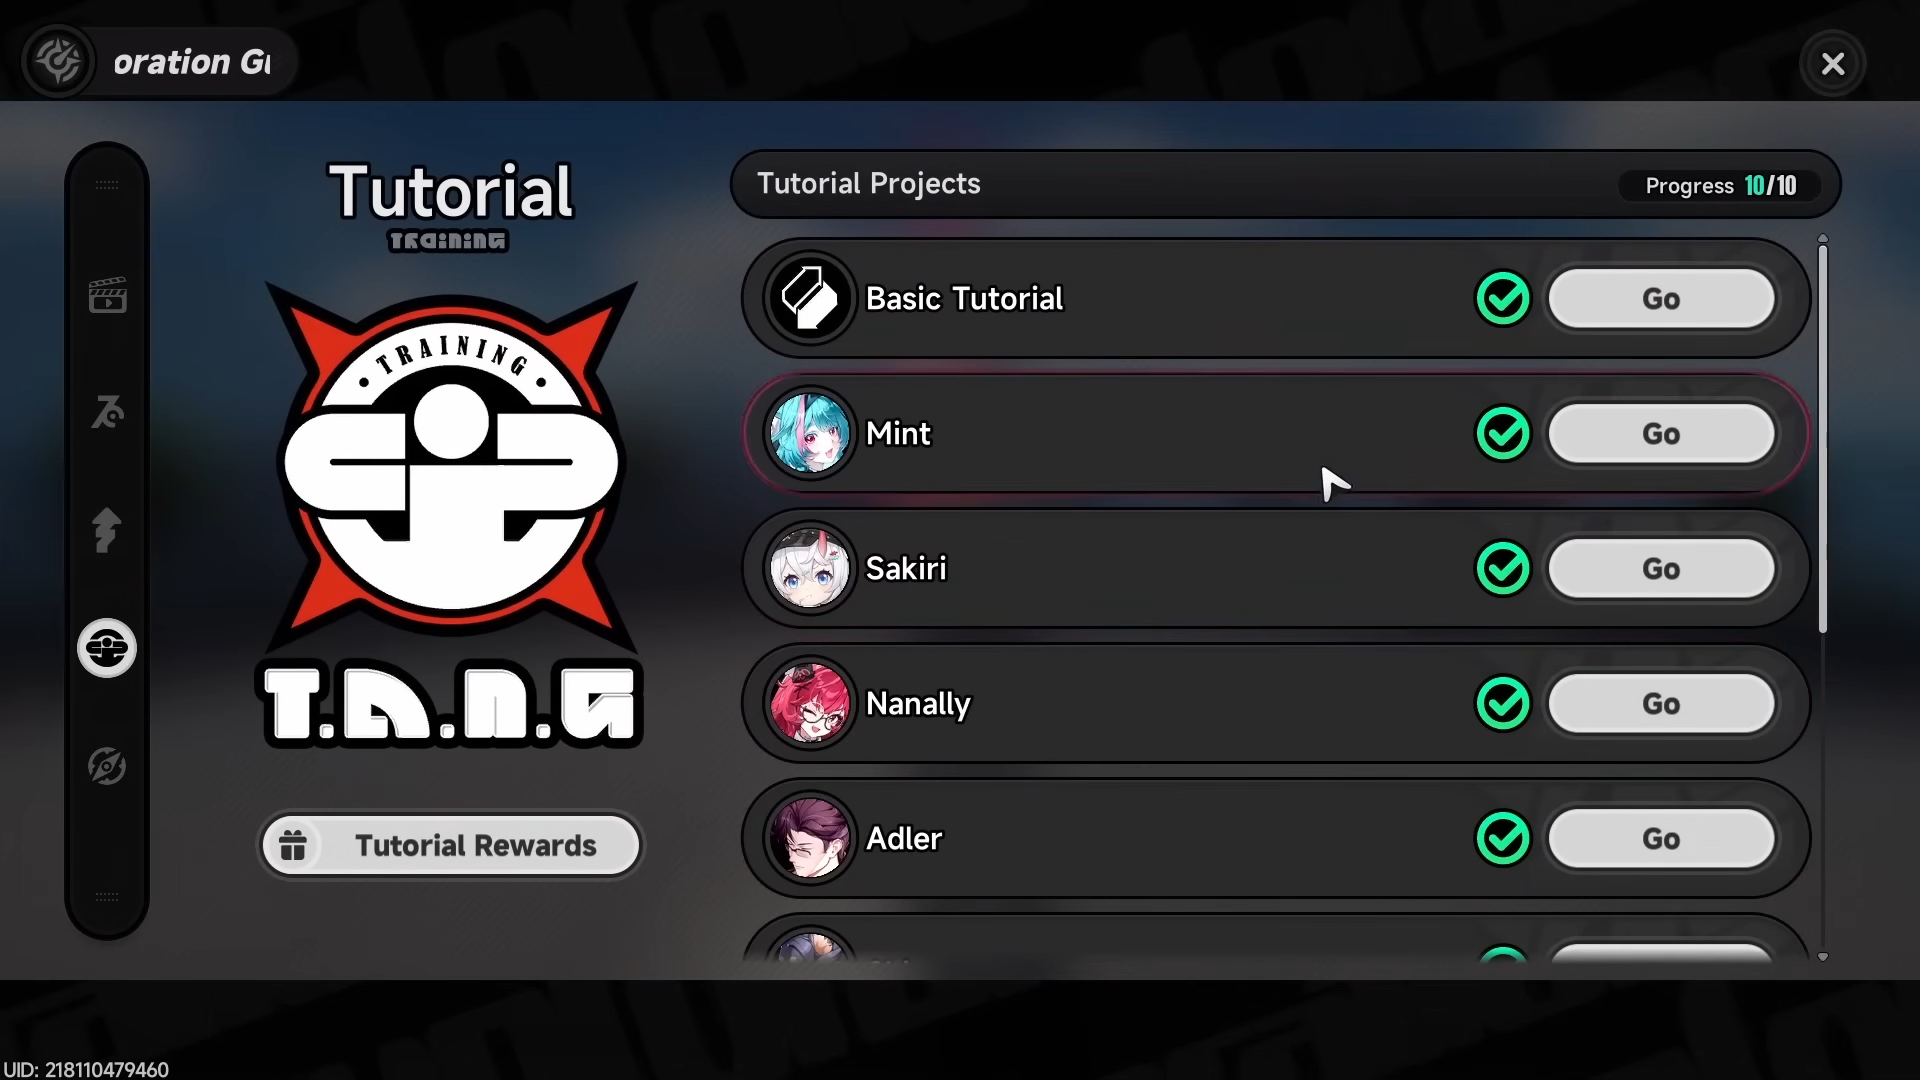
The quest journal also separates main quests from episodes and spin-offs, while the city tycoon menu is its own major system.
City Tycoon systems
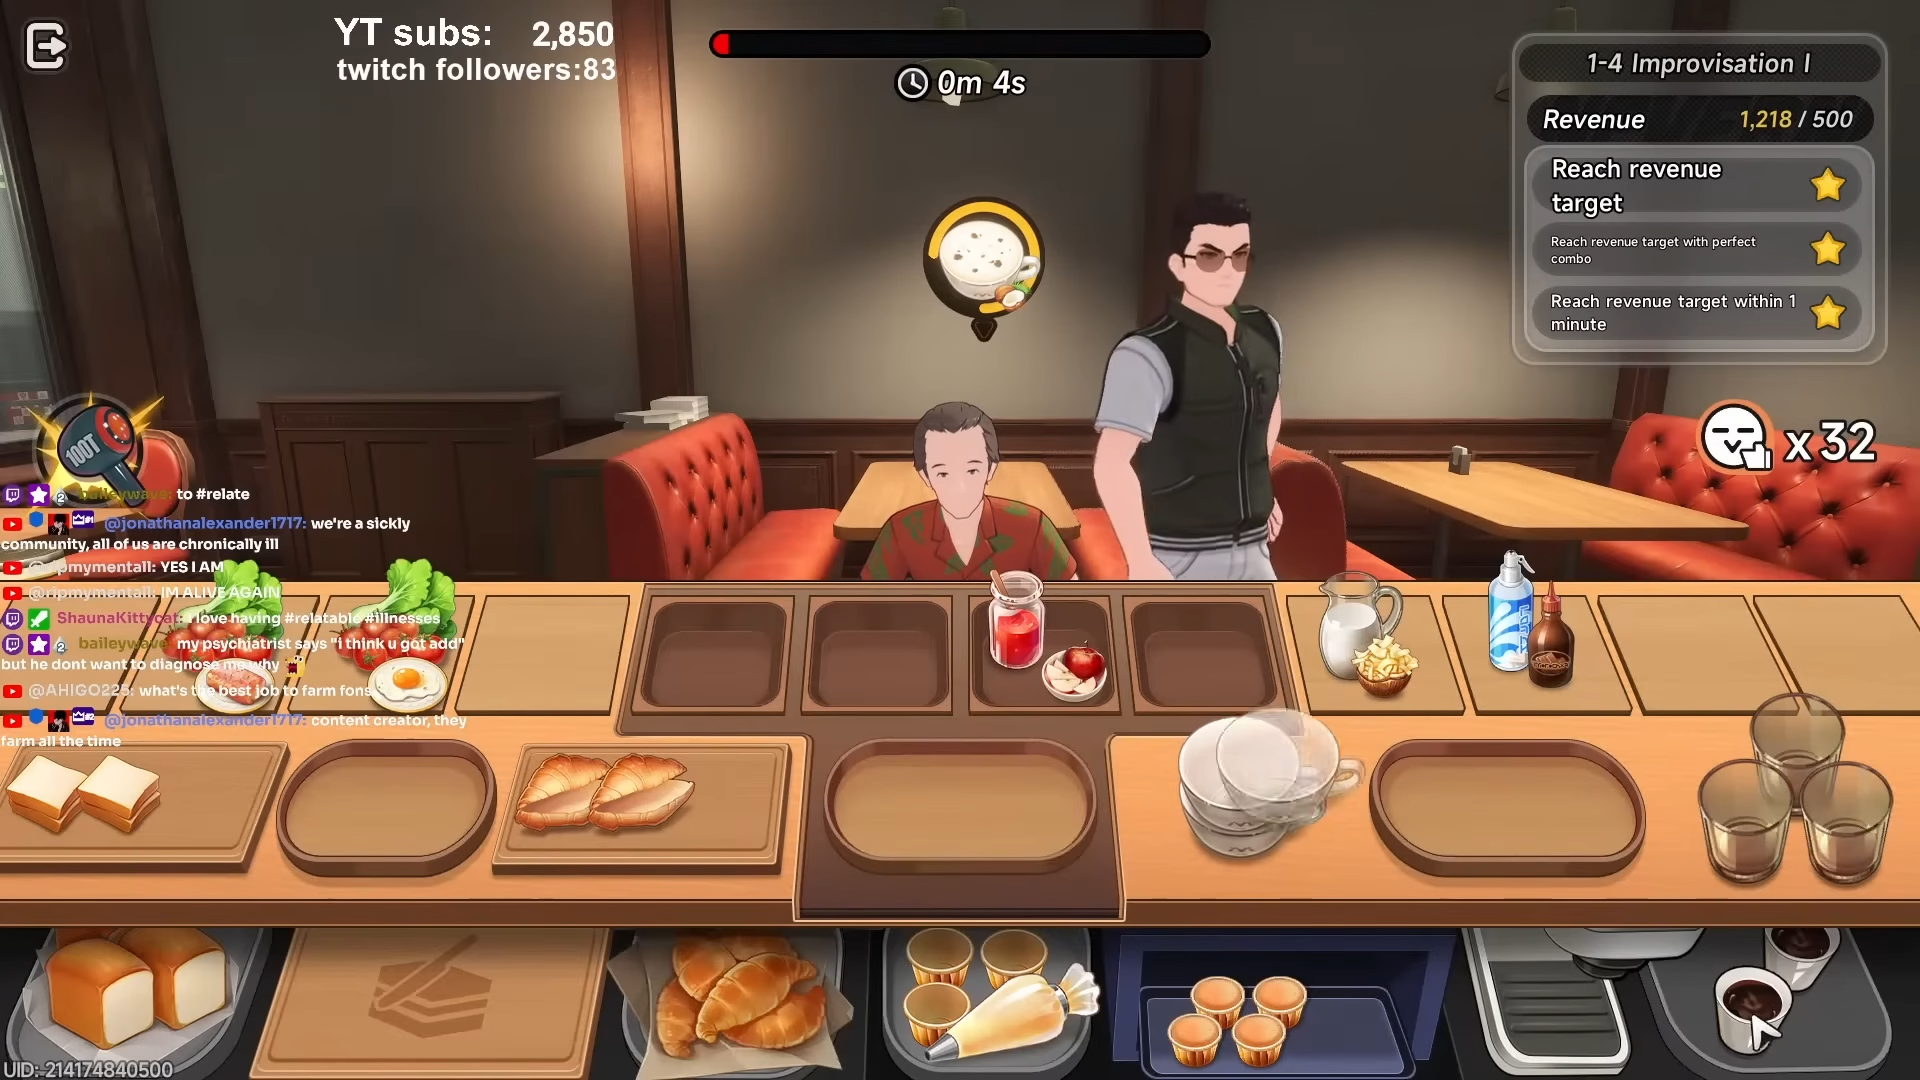
City Tycoon is one of the most important parts of the game because funds matter a lot.
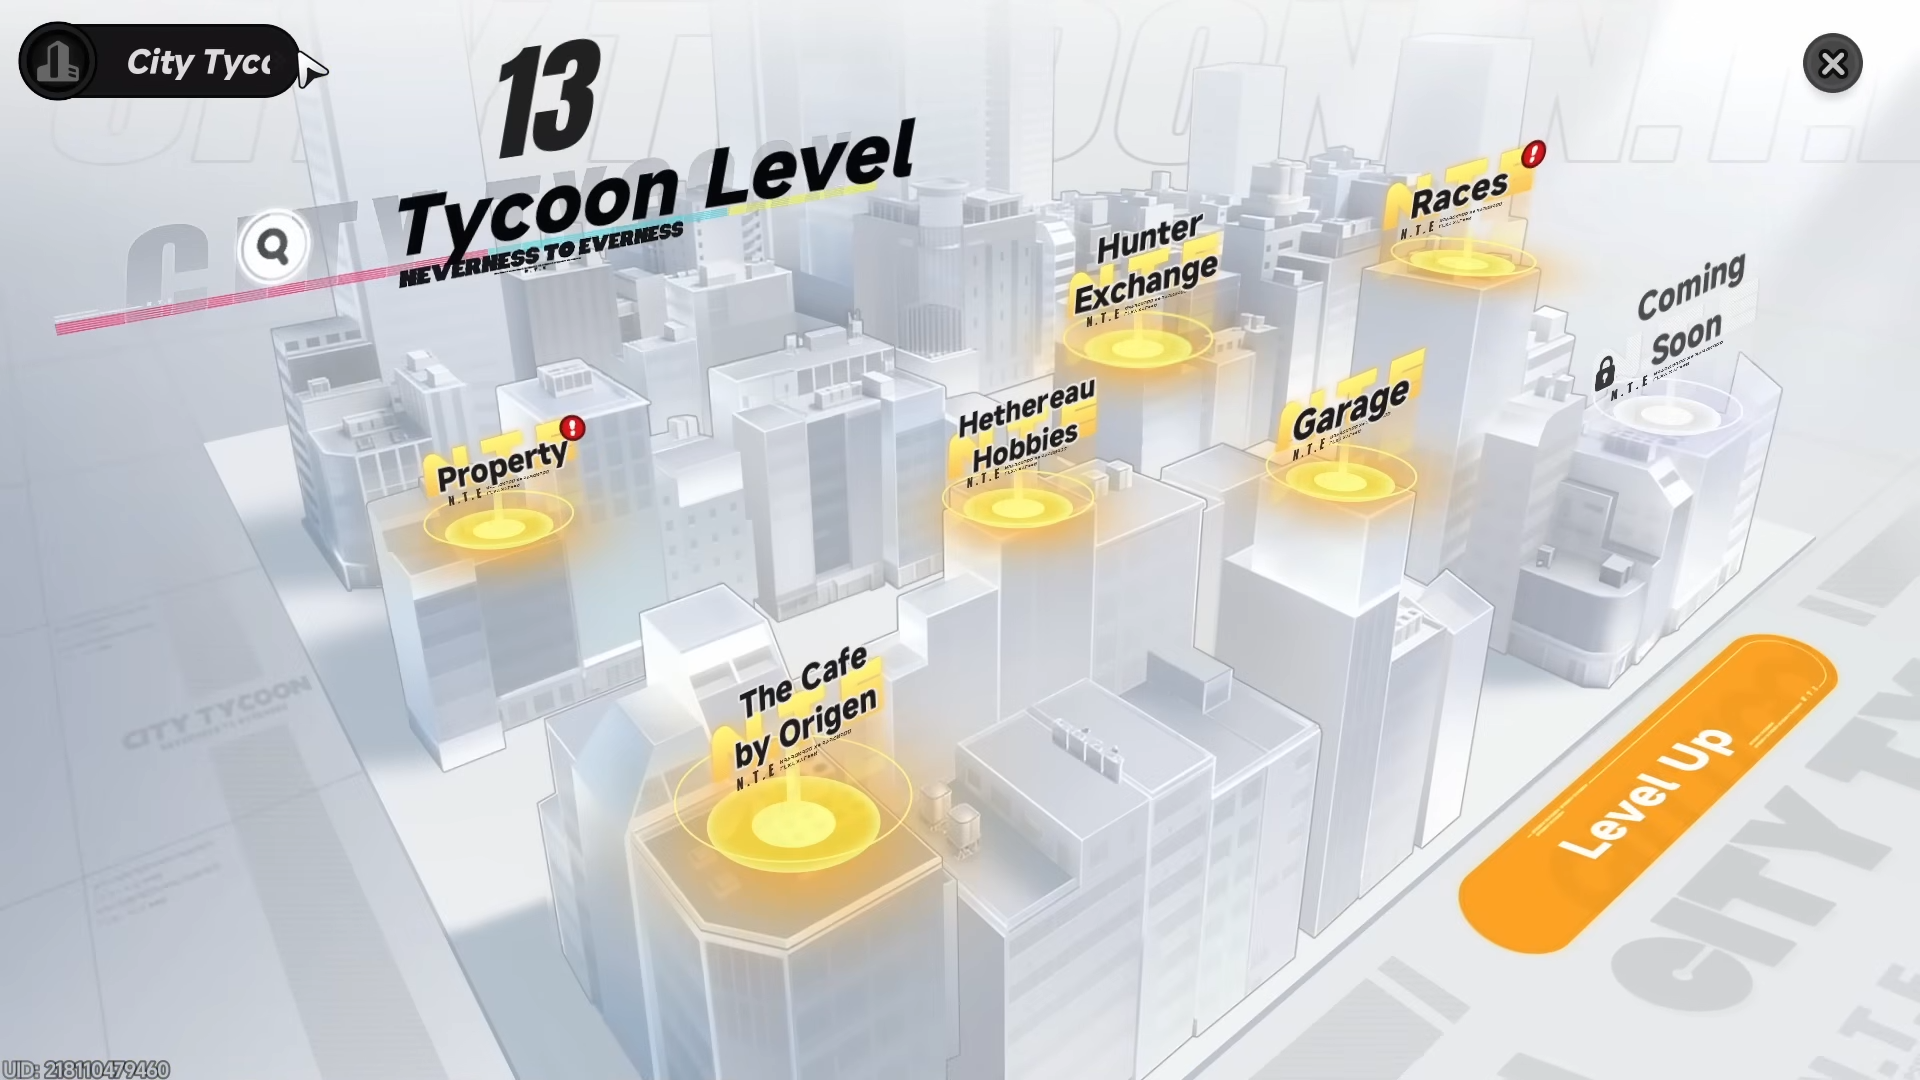
You earn funds through challenge races, city life activities, cafes, the bank heist, fishing, mahjong, Tetris-style play, rhythm content, and more, and these activities also feed tycoon progression.
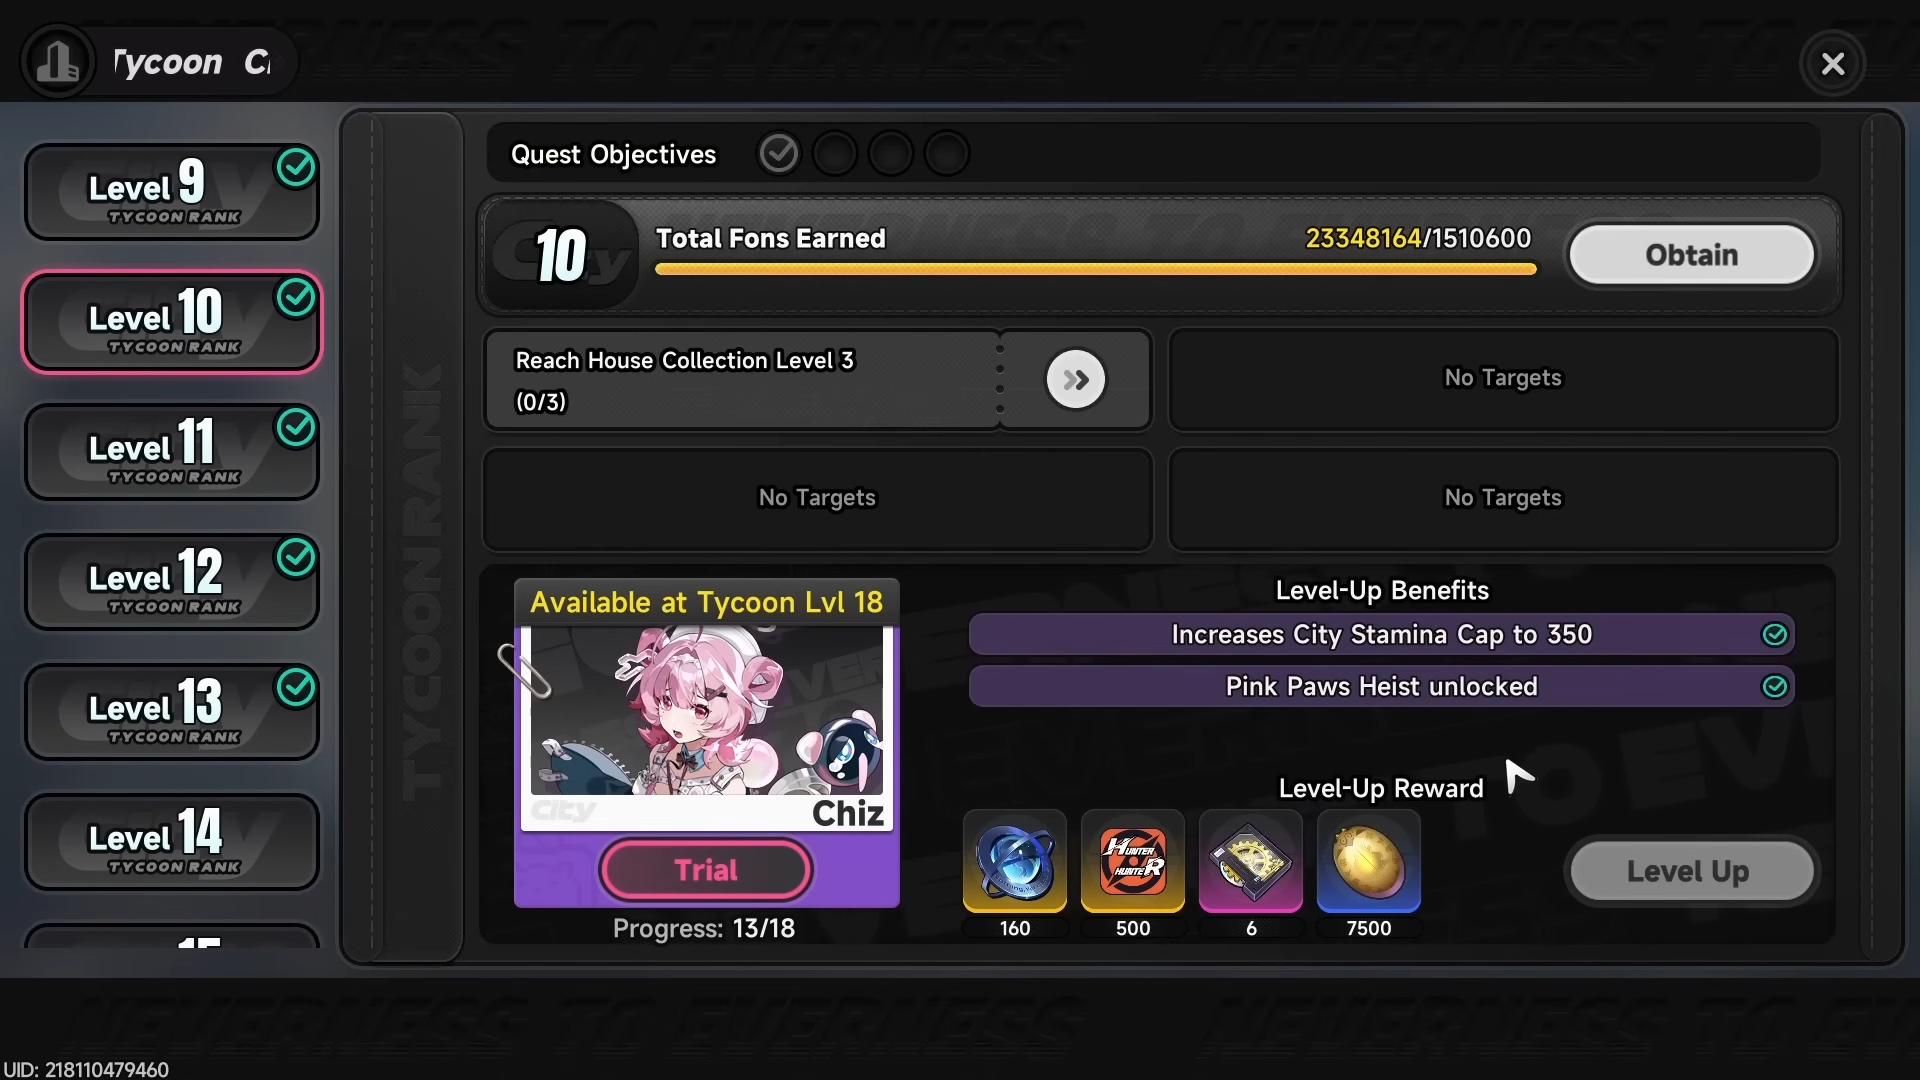
City Life stamina is spent on these non-combat activities, and each point spent equals 1,000 funds. Tycoon level raises your city stamina cap, unlocks properties, and gives other major benefits, so early game investment here is extremely valuable.
Race and travel activities
Racing is one of the direct fund sources in the tycoon system, with challenge races giving funds and premium currency rewards.
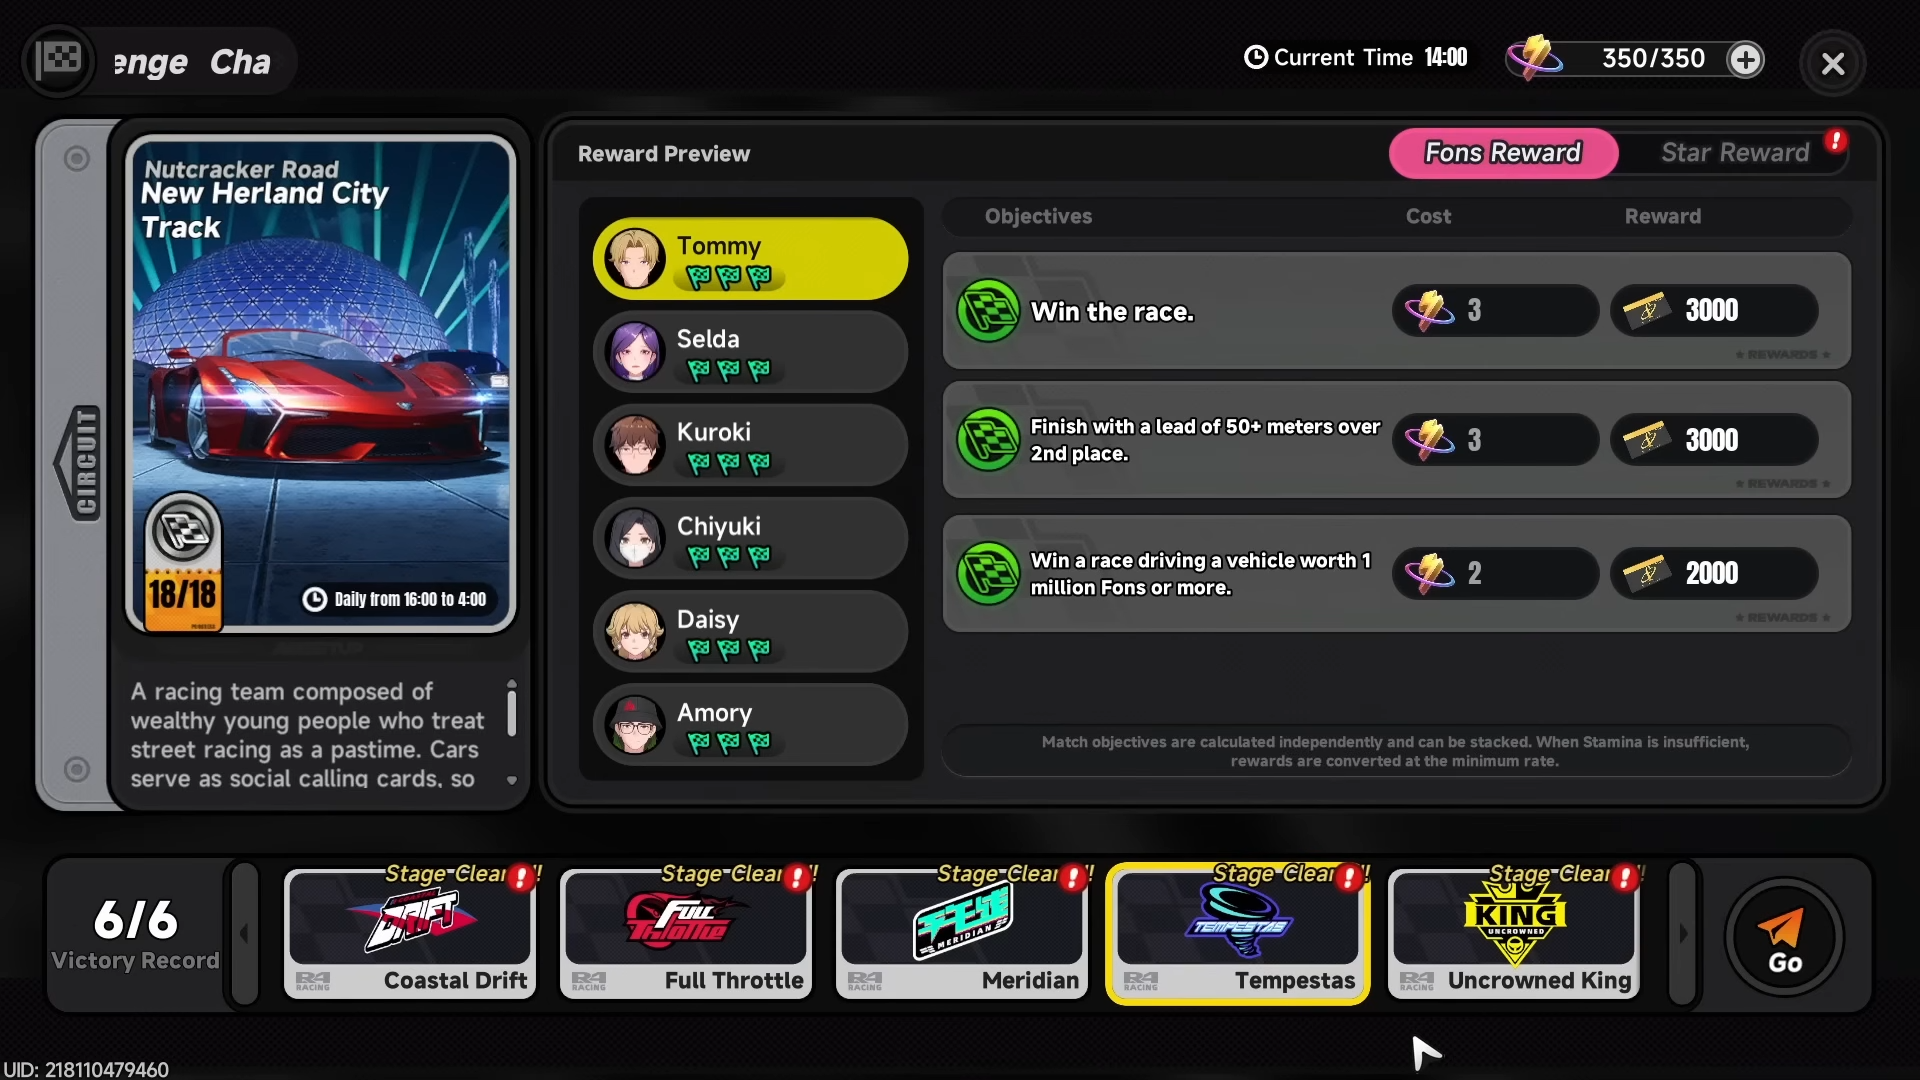
There are also side activities in the after-hobbies menu, such as city delivery and swift travel, which also use city life stamina and help convert time into money.

The key point is that you should not ignore these mini-systems just because they look optional. They are part of how you build the funds needed for character power and progression.
Cafe management
Cafes provide passive income, but they also need regular attention.
You can increase management level, unlock more cafes, research menu items, restock ingredients, and assign characters to work there, all of which improve profit.
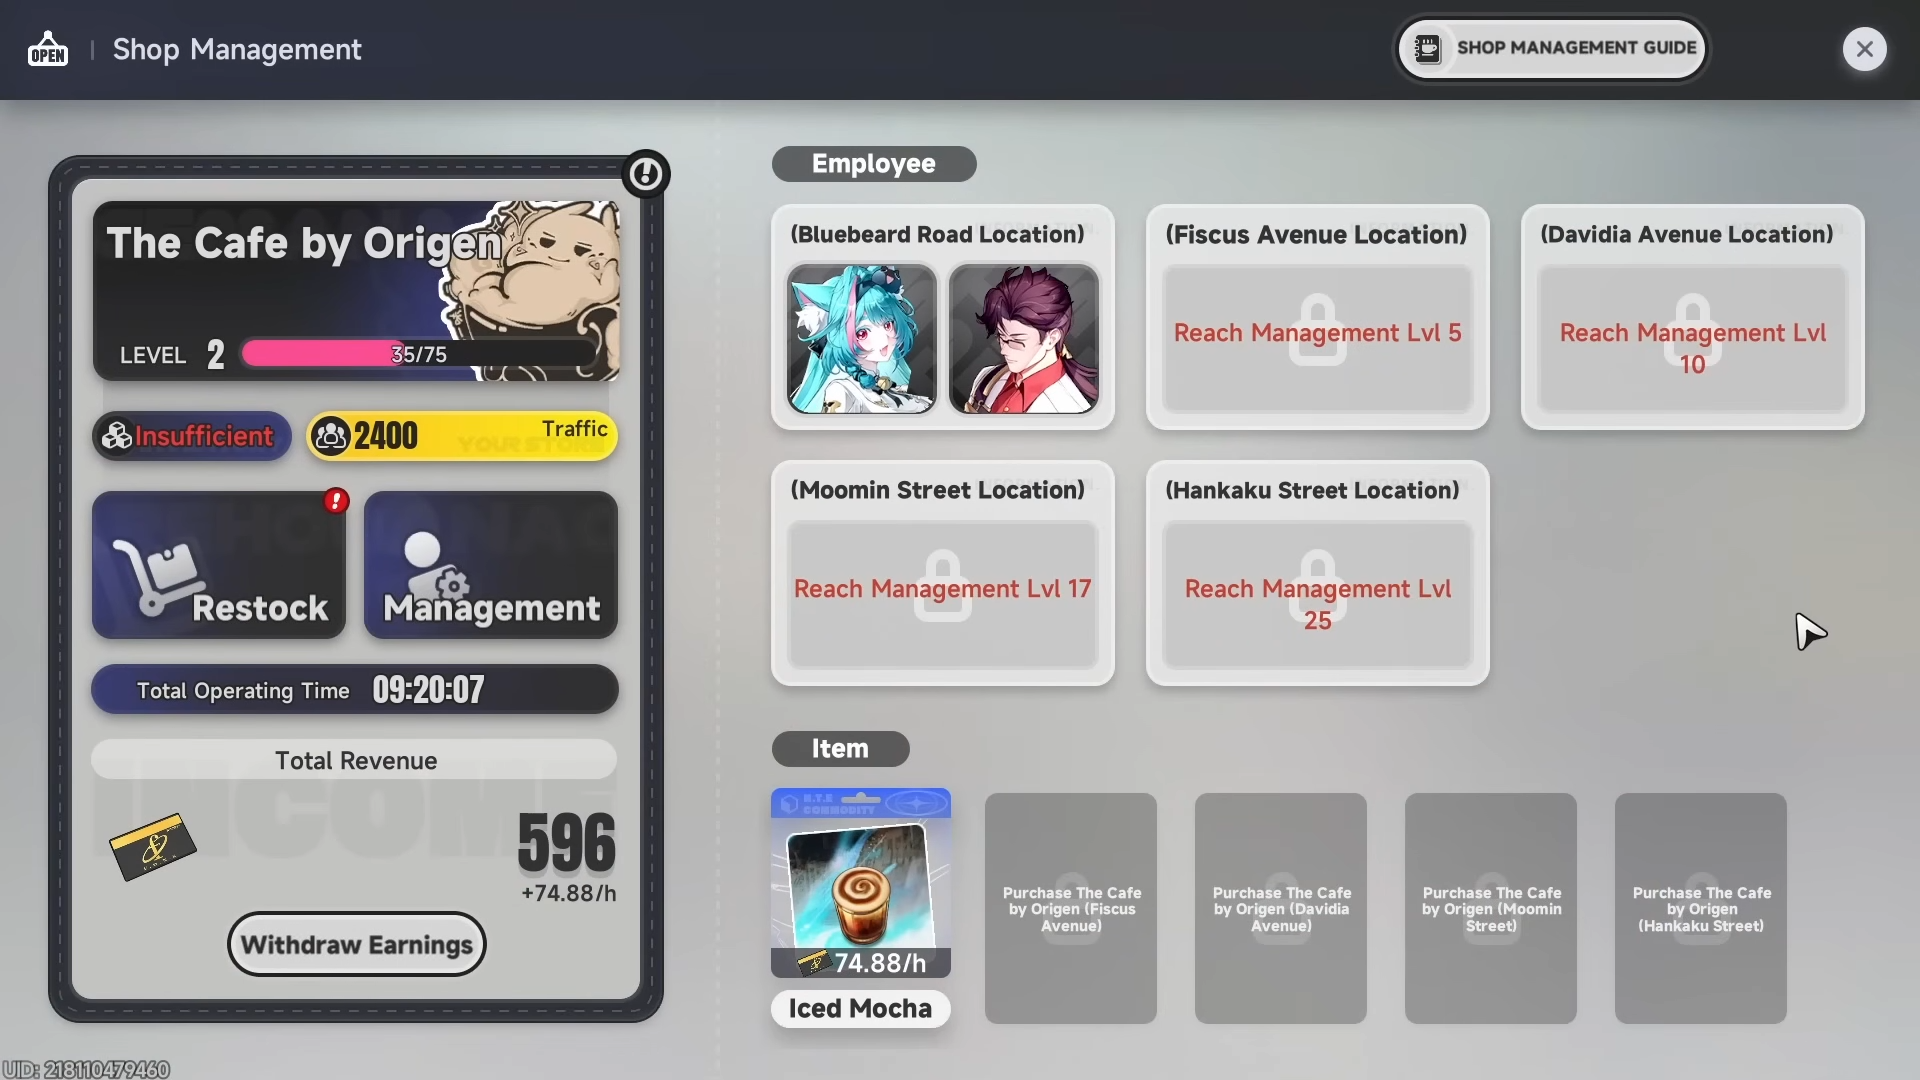
A practical early-game approach is to restock for 4 hours at a time rather than overcommitting to longer restocks.
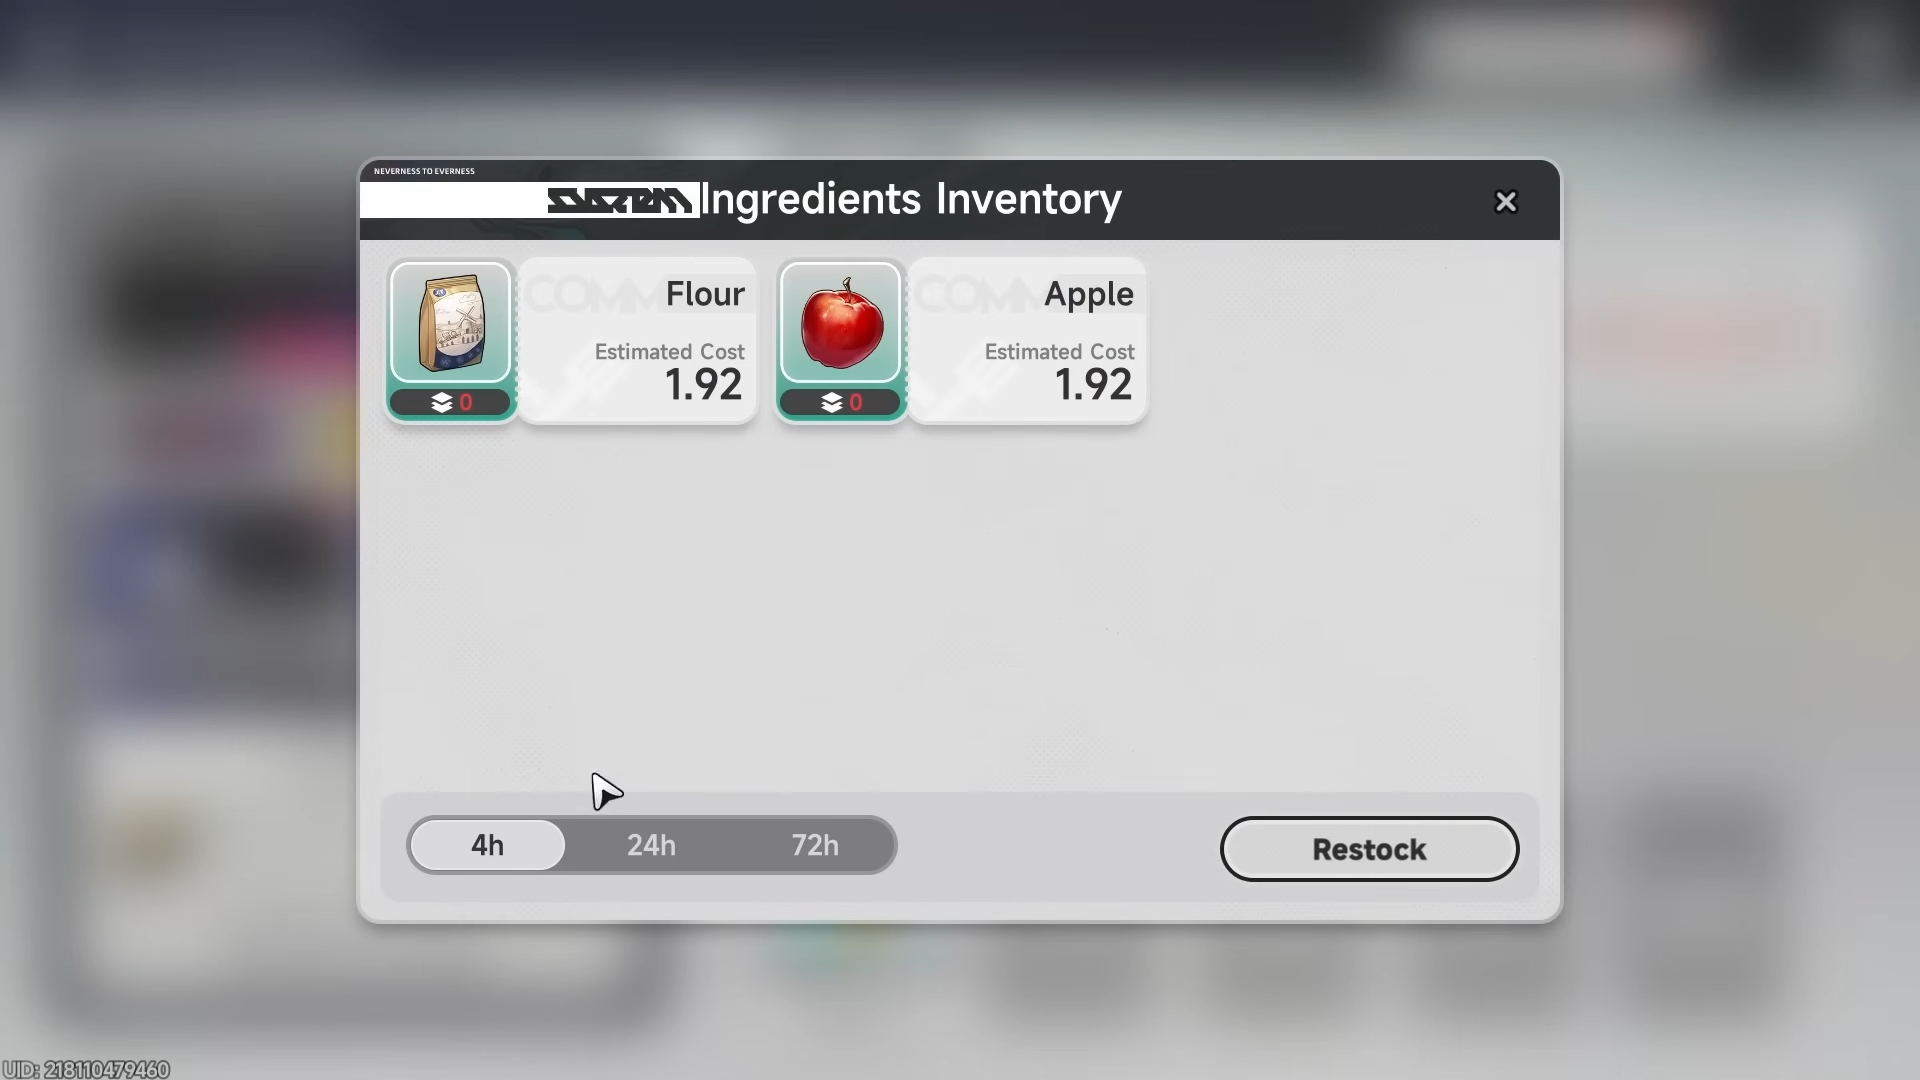
Management level 30 removes delivery cost, and level 40 unlocks auto-restock, so early mistakes here can waste funds if you are not careful.
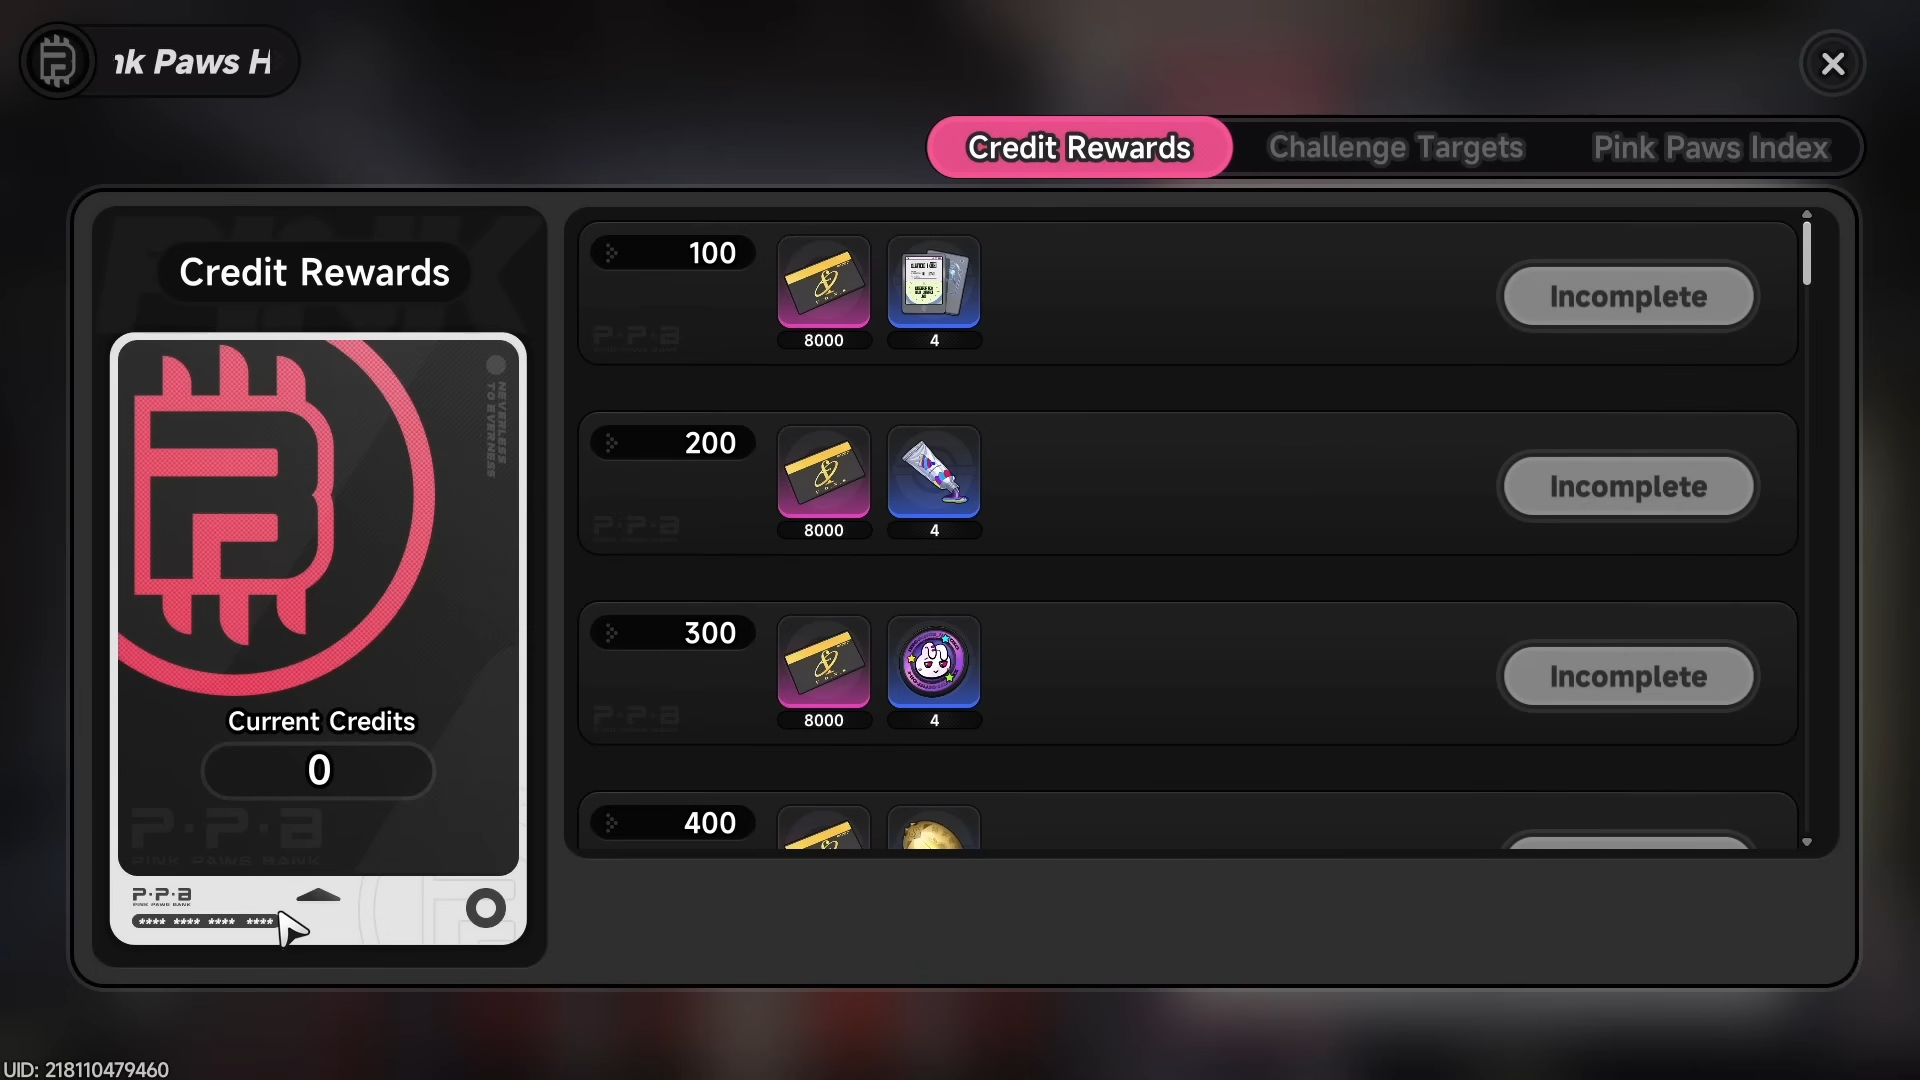
Bank heist rewards
The Pink Paws Heist is a major money-making activity that takes place at the Pink Paws Bank HQ.
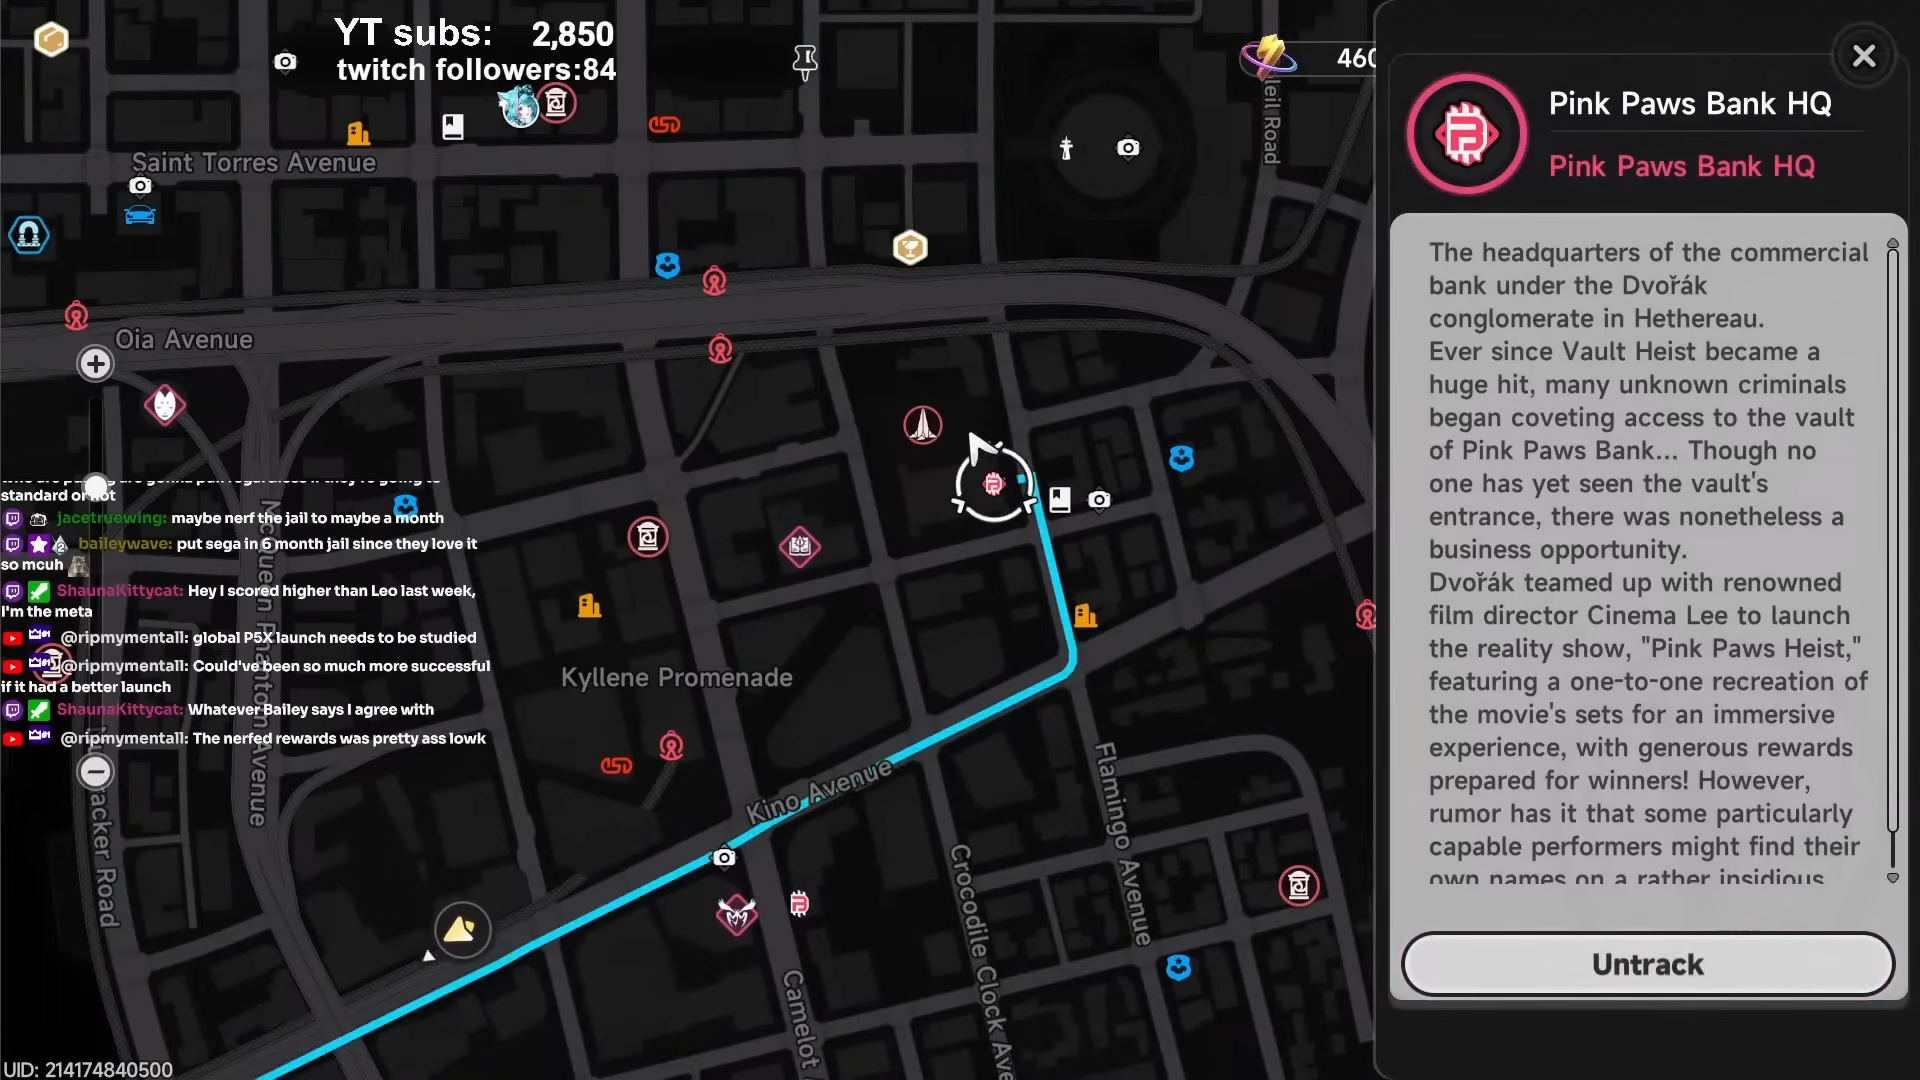
You move through the bank, collect extra loot, defeat four guards to get the cube key, and then unlock the big vault.

It can earn around 1 million funds per in-game cycle and can be run with friends. It also gives additional rewards for collectibles, challenges, and index completion, so it is worth revisiting regularly.
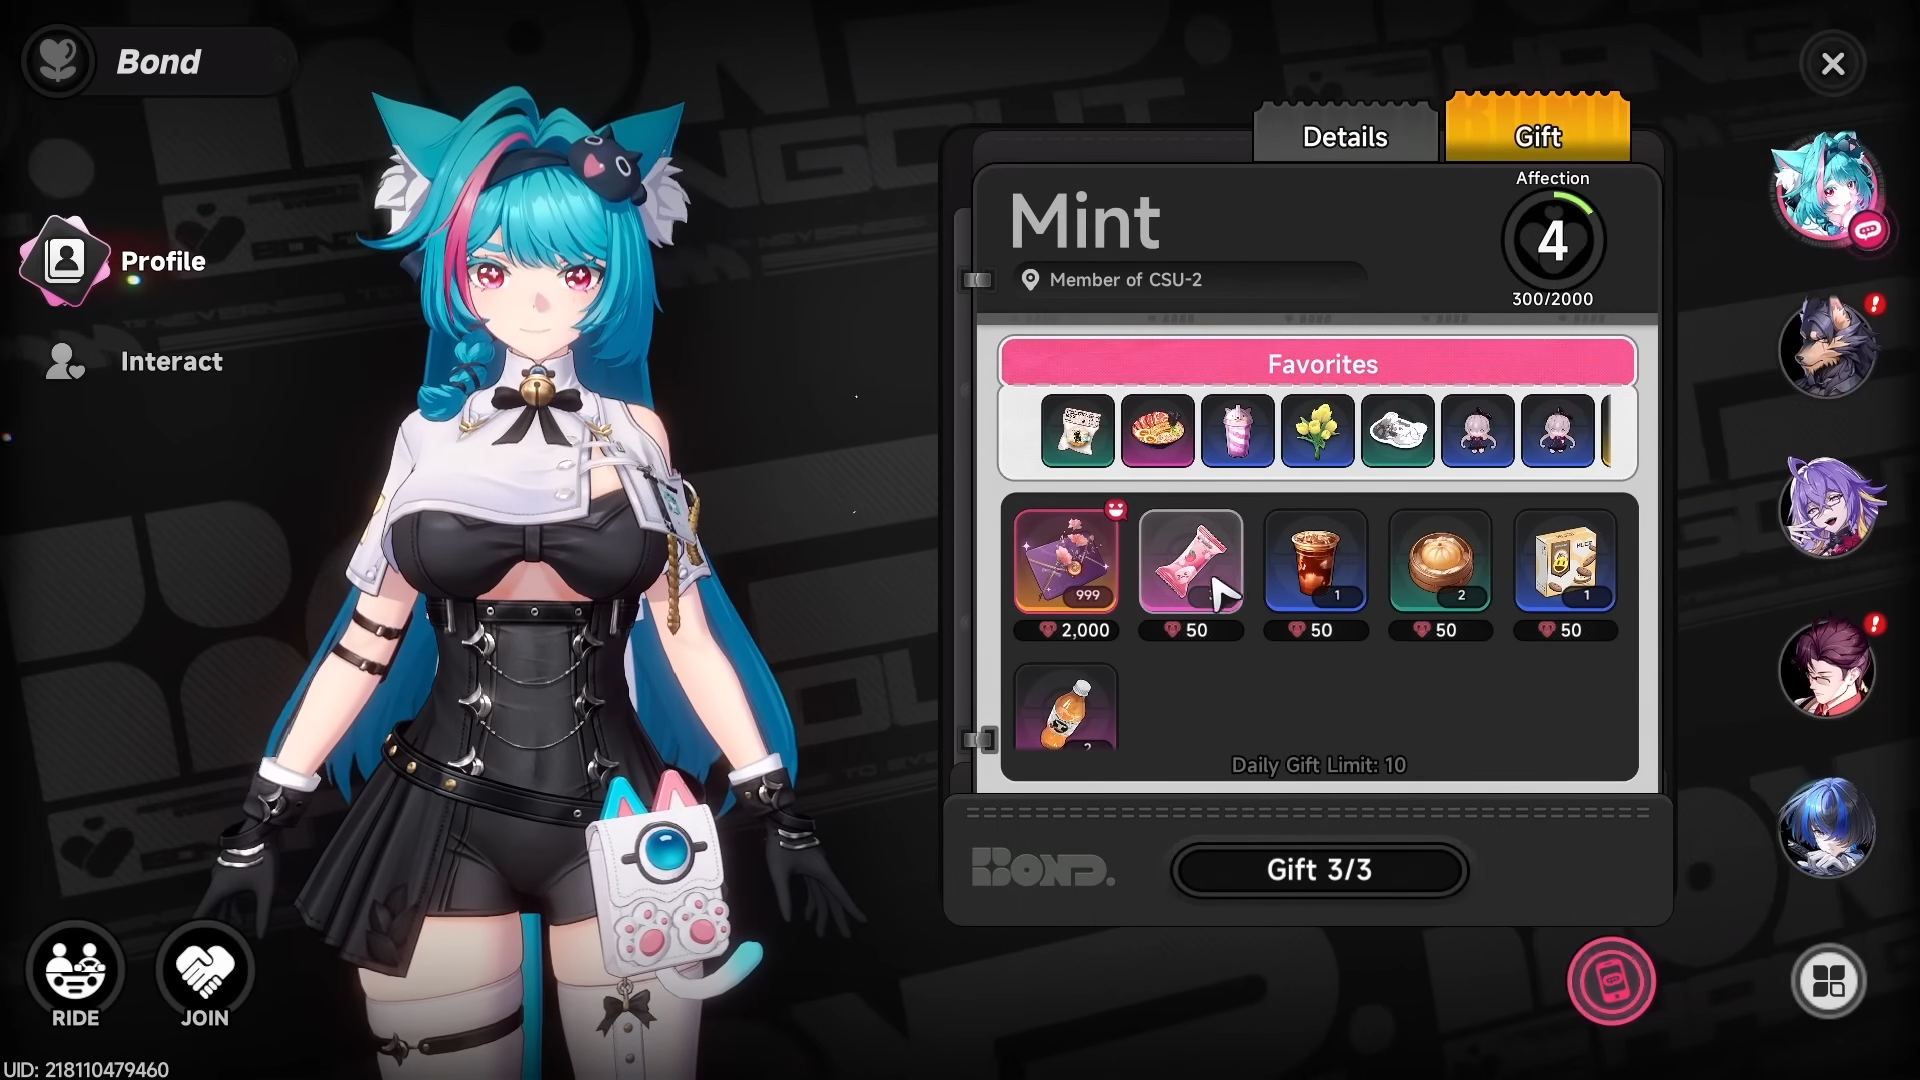
Housing and affinity
Housing properties are not cosmetic only; they grant combat-related stat boosts through anomaly furniture and regular furniture.
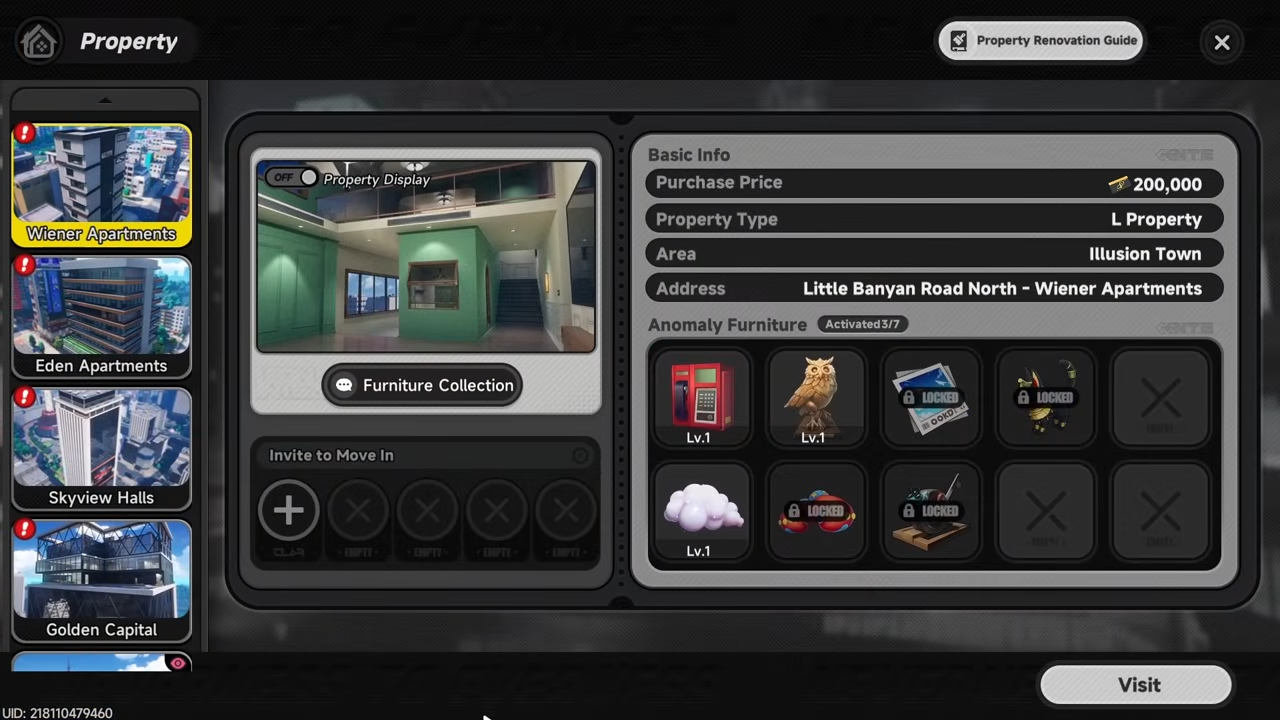
Some pieces are tied to specific tasks such as defeating anomalies or taking pictures, and properties also let you invite characters once their affinity reaches level four.
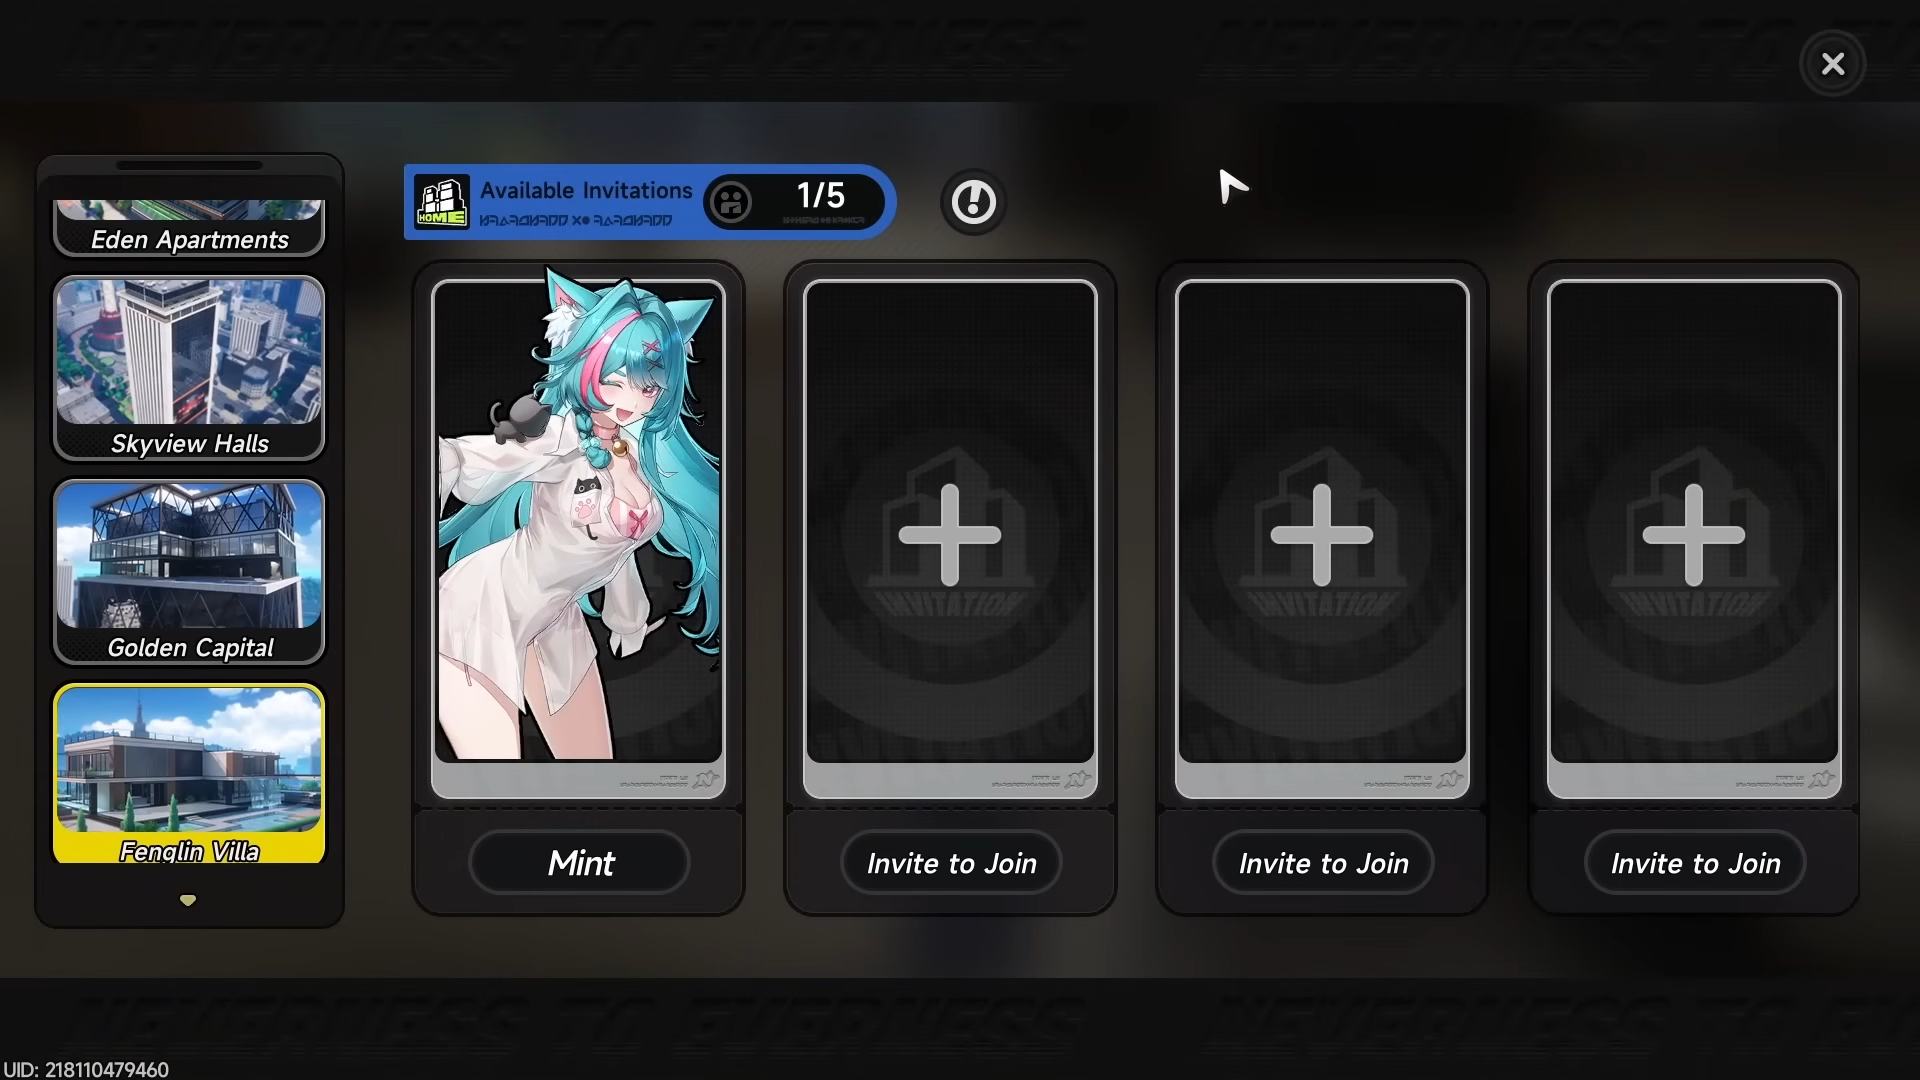
Affinity appears in the bond menu, where you can view affection, bond rewards, and gift options. Higher affinity unlocks more interactions and more rewards, so housing is both a social and mechanical system.
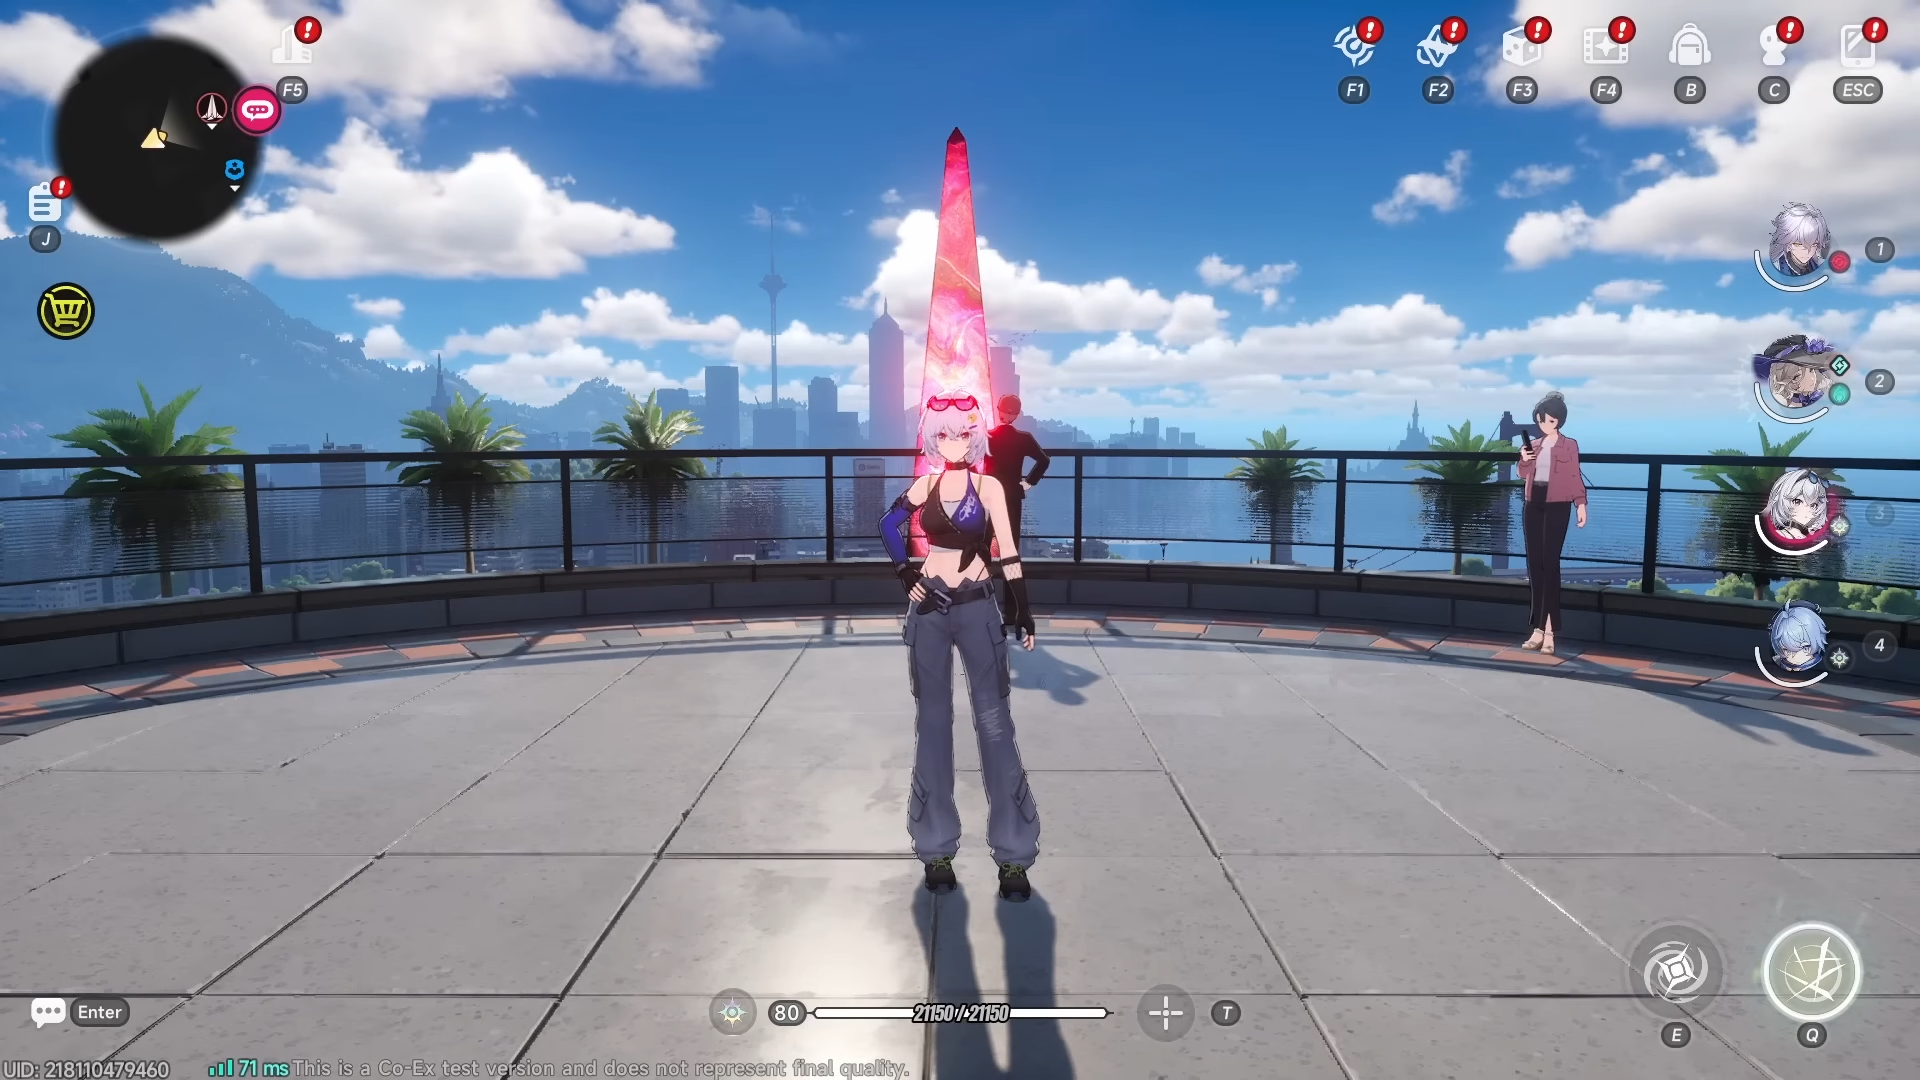
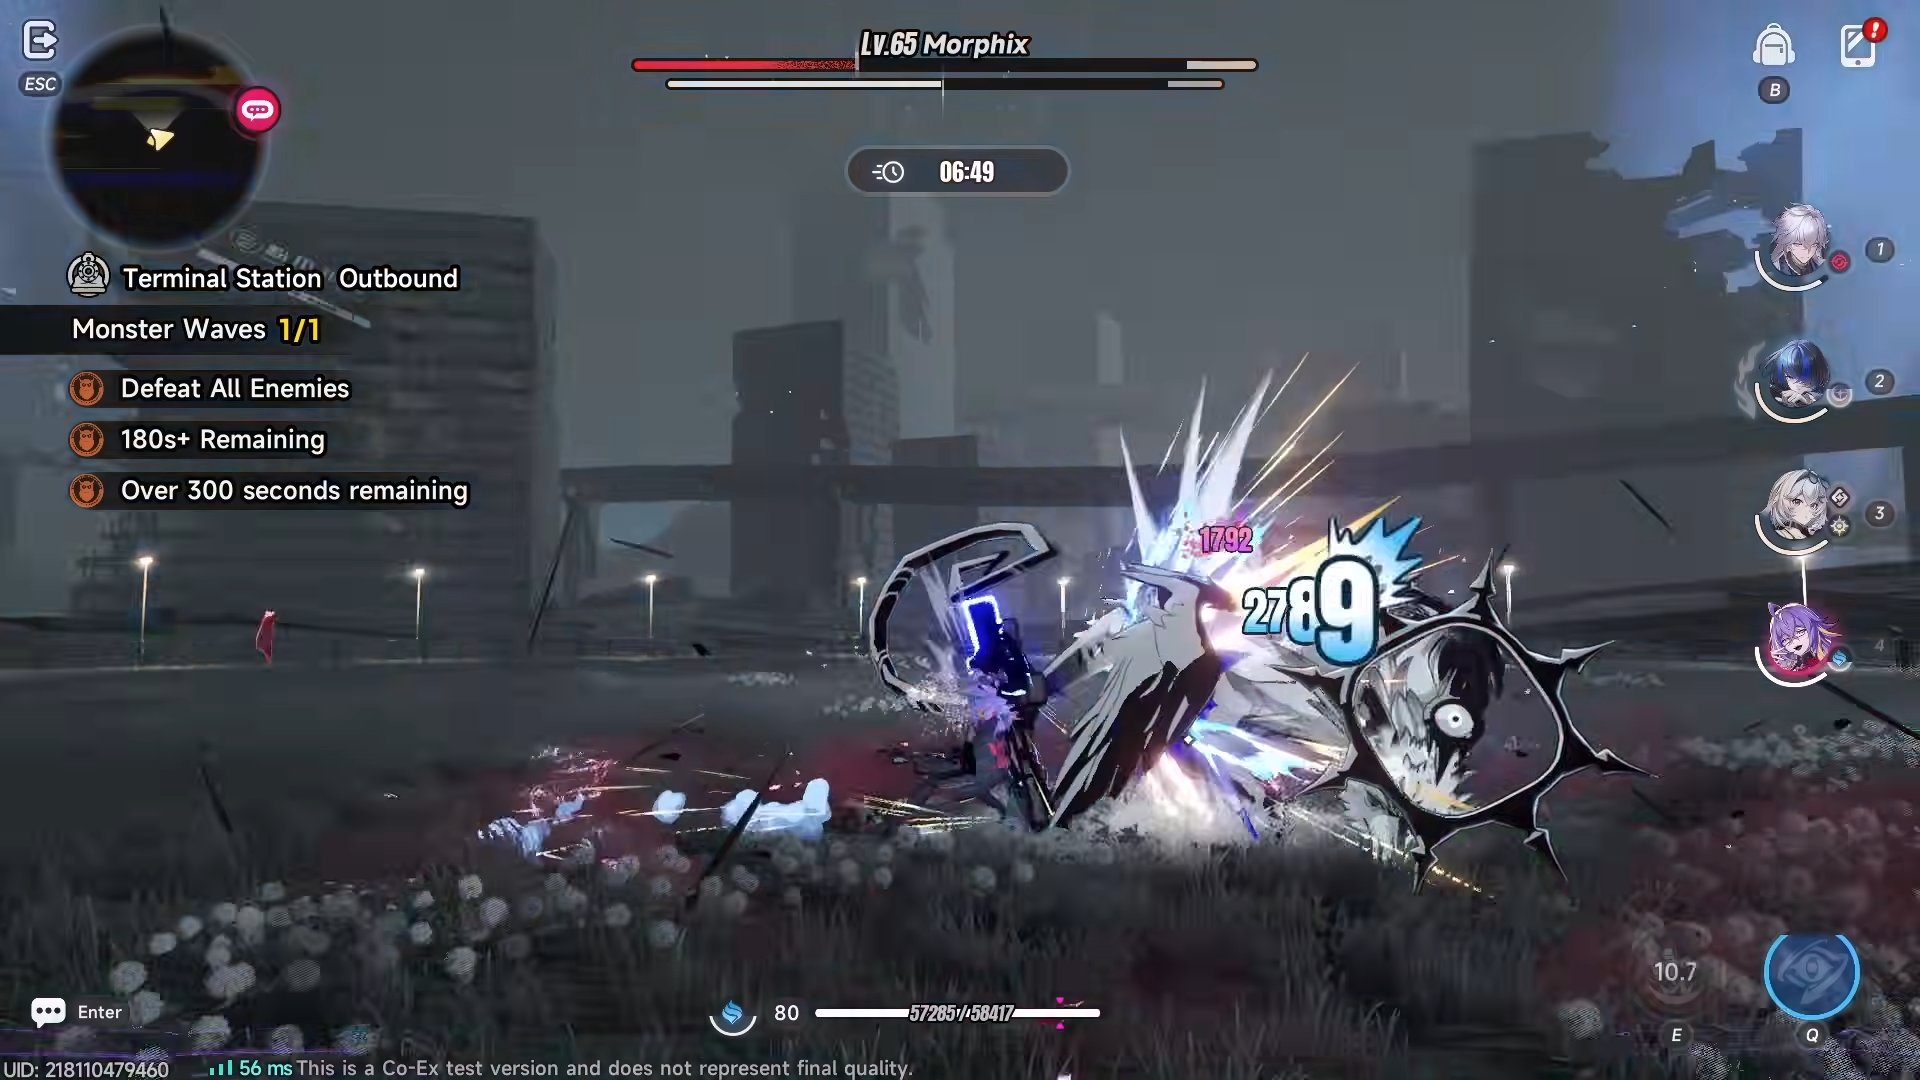
Combat basics
Combat is built around a four-character team, and the simple beginner setup is one main DPS, one burst DPS, one support, and one sustain.

Characters belong to different roles and elements, and the goal is to build a team that works together instead of just stacking random damage.
The core combat rhythm uses fast dodges, parries on the gold timing cue, and swap-in support actions called Esper Cycles. Characters also have a basic attack, skill, ultimate, support skill, and two passives, so there is more depth than the first tutorial suggests.
Esper Cycles and reactions
Esper Cycles build while characters attack, use skills, or cast ultimates, and once the meter is full you can trigger support actions when swapping in the right party member. The reaction wheel matters because reactions only happen between elements positioned next to each other on that wheel.
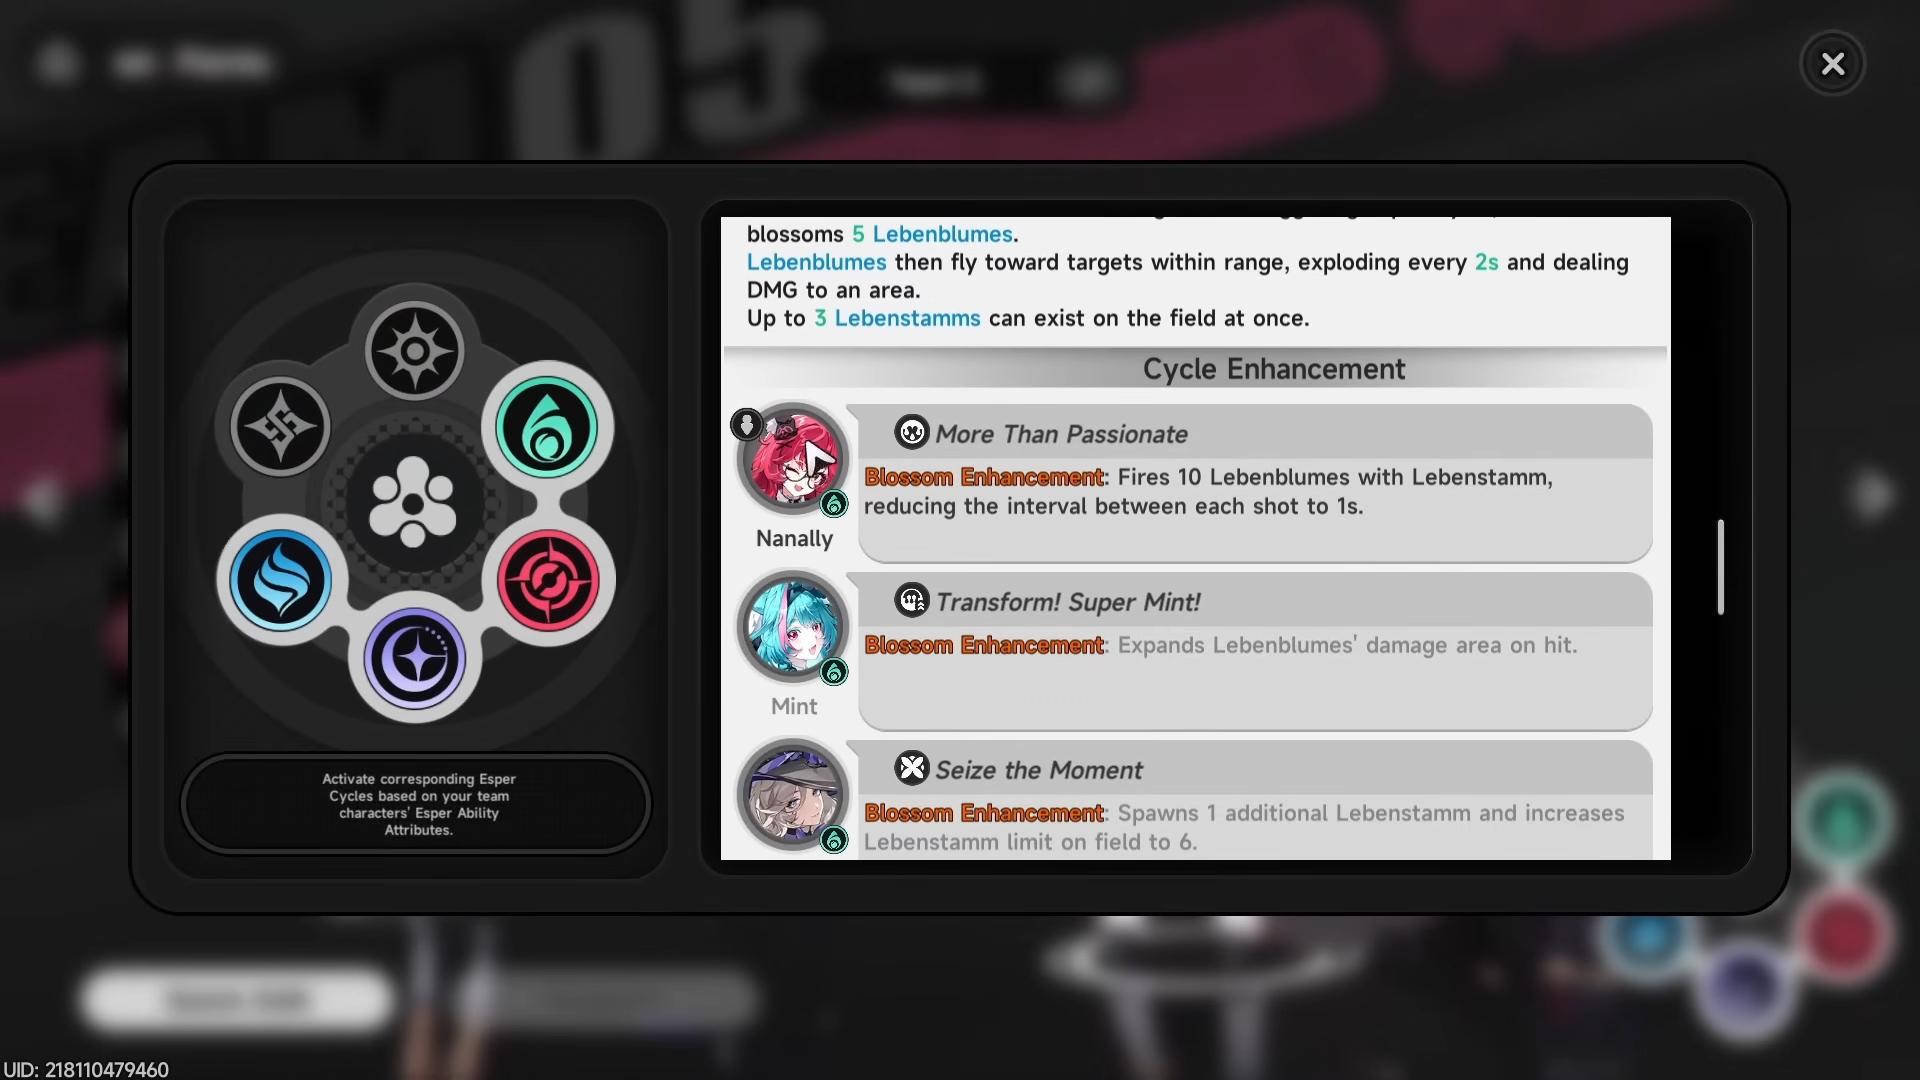
There are also several named reactions and effects, including Lumen Bloom, Hex, Charge, Scorch, Discord, Ramora, Stand, and Nova, each with specific damage or debuff behavior.
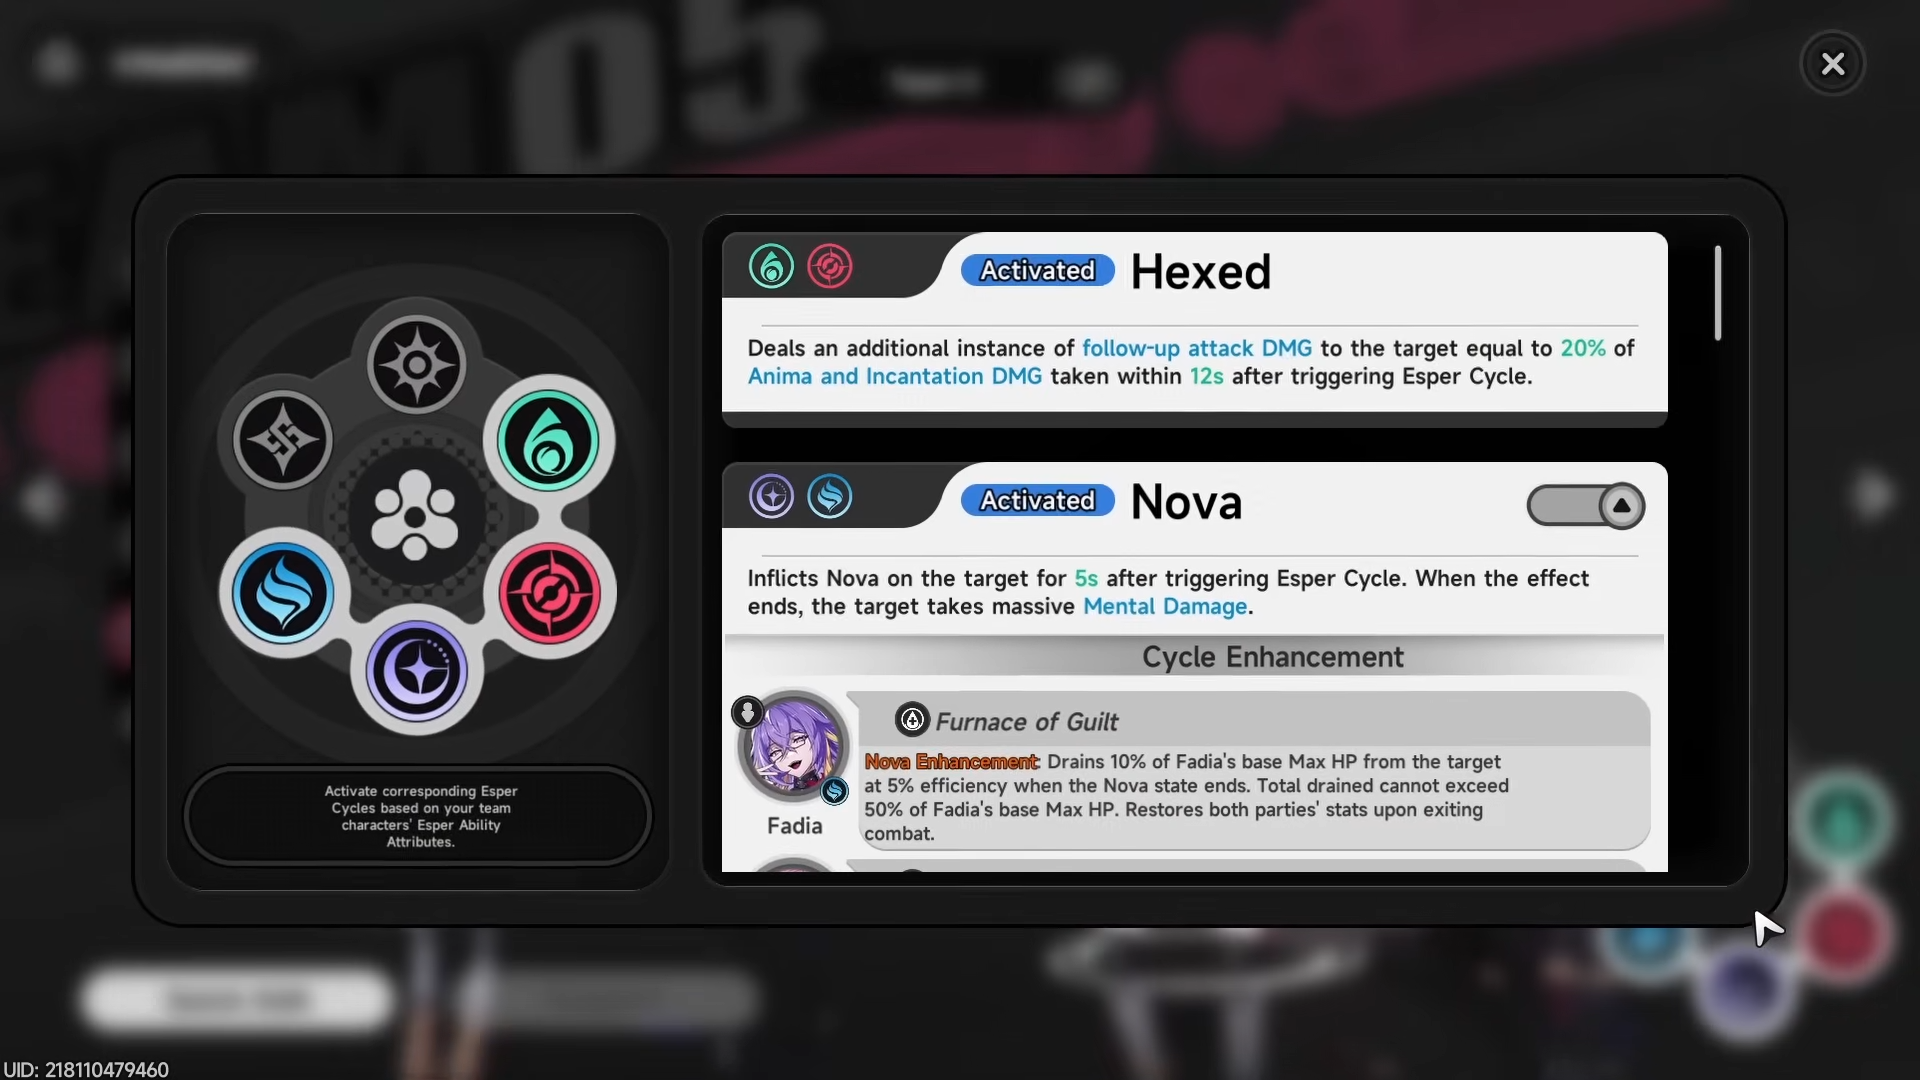
For beginners, the important thing is to understand that element pairing and swap timing are central to efficient damage.
How to build characters
Character growth starts with leveling and ascending.
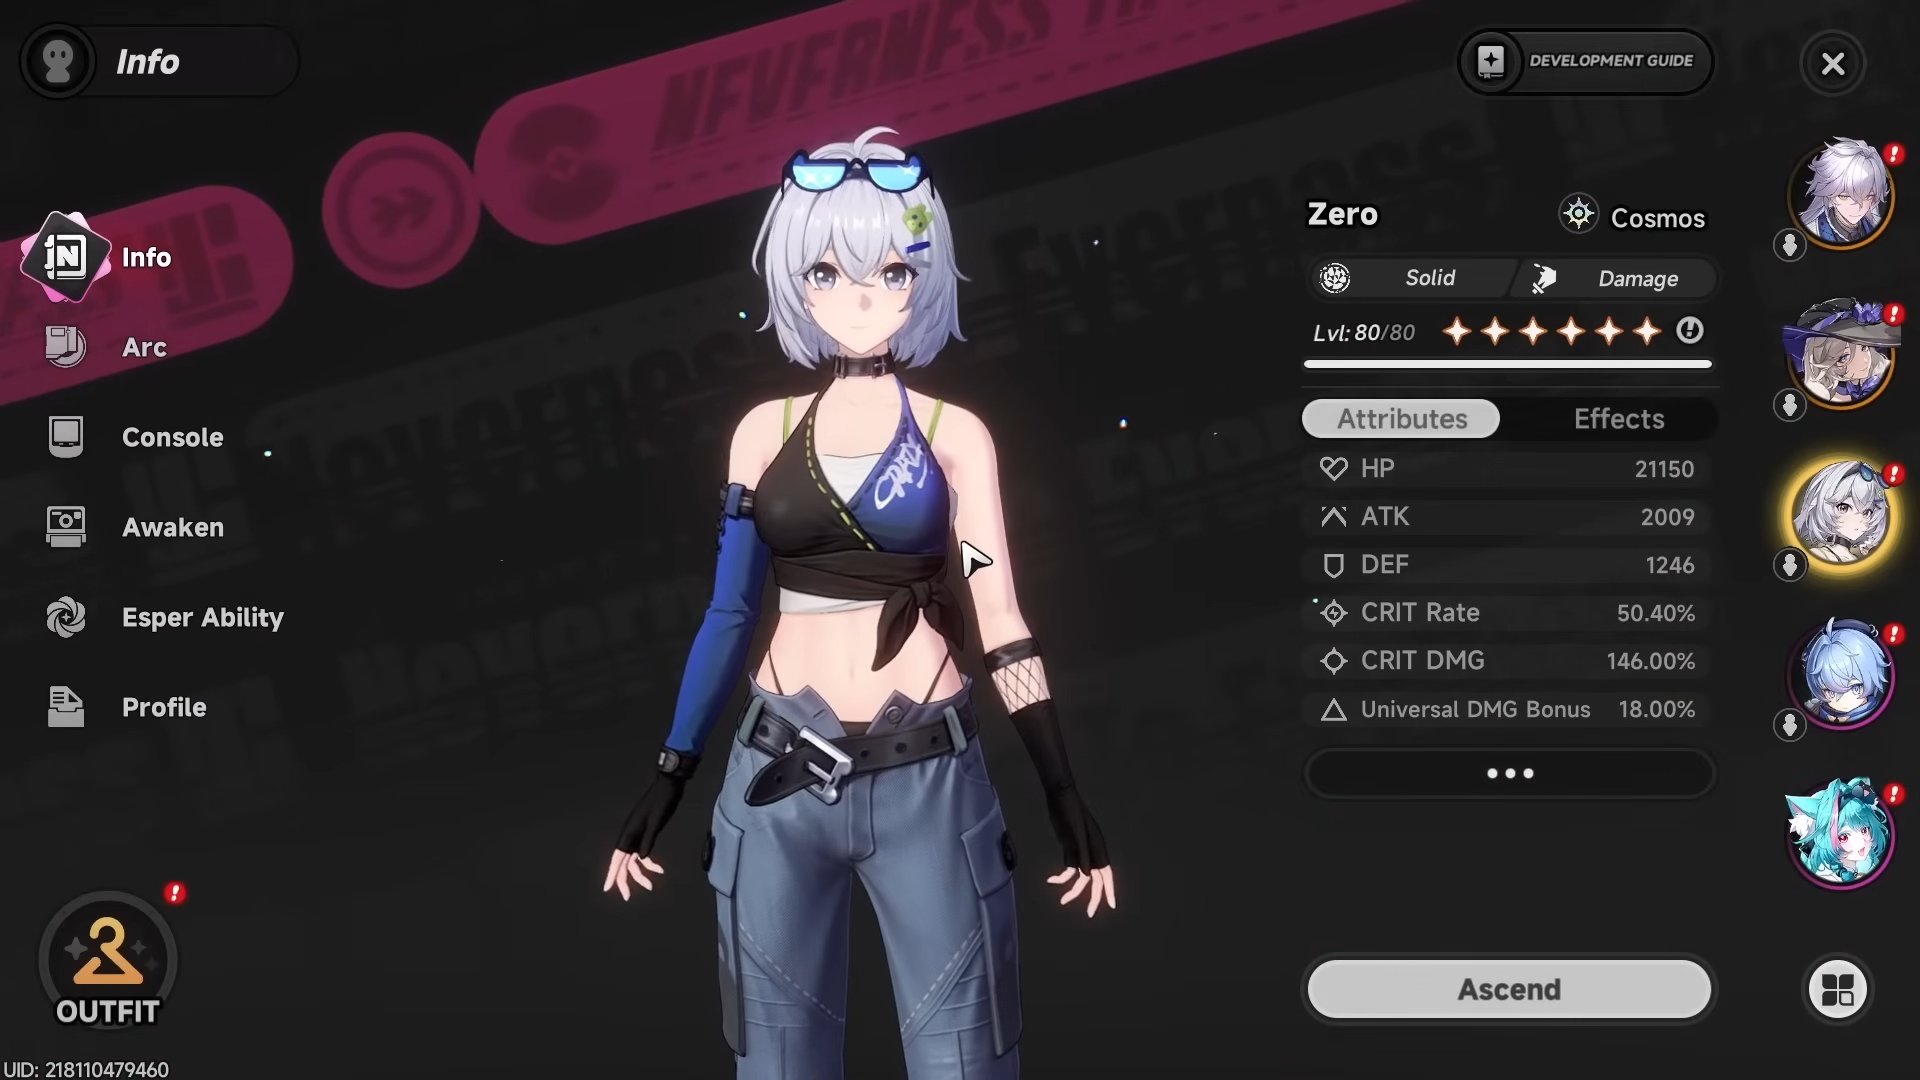
Leveling raises stats directly, and every few levels you hit a breakpoint that requires ascension before you can keep climbing.
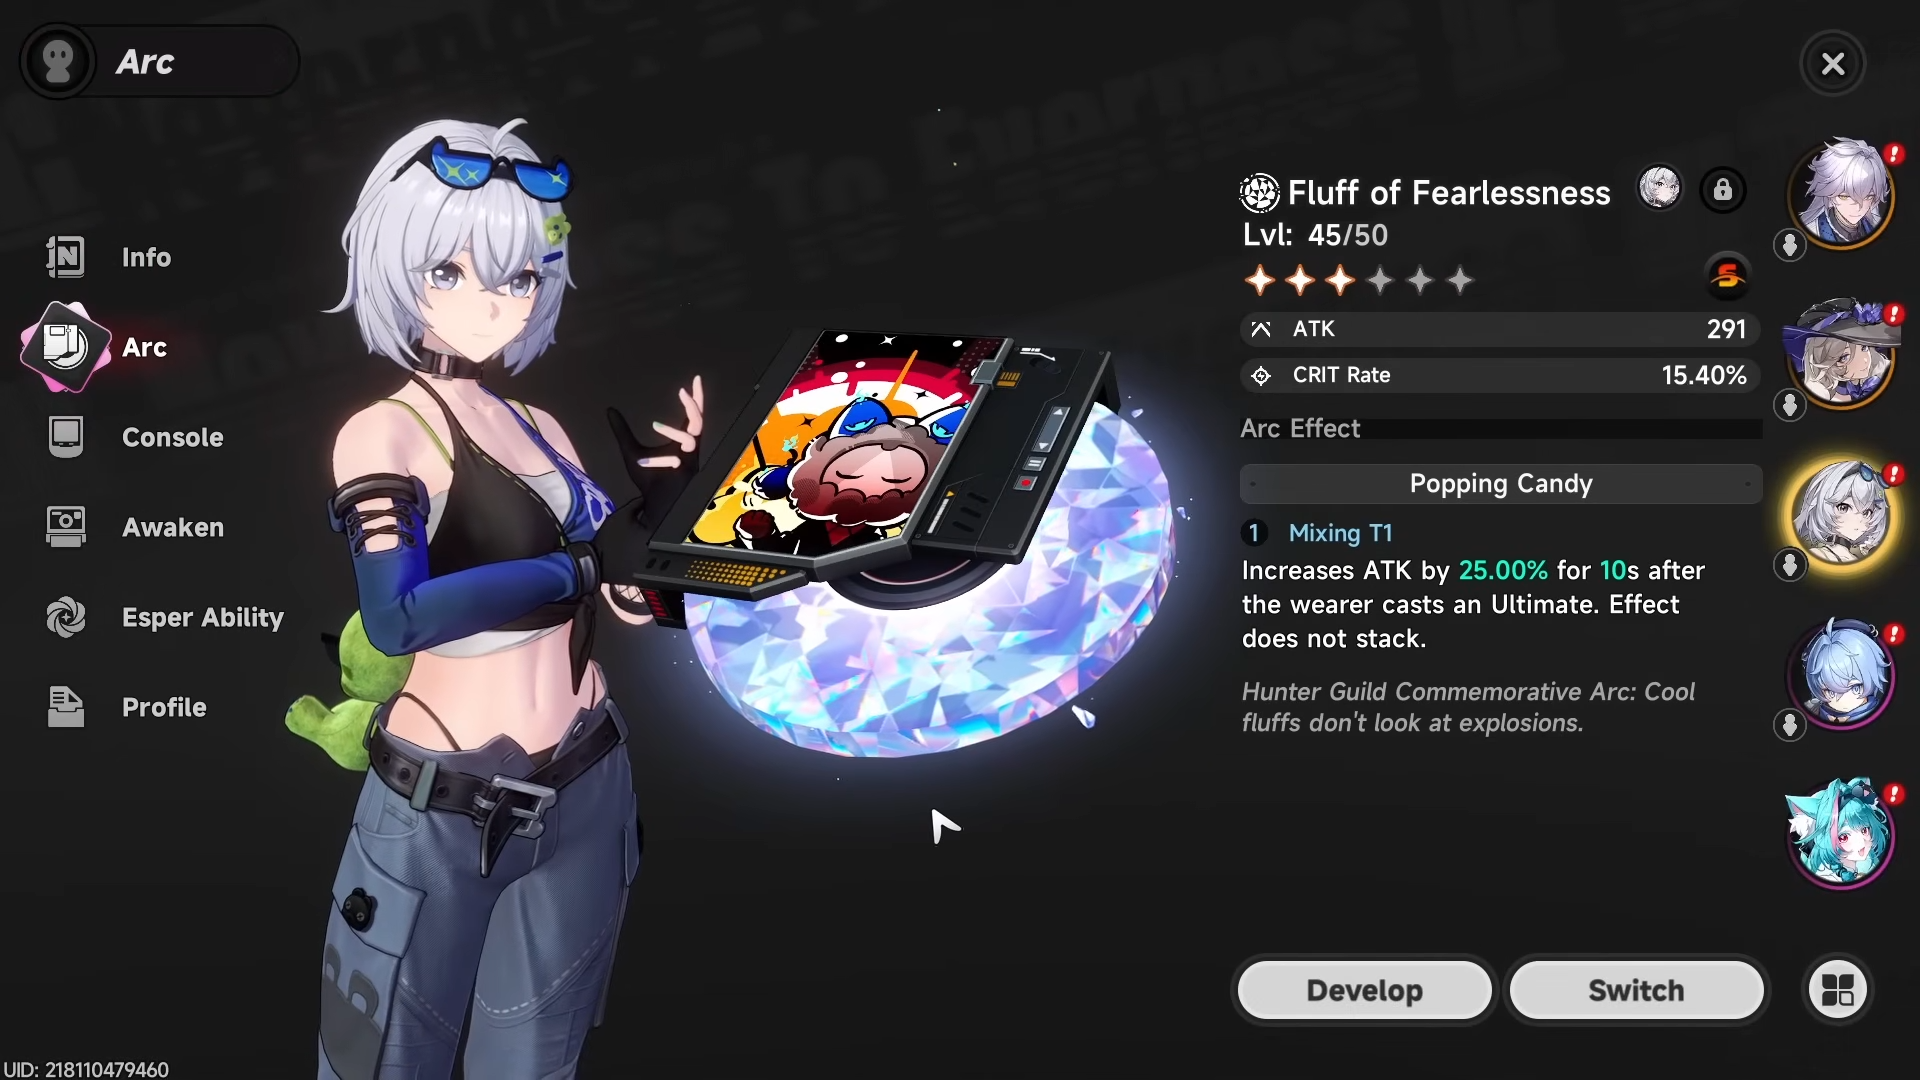
Arcs are the game’s weapons, and a character can only equip Arcs that match their archetype. Arcs have flat attack, a main stat, and an effect, and duplicates can be combined in the develop tab to increase strength.
Modules and console
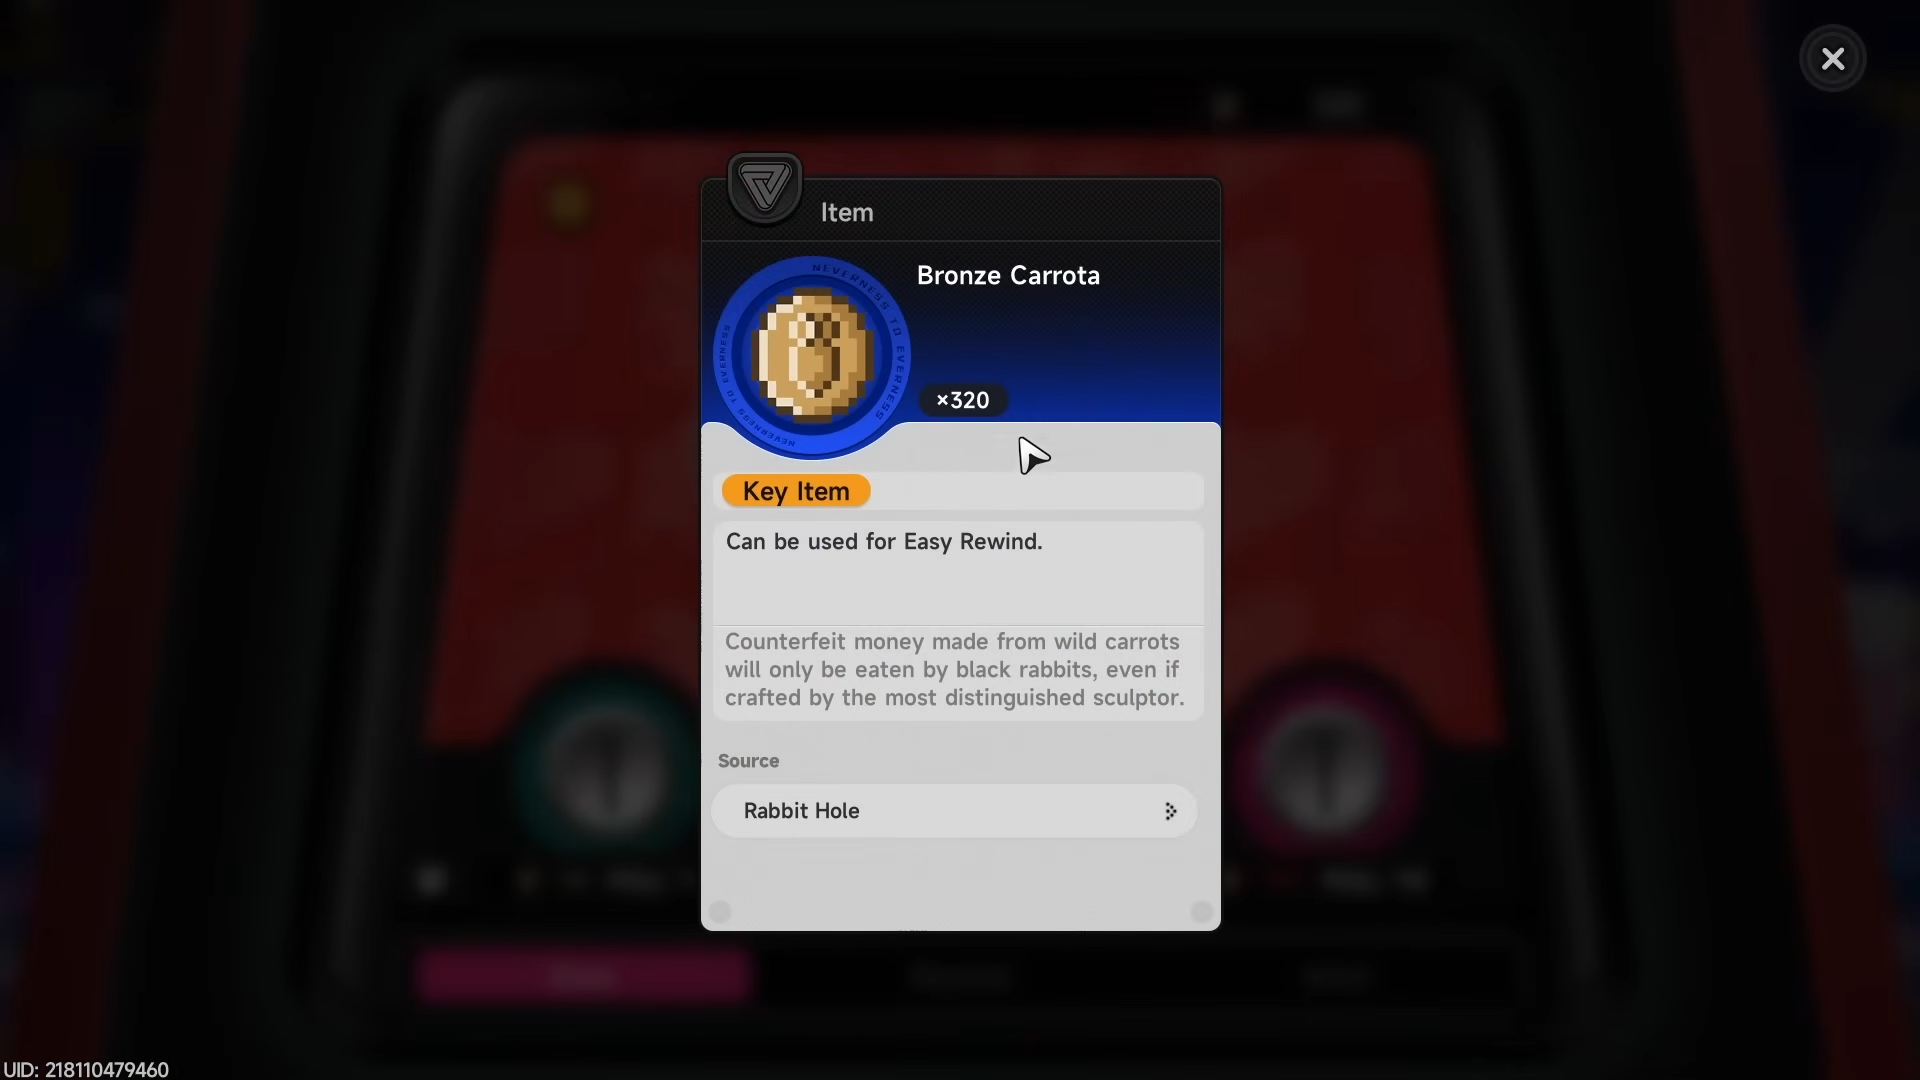
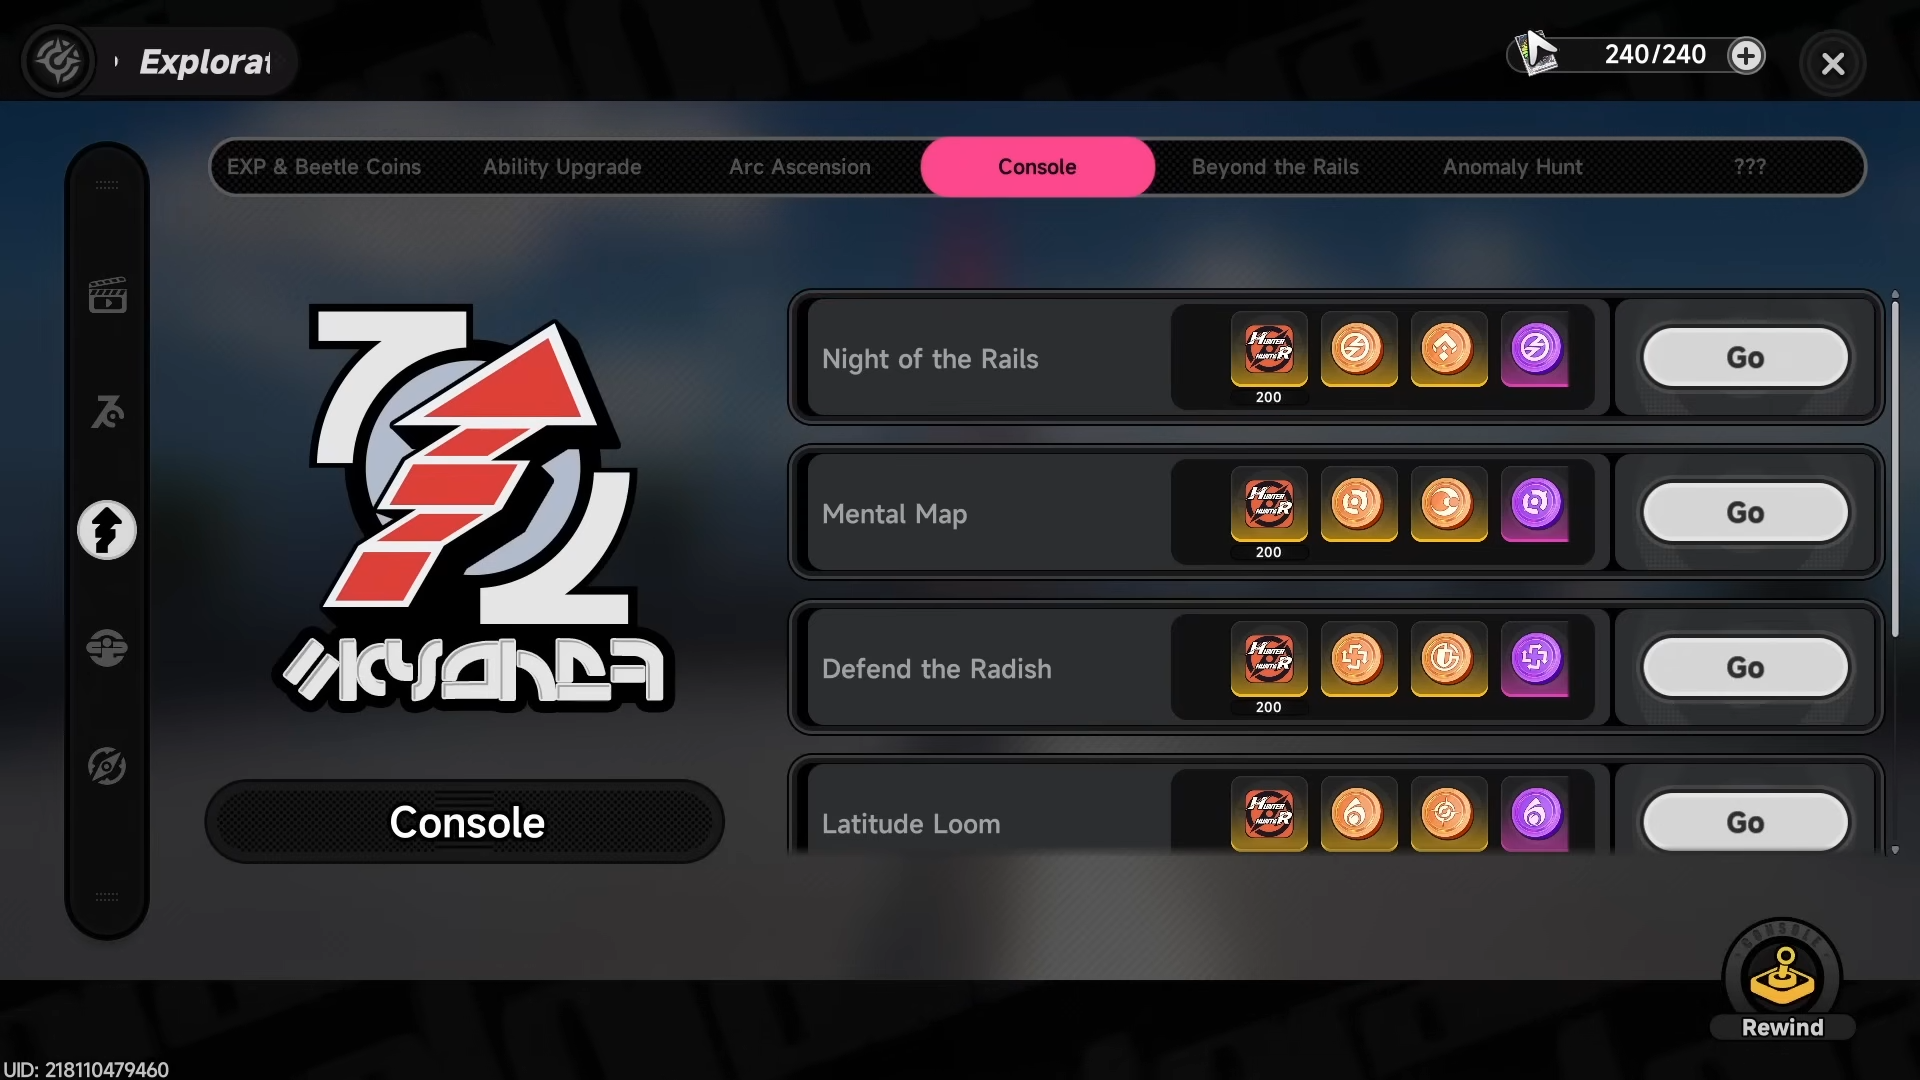
The console is the main artifact-style system and uses Carrota Coins in bronze, silver, and gold forms.
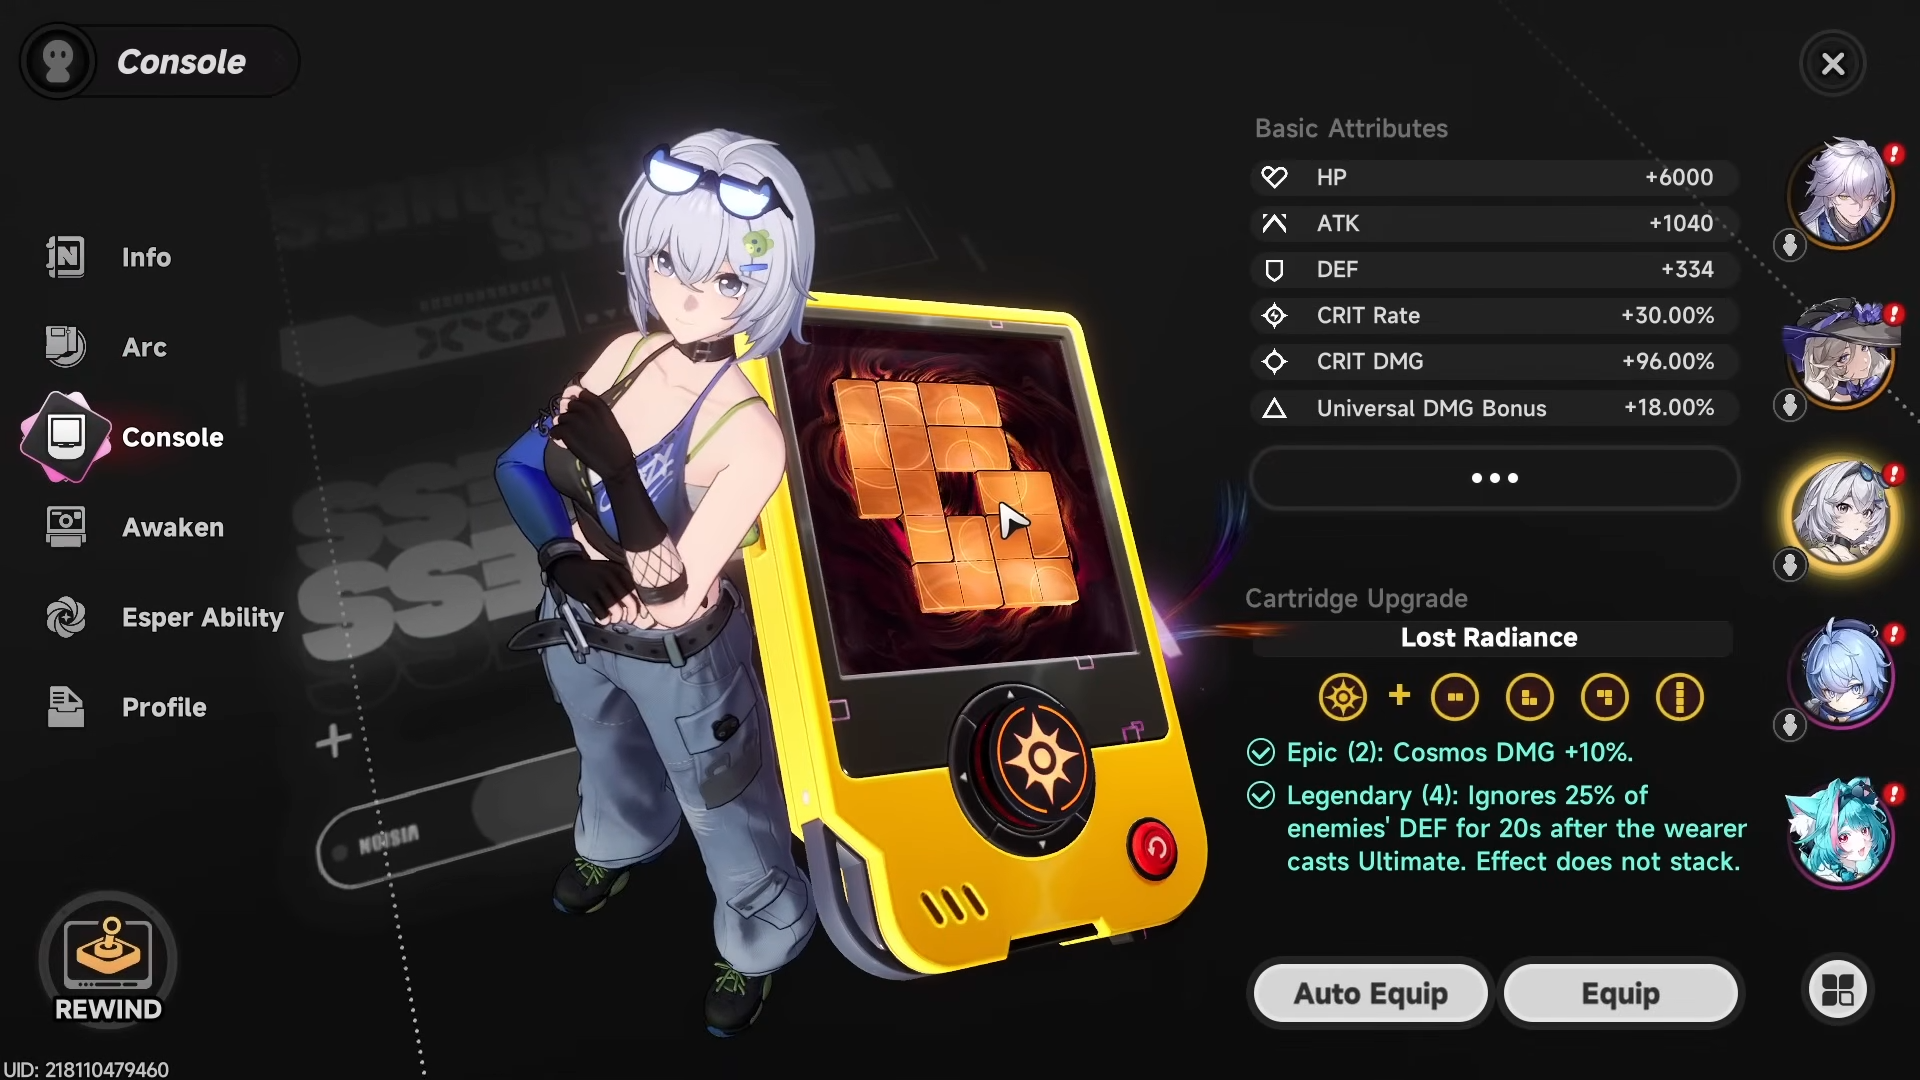
Different pull modes give different rarity ranges, and module selection can guarantee at least one target piece if you spend for it.
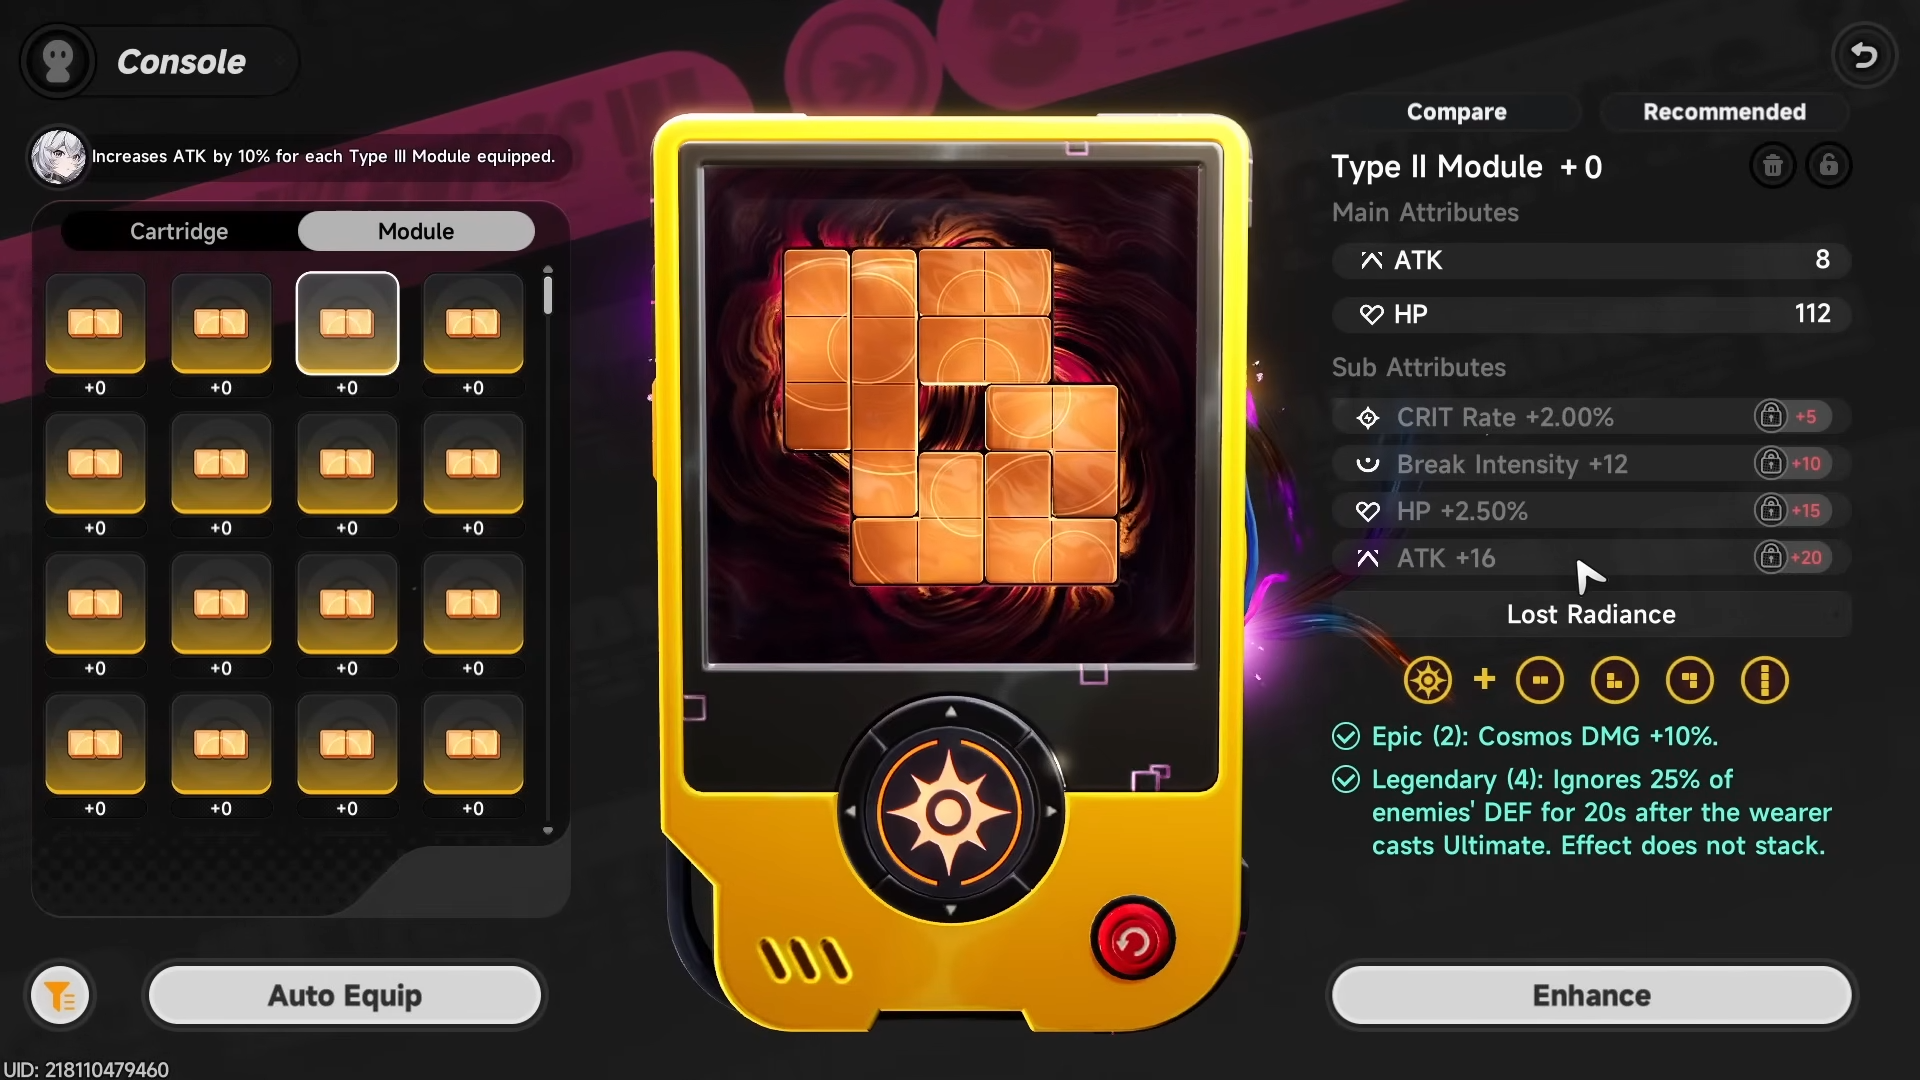
Modules have two main stats and four sub-stats, but the sub-stats are locked until you level the piece. Since sub-stats are pre-rolled, you can inspect them before investing, which makes this system much more efficient than blindly upgrading.
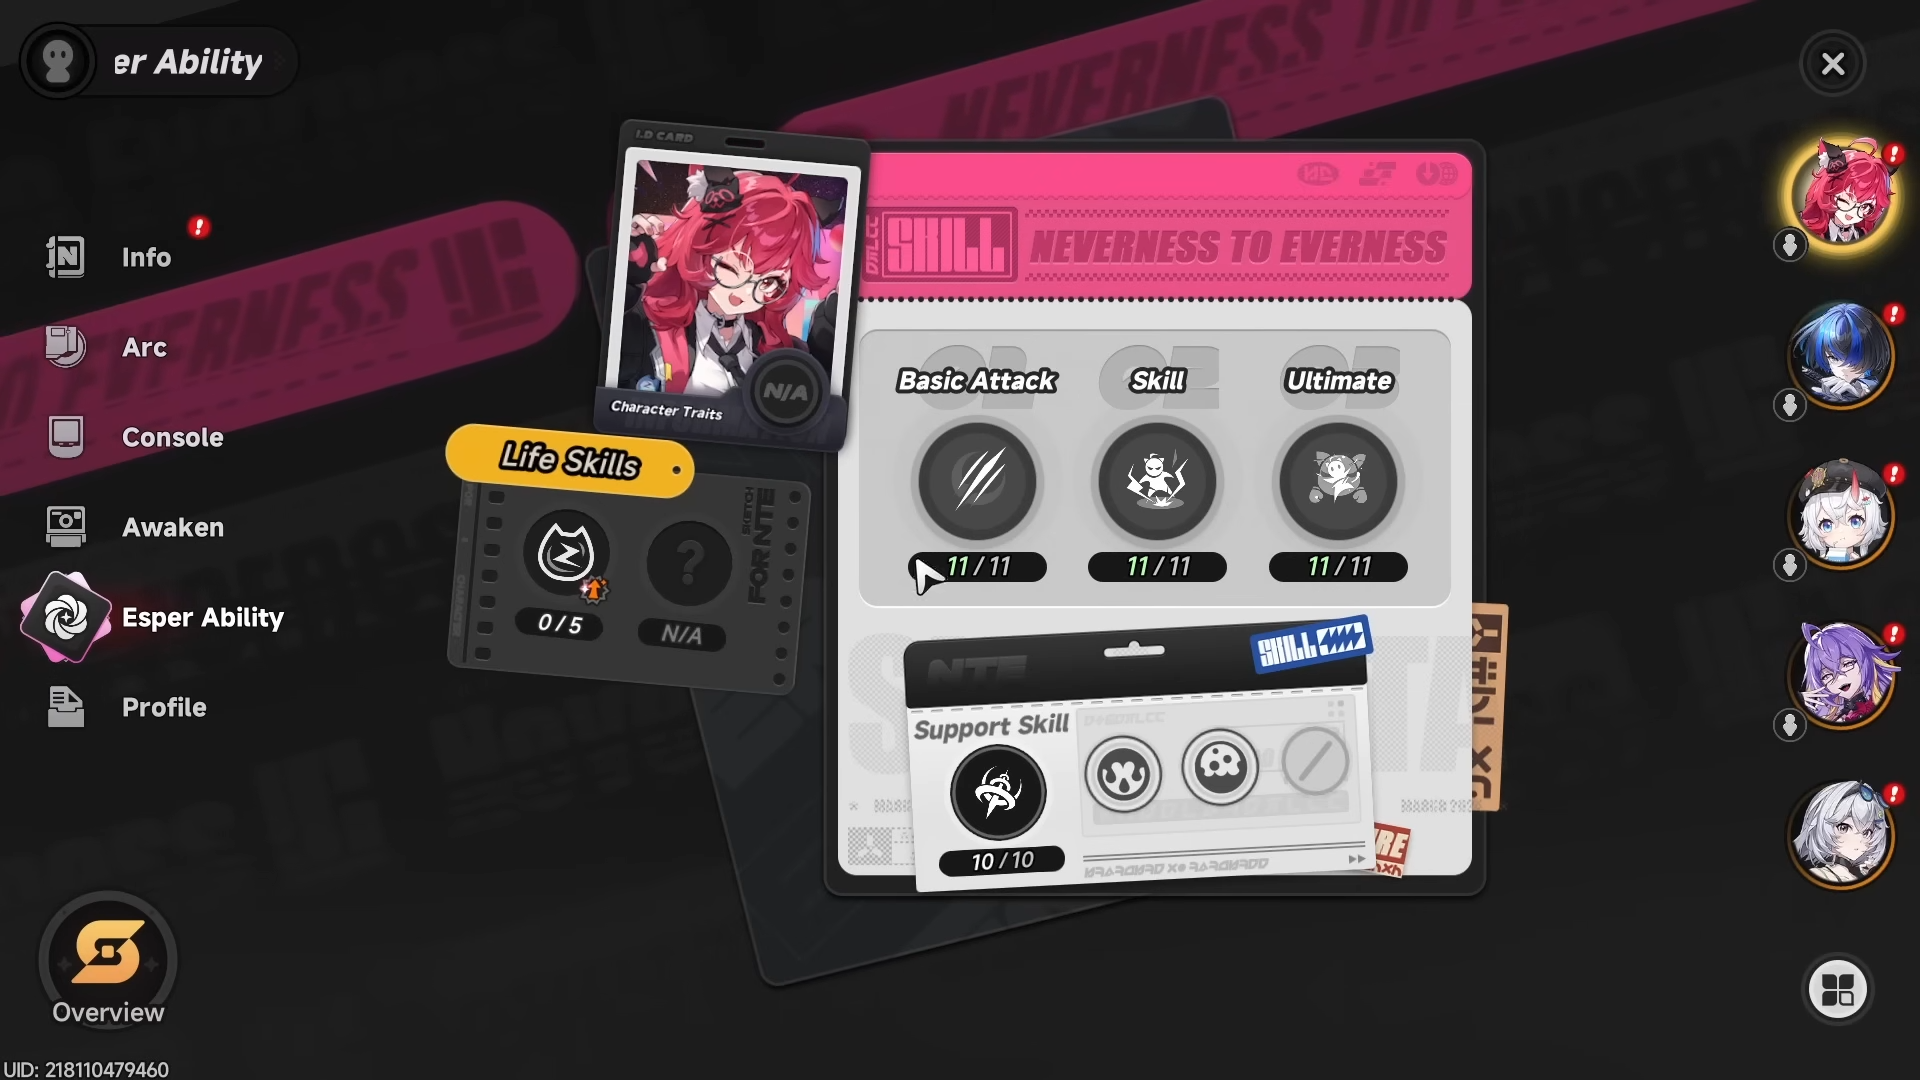
Skills and awakenings
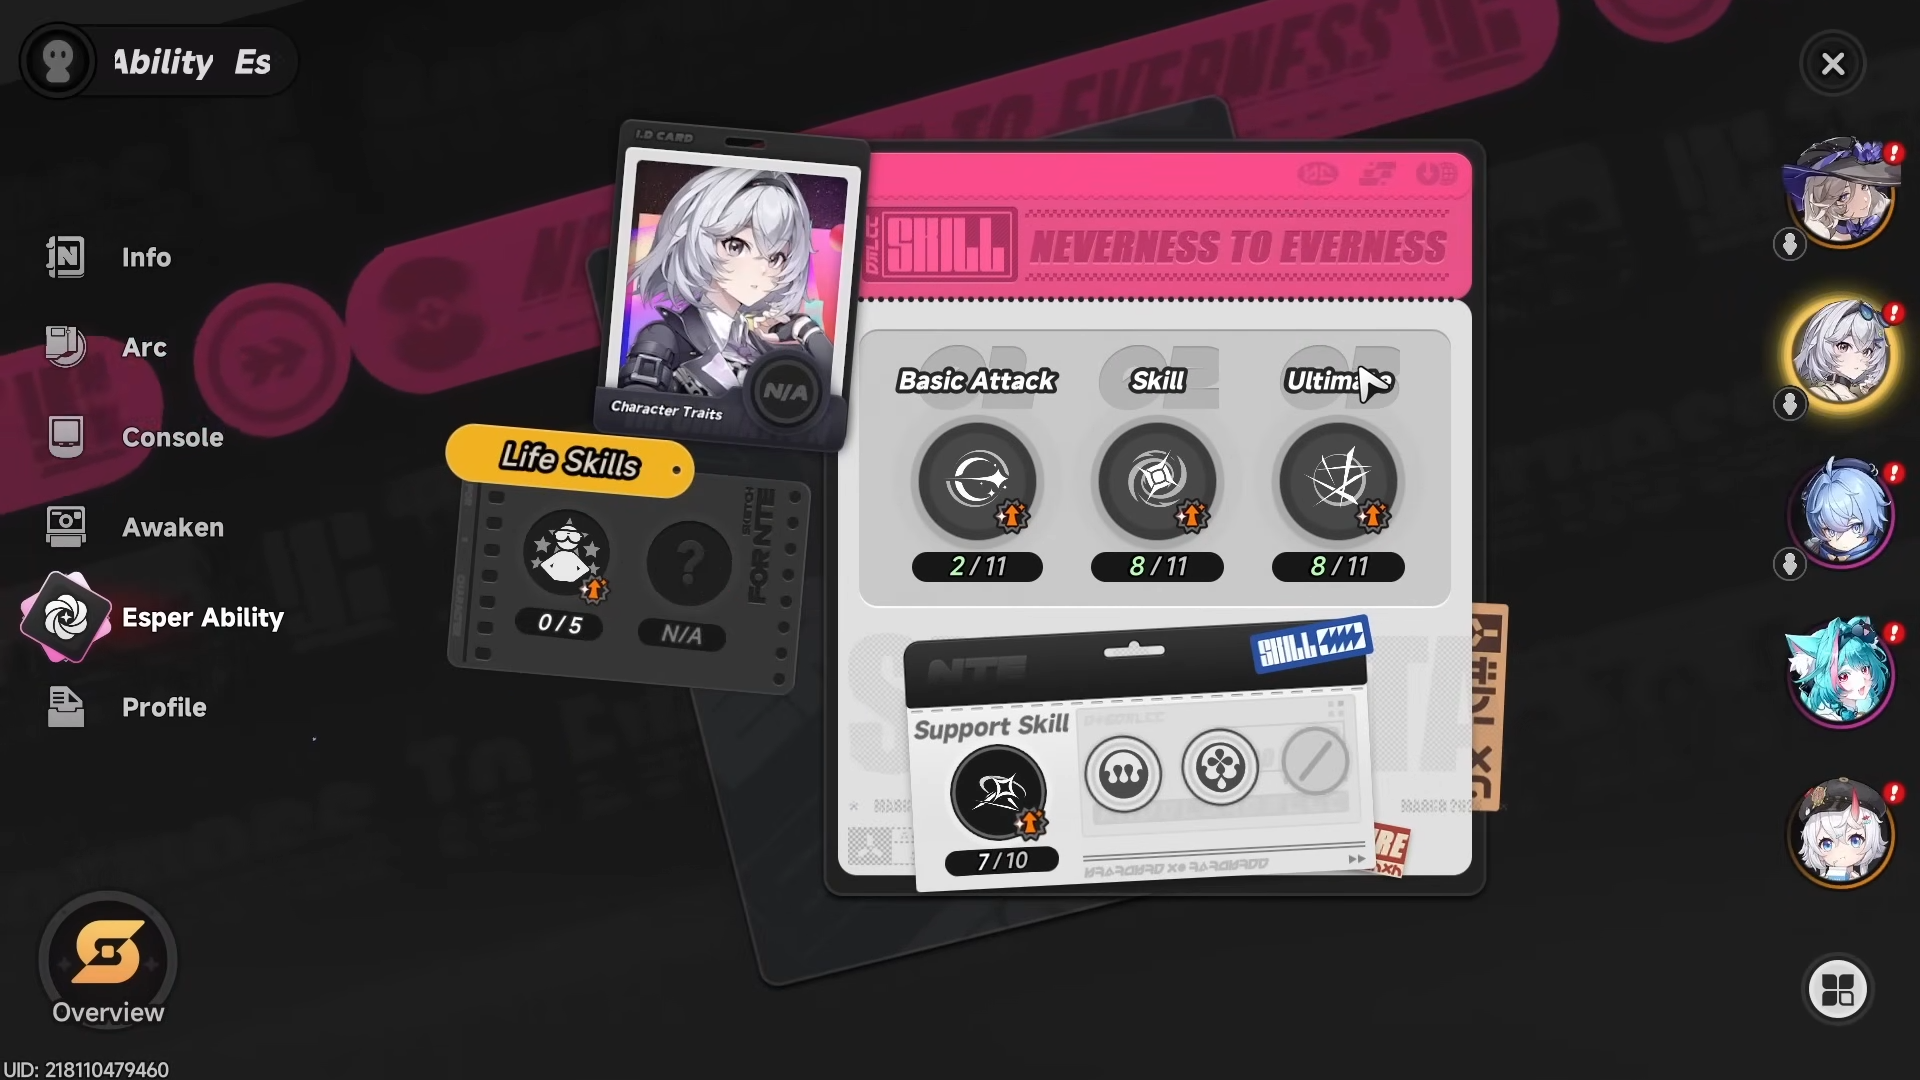
A character’s skill, ultimate, support skill, and passives all matter, but the skill and ultimate leveling is especially important for burst-oriented characters. Support skill boosts Esper Cycle power, and passive skills only need to be leveled once.
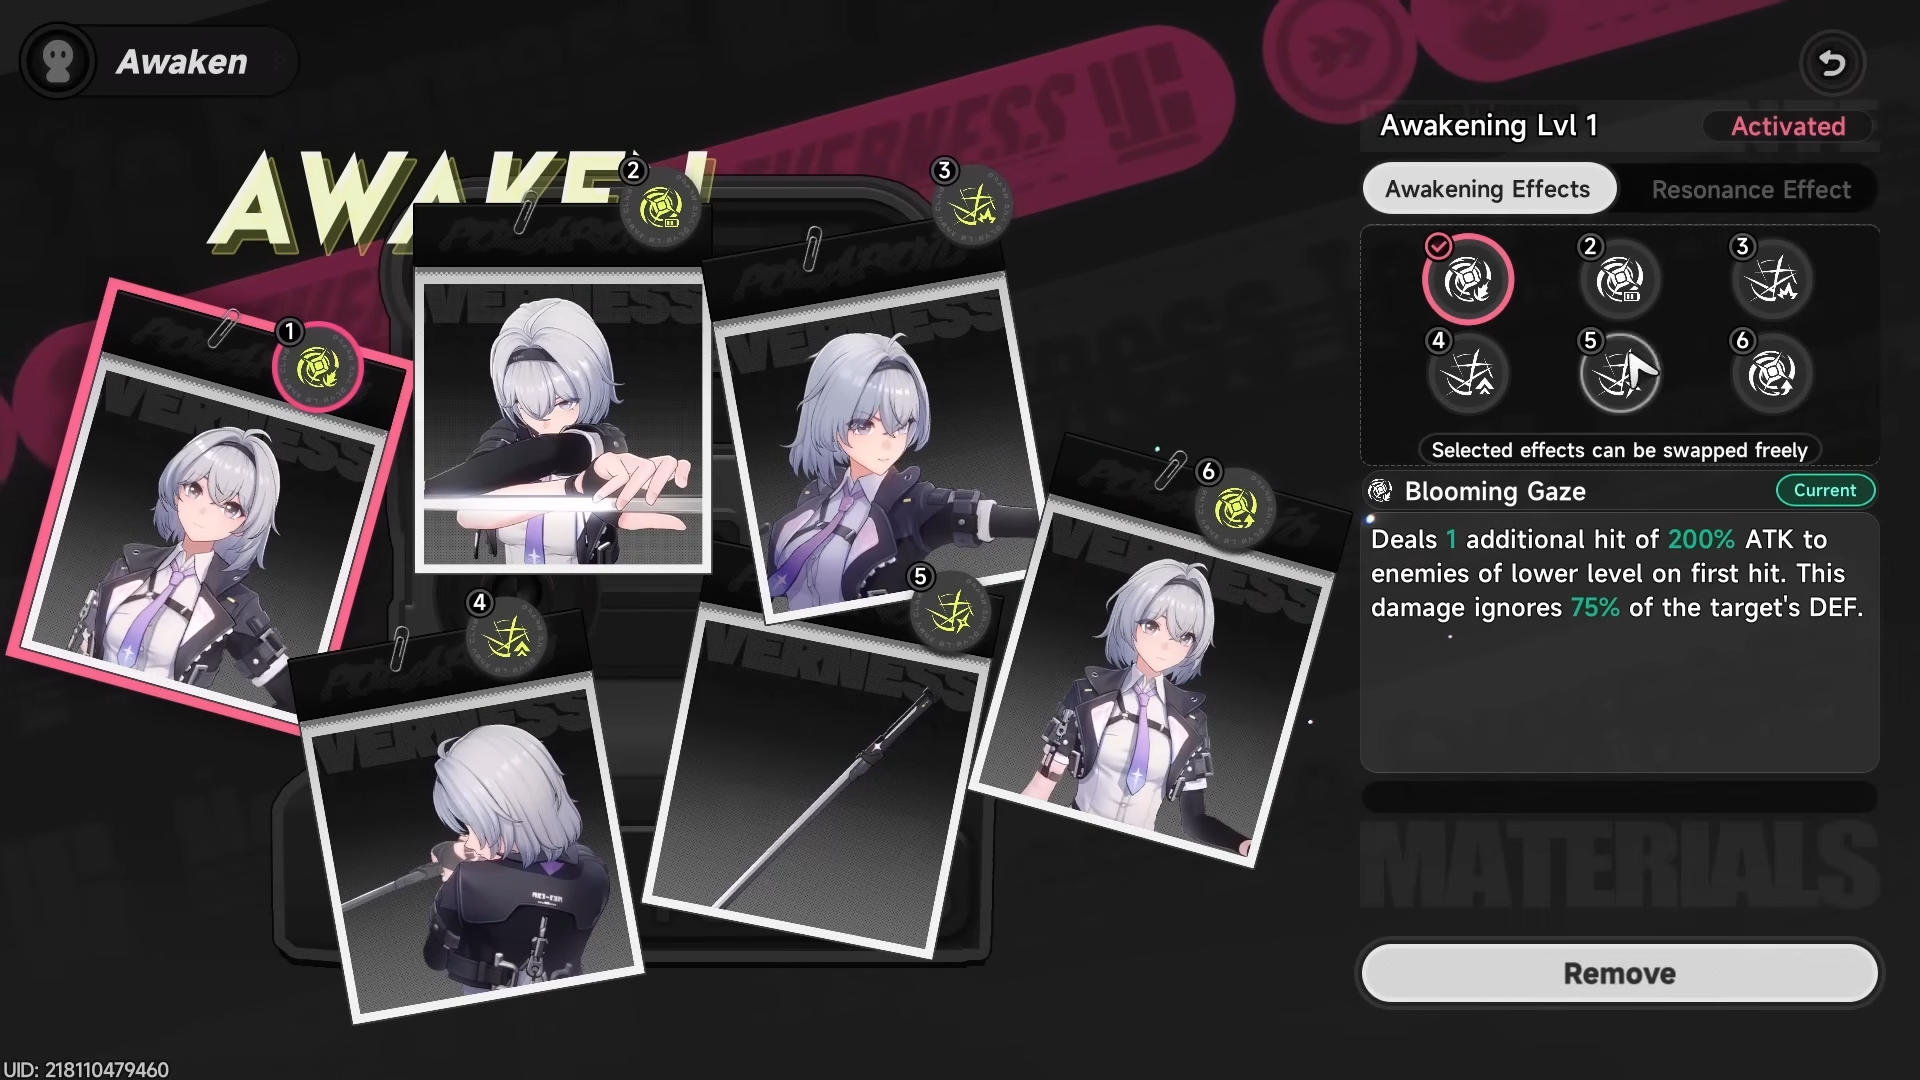
Duplicates unlock awakenings, and the game lets you choose the awakening effect rather than forcing a fixed one. Additional copies can unlock resonance bonuses, but these as nice bonuses rather than mandatory power spikes.
Stamina and farming
The game uses two separate stamina systems. Character pixels are used for farming character and weapon XP, ascension materials, talent materials, and module-related resources, while city life stamina is used for money-making activities.
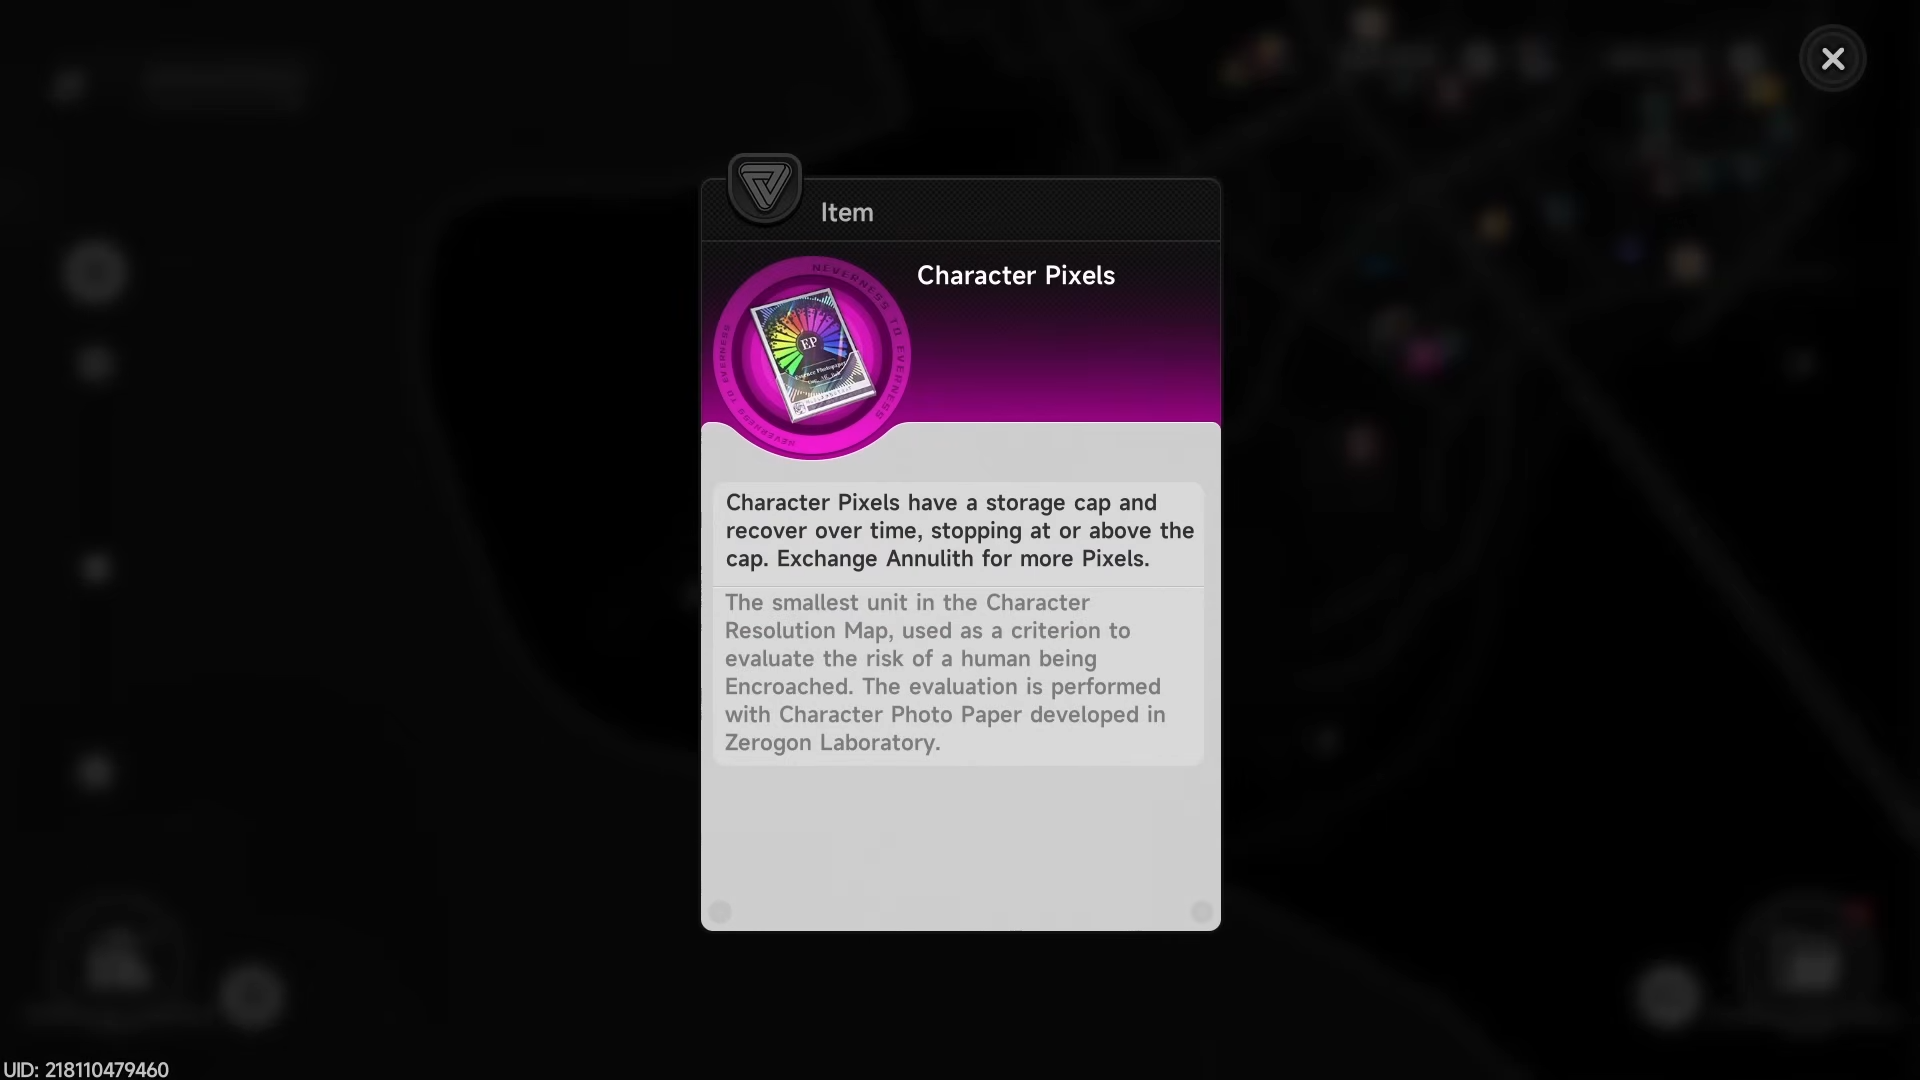
The advice is simple: spend both every day. If you are trying to progress efficiently, wasting stamina is one of the easiest ways to fall behind because so many of the game’s systems are built around daily resource flow.
Endgame and anomalies
Beyond the Rails is the endgame area, and includes Fracture Circle on the beta version and a future Prime Circle on release.
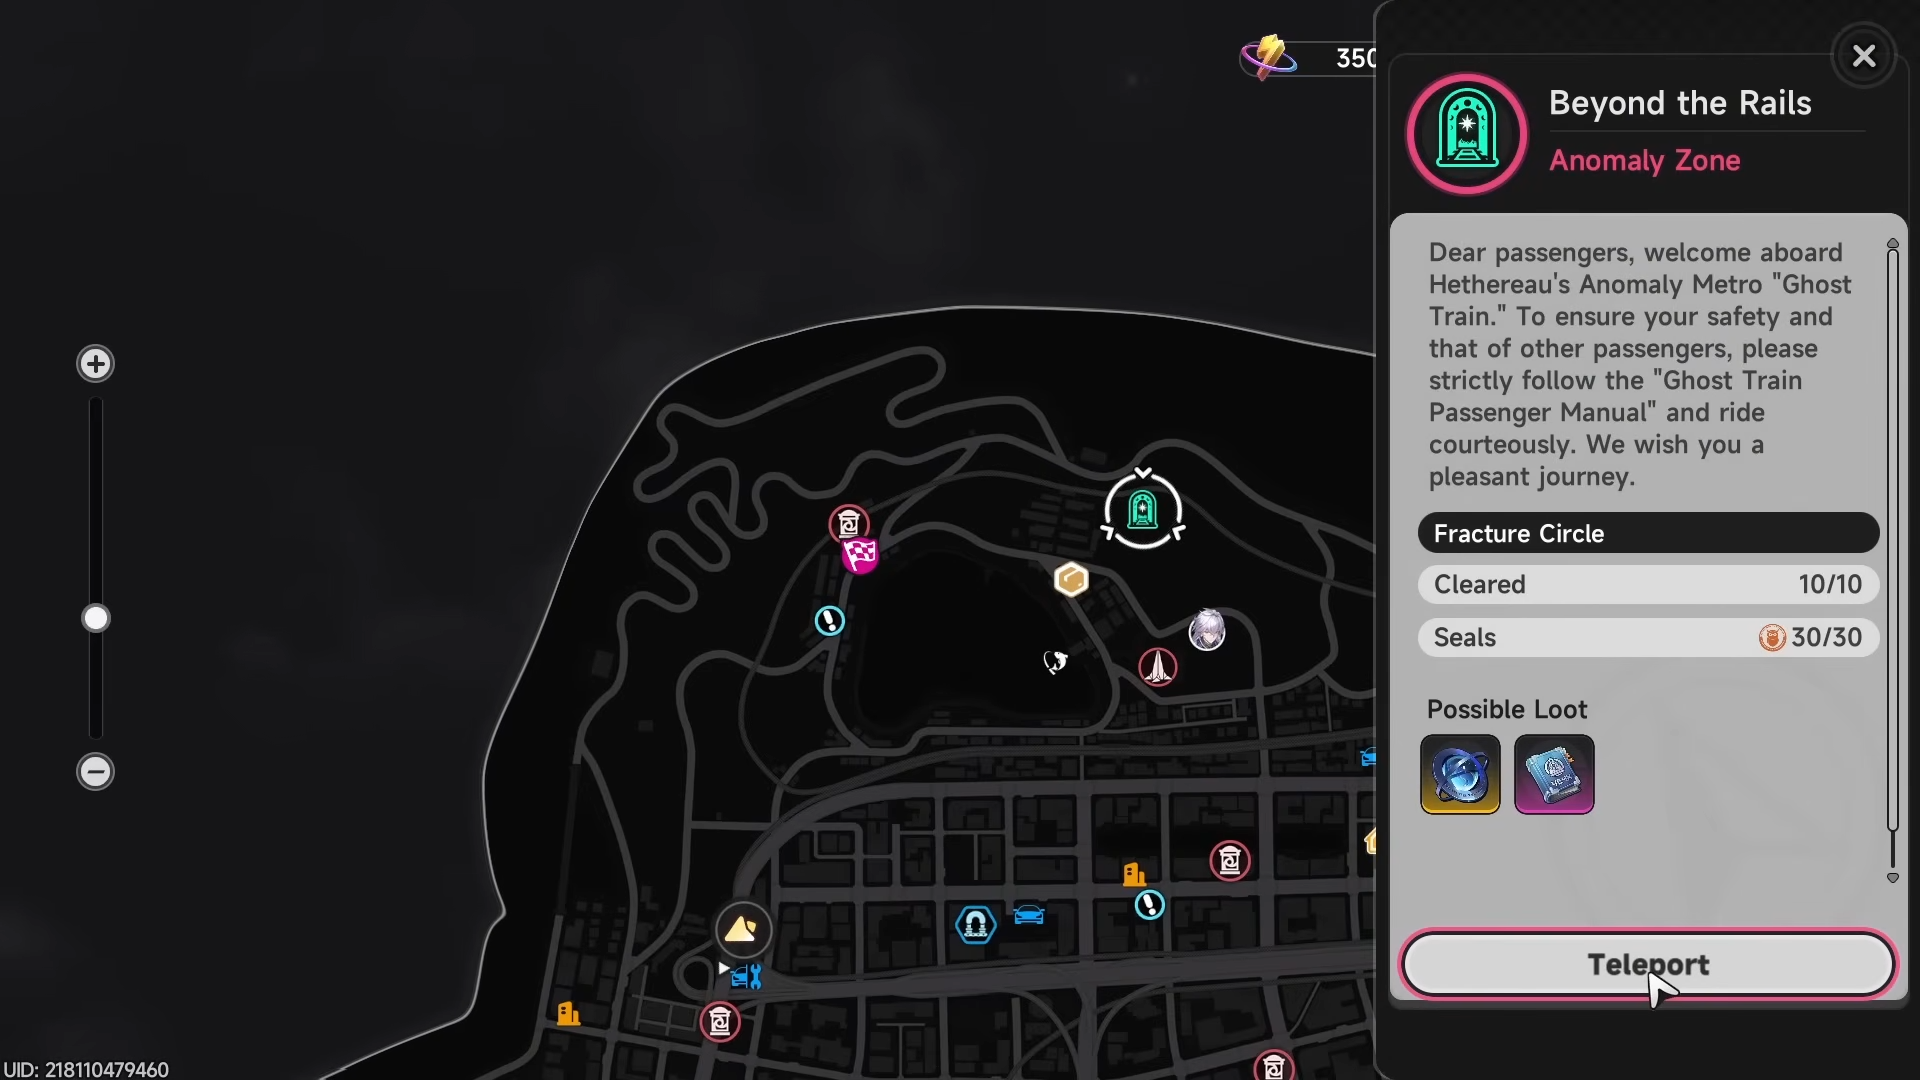
These stages have time-based targets, elemental weaknesses, selectable buffs, and increasing difficulty as you progress through stops.
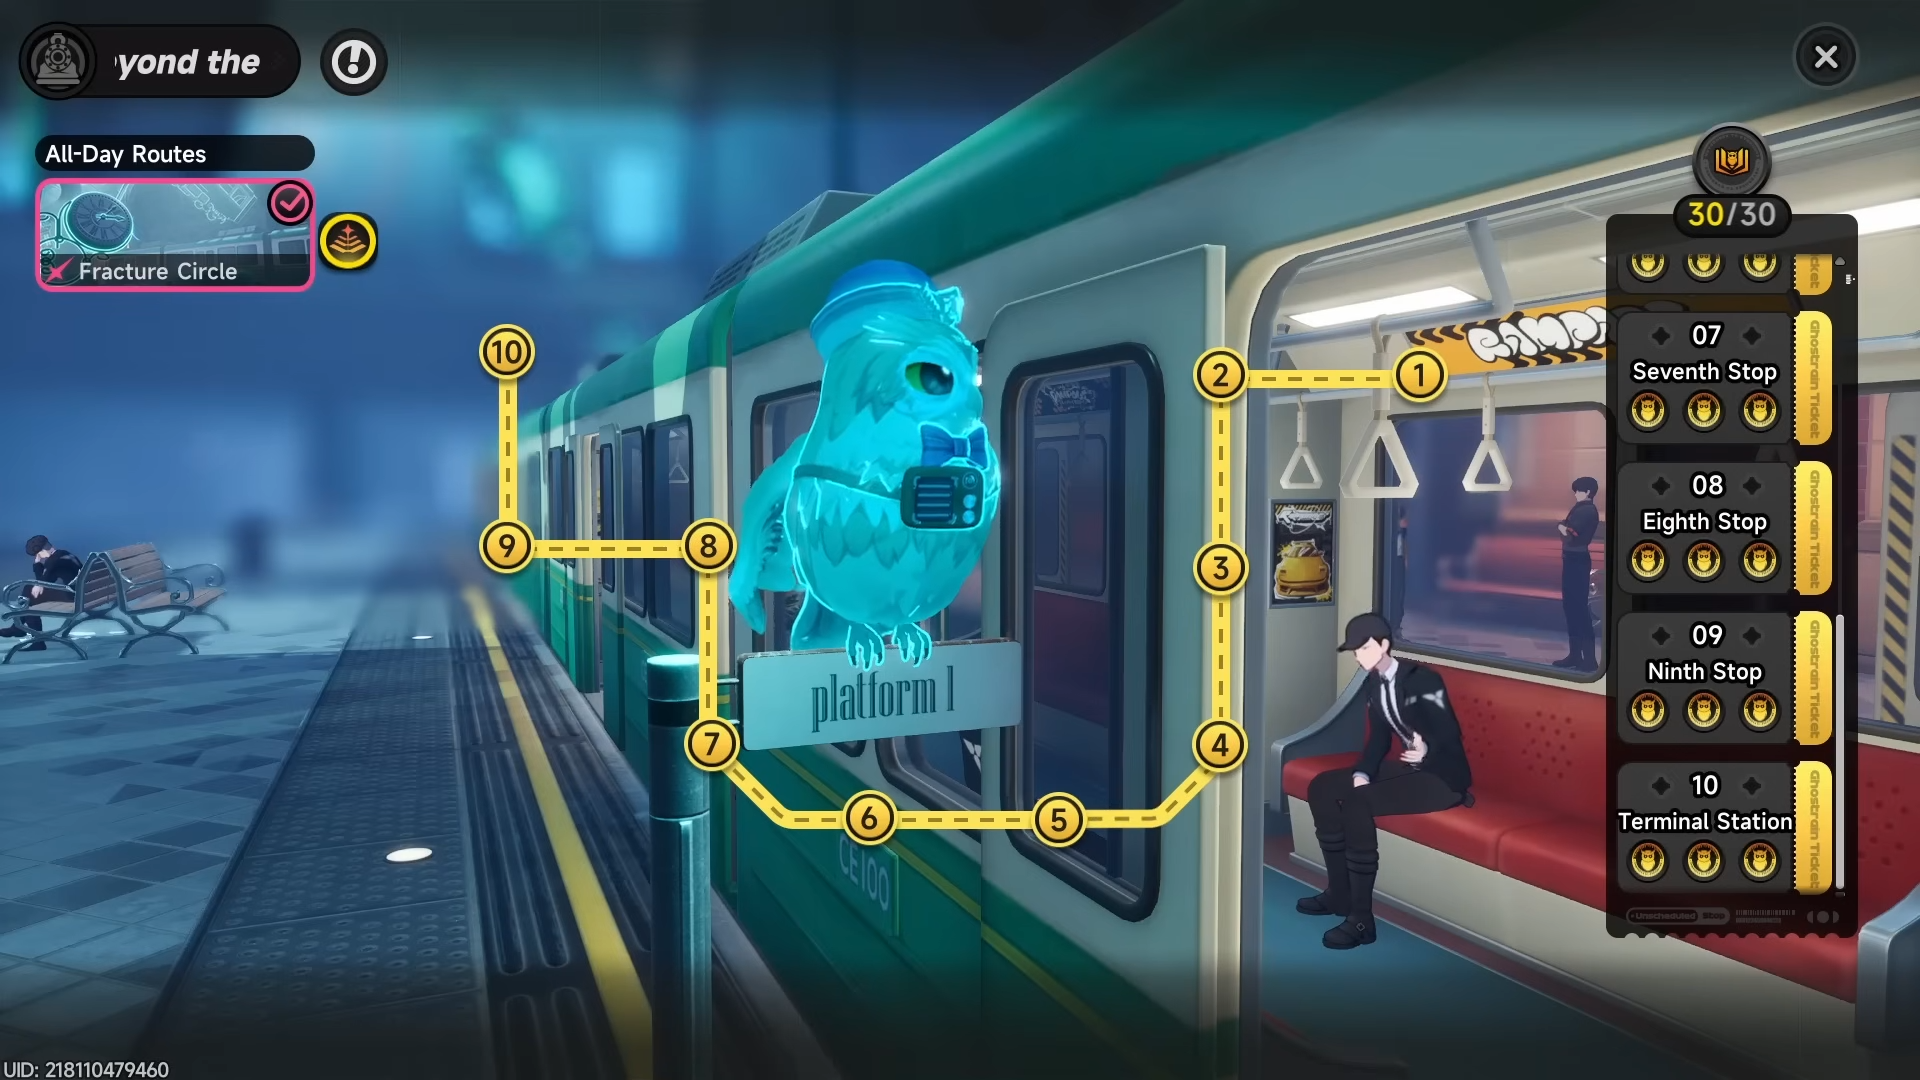
After the fifth stop, you need two teams instead of one, and buffs can be assigned separately for inbound and outbound teams.
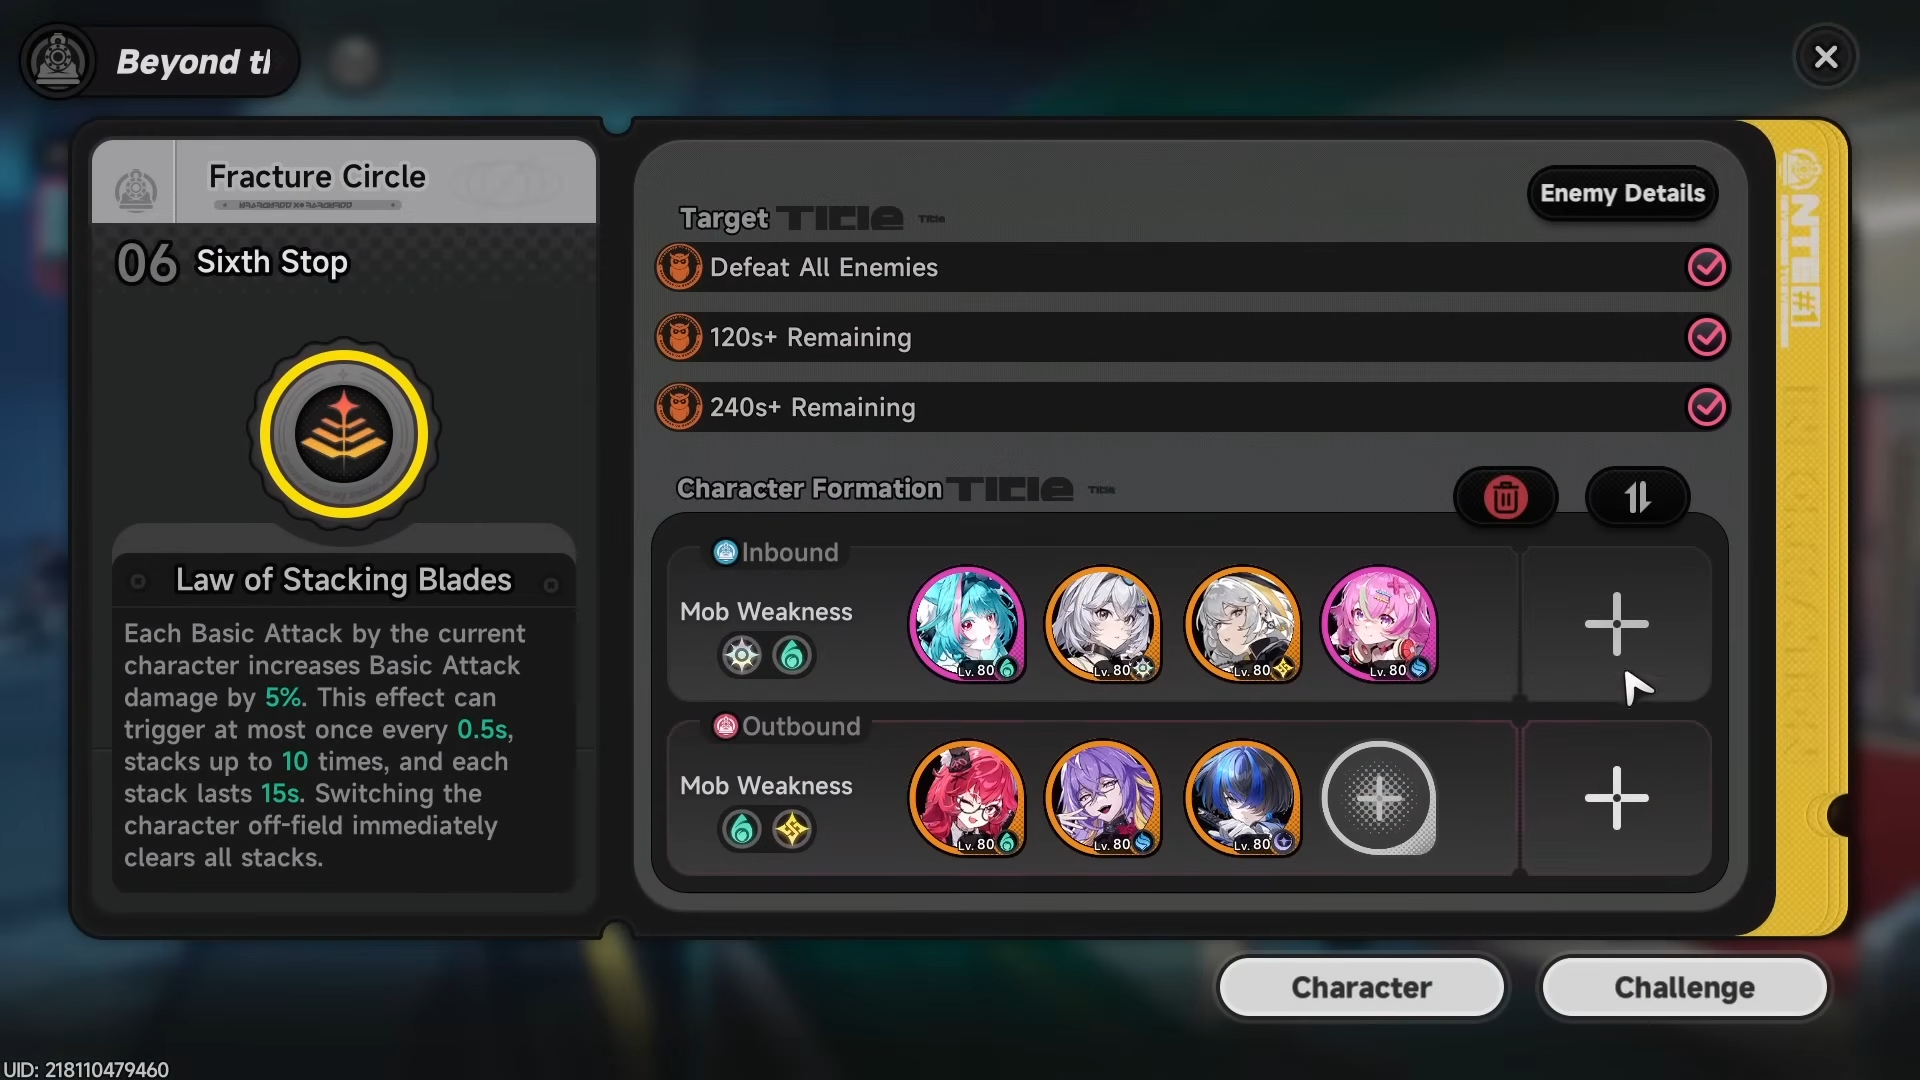
The key endgame lesson is that the mode rewards efficient clears and strong team planning more than raw account level alone.
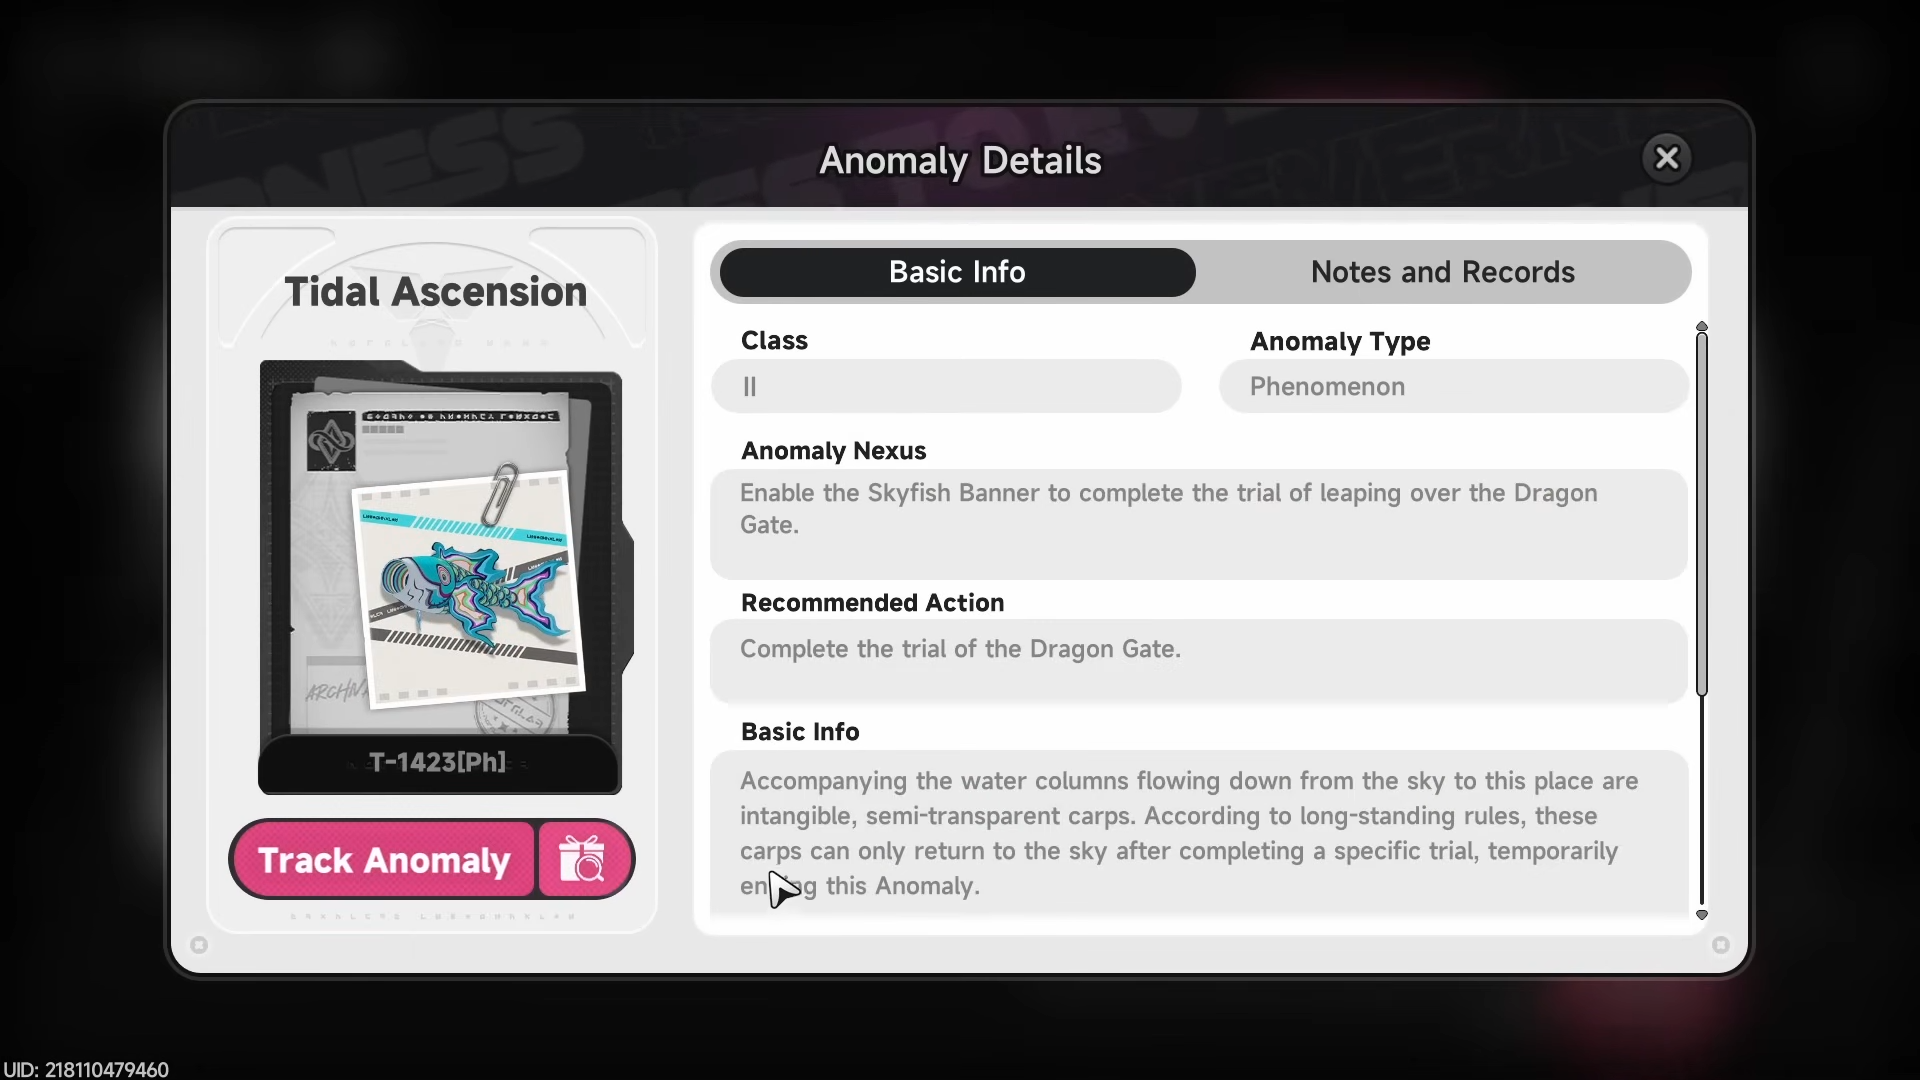
Anomaly commissions
Anomaly commissions are another major repeatable system and are split into common commissions and high-risk commissions.

Common ones are rated by stars, can be tracked on the map, and award funds, materials, and premium currency when completed.
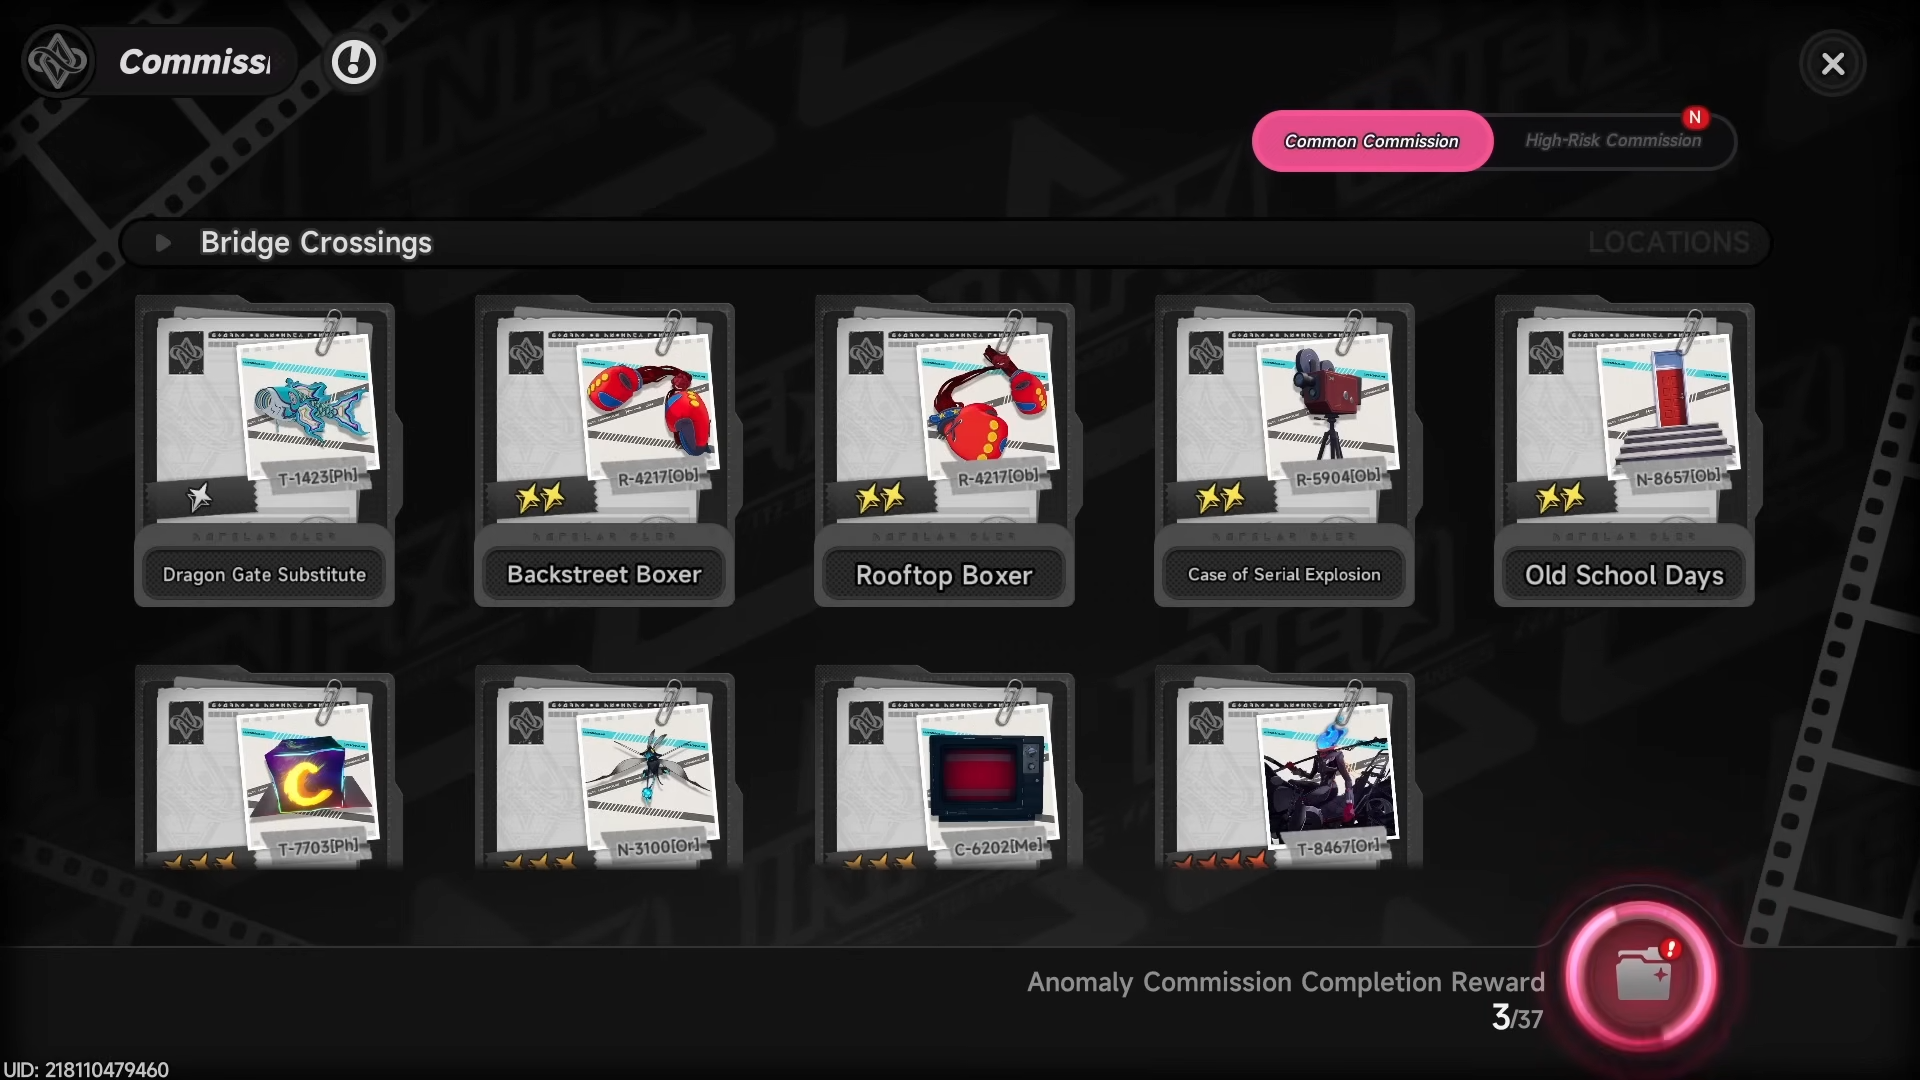
High-risk commissions are boss-style versions that unlock through difficulty tiers and also reward pearl hunt medals. Higher-ranked anomalies can award valuable Arcs, so they are worth clearing as much as possible.
Gacha and shop
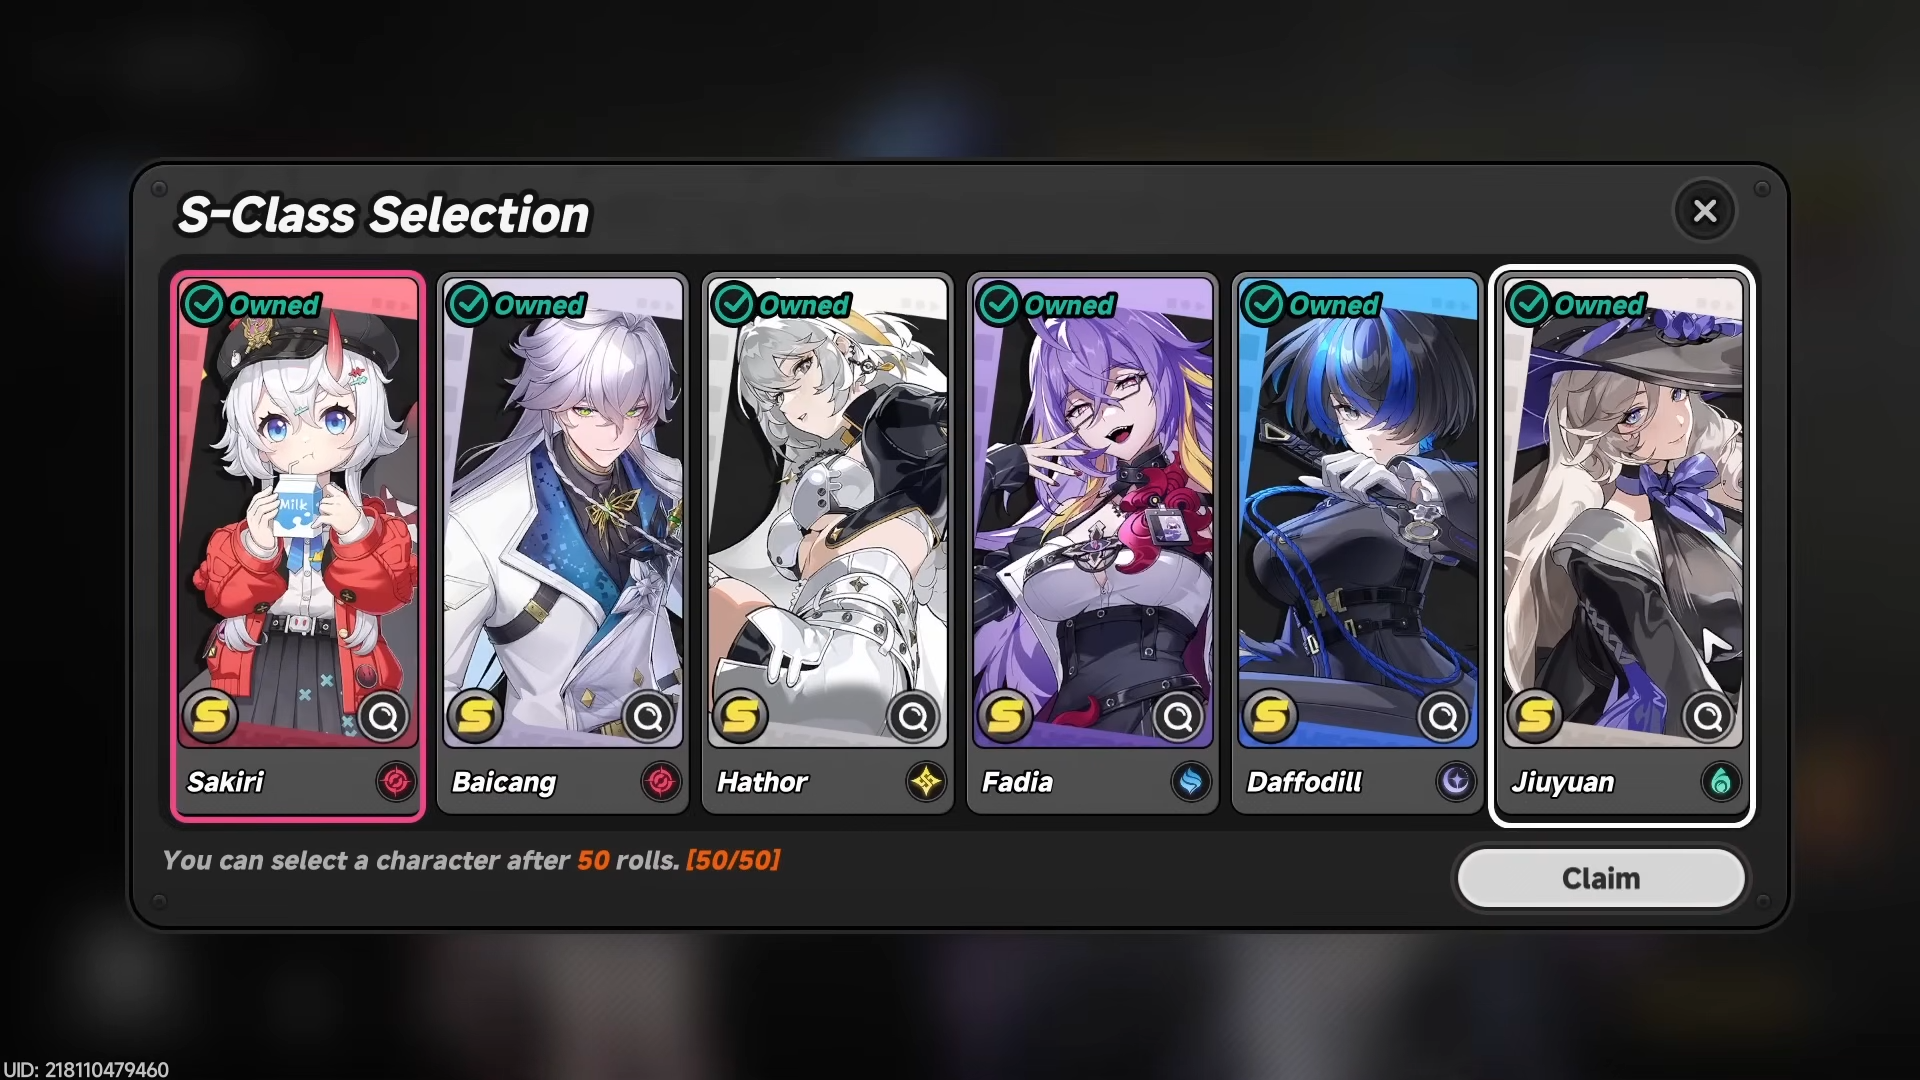
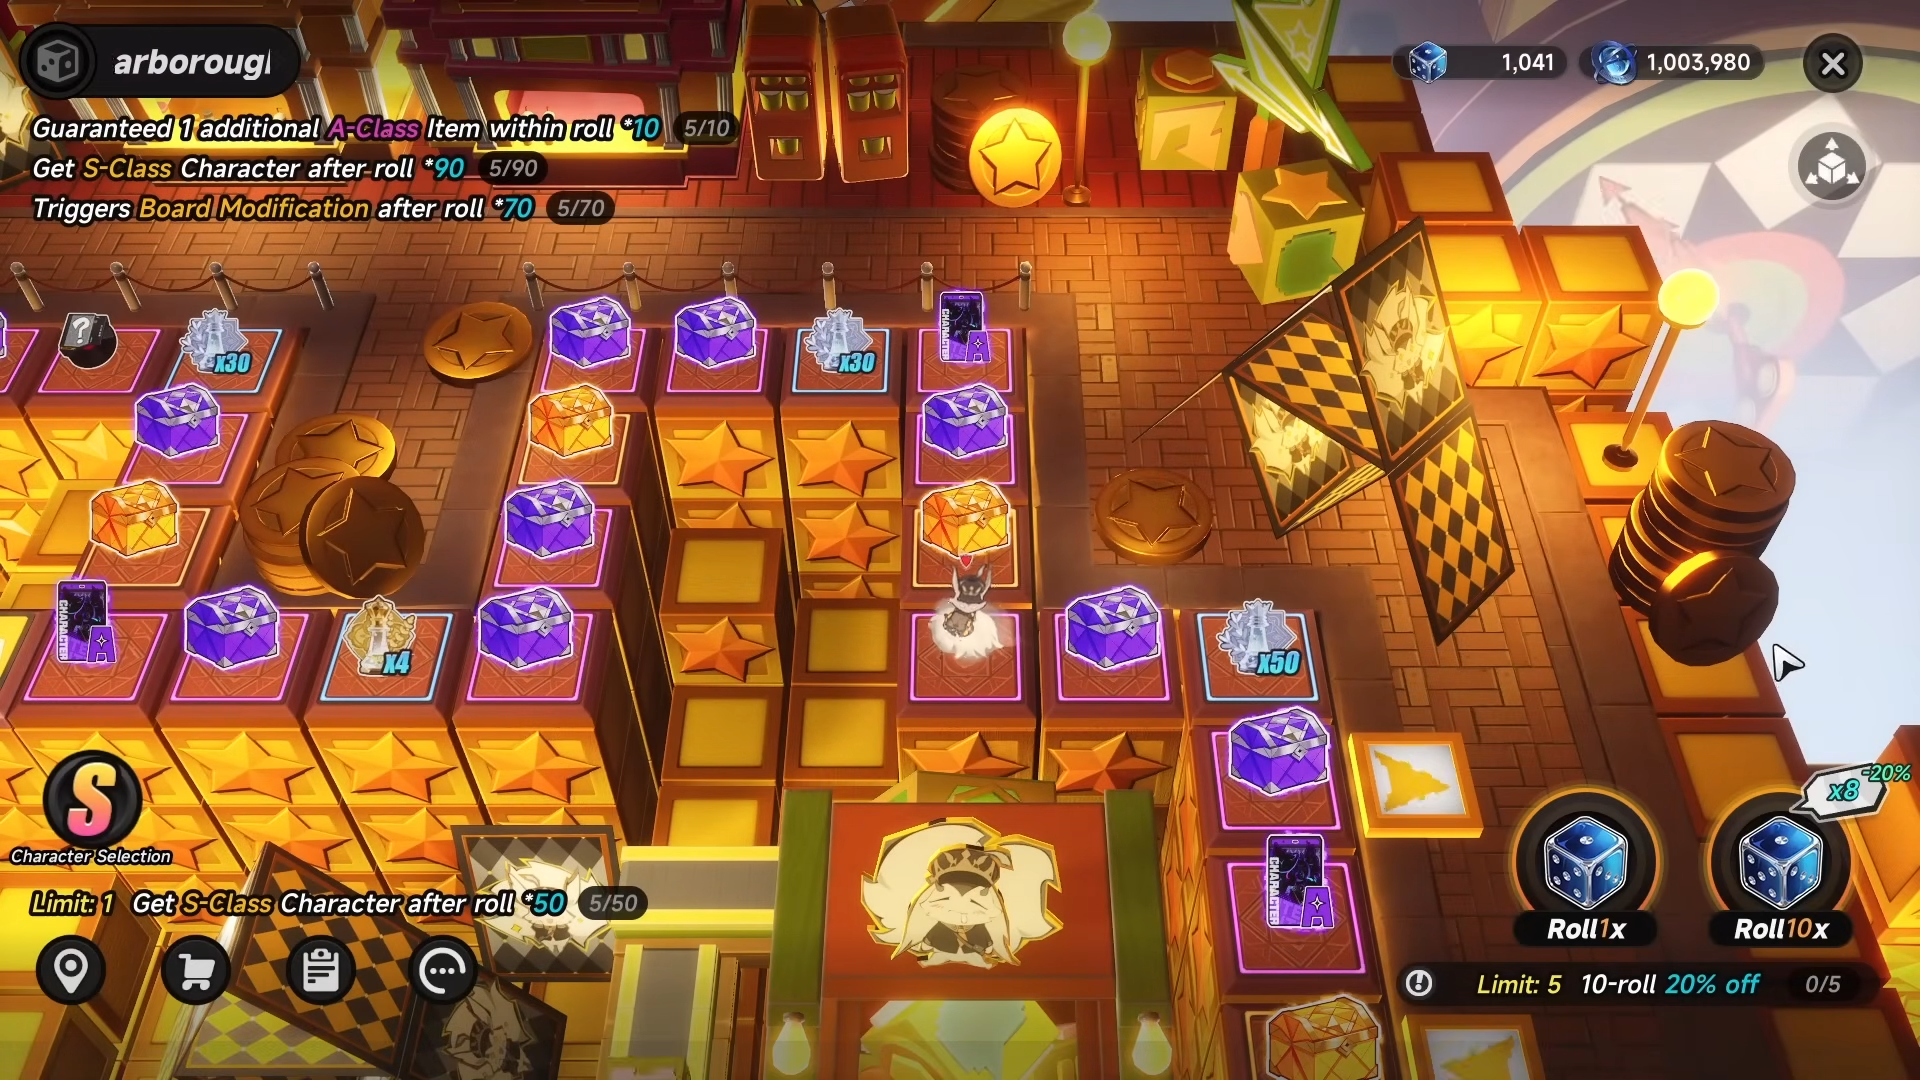
The gacha system uses different dice for standard and limited banners, and the limited banner has no 50/50 loss if you pull the featured S-rank unit. Character pity is 70 for guaranteed S-rank and 90 for hard pity, with a guaranteed A-rank every 10 pulls.

The standard banner also uses the same pity structure, but its S-rank result is a one-in-six chance for any standard unit, with a standard character selector after 50 pulls.
Arcs have their own banner rules, including a guaranteed S-rank Arc at 60 and a featured Arc guarantee by 80 if you miss it earlier.
Shop exchanges
The shop includes arc exchange, fashion, and fair exchange sections. You can trade banner currencies for more pulls, buy A-class Arcs with commission currency, and purchase some cosmetics with funds while others require premium currency.
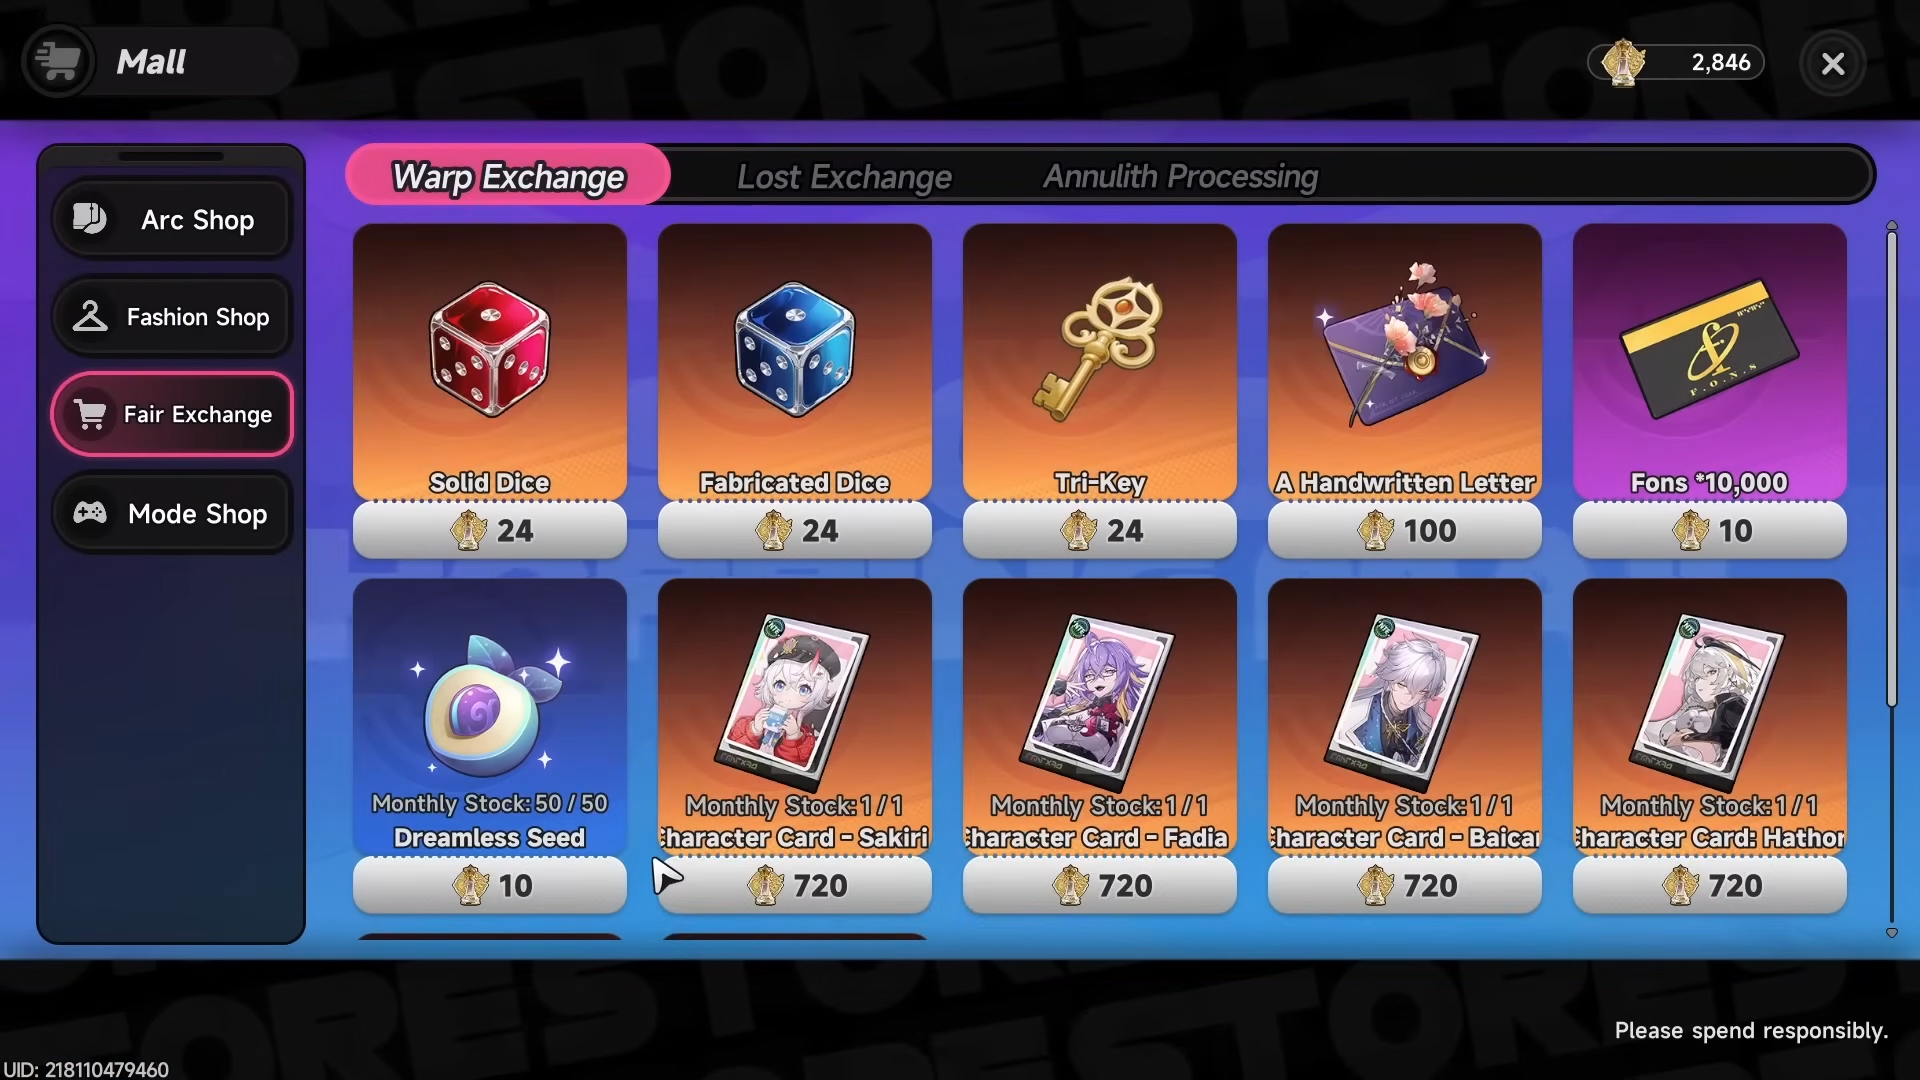
An S-class Arc is tied to the fountain wish system and requires repeated donations to unlock. That makes the shop not just a convenience menu, but another progression layer tied to exploration and side spending.
Beginner priorities
The simplest early-game order is: raise tycoon level, spend both stamina types daily, build a balanced team, level skills and weapons, and only then push deeper into endgame modes. Cafe management, bank heists, anomaly commissions, and housing all feed into the same loop, so none of them should be treated as side distractions.
If you want to avoid wasted resources, do not overinvest in gear too early, do not ignore appraisal quests, and do not leave your city stamina sitting full. The game clearly rewards players who keep all their systems moving together instead of focusing on only one path.
Launch-ready habits
A good launch routine is to finish progression objectives, clear daily tasks, spend character pixels on farming, and use city life stamina on the best money activity available to you. From there, keep your cafe stocked responsibly, check anomaly commissions, and improve the exact characters you plan to use rather than spreading resources too thin.
That approach matches how the game is structured: money, combat strength, and account unlocks all support each other. Once you understand that loop, Neverness to Everness becomes much easier to navigate.


Leave a Reply