

Starved Harridan is an optional boss in the Vestige of Infinity — approach the arena from The Silent Steps’ western route to make the fight spawn, then beat her for Voltaic Essence and Voltaic Amber.
Starved Harridan is easy to walk straight past, because Vestige of Infinity sits well off the critical path and the fight only appears if you enter the arena from the right side. Come in from the top and you’ll find an empty room; come in from the west and the encounter triggers, handing you a lightning infusion for your sidearm plus a passive key item. Here’s the exact route from The Silent Steps and what each drop actually does.
Starved Harridan location, drops, and spawn warning
| Detail | Answer |
|---|---|
| Area | Vestige of Infinity |
| Reliable approach | Head west from The Silent Steps |
| Spawn warning | Coming in from the top / northern portal route leaves the arena empty |
| Drops | Voltaic Essence and Voltaic Amber (plus Gloom) |
| Rewards unlock | A sidearm lightning infusion and the sealed southern arena door |
This is optional, miss-it-if-you-blink content rather than a main-story boss, so nothing forces you toward it. The one thing that trips people up is the approach: the arena is the same space no matter how you reach it, but Starved Harridan only spawns when you come in from the west side of The Silent Steps. (Her on-screen health bar spells the name as Starved Harridan, but she’s the same boss the drops are tied to.) The quick facts below cover the essentials before the route.
Always enter the arena from the west side of The Silent Steps — the top route spawns nothing, so if the room is empty, back out and come in from the west.
How to reach Starved Harridan in Mortal Shell 2
The whole route is a straight westward push out of the beacon and into Vestige of Infinity, and the only real trap is taking the top path instead.
STEP 1/6
Start at The Silent Steps beacon
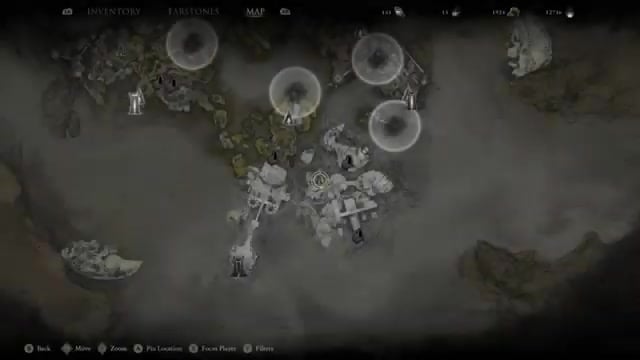
Fast-travel in and open the map — this run reaches the beacon from the northern portal that drops you here.
STEP 2/6
Plan a route to the west side
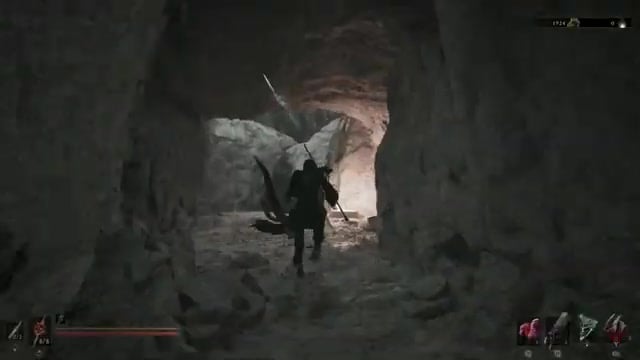
On the map, line up the western path out of the beacon, not the top route, which leaves the arena empty.
STEP 3/6
Follow the western path out
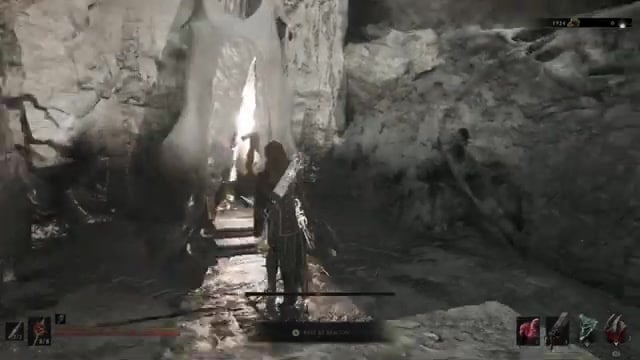
Run west across the stone bridges and through the ruins, clearing the odd spectral enemy on the way.
STEP 4/6
Cross into Vestige of Infinity
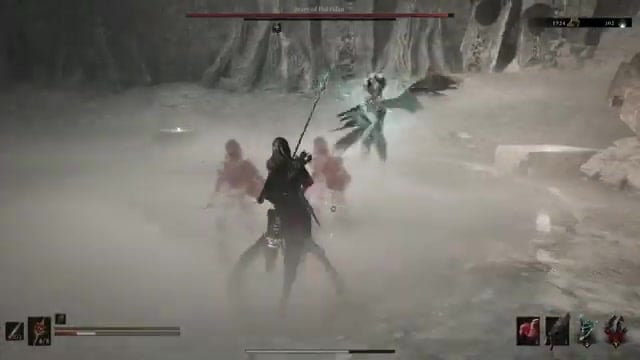
The area banner pops as you pass the fog line, confirming you’re on the correct approach.
STEP 5/6
Enter the arena to trigger the fight
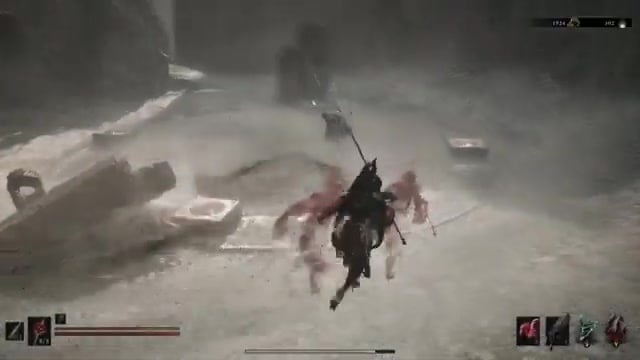
Squeeze through the slit in the massive stone wall and Starved Harridan spawns as you step inside.
STEP 6/6
Defeat Starved Harridan
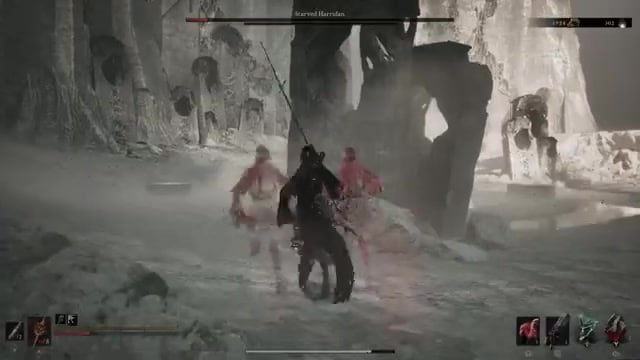
Down her to claim Voltaic Essence and Voltaic Amber.
Video help
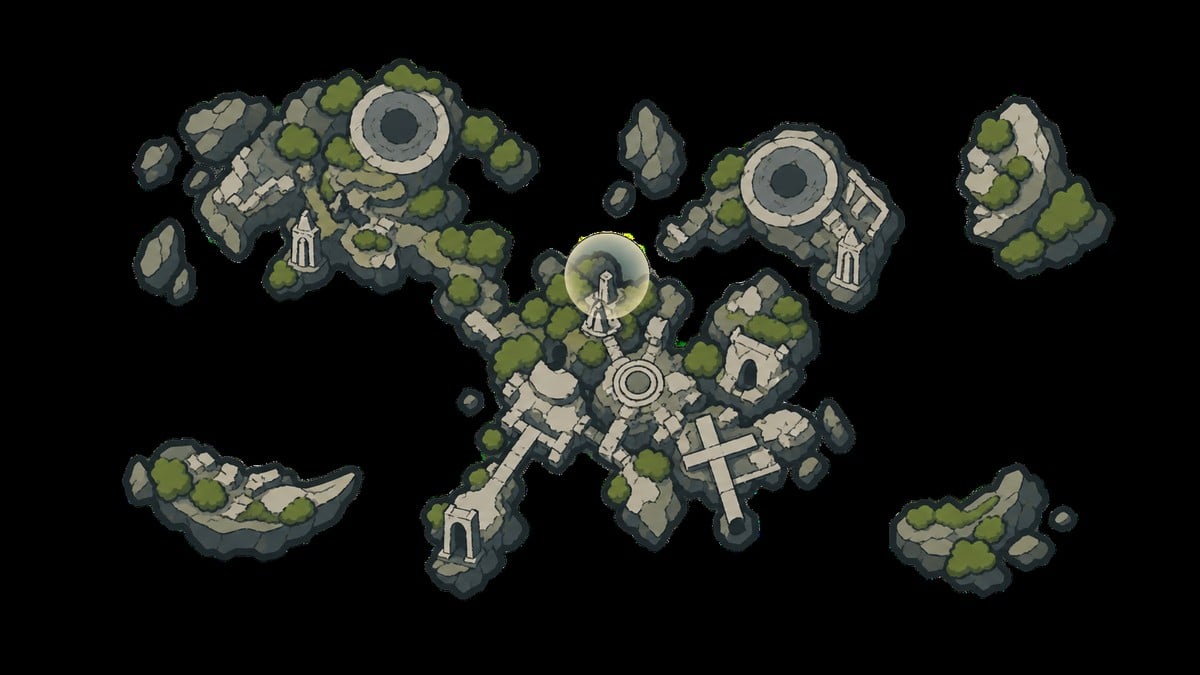
Where Vestige of Infinity sits on the world map
If you’re orienting yourself on the broader map rather than from the beacon, Vestige of Infinity is in the far south of the world, directly south / southwest of Castigator’s Keep. Players often reach it by following the path from that area and taking the elevator that leads toward the zone, which is why it’s so easy to miss on a first pass.
Some routes describe the arena itself differently — dropping down the slope to the south and into the center of the space to meet the boss. Treat the westward run above as the reliable one, since that’s the approach that actually makes her spawn.
What Voltaic Essence and Voltaic Amber do
| Reward | Use |
|---|---|
| Voltaic Essence | Passive key item — opens the sealed southern arena door and powers the lightning spires |
| Voltaic Amber | Tarstone infusion that adds lightning damage to your sidearm |
Voltaic Essence is a passive key item. Keeping it in your inventory automatically opens the sealed door on the southern edge of Starved Harridan’s arena once she’s dead — the path that leads onward toward the Gate of Infinity beacon. It also powers the lightning spires in Vestige of Infinity and Silent Steps, which unpetrify nearby enemies so they animate and attack, so expect the surrounding areas to wake up once you hold it.
Voltaic Amber is the Tarstone reward — an infusion that adds lightning damage to your sidearm. She also drops Gloom on top of both, though the exact amount isn’t consistent across builds, so don’t bank on a specific figure.
Surviving the Starved Harridan fight
The fight rewards patience over aggression. Her ranged projectiles are the easy threat to deal with — duck behind one of the broken stone pillars in the arena and let them break against the cover. The attack that will actually kill you is the shout / screech: back well out of range the moment she winds it up, because it hits hard enough to end a run on its own.
Beyond that, play hit-and-run: poke in with a couple of strikes, then create space to recover stamina before going again. If your build carries duplicate or phantom protection, it makes this trivial — the clones soak hits and draw aggro while you deal damage, and keeping your resolve charged (with something like Common Moonshine) lets you keep summoning them. None of that is mandatory, though; a straightforward defensive, cover-heavy approach clears her just as well.
Related Mortal Shell 2 guides
Frequently Asked Questions
Do you need to use Voltaic Essence manually from your inventory?
No. It works passively, so there’s no “use” prompt to hunt for in the menu — simply owning it is enough. Once it’s in your bag after the fight, the sealed southern door opens on its own and the lightning spires become active.
Why is the Starved Harridan arena empty when I approach from another route?
The encounter is gated to the western approach. Come in from the top or the northern portal and Harridan just won’t appear — in some cases the space holds a different, already-cleared encounter instead. If you walk into an empty arena, leave and re-enter from the western path and she’ll spawn.






Leave a Reply