

The Tarred Fragment Tarstone drops from the Tarblighted Stoner mini-boss in the Sanguine Caverns, reached just past the Sanguine Shoreline beacon.
The Tarred Fragment is one of the earliest ranged-focused Tarstones you can grab in Mortal Shell 2, and the fight guarding it is a pushover. If you’re building around a Sidearm — especially the Salvaged Trebuchaxe — this is a stone you want in your pocket well before the mid-game. Below is where it comes from, the exact route to the drop, how it scales, and what to run it on.
What the Tarred Fragment is and where it drops
| Detail | Info |
|---|---|
| Type | Ability |
| Compatible equipment | Sidearm |
| Location | Tarblighted Stoner (Sanguine Caverns) |
| Resolve cost | 50 |
The Tarred Fragment is an Ability-type Tarstone that slots into a Sidearm and spends Resolve to fire a cluster of tethered projectiles that spin at high speed. There’s no chest or vendor for it — the only source is the Tarblighted Stoner mini-boss down in the Sanguine Caverns.
How to reach the Tarred Fragment in Mortal Shell 2
The whole run takes only a few minutes — reach the Sanguine Caverns, clear the gate, drop to the second beacon, and beat the mini-boss guarding the stone.
STEP 1/6
Enter the Sanguine Caverns
Cross the wooden bridge into the cave to reach the Sanguine Caverns area.
STEP 2/6
Clear the corrupted gate
Cleanse the gate beacon and pass through the corrupted gate to reach the next part of the caverns.
STEP 3/6
Head to the second beacon
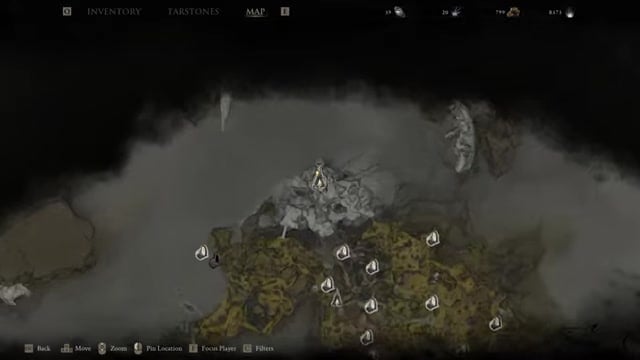
Continue on to the Sanguine Shoreline beacon, the second of the two beacons in this stretch.
STEP 4/6
Drop down to the mini-boss
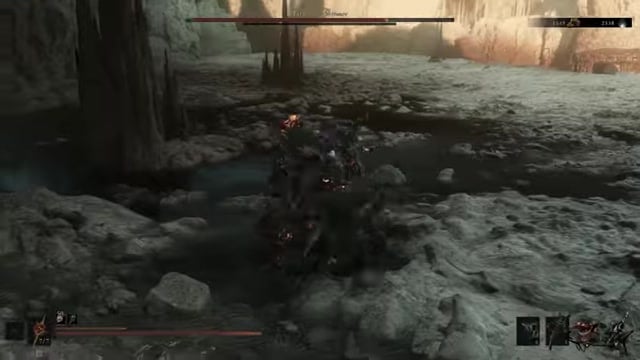
Make the jump down from the ledge and the Tarblighted Stoner is waiting right below you.
STEP 5/6
Defeat the Tarblighted Stoner
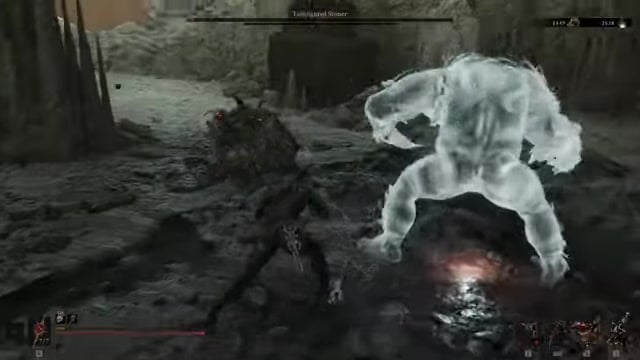
Beat it — this is one of the easiest mini-bosses in the entire game and goes down in a handful of hits.
STEP 6/6
Loot the Tarred Fragment
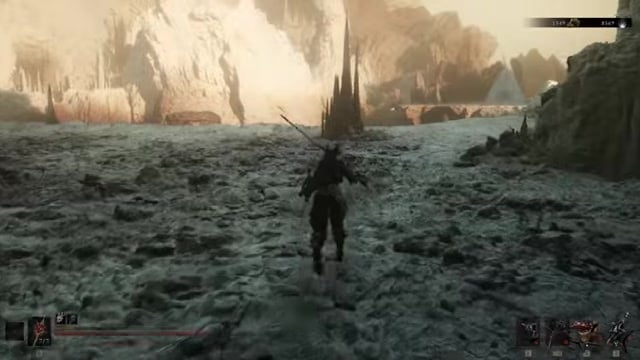
The Tarstone drops the moment the mini-boss dies, so grab it to add it to your collection.
Video help
Tarred Fragment level effects and scaling
| Level | Effect |
|---|---|
| Level 1 | Consume 50 Resolve to fire multiple tethered projectiles, spinning at high speed |
| Level 2 | The tethered projectiles spin for 6s |
| Level 3 | The tethered projectiles spin for 8s |
| Level 4 | The tethered projectiles cover 150% the range |
Key Every fire costs 50 Resolve flat, so the scaling is all about uptime and reach. The early levels stretch how long the spinning field lingers — from a short burst up to a full 8 seconds at Level 3 — while Level 4 widens the radius by 150%, which is the difference between clipping a boss and blanketing it. Keep your Resolve topped up and those extra seconds of spin translate directly into damage.
Leveling the Tarred Fragment at the Tarforge
Tarstones don’t upgrade on their own — they level at the Tarforge in Marrow Keep, run by Franz. This is a global system that applies to every Tarstone, not just this one.
First you need the Etching Needle, tucked in a bone chest you’ll pass on the way to the Magdalena, the Lady of the Woods fight. Hand it to Franz and he opens up the expanded Tarforge options. From there, equip the Tarstone you want to raise and kill enemies to fill its experience bar — once it’s full, spend Coins at the Tarforge to push it up a level. Repeat until it’s where you want it.
Why the Tarred Fragment is worth running
The payoff is the Salvaged Trebuchaxe pairing. Normally that Sidearm lobs a single axe head, but with the Tarred Fragment equipped it becomes a tethered spinning attack that stays parked on the target, dealing 100% of the Trebuchaxe’s damage scaled to how long you charged the shot. Those projectiles hit about three times per second and each tick can land a critical — and since projectiles that strike critically deal Break Damage, a fully-upgraded Trebuchaxe with this stone can shred bigger bosses like the Hexapod in seconds.
The one quirk to know: the projectiles sometimes pass straight through certain enemies instead of catching them, which wastes the whole spin window. When that happens, don’t fight it.
If the spinning projectiles keep phasing through a big enemy, aim at the floor beneath it and let the stationary blender tick away from there.
Related Mortal Shell 2 guides
Frequently Asked Questions
Which Sidearm gets the most out of the Tarred Fragment?
The Salvaged Trebuchaxe. It’s called out as one of that weapon’s signature Tarstones, and the combination turns a single thrown axe into a fast-ticking spinning field that’s built for sustained boss DPS. If you’re deciding where to slot the Tarred Fragment, the Trebuchaxe is the answer.
Can you buy the Tarred Fragment or find it in a chest?
No. There’s no vendor and no container that holds it — the Tarblighted Stoner in the Sanguine Caverns is the only source. Beating that mini-boss is the single way to add the Tarred Fragment to your inventory.




Leave a Reply