

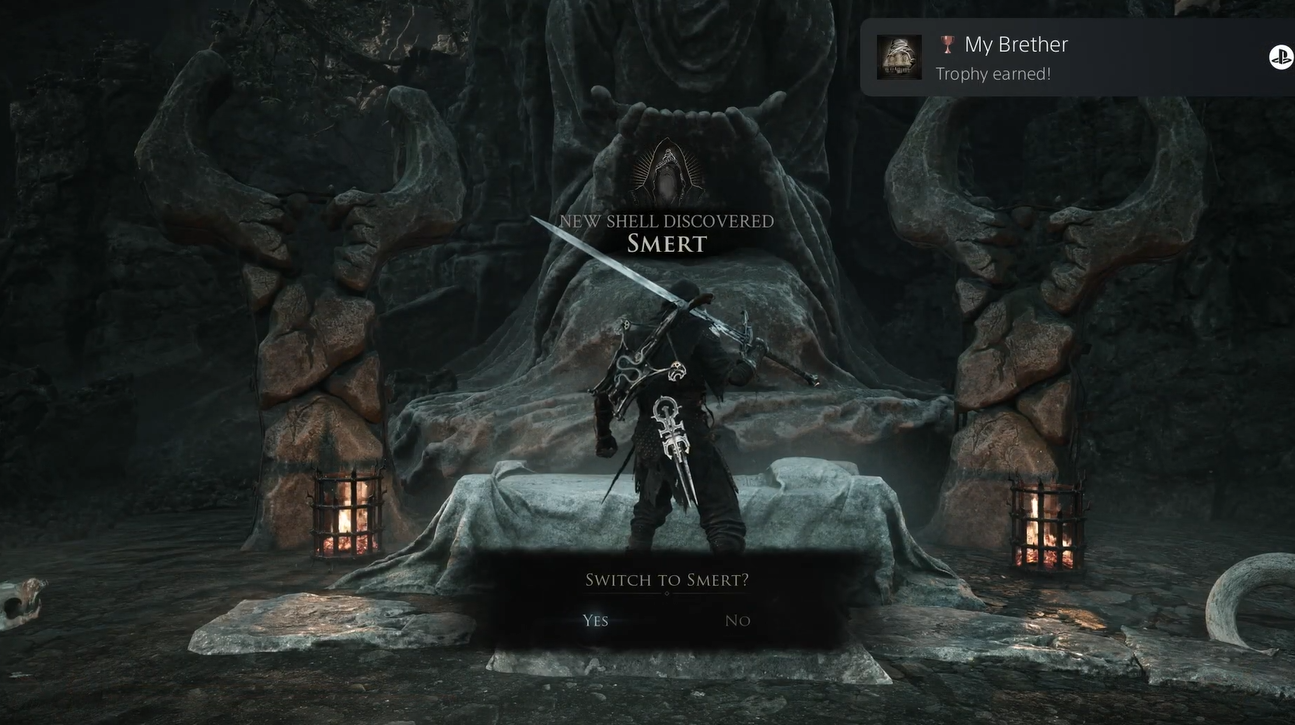
To unlock Smert and the My Brether achievement in Mortal Shell 2, reach Prophet’s Rest, activate the three blood pools by killing enemies inside them or making blood offerings, then inhabit the Shell and win The Convert Shell Memory fight.
The difficult part is recognizing the castle route, the optional checkpoint detour, and the three small ritual circles surrounding the altar. Once you know those landmarks, the journey is straightforward and the final memory encounter is brief.
Smert Shell and My Brether trophy requirements
| Requirement | Details |
|---|---|
| Location | Prophet’s Rest, at the central ritual altar |
| Nearest route | Disciple’s Grotto → castle route → Desolate Peak → Ruins of Nochte |
| Ritual objective | Activate all three circular blood pools around the altar |
| Memory fight | Enter The Convert and defeat the Hierarch |
| Achievement | My Brether — Unlock Smert, as shown by the PlayStation trophy notification |
Finding Smert’s corpse does not grant the Shell by itself. My Brether is tied to acquiring Smert rather than merely discovering the ritual site.
Activate the pools with enemy kills whenever possible. A blood offering also fills a pool, but it ejects you from your Shell; repeating the sacrifice while exposed can end the attempt.
How to get Smert and My Brether in Mortal Shell 2
Follow the castle route, secure the retry point if needed, and then complete the Prophet’s Rest altar sequence in one visit.
STEP 1/17
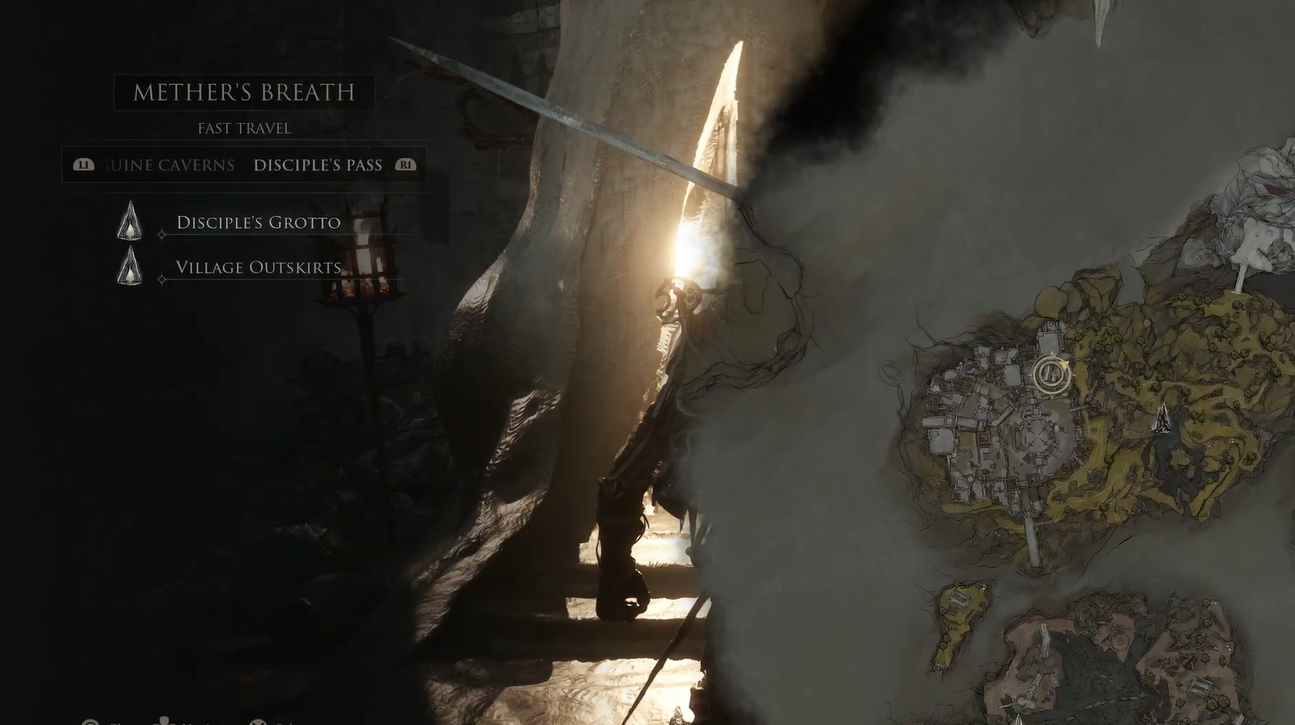
Fast travel to Disciple’s Grotto
Interact with a Beacon and use Mother’s Breath to fast travel to Disciple’s Grotto.
STEP 2/17
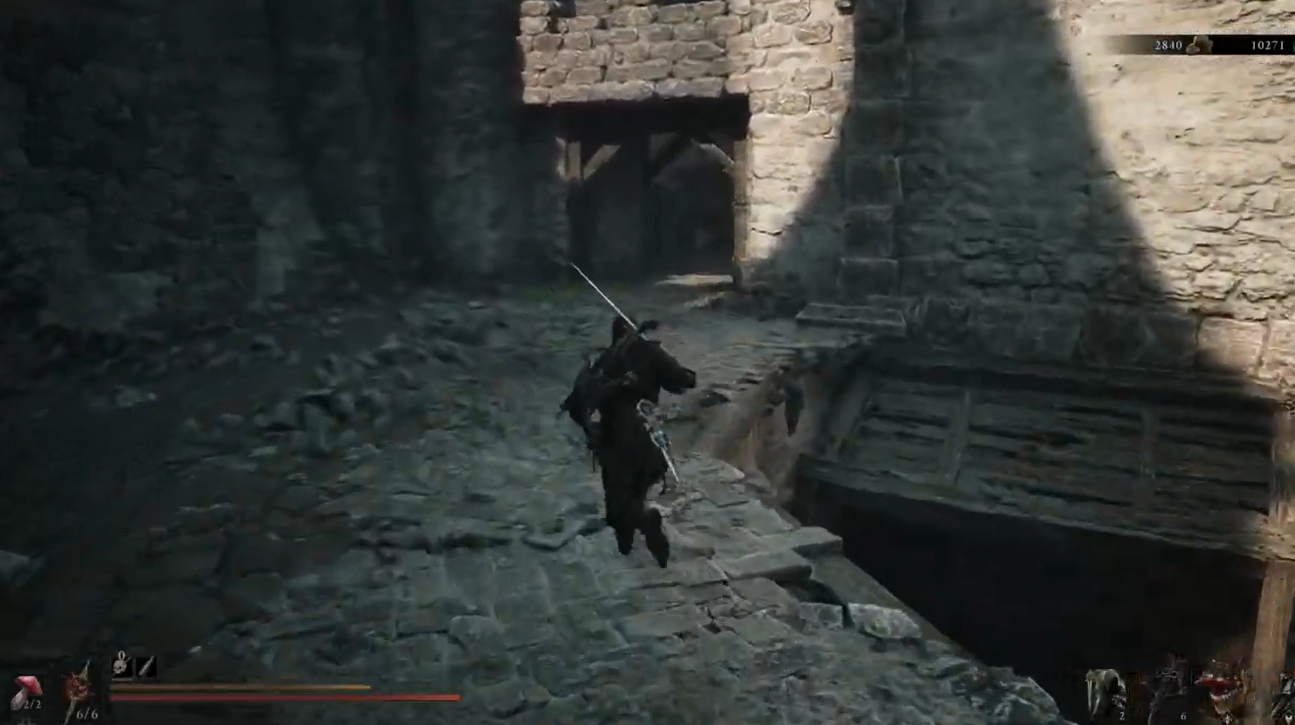
Enter the castle
From the locked front gate, move toward the nearby side access and take the teleport route into the castle.
STEP 3/17
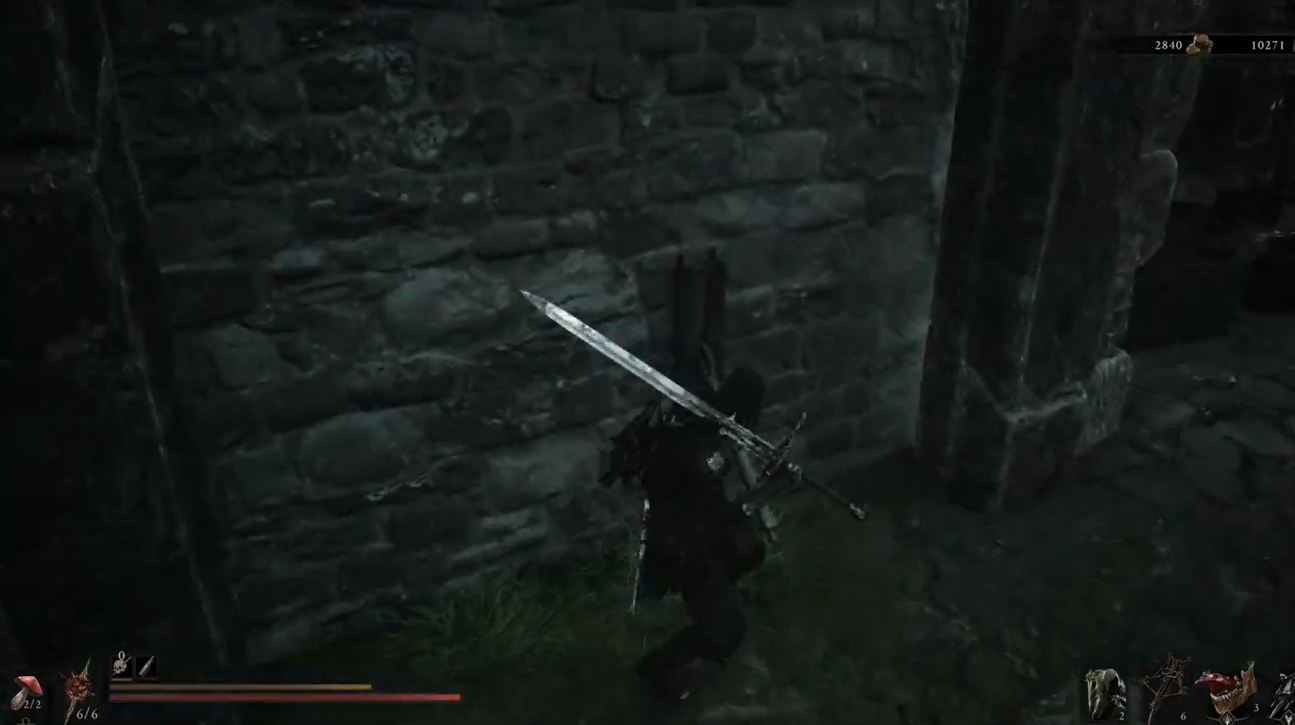
Open the inner gate
Follow the path inside until you reach another locked gate, then pull its wall lever to raise it.
STEP 4/17
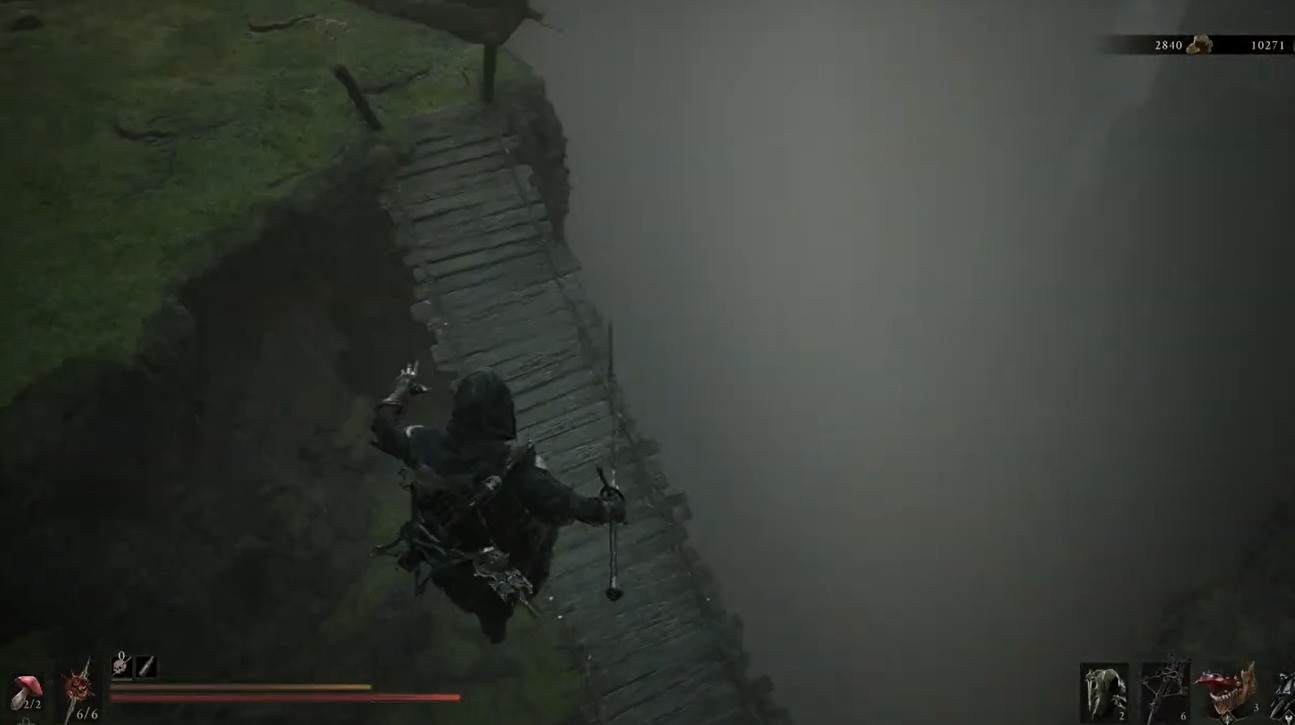
Drop to the lower platform
Press attack while falling to perform a slam and avoid taking fall damage on the landing.
STEP 5/17
Teleport to Desolate Peak
Use the teleporter at the bottom of the drop to reach Desolate Peak.
STEP 6/17
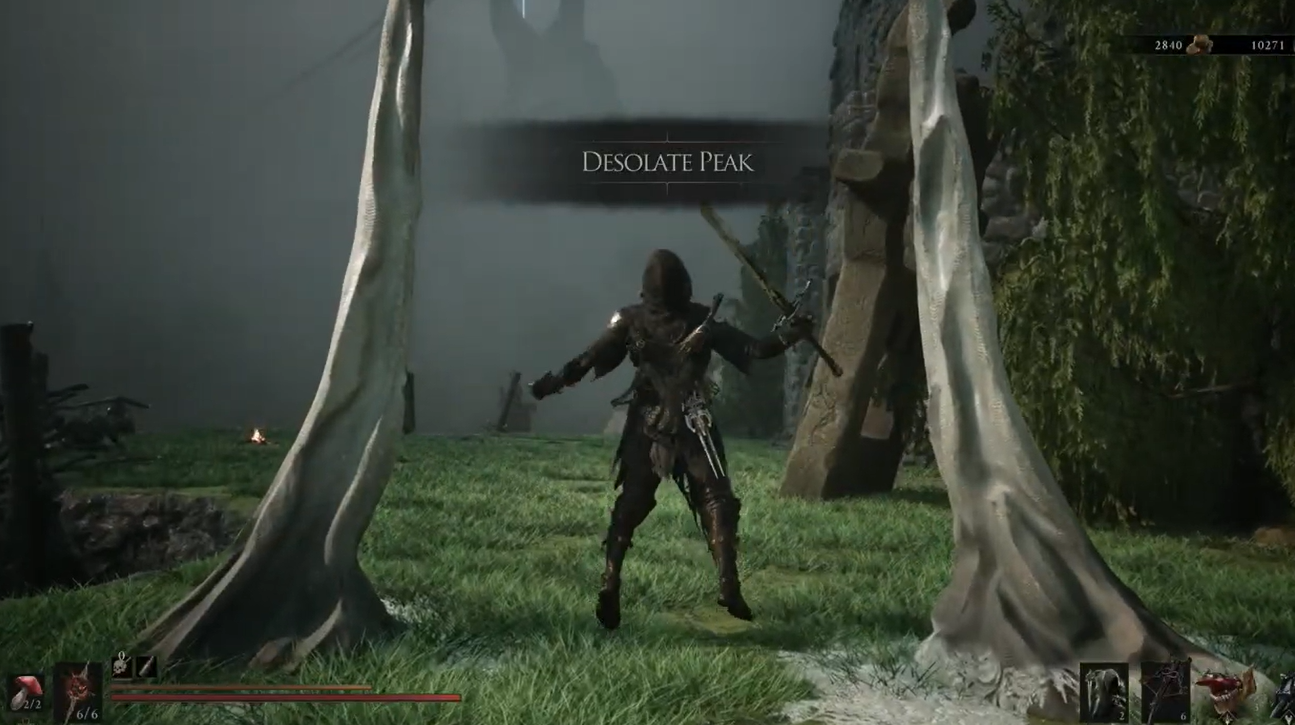
Cross Desolate Peak
Continue over the grassy path and wooden bridges, using the next teleporter as you head toward Ruins of Nochte.
STEP 7/17
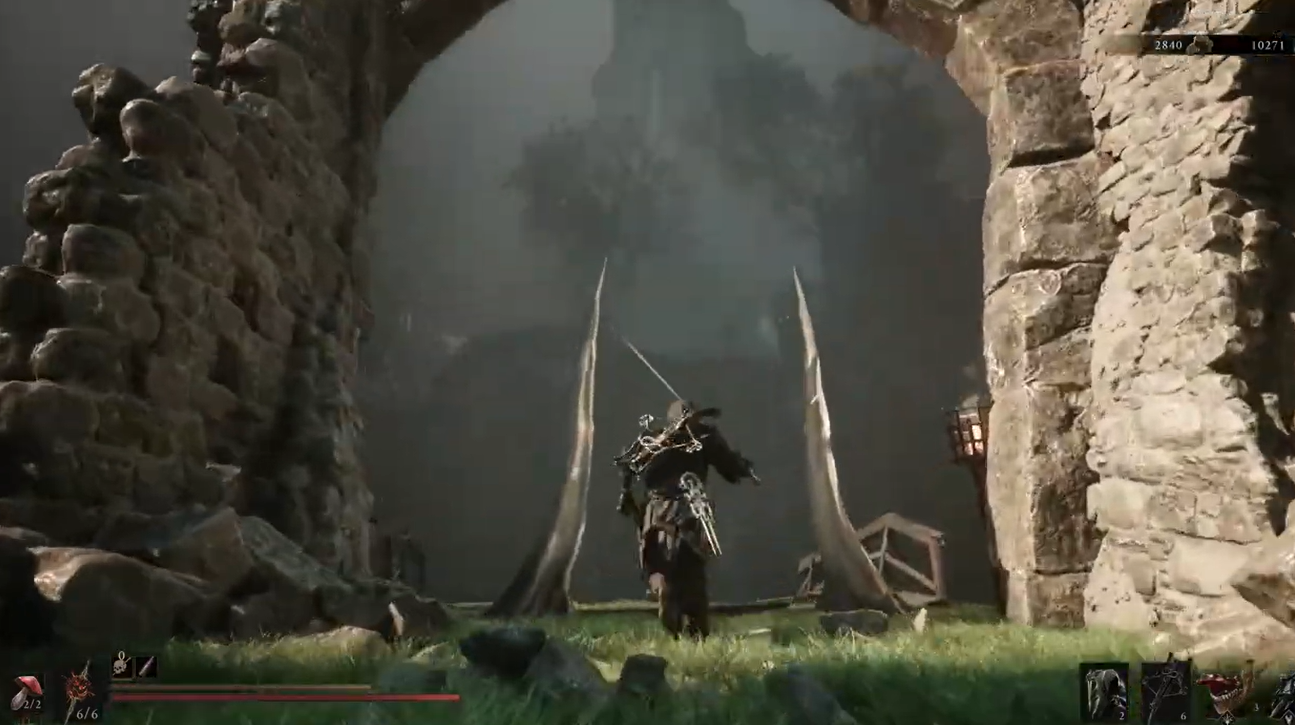
Take the optional checkpoint route
At the wooden bridge, continue along the upper path instead of dropping left if you want a safer retry point.
STEP 8/17
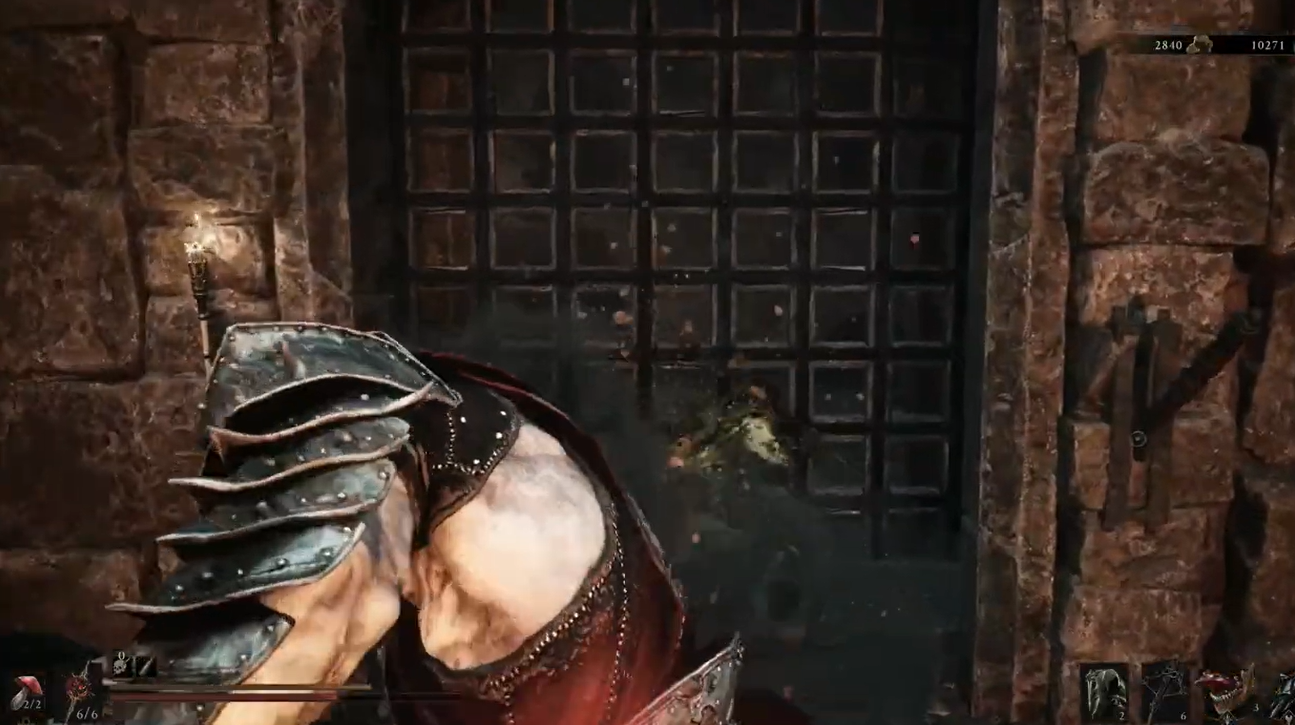
Raise the checkpoint gate
Pull the lever beside the locked gate and move past the large enemy guarding the route.
STEP 9/17
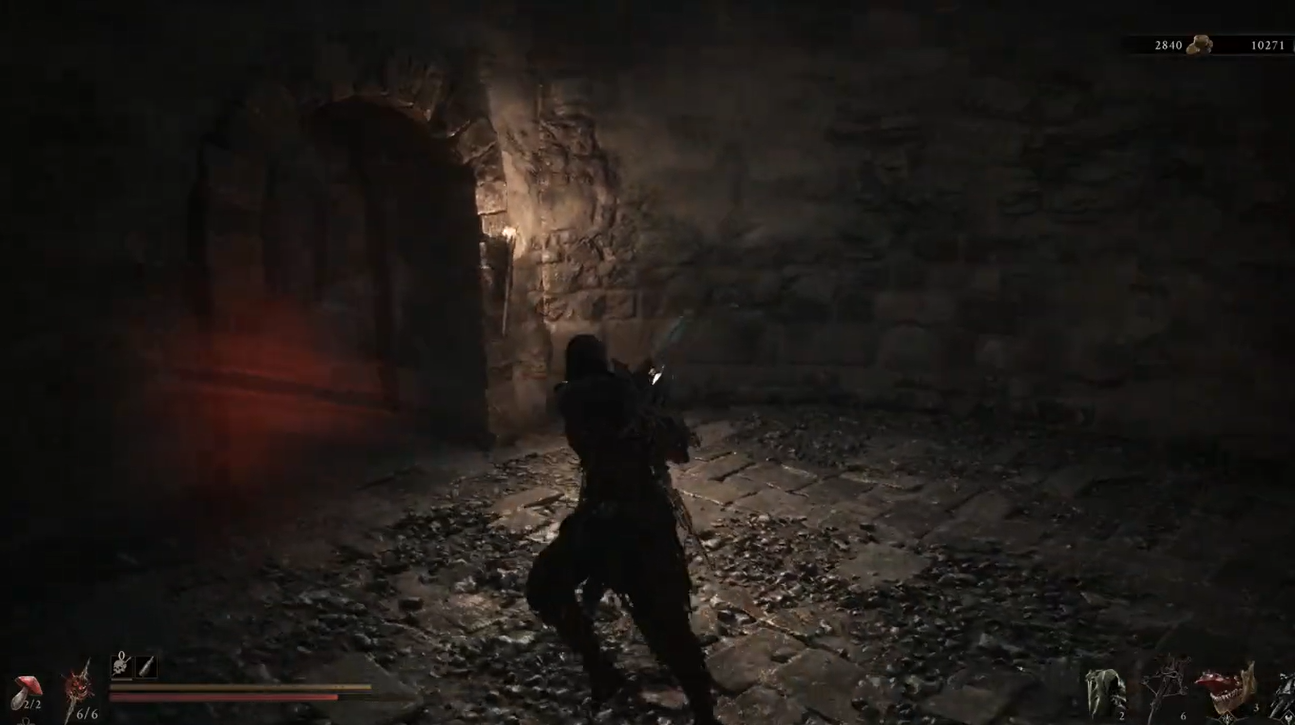
Call the elevator
Use the lever in the circular spire, wait for the elevator to arrive, and then step onto its pressure plate.
STEP 10/17
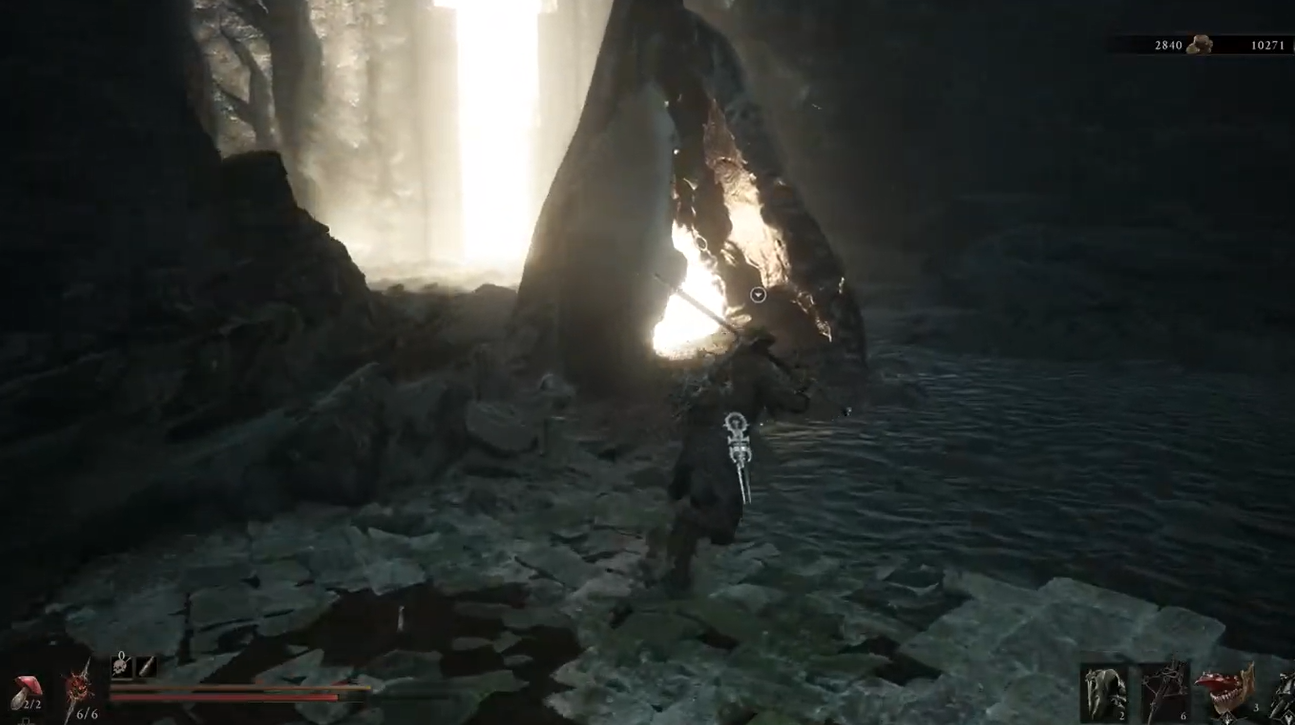
Secure the checkpoint
Ride the elevator upward and activate the checkpoint before returning toward the ritual route.
STEP 11/17
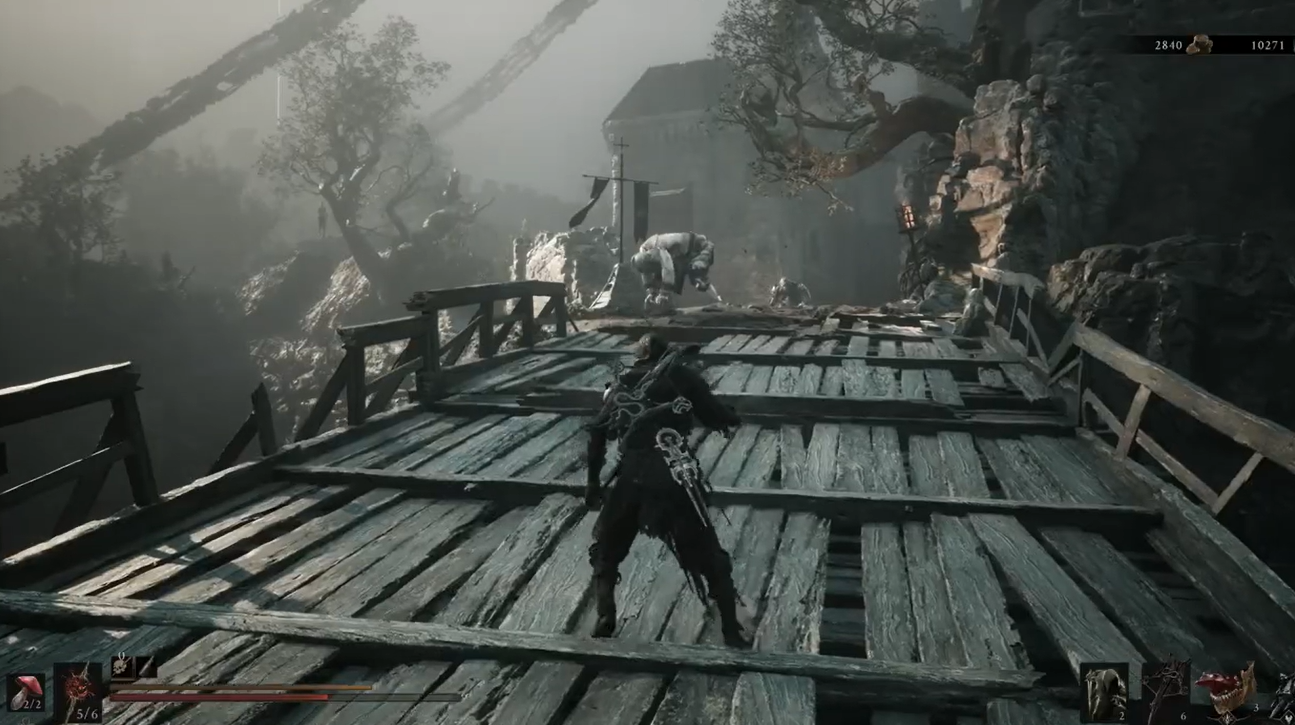
Backtrack to the wooden bridge
Retrace the upper path until you reach the bridge where the route originally divided.
STEP 12/17
Drop into Prophet’s Rest
Leap from the bridge and use another falling slam to land safely in Prophet’s Rest.
STEP 13/17
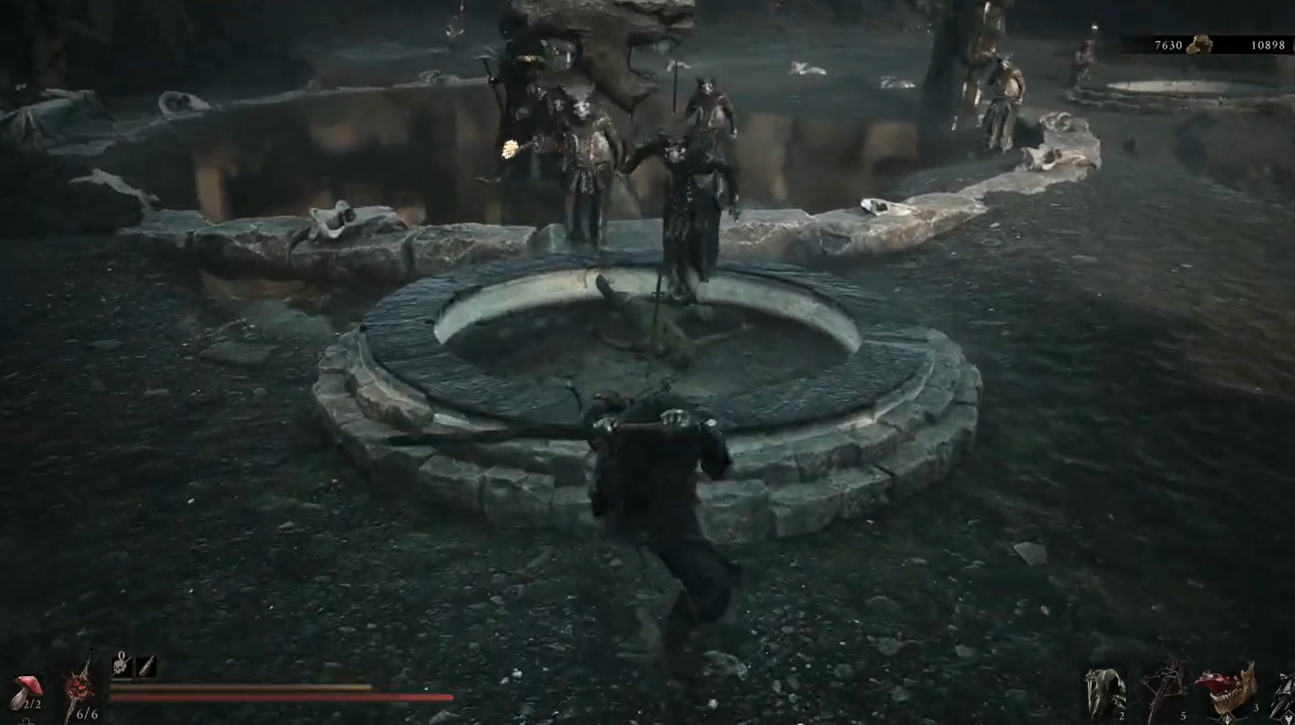
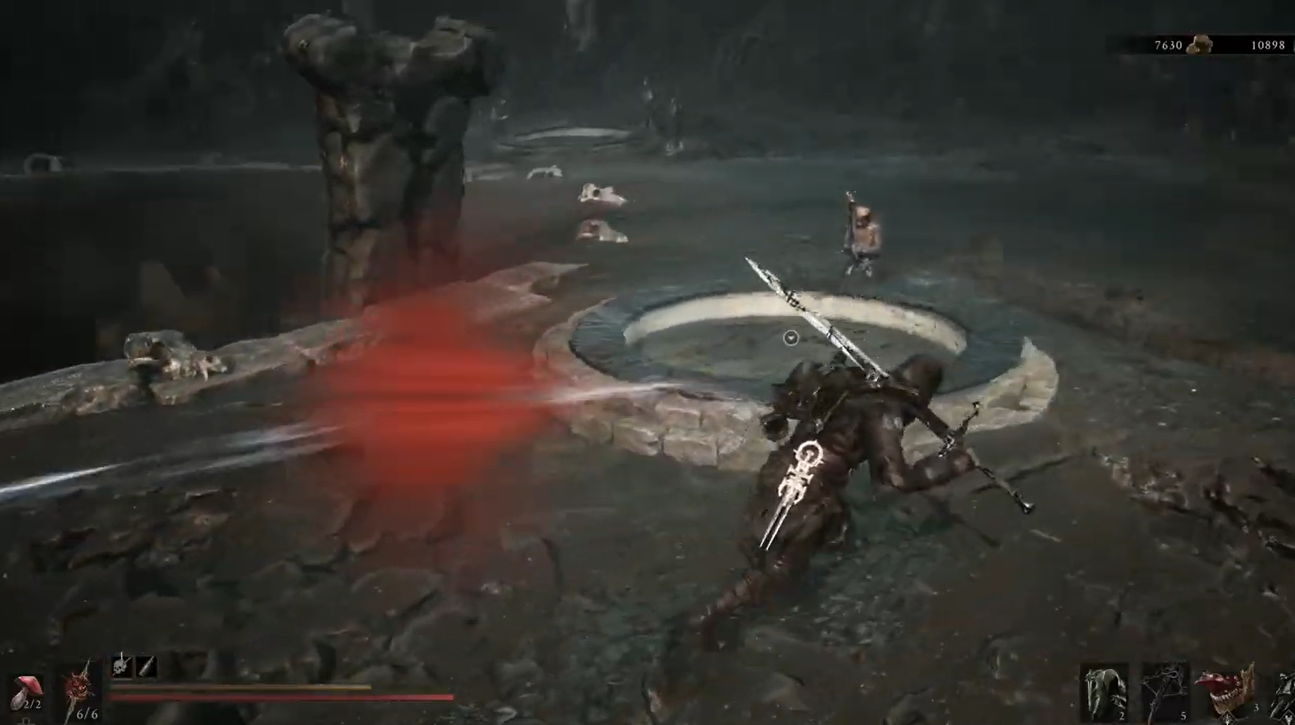
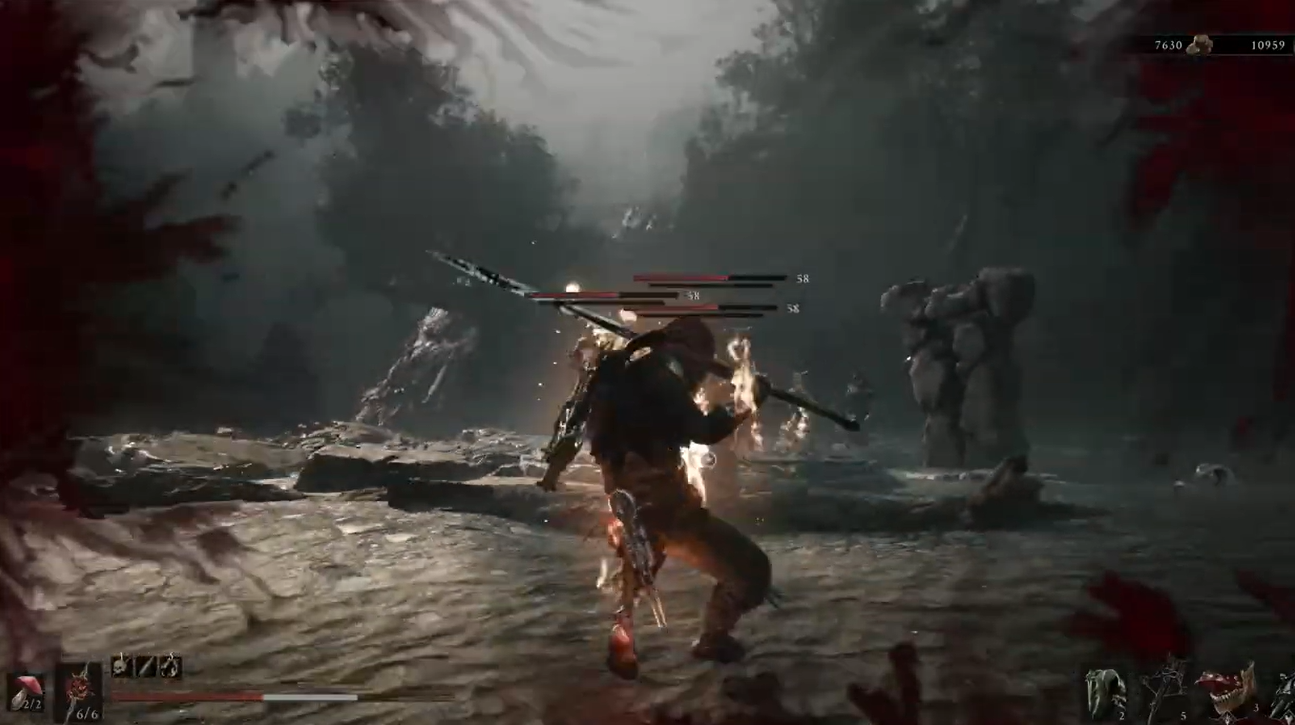
Activate the three ritual pools
Lure an enemy into each circular pool and land the killing blow while it stands inside; all three pools must glow red, even if one was already active when you arrived.
STEP 14/17
Clear the ritual site
Defeat every remaining enemy after the three smaller pools have been activated.
STEP 15/17
Trigger the central altar
Enter the large central pool and wait for the screen to turn red.
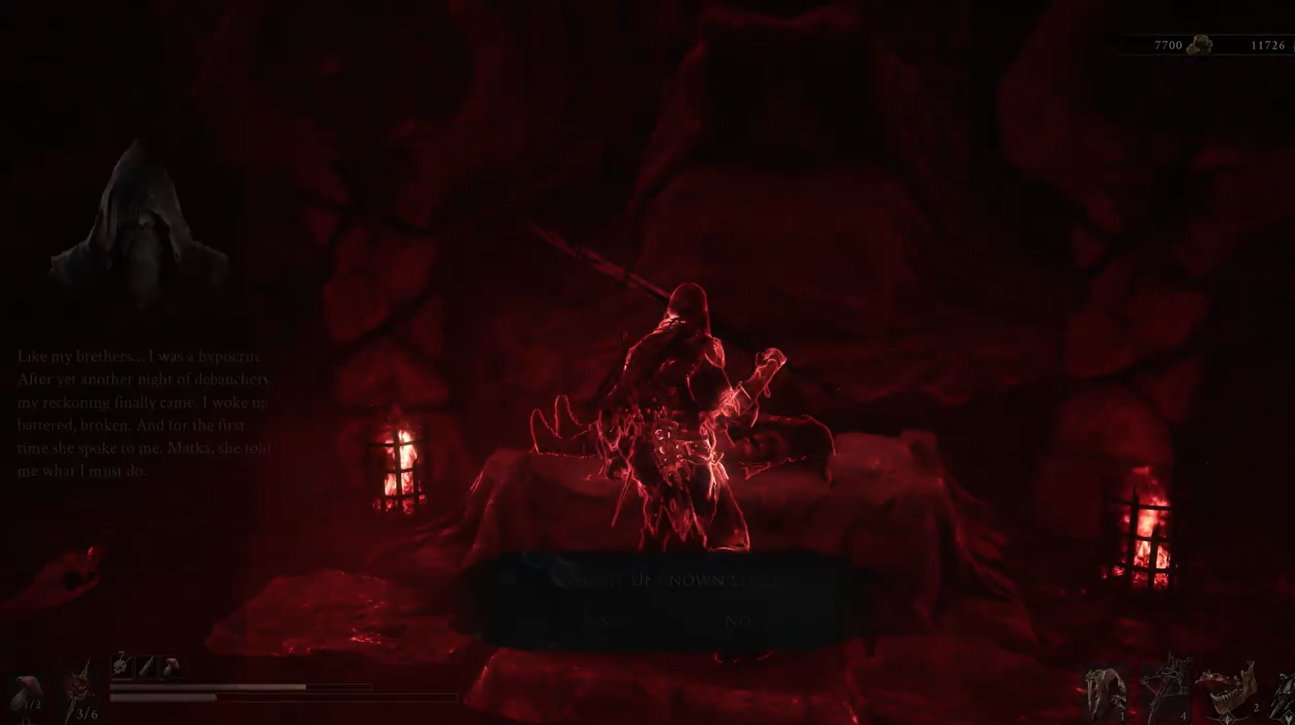
STEP 16/17
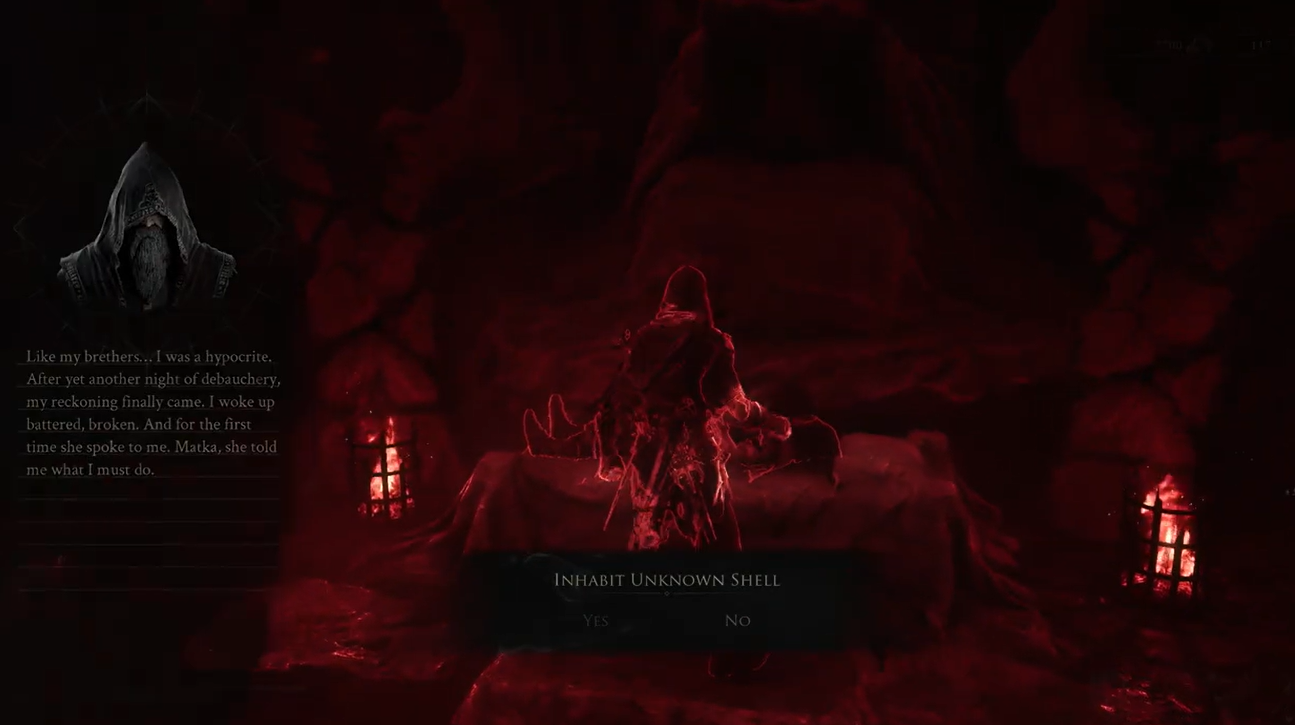
Inhabit the unknown Shell
Approach the corpse on the altar and accept the Inhabit Unknown Shell prompt.
STEP 17/17
Complete The Convert memory
Approach the Hierarch, begin the fight when the dialogue permits it, and use strikes and parries until the memory ends and awards Smert and My Brether trophy.
Video help
Smert’s combat style after you get the Shell
Smert is a high-risk Shell centered on Miracle. Activating it stops time and enters Fight Stance, where unarmed attacks apply Chaos stacks that detonate when time resumes.
Miracle can be pushed into Overtime by spending health, while Faith rewards fighting in a low-health state. Smert can create tremendous pressure, but his strongest mechanics leave little room for careless damage.
Common Smert route and ritual mistakes
The Ruins of Nochte checkpoint is optional, but skipping it means repeating more of the approach after a failed ritual. If you take the detour, remain outside the elevator shaft after pulling the lever because the descending platform can crush you. A normal landing during either major drop also costs health, so perform the falling slam before touching the ground.
If the central pool does not turn the screen red, inspect the smaller circles and the surrounding area. One pool is still inactive or an enemy remains alive. If you accidentally make a blood offering and lose your Shell, stop interacting with the pools, create some distance, and defeat nearby enemies to reclaim it before continuing.
The red screen signals that the altar is ready; it does not grant Smert automatically. Walk to the corpse and accept Inhabit Unknown Shell or The Convert memory will not begin.
Related Mortal Shell 2 guides






Leave a Reply