

Defeat The Nameless Captive by perfect parrying his regular sword strings, punishing his recovery and stagger windows, and backing away from the windmill attack; Headcase unlocks when the boss dies.
This encounter rewards controlled defense far more than constant aggression. Build stagger through clean parries, capitalize on each knockdown, and preserve enough stamina to escape the attacks that become more dangerous later in the fight.
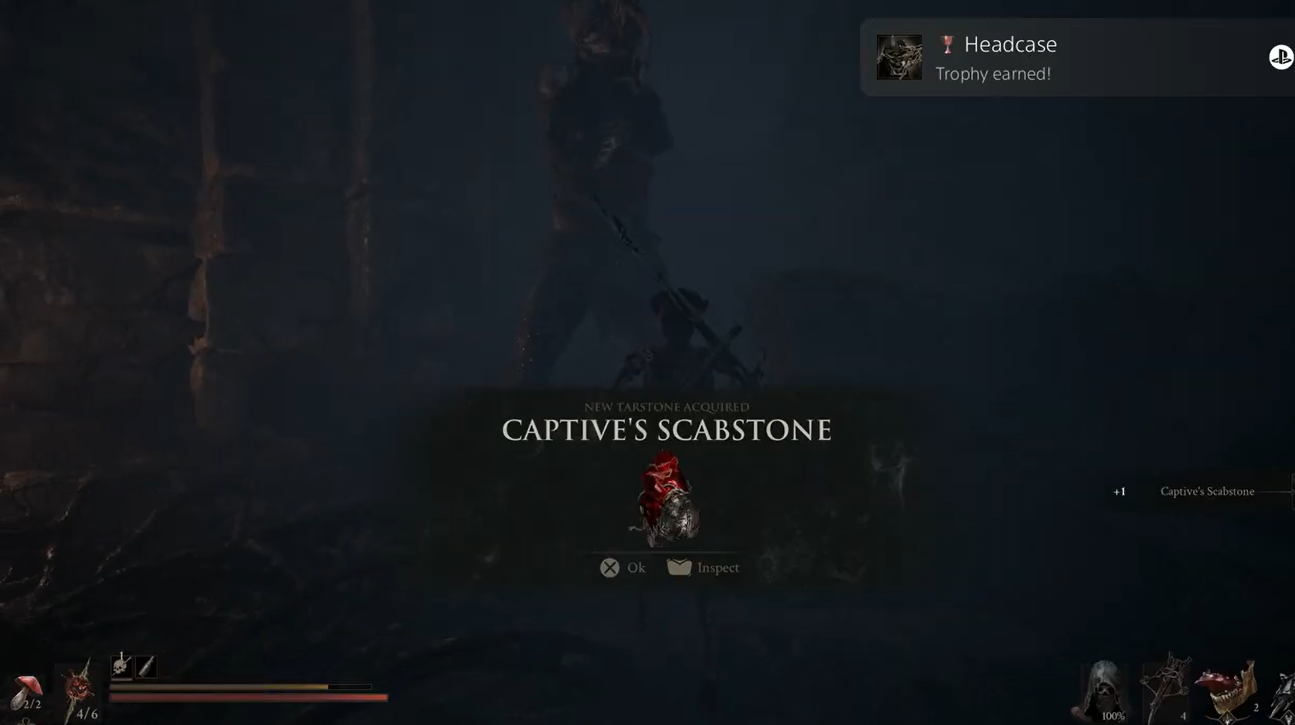
The Nameless Captive location, Headcase, and rewards
| Detail | Answer |
|---|---|
| Achievement | Headcase |
| Location | Captives End, Prisoners’ Domain |
| Visible reward | Captive’s Scabstone for the Great Martyr’s Blade, which spends 100 Resolve on a violent swing around the wielder |
| Main strategy | Parry regular strings, punish recovery and staggers, and retreat from the windmill |
Your objective is simply to kill The Nameless Captive; there is no additional condition attached to Headcase. The encounter takes place at Captives End in Prisoners’ Domain.
Recommended build before entering the arena
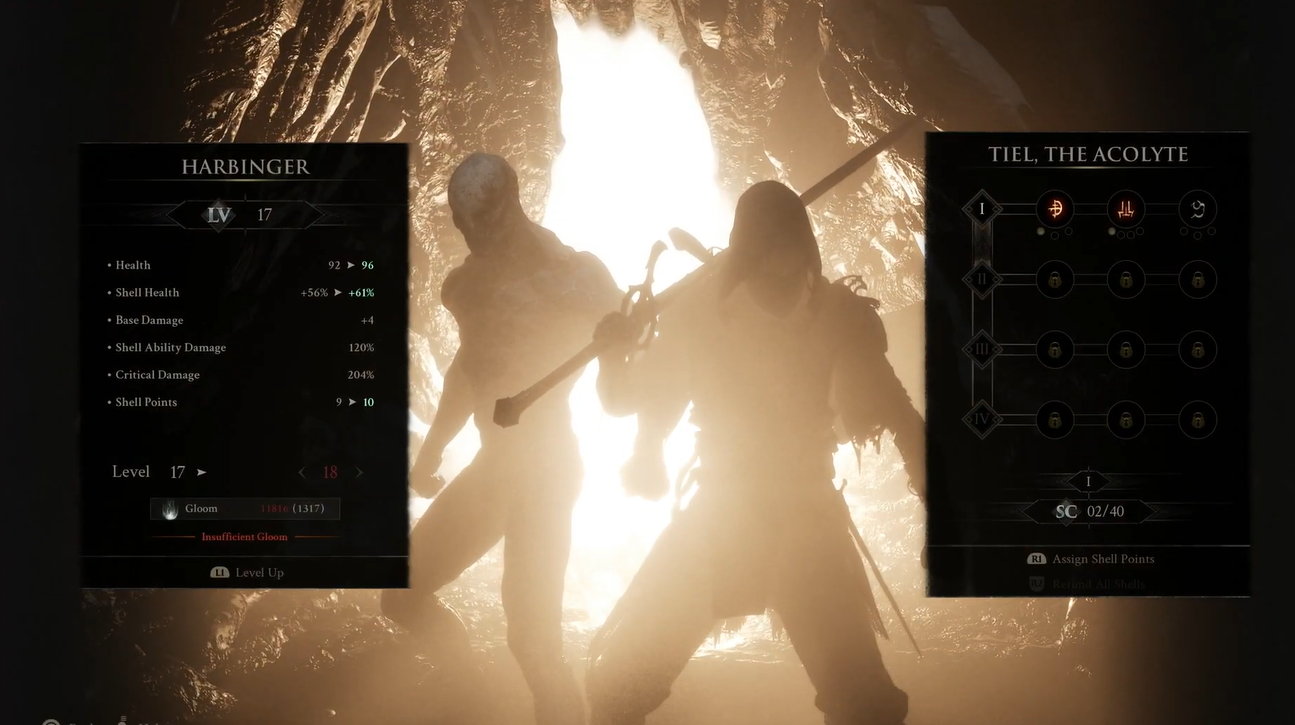
Key A practical baseline is Tiel, the Acolyte with the Harbinger class, the first two Escalation upgrades, and a rank 8 Incandescent. This setup works at around level 16, so the fight does not demand a maxed-out Shell or weapon.
If you want additional help, spend 1 Glimpse to summon Eredrim. He can draw attention away from you and contribute stagger pressure, but he is an optional aid rather than a requirement for the parry-and-punish method.
How to beat The Nameless Captive in Mortal Shell 2
Win by answering each phase defensively and committing to damage only while the boss is recovering or staggered.
STEP 1/9
Open with sidearm fire
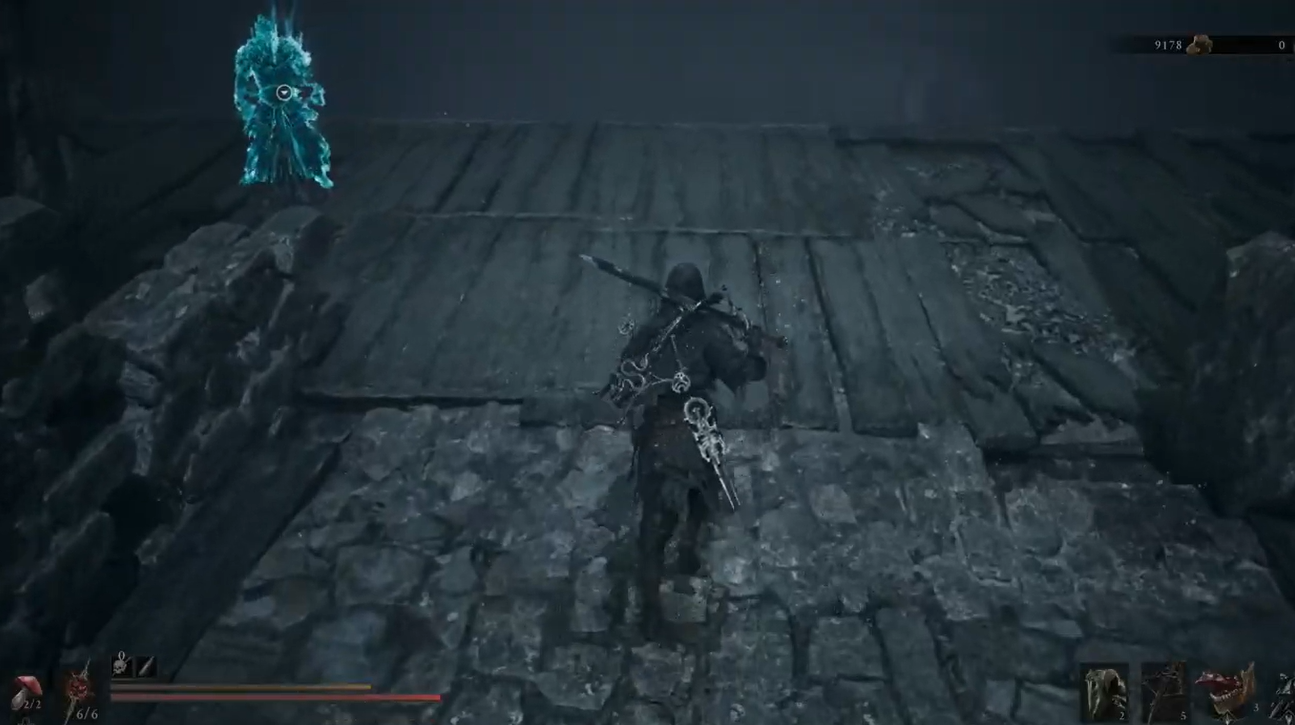
Fire your sidearm as soon as you land to take safe chip damage before the first melee exchange.
STEP 2/9
Read the first three-attack string
Perfect parry the early sword attacks, wait for exhaustion after the third strike, and land up to two Incandescent swings before resetting.
STEP 3/9
Convert the first critical strike
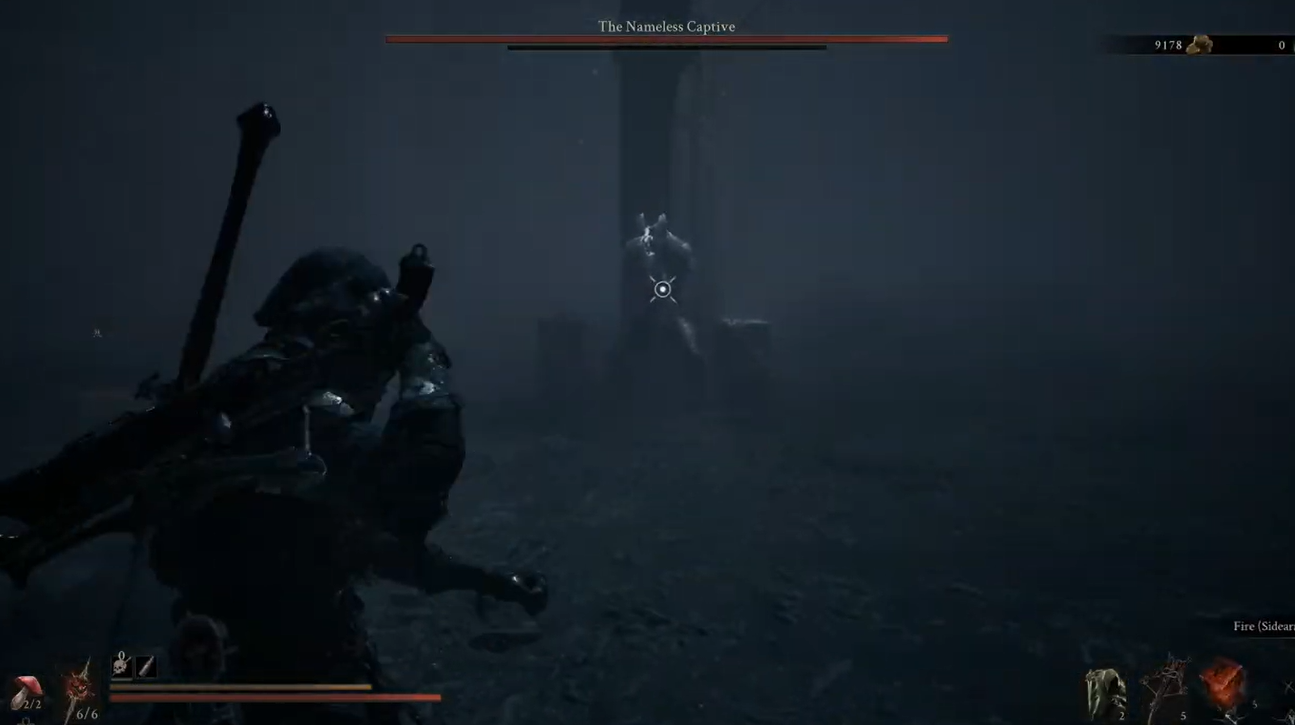
Execute a critical strike when the stagger bar fills, attack heavily while the boss is down, and disengage as he begins to rise.
STEP 4/9
Chain the stagger punish
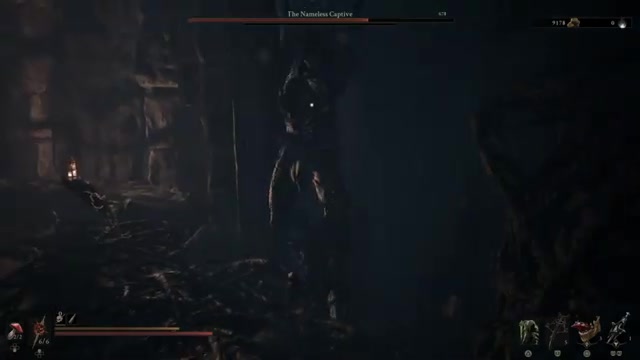
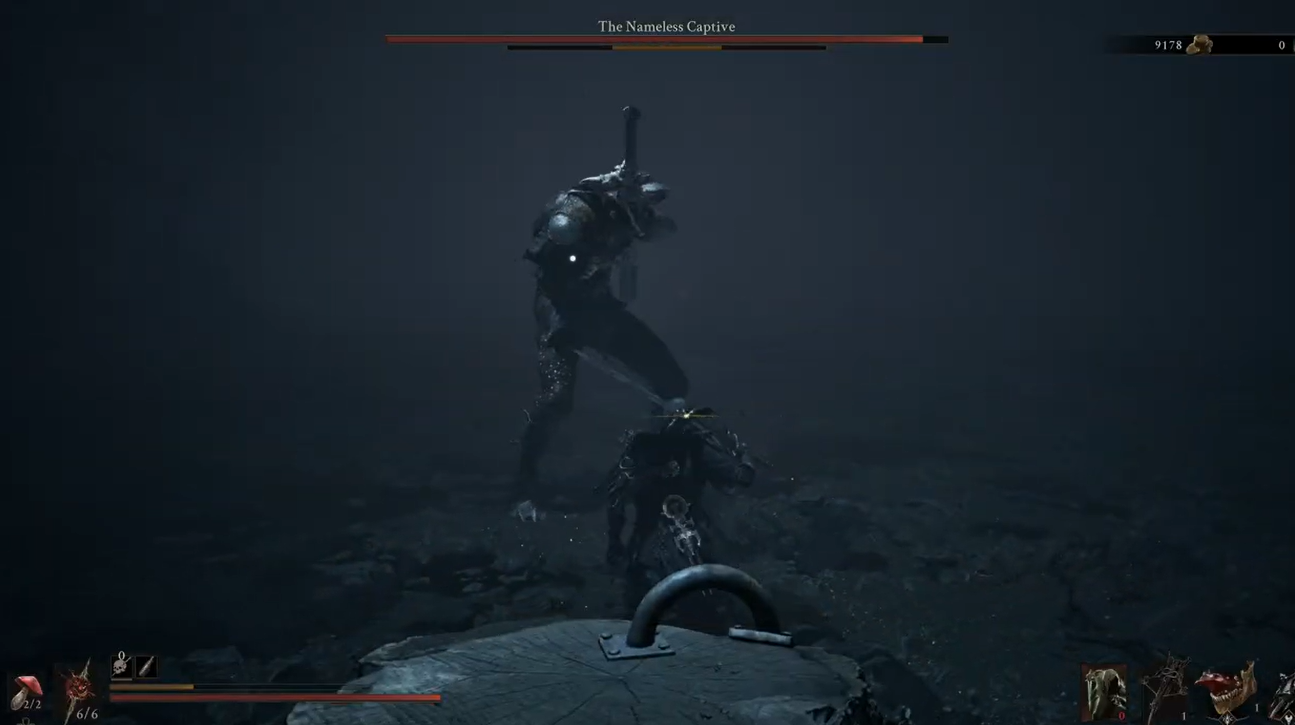
Repeat the parry pattern to earn another knockdown, then capitalize immediately if your attacks trigger a second stagger before he can retaliate.
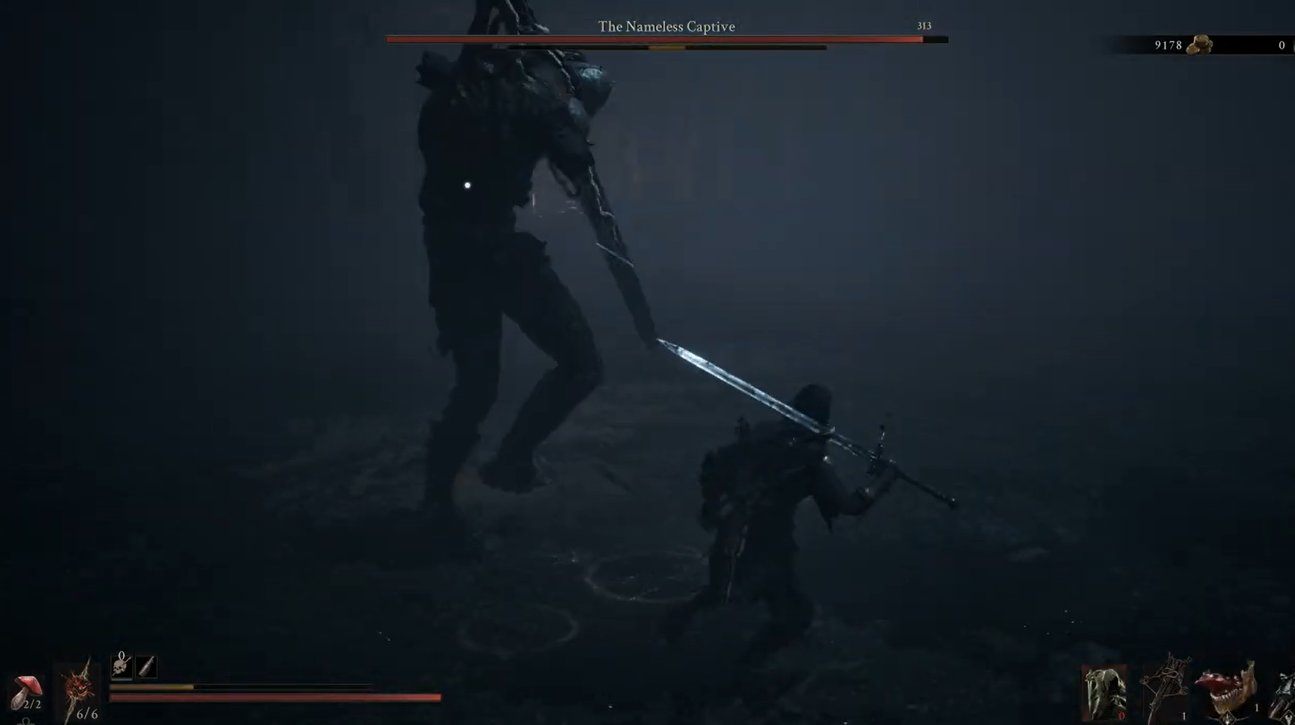
STEP 5/9
Back away from the windmill
At roughly half health, retreat until the spinning sword is completely out of range instead of gambling on its difficult parry timing.
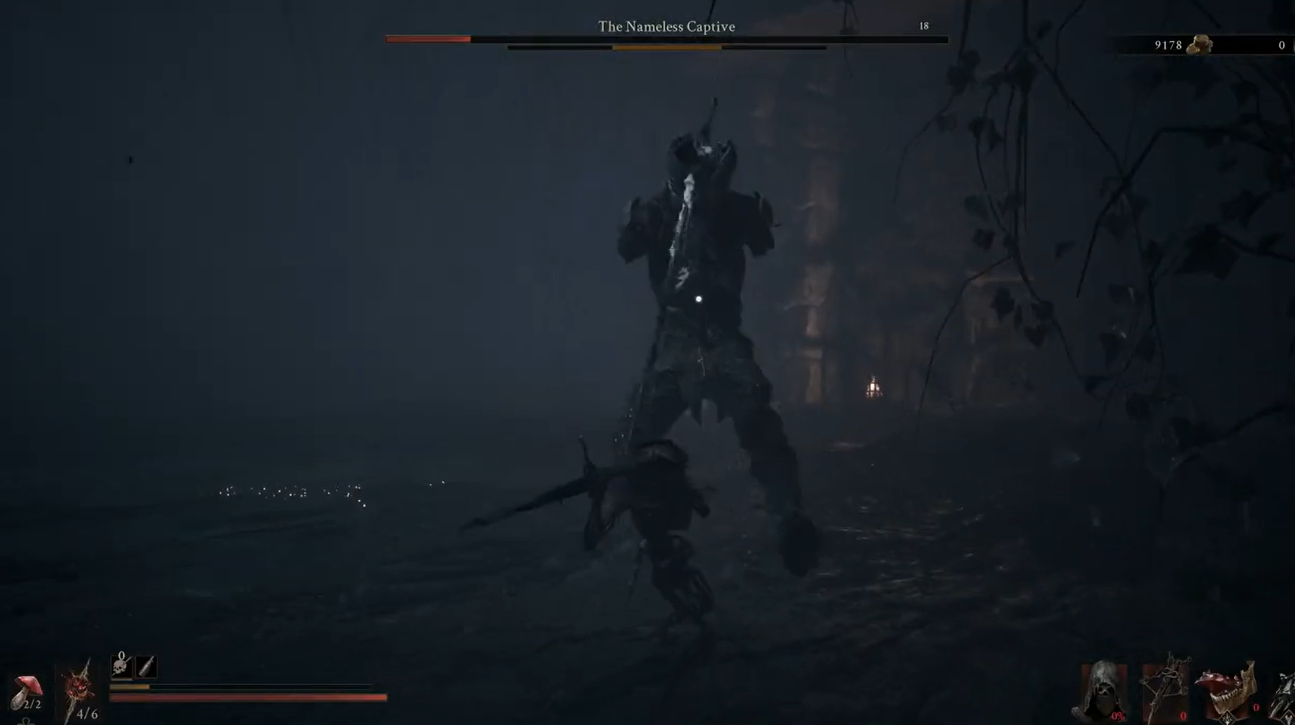
STEP 6/9
Counter the kick and rolling attack
Perfect parry the newly introduced kick when possible, then roll away from the follow-up attack that cannot be handled the same way.
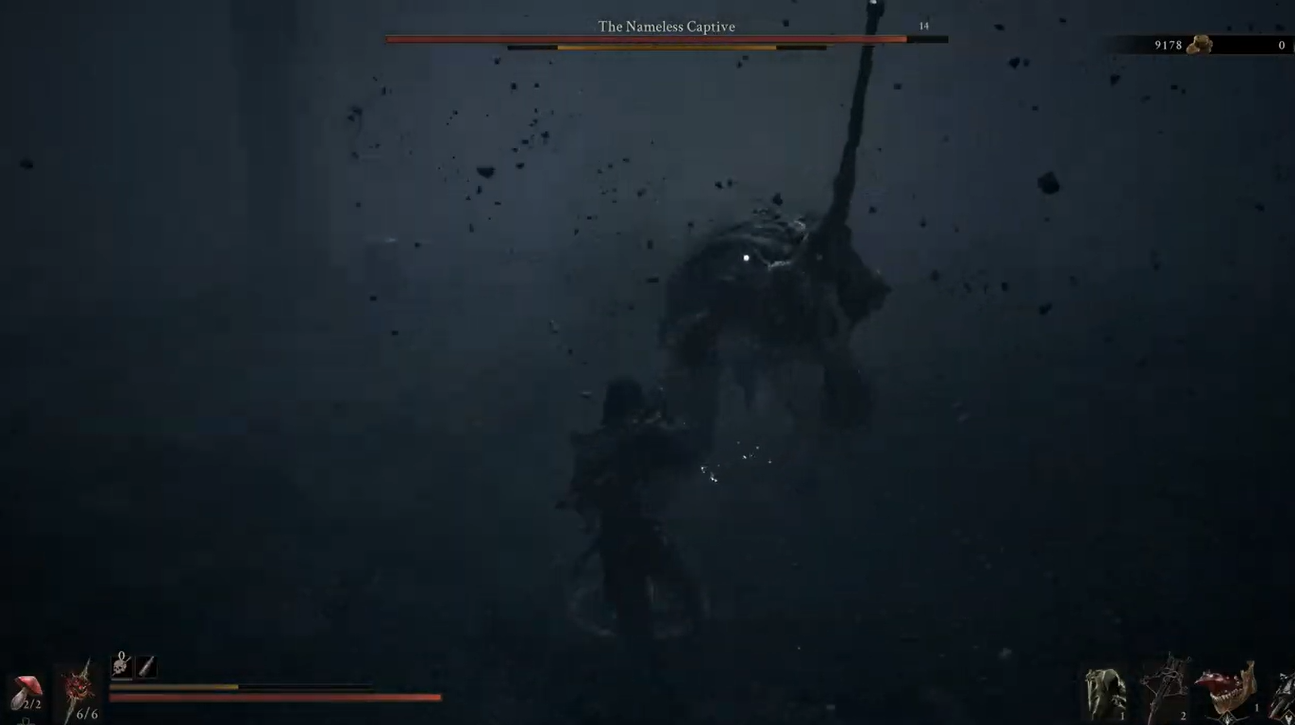
STEP 7/9
Respect the sword-pull transition
At low health, disengage when the boss rips the sword from the ground so its high-damage shockwave does not catch you near a wall.
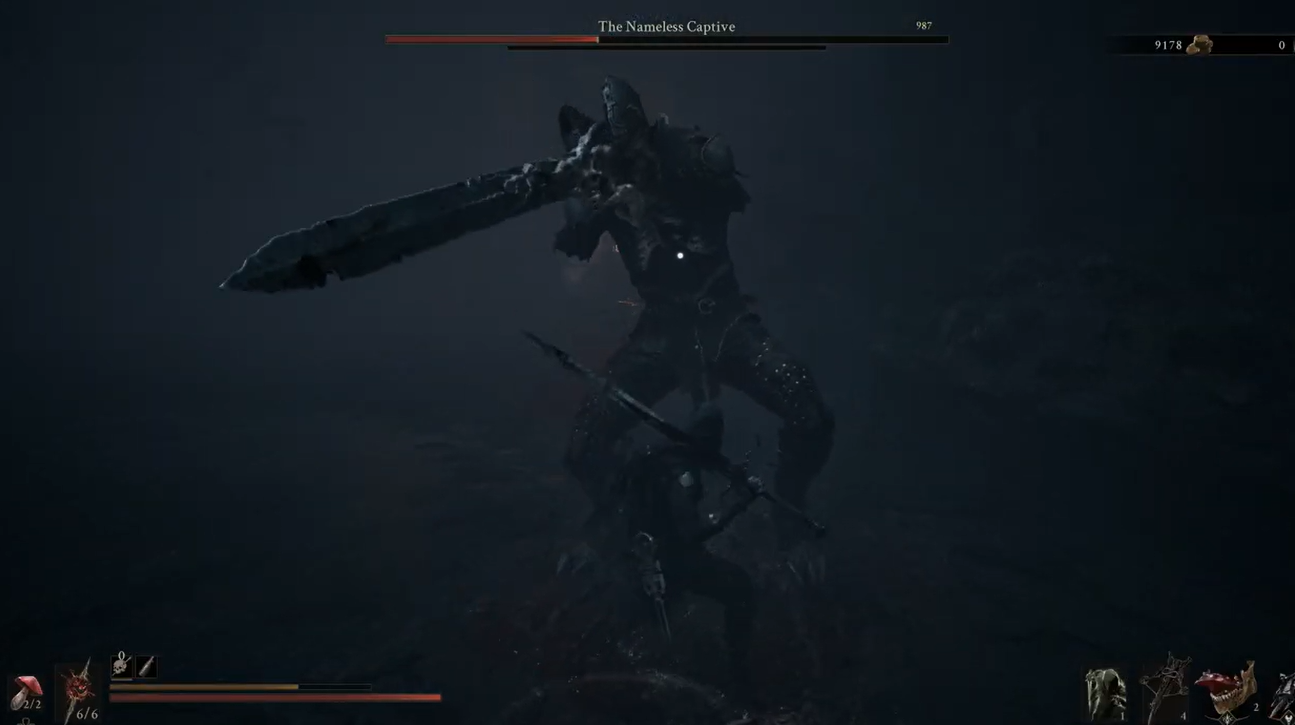
STEP 8/9
Defend against the final rush
Expect a forward run, upward slash, and slam; parry readable non-red strikes while rolling away from slams and red critical attacks.
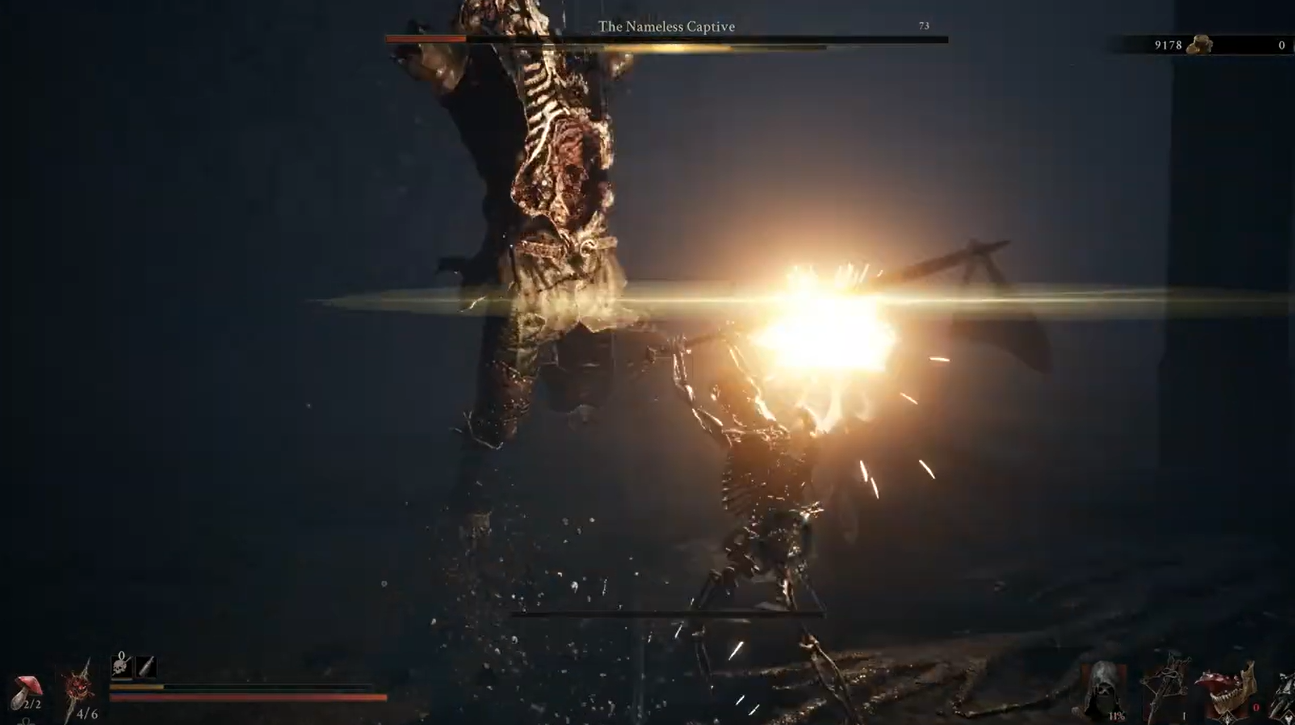
STEP 9/9
Finish during the final stagger
Spend the last knockdown window on clean attacks, but stop overcommitting if the boss survives and starts to recover.
Video help
The Nameless Captive attacks and counters
| Attack | Counter |
|---|---|
| Regular sword swings and stabs | Perfect parry the telegraphed impact |
| Post-combo exhaustion | Take a short melee punish before returning to defense |
| Windmill or headspin | Create maximum distance and wait for the spin to end |
| Kick and follow-up | Parry the kick, then roll away from the next attack |
| Red critical attack | Roll; it cannot be safely parried |
| Low-health sword pull | Back away before the damaging shockwave |
| Running upslash and slam | Parry the readable slash or dodge laterally, then avoid the slam |
Later sword strings can extend beyond the opening three-hit rhythm. Watch for the boss’s visible exhaustion instead of moving in solely because you have counted three attacks.
Headcase trophy unlock
Headcase only requires you to defeat The Nameless Captive. You can avoid the windmill or headspin throughout the fight and still receive the achievement when the boss dies.
Avoid trading blows even when the boss is close to staggering. Finish your chosen punish, leave enough stamina for an emergency roll, and return to defense before the next string begins.
Fight near the center of the arena. Being forced against a wall can obscure the camera and leave you unable to read the sword-pull transition or the next incoming attack.
Use refreshed sidearm shots during periods when you have already created distance, particularly if you also need room to heal. Expect a few attempts to go into learning the parry cadence—the fight becomes considerably easier once the opening strings, windmill cue, and final rush feel familiar.
Related Mortal Shell 2 guides






Leave a Reply