

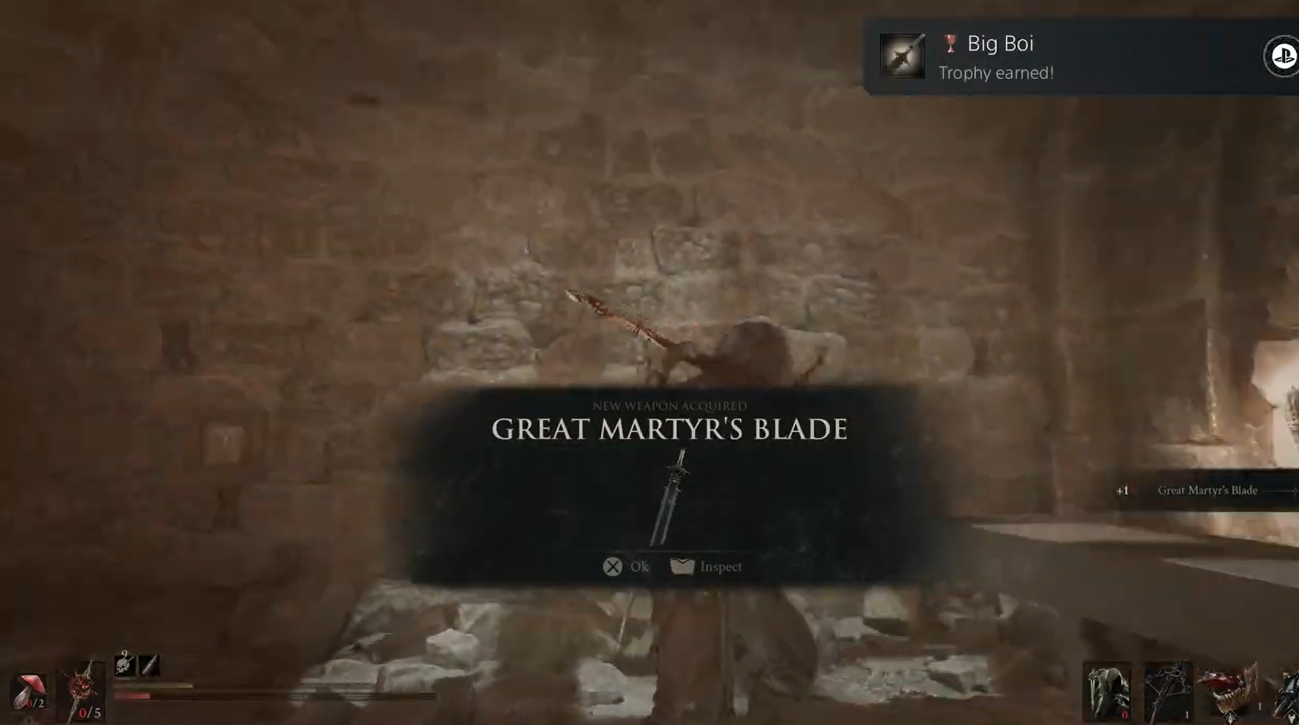
The Great Martyr’s Blade is in Martyr’s Prison beside the Citadel of Penance and northwest of Gloomslayer Grove, and picking it up unlocks Big Boi.
The route begins at Sanguine Caverns and runs through Gloomslayer Grove before dropping into a compact prison dungeon. Inside, you will break through cells, activate a concealed control, clear the combat room, and open the path to the weapon.
Great Martyr’s Blade and Big Boi location
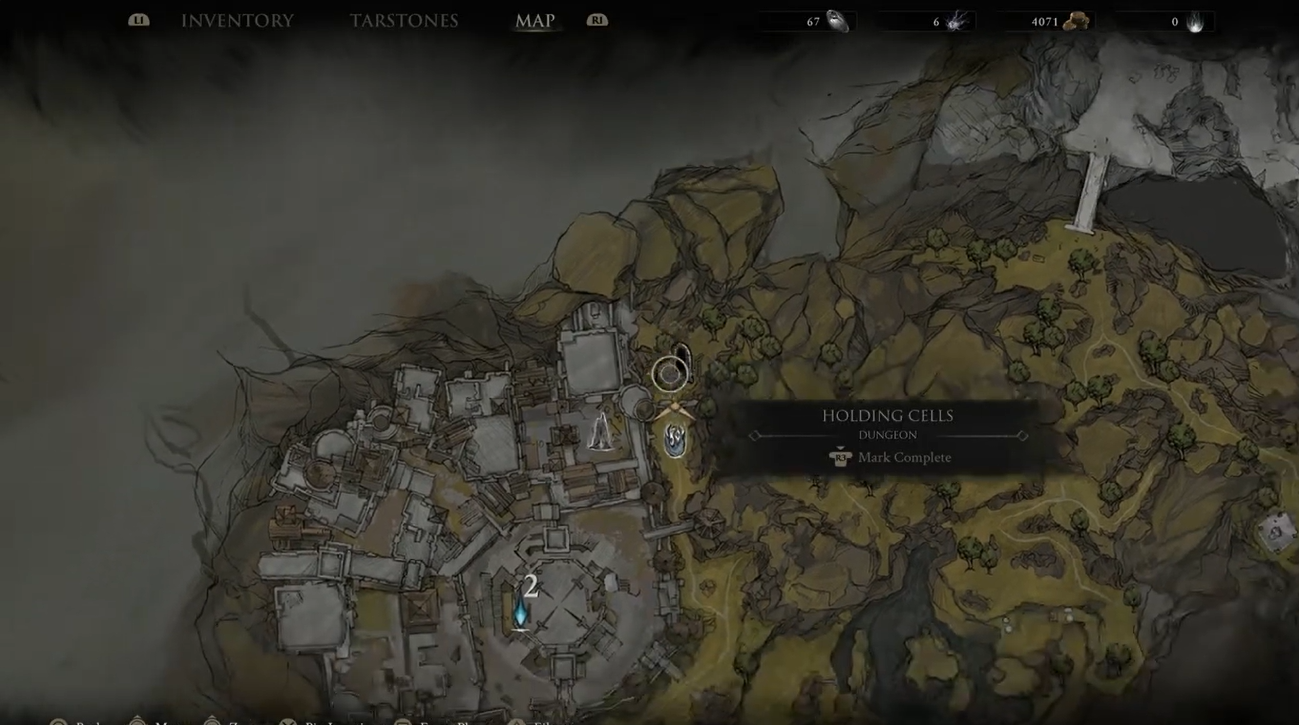
| Item | Detail |
|---|---|
| Location | Martyr’s Prison in the northwestern map area |
| Nearest named areas | Citadel of Penance and Gloomshade Grove |
| Access requirement | Enough Ovum to cleanse the darkened rock entrance if it remains blocked |
| Dungeon | Martyr’s Prison |
| Achievement trigger | Pick up the Great Martyr’s Blade to unlock Big Boi; equipping or upgrading it is unnecessary |
Martyr’s Prison is the correct dungeon. It is separate from Martyr’s Tomb, while the nearby Holding Cells well is only a route landmark and not where the weapon is stored.
If the dark rock entrance is still sealed, clear more shrines to earn the Ovum needed to cleanse it.
How to get the Great Martyr’s Blade in Mortal Shell 2
Follow the Sanguine Caverns route into Martyr’s Prison, then work through its locks and combat chamber to reach the blade.
STEP 1/13
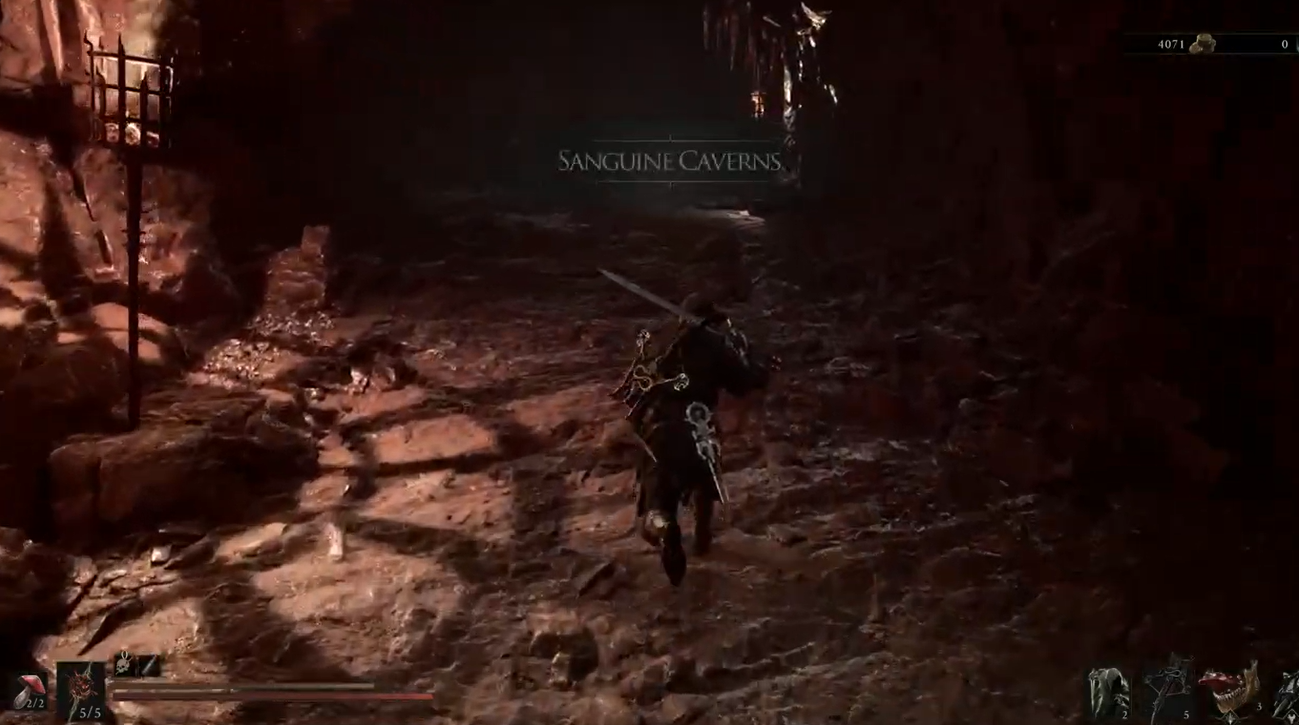
Start at Sanguine Caverns
Fast travel to Sanguine Caverns and backtrack toward the early-game area on the route to Gloomshade Grove.
STEP 2/13
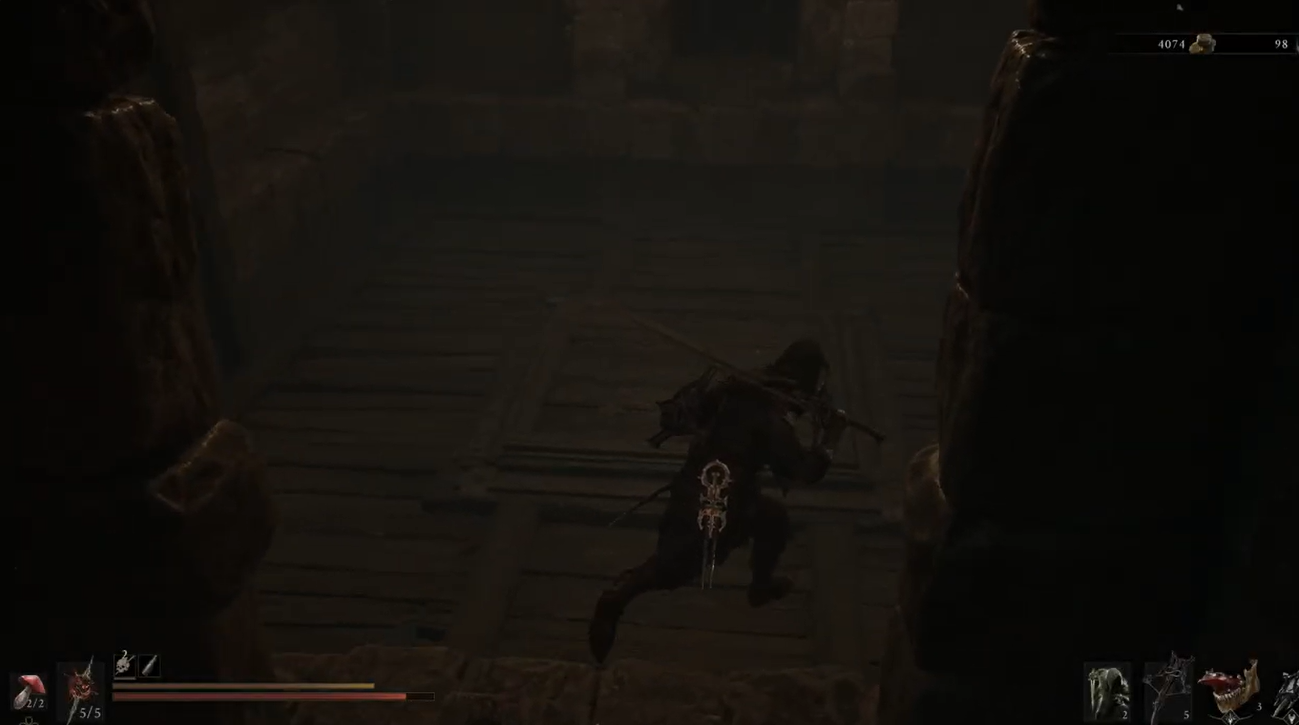
Cleanse the dark rock entrance
Spend Ovum at the darkened barrier if the passage has not already been opened.
STEP 3/13
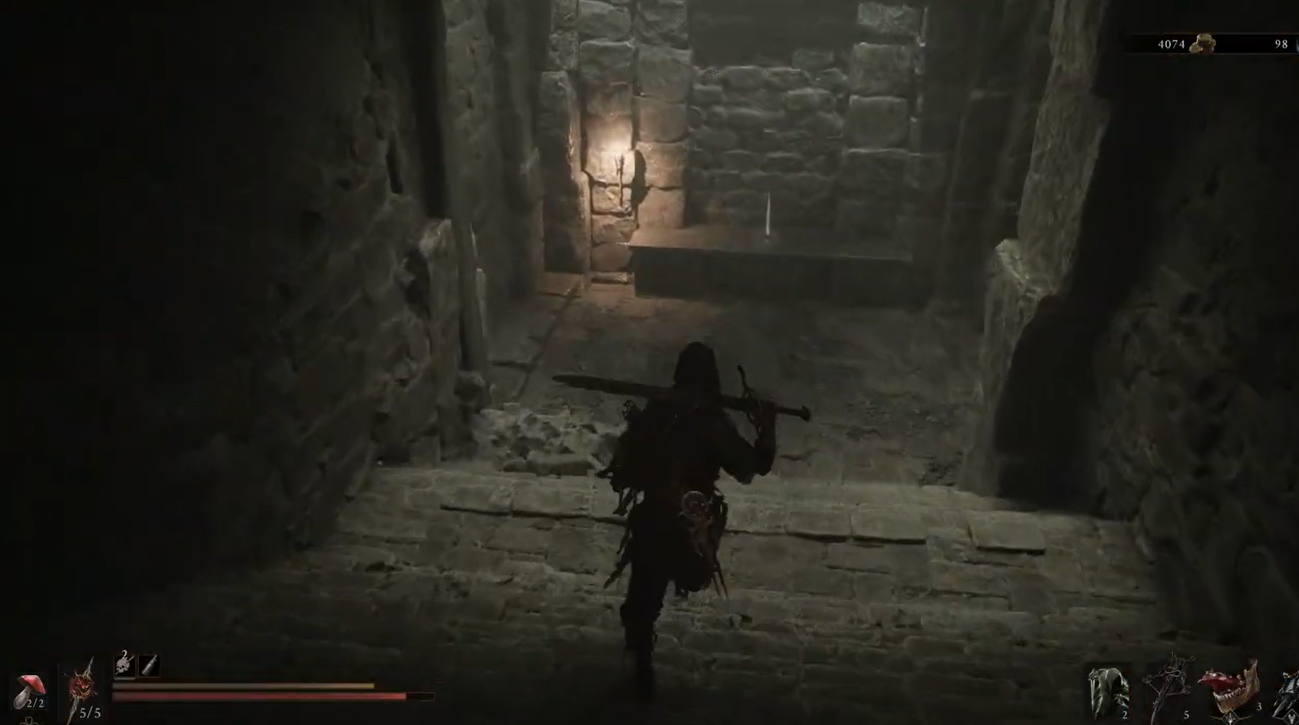
Take the glowing staircase
Continue past the Holding Cells well and descend through the glowing floor staircase on its right.
STEP 4/13
Activate the teleport object
Inside the lower dungeon, interact with the conspicuous container to teleport into a locked Martyr’s Prison cell.
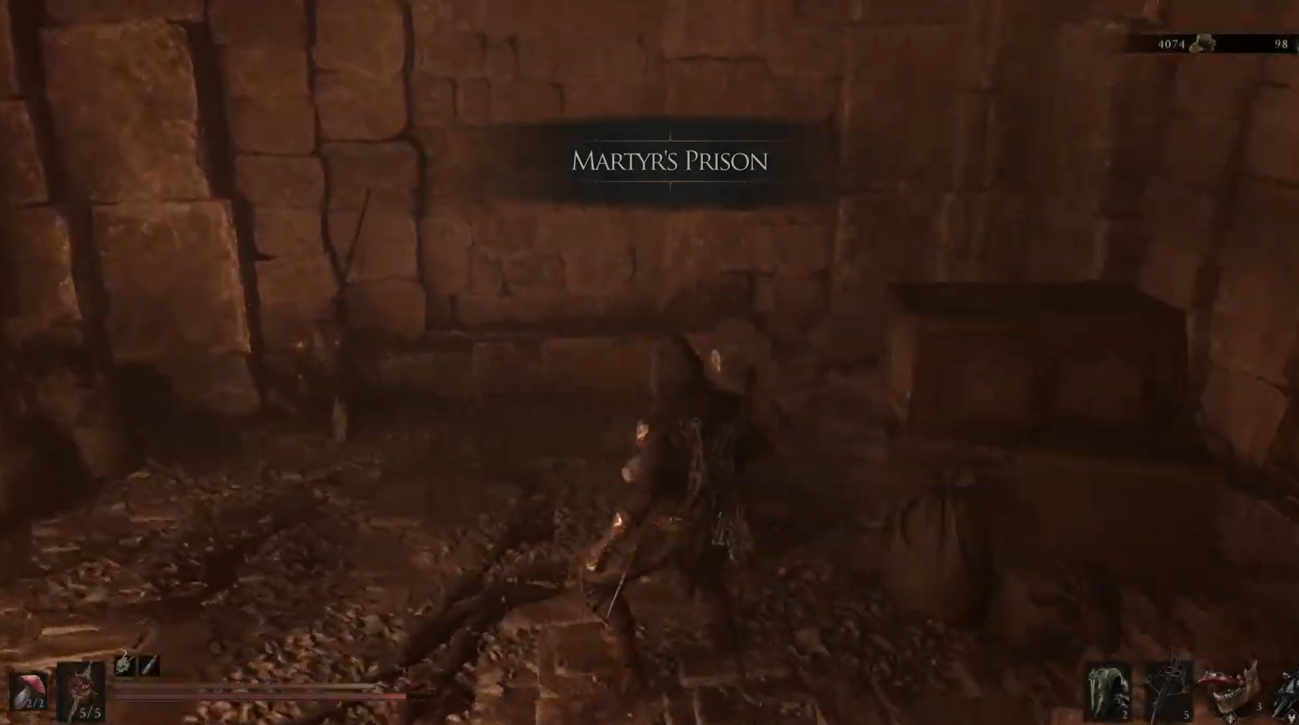
STEP 5/13
Break out of the cell
Strike the cell-door lock with your weapon, move into the corridor, and defeat the waiting enemy.
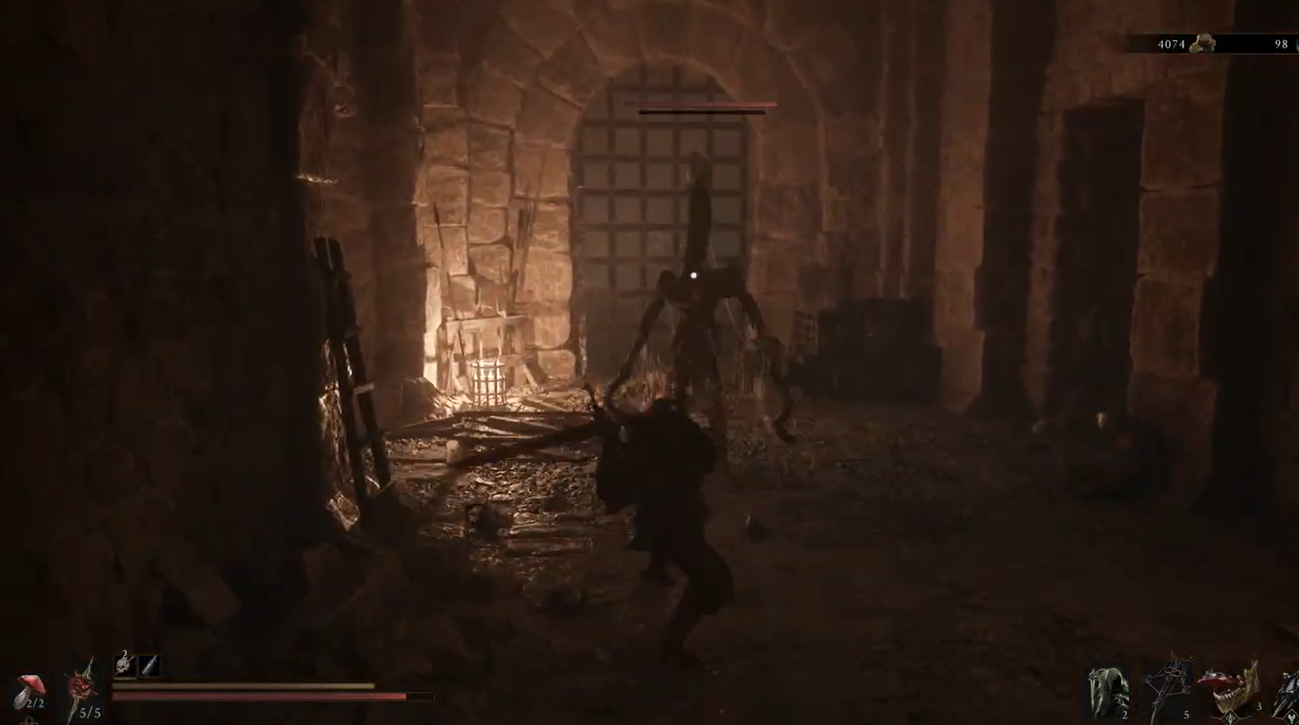
STEP 6/13
Use the wall switch
Break through the next gate and activate the control on the wall to raise the combat-room gate.
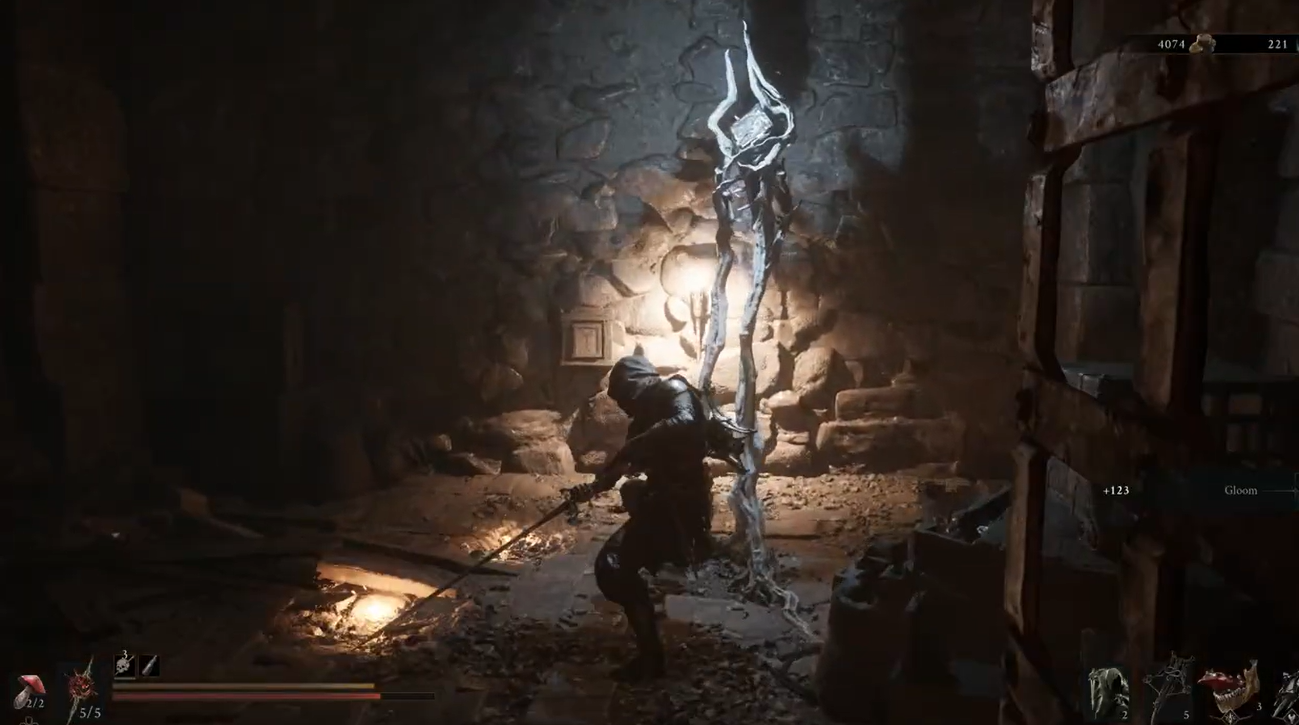
STEP 7/13
Clear the prison corridor
Defeat the additional enemies beyond the opened gate and collect their drops before moving deeper.
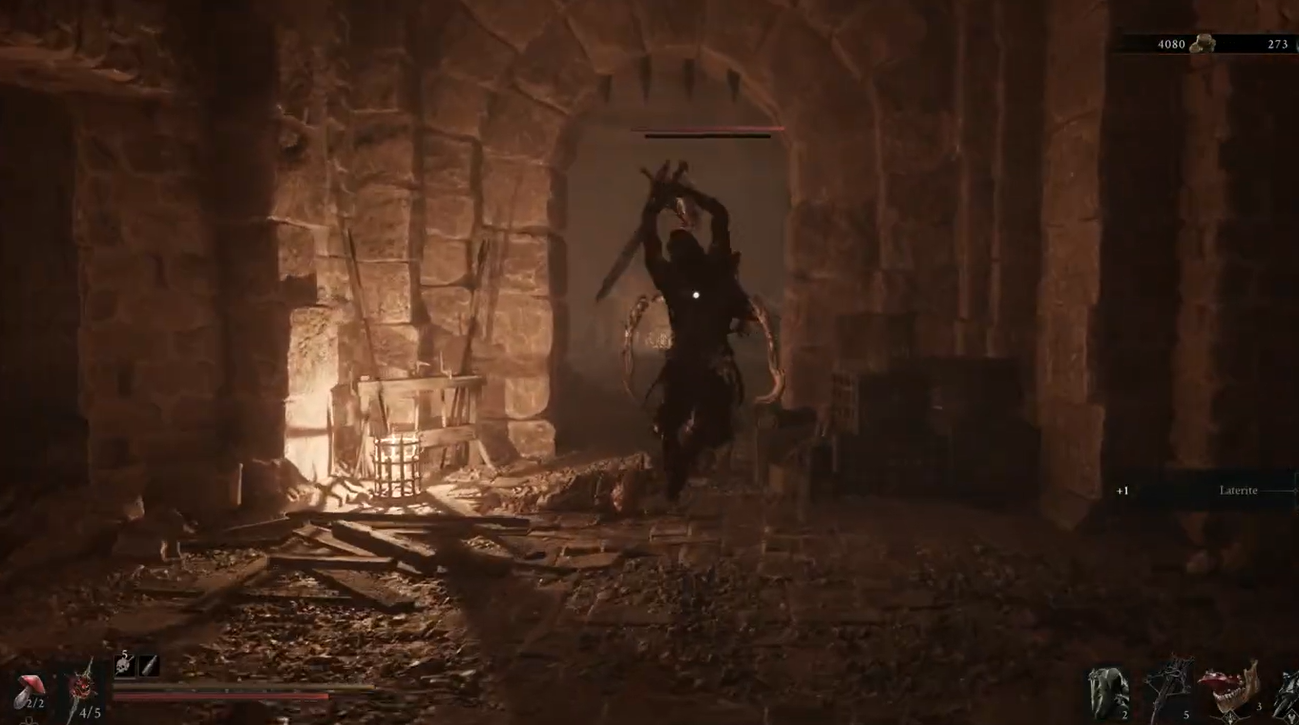
STEP 8/13
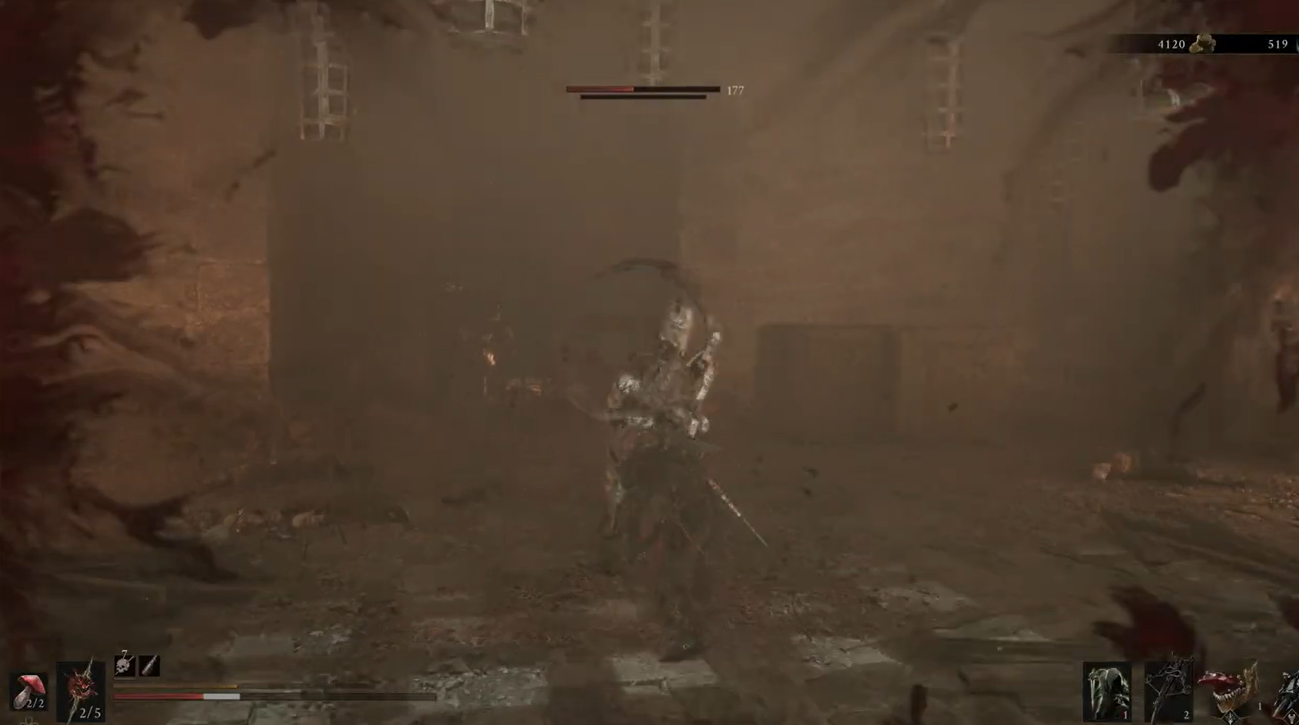
Enter the large combat room
Pass through the lifted gate and engage the large enemy, watching for it to roll outside as the portcullis closes.
STEP 9/13
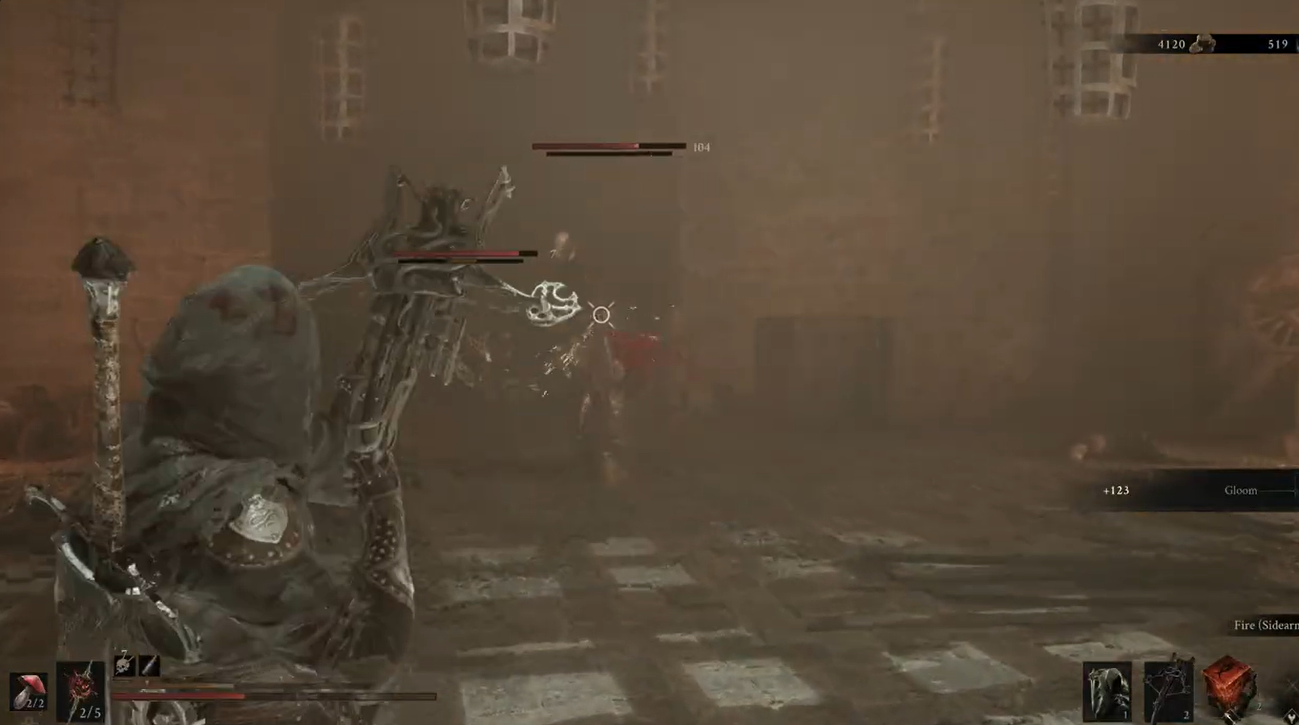
Clear the trapped room
Eliminate the remaining enemies and check the locked rear gate leading toward the blade.
STEP 10/13
Recharge your ranged shots
Break the glowing tree in the room and collect its orbs if you need more sidearm or crossbow shots.
STEP 11/13
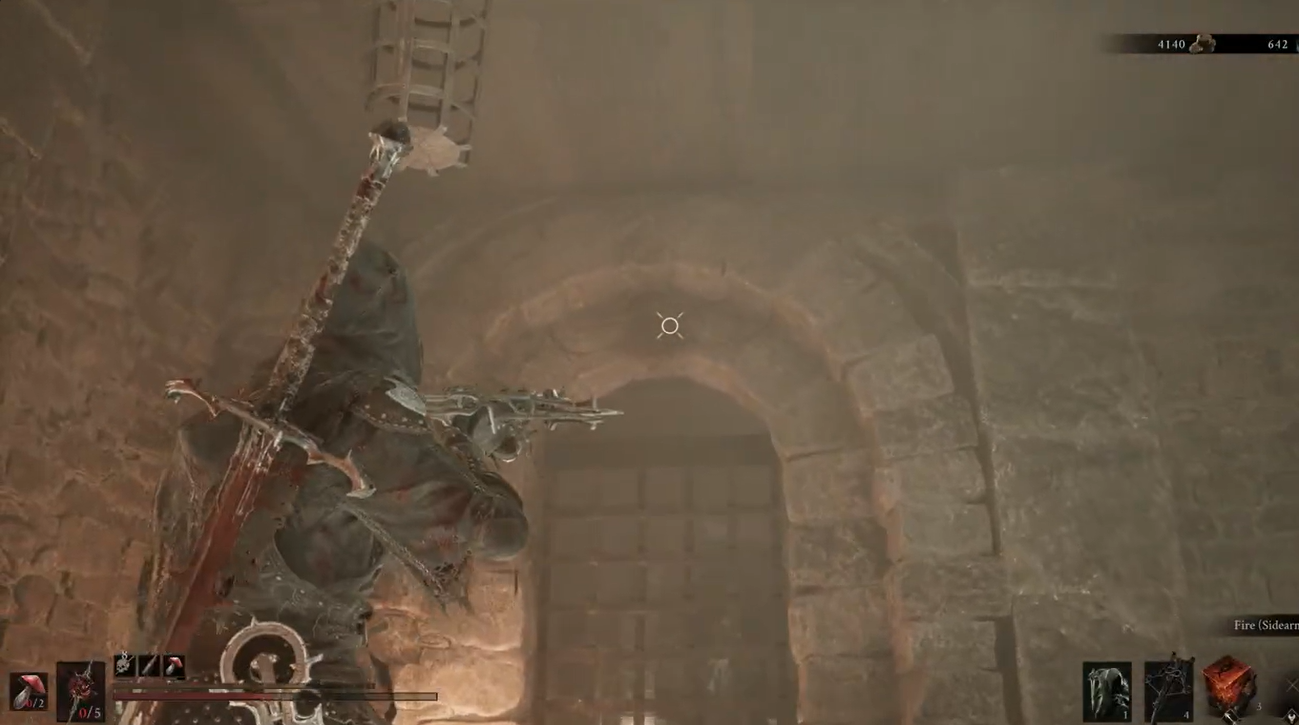
Shoot the ring above the gate
Aim at the circular ring over the closed portcullis and hit it with your sidearm or crossbow to reopen the route.
STEP 12/13
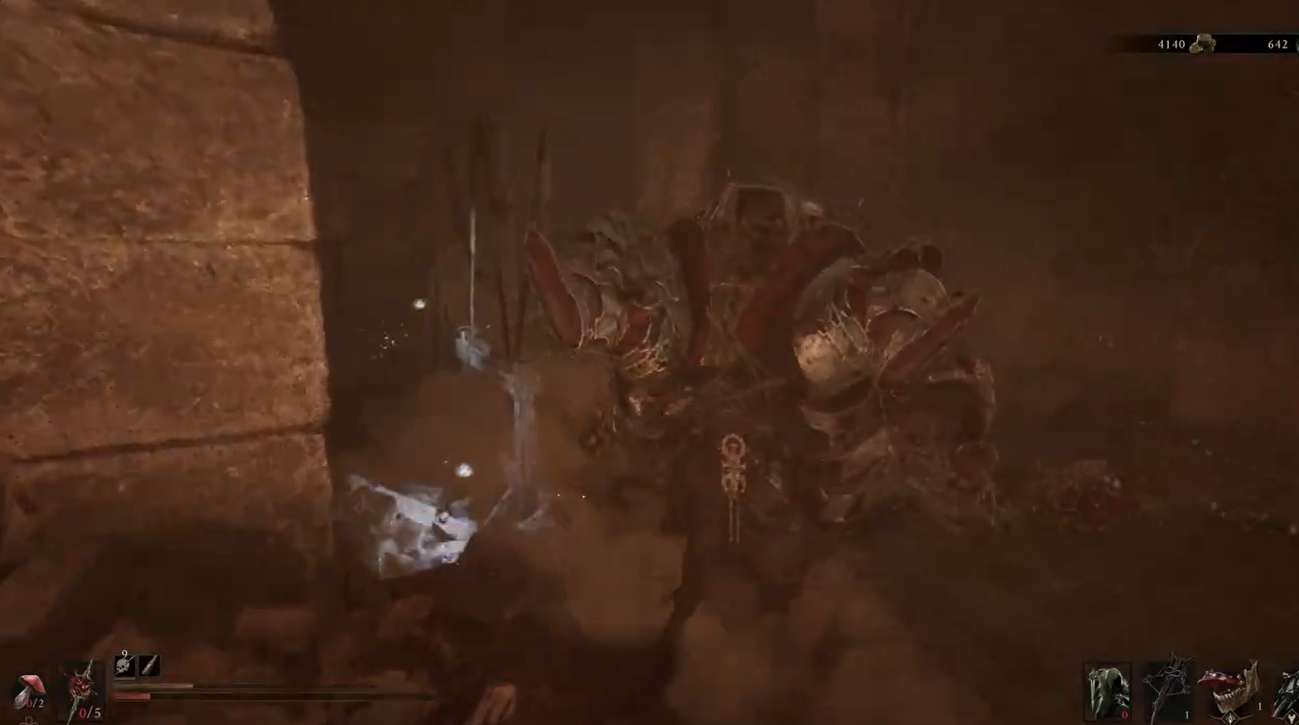
Defeat the large enemy
Pass through the reopened gate, finish the enemy on the other side, and unlock the way into the back chamber.
STEP 13/13
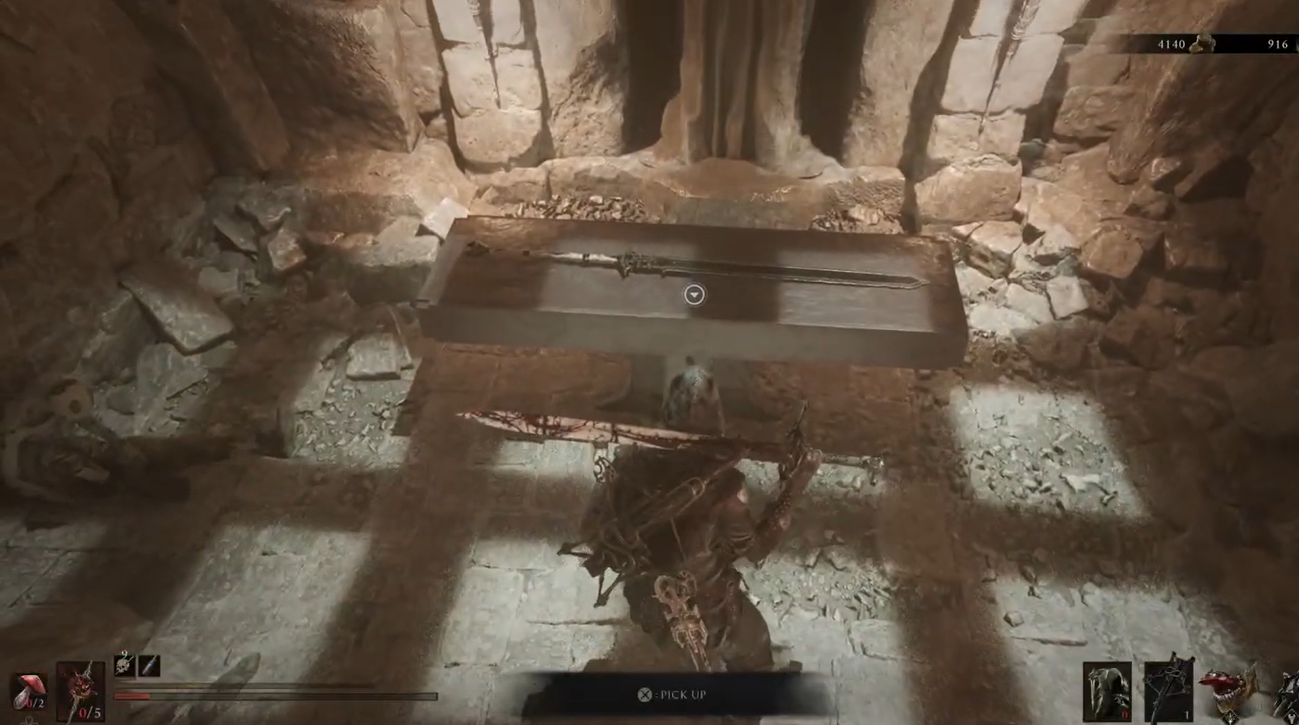
Claim the Great Martyr’s Blade
Key Collect the weapon at the back of the dungeon to add it to your armaments and unlock Big Boi.
Video help
Common Great Martyr’s Blade route mistakes
If the map identifies your destination as Martyr’s Tomb, back out and return toward the Citadel of Penance side of Gloomslayer Grove. At the Holding Cells well, remain on the surface and look for the nearby glowing staircase instead of entering the well.
Inside Martyr’s Prison, failing to see the “A gate has lifted” message means the wall control in the cell corridor was missed. If the final enemy ends up beyond a closed gate, remain in the room: the glowing tree supplies ranged shots, while the circular ring over the portcullis releases the gate.
Related Mortal Shell 2 guides






Leave a Reply