

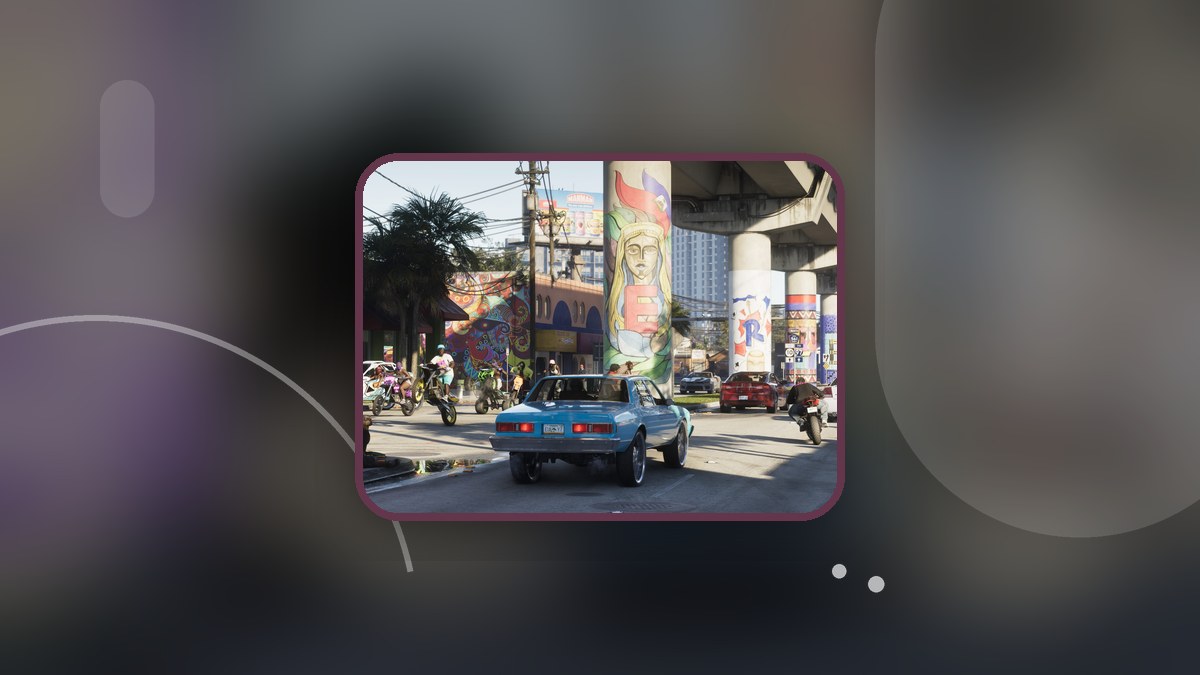
Finish Lucia’s parole interview with Stefanie Gates and its robbery flashback to start Gone Fishing with Jason and Cal.
Lucia’s parole prologue opens the story in Grand Theft Auto VI. This guide covers the prison interactions, robbery flashback and opening boat pickups that take you into the delivery mission.
The game releases on November 19, 2026, for PlayStation 5 and Xbox Series X|S.
- How to finish Lucia’s parole and start Gone Fishing in Grand Theft Auto VI
- Part 1 – Meet Yolanda and attend the parole interview
- Part 2 – Play through the robbery flashback and finish the interview
- Part 3 – Start Gone Fishing, collect the packages and approach the island camp
- Frequently Asked Questions
How to finish Lucia’s parole and start Gone Fishing in Grand Theft Auto VI
Meet Yolanda and attend the parole interview, play through the robbery flashback, then join Jason and Cal for the opening boat collection.
Part 1 – Meet Yolanda and attend the parole interview
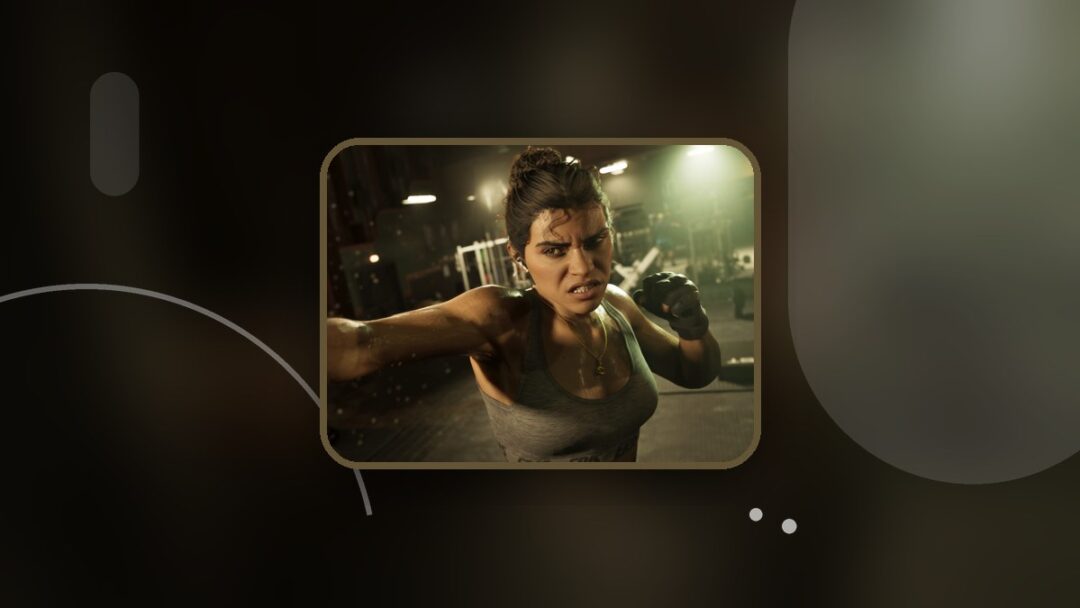
Watch the opening cinematics
Let the main menu transition into the opening credits and watch the introductory scenes that establish the story and characters.
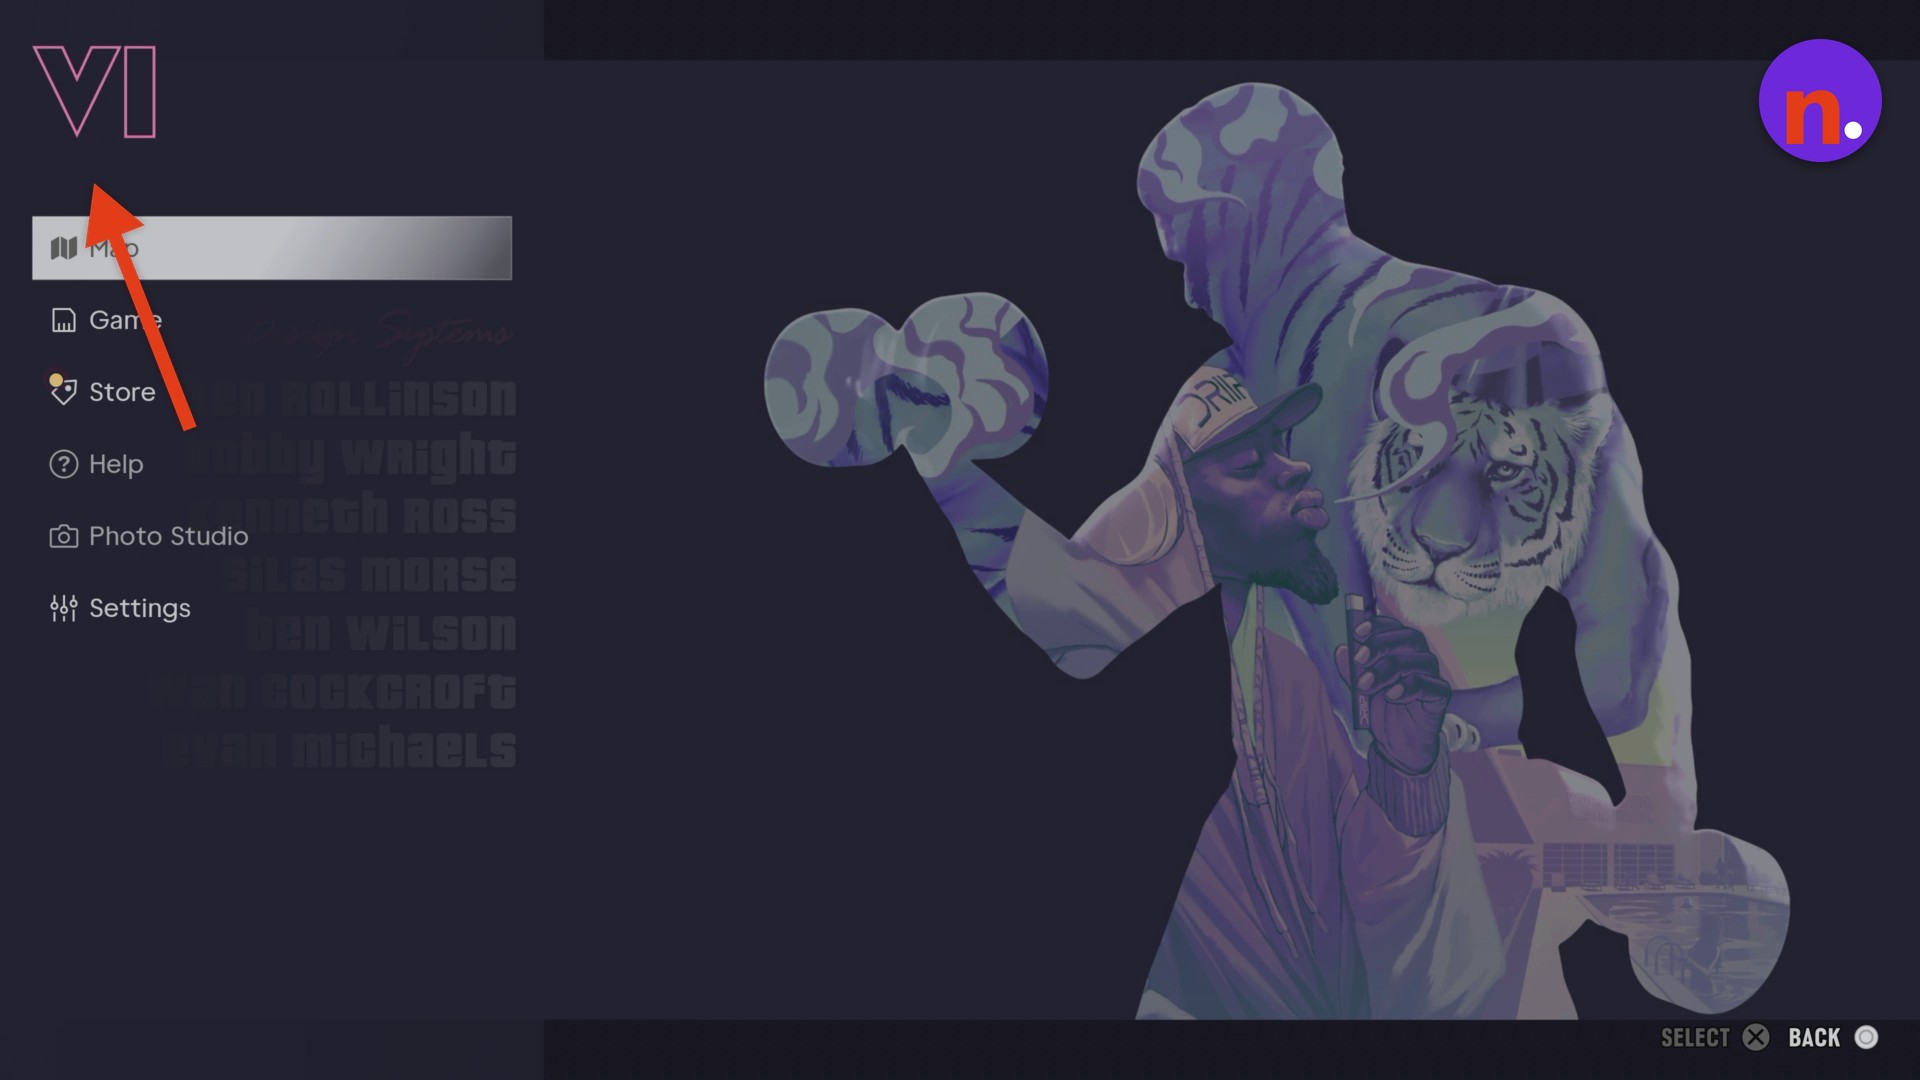
Wait beside the cell window
Let Lucia’s window dialogue finish. You’ll gain control once the conversation ends.
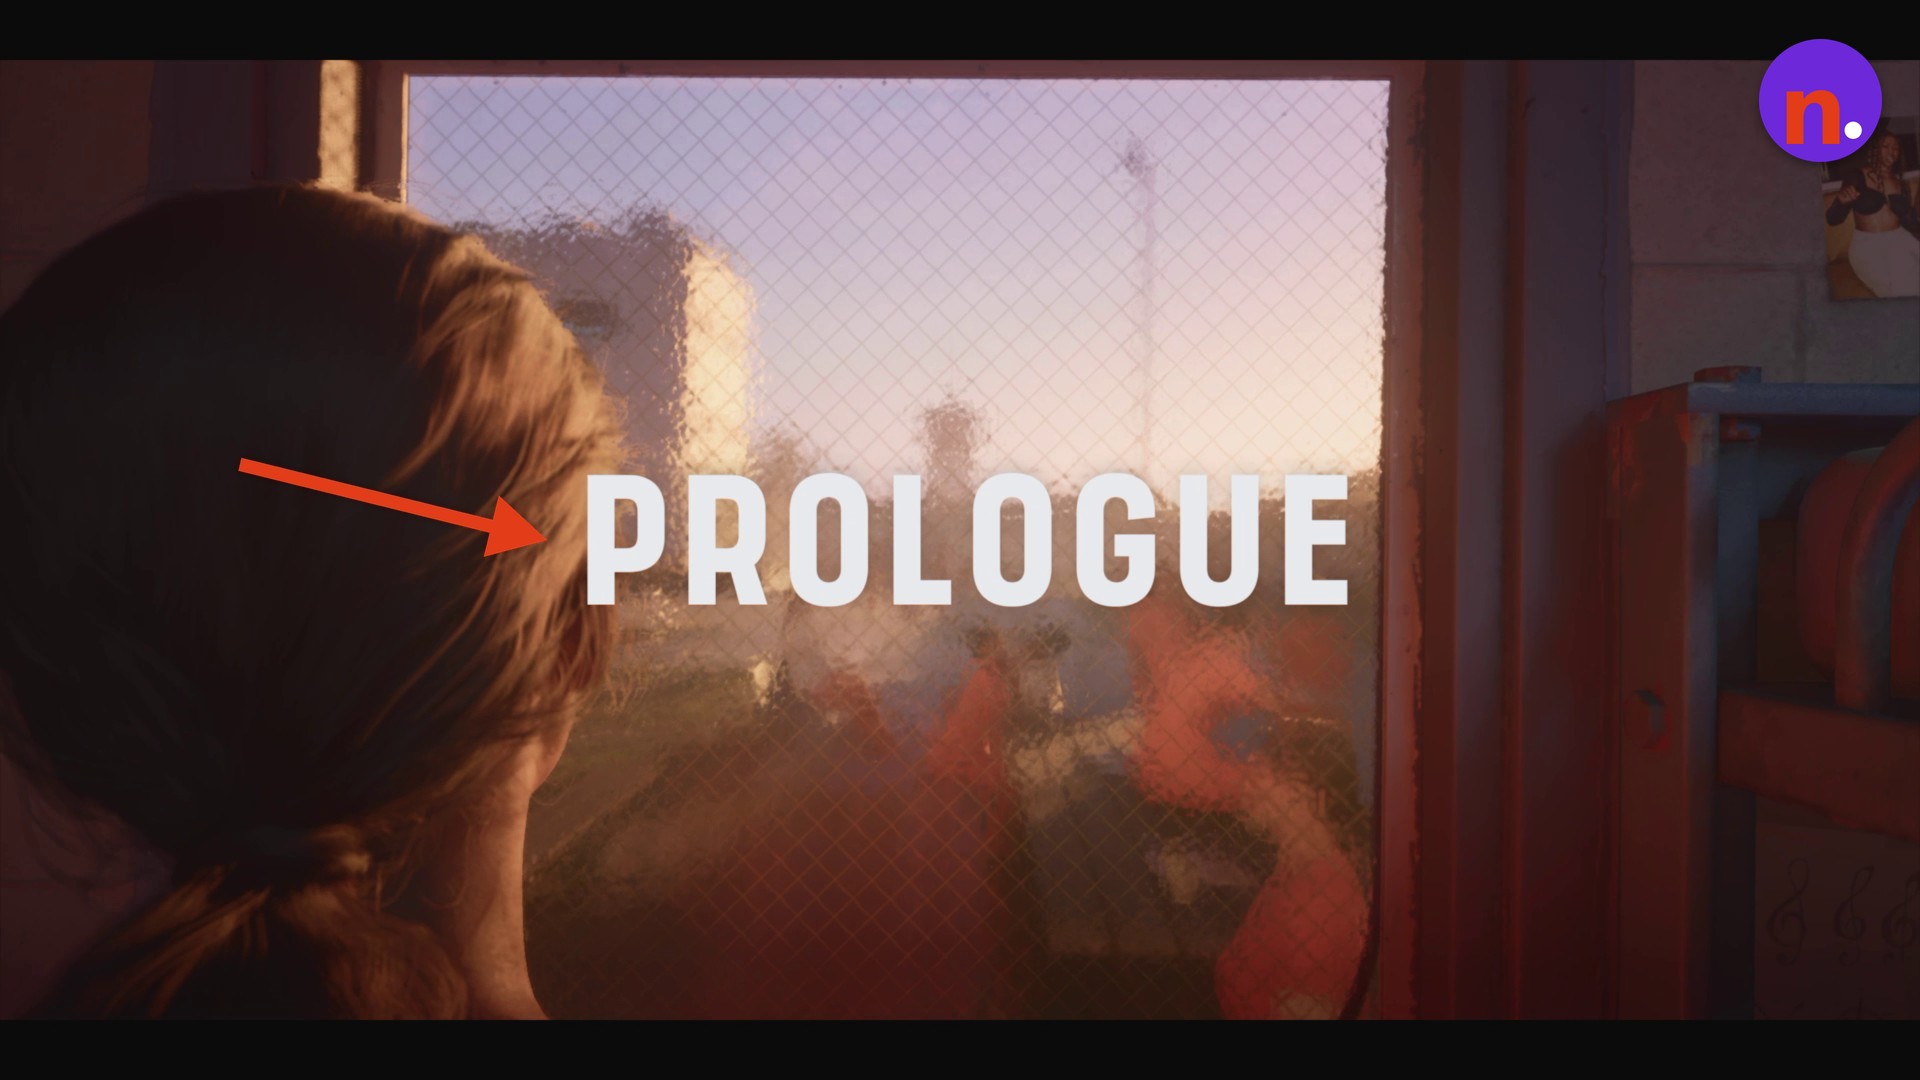
Approach Yolanda
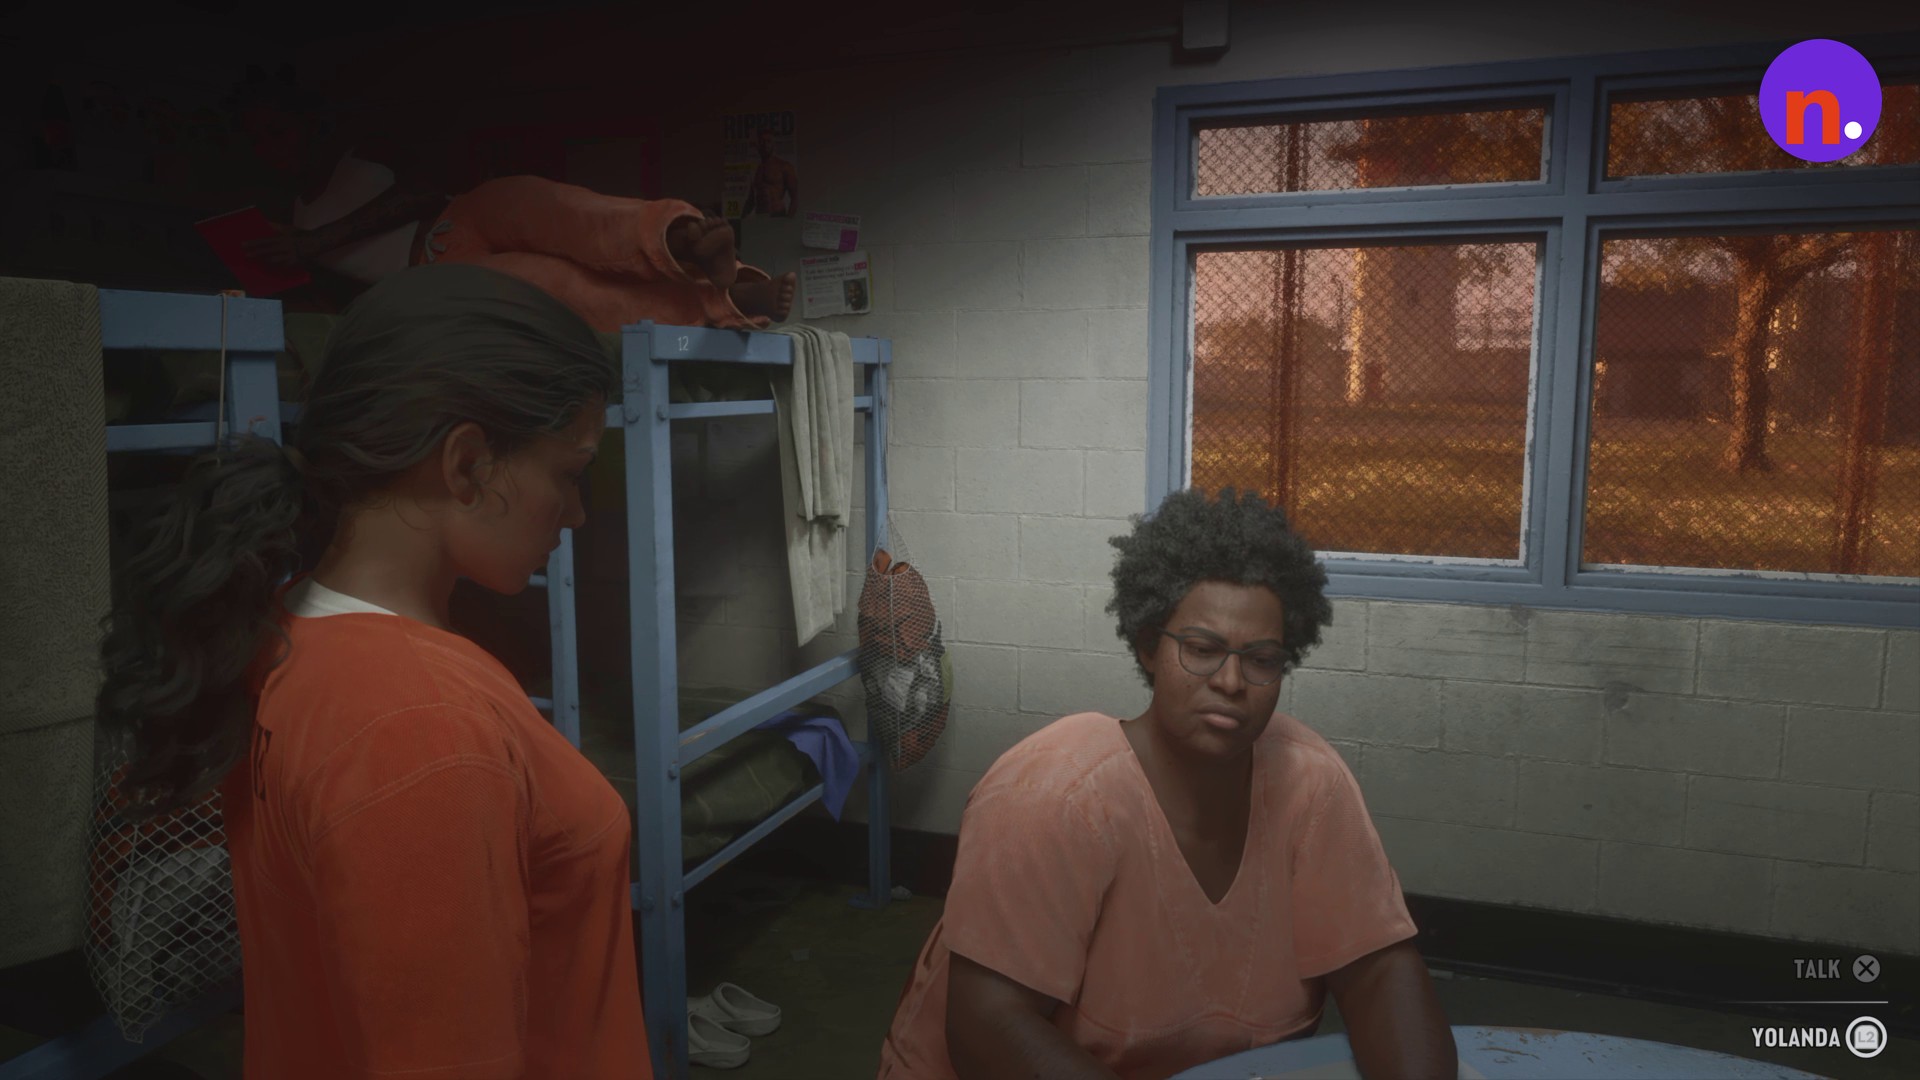
Walk over to the round table inside the cell, where Yolanda is working on a puzzle.
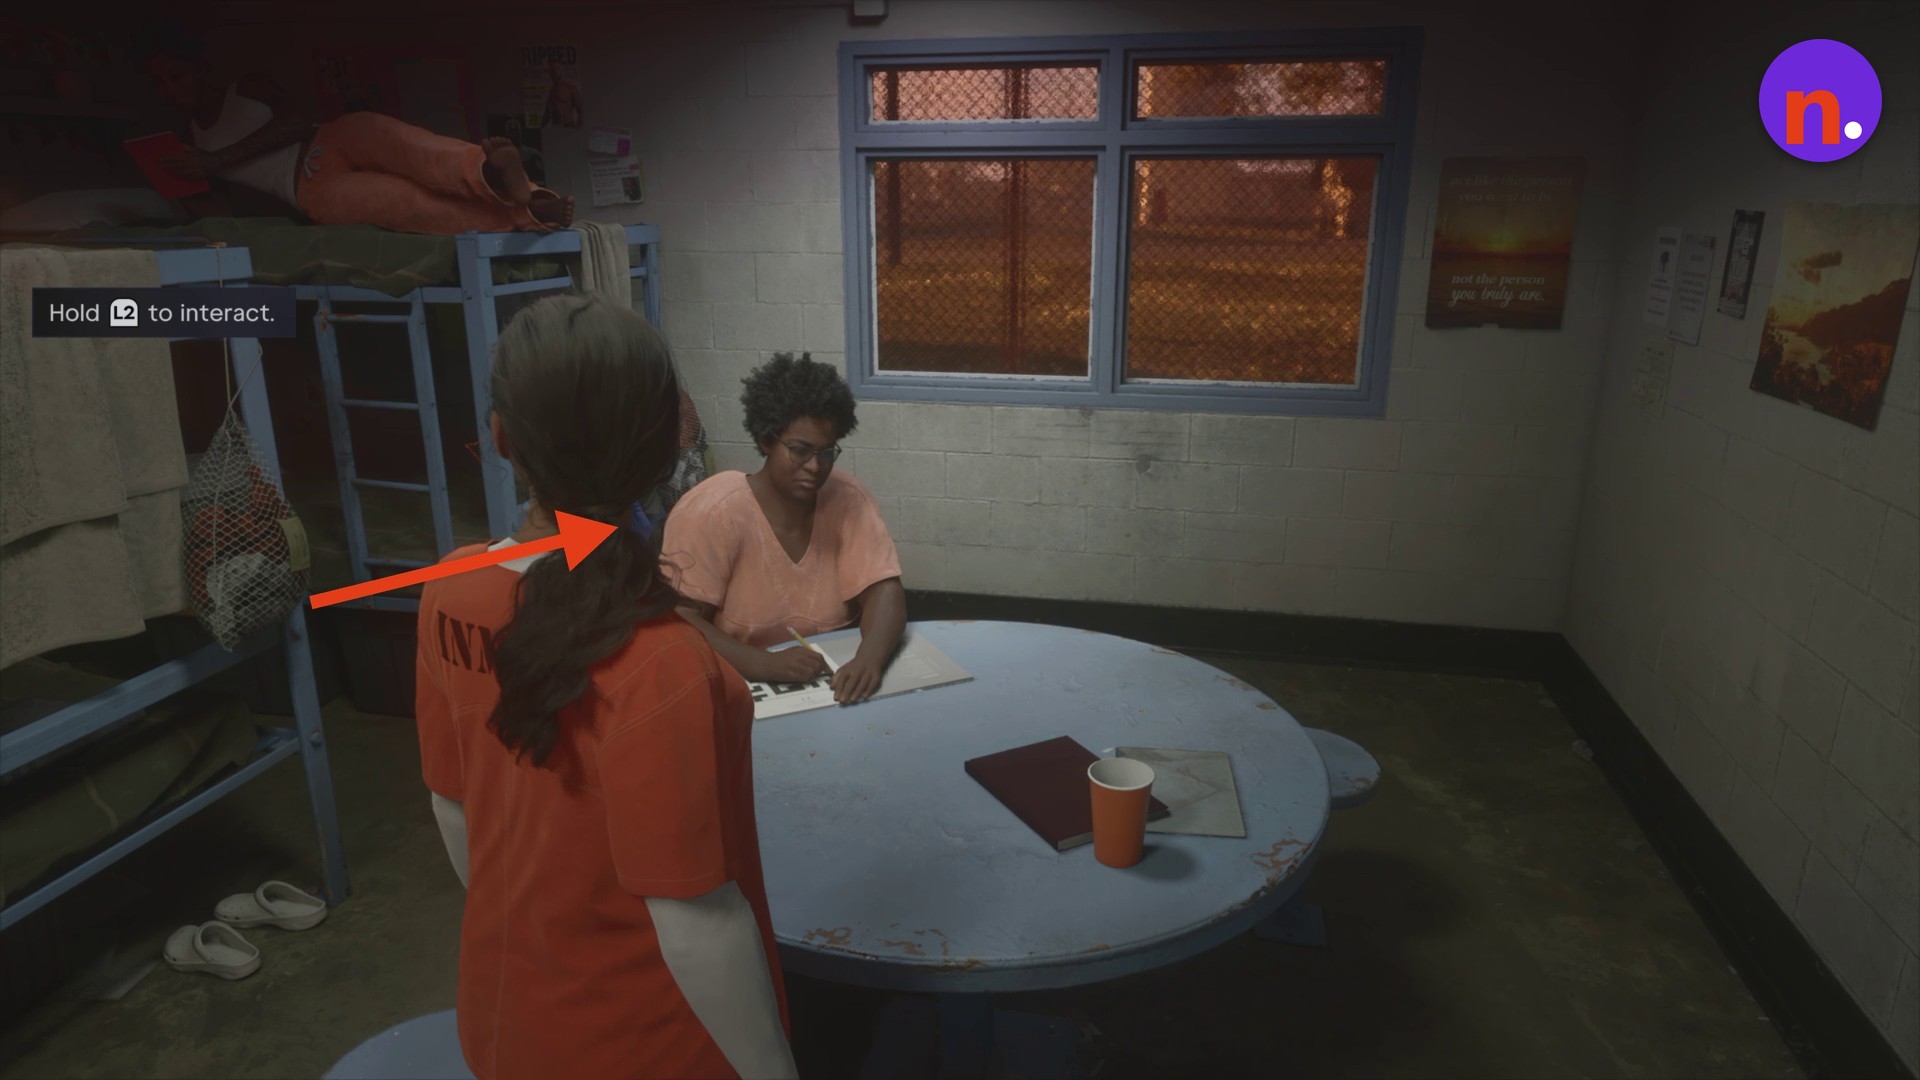
Talk to Yolanda and choose Venus
Hold L2 to interact and use the TALK prompt. Answer her puzzle clue with the highlighted Venus option, marked with a Triangle indicator, by pressing Triangle; the other displayed choices are Mars on Cross and Uranus on Square.
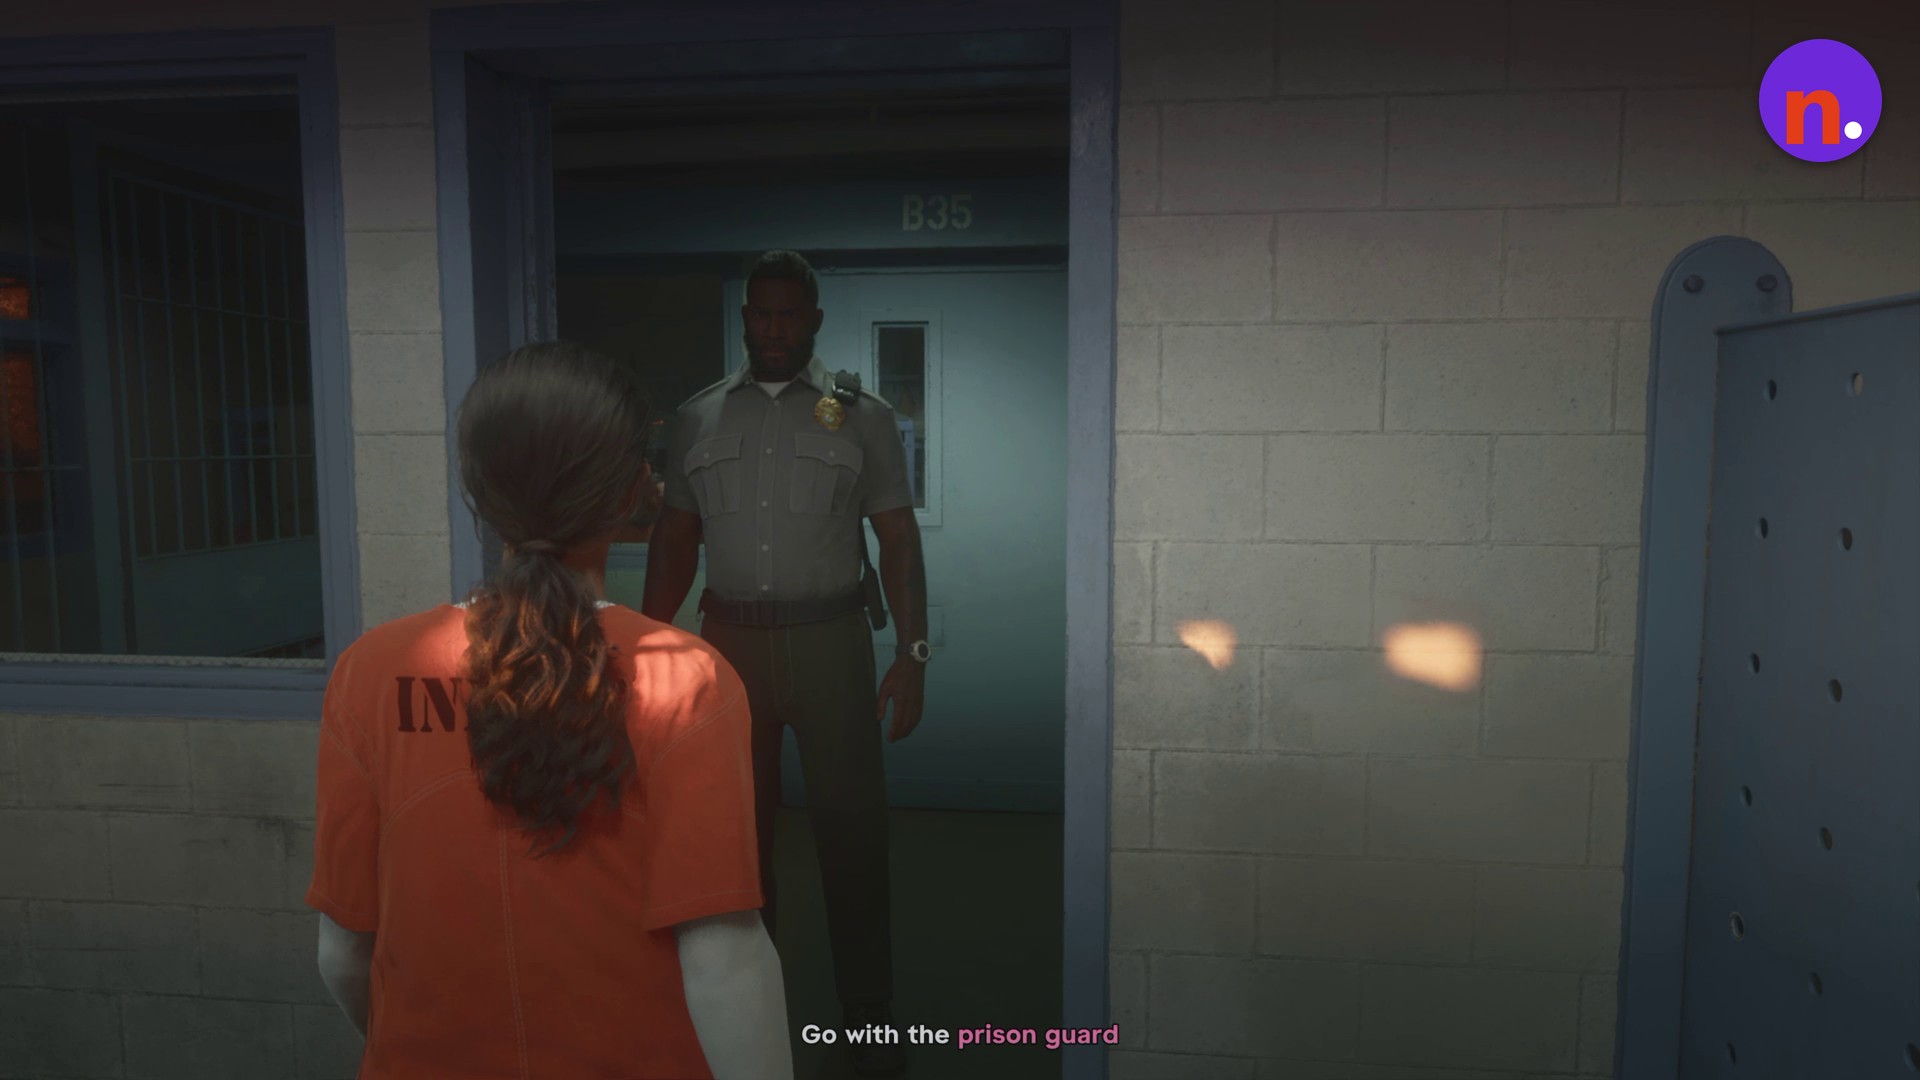
Follow Officer Wilson
When Officer Wilson calls Lucia, head to the doorway marked B35. Follow the Go with the prison guard objective as Wilson leads you through the corridors and gates.
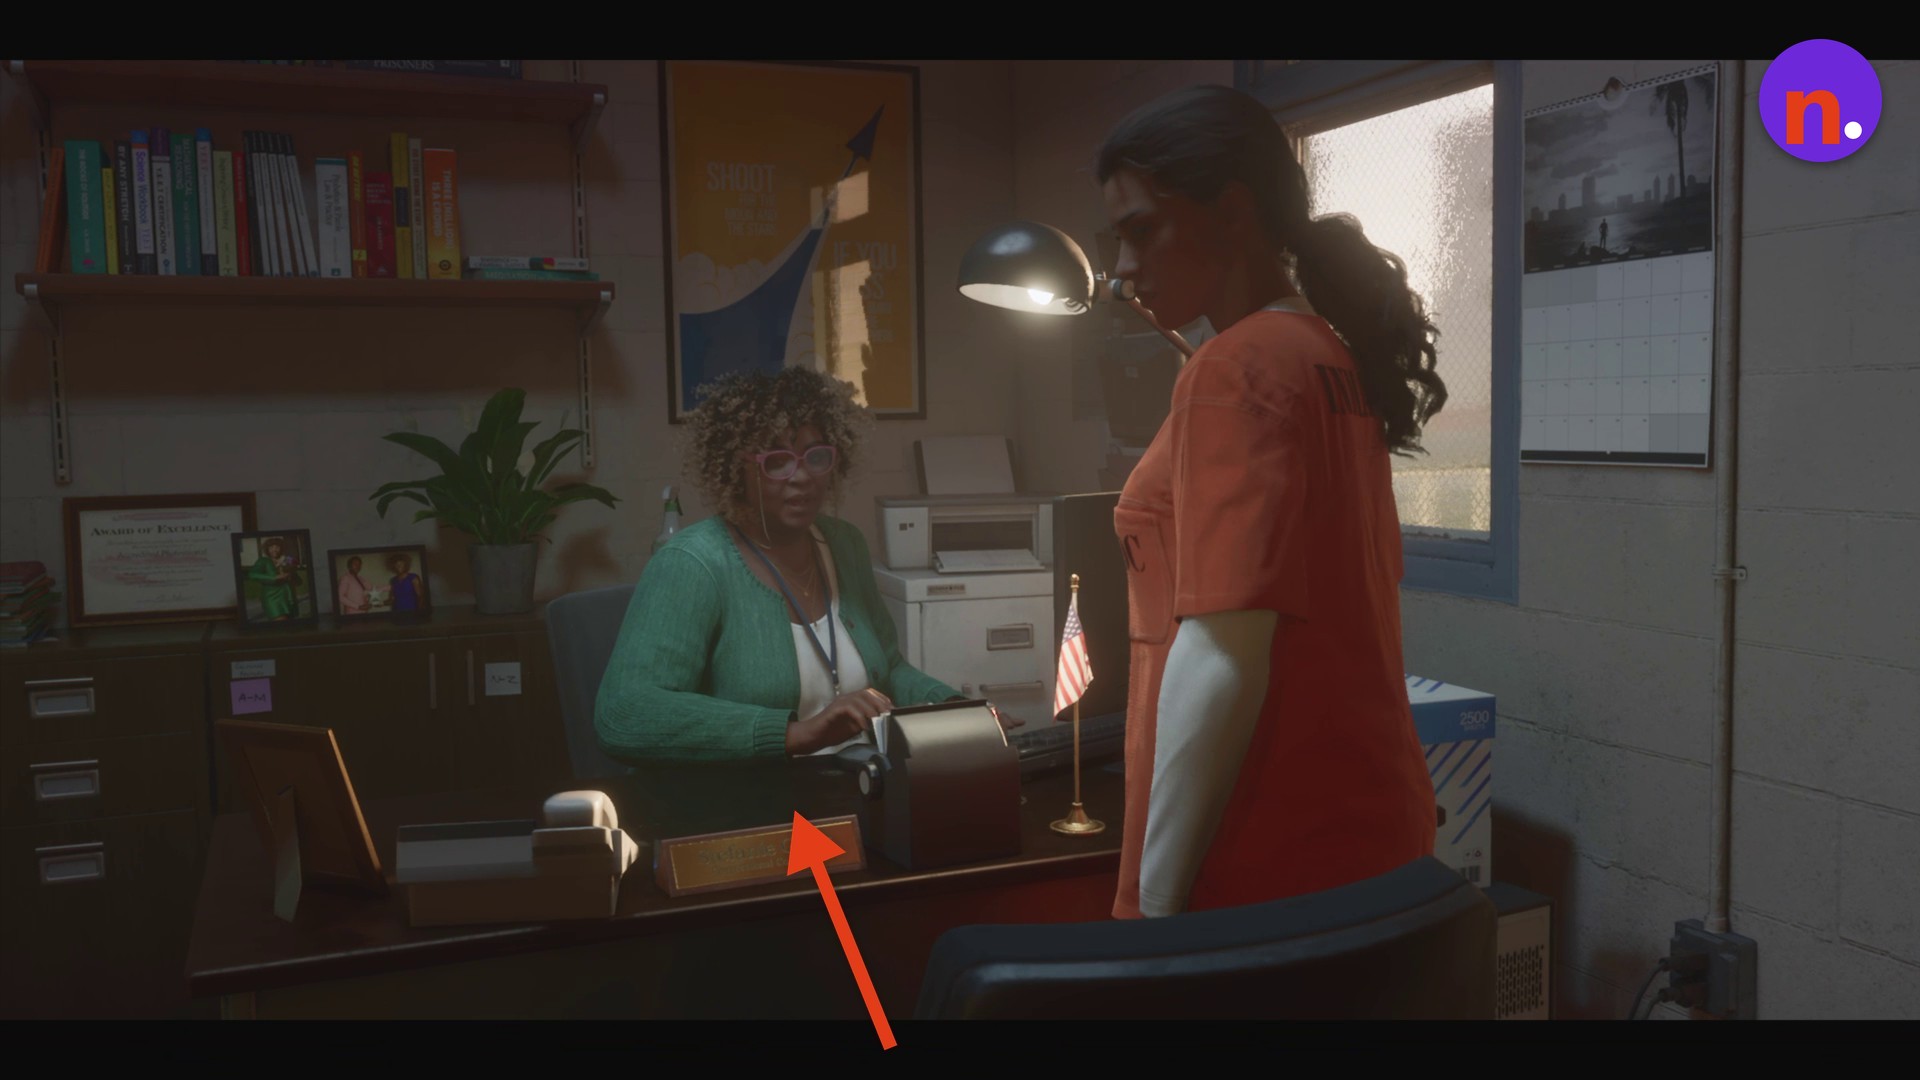
Enter Stefanie Gates’s office
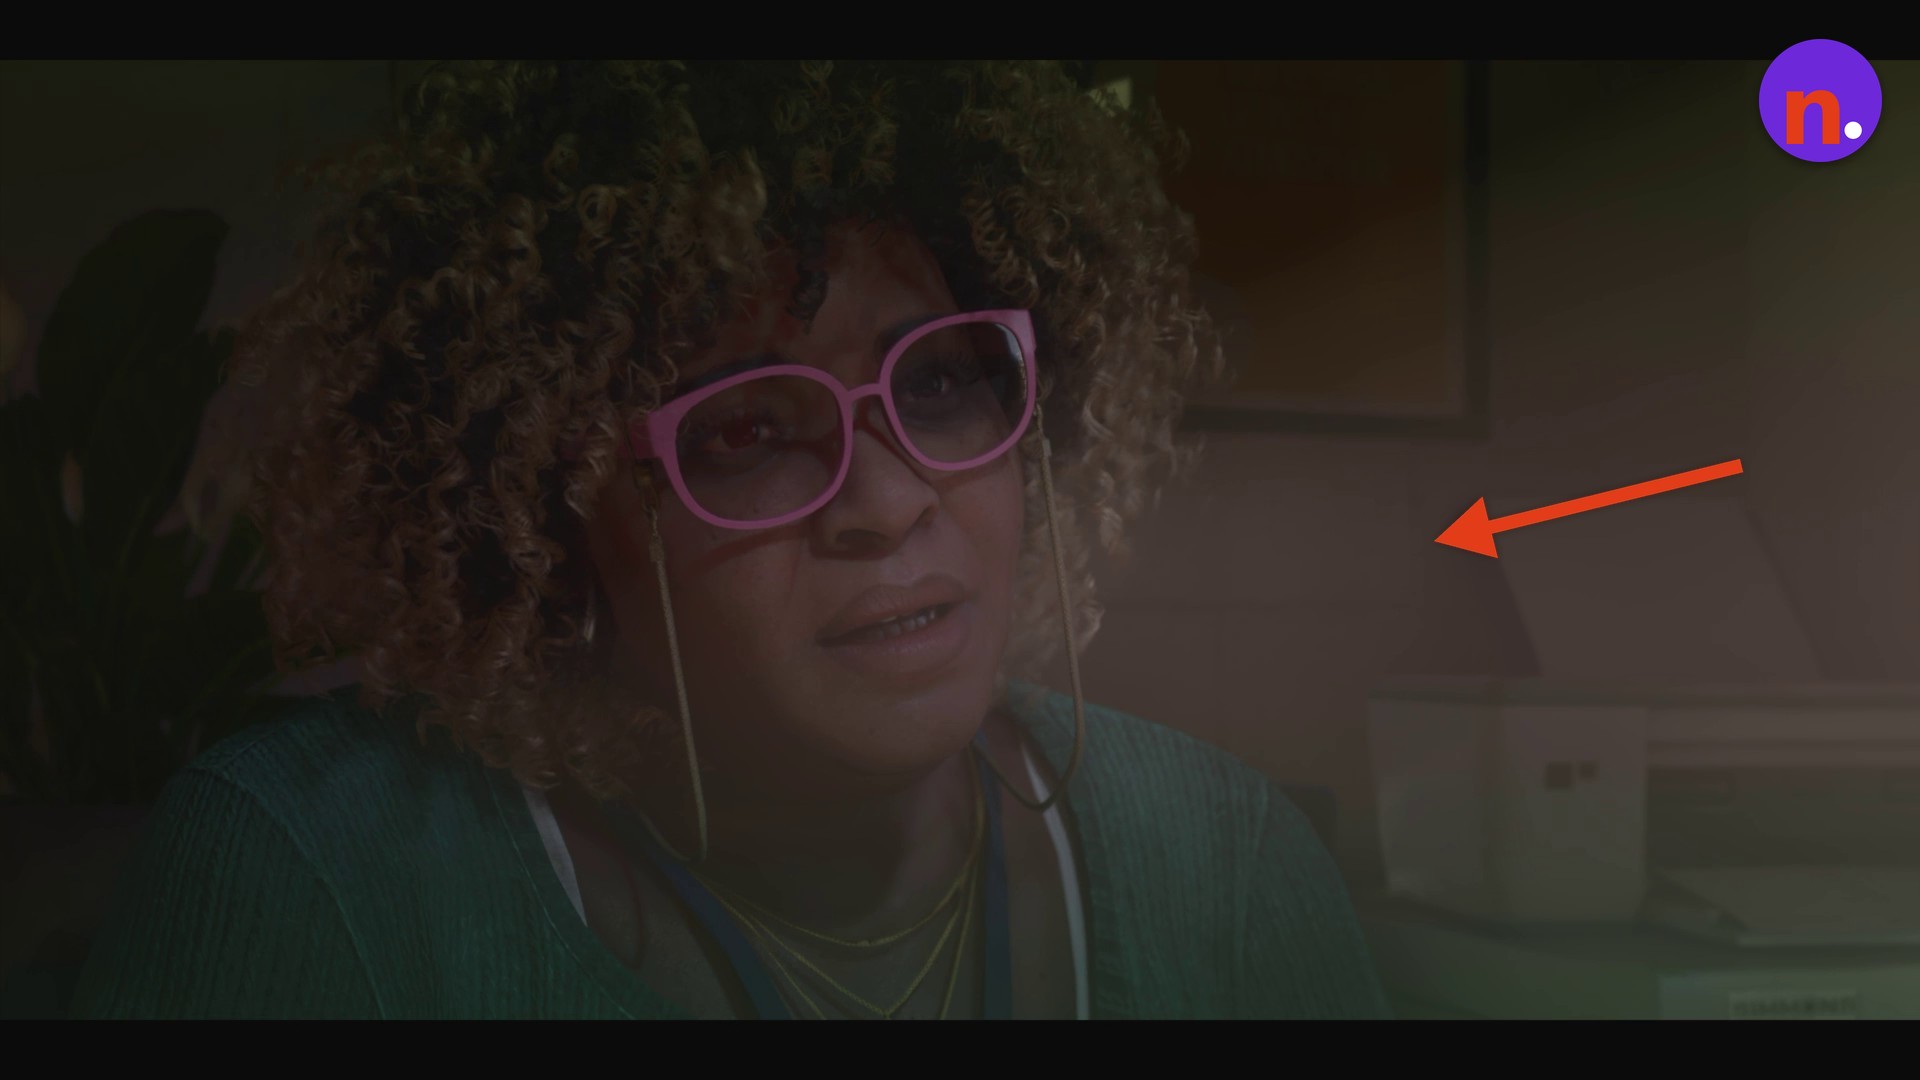
Follow Wilson to the door marked COUNSELOR’S OFFICE. Counselor Gates sits behind the desk. Inside, the desk nameplate reads Stefanie Gates; take the chair opposite her desk.
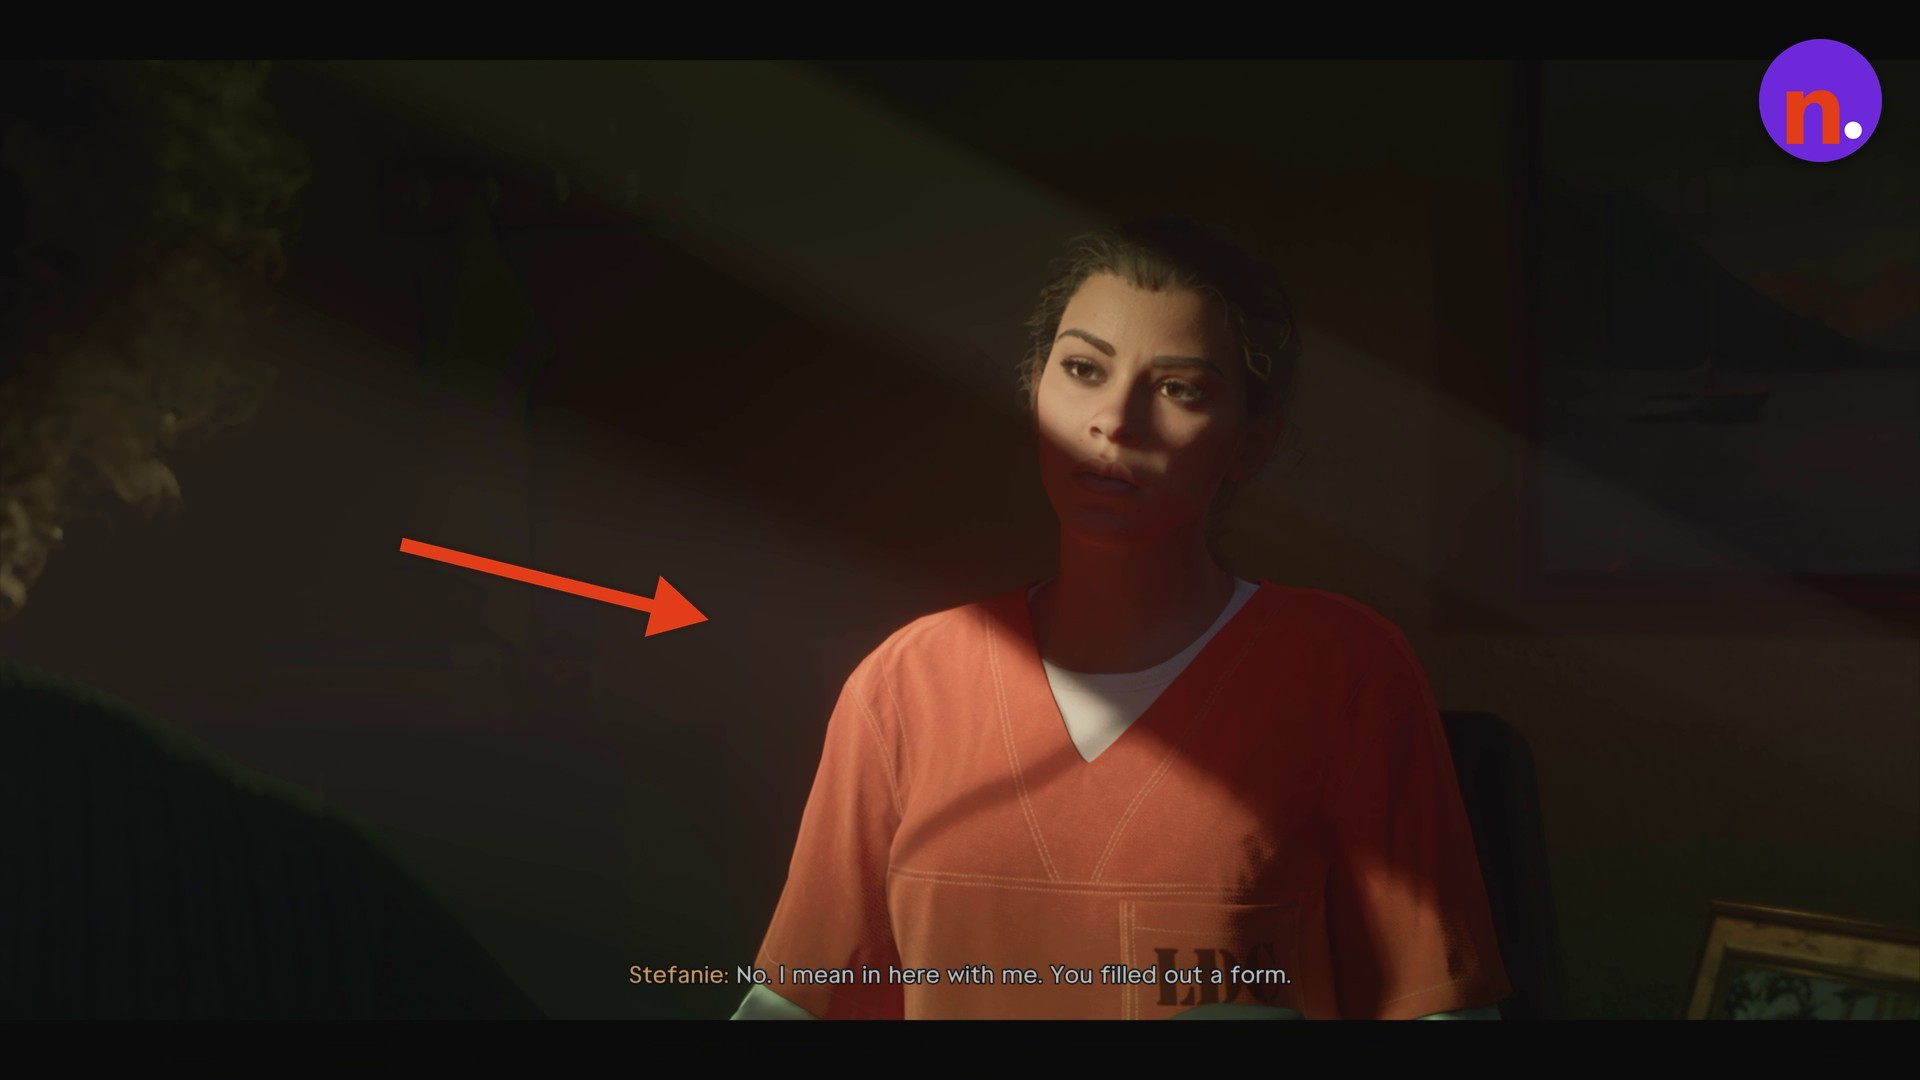
Discuss the parole form
Stay through the conversation with Counselor Gates about Lucia’s parole form and eligibility for release. The interview leads into the robbery flashback.
Part 2 – Play through the robbery flashback and finish the interview
Take the handgun from the trunk
The flashback is marked NINE MONTHS AGO. Open the car’s trunk and take the handgun inside.
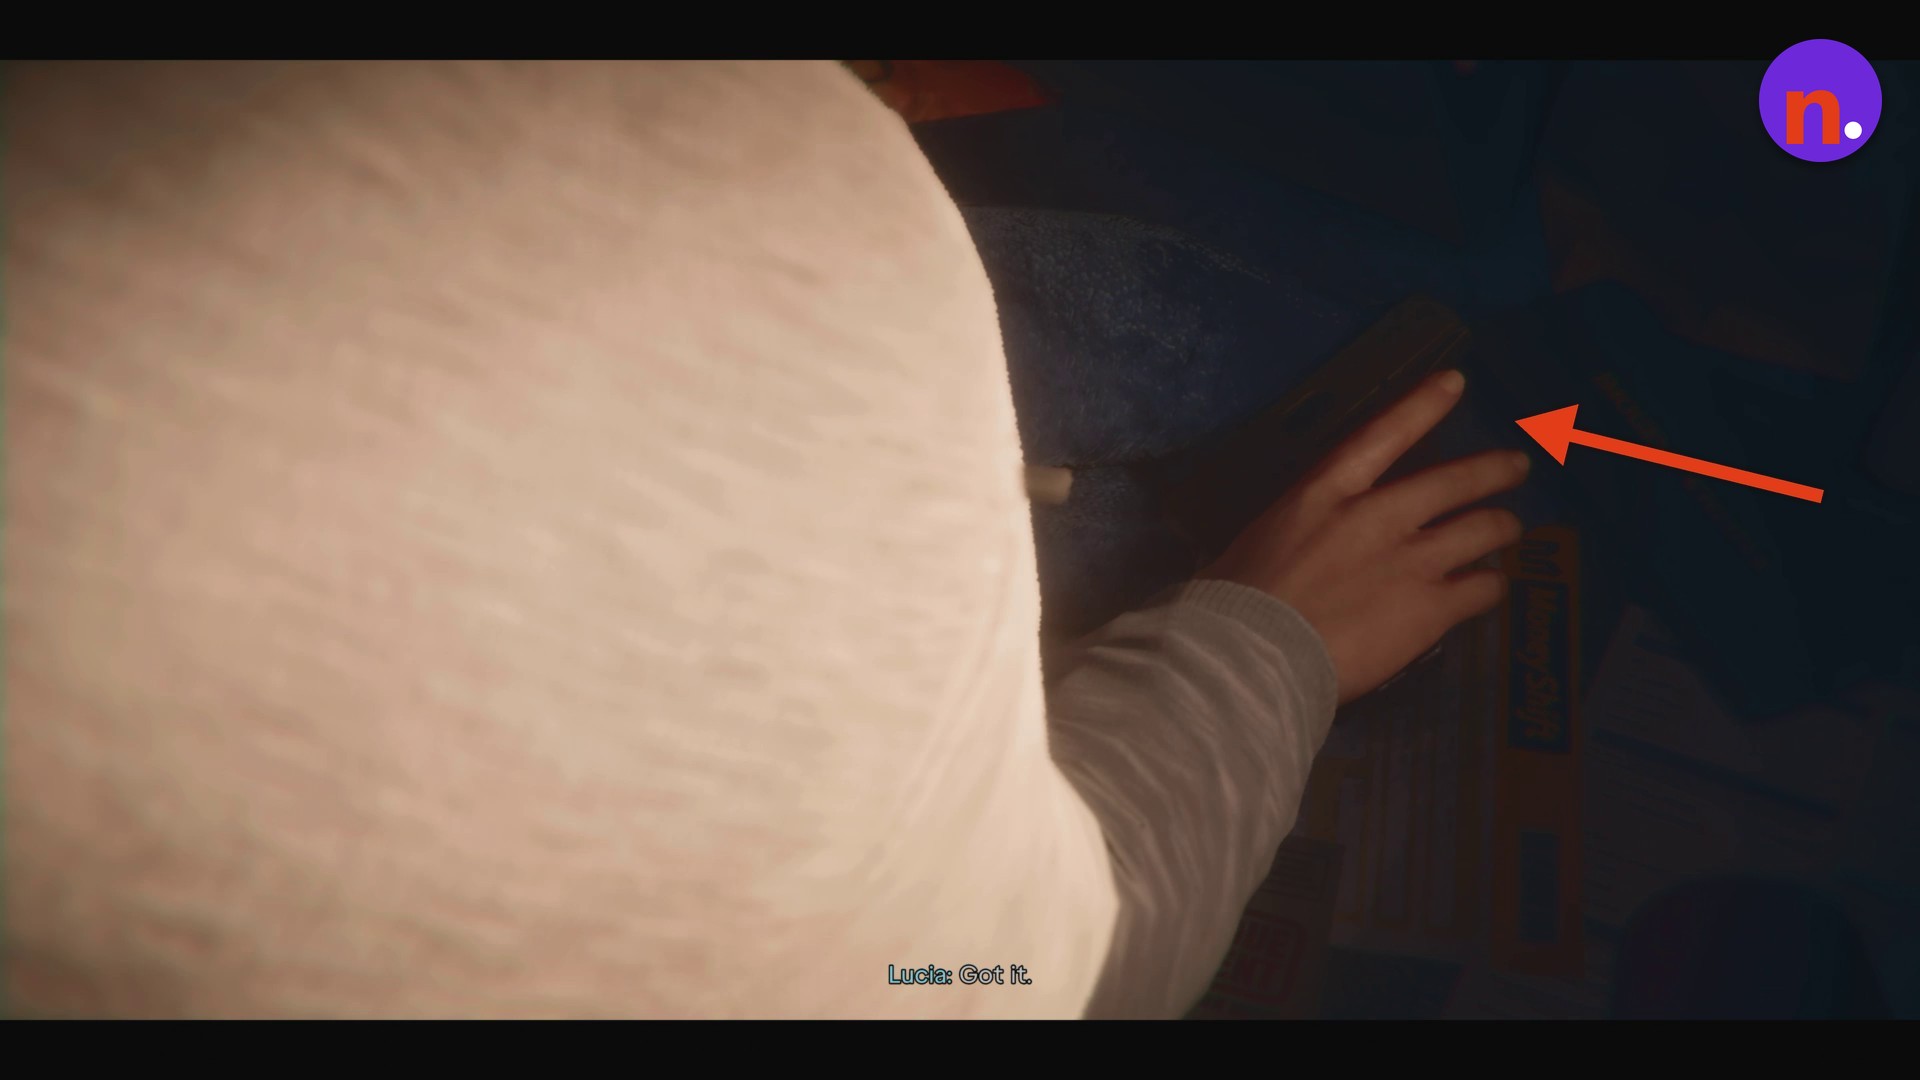
Rob Payday Advance
Approach and enter Payday Advance, then aim at the teller with L2. Press Square for the THREATEN action. When the teller passes the money through the window slot and Grab the cash appears, press Triangle to take it.
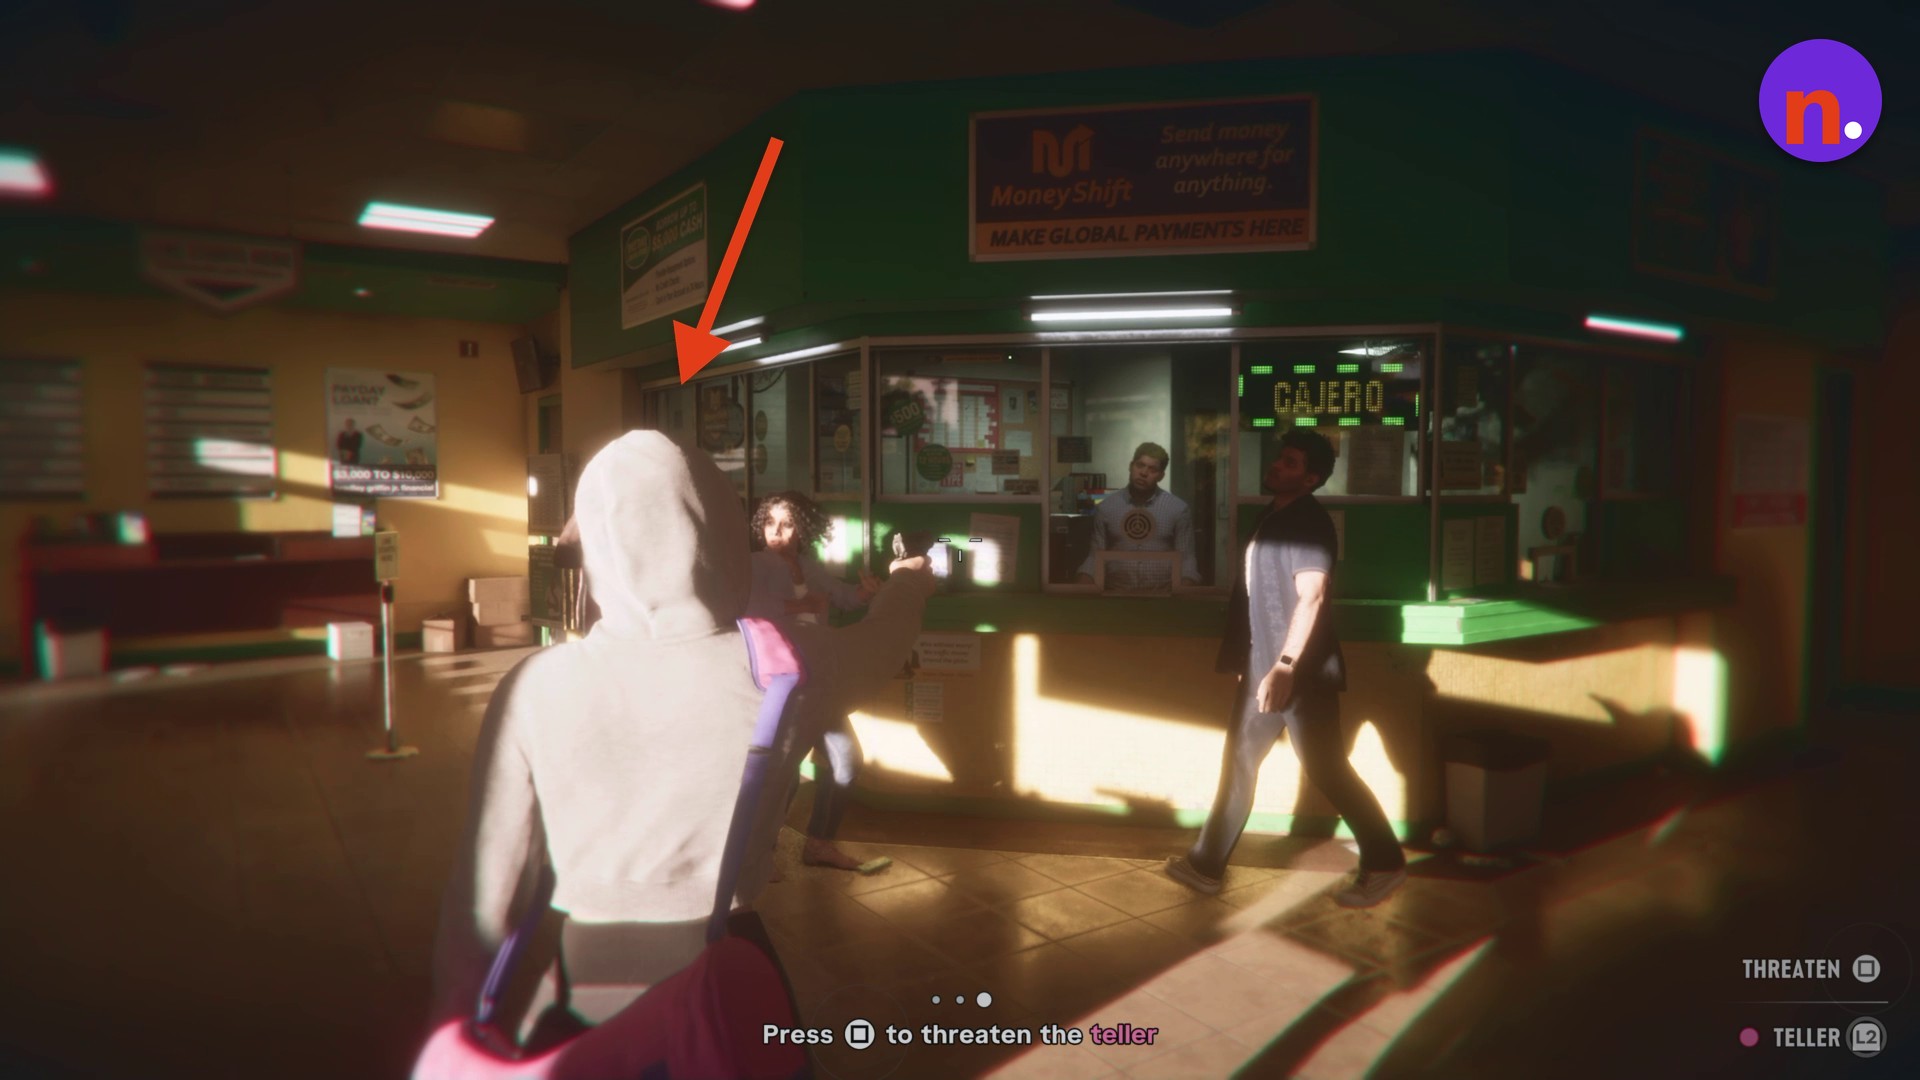
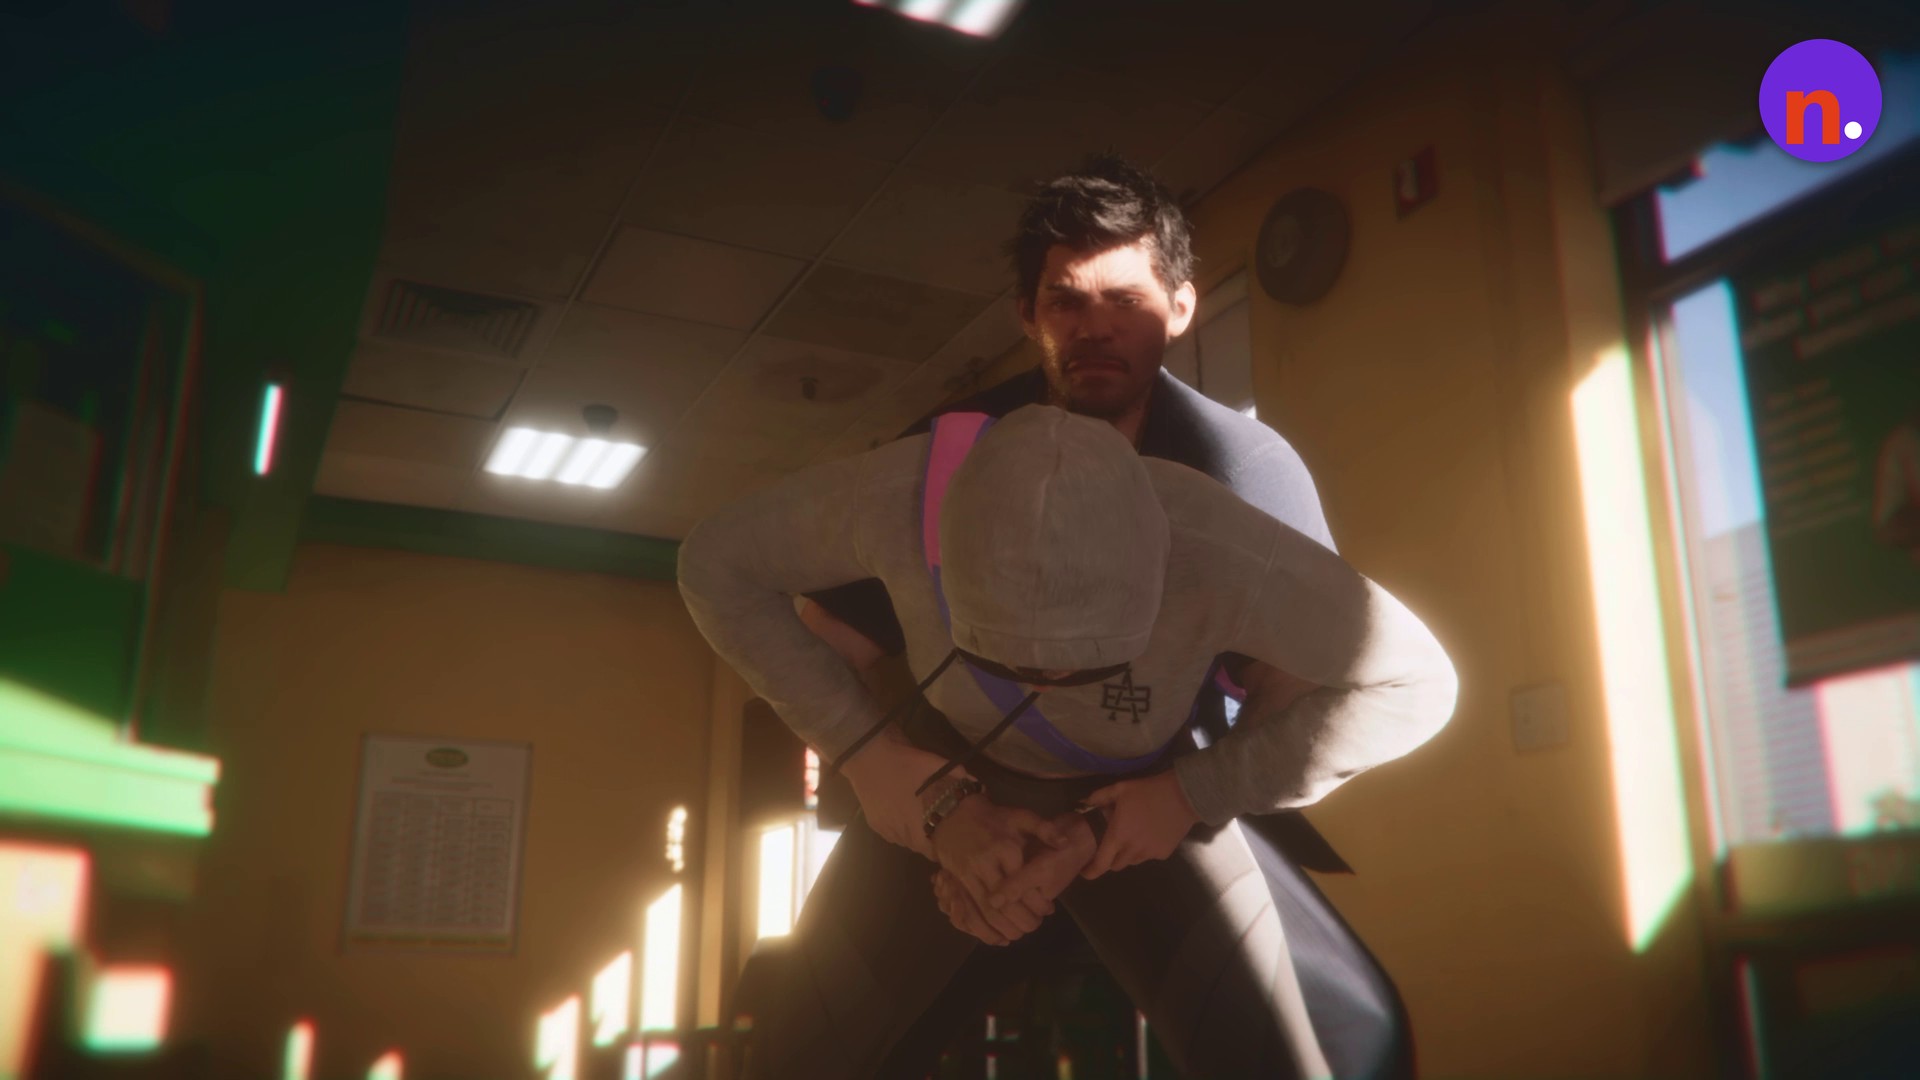
Break free from the customer
A customer grabs Lucia from behind during the robbery. Repeatedly tap Square to break the hold.
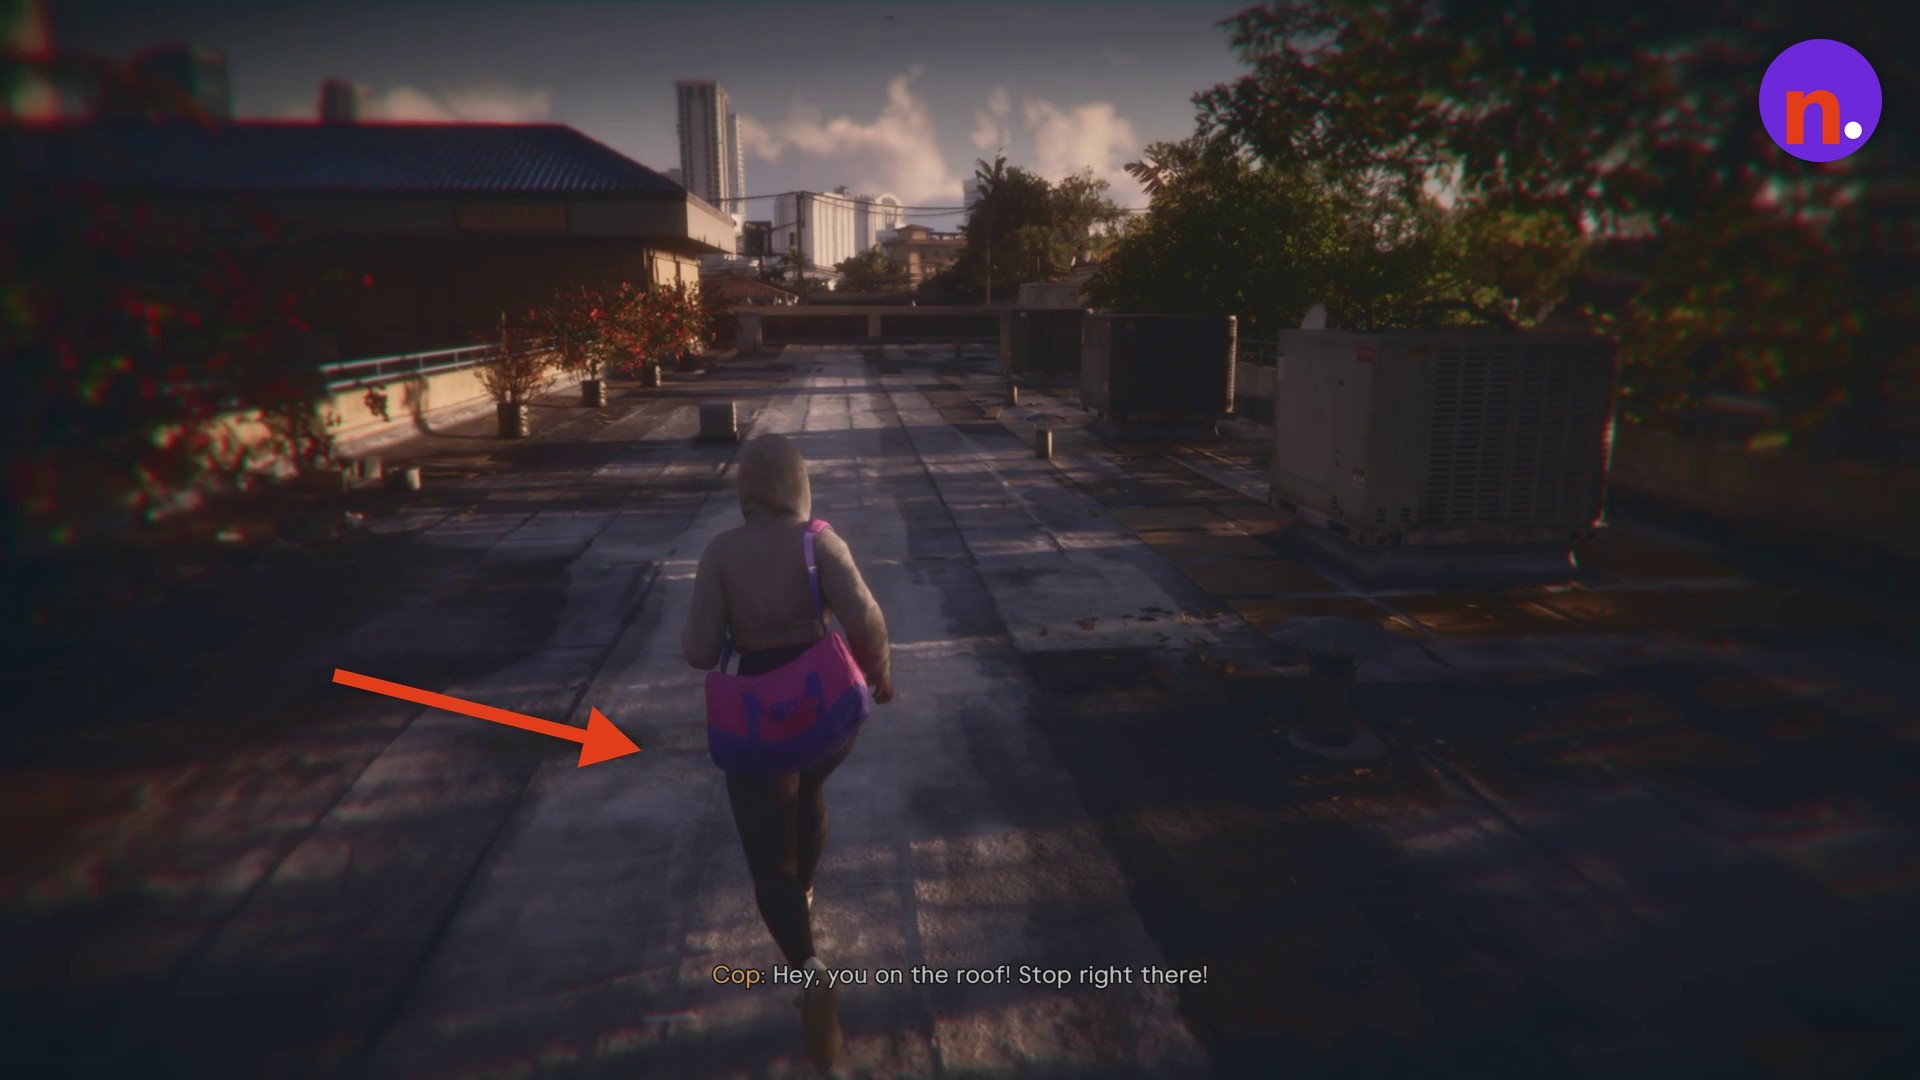
Leave the store and take the rooftop route
Run outside after breaking free; police spot Lucia as she leaves. Head onto the rooftops, vault the obstacles and continue through the alleys while officers pursue you. The story continues with Lucia being tackled and arrested.
Finish the parole interview
Back in the present, listen as Gates asks about Lucia’s plans to live with Jason Duval. Let the review of those living arrangements finish to complete the interview.
Part 3 – Start Gone Fishing, collect the packages and approach the island camp
Meet Jason and Cal on the water
Watch the transition cinematics introducing Jason and Cal aboard their boat. The mission title appears during this introduction.
Follow Donnie’s seaplane
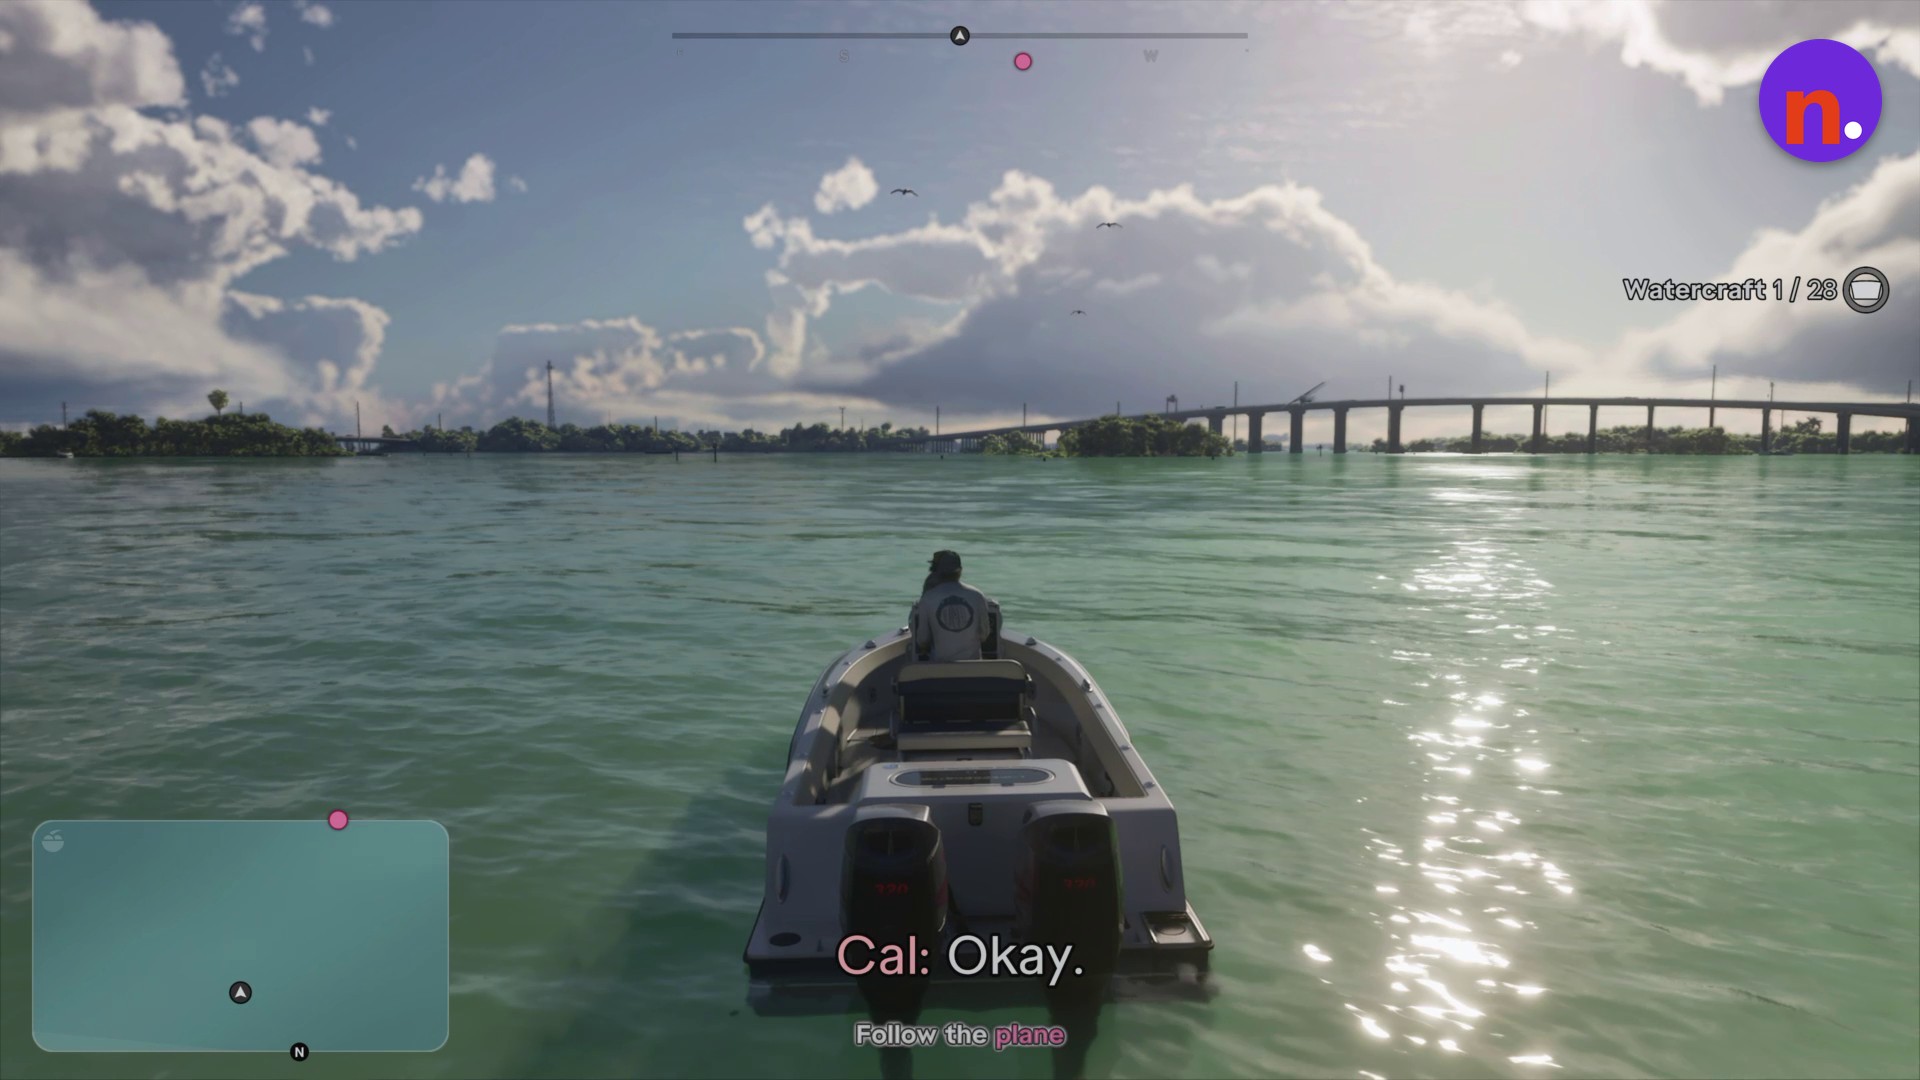
Wait for Donnie to pass overhead and signal you to follow. Drive beneath the highway bridge and stay behind his seaplane while Follow the plane is active. On the radio, the plane is Flamingo Six and your boat is Manatee One. Press Cross while steering when you need a sharper turn.
Bring Cal alongside the first package
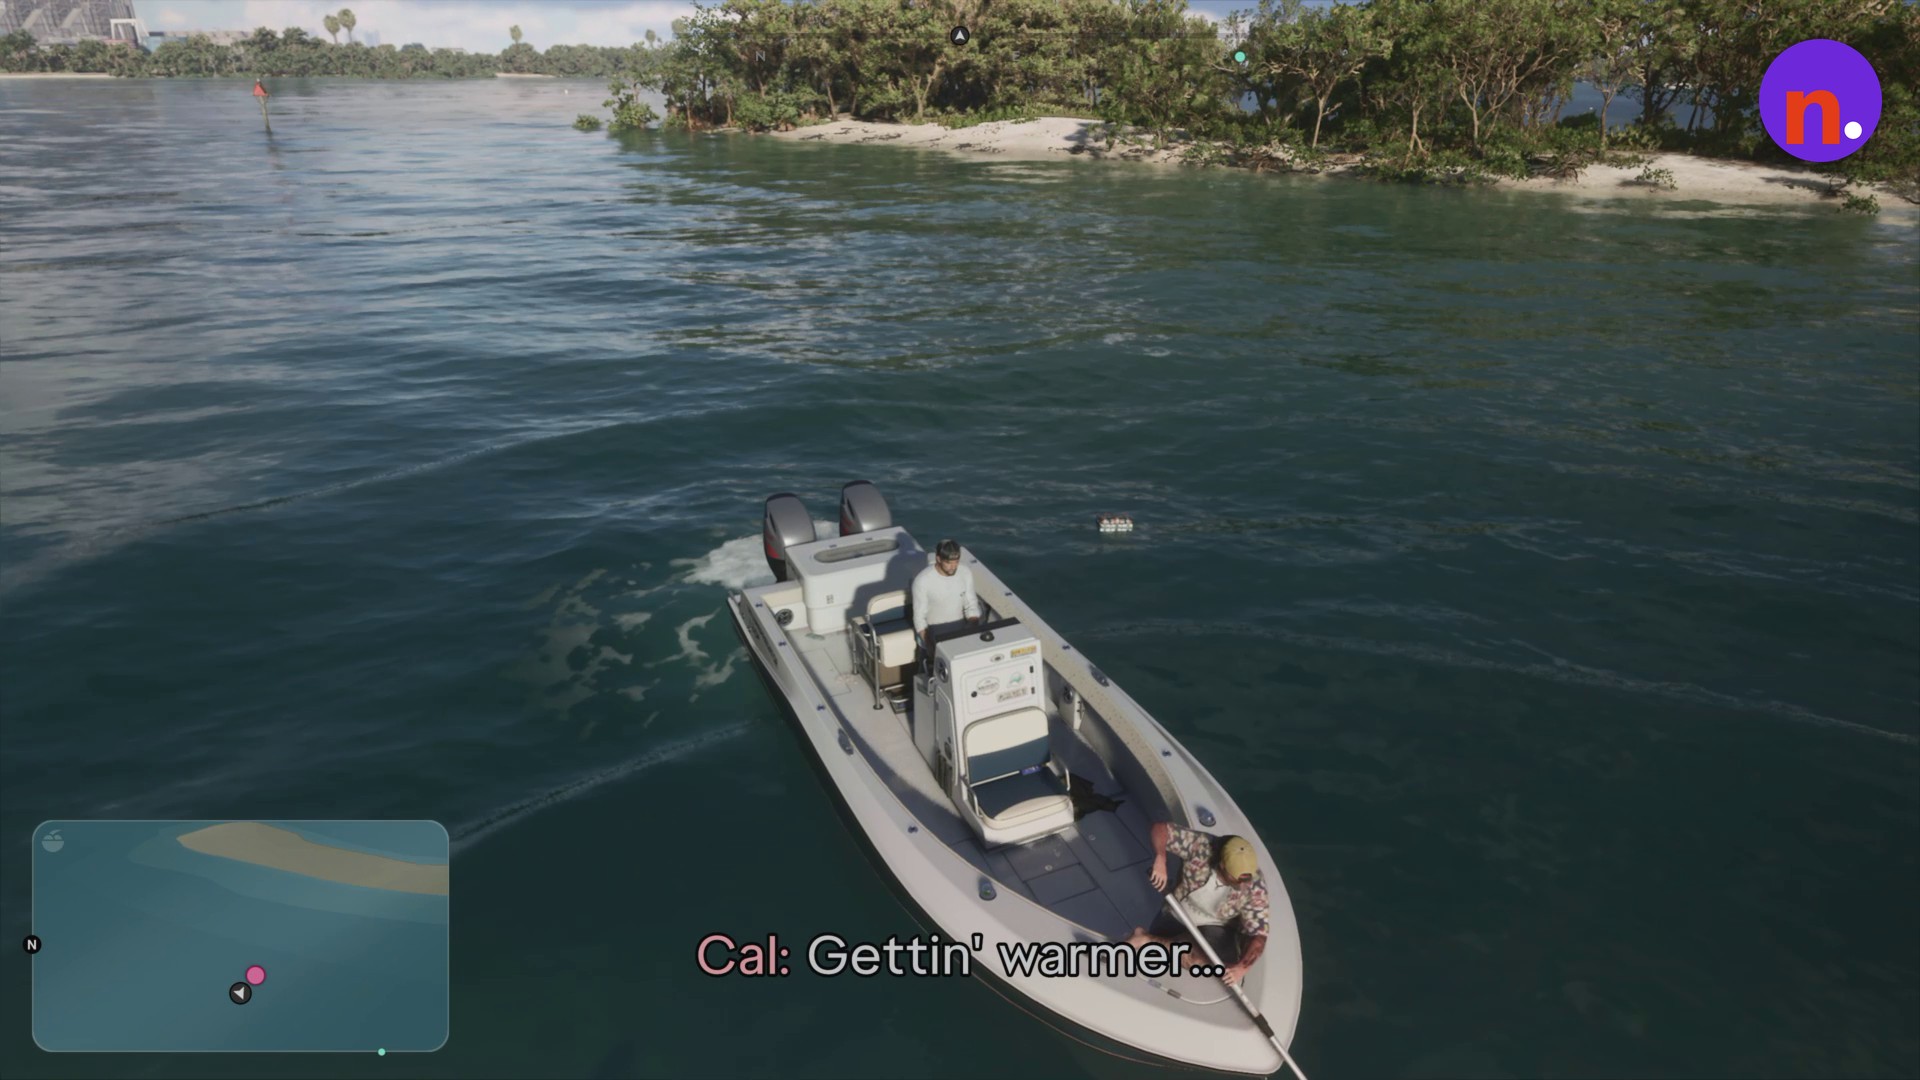
Steer toward the floating package marked by the objective icon. Bring the boat close enough for Cal to hook it out of the water.
Collect the second package
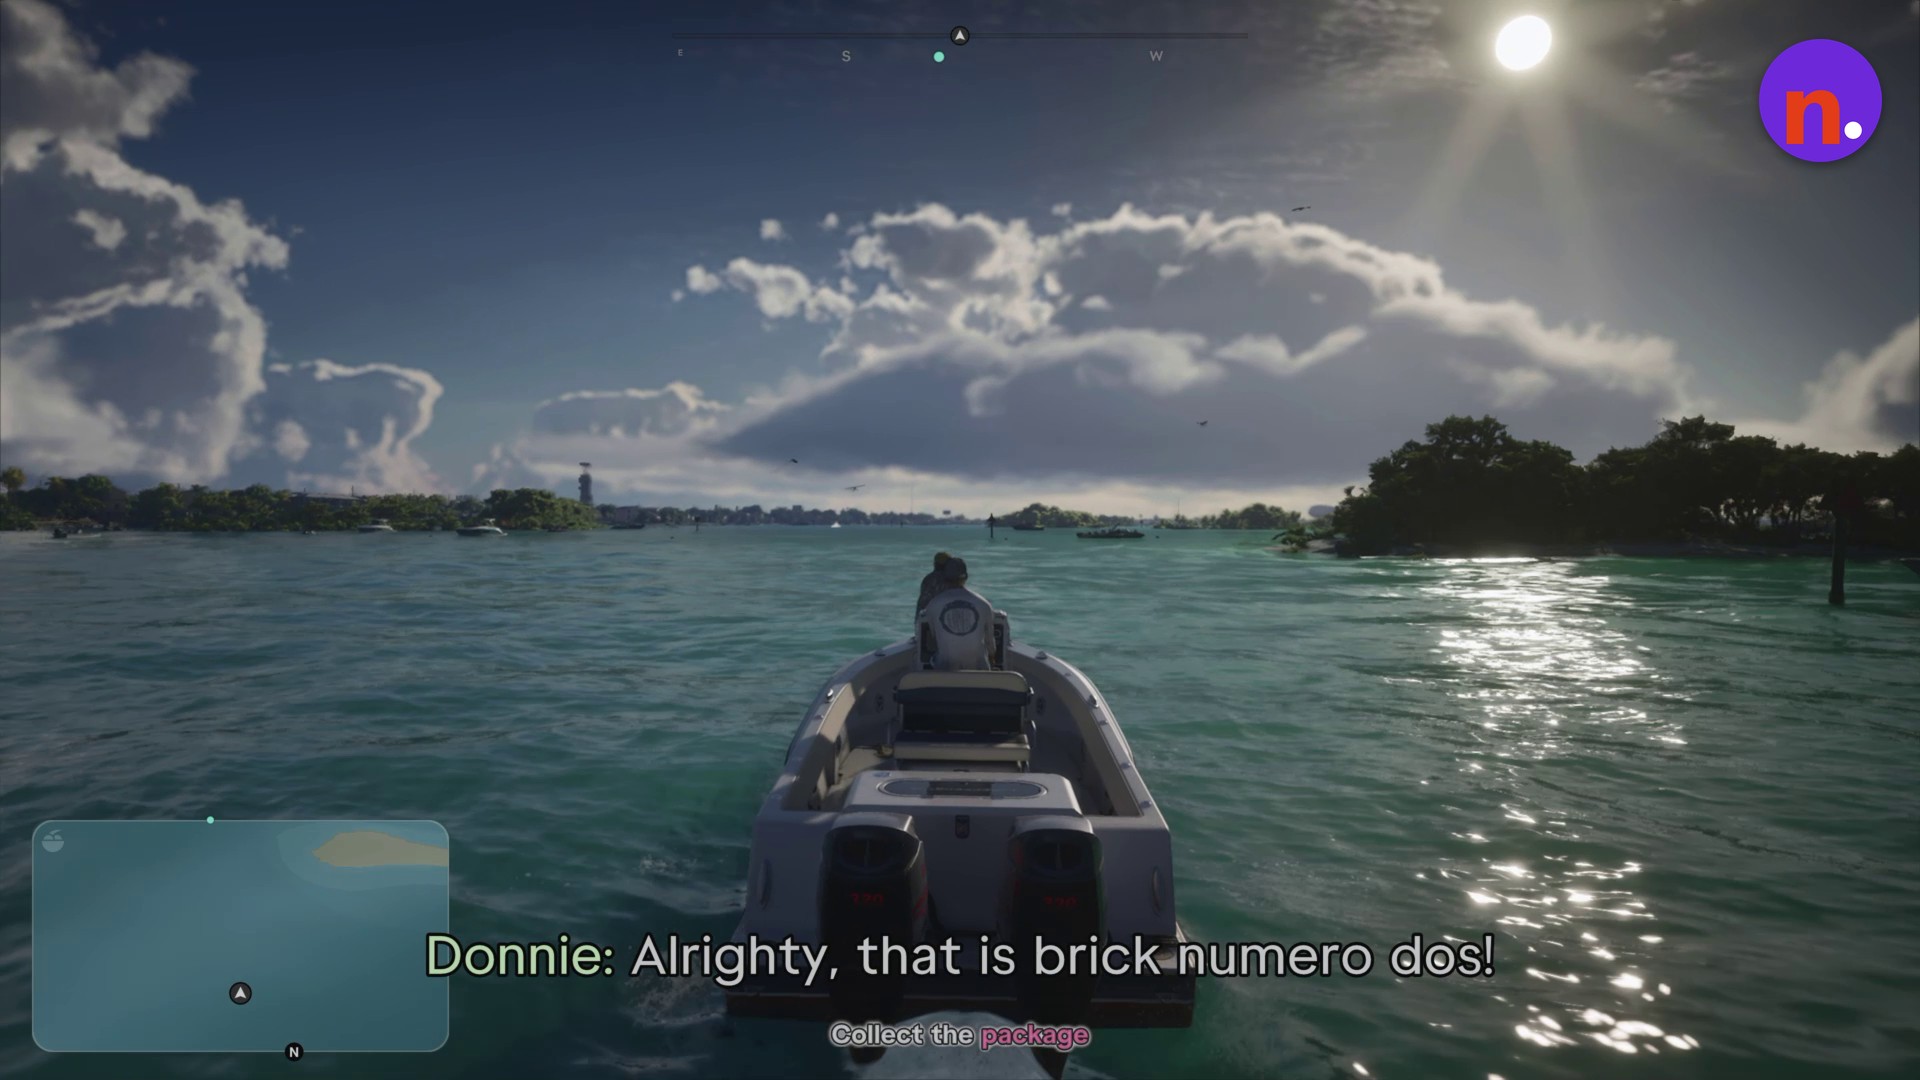
Accelerate after the plane toward its next drop. When Collect the package appears, position the boat beside the second package so Cal can retrieve it.
Collect the third package in the inlet
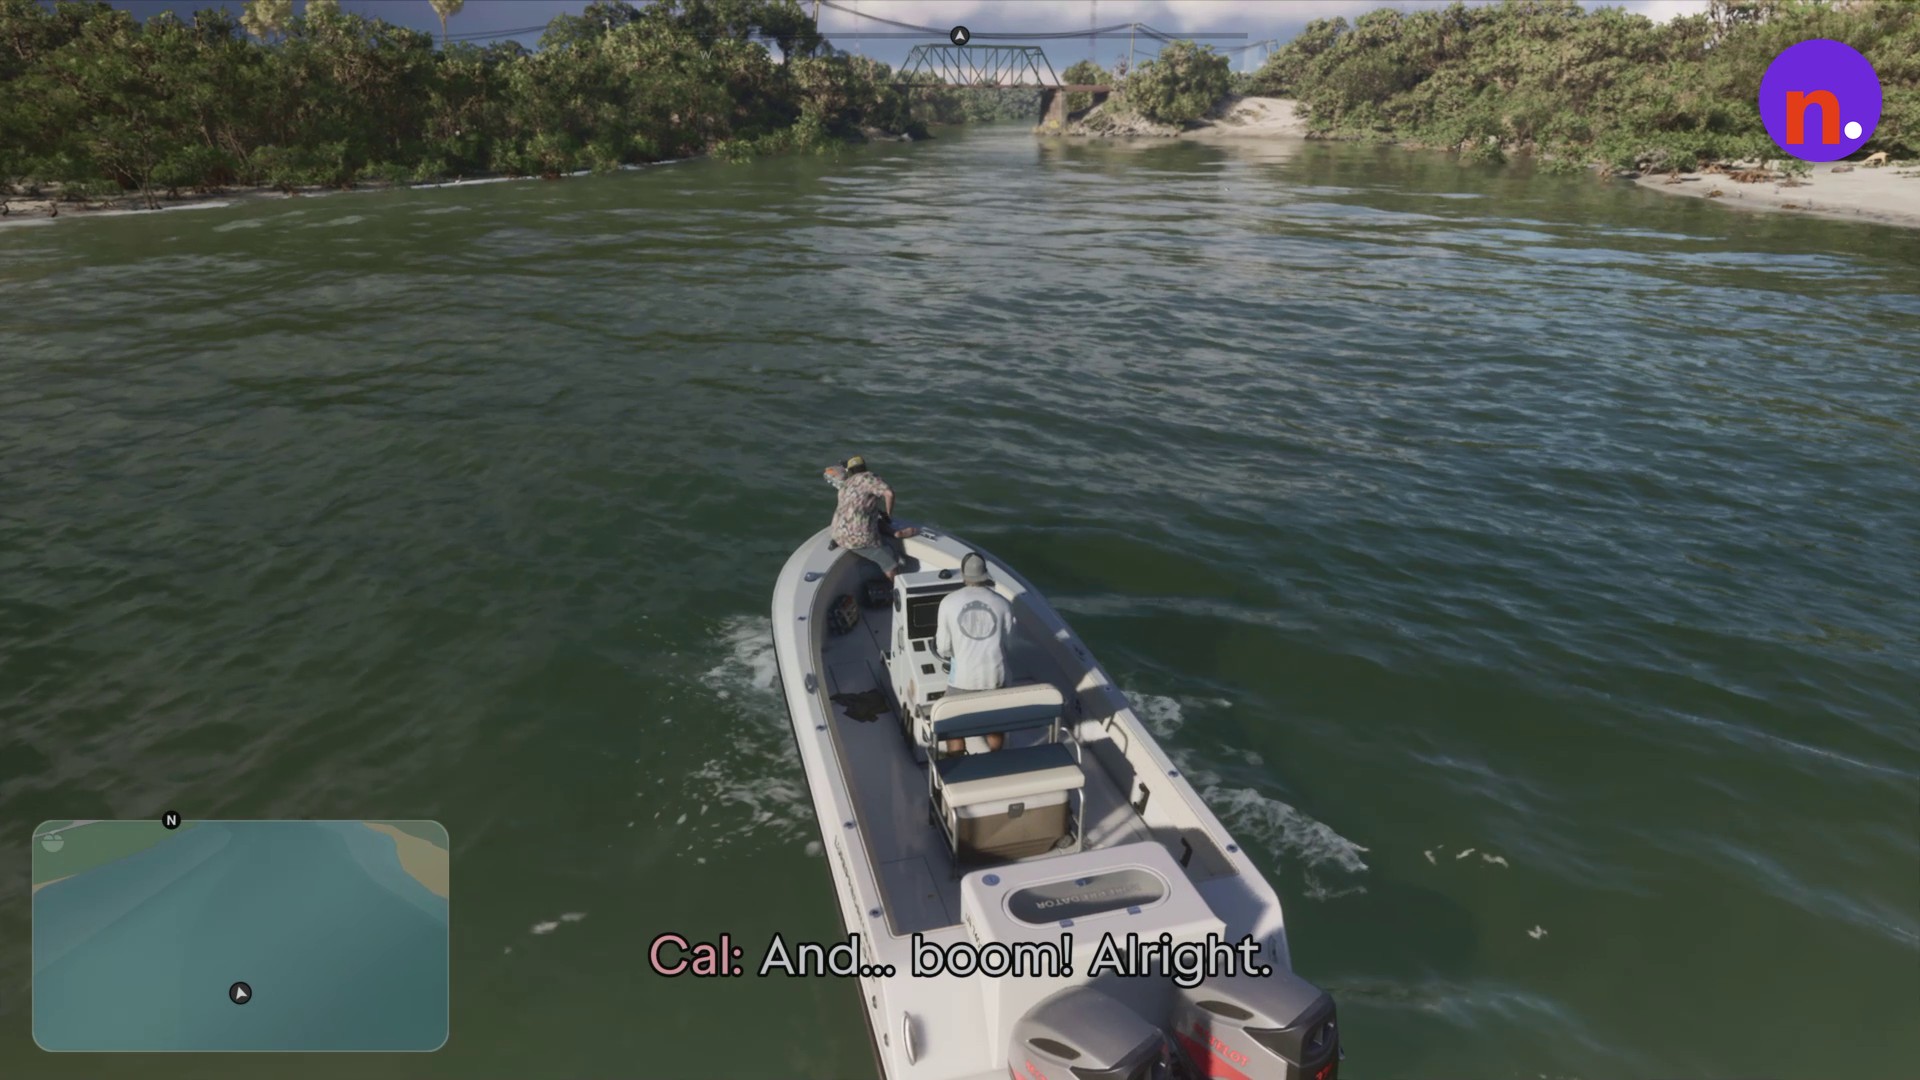
Follow the plane into the river channel and enter the mangrove inlet. Pull alongside the third package so Cal can hook it from the water.
Approach the island camp’s dock
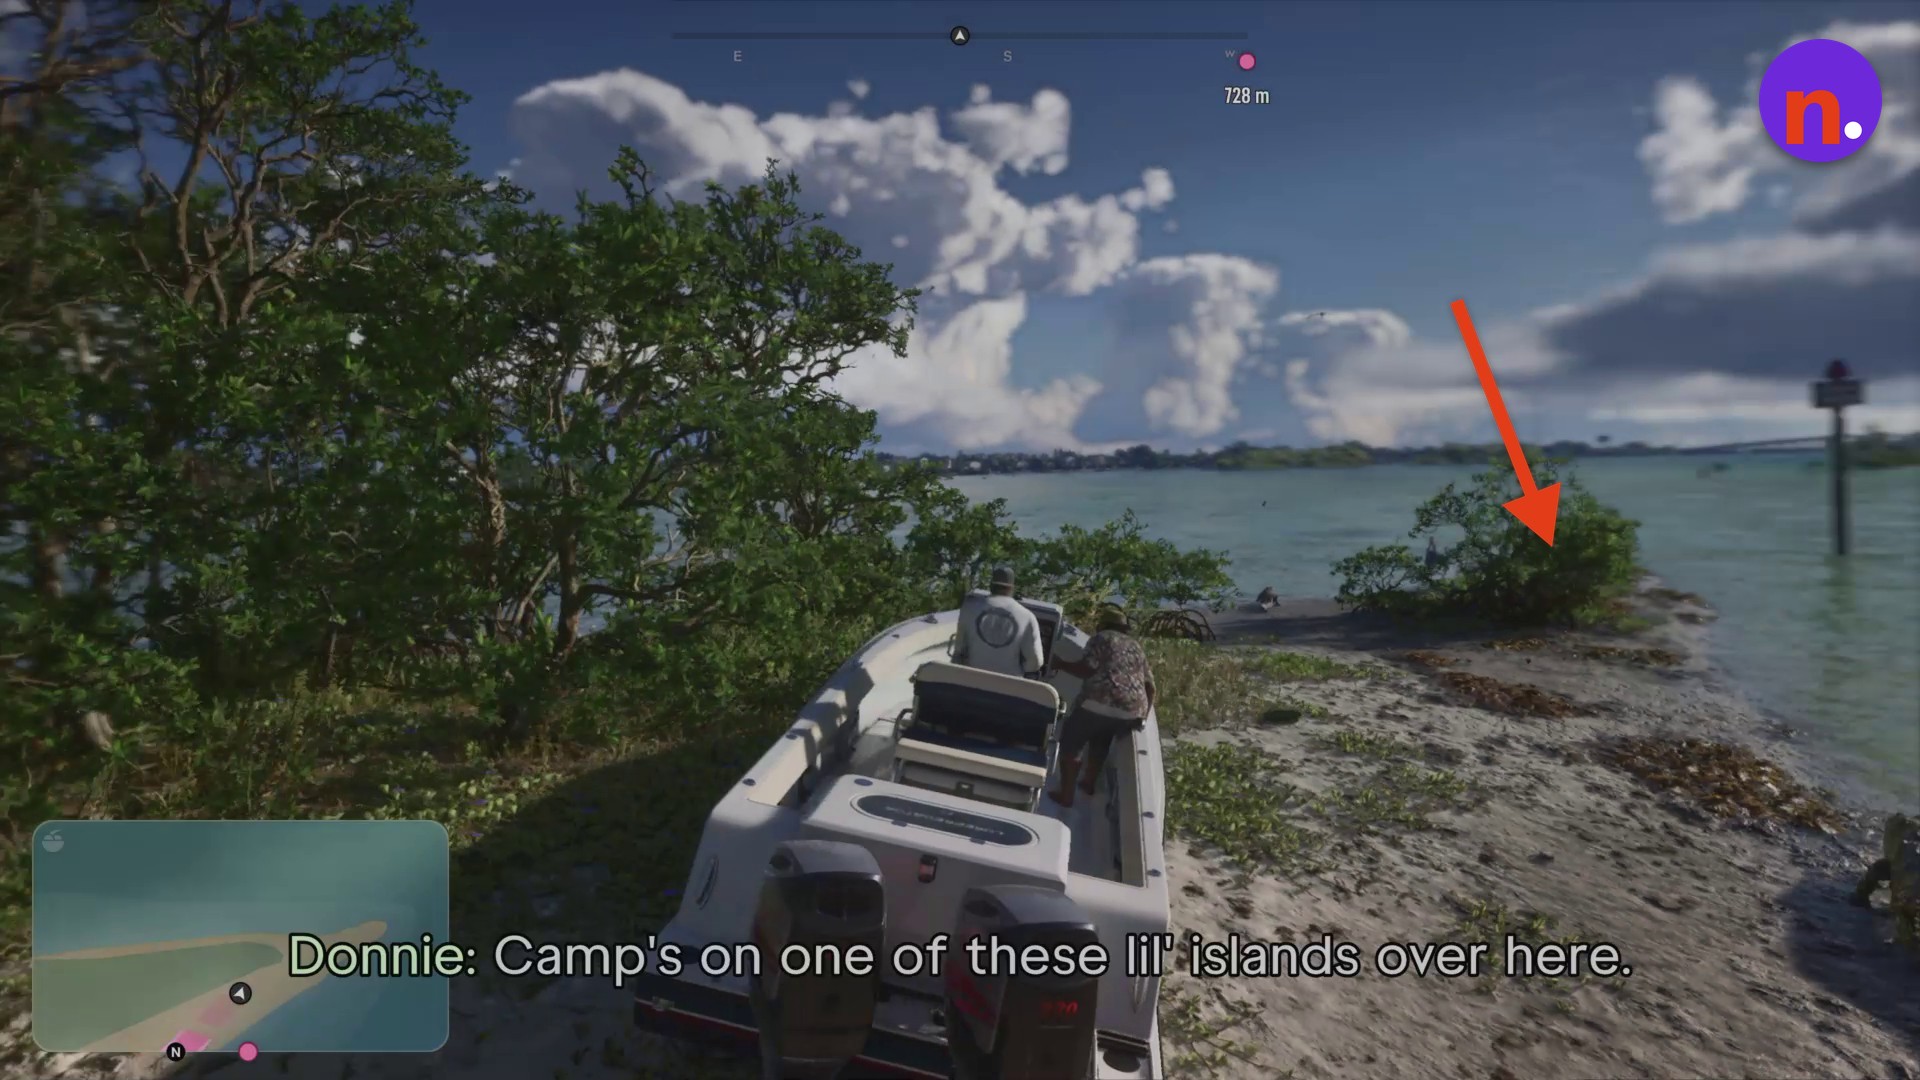
Bring the boat gently toward the island camp’s dock. Choose a safe stopping position close to the dock as you come in.
Press L3 + R3 to focus on a package during the boat pickups.
Beyond the collection, expect the delivery to continue with transporting and flying the parcel, followed by a return home to end the mission.
Related Grand Theft Auto VI guides
Frequently Asked Questions
Can you retry a checkpoint or restart Gone Fishing?
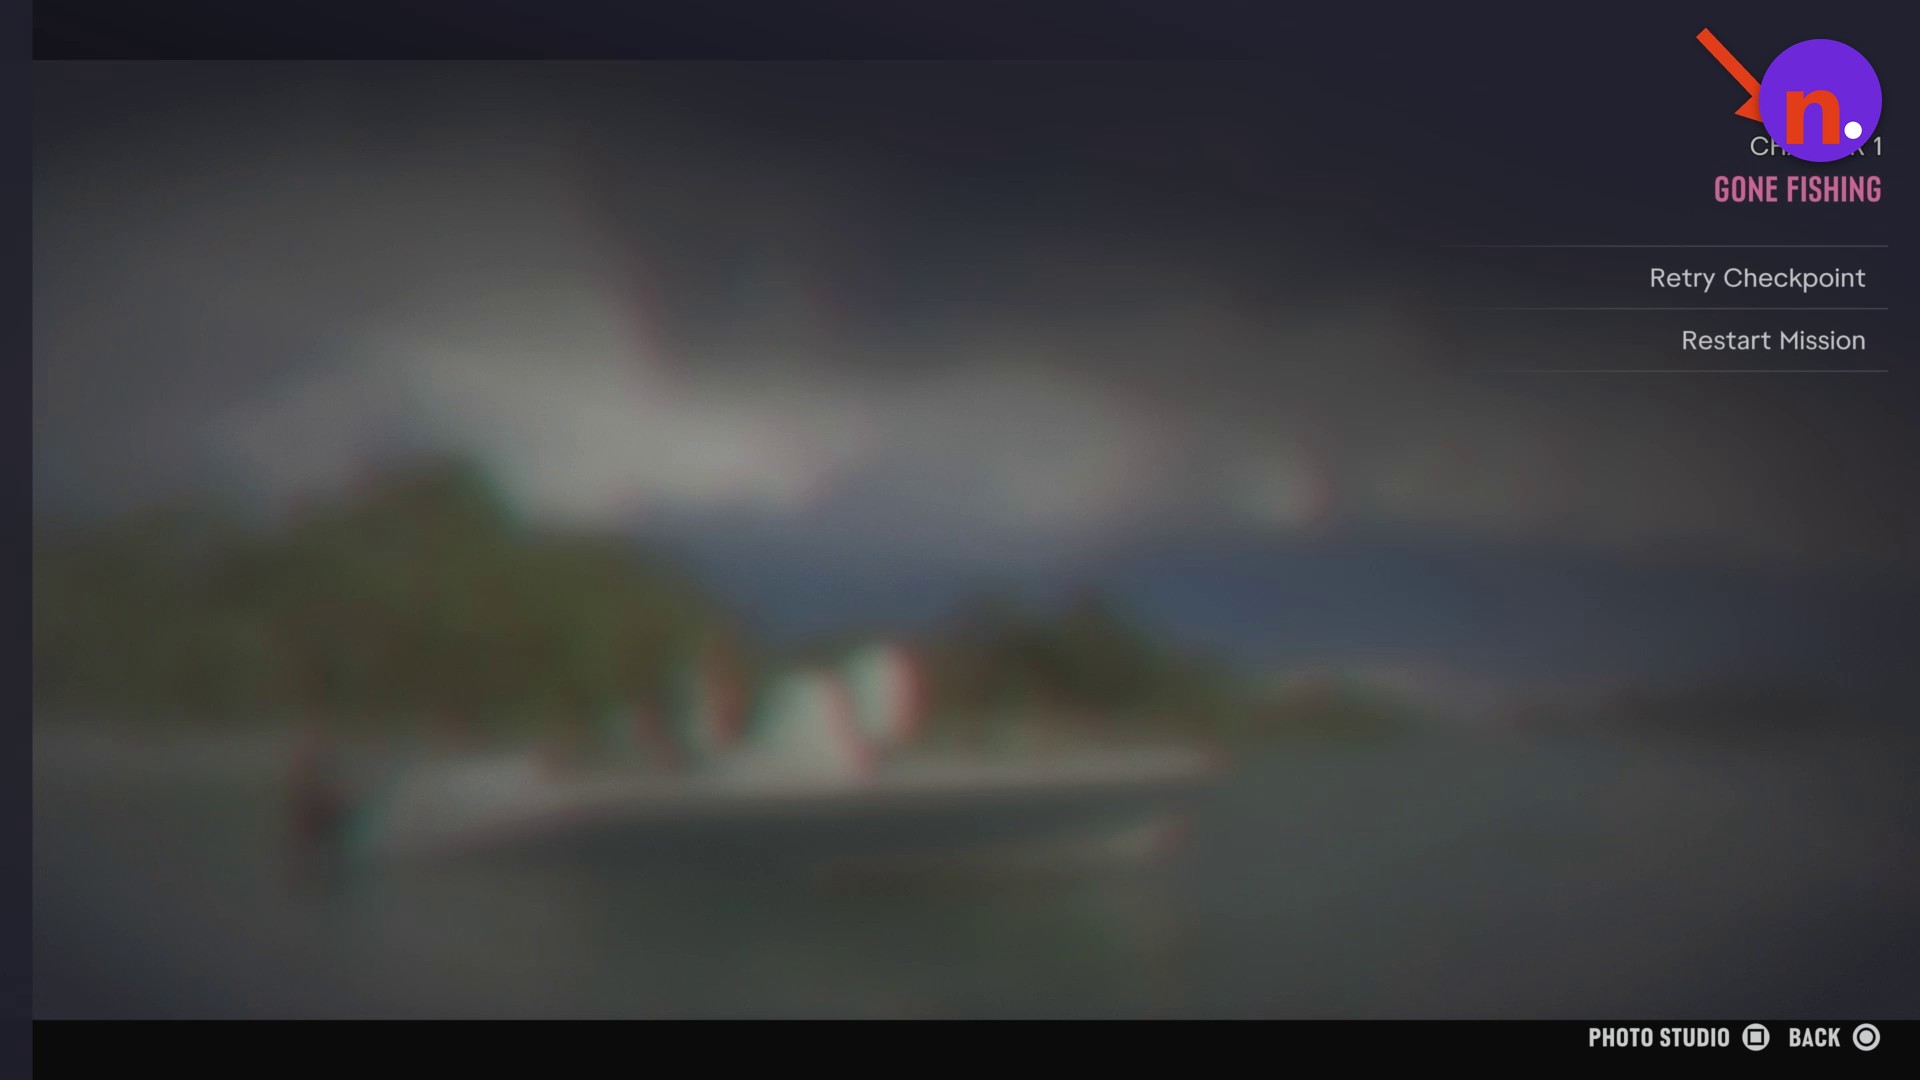
Yes. The pause menu offers Retry Checkpoint and Restart Mission, giving you a checkpoint retry or a mission restart.
Leave a Reply