

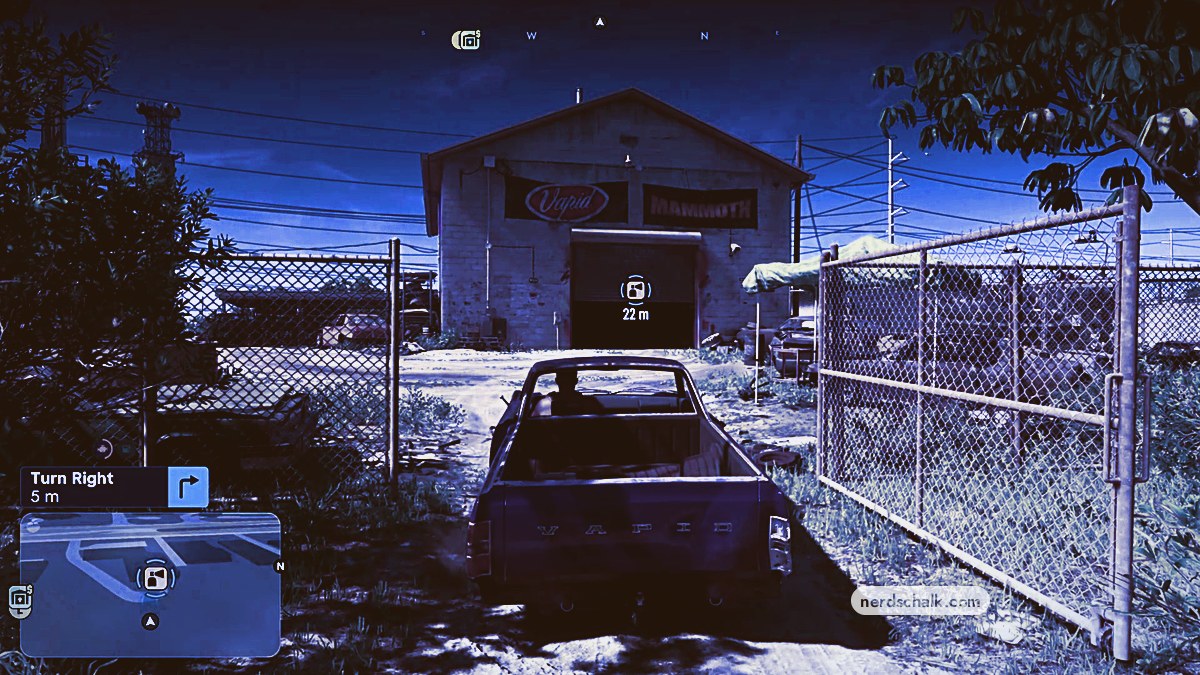
Key Lento’s Pay ‘N’ Spray sits in a fenced junkyard near Surfside Dr, reached from Route 1 via a side street and dirt path.
The Key Lento Pay ‘N’ Spray is a vehicle workshop in Grand Theft Auto VI where you can repair your car and review repainting options. This guide covers the approach, the garage entrance, and the menu controls for getting your vehicle back onto the road.
The game is listed for PlayStation 5 and Xbox Series X|S. Its Indian PlayStation Store listing carries an 18+ age rating.
The map also offers a 3D VIEW option.
How to find and use the Key Lento Pay ‘N’ Spray in Grand Theft Auto VI
Drive south toward Key Lento
Follow the residential road to the main highway, then turn onto the highway and follow your GPS. For the coastal drive toward Key Lento, head south on Route 1. Leave the highway for the side street toward the beachside turn. Open the world map here and locate the marker near Surfside Dr, using the surrounding road layout to orient yourself.

Enter the junkyard garage
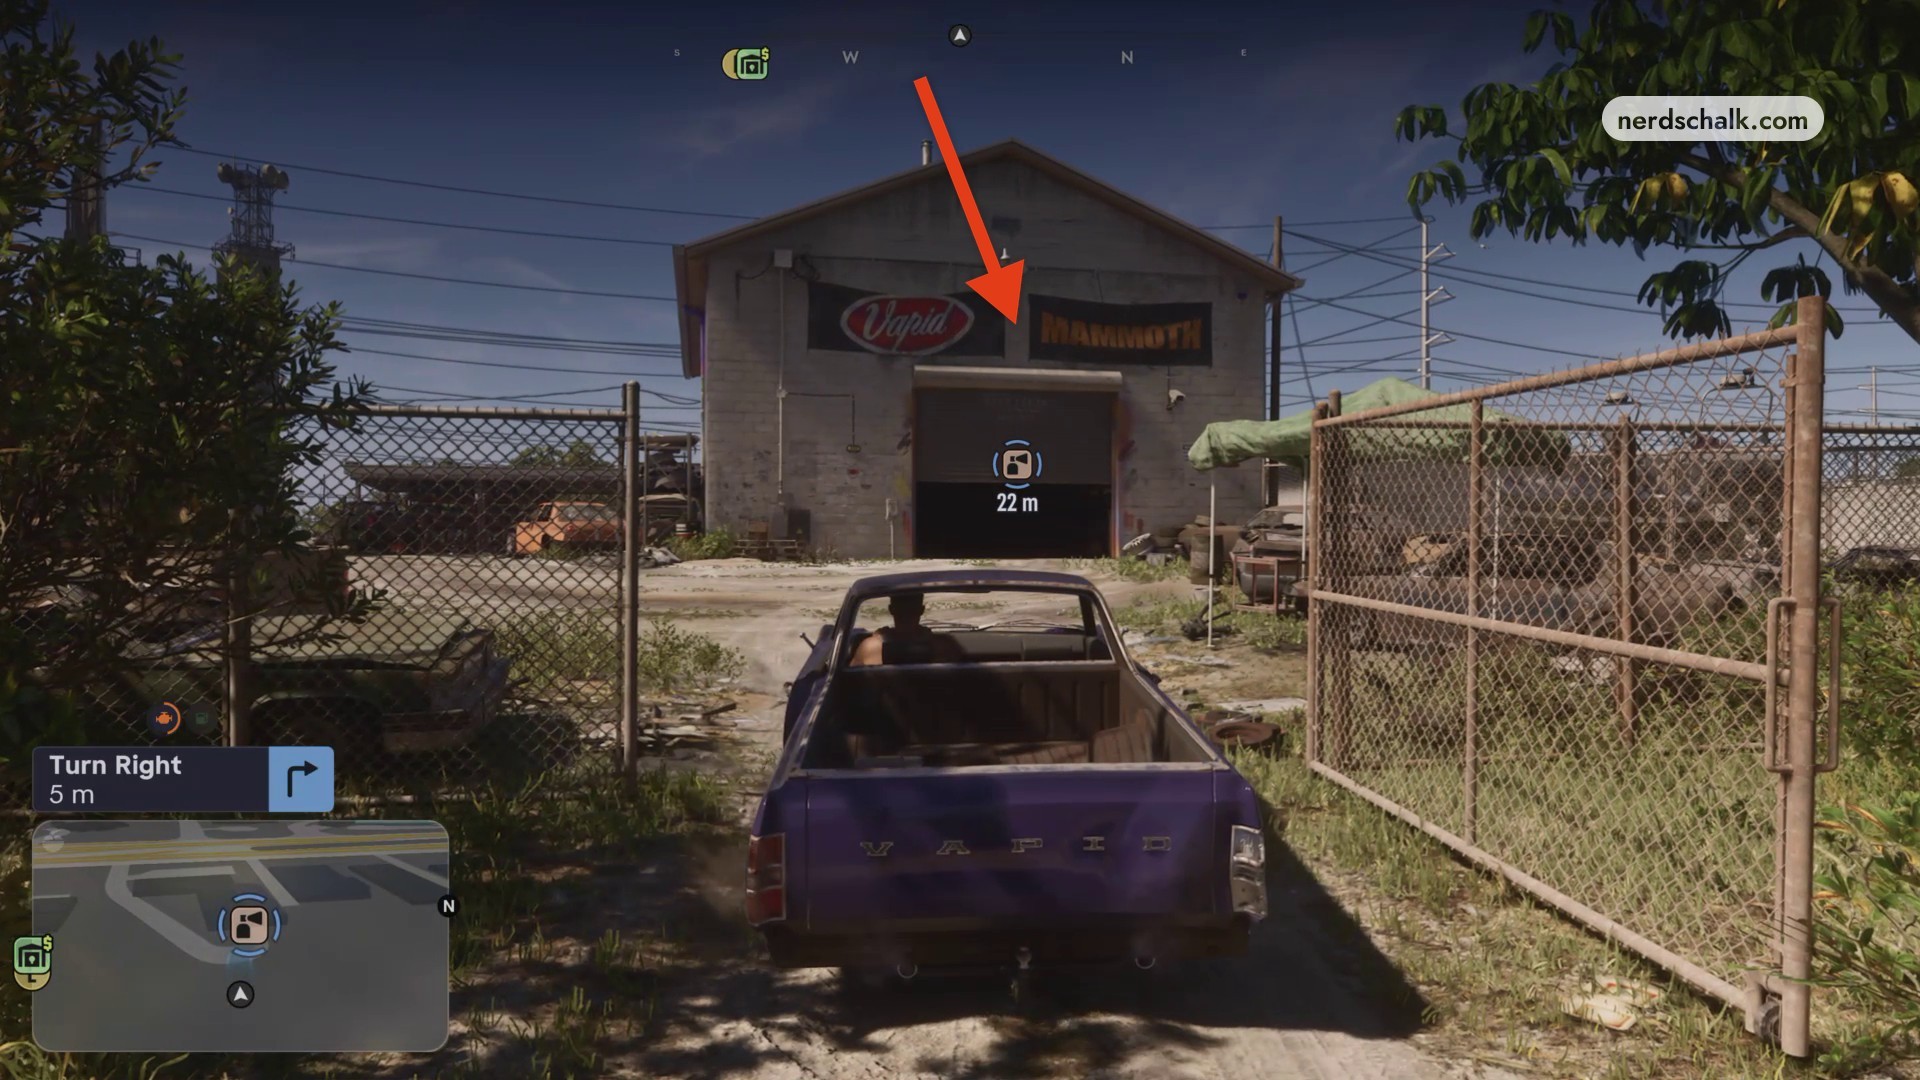
Turn off the side road and follow the dirt access path into the fenced junkyard. Look for the Vapid, V A P I D, and MAMMOTH signs around the workshop. The approach includes a Turn Right navigation cue; pull up to the open garage bay beneath the entrance arrow and drive inside.
Purchase the vehicle repair
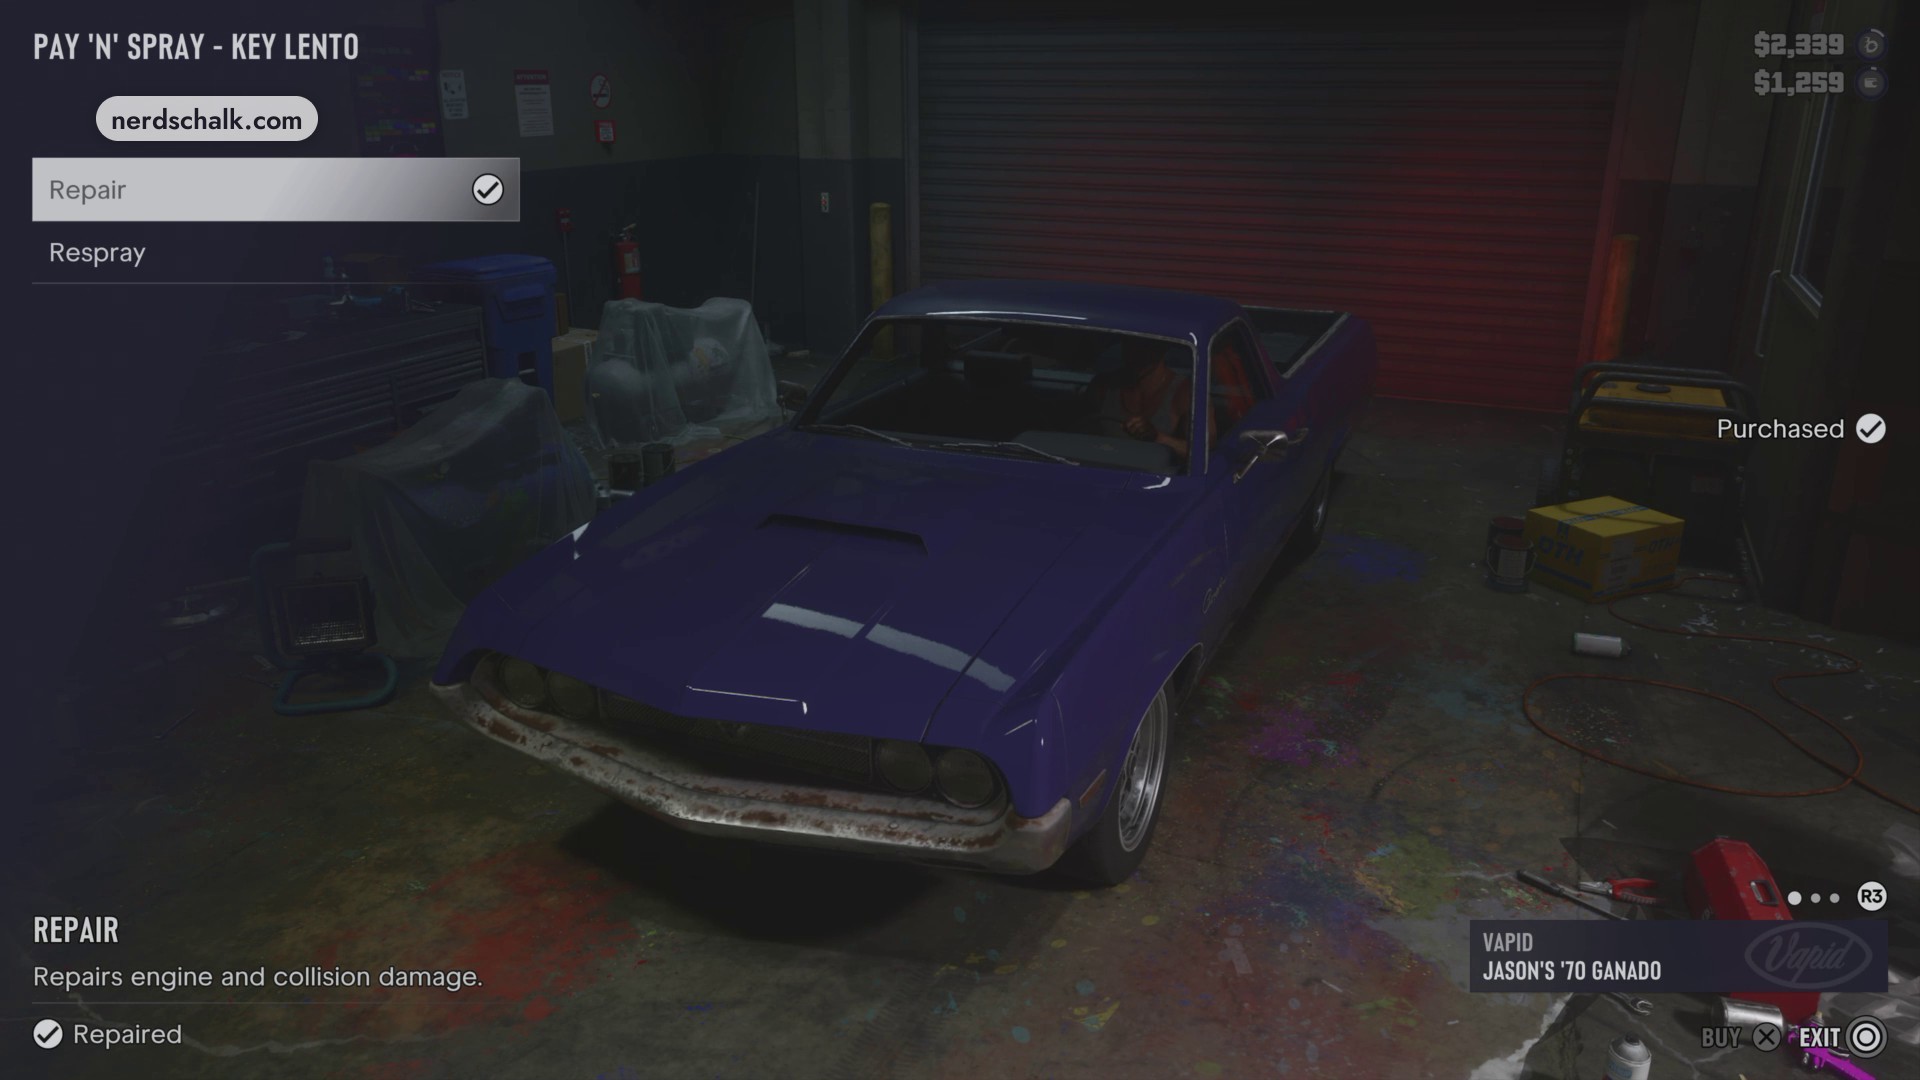
Select Repair in the garage menu and press Cross to purchase the repair. The garage interface also displays a BUY prompt. Once the purchase completes, Purchased appears in the menu and Repaired marks the vehicle’s repair status. Those labels signal that the repair is finished. The vehicle readout identifies JASON’S ’70 GANADO. For this visit, cash starts at $1,934 and finishes at $1,174 after repair, while the bank balance is $2,339.
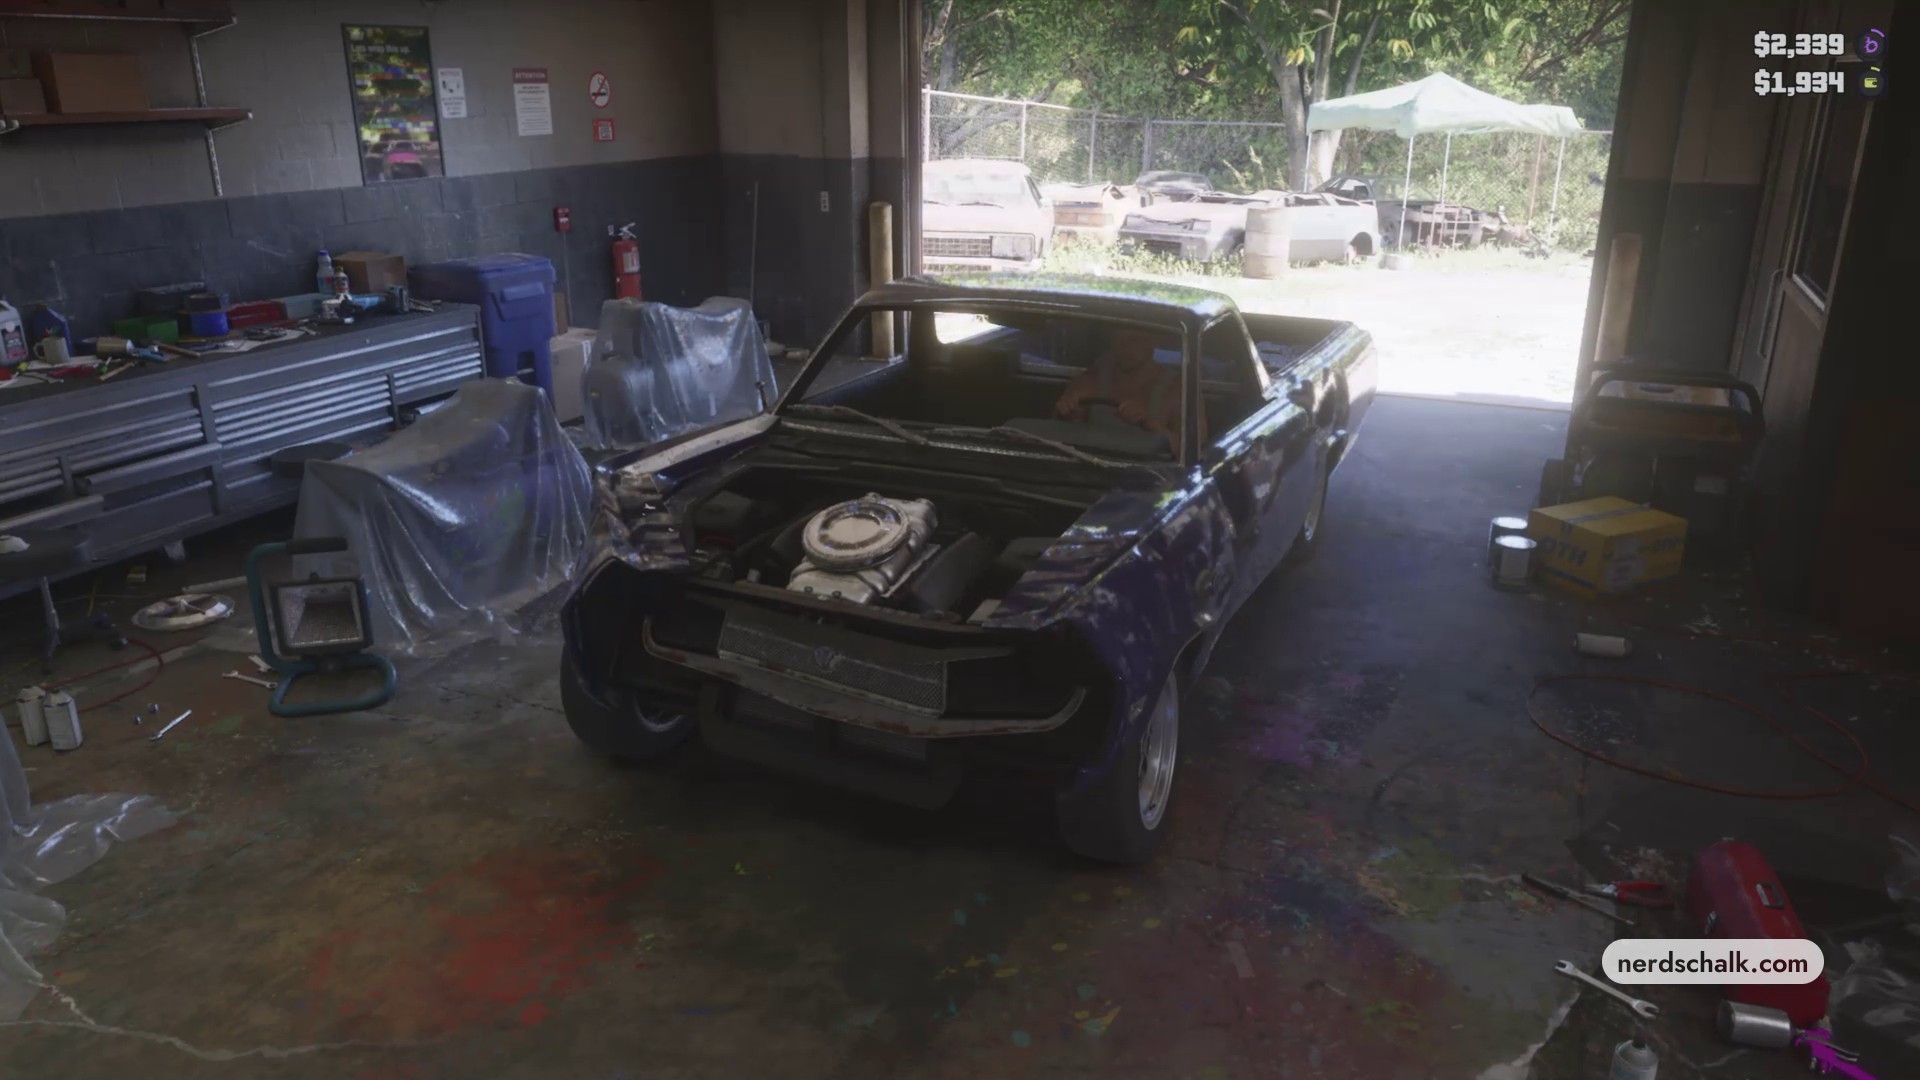
The next image shows the damaged vehicle inside the workshop before repair, where you select Repair.
Review Respray and leave
Move down to Respray to review the vehicle’s repainting choices without purchasing a repaint. When you’re finished, use EXIT and drive out of the garage, returning to the road in your repaired vehicle.
Related Grand Theft Auto VI guides
Leave a Reply