
For all its abundant features and editing options, Kdenlive can sometimes throw a wrench in the video editing process. And when problems emerge right at the point of rendering or exporting videos, things can get frustrating, to say the least.
There are a number of things that could lead to problems with rendering in Kdenlive. In this guide, we’ll show you a few fixes that can help solve problems with rendering. Without further ado, let’s get started.
How to fix Kdenlive not rendering videos [7 ways explained]
From corrupted temp files to bad environment paths, the list of possible problems is long. But besides issues with Kdenlive files and well-known bugs, bad project settings can also lead to Kdenlive failing to render your videos. Here is a look at a few common fixes for issues related to Kdenlive rendering.
Fix 1: Uninstall and then install the latest version
If you’re using an older Kdenlive version, installing and updating to the latest version can fix a lot of the problems. There have been known bugs with earlier Kdenlive versions that have caused issues specifically with rendering projects.
But before you do, make sure to uninstall the version that you currently have. To do so, press Win+I and open the Settings app. Then click on Apps in the left pane.

Click on Installed apps.

In the list of apps, find Kdenlive and click on the three-dot icon next to it.

Select Uninstall.

Click on Uninstall again.

In the uninstaller window, click on Uninstall.

Wait for it to finish. Once done, click on Close.

Then visit the Kdenlive website to download and install the latest version. As of writing this topic, the latest version is 22.12.0. Click on Installable and download the setup.

Then run the setup and follow the on-screen instructions to install the latest version of Kdenlive. To know more about installing and setting up Kdenlive, refer to our guide on How to download, set up and install kdenlive on Windows.
Related: How to use Kdenlive on Windows: Step-by-step guide
If the update doesn’t work, then you might have to try the next method first and then install the latest Kdenlive version.
Fix 2: Delete the Kdenlive Appdata folders
Kdenlive can leave behind a few temporary file folders after uninstallation. Sometimes the incongruency between these and any newly created temporary files can cause problems, especially if you’re installing a different, newer version of Kdenlive.
In such a case, you will have to manually delete these temporary file folders created by Kdenlive before a new installation. The following are the folders that you need to delete:
C:\Users\(username)\AppData\Roaming\kdenlive
C:\Users\(username)\AppData\Local\kdenlive
C:\Users\(username)\AppData\Local\stalefiles
The AppData folder is hidden by default. To view hidden files and folders, simply click on View in File Explorer.

Then select Show and click on Hidden items.

Once you find these folders, hold down the Shift key and then press Delete. This will delete them for good.
Note: Deleting these files will force Kdenlive to recreate them and can also help in situations where they have become corrupted.
Fix 3: Make sure you have the video in the timeline
For those who know how to use Kdenlive and other similar video editing tools, this may be an obvious thing. But many users make the mistake of importing the files into Kdenlive but not transferring them to the timeline before attempting to render. The result is, as one would expect, that nothing is rendered because there’s nothing in the timeline to render.
So, at the cost of stating the obvious, make sure you transfer your media to the timeline once it is imported to Kdenlive. Doing this is as simple as dragging and dropping them from the project bin to the timeline, like so:

Make the necessary edits, then select Render under “Project” in the toolbar above.

Fix 4: Enable proxy clips in Settings
If the source files used in the video are moved or deleted from their original location, Kdenlive can end up rendering videos that are completely white, or have missing elements. In such cases, restoring the source files to their location when they were imported and then rendering again can do the trick.
But a better alternative is to enable proxy clips for your project. This will allow Kdenlive to create proxy clips of your media so that even if you move the source clips around, it will still have the proxy clips to rely on when rendering.
Users have benefitted from using proxy clips in the Kdenlive project when rendering to bypass any issues that might be preventing them from exporting their videos. Here’s how to enable proxy clips in your Kdenlive project.
Click on Project in the toolbar above.

Then select Project settings.

Click on the Proxy tab and switch to it.

Here, click on Proxy clips and ensure that there’s a tick before it.

You can customize the proxy clips as you like. But if you don’t want to put conditions and ensure that proxy clips are created every time, leave everything as it is by default. Then click OK.

Now when you go to render your file, select Use Proxy Clips in the “More options” section.

You will be able to render your video without worrying about moving the source files around.
Fix 5: Disable Parallel Processing
Using paralleled processing with CPUs that have multiple cores can help share the workload and reduce rendering time. But if your CPU is not multi-cored, using parallel processing can actually cause more damage to your output video, and even raise render time.
What’s worse is that parallel processes may also render disjointed artifacts instead of a whole video – something that is known to occur even with multi-core CPUs. So, the prudent thing would be to avoid it altogether. To ensure this, make sure Parallel Processing is unchecked in the “Rendering” window.

Fix 6: Ensure that project files are uncorrupted
Corrupt source files are one of the main causes of render failure, be it for Kdenlive or any other video editing app. If Kdenlive can read but is otherwise unable to parse the files in any way, rendering is not going to produce the expected results.
Even if you’re using proxy clips, you will first have to ensure that the source files which are used to generate proxies or copies are in working order.
How to tell if a file is corrupted?
One way to tell if the file is corrupt is by running it with its default application. If the file refuses to play or takes longer than usual to do so, it is quite likely a sign of corruption.
You can also check the properties of the file (press Alt+Enter after selecting it) to check its size and details. Compare this to a similar file, or a copy of the file if you have any, and check for discrepancies. If the file details are scrambled or if the size is unreasonably larger or smaller than a similar file, you’ve got corrupt files on your hand.
Fix 7: Ensure that the MLT environment has the correct codec paths
Kdenlive relies on the proper codec files to read, write, and render media files. These codecs are automatically installed upon installing Kdenlive. But if you have recently updated (or downgraded) Kdenlive, you might have to check if the paths to the codec files are correct.
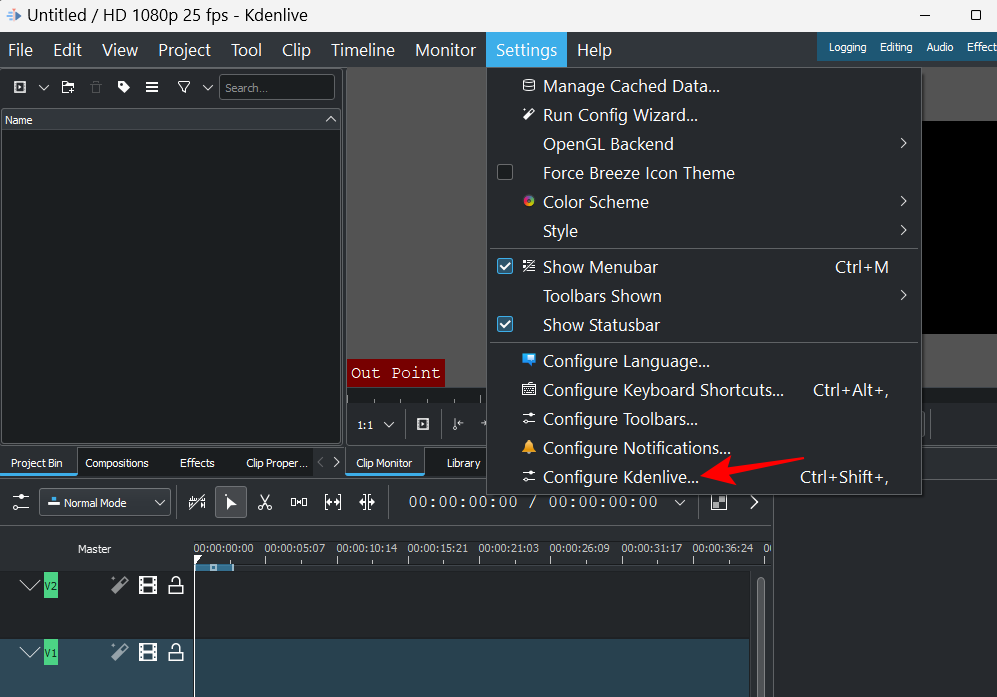
To check this, open Kdenlive and click on Settings.

Then select Configure Kdenlive.
In the “Configure” window, click on Environment in the left pane.

Then click on MLT Environment to switch over to that tab.

Here, make sure that the codec executables are all in their correct location. These will be as follows:

- FFmpeg – C:/Program Files/kdenlive/bin/ffmpeg.exe
- FFplay – C:/Program Files/kdenlive/bin/ffplay.exe
- FFprobe – C:/Program Files/kdenlive/bin/ffprobe.exe
- MLT profiles folder – C:/Program Files/kdenlive/share/mlt/profiles
- Melt path – C:/Program Files/kdenlive/bin/melt.exe
If there are any discrepancies here you will continue to get render issues. So make sure the paths are pointing to the files where they’re supposed to. Once this is done, Kdenlive will be able to use these codecs properly and render files without any hiccups.
FAQs
In this section, we take a look at a few commonly asked queries about rendering videos in Kdenlive.
Why is my Kdenlive not working?
Depending on where the root of the problem lies, Kdenlive can stop working either partially or wholly. If the problem is with rendering videos, you can use our guide above to fix the issues.
How do I render mp4 in Kdenlive?
Rendering in MP4 is a cinch in Kdenlive. All you have to do is click on “Render” under “Project”, and with the default render preset selected – MP4-H264/AAC under “Generic” – click on Render to File.
We hope you were able to fix issues related to rendering in Kdenlive with the help of this guide. If you encounter such issues with Kdenlive in the future, make sure that your files are corrupt-free and readable, that you are running the latest version of Kdenlive, and that the codecs upon which rendering relies are all available and in their right location. Until next time, keep creating!