What to know
- You can install PowerToys in four different ways. You can use the executable file from the GitHub page, use the Microsoft Store or use the Windows Package Manager either from the Command Prompt or from PowerShell.
- Installing PowerToys from Microsoft Store is the easiest way, but if you prefer installing it using a .EXE file, choose the GitHub option.
- If you run into issues with the two options above, consider installing powerToys from CMD or PowerShell.
Microsoft PowerToys is like a Swiss Army knife for Windows geeks! It’s a bunch of cool tools that make Windows more fun and easier to use. Think of it as a supercharged add-on for Windows pros and those who love to tinker!
So if you’re looking for tools that can streamline your workflow and help you be more efficient, then you might want to give PowerToys a try. Here are all the ways to install PowerToys on your PC.
What is PowerToys?
From the get-go with Windows 10, PowerToys has been the ultimate toybox for those who love to tinker. And guess what? It’s still rocking and rolling with Windows 11. Microsoft’s magic box can turn those head-scratching tasks into a cakewalk. Want to rename a gazillion files or shrink a bunch of pics? PowerToys has your back.
And there’s more! With stuff like Text Extractor and Mouse Utilities, it’s like giving your Windows and gadgets some extra superpowers. Cool, right? Bet you’re itching to give it a whirl and see what all the buzz is about, right? Let’s dive in and get PowerToys up and running on your Windows 10 or 11 rig!
Related: How to Extract Text on Windows OS
Which method should you use to install PowerToys and why?
We recommend using the Microsoft Store to get and install PowerToys on your PC. This is a seamless process and, moreover, gives you the option of updating PowerToys automatically if you have Automatic updates enabled in the Microsoft Store settings. You can also uninstall PowerToys more quickly in the future if ever needed, and installing the app using this method only takes a few simple clicks.
Related: How to Edit Registry Files With Registry Preview in Windows PowerToys
If you’re not sure how to download and install PowerToys on your PC, we recommend using the Microsoft Store. If that doesn’t work for you, you can try downloading the .EXE file from Github. If none of these options work, you can also try using CMD or PowerShell, which are methods 3 and 4 below respectively.
Let’s look at each of these methods and how you can use them to install PowerToys on your PC.
4 ways to install PowerToys on Windows 11 or 10
As discussed above, here are the four ways to install Microsoft PowerToys on a Windows PC.
Method 1: Using the Microsoft Store
You can use the Microsoft Store to very easily download and install PowerToys on your PC. Installing PowerToys from the Microsoft Store has its perks, too, including the ability to get automatic updates through the Microsoft Store. Here’s how you can install PowerToys from the Microsoft Store on your PC. Let’s get started.
Click on the link below on your PC, and you will be taken to the Microsoft Store page for PowerToys.
- PowerToys | Micorosft Store download link
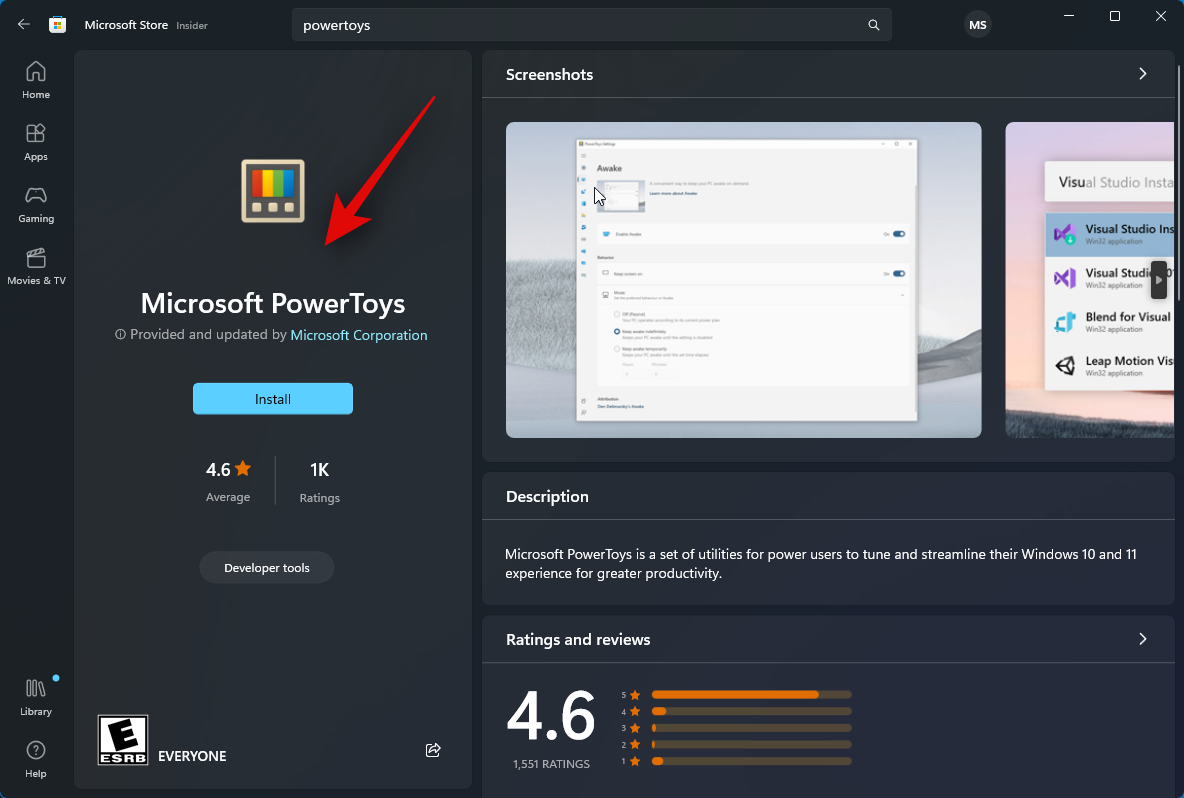
Now click on Install on your left.
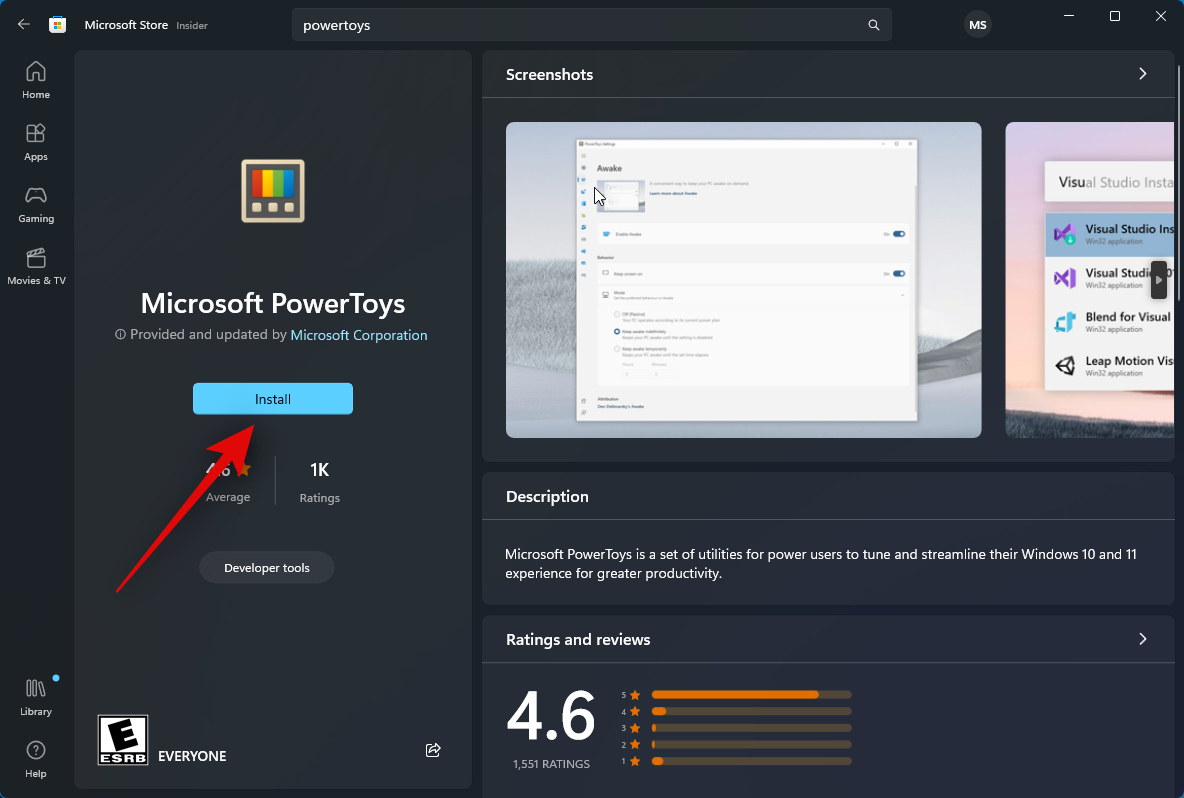
And that’s it! PowerToys will now be downloaded and installed on your PC.
Method 2: Using the executable from GitHub
Using the executable from GitHub is by far one of the easiest ways to install PowerToys on your PC. Follow the steps below to help you along with the process.
Visit this link in your preferred browser and download the relevant version of PowerToys for your PC.
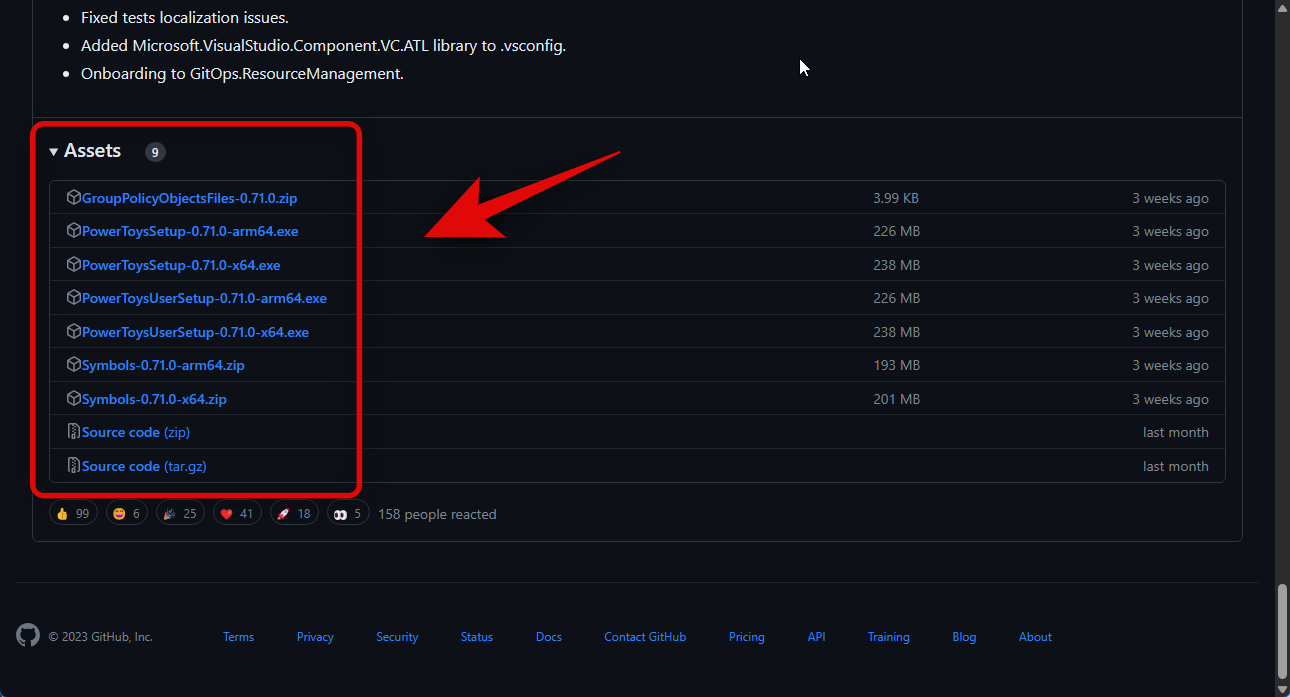
Now double-click and launch the executable once it has been downloaded.
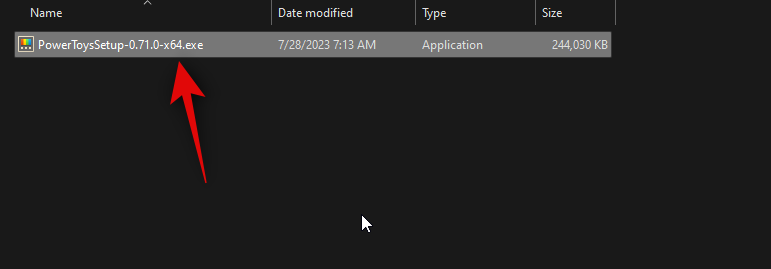
Next, click and check the box for I agree to the license terms and agreement at the bottom.
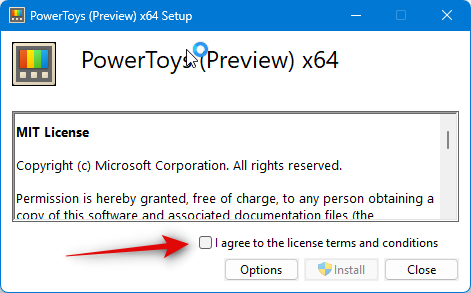
Now click Options if you wish to choose where PowerToys is installed on your PC.
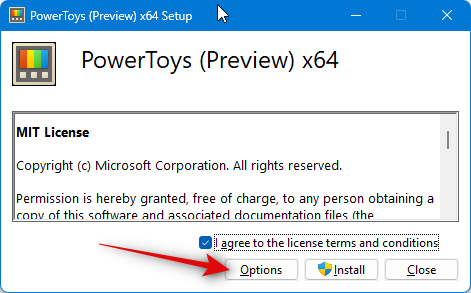
Click on Browse to choose where PowerToys is installed.
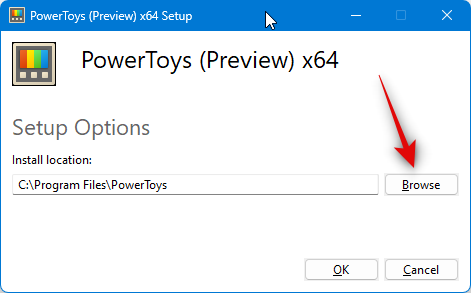
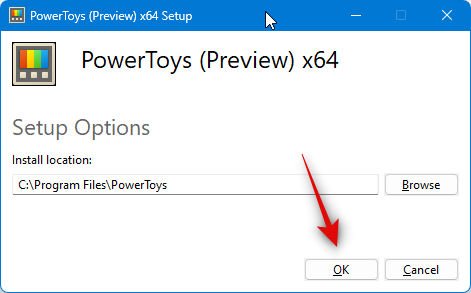
Select your preferred location and click OK once you’re done.
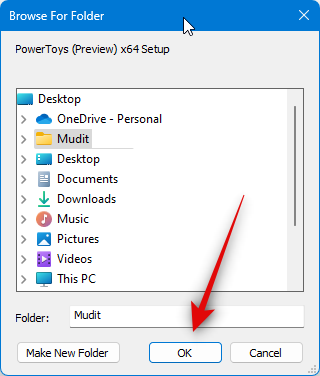
Click on OK again at the bottom.
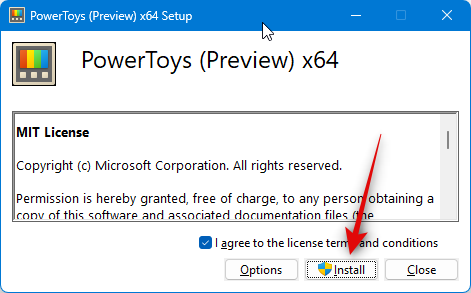
Now click on Install.
Finally, click Close once PowerToys has been installed on your PC.
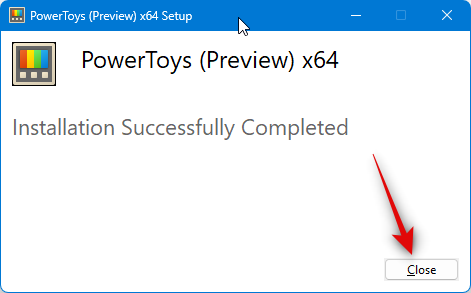
And that’s how you can use the executable from the GitHub page to install PowerToys on your PC.
Method 3: Using Windows Package Manager from Command Prompt
Windows Package Manager is another way to install PowerToys on your PC. You can use this utility to install apps either from the Command Prompt or the PowerShell. Follow the steps below to use Windows Package Manager in the Command Prompt to install PowerToys on your PC.
Visit this link on your PC, and you will be taken to the Microsoft Store page for Windows Package Manager.
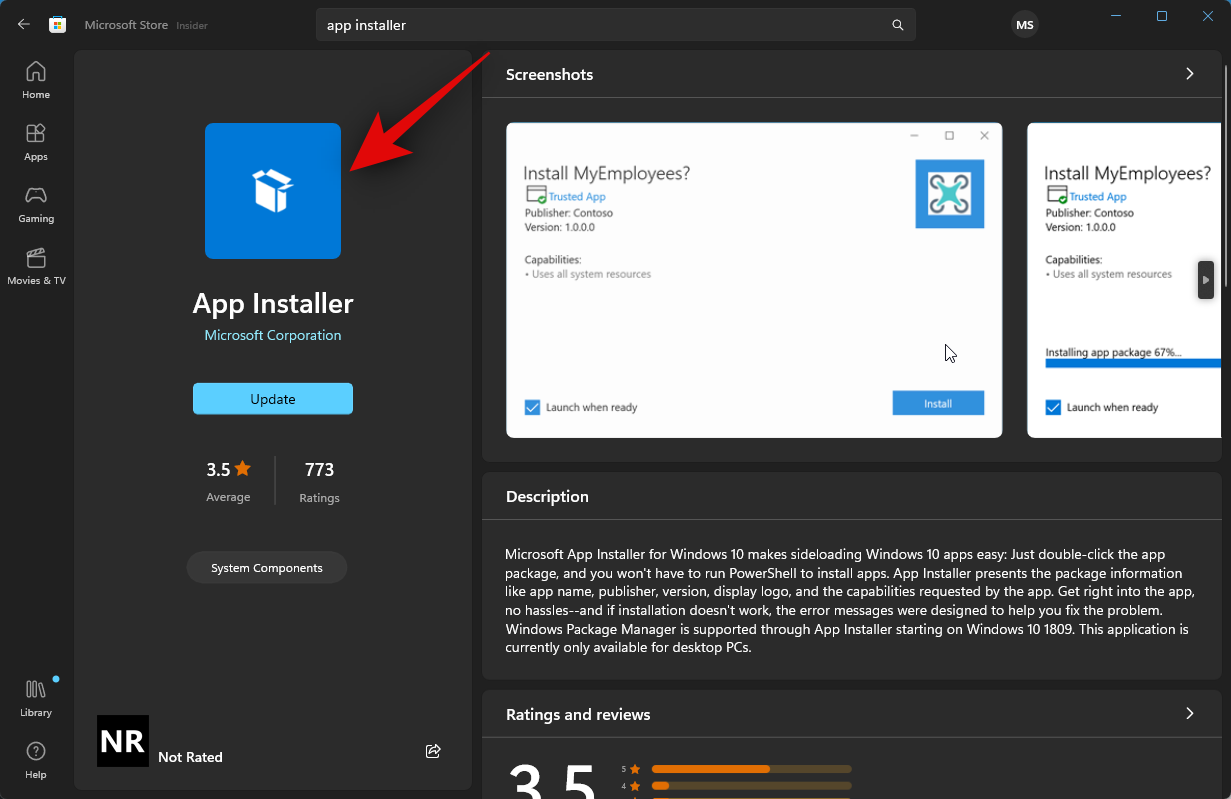
Click Install if the app isn’t installed on your PC. Click Update if you have a pending update for the Windows Package Manager.
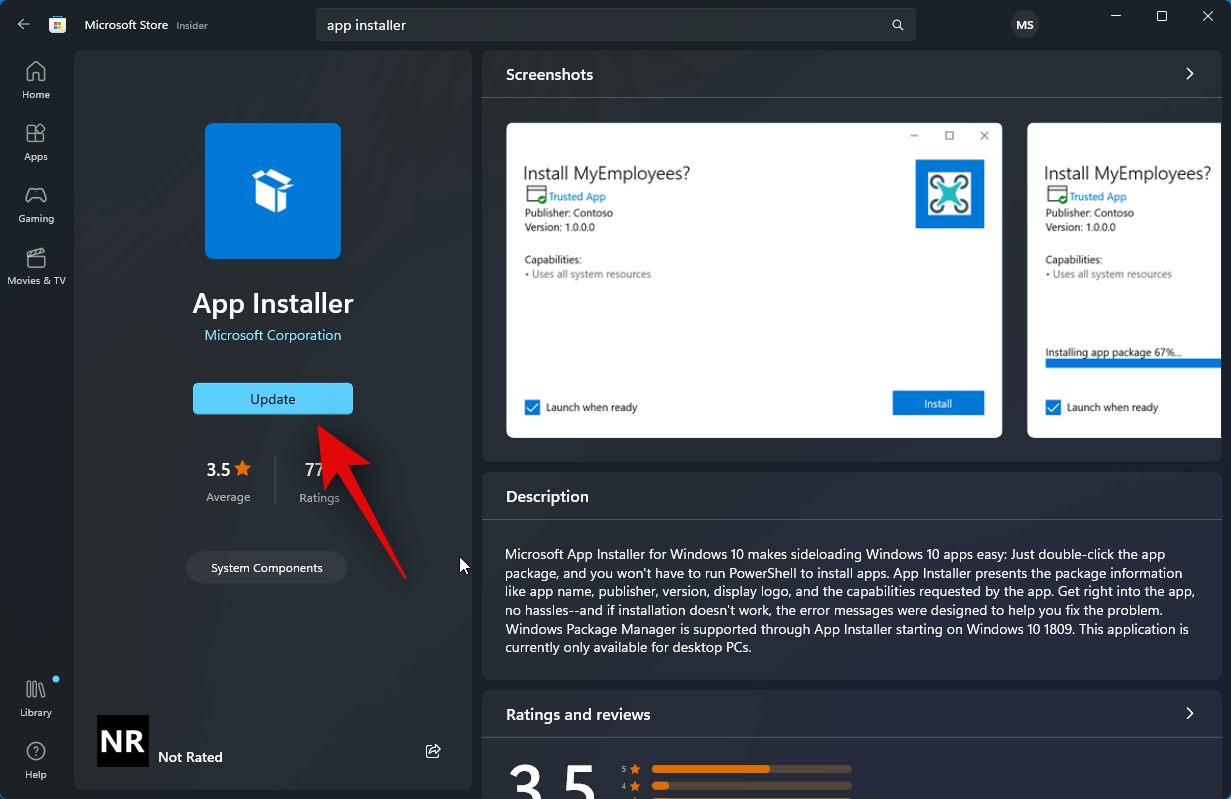
Once Windows Package Manager has been installed, close the Microsoft Store and press Windows + R to launch Run.
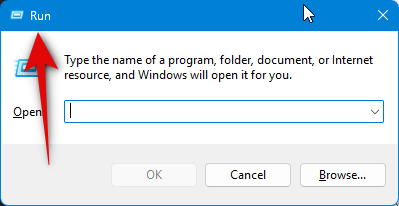
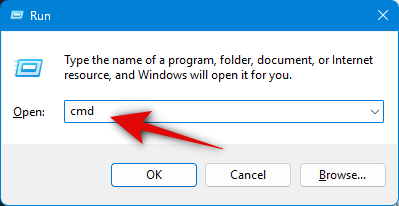
Now type in the following and press Ctrl + Shift + Enter on your keyboard.
cmd
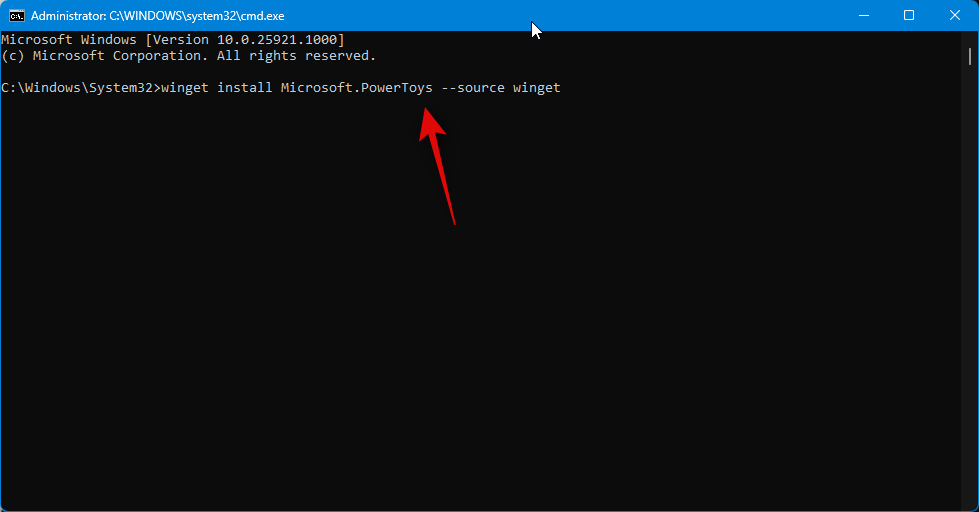
Next, type in the following command and press Enter to install PowerToys on your PC.
winget install Microsoft.PowerToys --source winget
PowerToys will now be downloaded and installed on your PC.
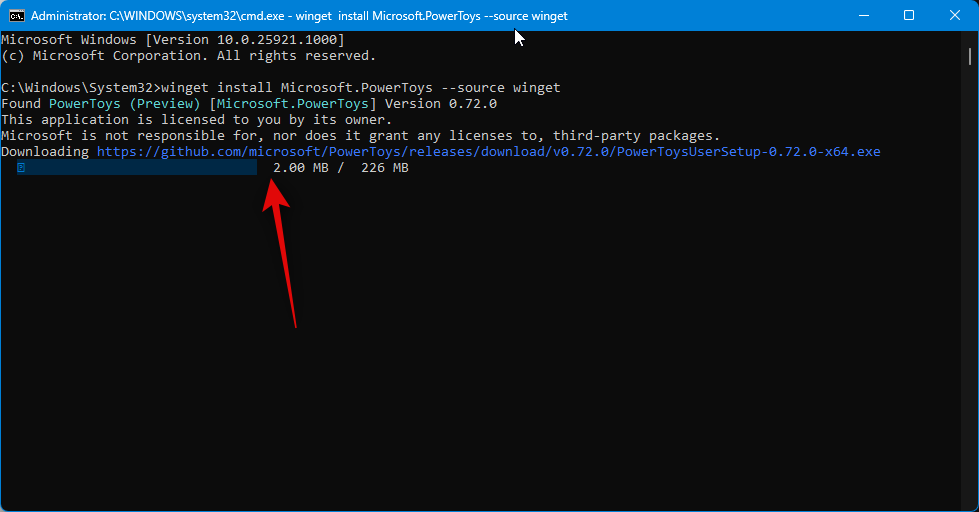
Once the process completes, use the following command to close the Command Prompt.
exit
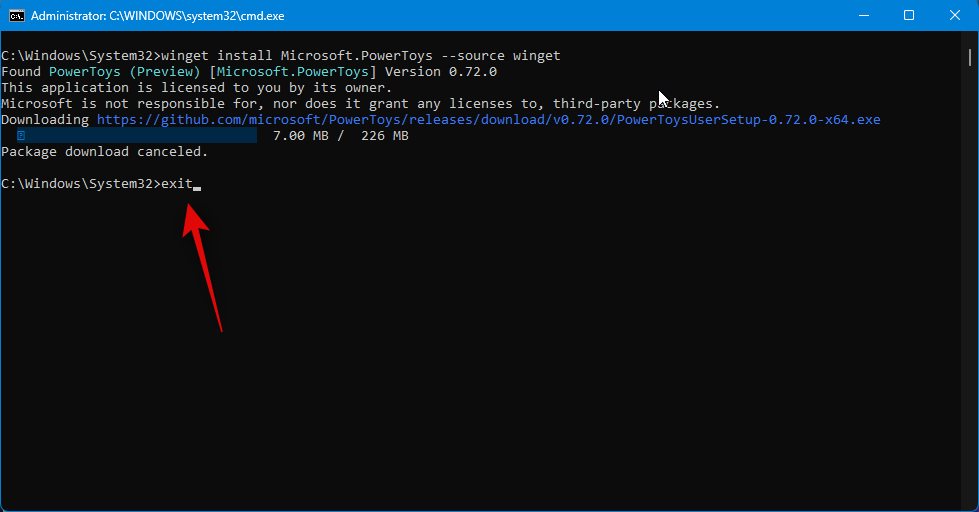
And that’s how you can use the Windows Package Manager from the Command Prompt to download and install PowerToys on your PC.
Method 4: Using Windows Package Manager from PowerShell
You can also use the Windows Package Manager from PowerShell to get and install PowerToys on your PC. Follow the steps below to help you do the same on your PC.
Visit this link, and you will be redirected to the Microsoft Store page of the Windows Package Manager.

Click Install if the Windows Package Manager isn’t installed on your PC. Click Update if there’s a pending update for the same available on your PC.

Once the package manager has been installed or updated, press Windows + R to launch Run.

Now type in the following and press Ctrl + Shift + Enter on your keyboard.
powershell

PowerShell will now be launched as an administrator on your PC. Use the command below to download and install PowerToys on your PC.
winget install Microsoft.PowerToys --source winget

PowerToys will now be downloaded and installed on your PC.

Once PowerToys has been installed, use the following command to close PowerShell.
exit

And that’s how you can use the Windows Package Manager from PowerShell to get and install PowerToys on your PC.
We hope this post helped you easily get and install PowerToys on your PC. If you face any issues or have any more questions, feel free to reach out to us using the comments section below.
RELATED


