What to know
- Google lets you hide your sensitive photos inside a Locked Folder that can be used on mobile devices running Android 6, iOS 15, or higher or using a browser on the web.
- When you lock items inside the Locked Folder on a device, they’re accessible on other devices if you turn on automatic backup for this folder.
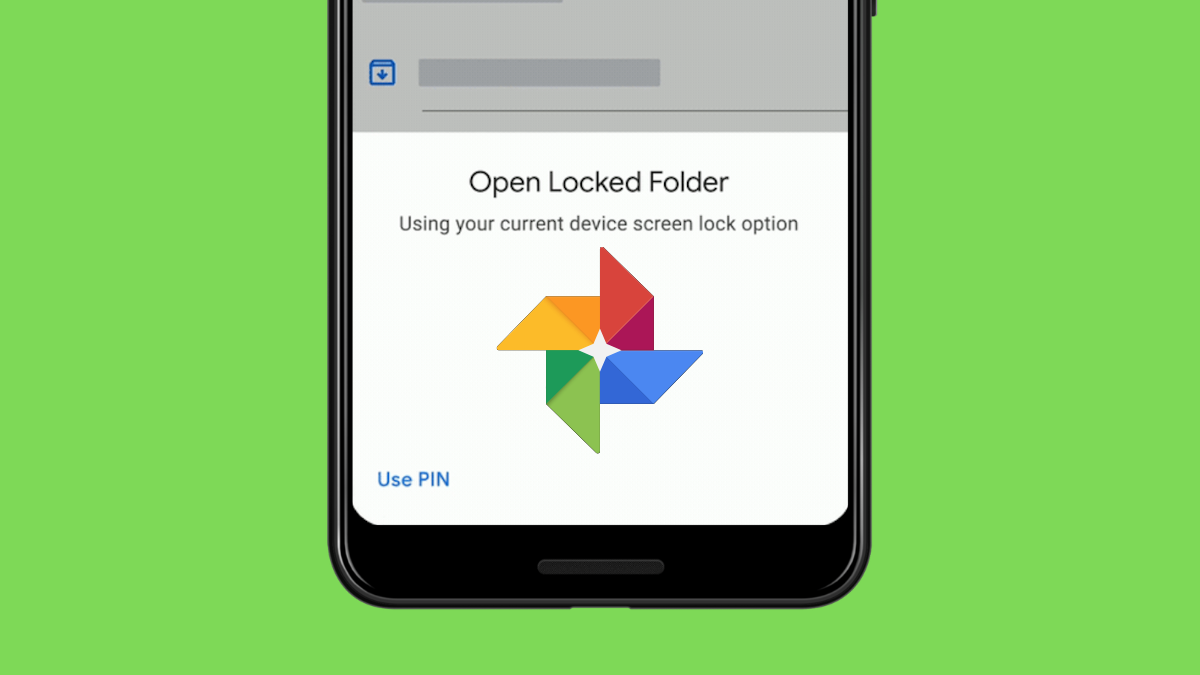
- Items inside the Locked Folder can be viewed using your phone’s screen lock, fingerprint, or face recognition or your Google account password on the web.
- You can set up and access the Locked Folder on a phone by going to Google Photos > Library > Utilities > Locked Folder.
To give your photos and videos an extra layer of privacy, Google Photos offers a useful feature called “Locked Folder” that you can use to store and hide sensitive photos on your device without it being visible to others using your phone or a connected device.
In this post, we’ll explain what Locked Folder on Google Photos is all about, why should you use it, and how to enable and use this feature on an iPhone or Android device.
What is Locked Folder on Google Photos?
Google offers you a way to save your sensitive photos to a protected space that you can lock using your device passcode or fingerprint. This way, your sensitive photos won’t show up when scrolling through Google Photos.
These photos can be anything from pictures of your loved ones, screenshots of payment receipts, a surprise gift, or anything you don’t want others to see when they have access to your phone, desktop, or a connected device like Nest Hub or Chromecast.
In addition to this, Pixel users will be able to capture photos and videos inside the Camera app and send them directly to the Locked folder. This way, your sensitive pictures won’t get backed up before you manually try to send them to the Locked Folder.
You can set up a Locked Folder using the Google Photos app on iOS, and Android, or using photos.google.com on the web. Google lets you back up items inside the Locked Folder so that they’re accessible on other devices. When you don’t enable automatic backup, the items in your Locked Folder will only be accessible on one device.
Requirements
To lock your pictures inside Google Photos, you will need to make sure you have the following things:
- A mobile device running Android 6, iOS 15, or later, or a web browser with your Google account signed in.
- The mobile device has a screen lock or biometric lock (face recognition, Face ID, Touch ID, fingerprint scanner) activated to unlock your phone.
- Google Photos app is updated to its latest version from Google Play Store or App Store.
- Make sure you use a Google account that you own and one that’s not managed by someone else. Locked Folder isn’t available on fully managed devices and for certain account types.
How to set up Locked Folder on Google Photos
Once you have all the requirements needed to use Locked Folder, you can start setting it up inside Google Photos.
- To set up your Locked Folder, open the Google Photos app on your iPhone or Android device.

- When the app opens, tap on the Library tab at the bottom right corner.

- Now, select Utilities at the top of the screen.

- Inside Utilities, tap on the Locked Folder option.

- On the next screen, select the Set up Locked Folder option.

- You will need to follow the on-screen instructions to complete setting up the Locked folder properly. If you didn’t have a screen lock set up on your phone, you will be asked to set it up since it’s a requirement for the Locked Folder to work.
- When your setup is complete, you should see the “Nothing here yet” message appear on your screen since there won’t be any items added to the folder yet.
How to add photos to the Locked Folder
After you have enabled Locked Folder inside Google Photos, you can now start adding sensitive pictures, videos, or any other items that you don’t want to show up on your Google Photos library. There are two ways to approach this – one involves moving your existing photos to the Locked folder, and the other lets you directly save a picture you click to the Locked folder. We’ll explain both of these methods below.
Method 1: Using the Google Photos app on iOS/Android
The easiest and most convenient way of adding items to a Locked folder is through the Google Photos app itself.
- To move photos to the Locked Folder, open the Google Photos app and navigate to the items you want to lock.
- Once you locate the items to lock, tap and hold on any one of them to select it.

- If you have multiple items to lock, select them after long-pressing on them once.
- Once you have selected the items you want to lock, tap on the 3-dots icon at the top right corner.

- In the overflow menu that appears, select the Move to Locked Folder option.

- To confirm this process, tap on Move again, and the selected items will now disappear from where they were in your Google Photos library.

Method 2: Using the Camera app on Google Pixel 3 to Pixel 6a
While you can lock your sensitive pictures from Google Photos, there’s an easier way to send items to the Locked Folder if you own a Pixel device. On older Pixel devices (Pixel 3, Pixel 3a, Pixel 4, Pixel 4a, Pixel 5, Pixel 5a, Pixel 6, and Pixel 6a), you can capture pictures directly to the Locked folder without needing to move them separately.
- Open the Camera app on your device.

- Inside Camera, tap on the Photo Gallery icon at the top right corner.

- Now, select Locked Folder from the overflow menu to make sure all your upcoming captures are sent to the locked folder.

- You can now capture as many pictures as you want from the Pixel Camera app by tapping the Shutter button. All the pictures you take with a Locked Folder are automatically sent to your device’s Locked Folder.

Method 3: Using the Camera app on Google Pixel 7 or later
On the Google Pixel 7 or newer devices, you can send photos you capture from the Camera app to the Locked Folder in a different way.
- Open the Camera app on the Pixel phone and capture a photo that you want to send to the Locked Folder by tapping the Shutter button.
- Once this photo is captured, it will be visible as a thumbnail on the right-hand side of the Shutter button. To send this picture to the Locked Folder, tap and hold on this thumbnail and select Locked Folder from the overflow menu.

How to access photos inside the Locked Folder
When you lock pictures and videos from your library, they’ll be moved to the Locked Folder in the Photos app.
- To access the locked items, open the Google Photos app.
- Inside Google Photos, tap on the Library tab at the bottom.
- Select the Utilities option at the top of the screen.
- Inside Utilities, tap on the Locked Folder option.
- You will have to unlock the folder using your screen lock or fingerprint.

- Once you get past that, you will see all the pictures and videos you locked earlier.

How to move photos from Trash to Locked Folder
Google currently only allows users to move photos that are in their library onto the Locked Folder. In case, you want to move items from the Trash folder on Google Photos to the Locked Folder, the only way to do it is to first restore the content from Trash back into your Photos library and then move it to the Locked Folder from there.
- Open the Google Photos app.
- Inside Google Photos, go to the Library tab at the bottom right corner.
- Inside Library, select Bin at the top.

- On the next screen, you’ll see all the pictures and videos that you deleted recently (as old as 60 days). To restore them, tap and hold on the item you want to restore. If you have multiple items to restore, select them and then tap on the Restore button at the bottom.

- Once these items have been restored, go to their original locations and then move the photos to the Locked Folder as you would with any other items inside the Google Photos app.
How to restore photos from your Locked Folder
If you no longer wish to keep something hidden inside the Locked Folder, you can restore it to your Google Photos library. Doing so will bring back this picture into your “Photos” tab if it was captured on your phone or across other sections of your phone’s photo library if it was saved from elsewhere.
- To restore contents from your Locked Folder, open the Google Photos app on your phone.
- Inside Google Photos, tap on the Library tab at the bottom right corner.
- On the Library screen, tap on Utilities at the top.
- In the Utilities screen that appears, tap on Locked Folder.
- Now, authenticate your identity using the screen lock, fingerprint, or face unlock set up on your phone.
- Once authenticated, you should see the Locked Folder on your screen. Here, locate the picture you want to restore and tap on it to open it.

- When the photo loads up in full view, tap on Move at the bottom left corner.

- You should see a prompt on the screen asking you whether you wish to move the selected picture out of the Locked Folder. To continue, tap on Move inside this prompt.

- The selected picture will now move back into your Google Photos library. If you wish to restore multiple items from the Locked Folder, tap and hold on any item from the Locked Folder screen until it gets highlighted. Now, select more items from this screen to highlight them as well.

- Once you’ve selected the desired photos and videos you want to restore, tap on Move at the bottom left corner of the screen.

- You should see a prompt on the screen asking you whether you wish to move the selected picture out of the Locked Folder. To continue, tap on Move inside this prompt.

- When you do that, the items you selected will be moved out of the Locked Folder and sent to your Google Photos library.
FAQs
Why should you move your photos to a Locked Folder?
Before we move on to explain how to use Locked Folder on Google Photos, you must know why you should use it. Here’s why you should move your photos to Locked Folder:
- It stores your photos and videos separately without making them appear in the Google Photos grid.
- Lets you lock photos with your screen lock or fingerprint.
- Locked items don’t appear inside albums, libraries, or even if you search for them inside the app.
- Won’t be accessible by other apps on your phone even if they have access to your device storage.
- Locked photos won’t appear in existing memories and newer memories will no longer be able to use locked photos.
- Anyone who has access to your desktop or a connected device with Google Photos won’t be able to see your locked pictures unless they know your Google account password.
What happens when you move photos to a Locked Folder?
When photos are moved to the Locked Folder, they can specifically only be accessed inside the Library > Utilities > Locked Folder. These items will no longer appear inside albums, shared items, or search results, and will also be excluded from new and future memories on Google Photos. If an item you moved to the Locked Folder was included in an existing Memory or a draft print order, it will also be removed from these sections.
Third-party apps that have access to files and folders on your device won’t have access to items in your Locked Folder. This also means that, even if you open the Locked Folder, you cannot share a photo or video from it directly without moving it out of the Locked Folder.
Difference between Locked Folder and Archive
While it may look similar at first glance, photos you move to Locked Folder and Archive behave quite differently.
| Locked Folder | Archive |
| Removes items from Photos feed | Removes items from Photos feed |
| Won’t show up anywhere else on Google Photos | Will still appear in search results, albums, memories |
| Won’t be accessible by other apps | Archived items can be viewed by other apps if they have access to your files |
| Locked pictures and videos cannot be directly edited | Items in the Archive can be modified using the Edit tool from anywhere they can be accessed |
| Cannot be added anywhere unless unlocked | Can be added to albums and shared folders |
| Cannot be sent to Bin without unlocking items first | Archived photos can be directly sent to Bin |
Disadvantages of using Locked Folder
The ‘Locked folder’ can protect your sensitive and confidential pictures from others. While it has some use cases, there are also some disadvantages to using a Locked Folder that may prompt you to reconsider the option of moving stuff into it.
- Locked content isn’t directly shareable: You may want to lock a picture from someone who has your phone but you might have to unlock the content to be able to share it as a message or post on social media.
- You cannot edit photos in the Locked Folder: Items inside the Locked Folder get the same treatment as those in Trash, meaning there’s no way to edit them unless you unlock them.
- Can be permanently deleted but can’t be sent to trash: It may seem like a privacy-centered move and to send a locked item to trash, you will need to unlock it first and then send it to Bin.
- Items may get permanently deleted when you delete the Google Photos app without backup enabled: If the content inside the Locked Folder isn’t backed up, it stays on your device alone. So, you may end up losing items inside this folder forever if you delete the Google Photos app or clear its app data.
I moved a photo to the Locked Folder. Why do I see it elsewhere?
If you’re able to see a photo/video you may have sent to the Locked Folder anywhere else on Google Photos, it may have happened due to any of the following reasons:
- The Photos app hasn’t completely moved items to Locked Folder: Google in its support page said that it may take up to an hour for items to disappear from existing albums, memories, shared libraries, and connected devices.
- You may have more than one copy of the item you locked: If the picture you just locked on Google Photos had many other duplicates before you locked it, then it’s important to know that the app only adds the exact item you selected to the Locked Folder. All its duplicates, even if they’re identical, will still be accessible in the user’s library unless they’re sent to the Locked Folder as well.
- You may have mistakingly moved items to Archive: When sending photos to the Locked Folder, there’s a chance that you may have selected the ‘Move to Archive’ option instead of ‘Move to Locked Folder’. If that’s the case and if the selected files are in the Archive, you may see them inside Google Photos’ Library screen and also across other apps on your phone.
I can’t see the ‘Locked Folder’ feature on Google Photos. Why?
The Locked Folder feature is available on Android devices running Android 6 or higher or on iPhones running iOS 15 or later. If you own a device that doesn’t run on Android 6 or iOS 15, you won’t be able to use this feature on your phone.
For non-Pixel devices, the Locked Folder functionality is only accessible inside the Google Photos app, so you won’t be able to send pictures you capture directly from the Camera app on these devices. To move pictures directly from the Camera app, you need to own a Google Pixel 3 or newer device. If you’re using Pixel 2 or older devices, this functionality won’t work for you.
In such cases, we recommend using the Google Photos web app to lock your sensitive photos.
The ‘Locked Folder’ feature won’t be available on devices that are fully managed by someone else or if your Google account doesn’t support it. So, even if you use a supported Pixel device, you may be unable to lock your content if it’s logged into a fully managed account. In such cases, you will need to contact your device/account admin and get it resolved.
I moved a photo to the Locked Folder but I don’t see it there. Why?
The photos and videos you move to the Locked Folder on your phone will stay inside this folder for as long as you use the Google Photos app. If you previously moved items inside the Locked Folder but can no longer access it, it may be because:
- You uninstalled the Google Photos app from your phone sometimes without backing up content inside the Locked Folder.
- You cleared the app data for the Google Photos app without backing up photos inside the Locked Folder.
Since content inside the Locked Folder stays within the Photos app on your phone, it isn’t backed up or synced across other devices you own. If you unknowingly cleared the app data for the Google Photos app or uninstalled the app on your phone, the Locked Folder and any items inside it will also be permanently deleted.
If you’re planning to uninstall the Photos app or clear its data in the future, make sure you restore contents from the Locked Folder first to avoid losing your sensitive photos forever.
That’s all there is to know about Locked Folder on Google Photos.
RELATED
-
- How To Remove Contact Suggestions When Sharing in Google Photos
- How To Save Images From Gmail Directly to Google Photos
- What is Google Photos Storage Saver? Is it the same as High Quality?
- Google Photos Memories List: What Kind Of Memories Can the App Show You
- Google Photos: How To Get and Use New Editor With One-Tap Suggestions
- How to disable Map View on Google Photos
- How to get and use the Map View on Google Photos


2 responses to “How to Use Locked Folder on Google Photos”
Hi there .I read almost your every blog. I have a question How does a direct call flow between D2D initiate
in mobile cellular wireless network according to the standards?
I find it interesting that you can only move photos to your locked folder if your online… even photos just taken while offline. That raises a red flag for me.