What to know
- The native Files app on Android lets you scan documents and save them as PDFs automatically.
- To scan with the Files app, tap on the floating ‘Scan’ option, place your document within the camera frame, and let the files be compiled into PDFs automatically.
- You can also manually scan documents or use images in your gallery to compile them into PDFs.
Scanning documents using third-party apps can get cumbersome, what with all the advertisements, signing into accounts, framing the documents, and capturing the images yourself. But thanks to a new update, the native Files app on your Android device lets you scan documents too, manually as well as automatically. Here’s everything you need to know about using it.
How to use Google’s Files app to scan and save documents as PDF
Here’s how to use Google’s native Files app to scan and save documents as PDFs.
Automatically
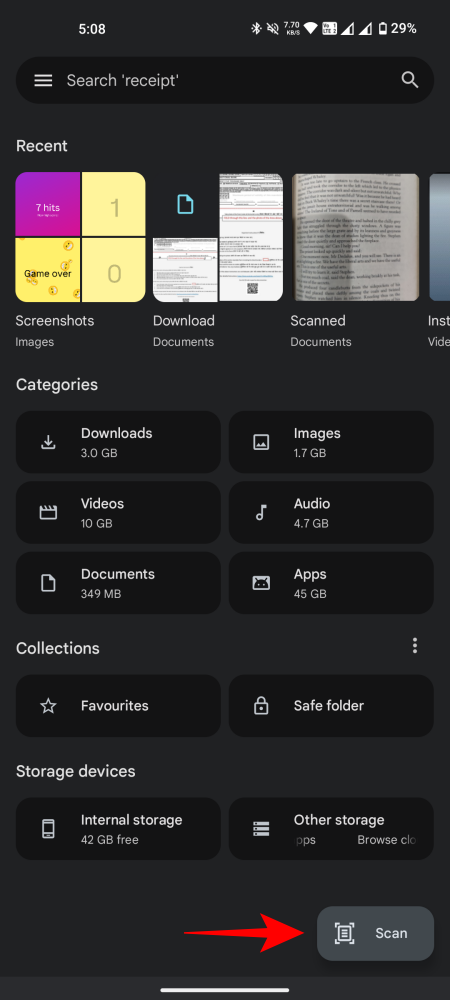
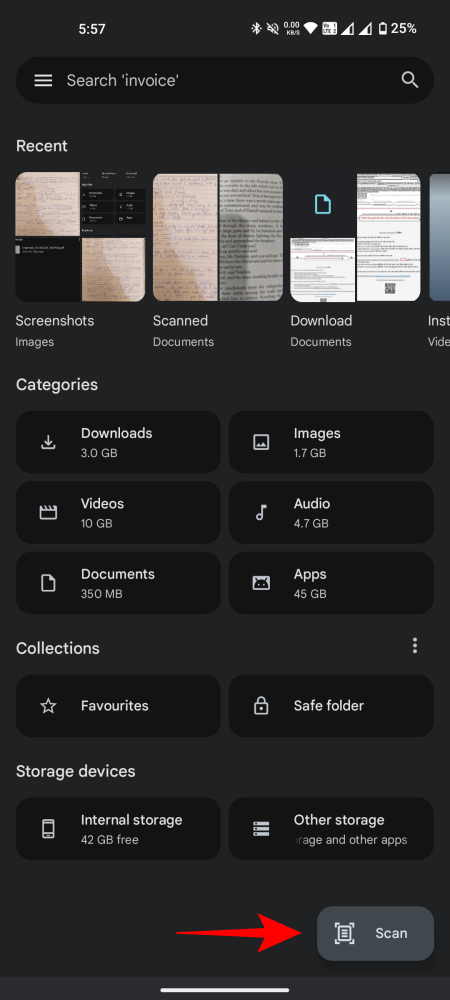
- Open the Files app and tap on the floating Scan button in the bottom right corner.
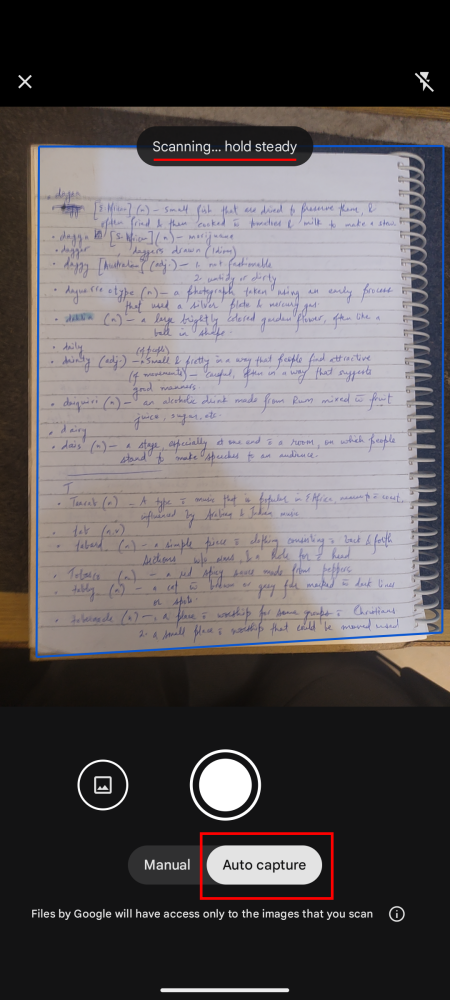
- By default, you’ll have the ‘Auto capture’ option selected. Simply point it at your document and let the scanner recognize and take a snapshot, all automatically.
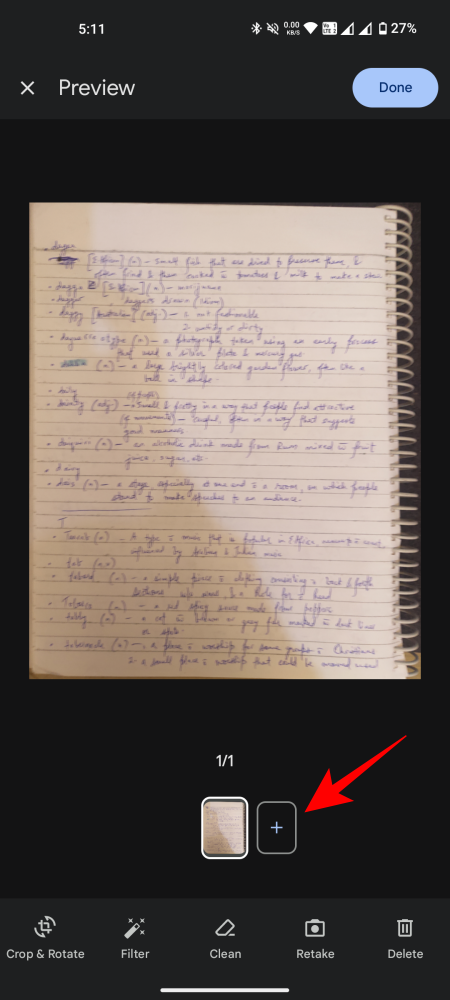
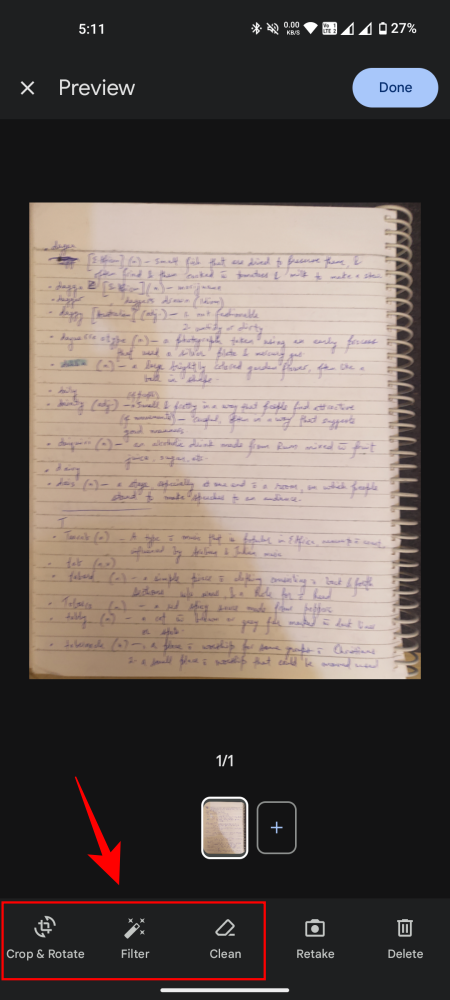
- Once captured, tap + to capture another image. You’ll have the options to edit the image and ‘Crop & Rotate’, add ‘Filter’, and ‘Clean’ the documents of any stains.
- If the image is beyond saving, you can either tap on Retake to try again or Delete.
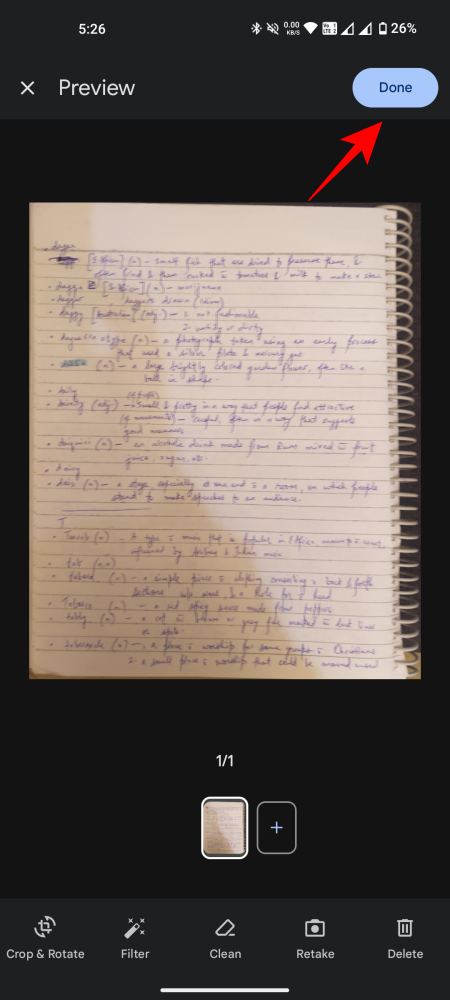
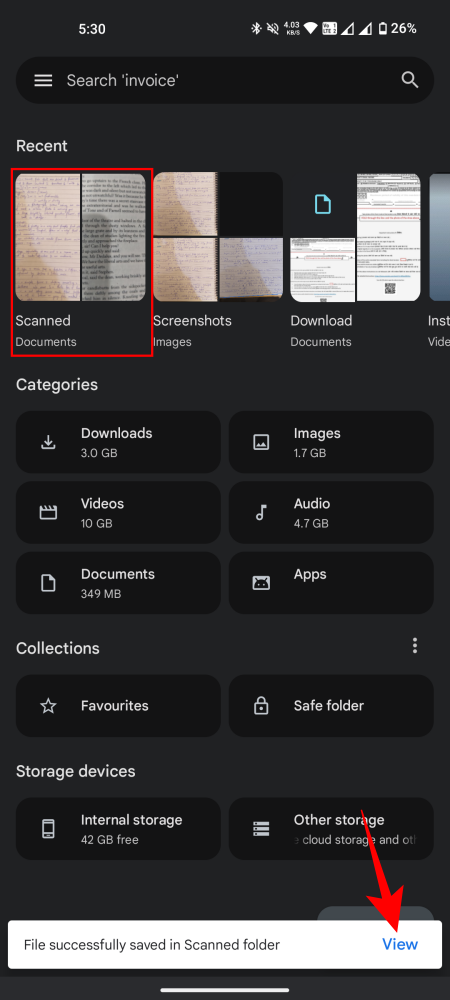
- Once done, tap on Done in the top right corner. The document will automatically be compiled and saved in a folder called ‘Scanned’. Tap on View in the pop-up notification at the bottom. Or open the ‘Scanned’ folder in the app.
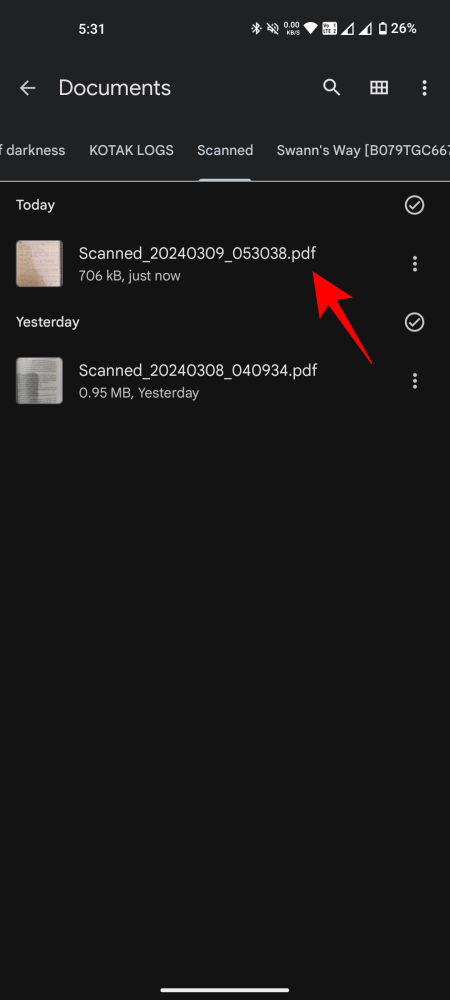
- Find the scanned PDF document and open it to view the results.
Manually
If the auto-capture feature doesn’t work, you can take the reins and capture documents manually. Here’s how:
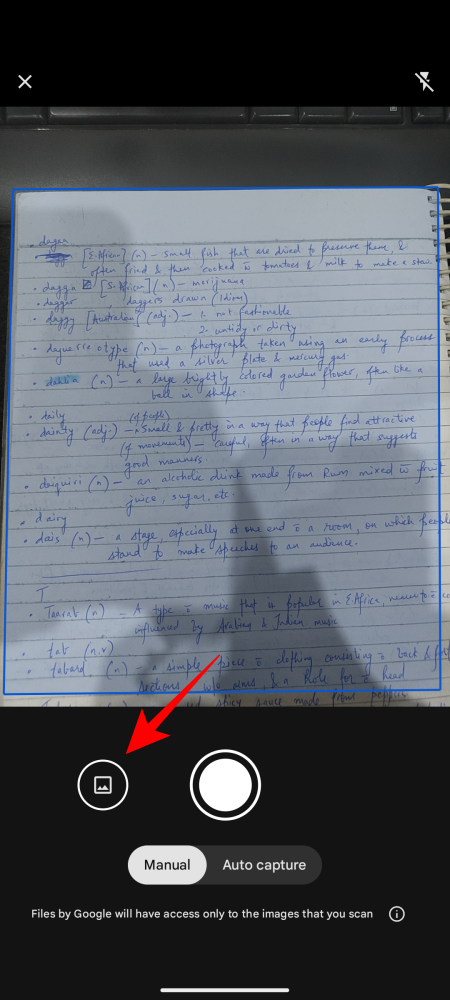
- Tap on the Scan button in the bottom right corner and select the Manual option.
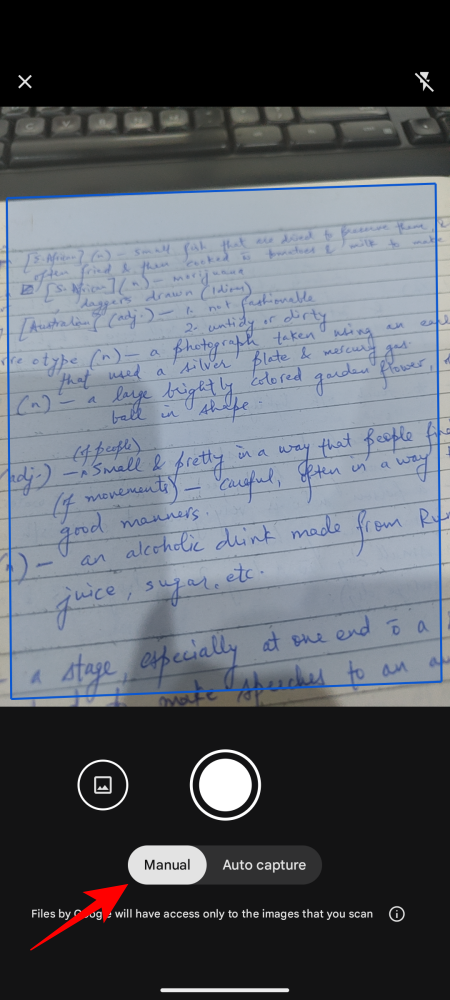
- Point it at the document and tap on the camera shutter to capture it. Then use the options at the bottom to edit the image, or retake.
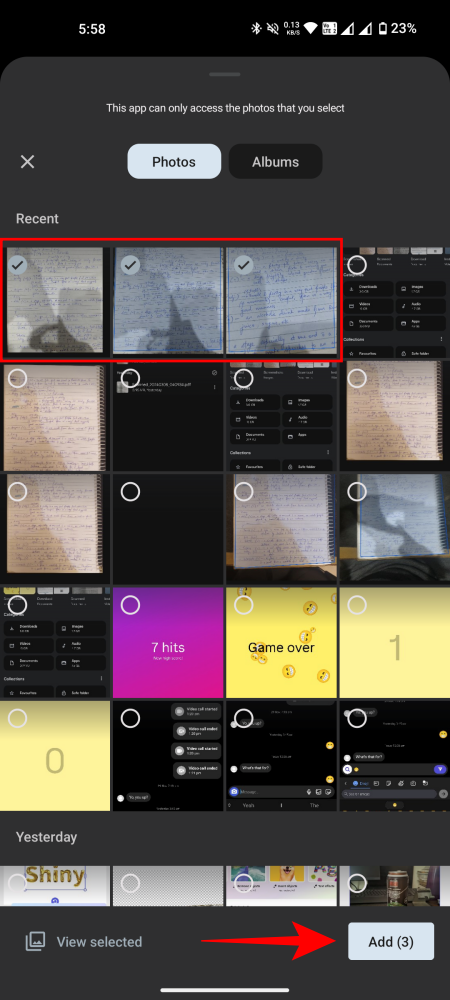
- Alternatively, if you already have images in your gallery that you want to compile into PDFs, tap on the Gallery icon to the left of the shutter icon. Select the images and tap on Add in the bottom right corner.
- Now, just as before, make any necessary changes, tap Done, and find your PDF in the Scanned folder.
And just like that, you’ll have scanned your documents and converted them into PDFs automatically, as well as manually.
With the addition of the Scan option in the native Files app for Android, users can start scanning documents in as few taps as possible, especially when done automatically. We hope this guide helped you with the same. Until next time!