
What to know
- Before you map a drive, ensure network discovery is enabled from Control Panel > Network and Sharing Center > Change advanced sharing settings. Alternatively, do so from Settings app > Network & internet > Advanced network settings > Advanced sharing settings.
- Map a drive from File Explorer > More options > Map network drive.
- You can also use the IP address to map a drive via the Command Prompt, PowerShell, or use the Notepad to map a drive for all users at once.
If you frequently need to connect to a remote folder or a drive shared on your network, mapping the drive or the folder location on your Windows 11 PC will save you a big chunk of time. Plus, the entire experience of using a mapped network drive feels identical to using any other drive plugged into your PC.
Here’s how you can map a network drive on Windows 11.
First, configure Windows for Network drives
Before we begin with the steps, you need to make sure that Windows 11 is configured to find other PCs and devices on your network.
- Click the Start button and type in ‘Control Panel’. Click on the search result or the open button.

- Click on ‘Network and Internet’.

- Click on ‘Network and Sharing Center’.

- Click on ‘Change advanced sharing settings’.

- Click on ‘Turn on network discovery’ and then click the ‘Save changes’ button. Accept any prompt that may appear.

- After this change, your PC should be able to find your network folder or drive and be discoverable by other PCs and devices on your network.
It’s time to map the drive to your Windows 11 PC.
5 Ways to map a drive on Windows 11
Once you have configured your Windows 11 PC for mapping as given above, you can now go ahead and map a drive on your PC. Here are various methods to map a drive on Windows 11 OS.
Method 1: Using File Explorer
- Open ‘This PC’ by pressing the
Win + e. From the Quick Access window, click on the shortcut for ‘This PC’.

- Click on the three-dot menu and from this list of options, select ‘Map a network drive’.

- You should see a popup titled ‘Map Network Drive’. On this popup, select your preferred drive letter for the remote location, enter the URL of your network folder, and click ‘Finish’. You can also click on the ‘Browse’ button and select the shared folder.

- Tick the ‘Remember my credentials’ to save your credentials, instead of entering them every time you connect.

- After verifying the credentials, Windows should open the remote folder right away. You should be able to find the newly added network location in your ‘This PC’ window.

That’s it! You have successfully mapped a network location to your Windows PC.
Method 2: Using the context menu of the shared drive
Another, rather simpler way to connect to the shared drive is to navigate to the shared network drive or folder in File Explorer, and then use the context menu to map it as a drive on your PC.
There are a couple of ways that you can access the shared drive via File Explorer.
- First up, press
Win+Eto open File Explorer. Now click on Network in the left pane.

- Select the system that’s sharing the drive by double-clicking on it.

- Then right-click on the folder or the drive to map and select Map network drive…

- The familiar ‘Map Network Drive’ window will open up. Select the drive letter for the mapped drive, and then click on Finish to map the drive.

- Your drive/folder will now be mapped and available on the ‘This PC’ page.

- If you know the IP address of the system that’s sharing the drive, then you can simply click on the address bar and type the IP address in the following format:
\\IP_address
Make sure to change IP_Address with the IP address of the sharing network.

- Then right-click on the drive/folder that you want to map and select Map network drive as shown above.

- If you want to check the folders that are shared by you, you can either enter your own IP address or type 127.0.0.1 instead (which directs to the local host).

Method 3: Using CMD
You can also map a drive in Windows 11 via the CMD. Use the guide below to get you started.
- Press
Windows + Son your keyboard and search for CMD. Click on ‘Run as administrator’ once it shows up in your search results.

- Enter the following command and press Enter on your keyboard. Replace ‘DLetter’ with the drive letter of your choice and replace ‘PATH’ with the path to the particular folder you wish to map:
net use DLetter: \\PATH /PERSISTENT: YES

The selected drive will now be mapped within Windows 11 and it should now show up in the File Explorer.
Method 4: Using PowerShell
Use the guide below to easily map a drive within PowerShell instead.
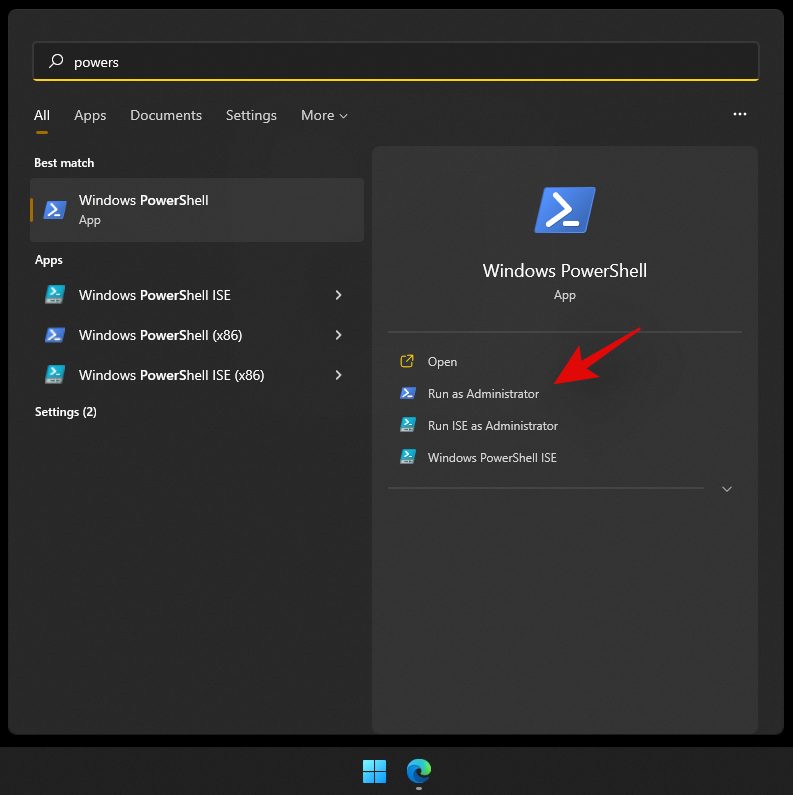
- Press
Windows + Son your keyboard and search for PowerShell. Click on ‘Run as administrator’ once it shows up in your search results.
- Now type in the following command and press Enter on your keyboard to execute it. Replace DLetter with the assigned letter of the concerned drive and replace PATH with the path to the folder you wish to map:
New-PSDrive -Name "DLetter" -PSProvider "FileSystem" -Root "\\PATH" -Persist

- The selected drive and location should now be mapped within Windows 11. Open the File Explorer and the drive should now appear within This PC.
Method 5: Map a drive for all users at once
If there are multiple users on your computer that also require access to the shared drive, it’s much more convenient to map a drive for all users at once. To do so, we’ll first have to create a batch (.bat) file. Here’s how to do so:
- Press Start, type notepad, and then open it.

- Then type the following command:
net use * "\\server\files" /p:yes
Make sure to replace ‘server’ with the network name or the IP address of the user who’s doing the sharing, and ‘files’ with the folder, drive, or file that you want to map.

- Then click on File in the top left corner.

- Select Save as.

- Choose a location to save and give the file a name. Then change the file extension from .txt to .bat.

- Then select All files from the “Save as type” drop-down menu.

- Then click on Save.

- Once saved, go to the location and copy this .bat file.

- Now, press
Win+Rto open the RUN box. Now type the following:shell:common startup

And click OK. - This will open the startup apps folder. Paste the .bat file here by pressing
Ctrl+V, or right-clicking and selecting the Paste button.

- When prompted, click on Continue.

From now on, whichever user logs on to your system will automatically connect to the network drive as mentioned in the script.
How to find the path of a mapped network drive
You can easily get the full UNC path to your mapped network drive using one of the guides below. Follow the one that best suits your current needs to get you started.
Method 1: Using CMD
- Press
Windows + Son your keyboard and search for CMD. Click on run as administrator once it shows up in your search results.
- Enter the following command and press Enter on your keyboard:
net use

- You will now get a list of all the network devices connected to your PC for the current user account. Your mapped network drive will also show up in this list, with its full UNC path mentioned on your screen.
Method 2: Using PowerShell
- Press
Windows + Son your keyboard and search for PowerShell. Click on ‘Run as administrator’.
- Now enter the following command and press Enter on your keyboard to execute it.:
Get-WmiObject Win32_NetworkConnection | ft "RemoteName","LocalName" -A

All the network drives currently accessible through your PC and user account should now be available on your screen with their UNC paths as well.
How to disconnect a Mapped Network Drive
Once your business with the shared network drive is finished, you should disconnect and unmap the network drive. Doing so is a cinch. Here’s how to go about it:
Method 1: Using File Explorer
- Open File Explorer by pressing
Win+E. Right-click on the mapped drive and select Disconnect.

- Alternatively, click on the three-dot icon in the toolbar above.

- Then select Disconnect network drive.

- Then select the mapped drive and click OK.

The network drive will now be unmapped.
Method 2: Using CMD
- Open an elevated instance of the command prompt.

- Then type the following command:
net use z: /Delete
Replace ‘z’ with the network drive’s letter.

- Then press Enter

- If you have multiple drives mapped, type the following to disconnect them all:
net use * /Delete

Then hit Enter.
Quick tip: If you get an error message saying that “There are no entries in the list”, try running the command prompt without administrator privileges. - When prompted, type Y.

- Then hit Enter.

Your mapped network drive will now be deleted. You can use these commands in the PowerShell terminal as well. Also, if you aren’t receiving any entries with the elevated PowerShell, try running PowerShell without administrator privileges.
I am unable to map a network drive in Windows 11
There is a common registry fix that seems to get network drives working on almost every system no matter the issue that you are facing.
Map a drive first using any of the methods given above. When that is not working, use the registry editor fix given below.
In the guide below, we talk about creating a new registry value on your PC that should help you easily map network drives without any issues.
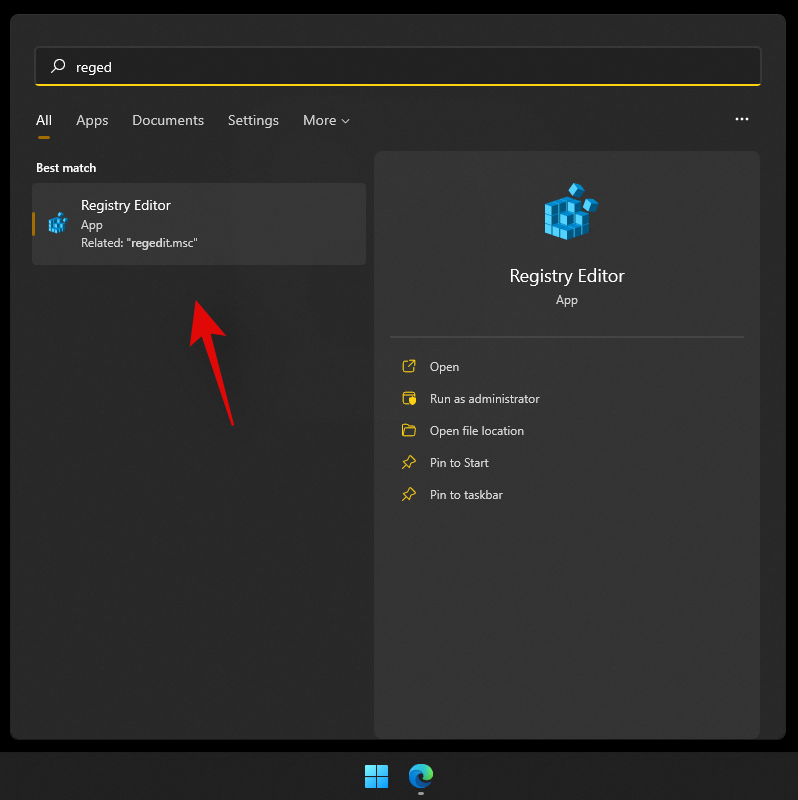
- Press
Windows + Son your keyboard and search for Regedit. Click and launch the app once it shows up in your results.
- Navigate to the following path given below. You can also copy-paste the same in your address bar at the top:
Computer\HKEY_CURRENT_USER\Network

- Your drive should be listed under ‘network’ denoted by its drive letter. Click and select the drive letter folder and hit delete on your keyboard.

- Click on ‘Ok’ to confirm your choice.

- Navigate to the following path given below:
HKEY_CURRENT_USER\SOFTWARE\Microsoft\Windows\CurrentVersion\Explorer\Map Network Drive MRU

- The registry values you find for mapped network drives in this location will be different depending on your system, configuration, and mapped drive. Find any string value associated with the previously mapped drive on your system and hit delete on your keyboard. Click on ‘Ok’ to confirm your choice and delete these values.

- All previous registry values that could conflict with your current setup should now be removed. Simply restart your system and use one of the guides above to map a network drive to your system again.
- Once done, launch registry editor again and navigate to the path given below. Replace DLetter with the drive letter of the drive you recently mapped to your PC:
HKEY_CURRENT_USER\Network\DLetter

- Click and select the drive letter on your left and now right-click on the empty area on your right and select ‘New’.

- Now select ‘DWORD (32-bit) value’.

- Enter ‘ProviderFlags’ as the ‘Value Name’ and set the ‘Value data’ to ‘1’.

- Click on ‘Ok’ now.

- Restart your system for good measure.
And that’s it! The selected drive should now be mapped to your system without any issues.
Have a question? Let us know in the comments below.


