
To build a slanted roof in Palworld, you must first place flat roof pieces as temporary scaffolding, snap the slanted roof tiles on top from an elevated position, and then safely remove the flat pieces.
Slanted roofs in Palworld are notoriously buggy, often refusing to snap to the top of standard walls no matter how perfectly you line them up. Instead of fighting the placement system, builders have discovered a reliable workaround that uses the game’s own snapping mechanics against it. By laying down a temporary flat surface first, you give the slanted tiles a valid anchor point, which makes securing them far more consistent.
Why slanted roofs need a flat scaffolding workaround
Players quickly discover that slanted roof pieces cannot be placed directly on top of walls. The game’s snapping mechanics require a flat surface first, meaning the slanted tiles will often refuse to register the wall below them as a valid anchor point. This forces players to build a temporary flat roof across the top of their walls to act as scaffolding. The flat roof provides the necessary elevation and a stable snap target for the angled pieces. Once the slanted roof is secured to this temporary framework, the flat tiles can be safely dismantled, leaving the angled roof floating in place and fully supported.
Common mistakes and placement tricks
| Commonly Mistake | Why It Fails | The Fix |
|---|---|---|
| Building from the ground floor | Roof tiles snap to ground tiles instead of the walls above. | Climb on top of the flat roof scaffolding and place the slanted pieces from an elevated position. |
| Missing flat supports | Slanted roofs lack a valid snap target on standard walls. | Place flat roof tiles across the walls first to act as a temporary anchor surface. |
| Console orientation bugs | Triangular walls face the wrong direction, breaking the snap angle. | Hold the snap-down toggle (LT on Xbox, L2 on PlayStation) to force correct alignment. |
Always press Alt to toggle Alignment Mode before placing a slanted roof tile, as it forces the piece to snap cleanly to the flat scaffolding instead of floating at an awkward angle.
Next steps for base building progression
How to place and secure a slanted roof in Palworld
STEP 1/4
Go to the opposite side
Move to the other side of the wall from where you want the roof to sit, as placing from this angle helps the piece register the snap target.
STEP 2/4
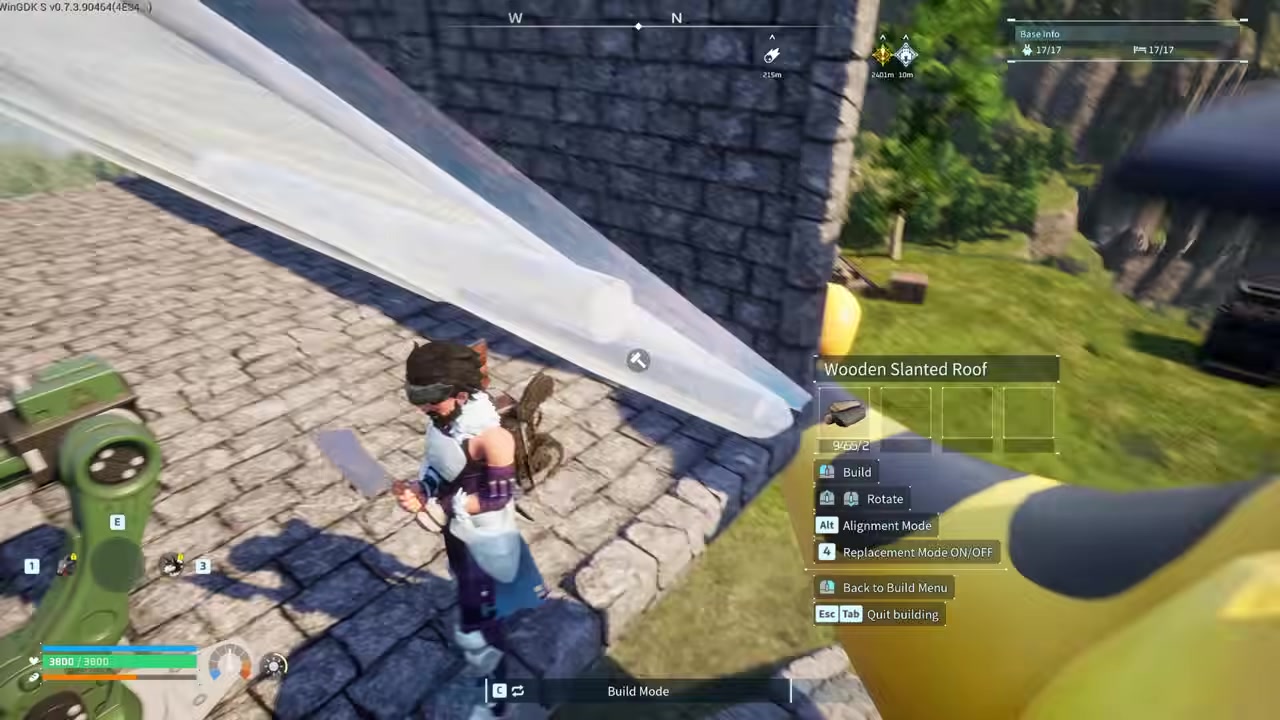
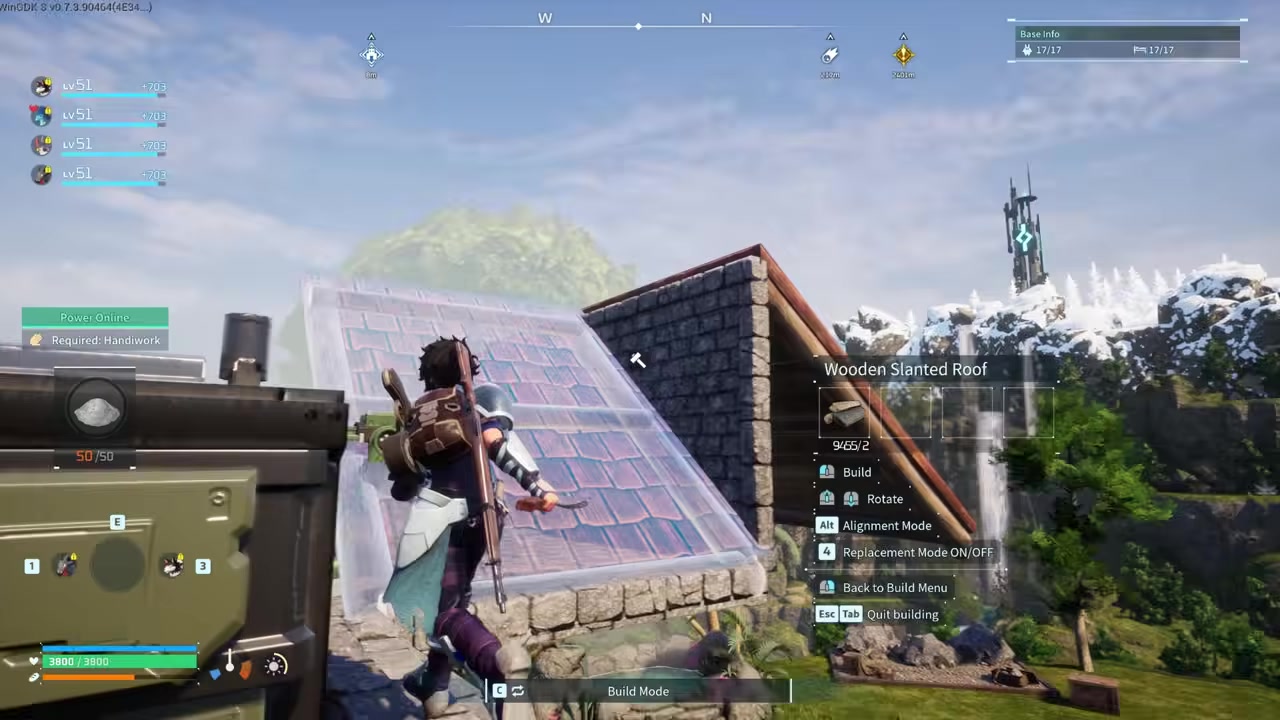
Place the slanted roof

Aim the slanted roof piece at the edge of your flat scaffolding to give it a surface to attach to.
STEP 3/4
Press Alt for alignment mode
STEP 4/4
Press C to remove temporary structures
Enter build mode and press C to disassemble the temporary flat roof and support walls, leaving the slanted roof securely in place.
Video help
Frequently Asked Questions
Do triangular walls count as a roof for shelter purposes?
While some players report that Wooden Triangular Walls can occasionally count as a roof for basic shelter, they are primarily designed as structural supports. You should use actual slanted roof tiles to guarantee your base is fully enclosed and protected from the elements.
Can I place slanted roofs directly on top of standard walls?
No, slanted roof pieces will not snap directly to standard walls. You must place a flat roof tile on top of the walls first to act as a scaffolding anchor, snap the slanted piece to that flat tile, and then remove the flat piece.
Why won’t my slanted roof snap into place on higher floors?
Roofs rely heavily on hidden support checks, and elevated builds are notoriously finicky. You need to create extra flat roof supports at that higher level before attempting to place slanted pieces, and you may also need to add internal pillars to support the walls themselves.
Will removing the temporary flat roof tiles cause the slanted roof to collapse?
No, once all slanted sections are properly snapped and secured, you can safely remove the temporary flat roof tiles underneath them. The slanted roof will remain in place, though you may still need internal pillars to support the surrounding walls.


Leave a Reply