
![How to Make a Family Tree in Google Docs [2023]](/content/images/size/w2000/format/webp/wp-content/uploads/2023/02/family-tree.png)
What to know
- Make a family tree using Google Docs: Insert a ‘Drawing’ using Insert > Drawing > New. Add shapes, texts, and images, and connect the family members with lines.
- Make a family tree using images in Google Docs: Insert a pre-existing family tree image, use the tools in the ‘Drawing’ board to add images and text, and save the image.
- Add third-party family tree templates in Google Docs: Download and import readymade family-tree templates from sources like www.template.net. Edit the necessary elements and save.
- Create a family tree using third-party tools: Use Canva or similar tools to create your family tree, download it as an image, and import it into Google Docs.
Making family trees is a fun activity. Back in the day, tracing one’s lineage and seeing how one’s family members are related to each other had to be mapped out by hand – something that could very quickly turn into a confusing mess, especially in joint families.
Fortunately, we now have document and spreadsheet tools that make creating family trees and connecting members a cinch. Here’s how you can create a family tree on Google Docs.
How to make a family tree in Docs
There are a few different ways to make a family tree in Google Docs. Let’s take a look at how to do so from Google Docs itself as well as by importing templates and family tree drawings from other sources.
Also, throughout our guide, we’ll be referring to family trees as they pertain to members of a family. But any structure with a sprawling hierarchy with complex relationships between the elements (like a tree) can also be made using the same ‘family’ tree method.
Method 1: Create a family tree using a simple drawing
First up, open Google Docs, and select a Blank document.
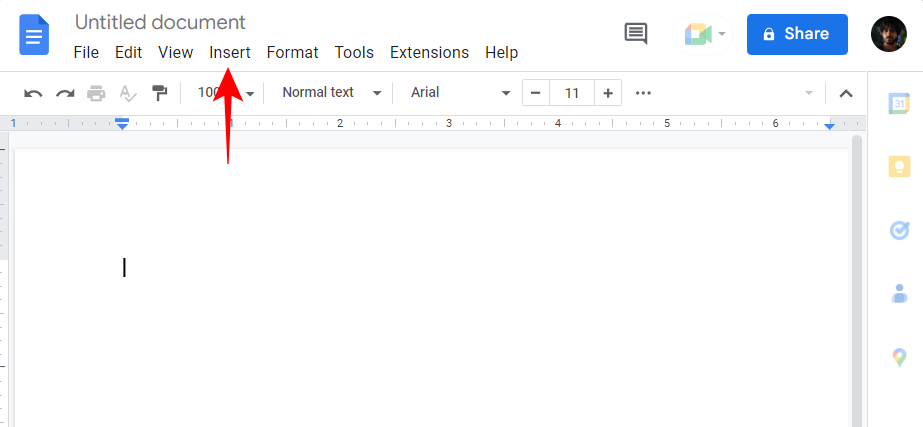
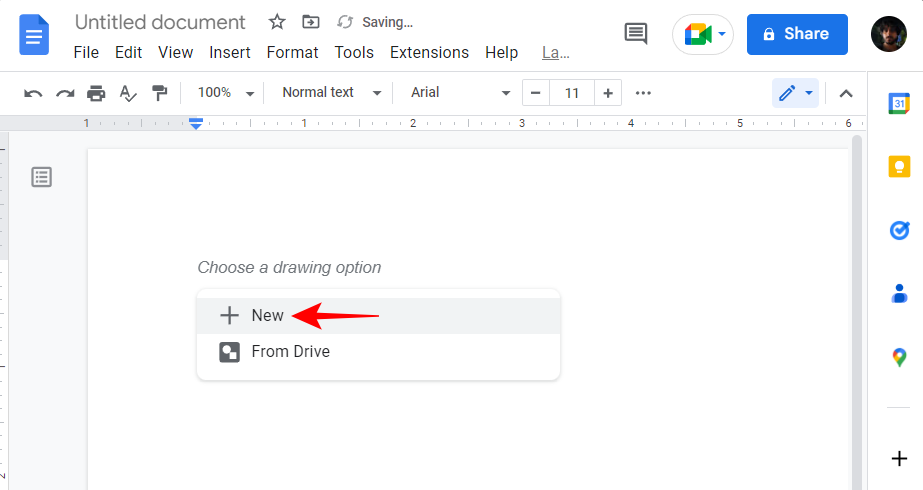
Next, click on Insert in the toolbar above.
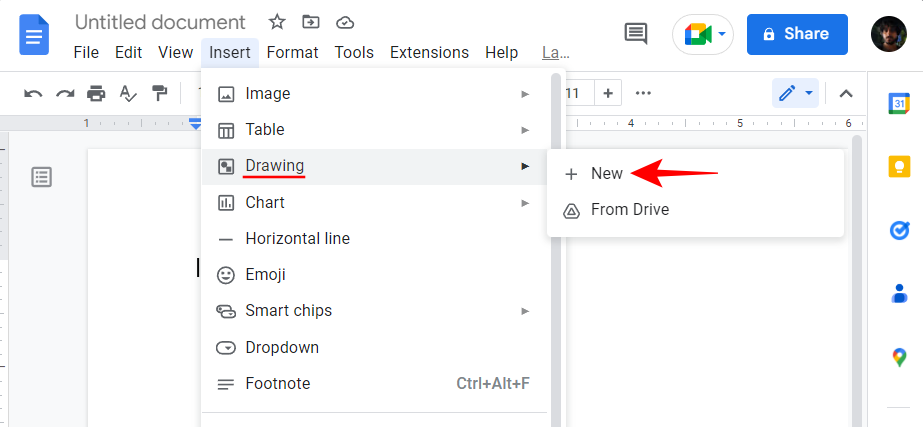
Hover over Drawing, and then select New.
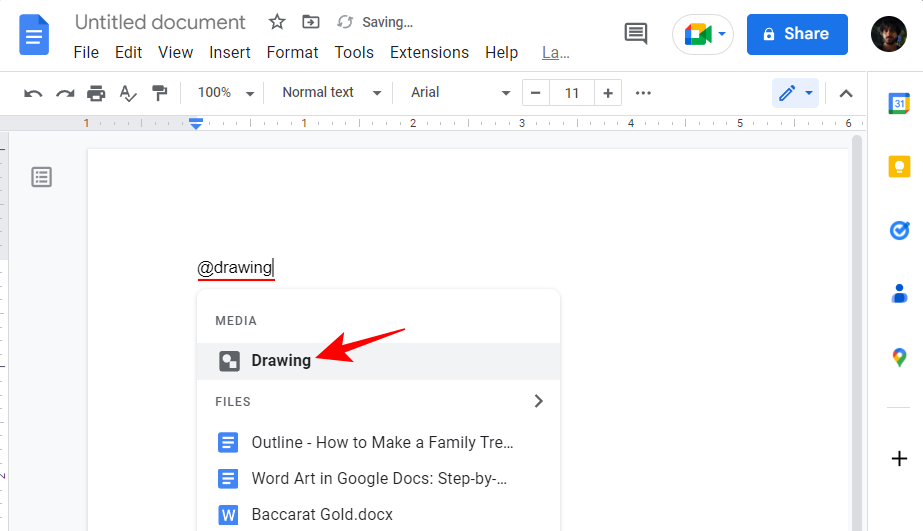
Alternatively, type @drawing and select Drawing.
Then select New.
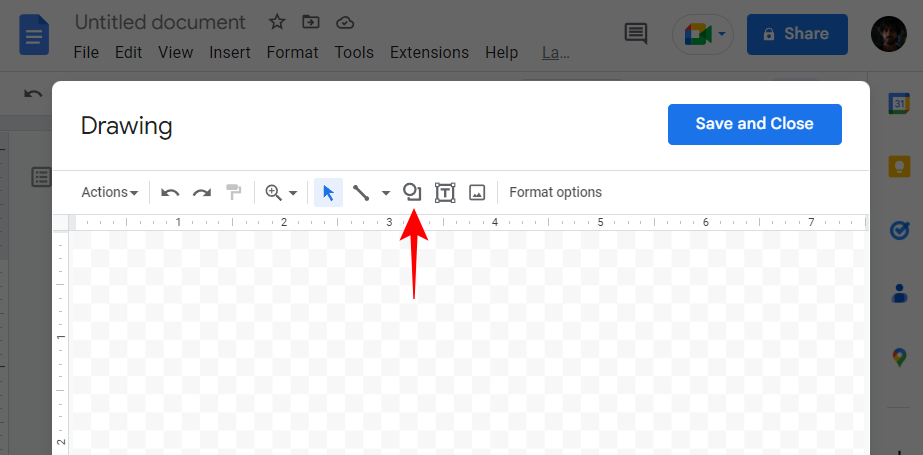
Once the ‘Drawing’ board opens, click on Shape in the toolbar above (the icon with a circle over a square).
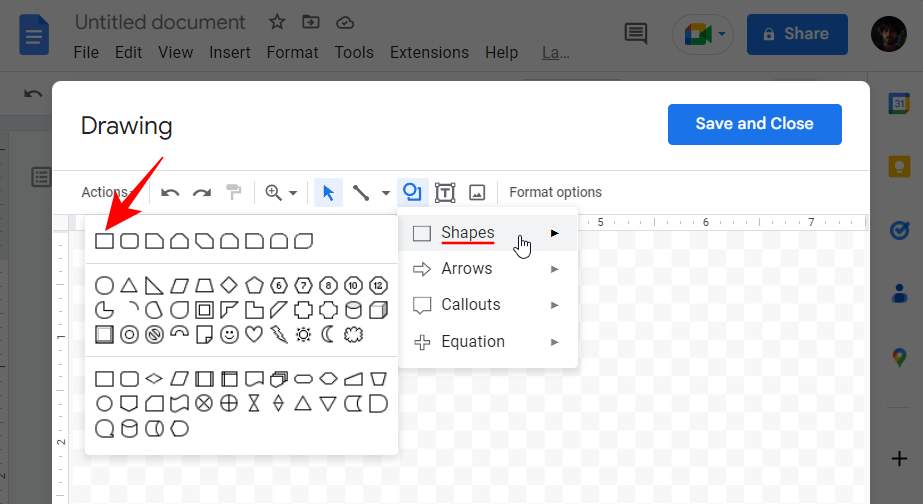
Select Shapes, and then select the shape that you want to have your family tree units in. In our example, we’re choosing a rectangle.
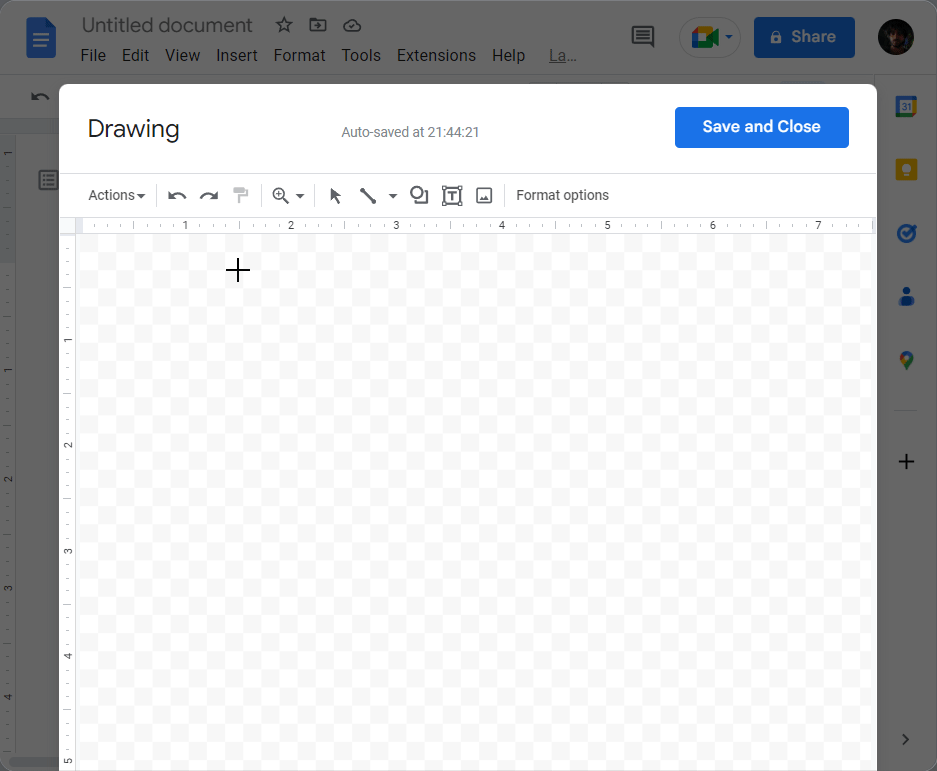
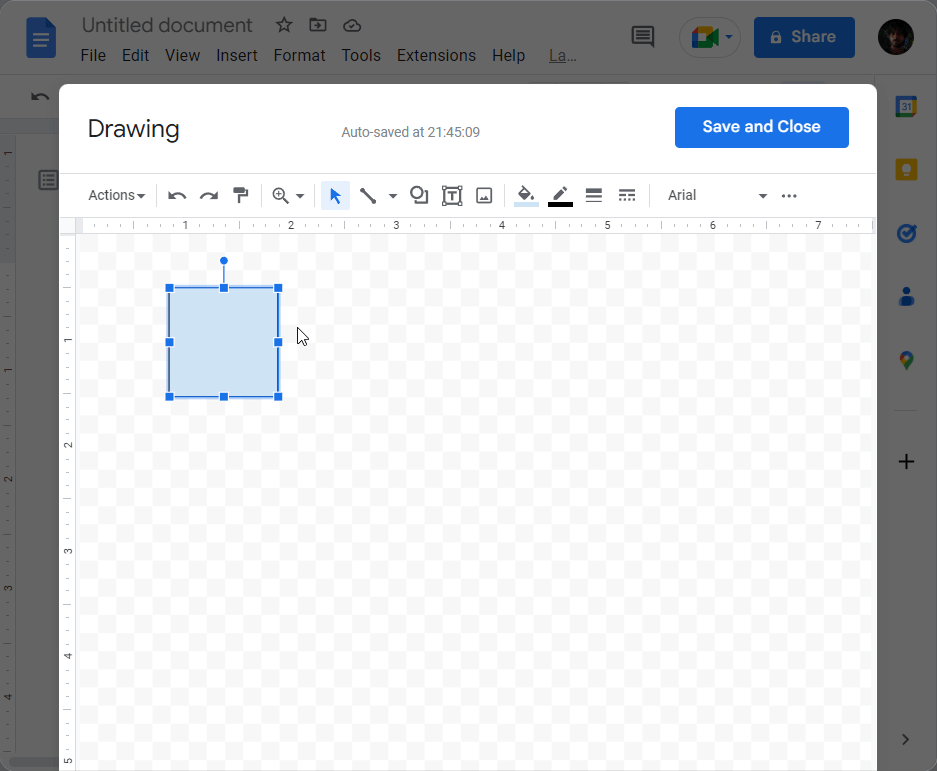
Now, simply click inside the ‘Drawing’ board (preferably nearer to the top) and input your shape.
You can change the dimensions or the position of the shape as you like by dragging the handlebars or shifting the position cursor, respectively.
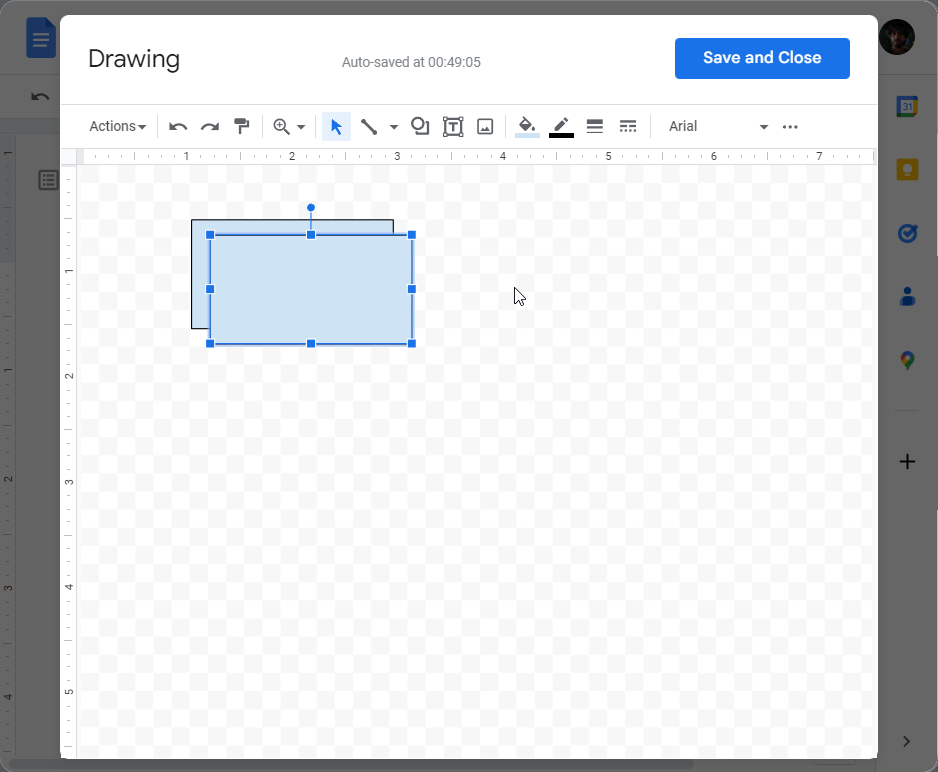
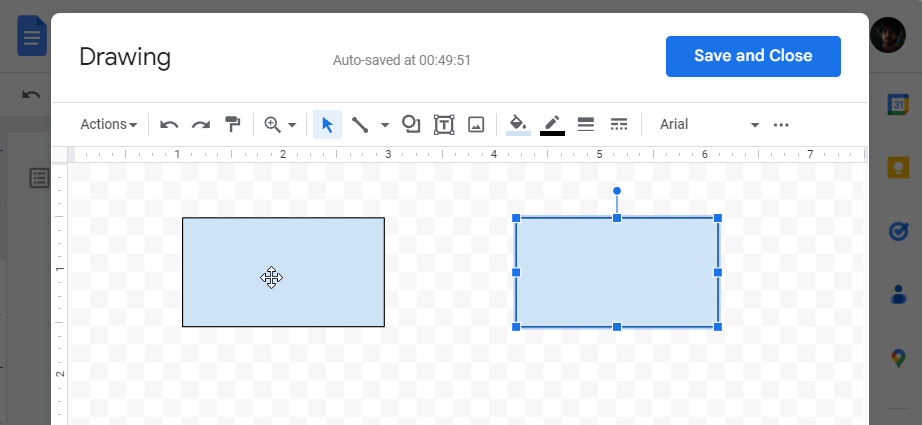
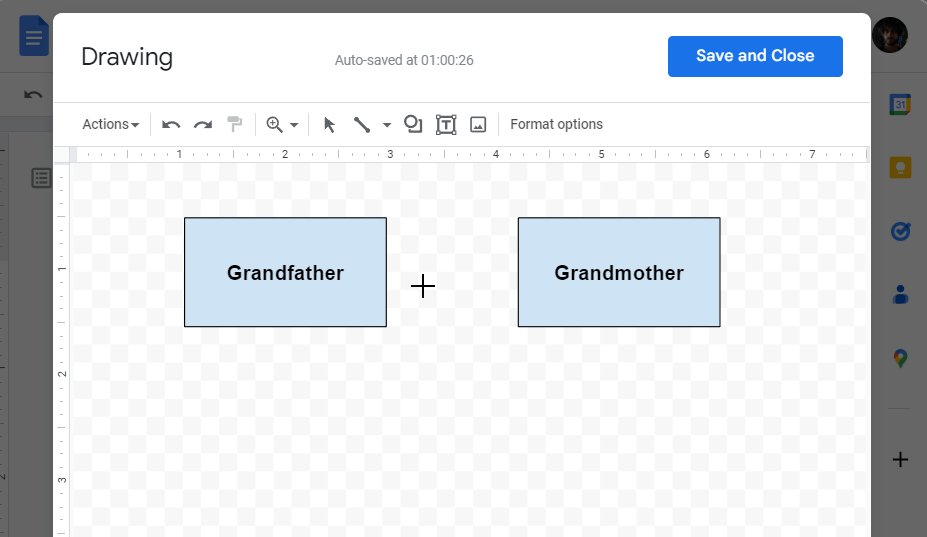
All progenies come from the union of two ancestors, so a single shape won’t do. We’ll need another shape for this generation. To copy this shape, select it and press Ctrl+C. Then press Ctrl+V to add another one of these shapes.
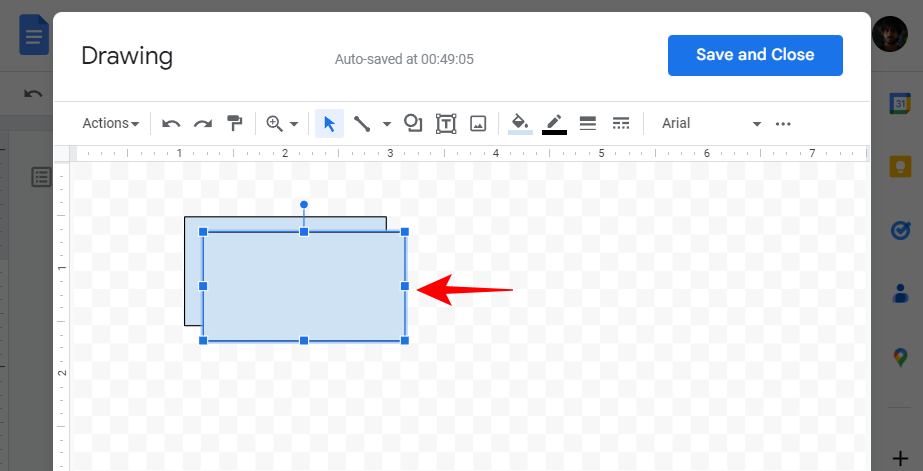
Now, drag it next to the first shape until you see the red through-line, and align the two together.
Before we move on to the next generation, let’s add some text inside these two shapes to signify who they stand for. Double-click inside the shape to include the cursor. Then start typing.
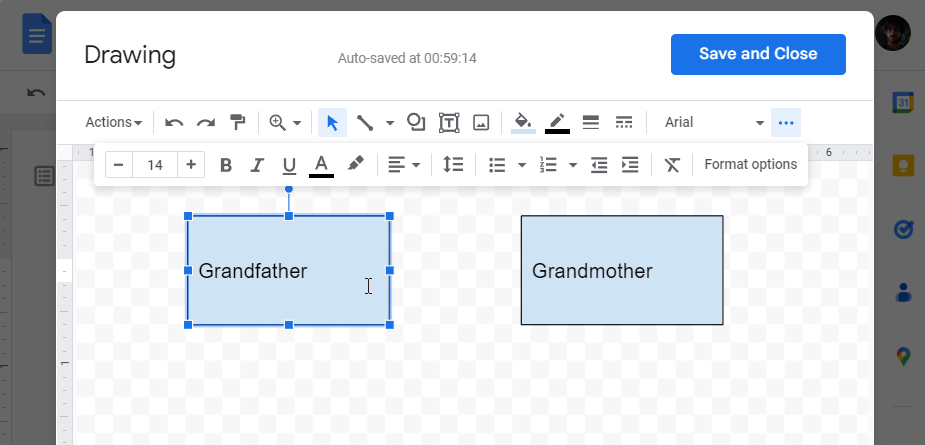
To access text formatting options, click the three-dot icon at the top.
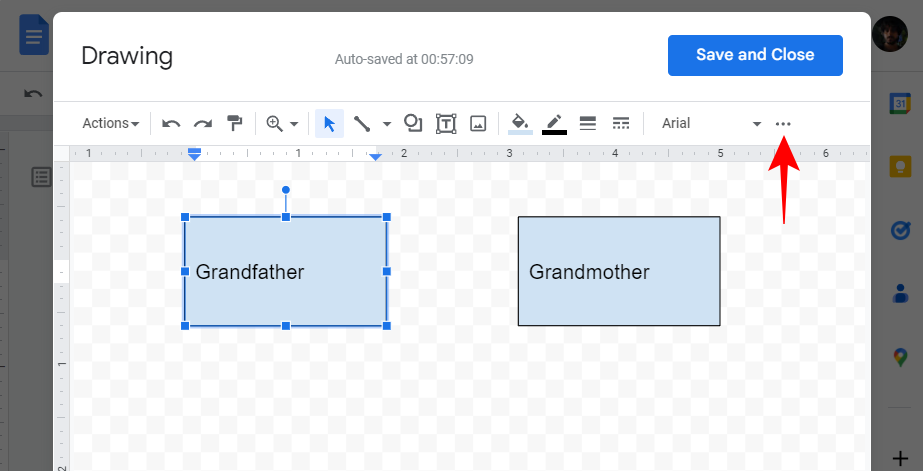
Here, you can make changes to the text as you see fit.
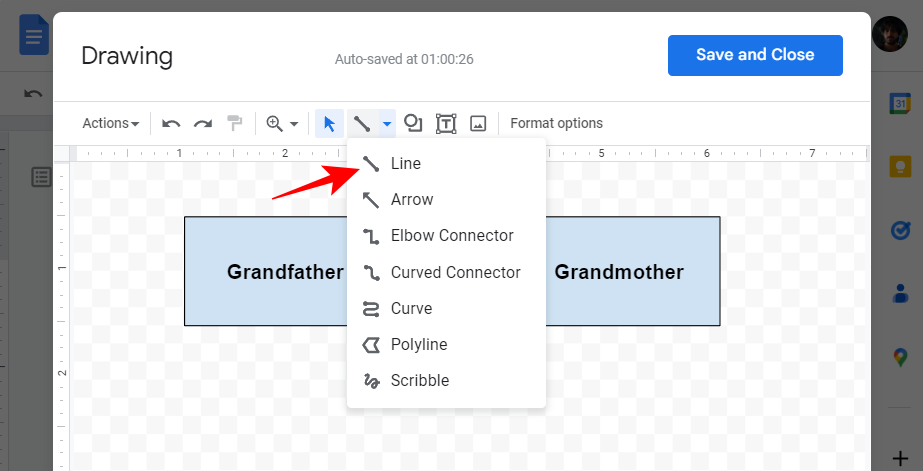
Now, let’s link up the two shapes with a line. To do so, click on the line icon in the toolbar above.
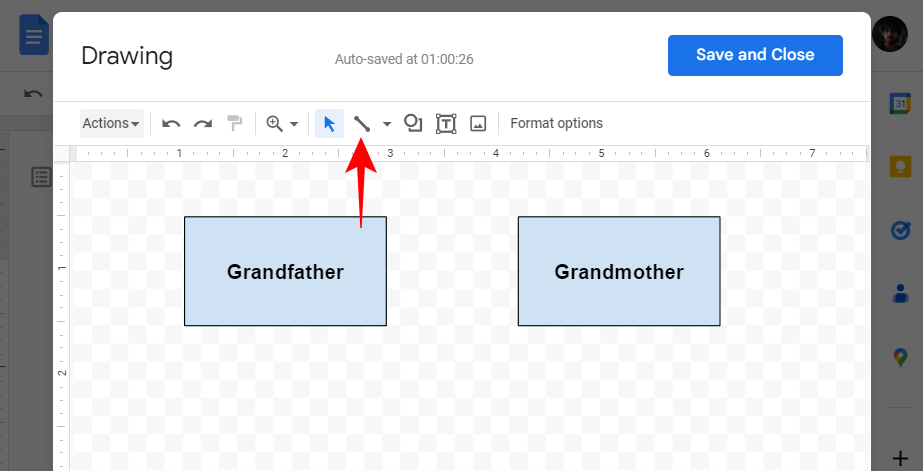
Then select Line.
Now link the two shapes together, like so:
Google Docs does a good job of identifying and highlighting the main connection points to simplify the task. But you can also make lines anywhere else on the drawing board too, not just at these purple points.
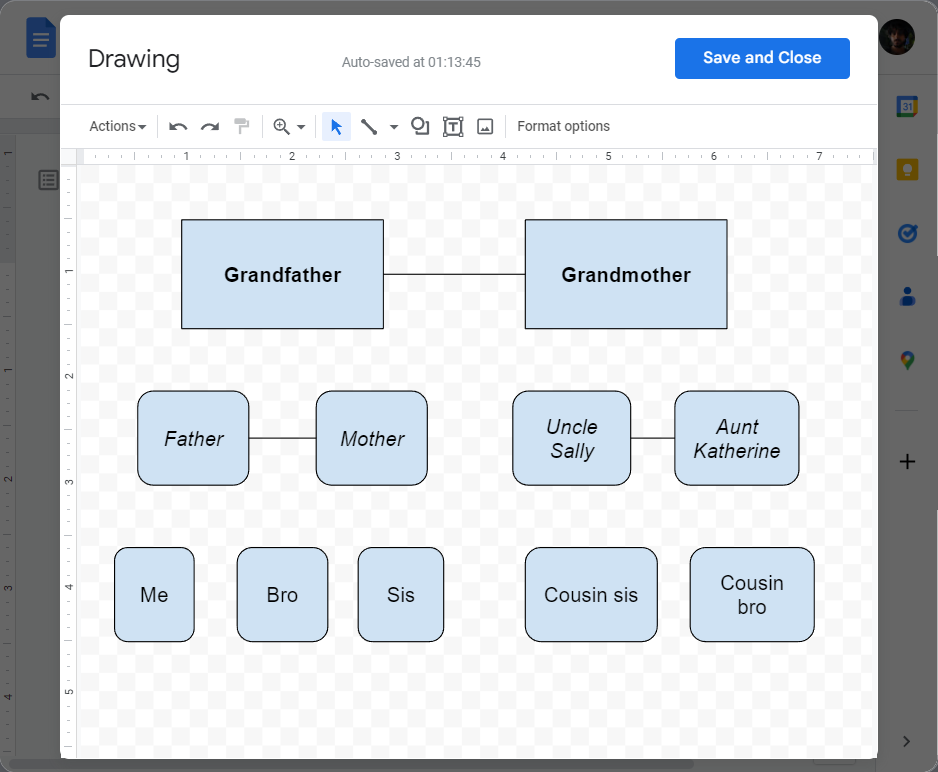
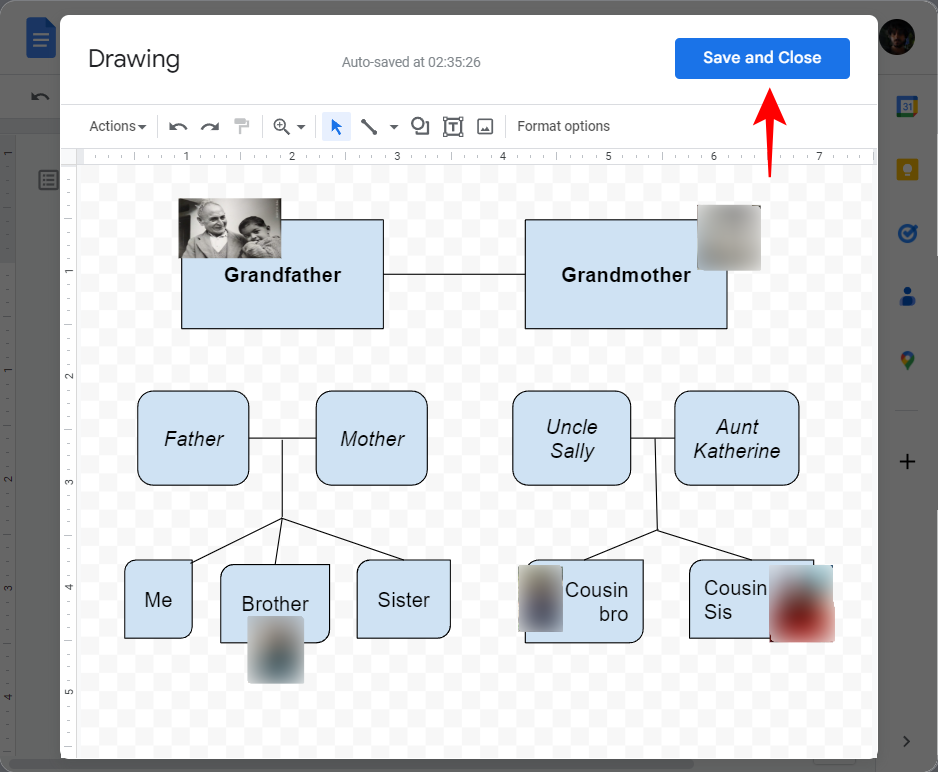
In the same way, fill up your family tree with later generations, add shapes (or copy-paste existing ones), enter texts, and connect the shapes using lines. Here’s an example of what it might look like.
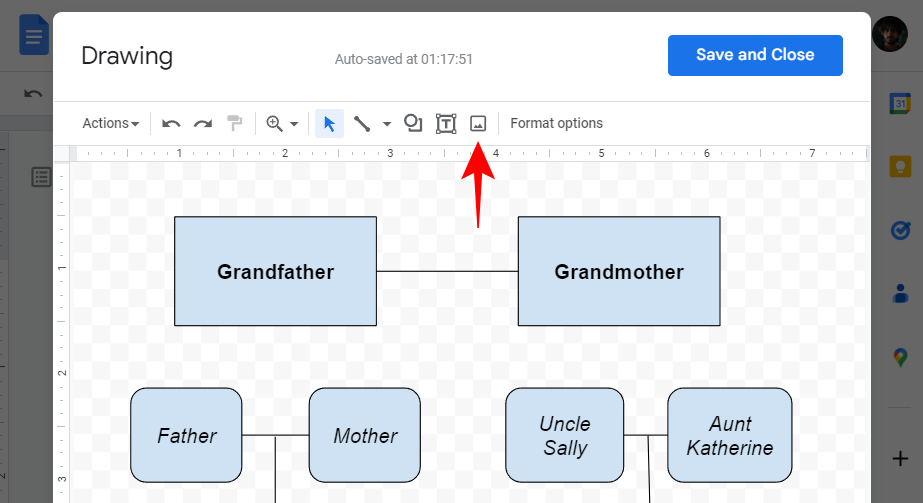
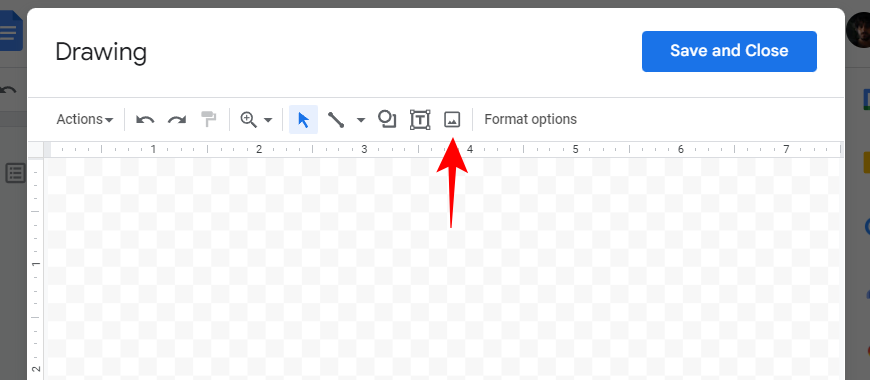
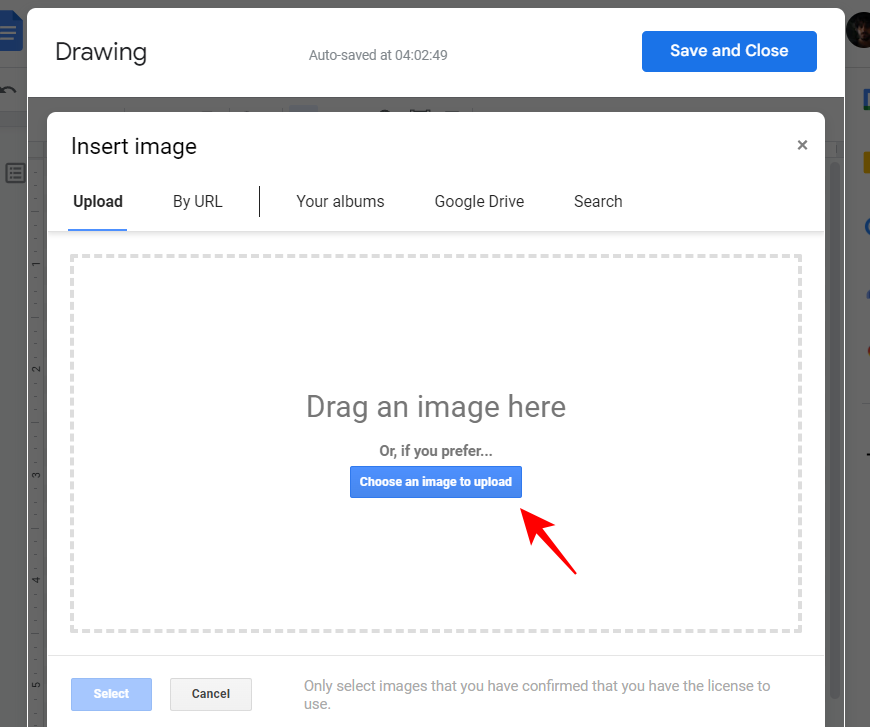
A family tree without any pictures is no fun. Let’s use the digital means at hand and add images to the family tree as well. To add images, click on the Image icon in the toolbar above.
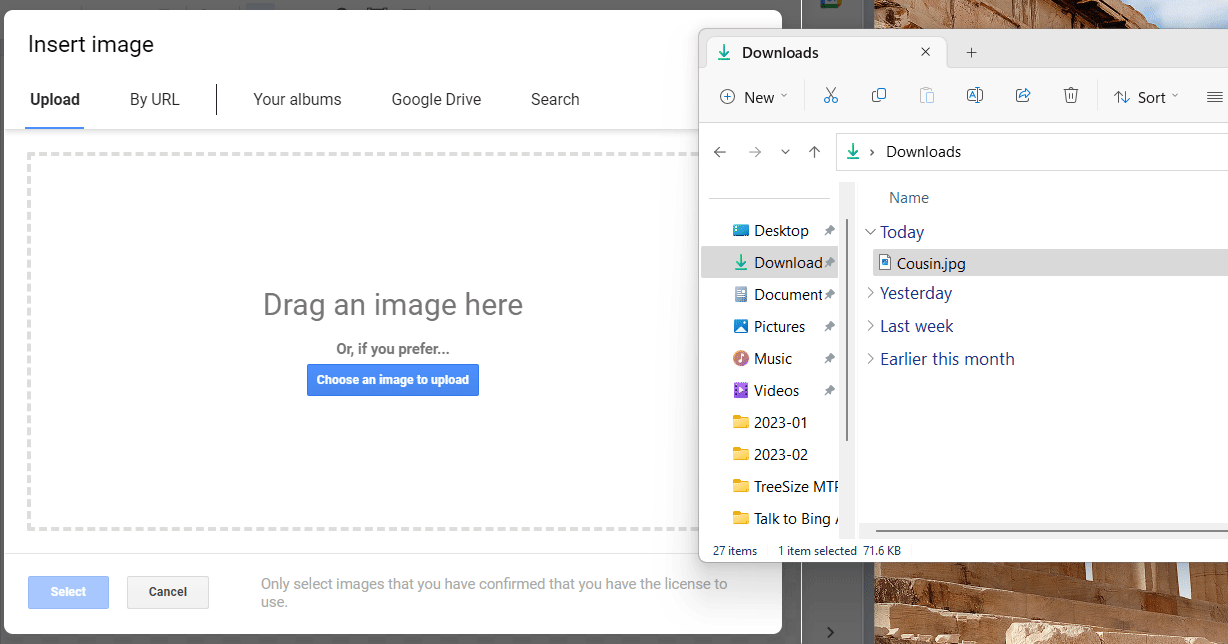
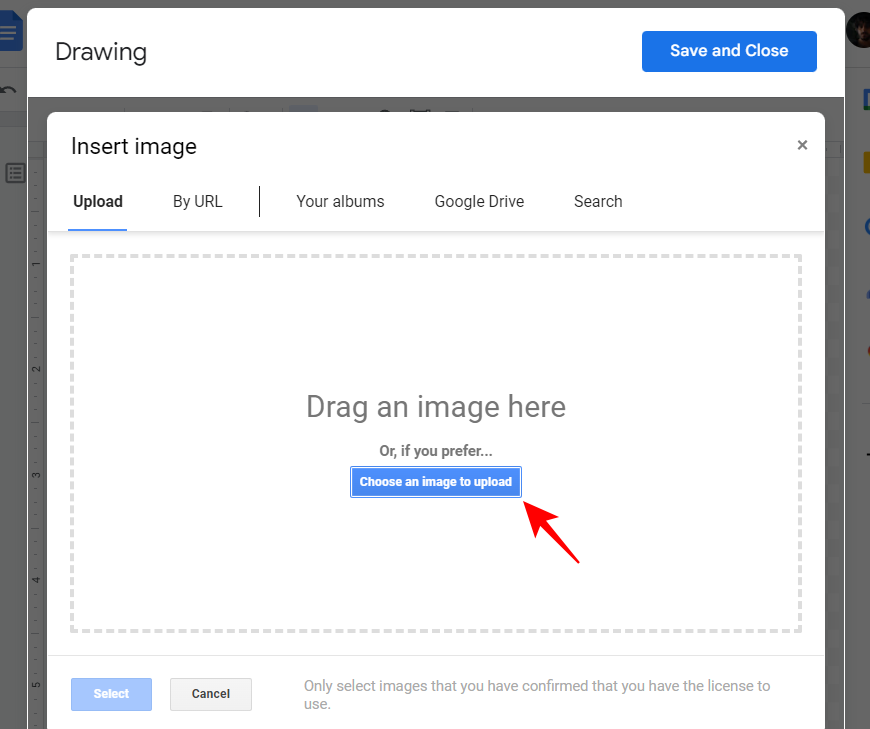
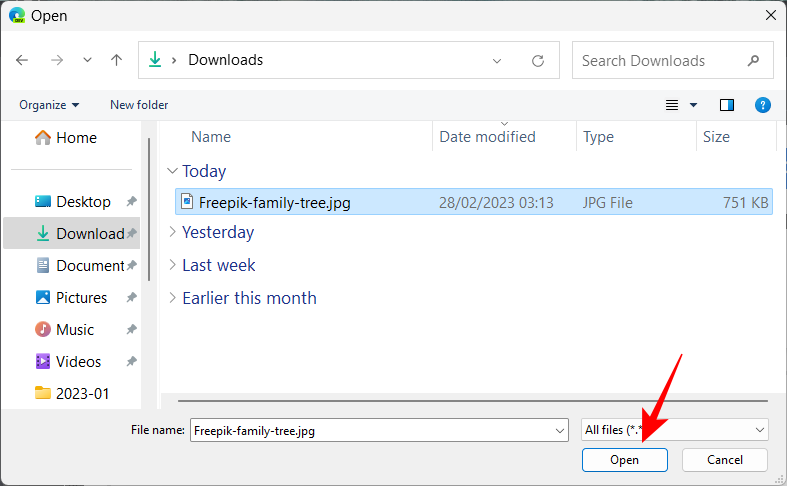
Under ‘Upload’, click on ‘Choose an image to upload’.
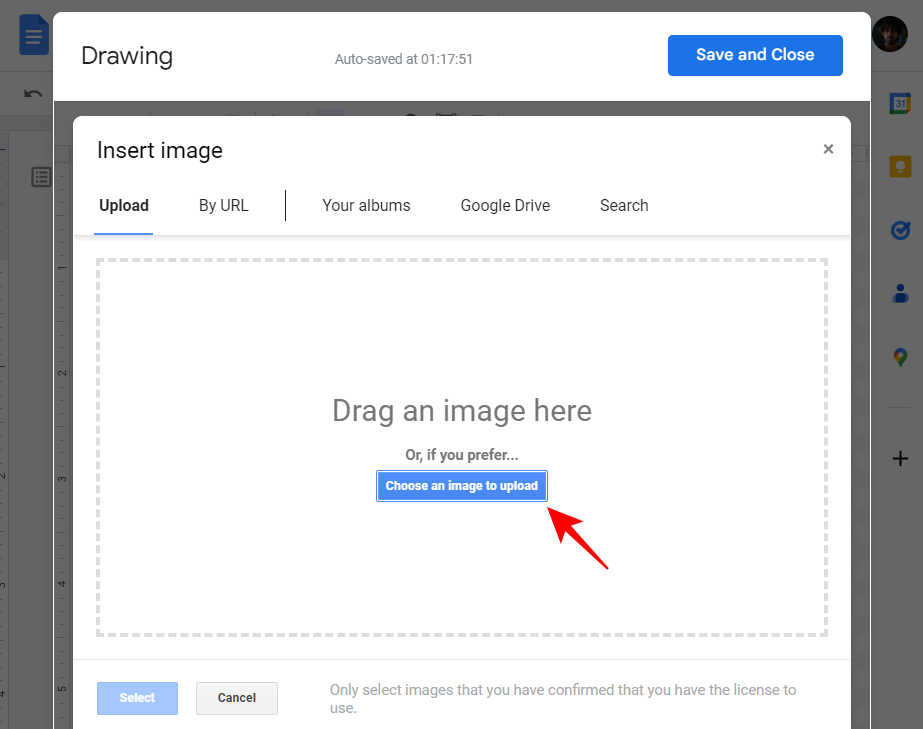
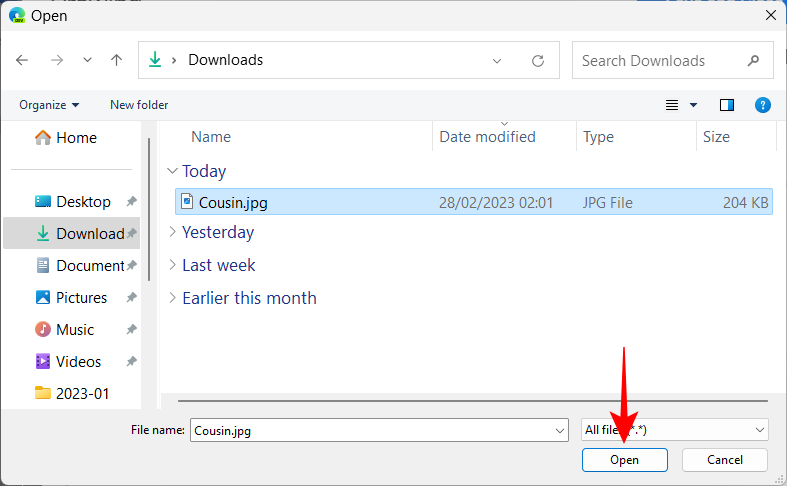
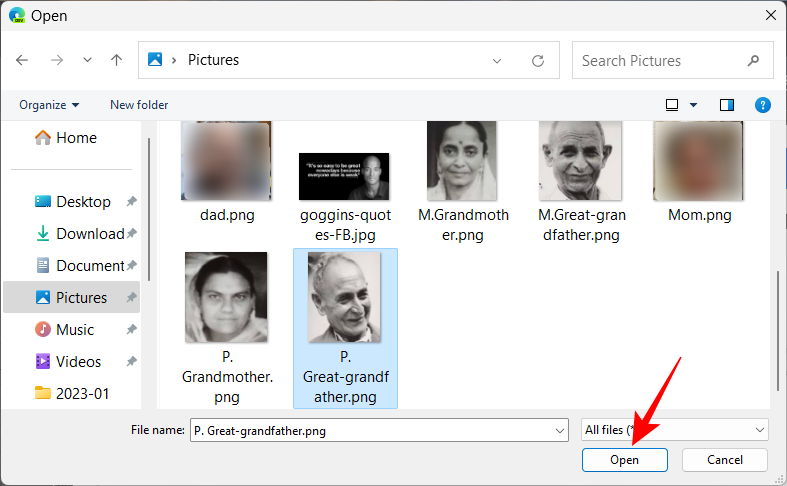
Select the image and click on Open.
Alternatively, you can also just drag and drop your pictures in the upload box.
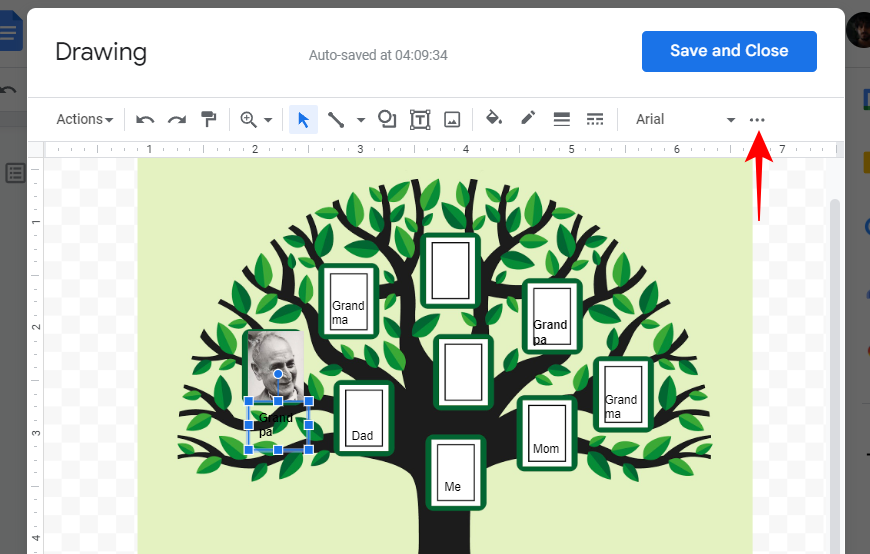
Resize and reposition the image by using the handlebars. Add more images as needed. Once done, simply click on Save and Close to do so.
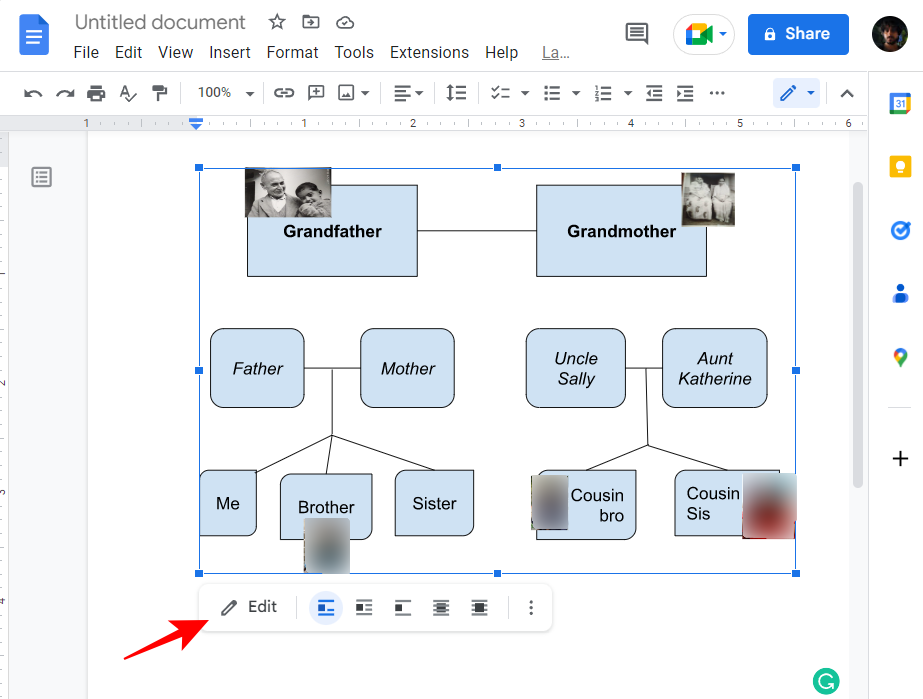
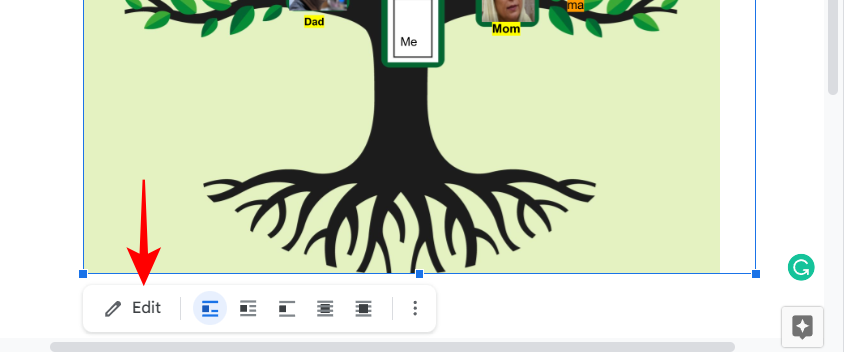
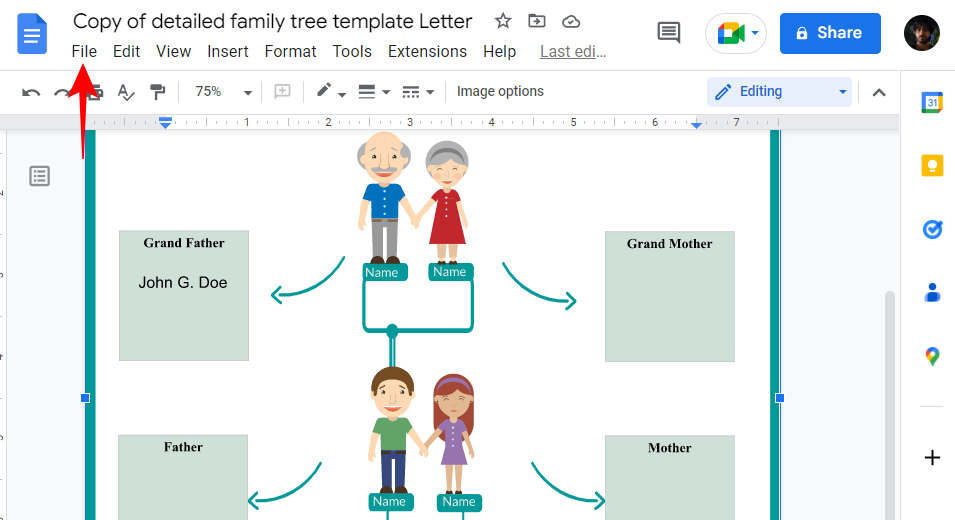
The family tree will be added to Google Docs as an image which can again be resized as you see fit, or edited as any other image. To make further changes to the family tree or to download it, select the image and click on ‘Edit’.
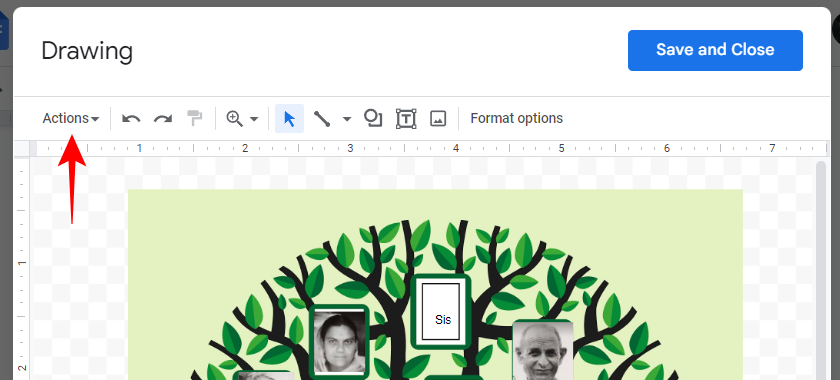
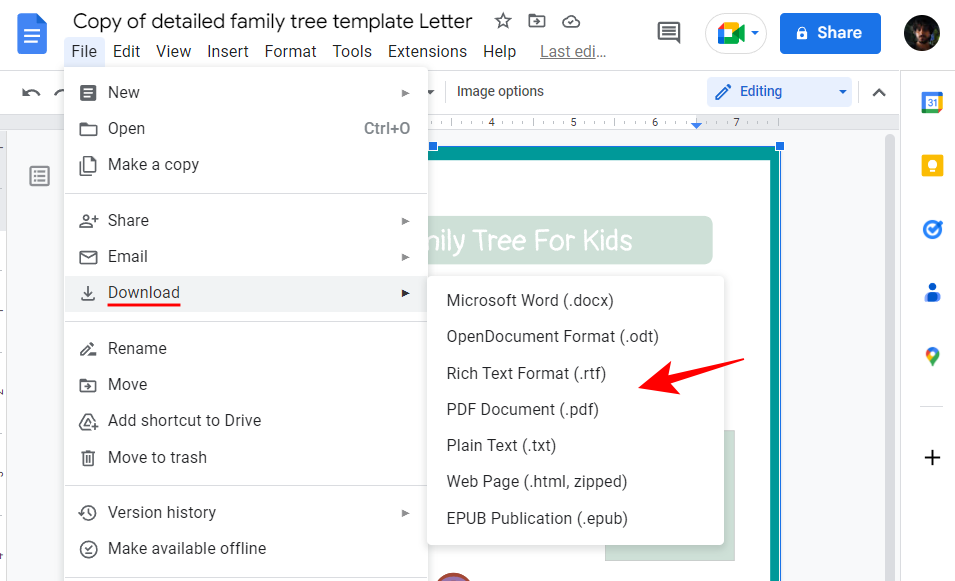
This will return you to the drawing board. To download the family tree, click on Actions.
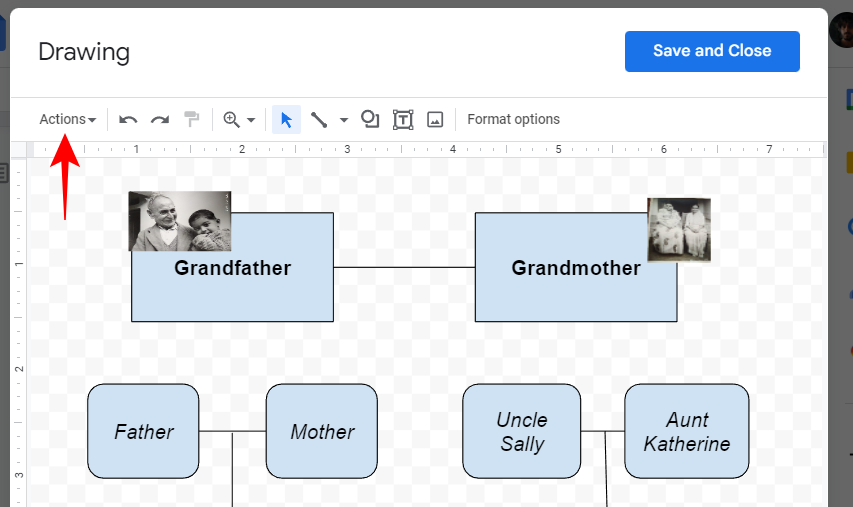
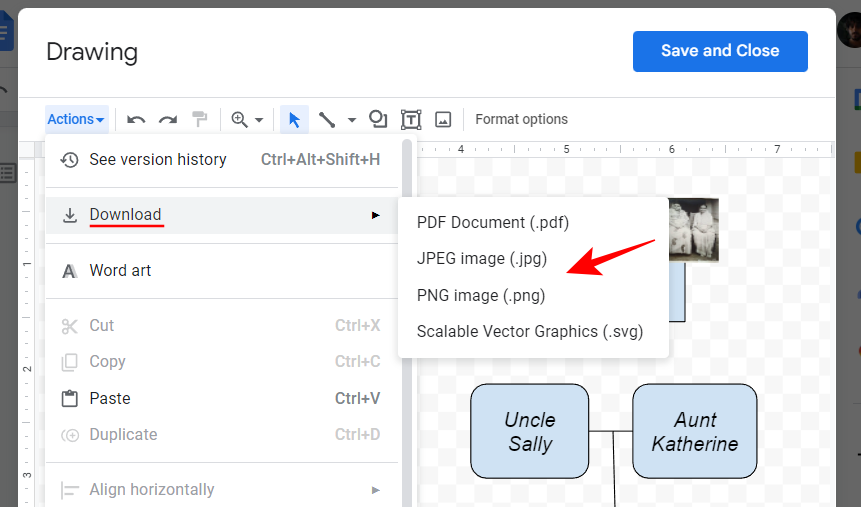
Hover over Download and then select your format.
Related: How To Indent on Google Docs App and Web, including Hanging Indent
Method 2: Create a family tree using images in a drawing
On Google Docs, there’s only so much you can do with shapes and lines when creating a family tree. An image is much rather preferred if you want to have anything visually appealing. If you have an existing image that you want to use in your family tree, with empty frames, that perhaps even looks like a tree, you can use that in Google Docs by adding it in as an image.
Tip: If you don’t have a family tree image with empty frames, a quick search for ‘family tree empty’ images (royalty-free) will help you get a few options.
First up, add a drawing in Google Docs as shown before (Insert > Drawing > New).
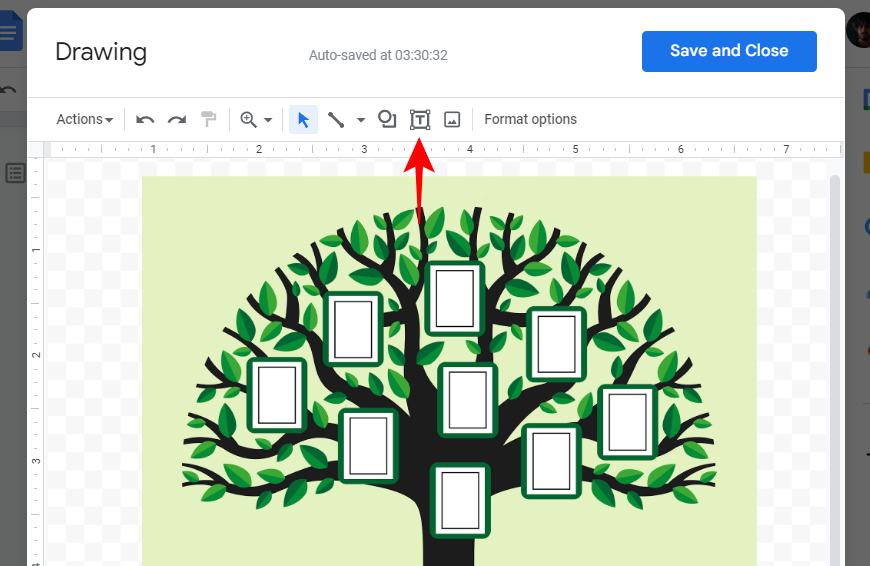
In the drawing board, click on the Images icon at the top.
Now drag and drop your family tree image in the upload box, or click on Choose an image to upload.
Select your image and click Open.
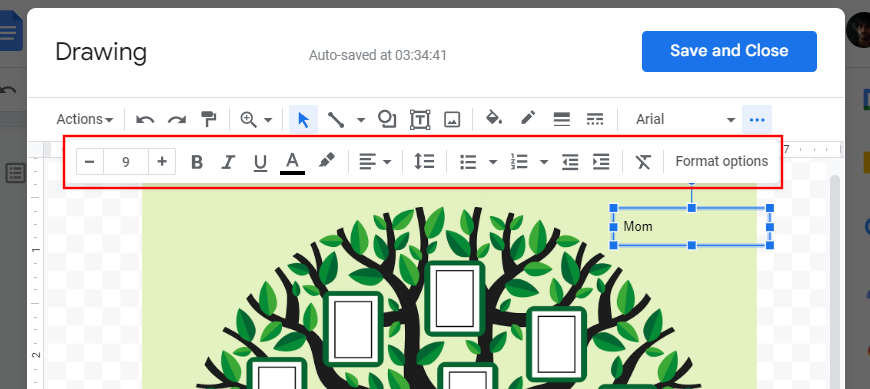
Once uploaded, click on the Test box (T-icon) in the toolbar.
Now click somewhere to create a box and start typing.
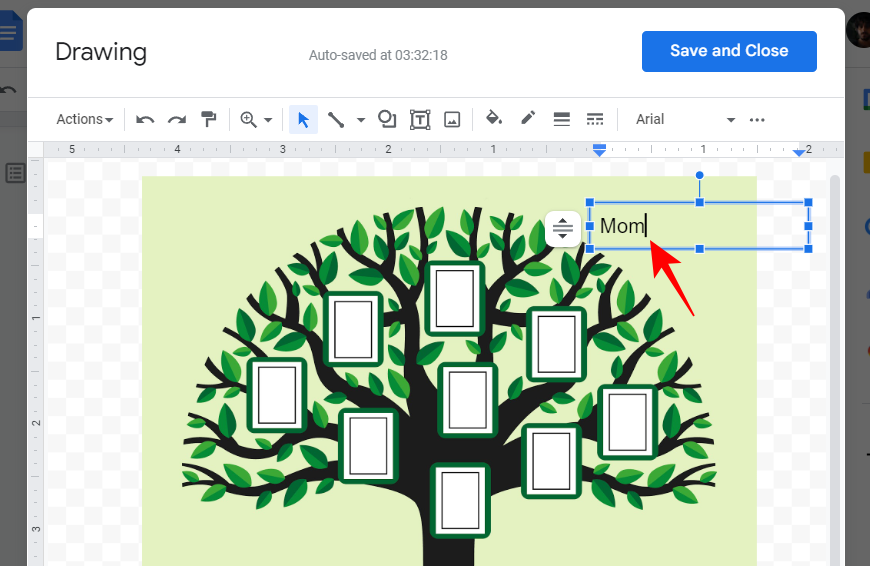
To adjust the size of the text, click on the three-dot icon at the top.
Then reduce the font size, or make other adjustments to the text.
Adjust the size of the box to ensure that it fits the width of the empty picture frame.
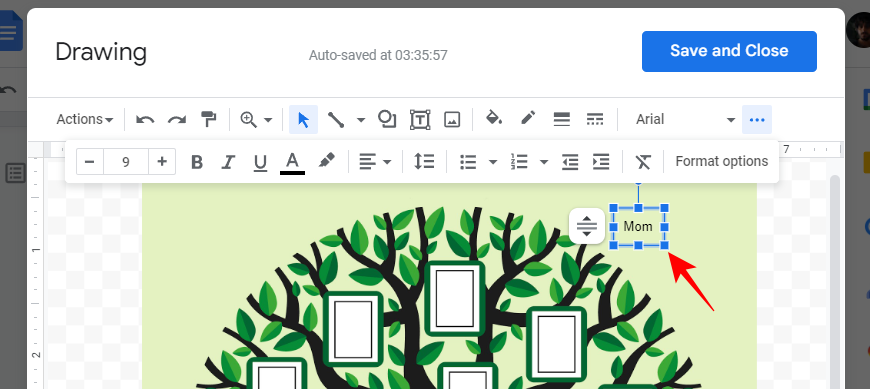
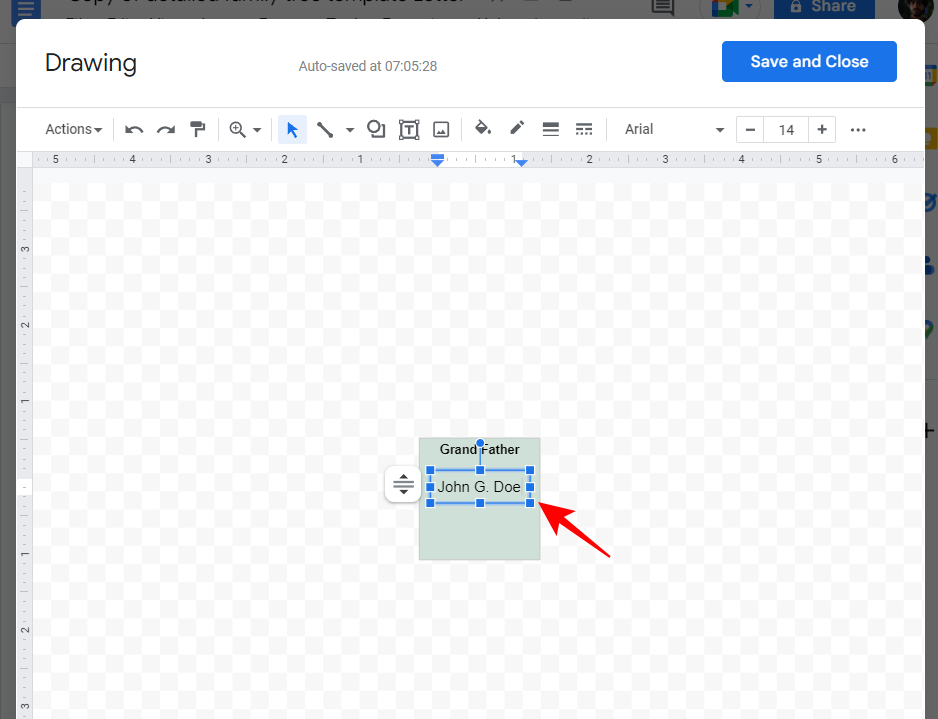
Now park the text box next to a frame.
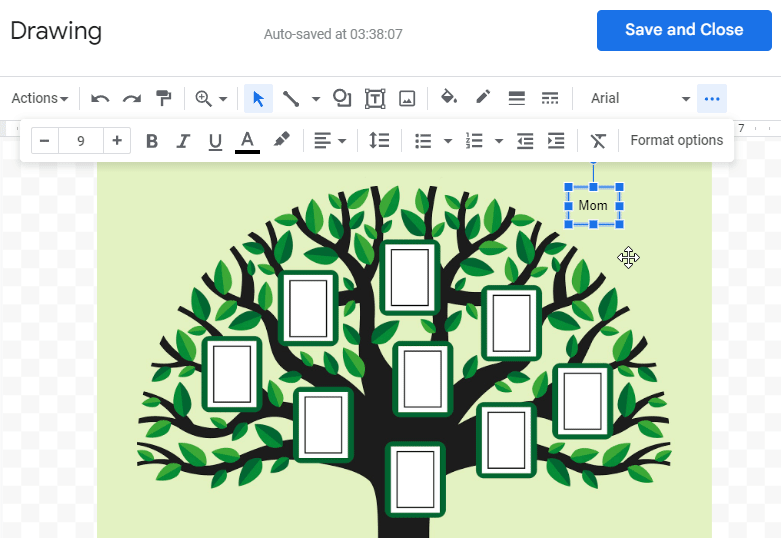
Do the same for other frames as well. Once you have your text where you want it, let’s start adding the photos of the members. So, click on the image icon in the toolbar again.
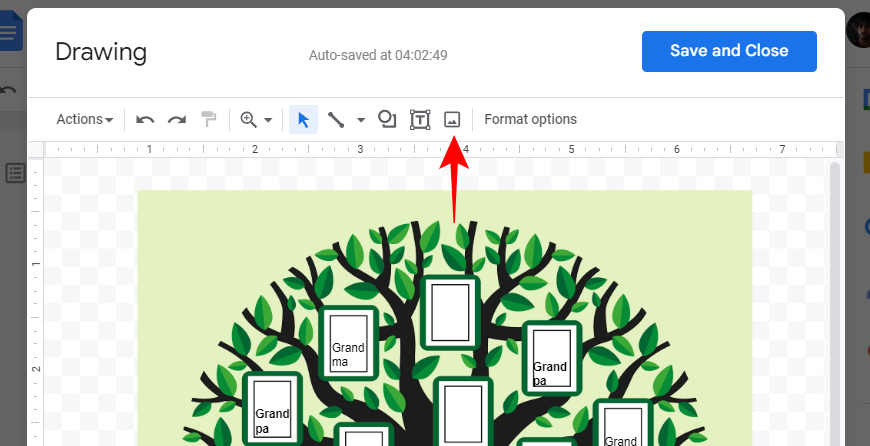
Click on Choose an image to upload.
Select an image and click on Open.
Resize the image with the handlebars and position it in the frame.
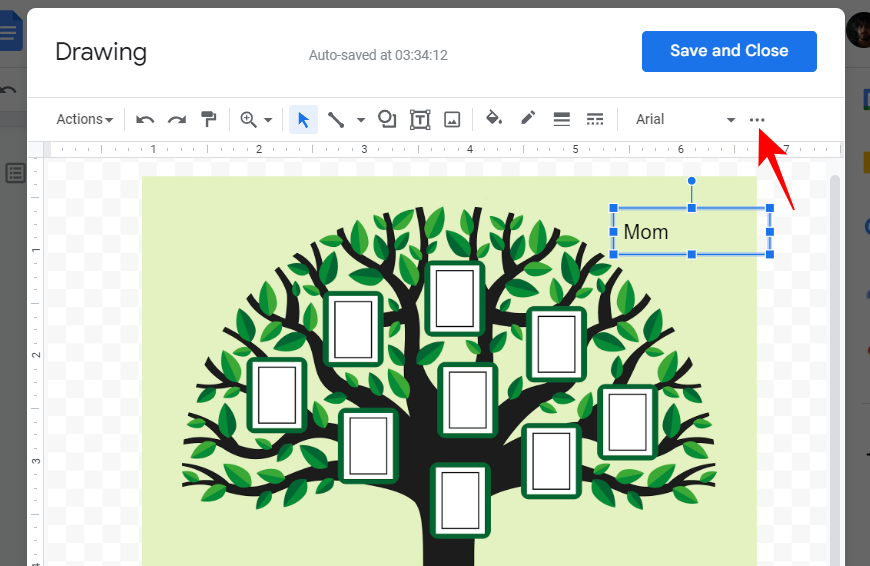
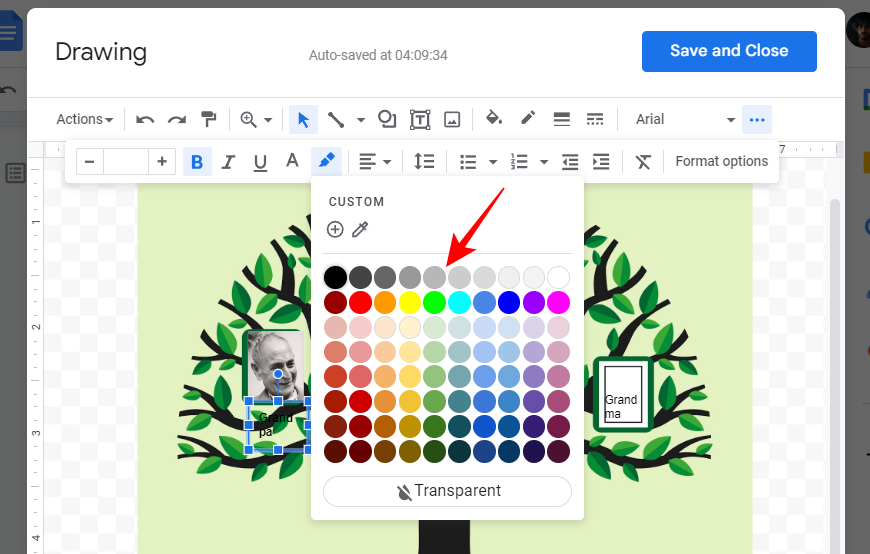
You might have to adjust the text box around depending on how much space there is in your frame. If there are additional elements that make it harder to read the text, you can select the text and highlight it with a color.
To highlight text, select the text box and click on the three-dot icon in the toolbar.
Click on the highlighter icon.
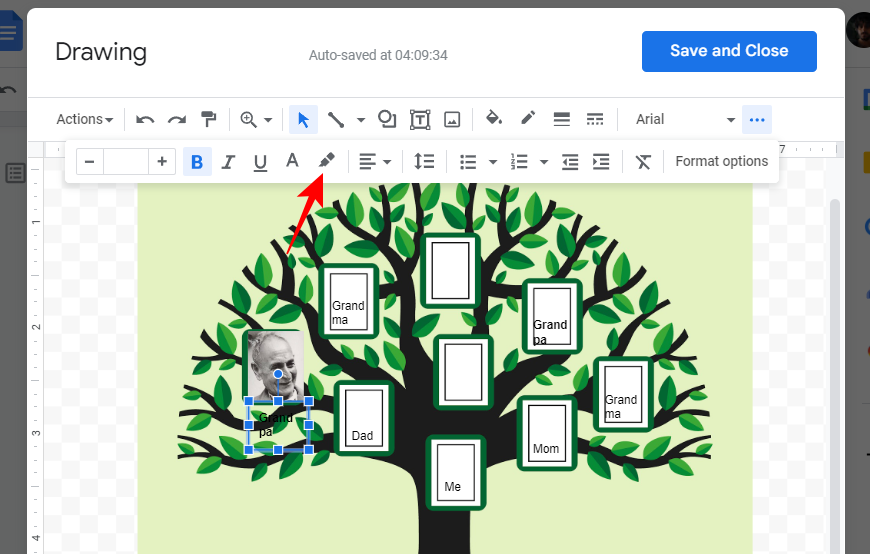
Then select a color.
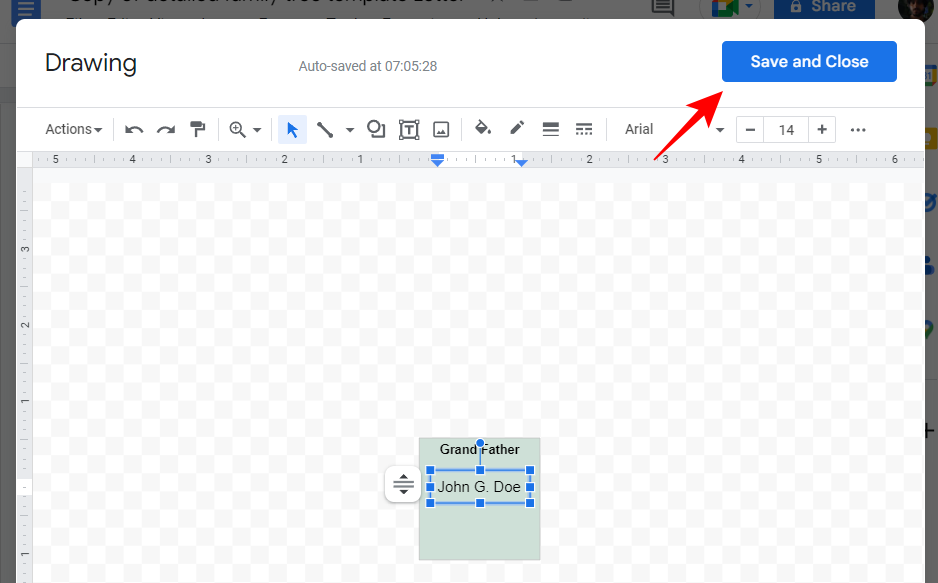
Similarly, add additional photos in the family tree frames, and make adjustments to the text as needed. Once you are satisfied with your family tree, click on Save and Close to add it to your Google doc as an image.
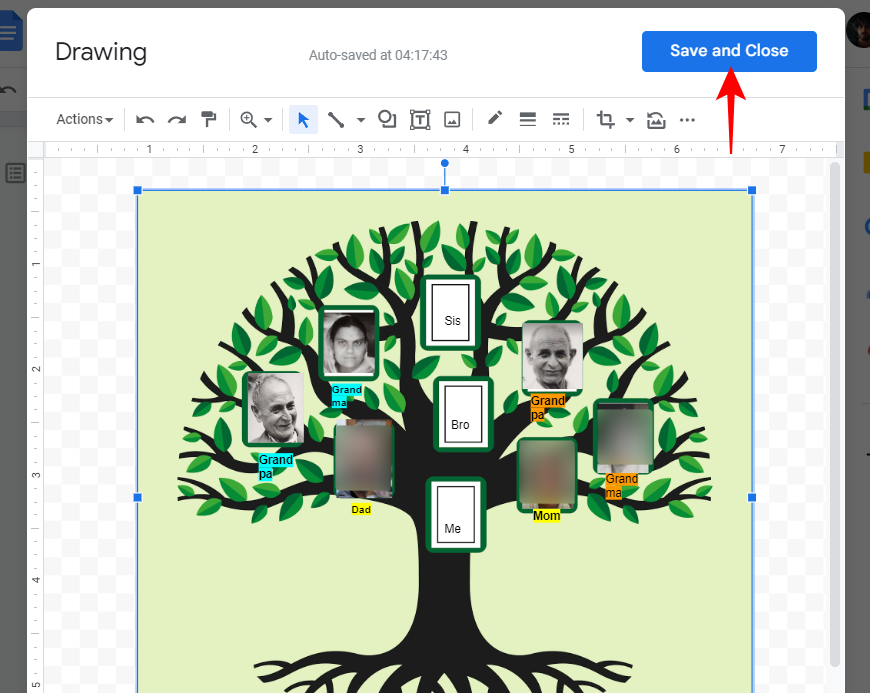
The image can now be edited as any other media in your document.
If you want to download your family tree, select the image and click on Edit and go back to the drawing board.
Then click on Actions.
Select Download and then choose your format.

Related: 6 Ways to Put Fractions in Google Docs
Method 3: Use a third-party template for Google Docs
Besides creating or using family tree images in Google Docs, you can also import full-fledged templates from third-party sources. These can come in especially handy if you don’t want to bother with adding shapes and images.
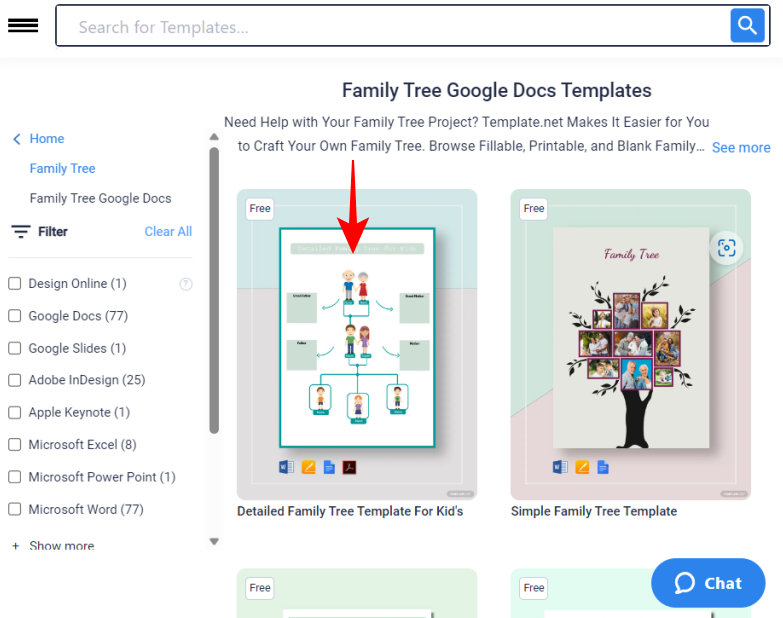
One third-party website that provides ready-made family tree templates is templates.net. Follow this link here to get to these free Google Doc templates.
Then click on one that catches your fancy.
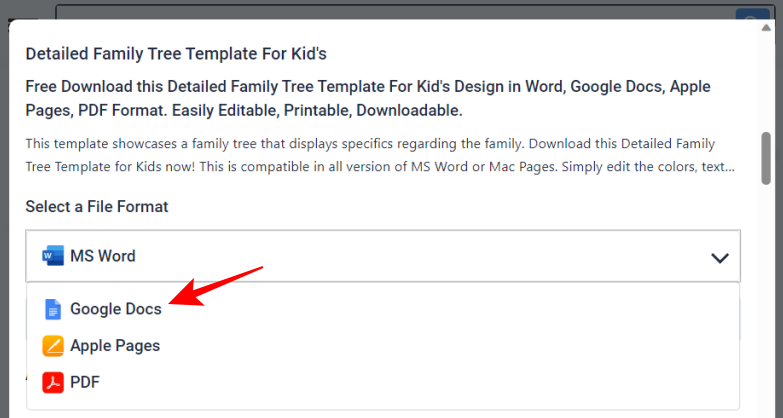
Scroll down the page and click on the drop-down menu under “Select a File Format”.
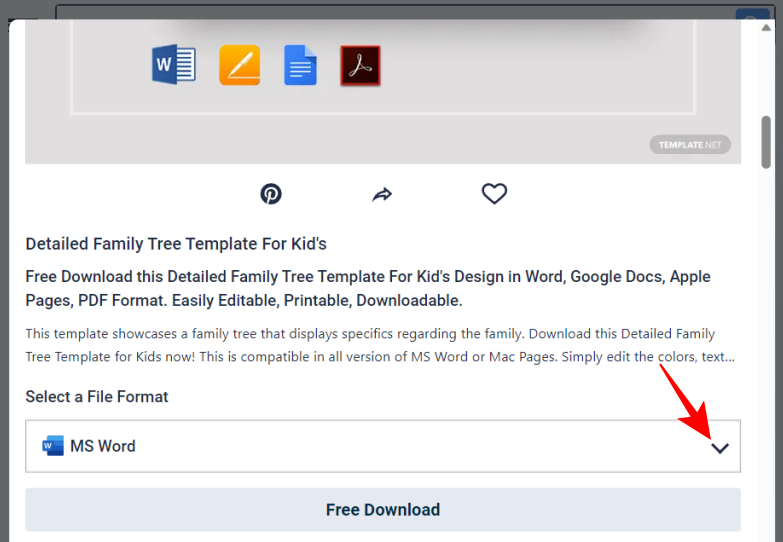
Choose Google Docs.
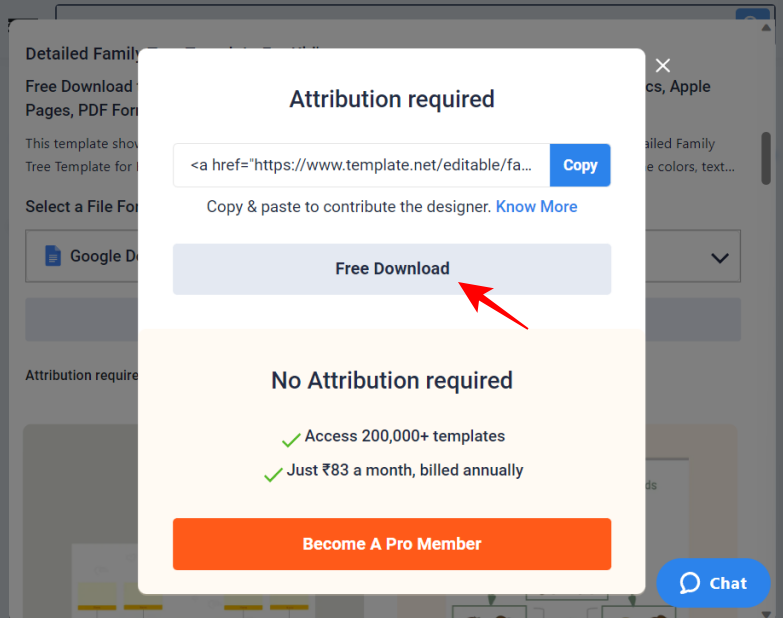
Click on Free Download.
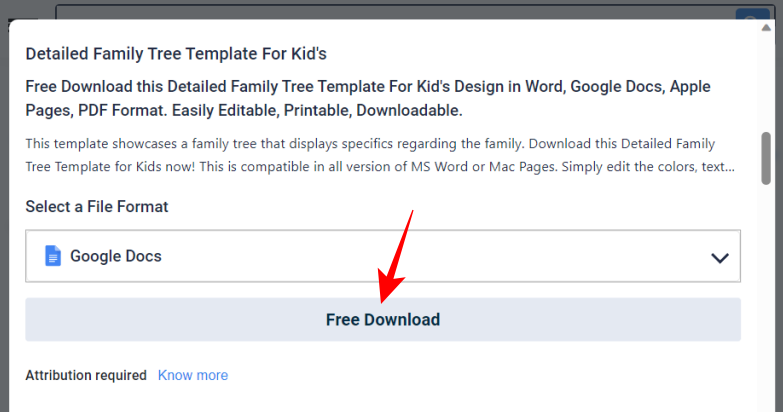
Then click on Free Download again.
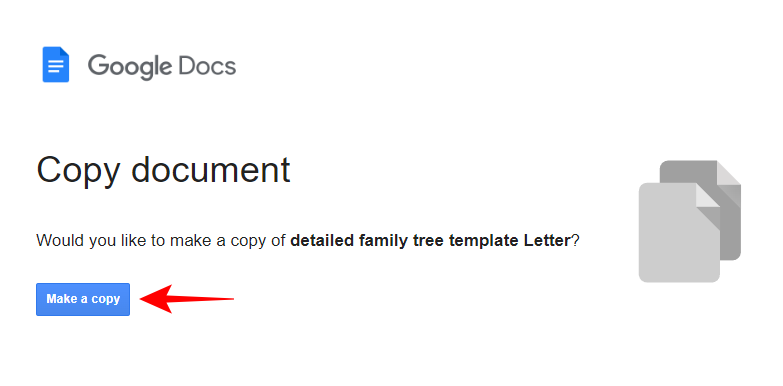
Now, login to your Google Docs account if you haven’t already. Then click on Make a copy.
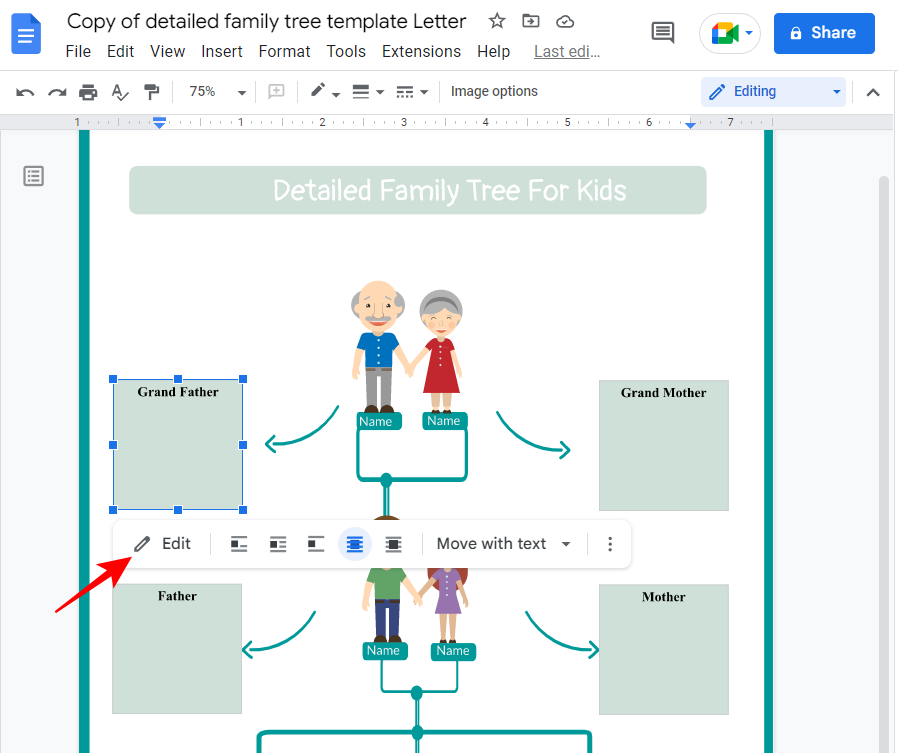
The template will be imported into a new Google Docs document. Now, depending on your template, the different sections will have their own drawing boards that you can edit and add text details to. Click on a drawing element to select it. Then click on Edit to start editing it.
Now, click on the text box icon in the toolbar above.
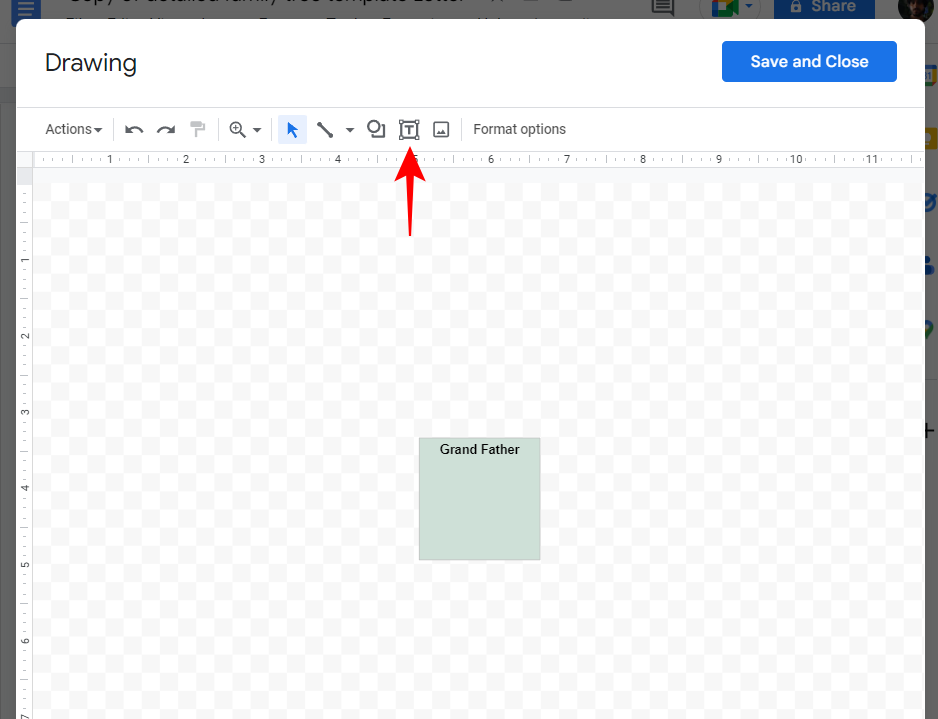
Then draw a small box inside the section and add the text.
Make additional adjustments if necessary, then click on Save and Close.
Do the same for other sections as well.
Next, to download the doc, click on File.
Hover over Download and then select your format.
Related: How to Merge Cells in Google Docs on Mac, Windows, Android or iOS
Method 4: Create a family tree in different third-party tools and add it to Google Docs
You’re not restricted to working only with Google Docs and its drawing boards. There are other third-party tools that can help you create family trees, which can then later be added to Google Docs as media. Let’s take a look at a few.
Canva
Canva is among the well-known design tools that help create a variety of things, including videos, posters, and, of course, family trees. Here’s how to use it to create a family tree:
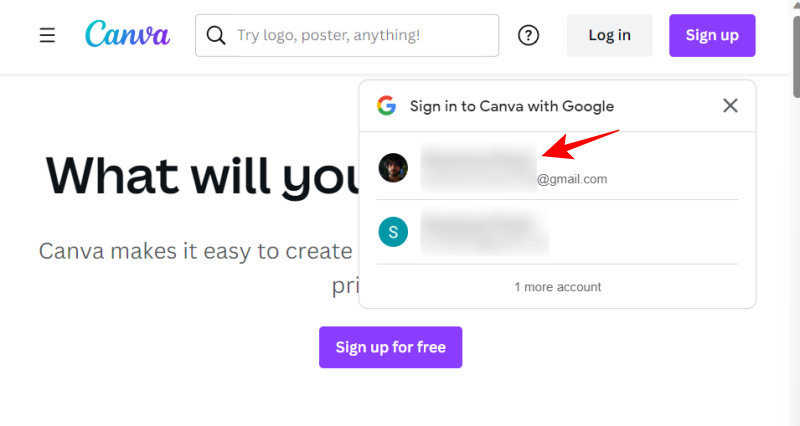
Visit canva.com and sign in with an account.
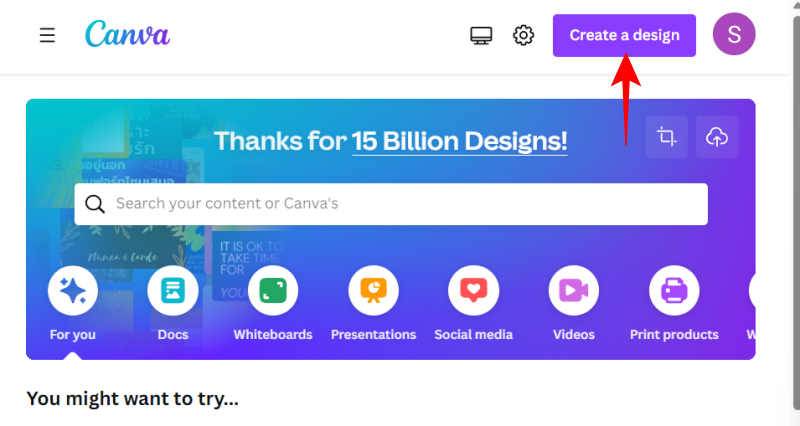
Then click on Create a design on top.
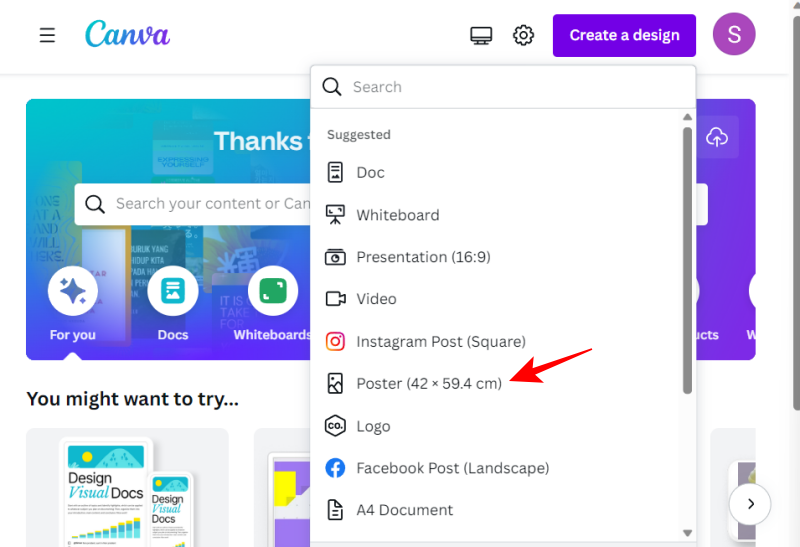
Select your design type (poster is preferred).
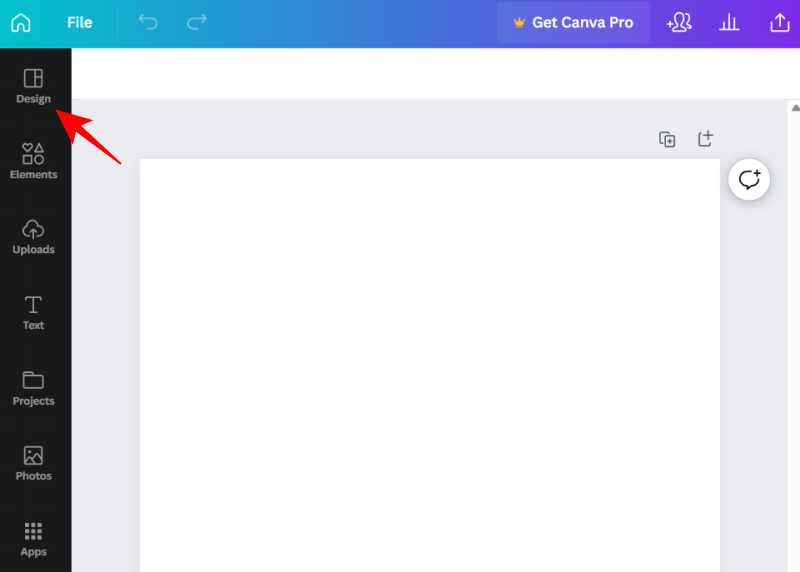
Then click on Design in the left pane.
Here, use the search bar to look for family tree templates.
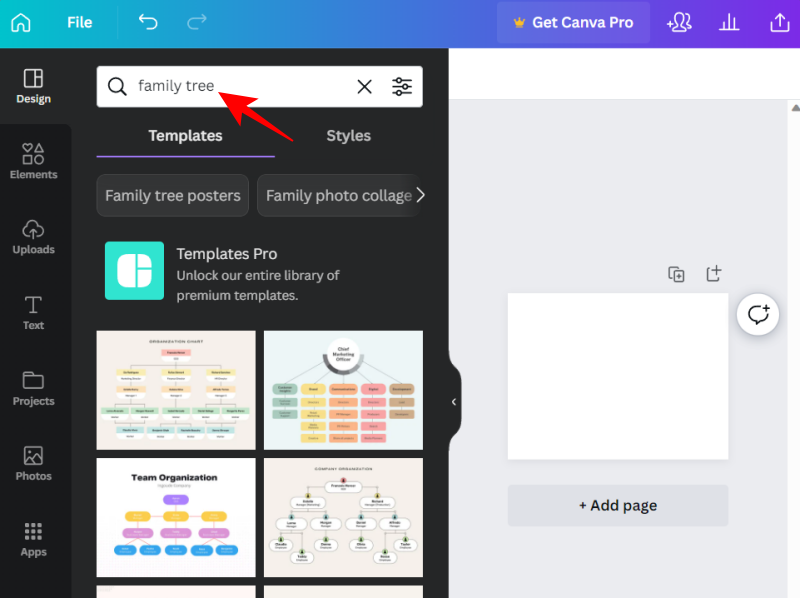
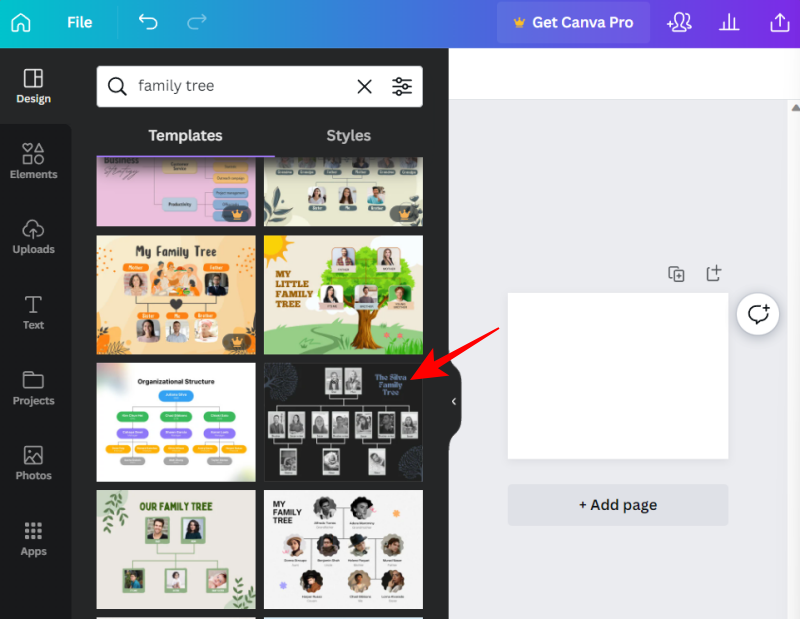
You can always use the different elements available in Canva to design your family tree from scratch. But if you’d rather work with readymade templates, there are a number of free options to choose from. Once you’ve found your template, click on it to select it.
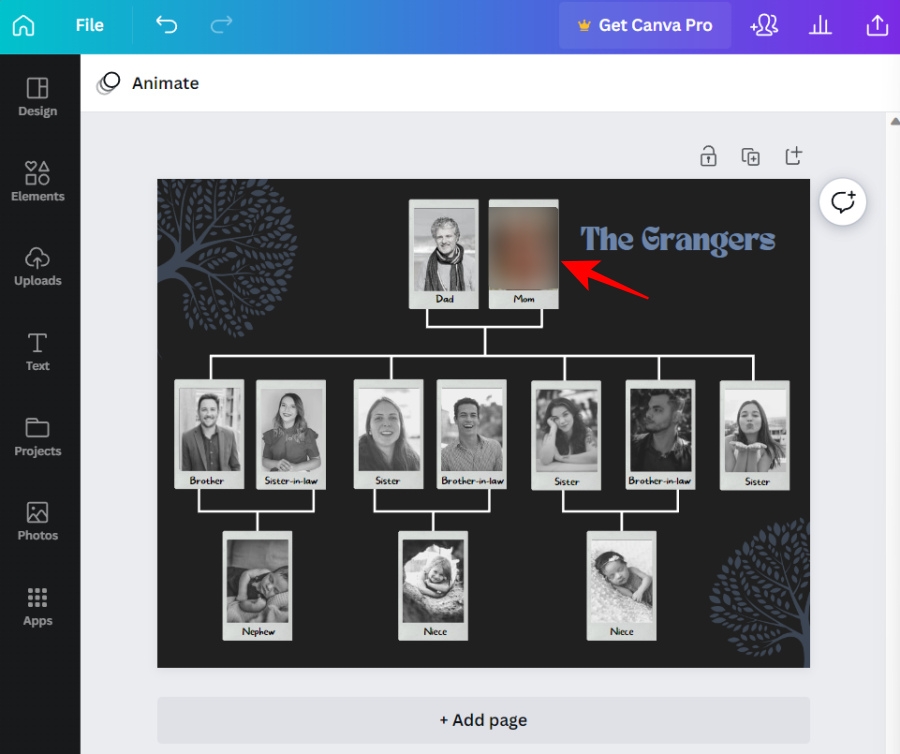
It will automatically transfer to the blank canvas. Here, you can change up every single element of the template, from the background to the photos to the texts. Hover over an element (it will turn purple) and click on it to select it.
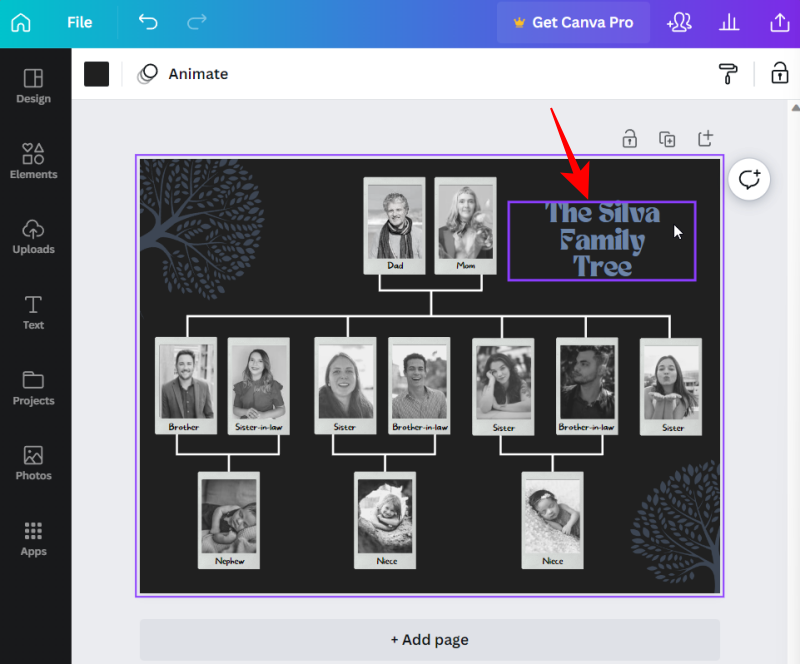
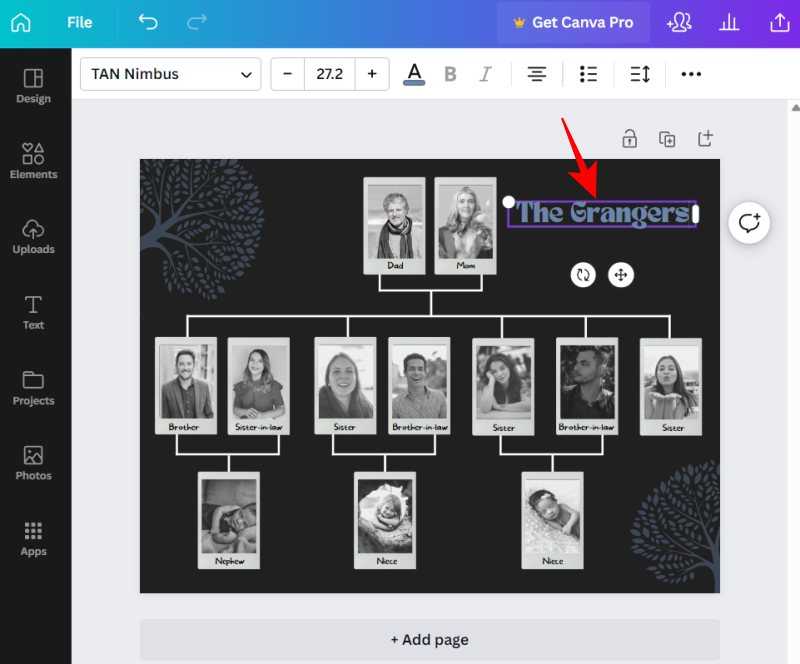
Double-click inside the box to start changing the text.
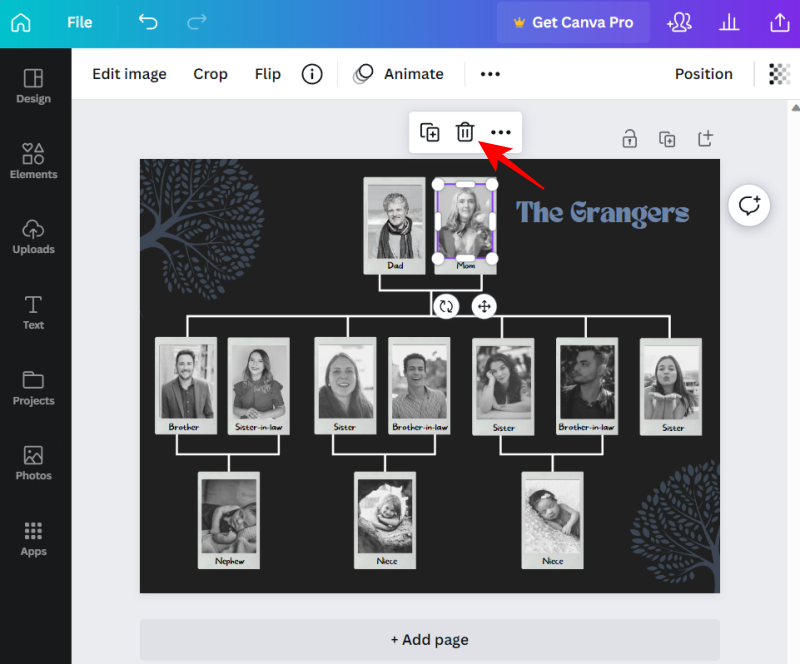
If it is a picture, click on the trashcan icon on top to remove the placeholder image.
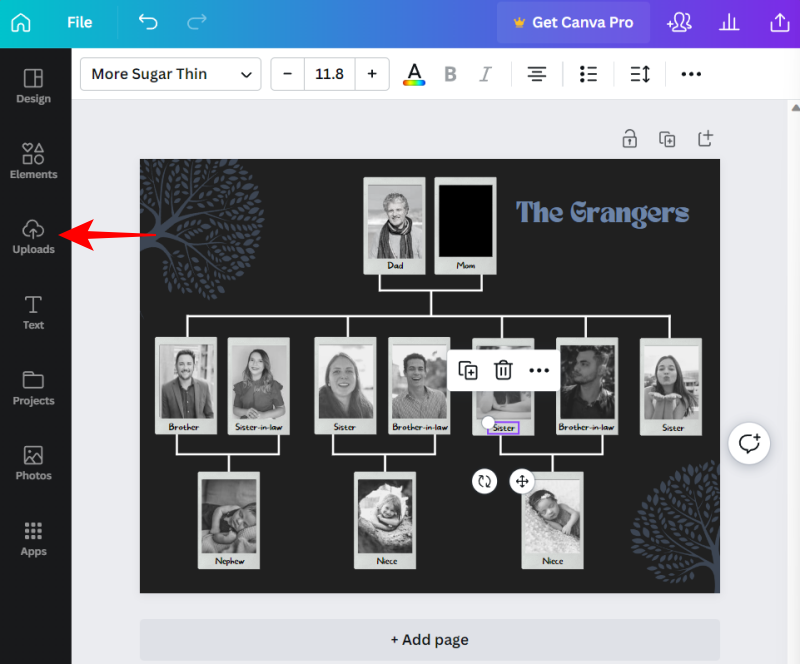
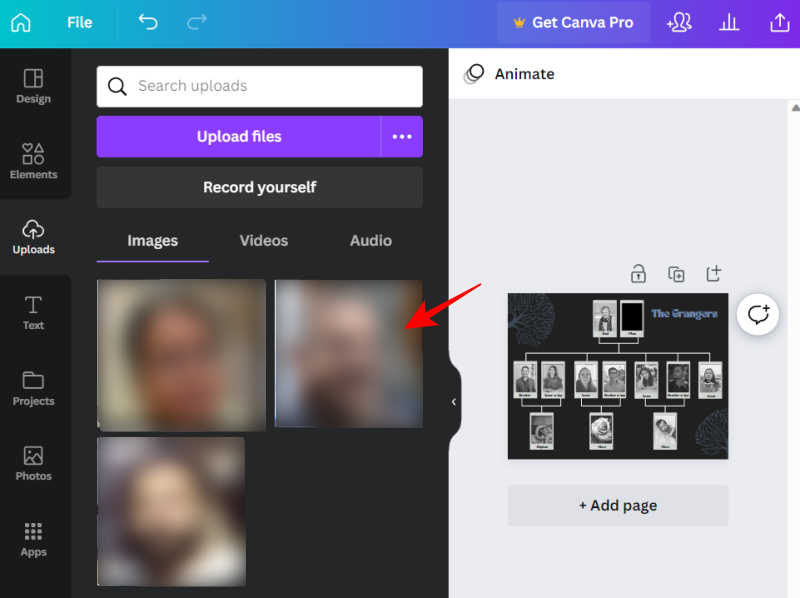
Then, to add your own images, click on Uploads in the left pane.
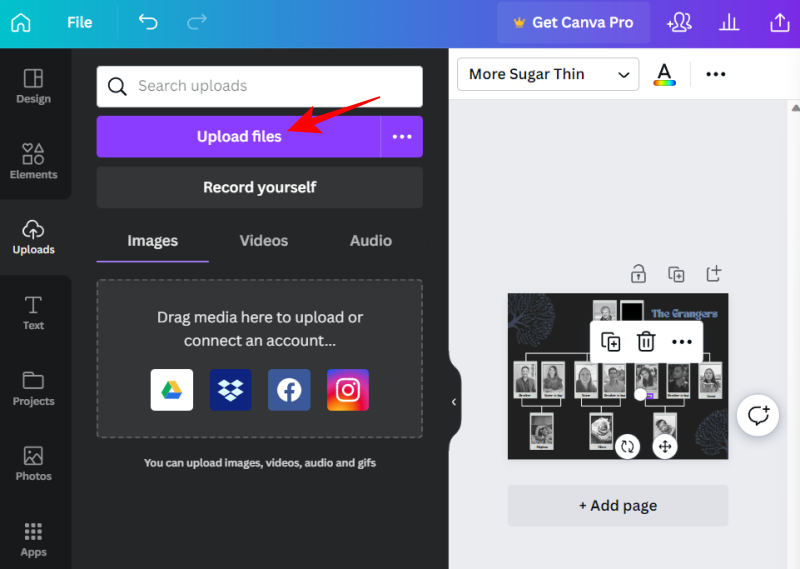
Select Upload files.
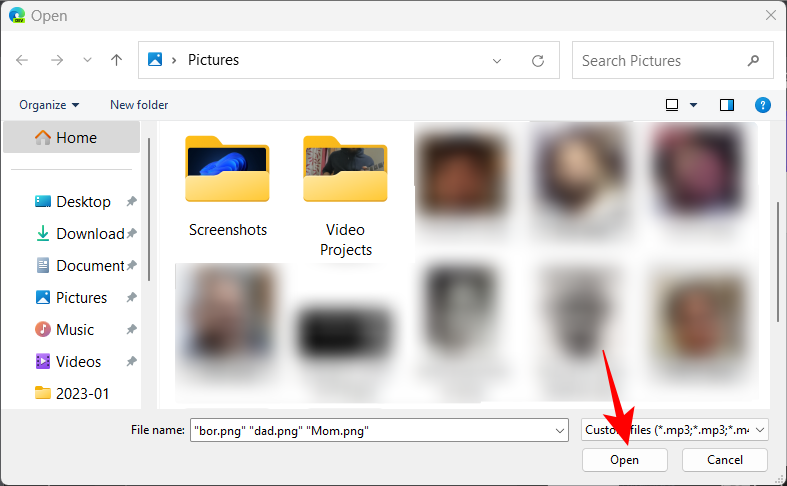
Select your files and click on Open.
Now, simply click on the image that you want to add.
Drag the side handlebars to change the size of the image and then bring the image into position.
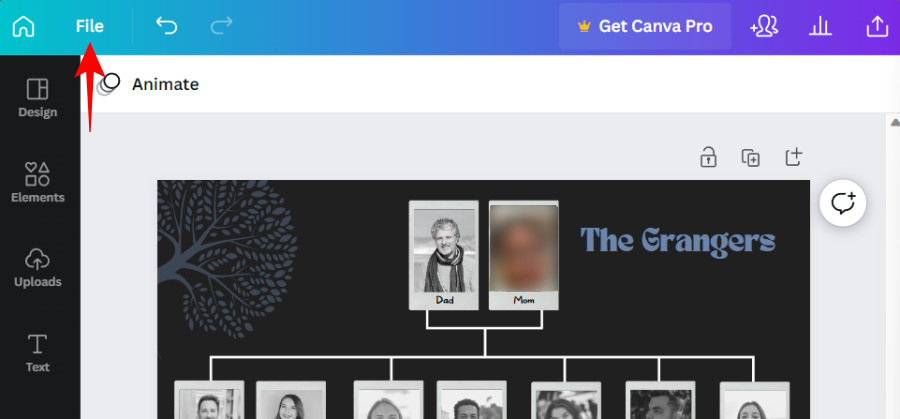
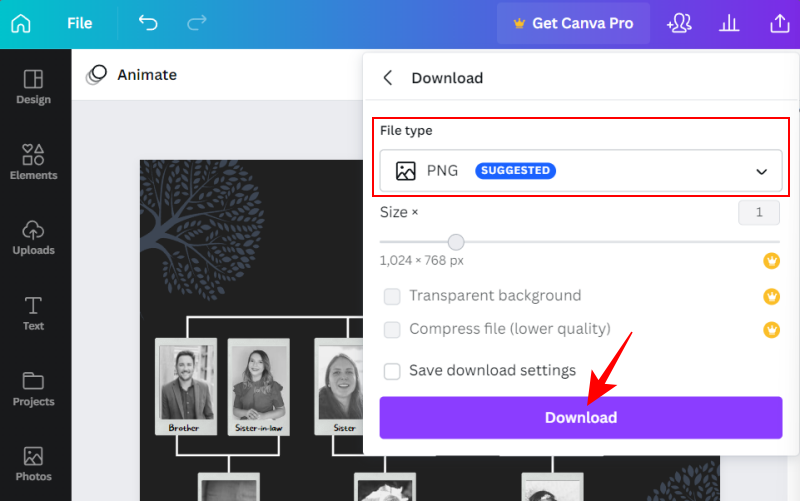
Once you’re finished changing the elements, click on File in the left pane.
Select Download.
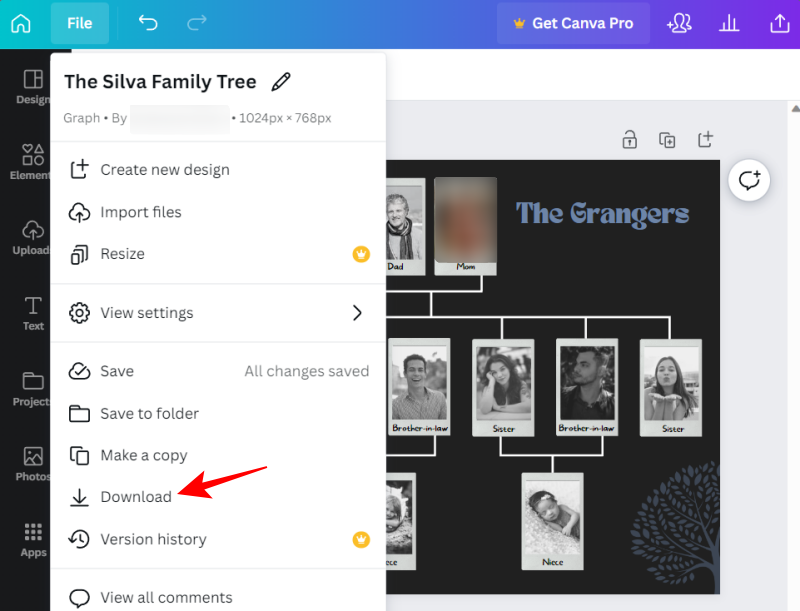
Choose your file type and then click on Download.
Once downloaded, open this image in Google Docs as shown before (Insert > Image > Upload from computer).
Others Alternatives
There are a few other alternatives to Canva that you can look into, such as Visme, Marq, and Vistacreate. They all provide similar design-making tools and have a very short learning curve. So, if Google Docs or Canva doesn’t cut it for you, use these alternatives to create your family tree, download your designs, and then upload them as images in Google Docs as shown earlier.
Related: Insert a shape in Google Docs: Step-by-step guide
How to make a family tree on Google Docs mobile app
Unfortunately, Google Docs’ mobile app doesn’t allow adding a drawing the way it is on its desktop website. That means you can’t create or edit drawings on the mobile app. So, for all intents and purposes, if you want to make a family tree on Google Docs, we suggest you switch over to your PC and use the methods above.
FAQs
Let’s take a look at a few commonly asked queries about creating family trees on Google Docs.
Does Google Docs mobile app have ‘Drawing’?
Unfortunately, no. Insert a drawing is an option that is only available on a computer. You can only view your drawings on your smartphone with Google Drive.
How do I create a family tree template in Google Docs?
If you want to create your own family tree template in Google Docs, firstly, insert a new ‘Drawing’. Then add shapes and lines to connect those shapes. Add text and images and make any changes necessary. Refer to the guide above for a step-by-step set of instructions.
How do you make a family tree on Google Docs with pictures?
There are several ways to create a family tree with pictures on Google Docs. One way is to insert a new “Drawing,” add images using the toolbar, and then save the drawing. Another option is to import existing images from your computer into Google Docs and then personalize the family tree by adding text boxes and other elements.
While Google Docs provides some tools for creating or working with family trees, its options are somewhat limited. To make more elaborate family trees, you may want to consider using ready-made templates or other design-making platforms such as Canva.
Hope our guide helped you in making your family trees come to life. Until next time! Stay safe.


Discussion