
It can be so easy to lose control of a narrative and even more so when the narrative is a video conference that you need to organize for professional purposes. Zoom has certainly had quite a turbulent journey in navigating control related aspects on their video conferencing app. We even witnessed as they grappled with major security breaches towards the first half of the lockdown when the app suddenly witnessed a major upswing in users who were struggling to adapt to new circumstances.
So it’s interesting how a virtual videoconference application like Zoom tackled this crisis and established an effective element of control in their application. With certain checks and balances in place, including a process to safely let people into a Zoom meeting, they have certainly anticipated and covered all their bases. Here’s a look at how to let people in on a Zoom meeting.
Related: How to Change Name on Zoom
The Admit process in Zoom
You can tell that the developers of Zoom are taking in as much feedback as possible and implementing it effectively because of the way users are admitted to meetings. A decently customizable admit process has been set in place for the convenience of the host. This process brings more control in ways such as allowing the host to decide who and how to let people into the Zoom meeting.
Basically, the host can choose to admit whoever they want into the meeting as part of this process, and it’s not just as basic as clicking on an Admit option, there are thoughtful tweaks that make it easier on the host, especially if there are a massive number of participants.
The biggest enable of the admission process in the Waiting Room feature. Let’s understand the purpose of the Waiting Room now.
Related: How to Raise Hand on Zoom
What is the Zoom Waiting Room feature?
Think of a real-world Waiting Room that one has to wait in before going to the actual room where you might have your doctor’s examination/consultation, the Zoom Waiting Room feature is a virtual version of the real thing.
Basically, as a host, you can choose to add a waiting room in your meeting where participants must ‘wait’ till you approve their admission into the meeting. Zoom has even taken this Waiting Room feature to the next level by allowing paid users to customize the room with brand logo and colors.
In terms of replication of a real-life feature, the Zoom Waiting room not just comes close, but also elevates the experience for users which is something one can always appreciate.
Related: How to see everyone on Zoom on PC and Phone
How to let people in on a Zoom meeting
The Zoom application for both Desktop and Mobile allows the host to activate the Waiting Room option which we will elaborate in the tutorial. Let’s see how to let people in on Zoom meetings now.
On PC
When a participant clicks on the meeting link to join your meeting, you will see the ‘Waiting room’ heading in the right-hand side of the meeting screen. Click on Admit to let the participant join the meeting and interact with others.
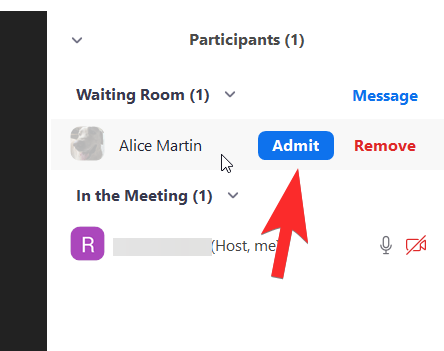
That’s how you let in (or not) participants on the Zoom app for desktop.
On Phone
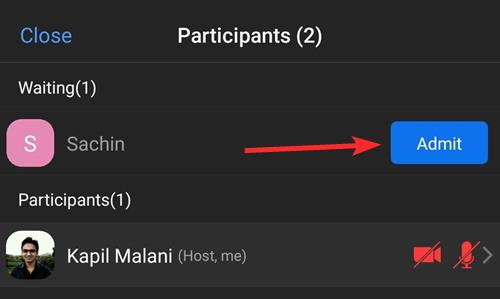
On your Zoom app, tap the screen once to bring up the options at the bottom of the screen. Now, tap participants.

You will see the users you can let in under the ‘Waiting’ section. Tap on Admit to allow the user to join the meeting.
What if the meeting is locked?
You must have noticed the Lock Meeting feature right above the Waiting Room feature. This is another feature provided by Zoom to enable more control for the host. Once all the participants have joined the meeting, or if they’ve missed the deadline required to join it, then you can activate the Lock Meeting feature to bar anyone else from entering the meeting.
Basically, once the Lock Meeting feature is activated, even if the participant has the Meeting ID/ invite, they cannot join in. This feature is a very effective way to stop letting in more people into a Zoom meeting.
To let more participants in, you need to unlock the meeting and hit the Admit button as given above to admit the participants.
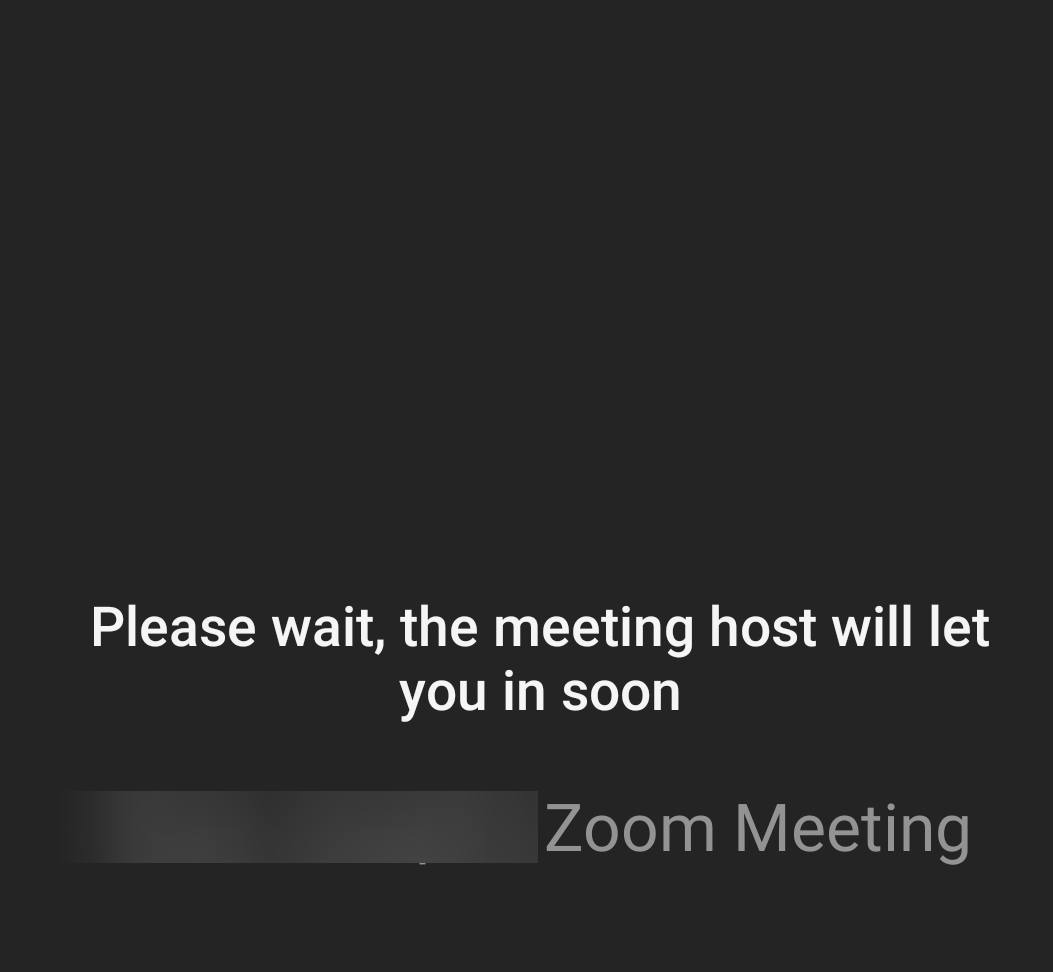
What does the participant see when they’re in a Waiting Room?
While on one hand, the host might probably be bombarded with the names of participants who are waiting to be admitted into the Meeting, the participant themselves are going to find themselves face-to-face with a screen that looks something like this:
If you have a paid Zoom account, you’ll even be able to customize the look and feel of the Waiting Room however you like. So if you want to add the logo, design, and colors that represent your company/organization, then all you can do so to create a unique experience for the participants.
How to disable waiting room on Zoom
If you don’t want to keep people in the waiting room, you can disable the waiting room so that anyone with an invite can simply join in directly. Here’s how you can disable the waiting room to let people join in without needing to be admitted.
On PC
Zoom has a desktop application that you can access one of two ways. Either you go to the Zoom website via a browser, where you can launch the application by clicking on Host a meeting > With Video On/Off
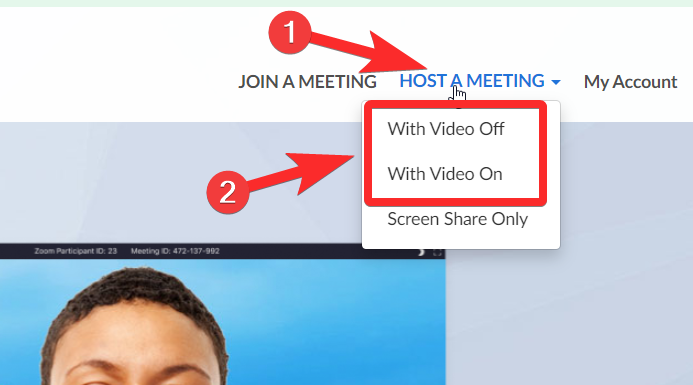
Or, launch the Zoom application directly from the Start Menu.
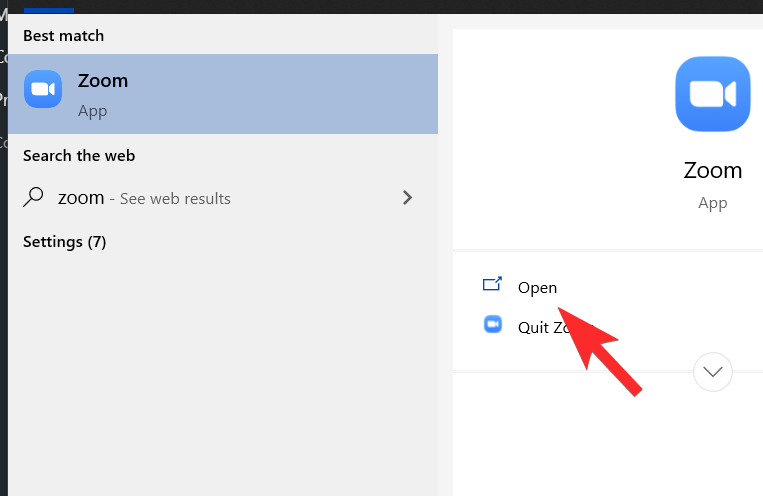
Then select the New Meeting option for the purpose of this tutorial.
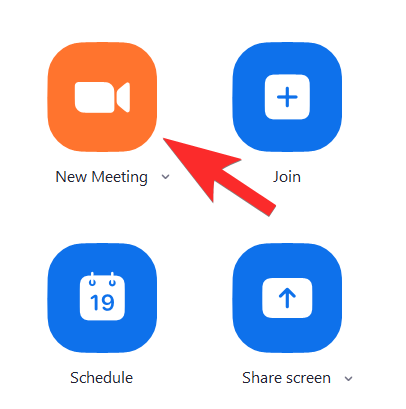
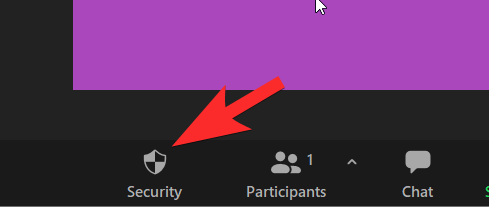
The meeting page will open in a separate tab. You can invite another participant if you want to see how the security feature responds in your own case as well. Click on the Security icon that you will see towards the bottom.
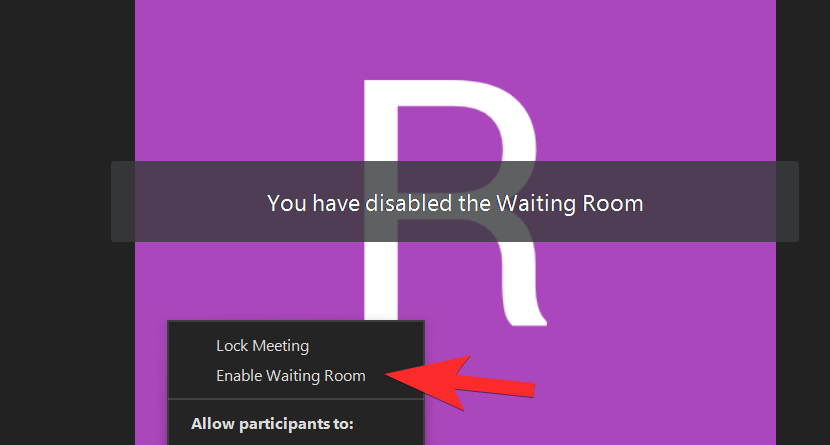
In the menu that appears, you can decide if you want to enable/disable the Waiting Room option. The Waiting Room option comes pre-enabled like this:
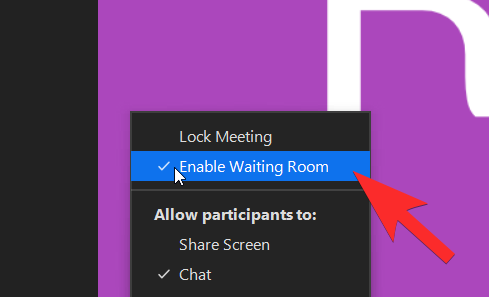
By clicking on it, you will be disabling it, in which case the participants will directly arrive at the meeting and you won’t be able to control the inflow.
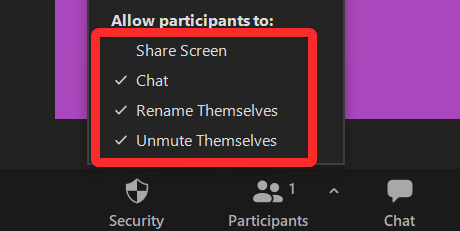
Additionally, you can also decide what the participants can or cannot do in your Zoom meeting with these setting options in the same Security menu.
You can also choose to enable/disable the Waiting Room feature from the three-dot menu on the bottom right.

You can click on the Enable Waiting Room option here as well.

On Phone
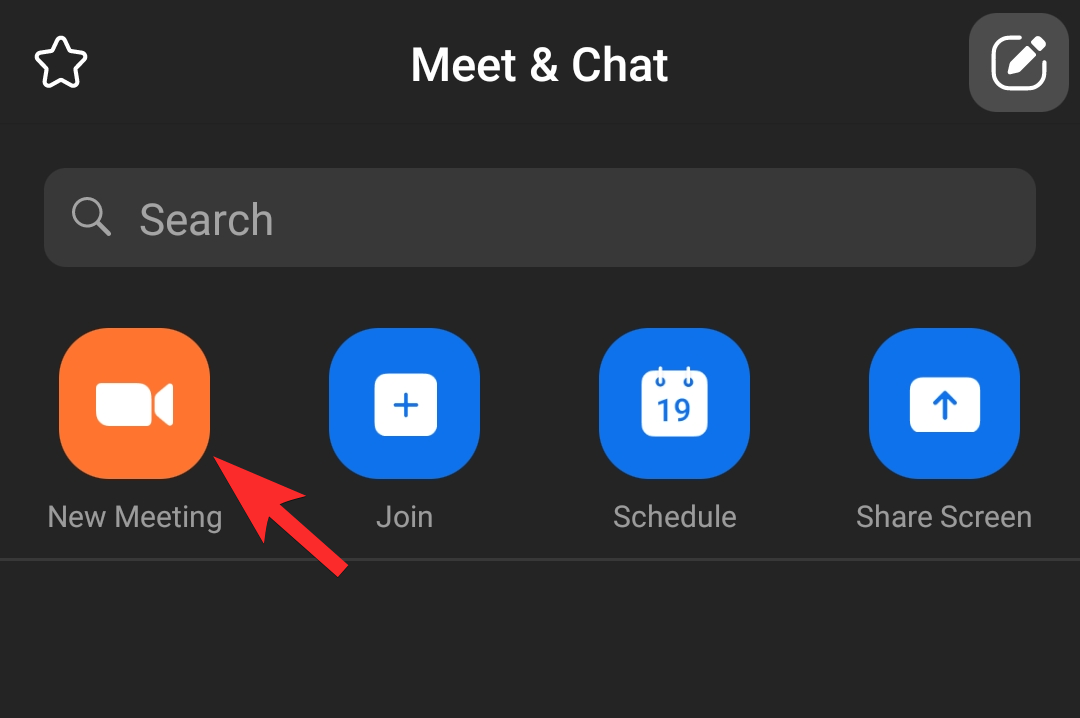
Open the Zoom app on your phone. If you don’t have it, download and install it from the Play Store or App Store, depending on your device. Once you’ve opened the app, select the New Meeting option.
You will be prompted to start a New Meeting.
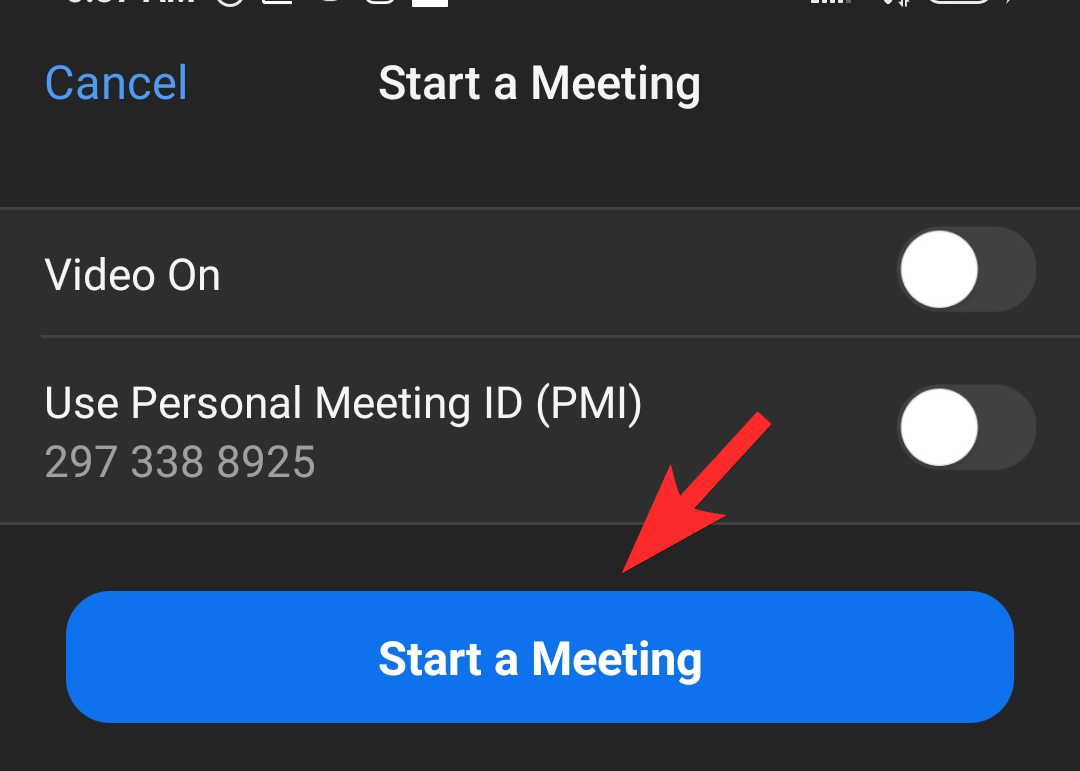
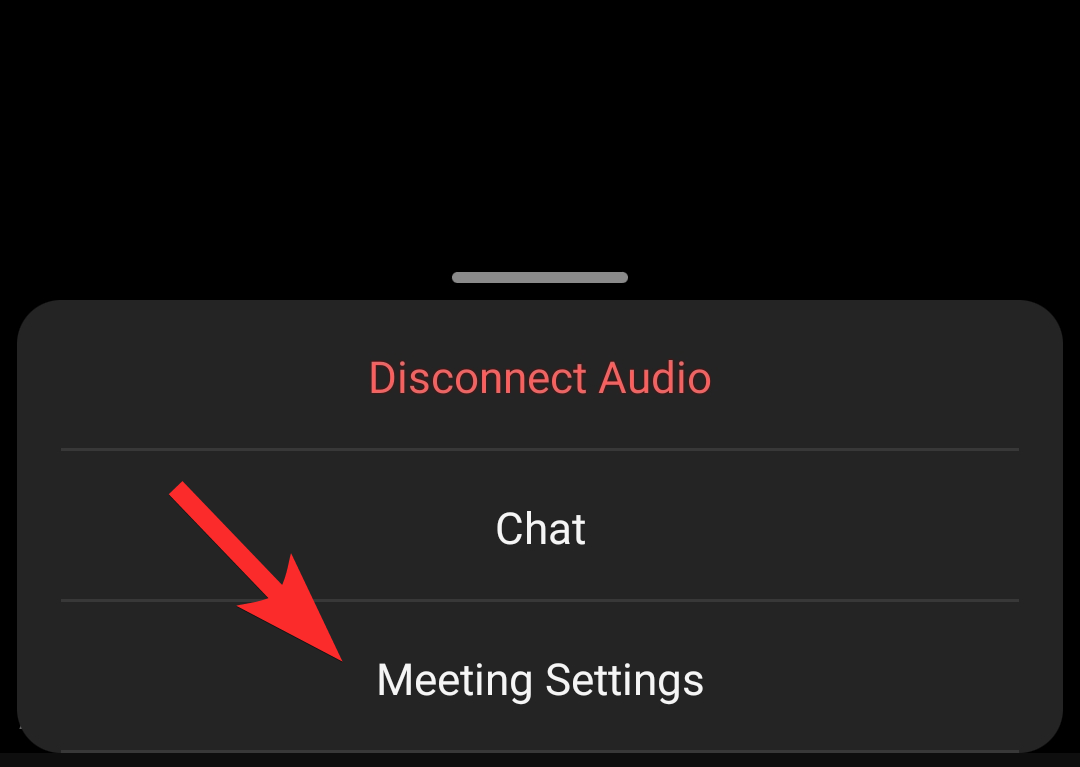
Now, you will find yourself at the meeting. Here, select the Meeting Settings option.
Once you’re in the Meeting Settings, you can enable/disable the Waiting Room feature depending on how you want to let participants into the Zoom Room.

You’re good to go!
How has your Zoom experience been so far? We look forward to hearing from you in the comments. Take care and stay safe!