

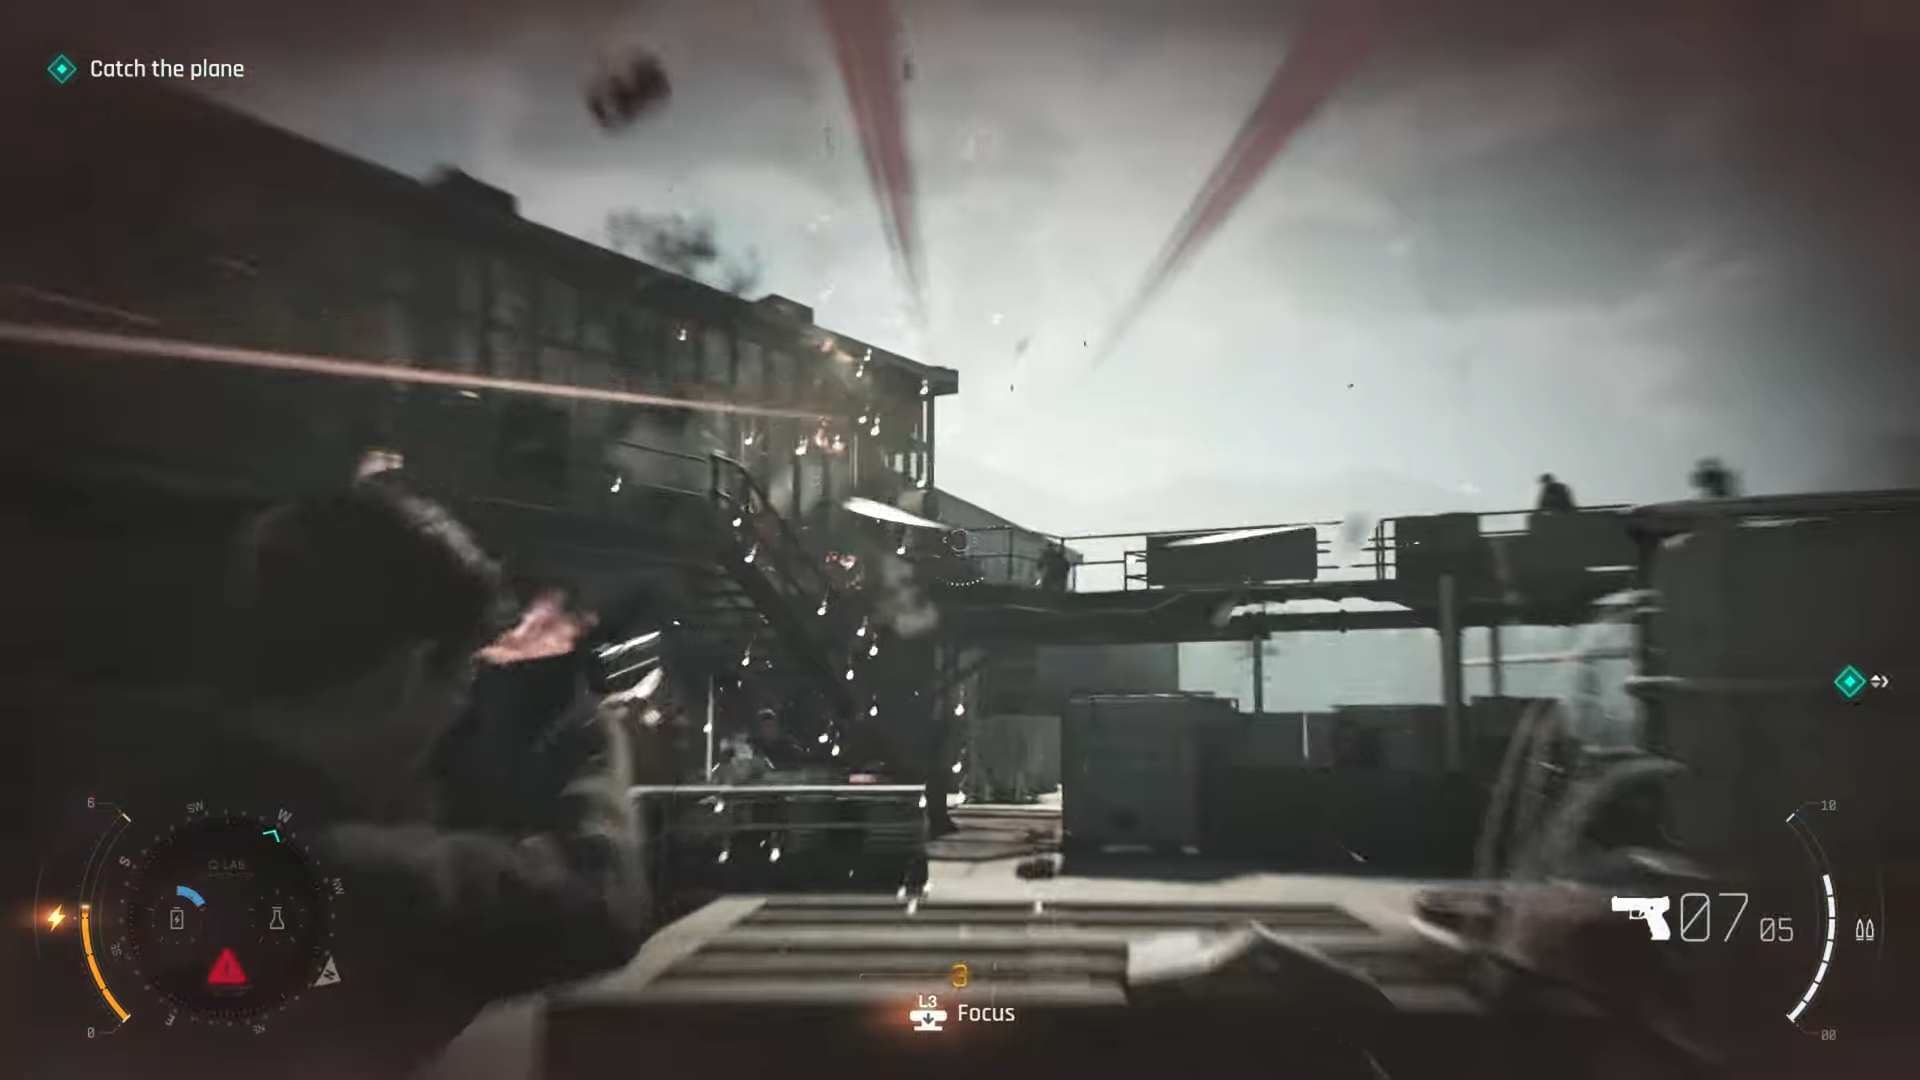
If you are stuck during the Steal Field Equipment objective in 007 First Light, the Stress Test Chamber puzzle can be confusing because it combines environmental interaction, machinery activation, and a timed vehicle test. The solution requires activating the chamber systems in the correct order before the exit door becomes available. Here is a complete walkthrough covering every step needed to escape the chamber and continue the mission.
| Objective | What to Do |
|---|---|
| Enter chamber | Locate and inspect the Protocol Notice |
| Activate machine | Find and press the button that starts the pressure test machine |
| Disable machine | Use the laser equipment on the machine block until it explodes |
| Access vehicle area | Open the shutter after destroying the block |
| Begin door test | Use the red terminal button behind the car |
| Start countdown | Press the nearby button to begin the 10-second test |
| Complete sequence | Sit inside the car and wait for the test to finish |
| Exit chamber | Door unlocks and opens to the next room |
Where the puzzle takes place
The entire sequence occurs inside the Stress Test Chamber during the Steal Field Equipment objective. The room contains a large testing machine, laser equipment, a vehicle positioned behind a shutter, and several control buttons that must be used in the correct order. Most progression is locked until the machine’s vulnerable component is destroyed.
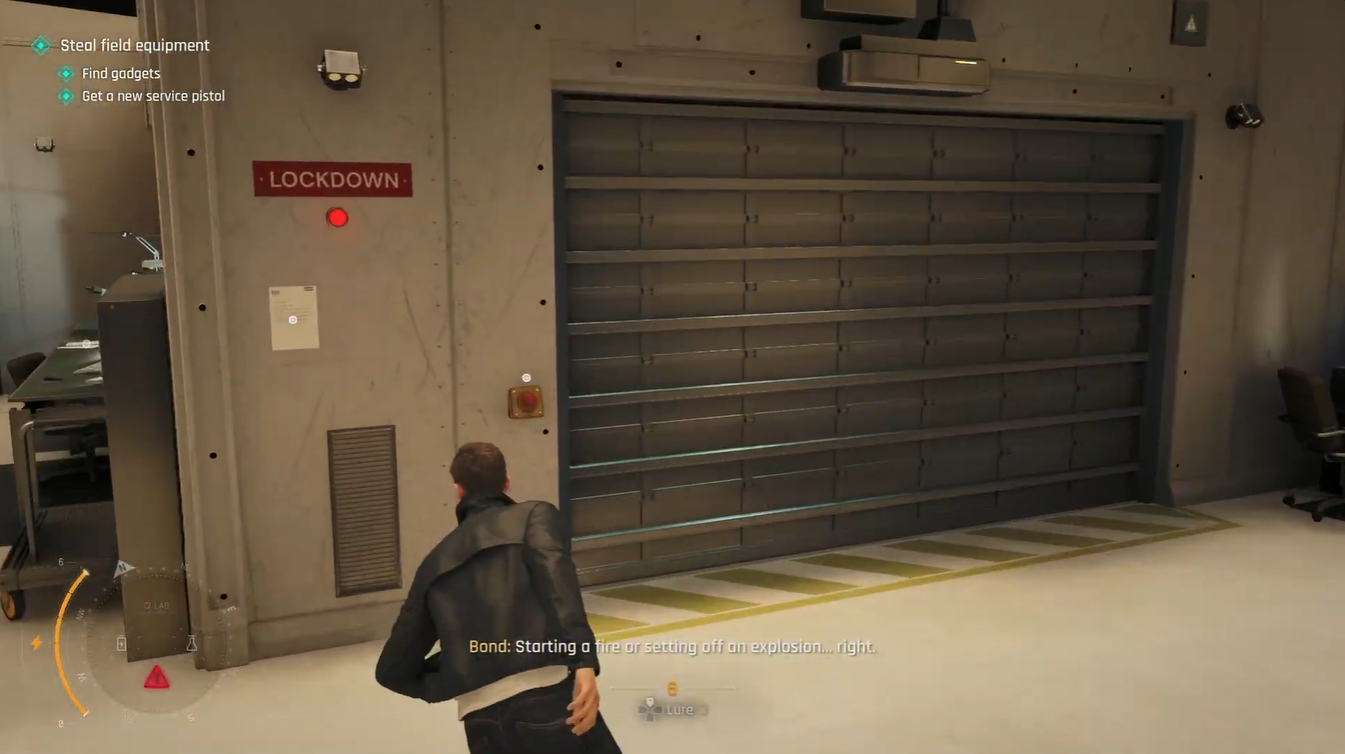
How to escape the stress test chamber
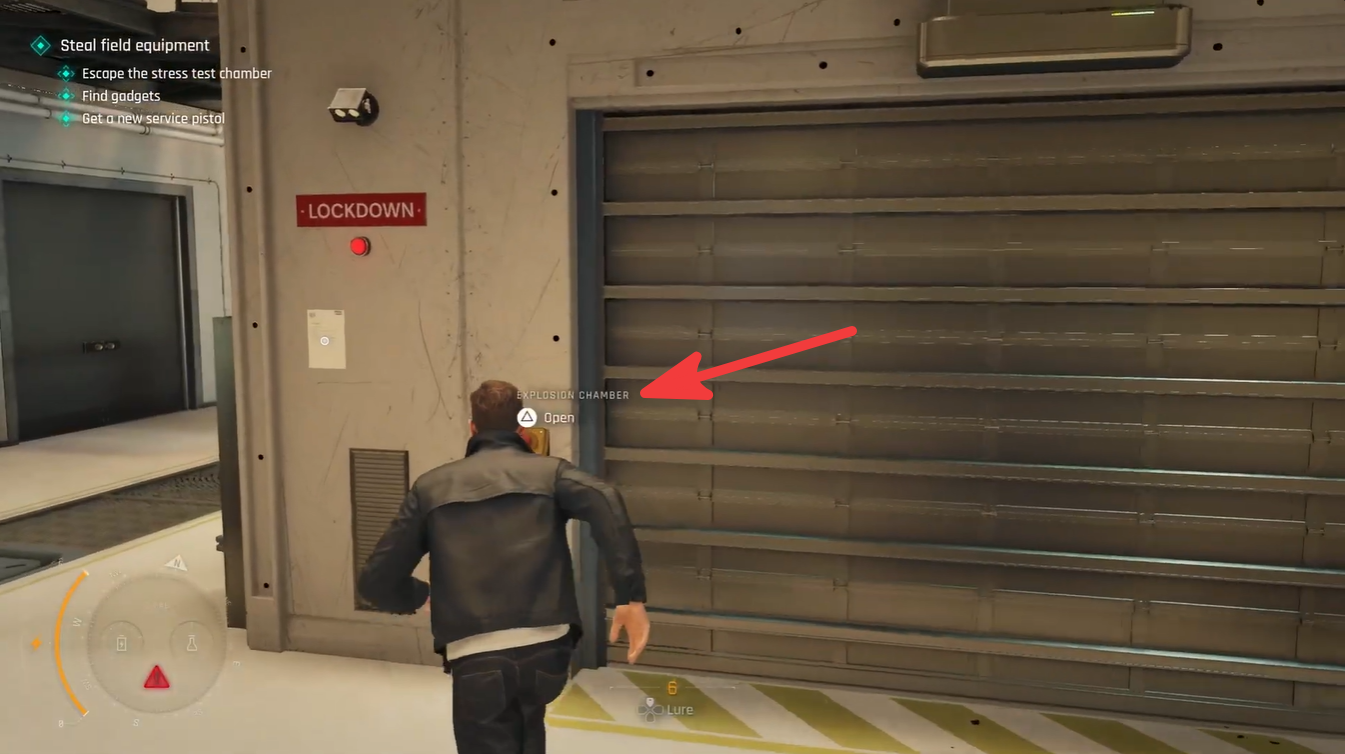
Opening the door to explosion chamber
Step 1: Find and read the protocol notice
After entering the chamber, your first task is to locate the Protocol Notice. This document provides important context for the testing procedures taking place inside the facility. Interacting with it also helps confirm that you are progressing through the objective correctly.
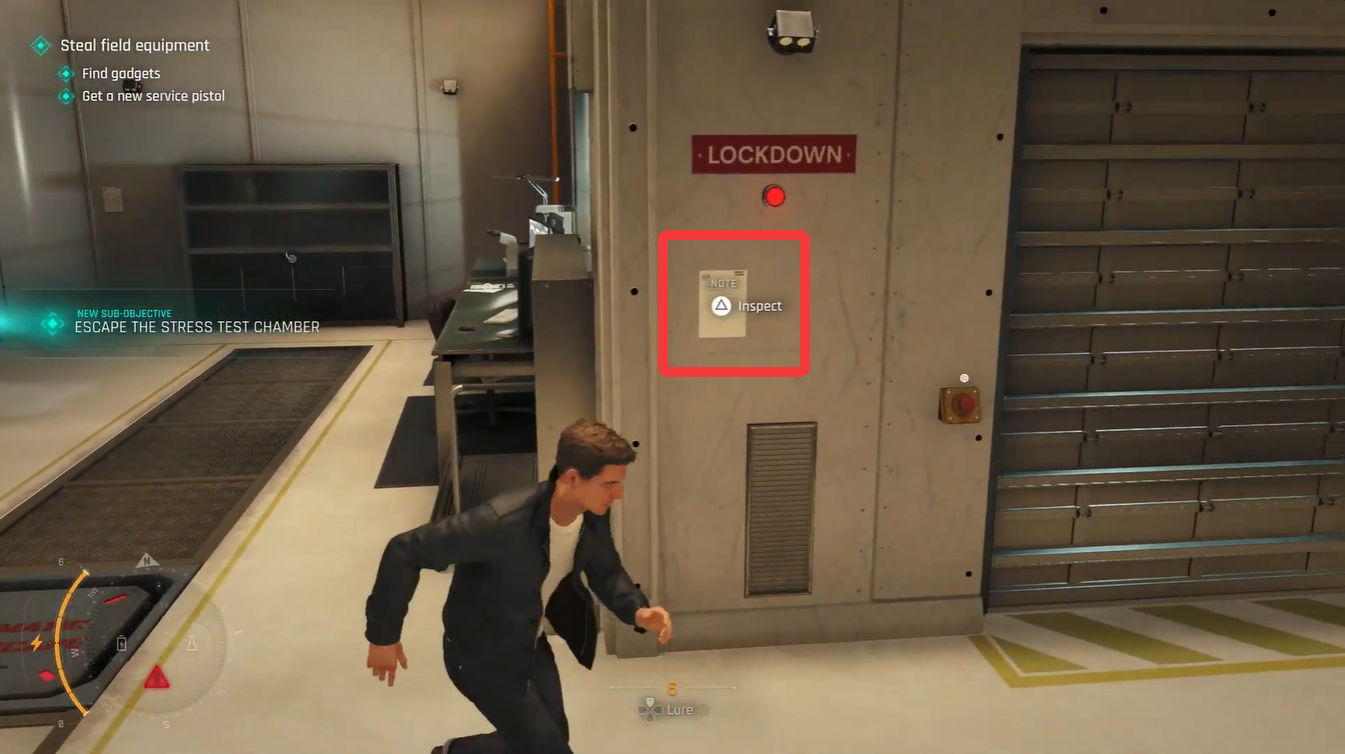
Take a moment to inspect the notice before moving on to the next task.
Step 2: Start the pressure test machine
With the notice found, search the room for the control button that activates the pressure testing system.
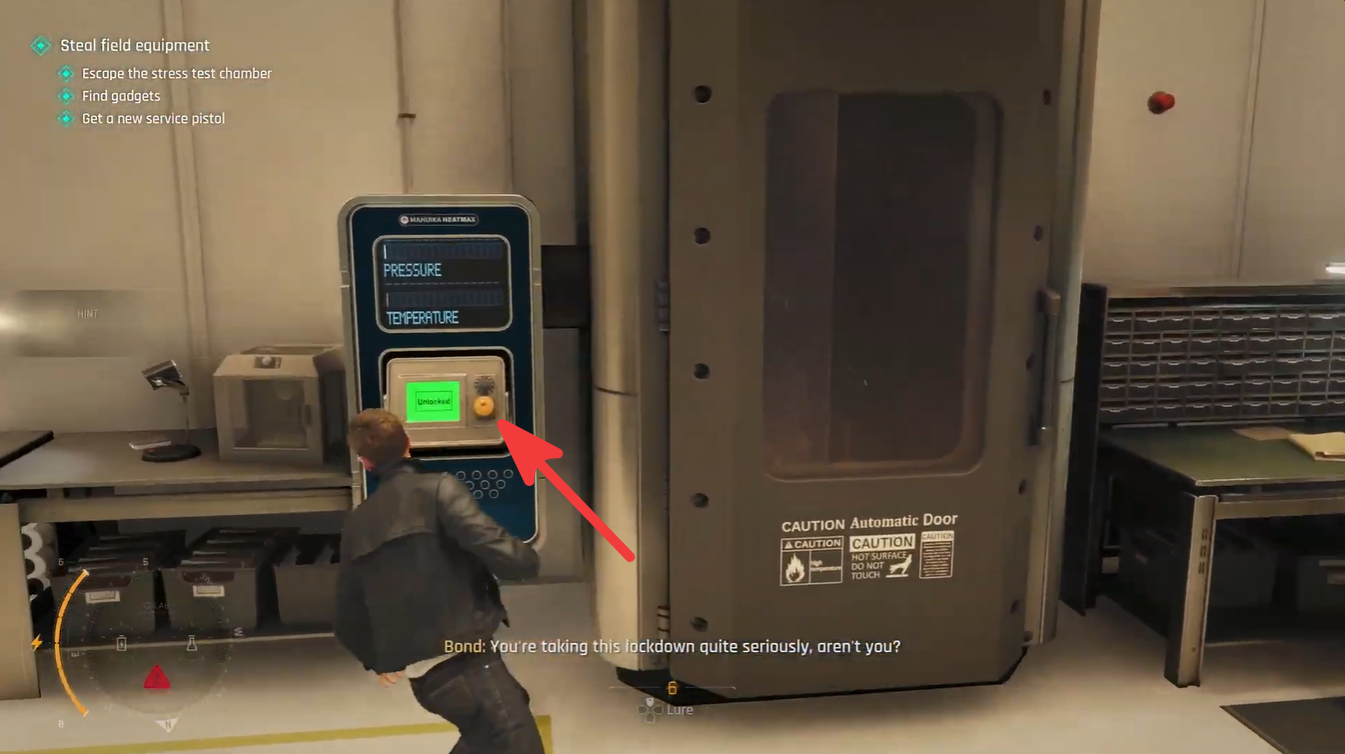
Press the button to start the machine. Once activated, the machinery begins operating and reveals the next part of the puzzle. At this stage, simply interacting with the controls is not enough—you must disable part of the machine to continue.
Step 3: Locate the laser equipment
Look around the chamber for the available laser equipment.
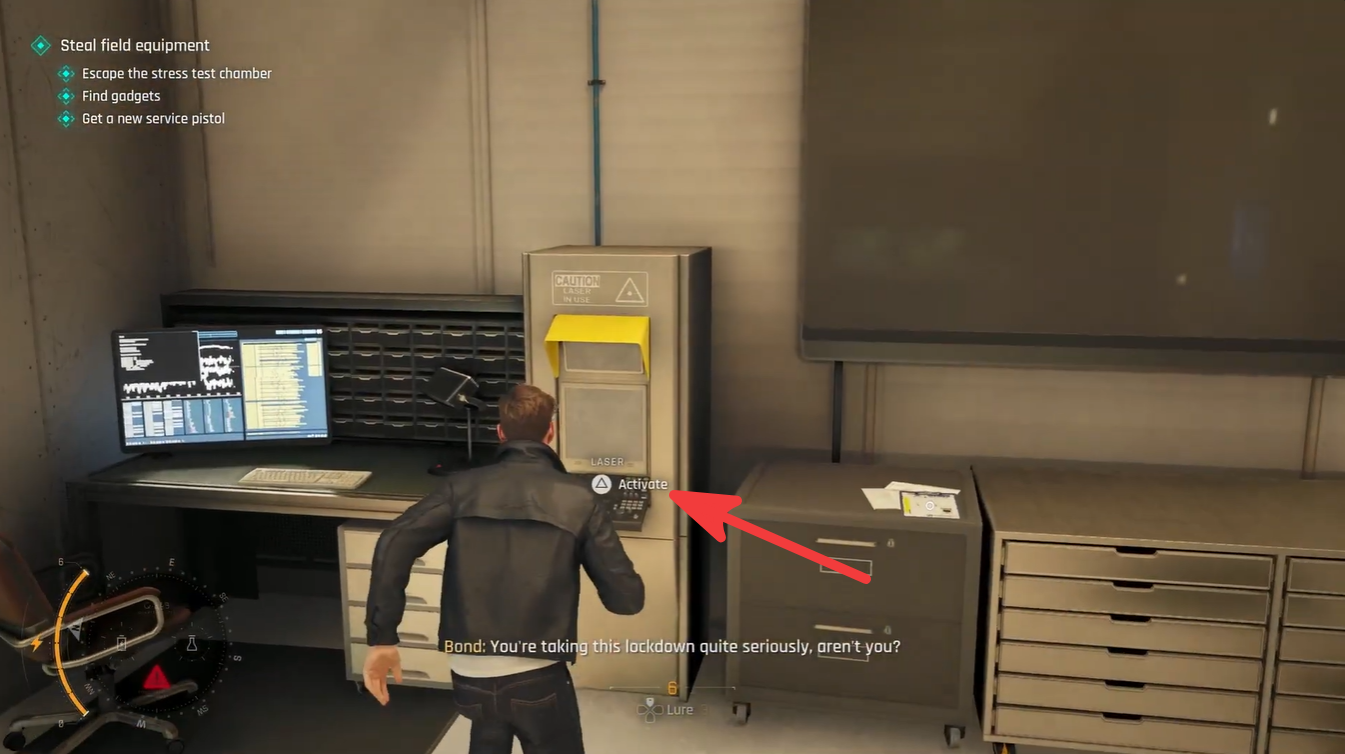
This tool is required to destroy a specific machine component. Without doing this, the shutter leading to the vehicle section remains inaccessible.
Equip or interact with the laser system and prepare to aim carefully.
Step 4: Destroy the machine block
Aim the laser at the block attached to the pressure testing machine.
Continue focusing the laser on the target until the component overheats and explodes. The destruction of this block is a key progression trigger within the puzzle.
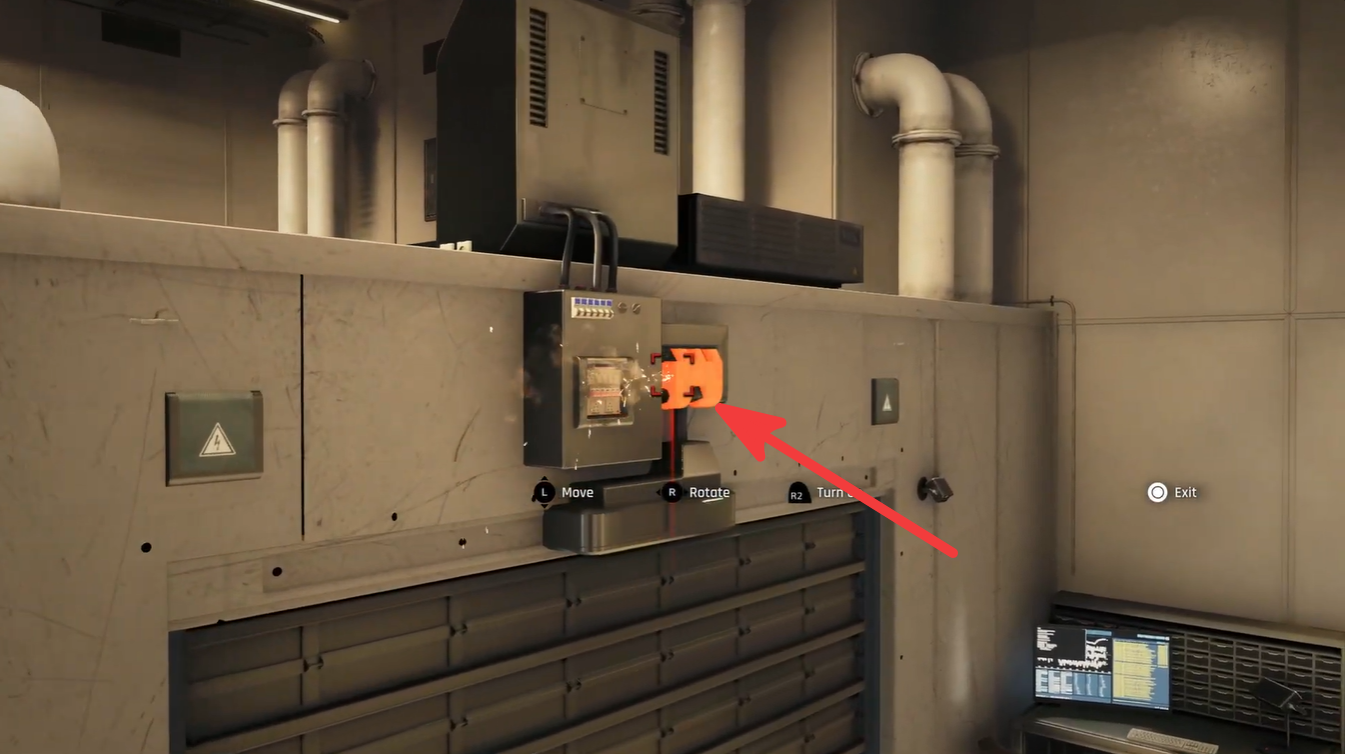
You may need to maintain the laser on the target for a short period before the explosion occurs, so keep the beam steady.
Once the block is destroyed, the chamber configuration changes and new interactions become available.
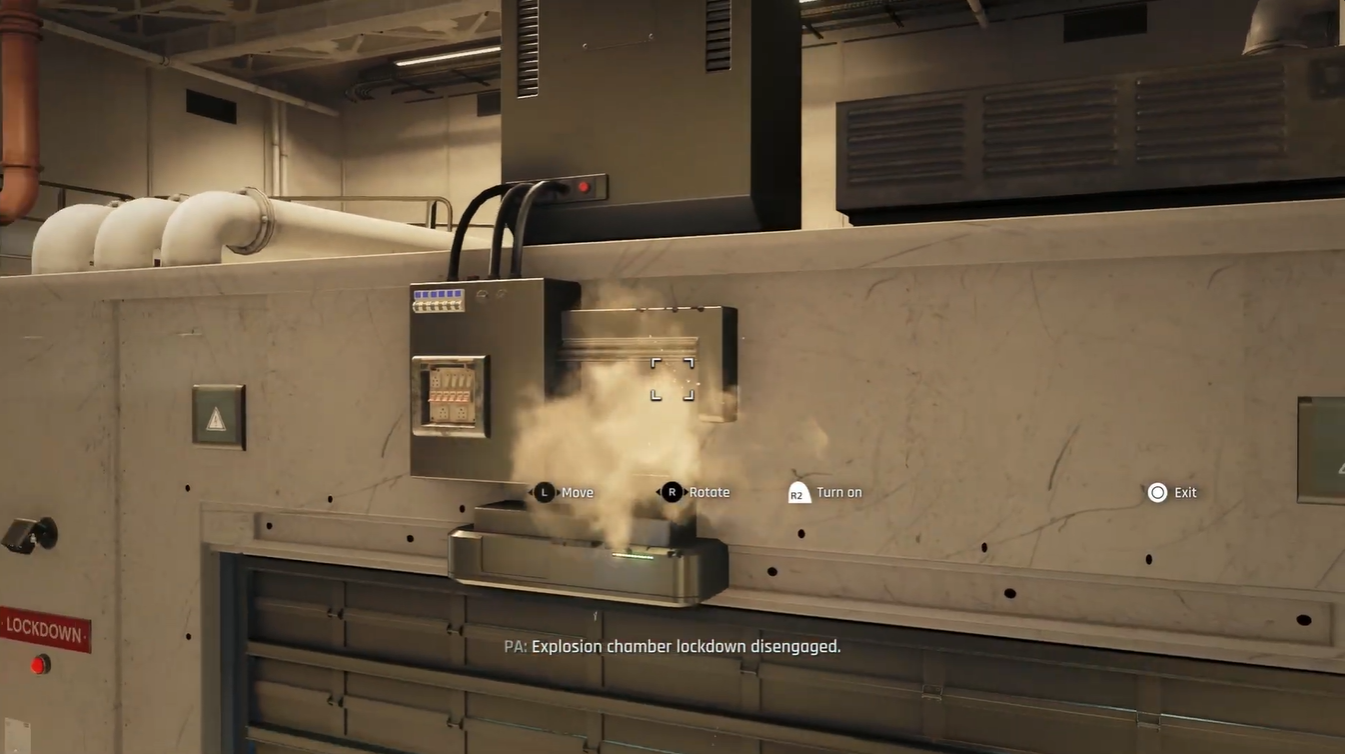
Step 5: Open the shutter
After successfully destroying the machine block, locate and open the shutter.
The shutter reveals another section of the chamber containing a vehicle that plays a central role in the final test sequence. Proceed through the newly opened area and inspect the surroundings carefully.
Using the vehicle testing system to unlock the exit
The final stage of the puzzle takes place behind the vehicle.
Step 6: Find the two red buttons
Move behind the car and look for two red control buttons.
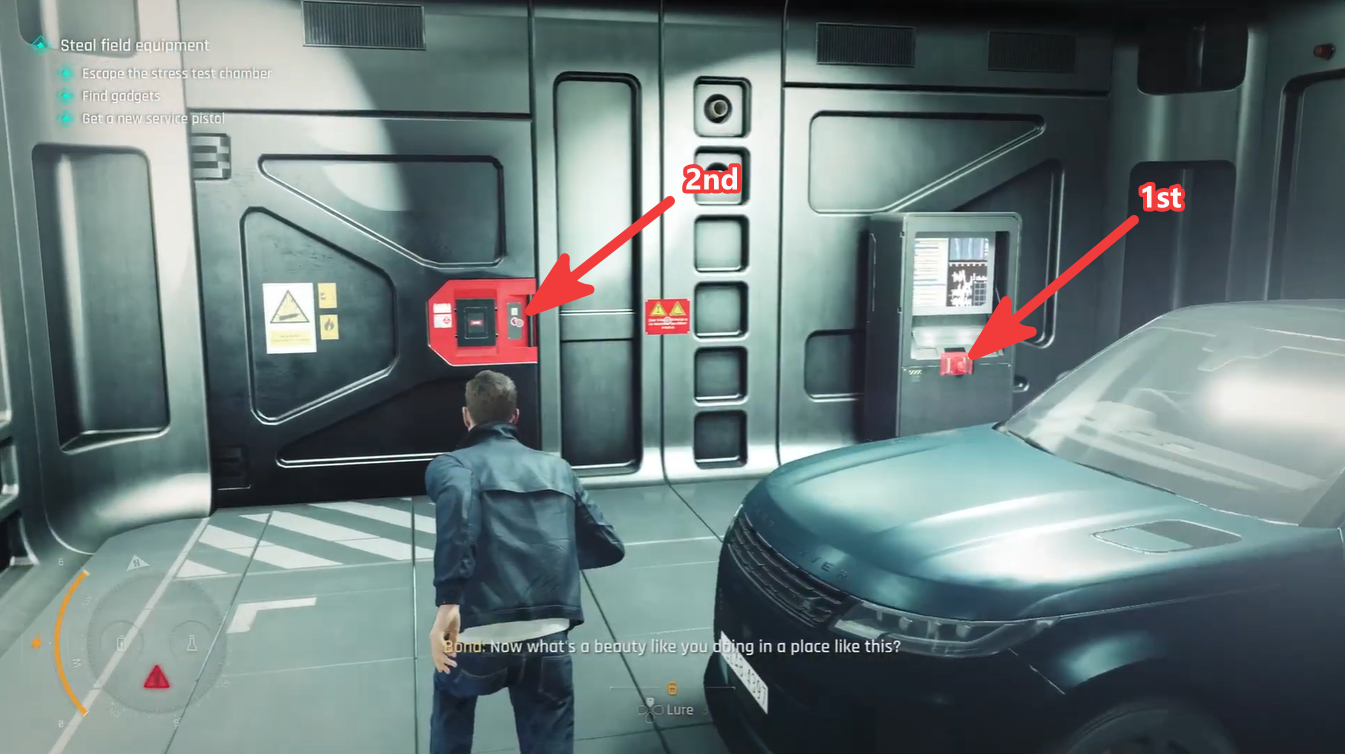
One of these controls is connected to a nearby terminal. This button is responsible for activating the stress-testing procedure associated with the chamber exit.
Step 7: Activate the terminal test
Use the red button connected to the terminal.
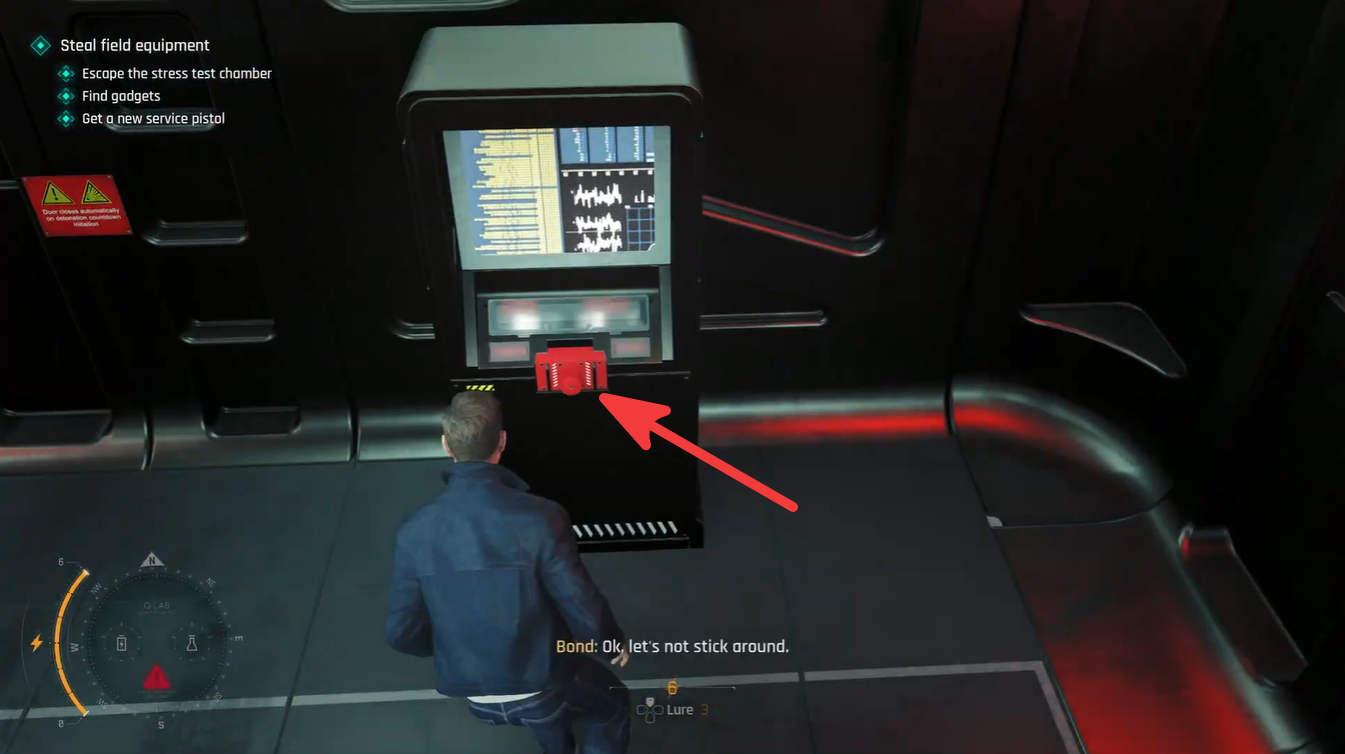
Activating this control prepares the testing sequence for the chamber door. The game will indicate that the door test system is now ready for the next stage.
Do not leave the area yet, as another interaction is required.
Step 8: Start the 10-second countdown
Locate the second button near the locked door.
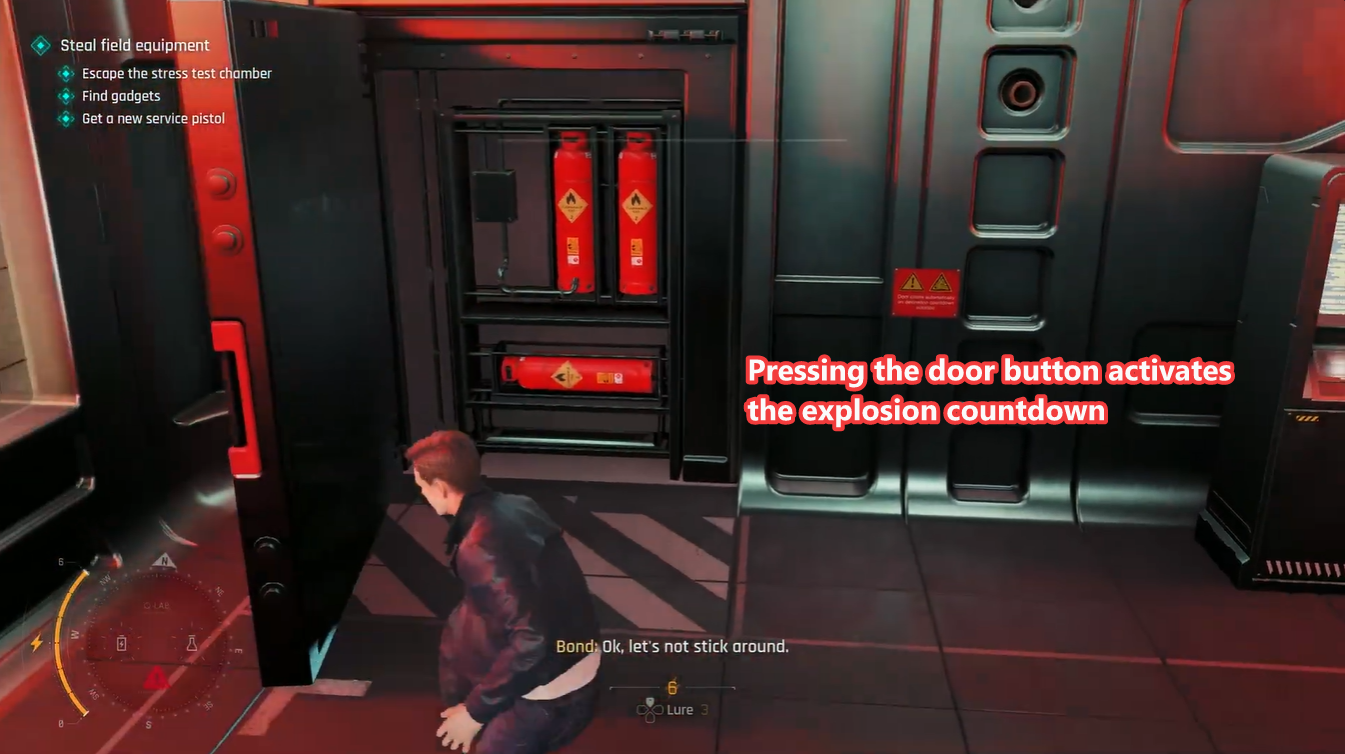
Pressing this button initiates a 10-second countdown that begins the actual testing procedure. Once activated, you must quickly move to the correct position before the timer expires.
Step 9: Get inside the vehicle
As soon as the countdown begins, enter the vehicle.
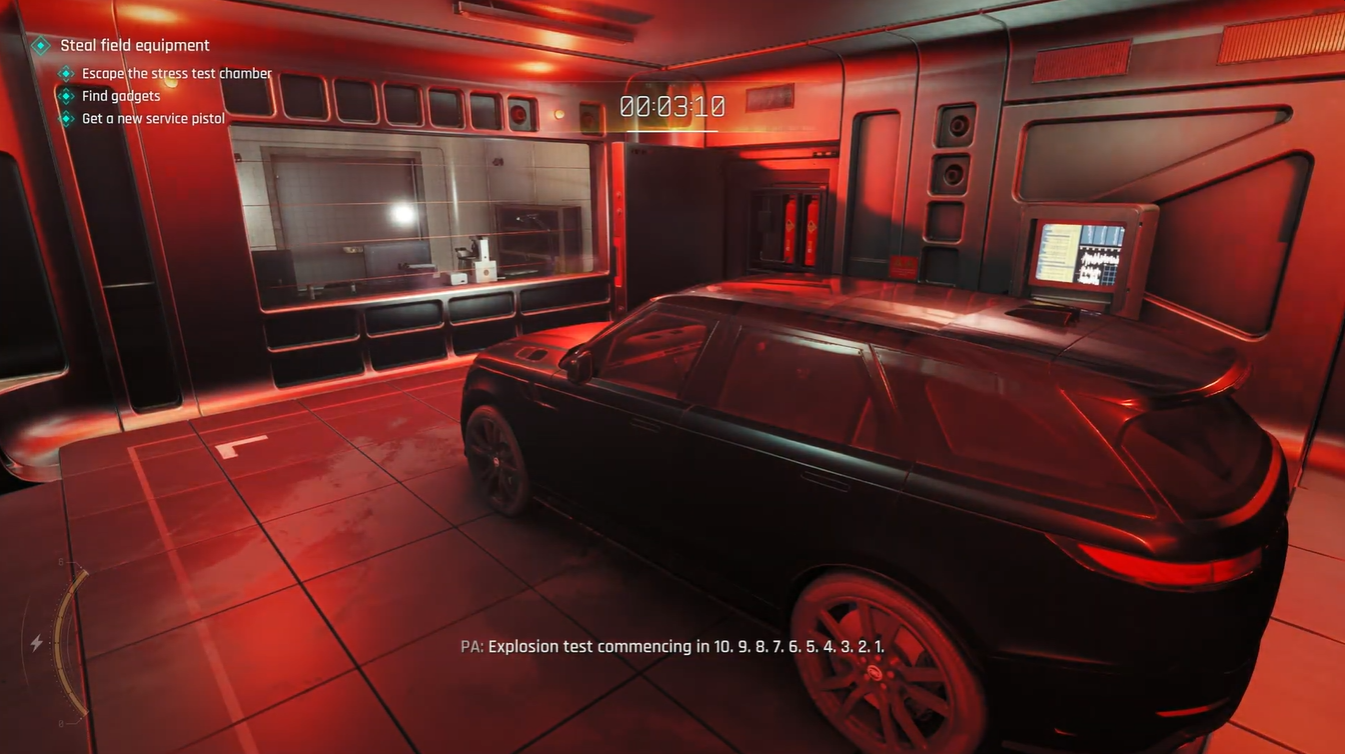
Remain inside while the test completes. The vehicle acts as part of the chamber’s validation process, and the sequence must run uninterrupted for the puzzle to resolve correctly.
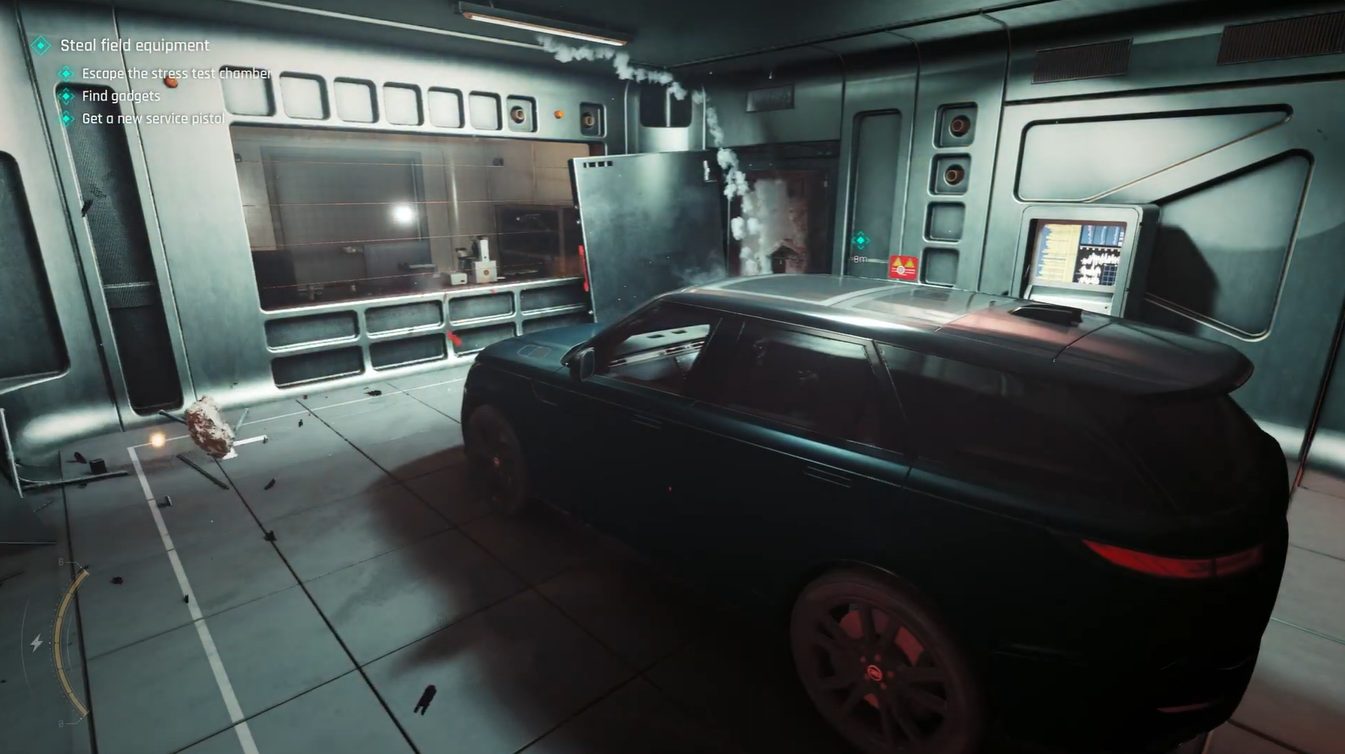
Avoid leaving the vehicle during the test.
Step 10: Wait for the door to unlock
When the testing cycle finishes, the chamber recognizes the successful completion of the procedure.
The previously locked door opens automatically, granting access to the next area of the mission.
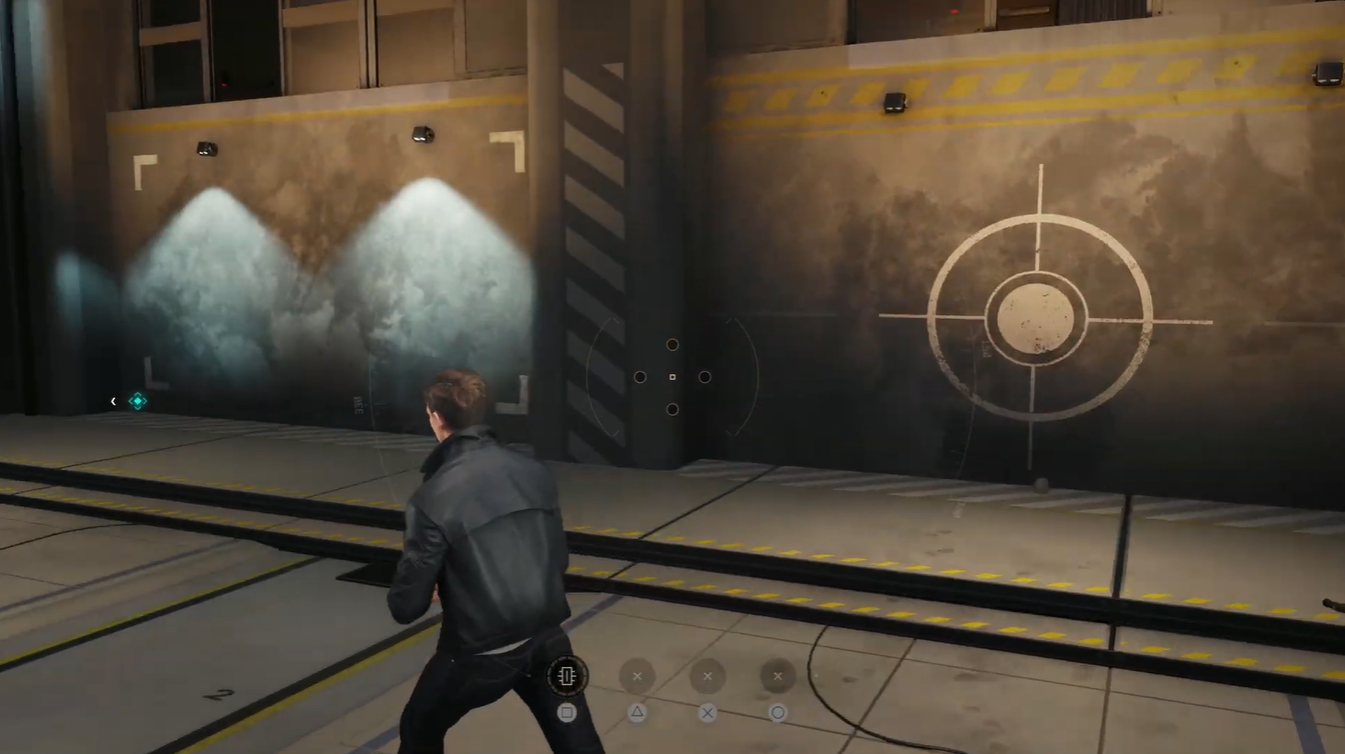
Exit the vehicle and proceed through the newly opened doorway.
Why the door does not open
If the exit remains locked, the most common causes are:
| Problem | Solution |
|---|---|
| Machine block not destroyed | Use the laser until the block explodes |
| Terminal test not activated | Press the red button behind the vehicle |
| Countdown not started | Interact with the button near the door |
| Not inside the vehicle | Enter the car during the test sequence |
| Test interrupted | Restart the sequence and remain in the vehicle |
The Stress Test Chamber puzzle is essentially a multi-stage facility test. You must activate the machine, destroy the pressure-test block with the laser, open the shutter, trigger the vehicle door test, and remain inside the car during the countdown sequence. Once the test finishes, the chamber exit unlocks automatically, allowing you to leave the area and continue the Steal Field Equipment objective in 007 First Light.




Leave a Reply