Collaborative lists are a new feature in Google Maps that allows you to create and share lists with your friends and family where everyone can edit, react, and add notes to saved places. So, if you’re looking to visit new places this holiday season, then collaborative lists might just be the feature for you. Here’s how you can create and use them in Google Maps. Let’s get started!
Follow the section for your device below to create and manage your lists. You can easily switch between devices as long as you’re signed in with the same Google ID.
If you’re using an Android device, here’s how to create and share a collaborative Google Maps list from your device. Follow either guide below to help you along with the process.
Short guide:
- Open the Google Maps app > tap Search > search for a location > tap the location > Save > + New list > choose an icon > provide a name > add description > tap Shared > Create > Copy to clipboard > share the link as suitable.
GIF guide:

Step-by-Step guide:
The step-by-step guide below should help you easily create and share collaborative lists on Google Maps on your Android phone. Let’s get started!
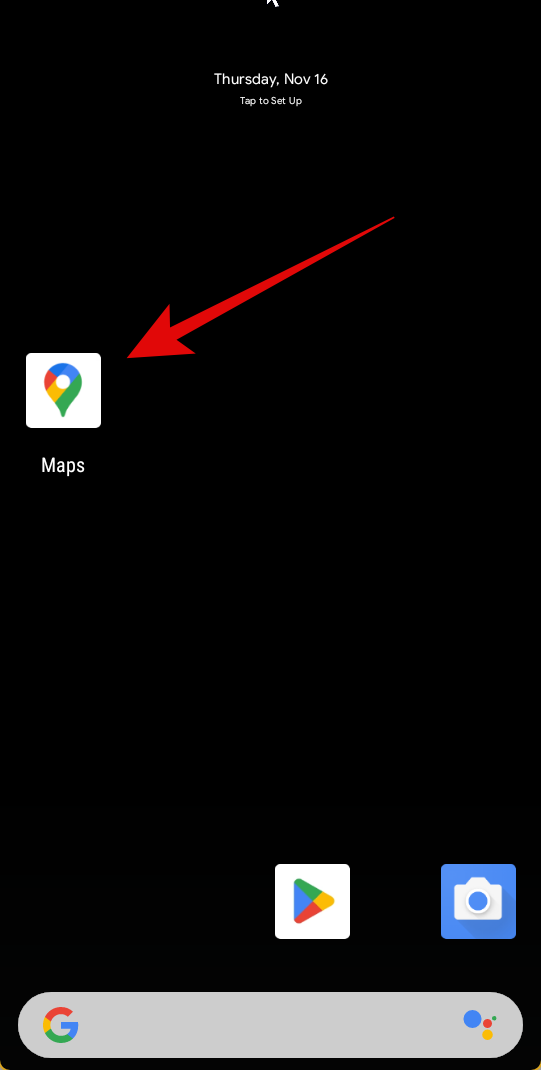
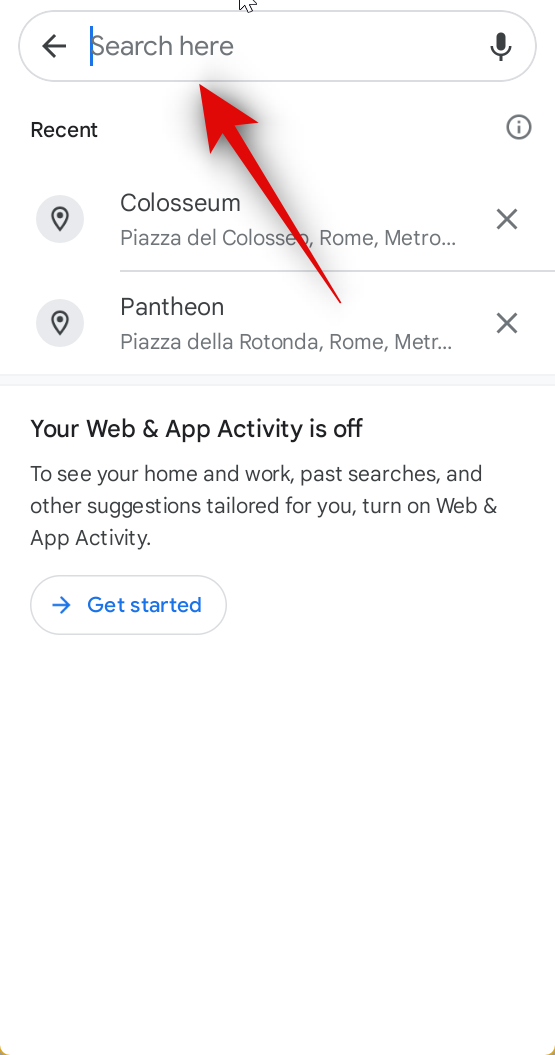
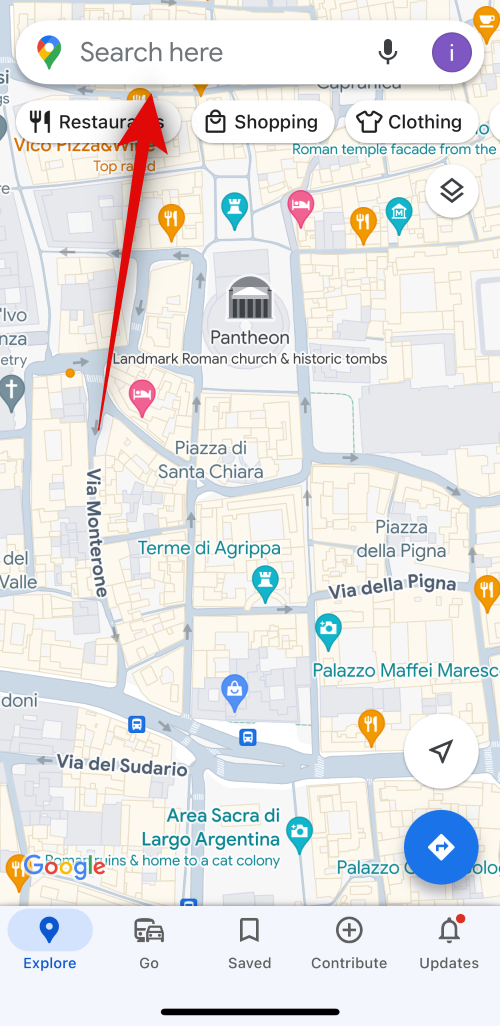
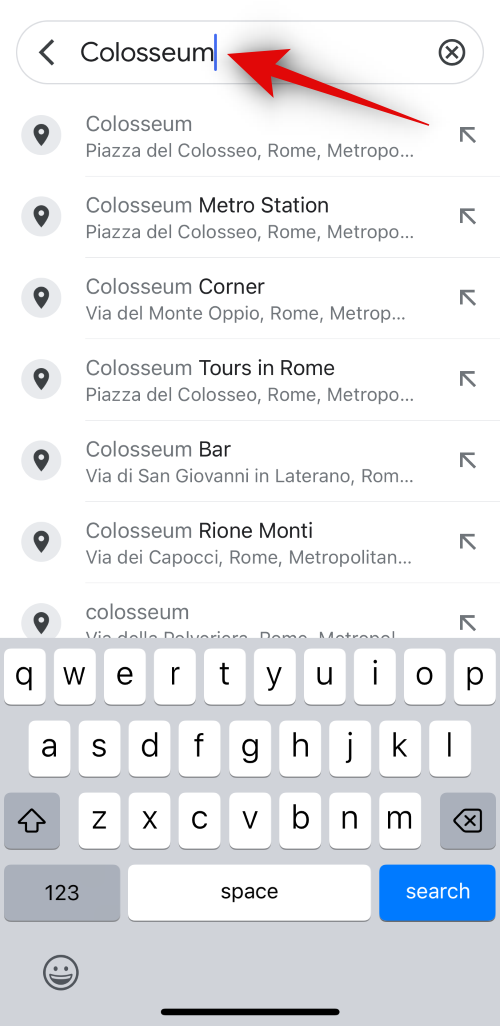
- Open the Google Maps app on your Android device. Now tap on the search bar at the top of your screen.

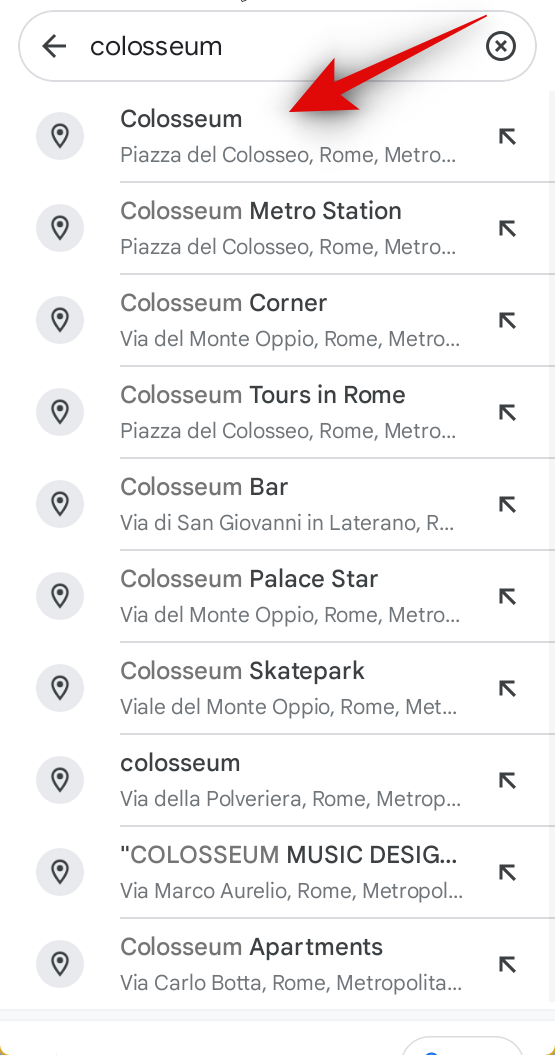
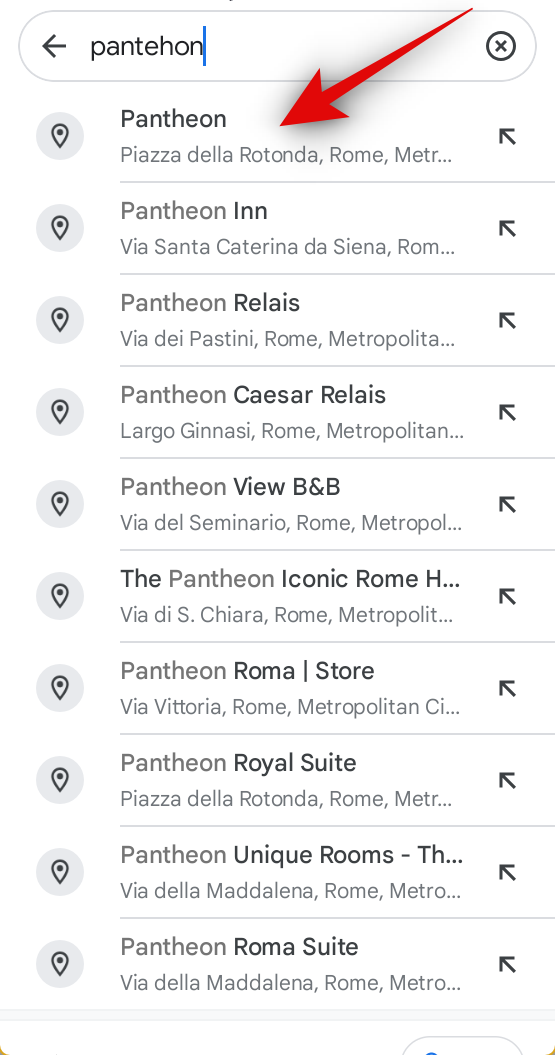
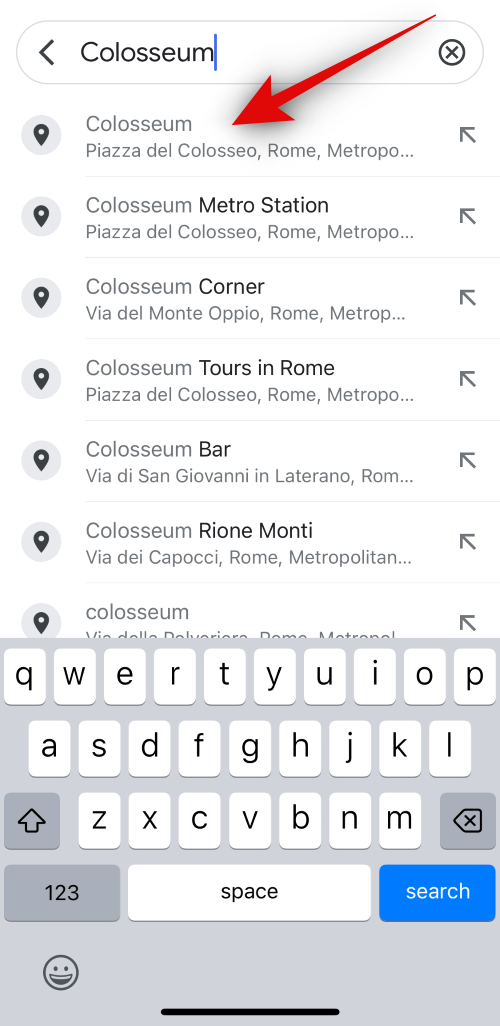
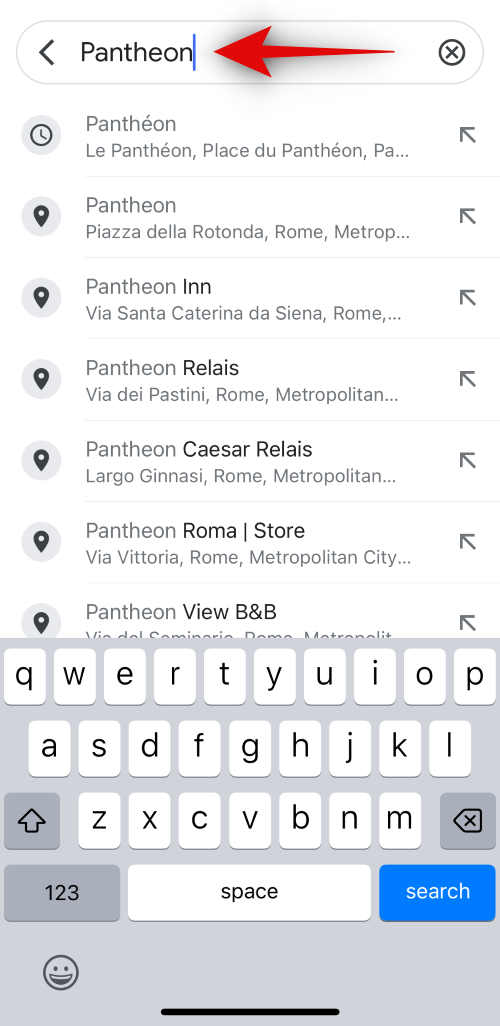
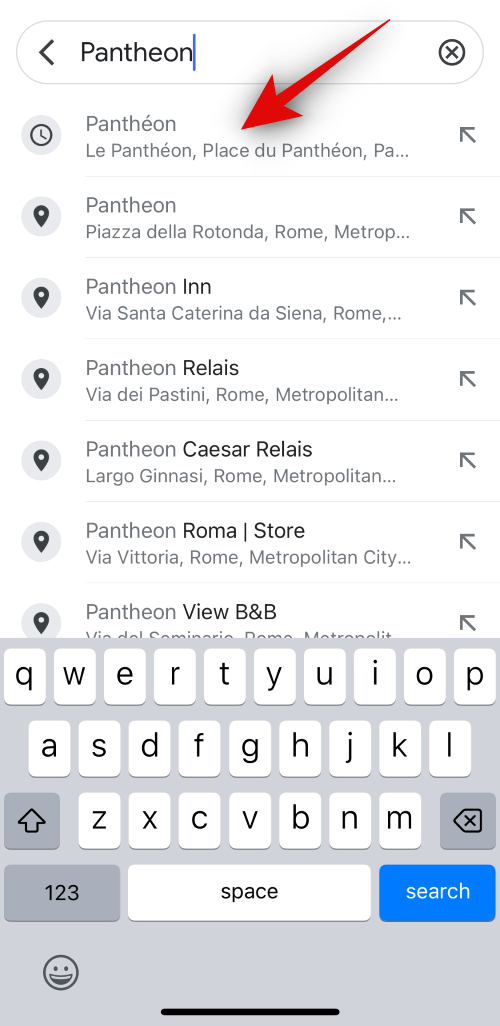
- Search for the location you wish to add to your collaborative list and tap on it from the search results.
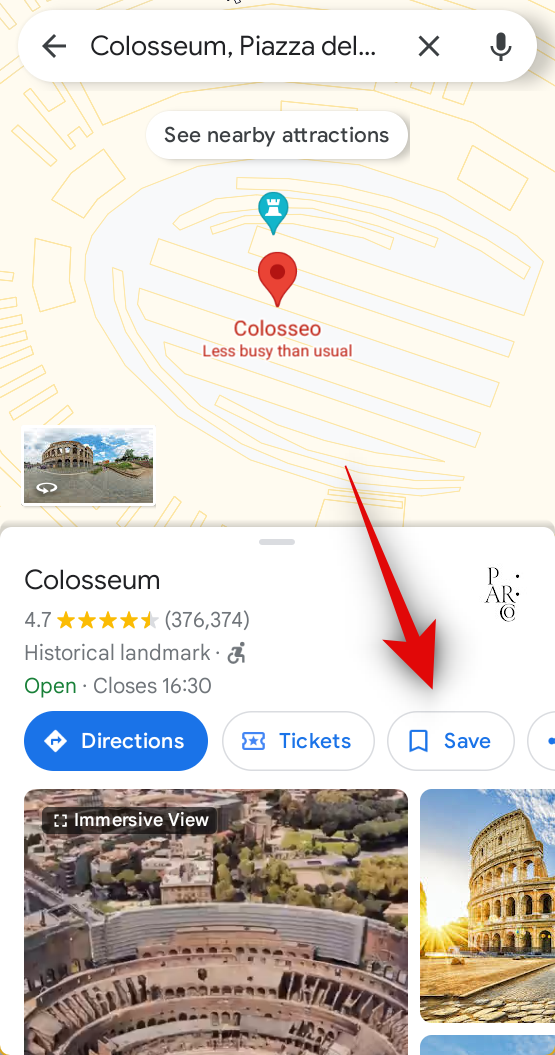
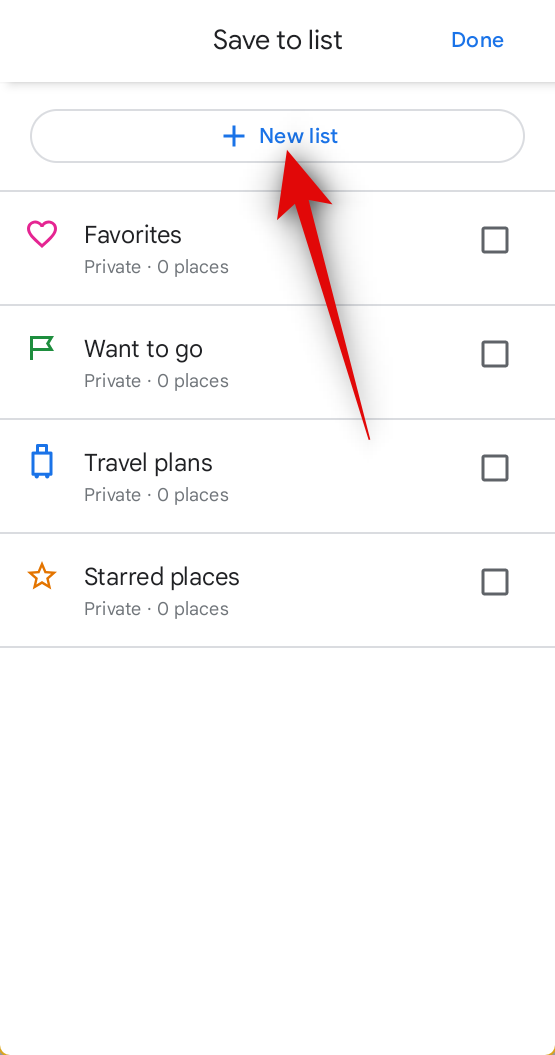
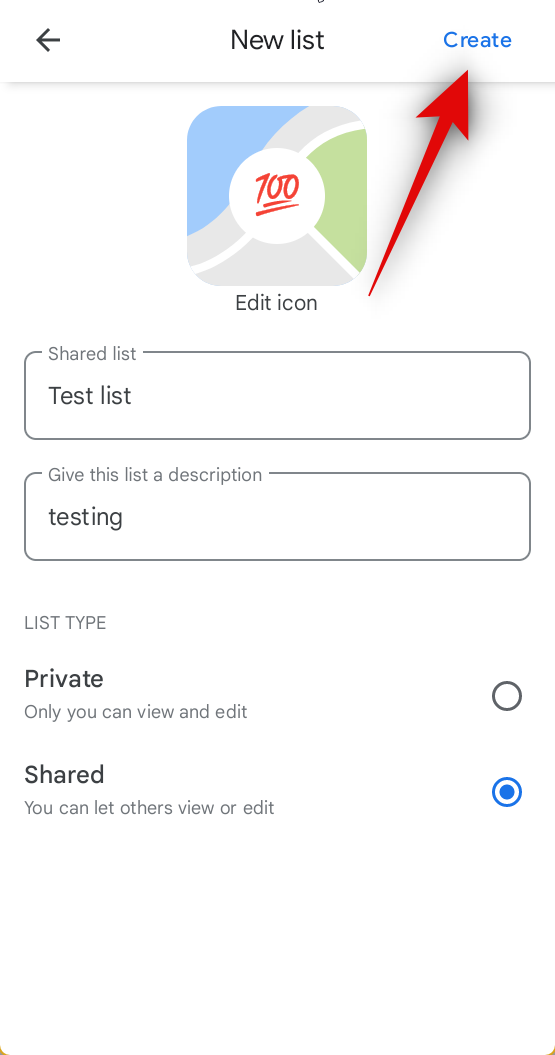
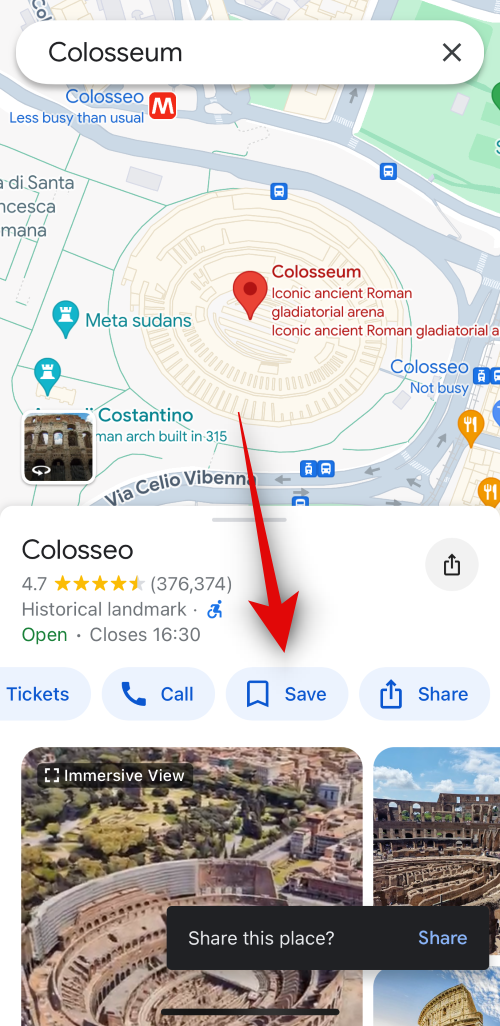
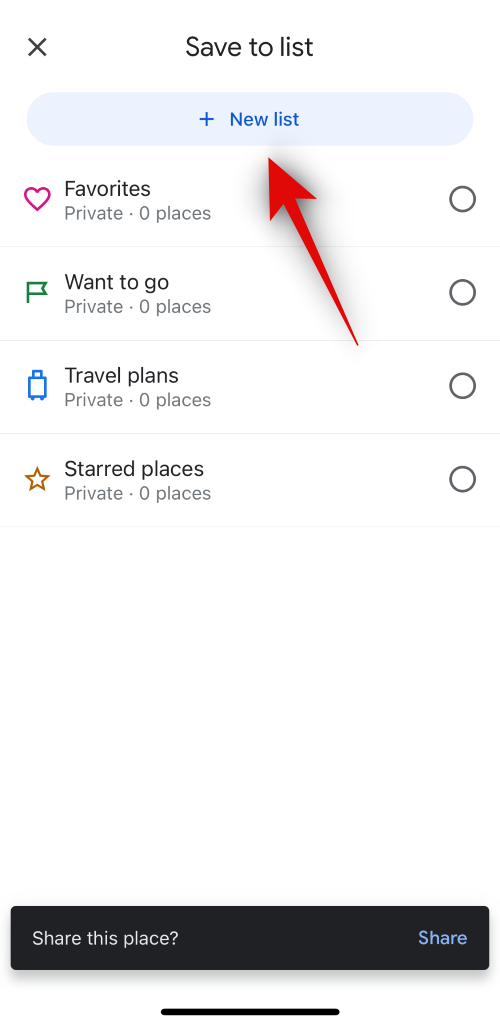
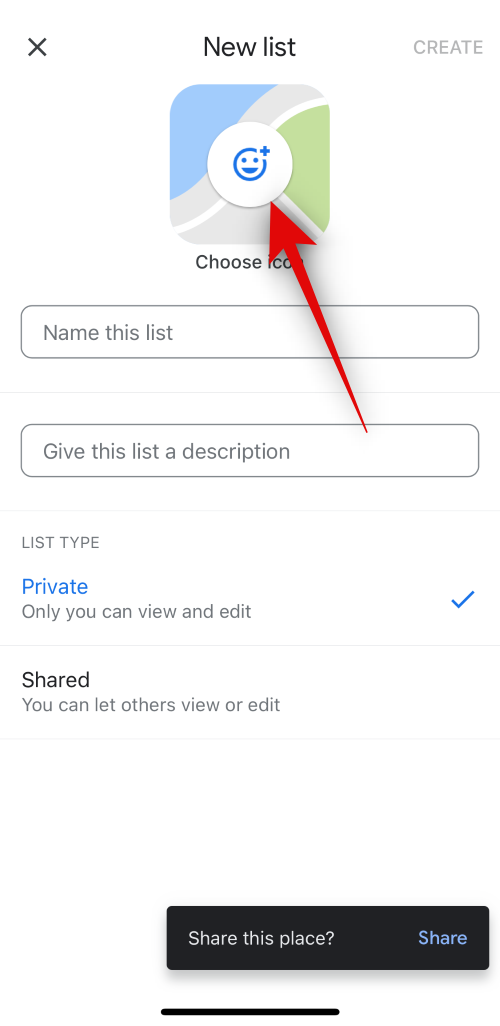
- Tap on Save under the location name. You will now be asked to choose an existing list or create a new one. Tap on + New list at the top.
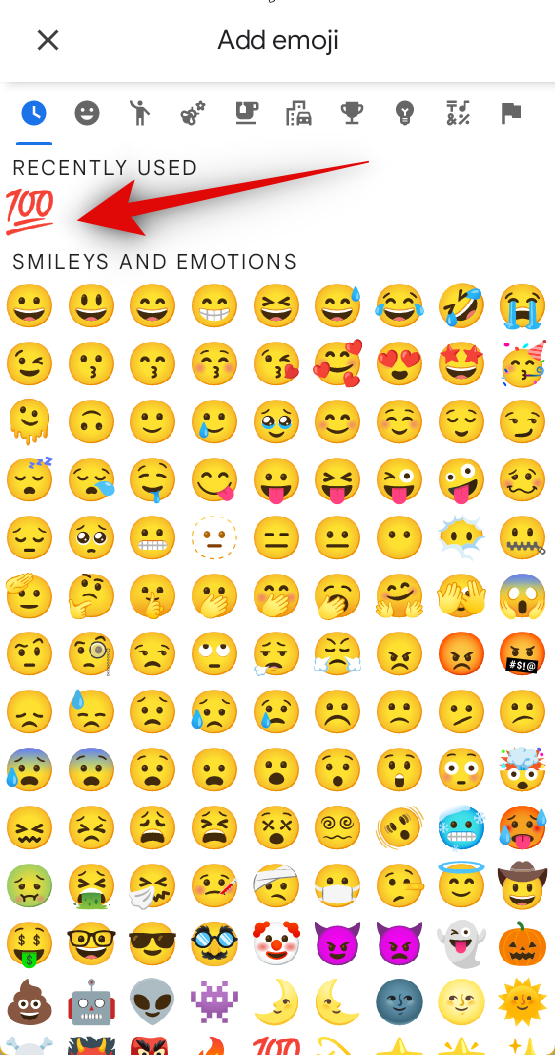
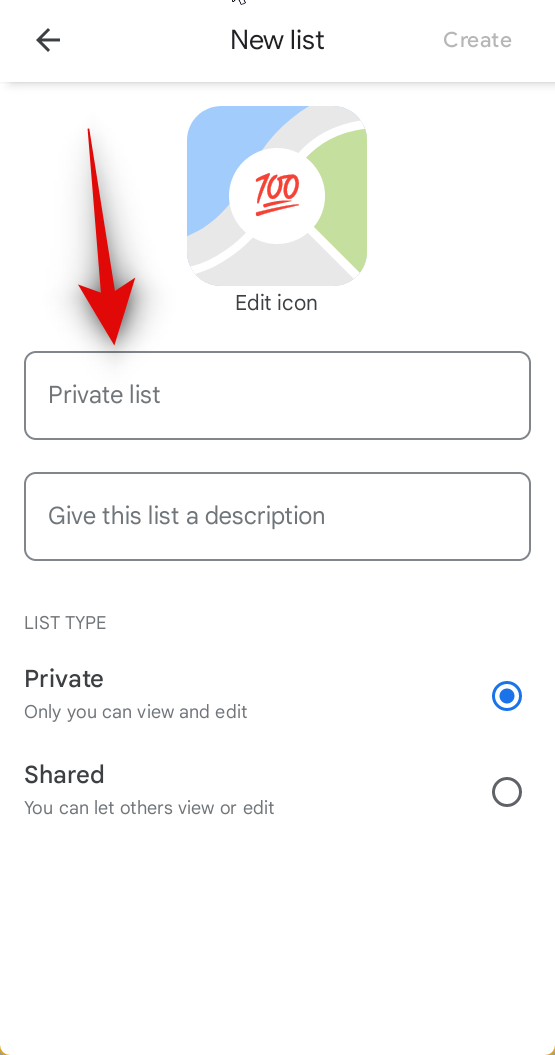
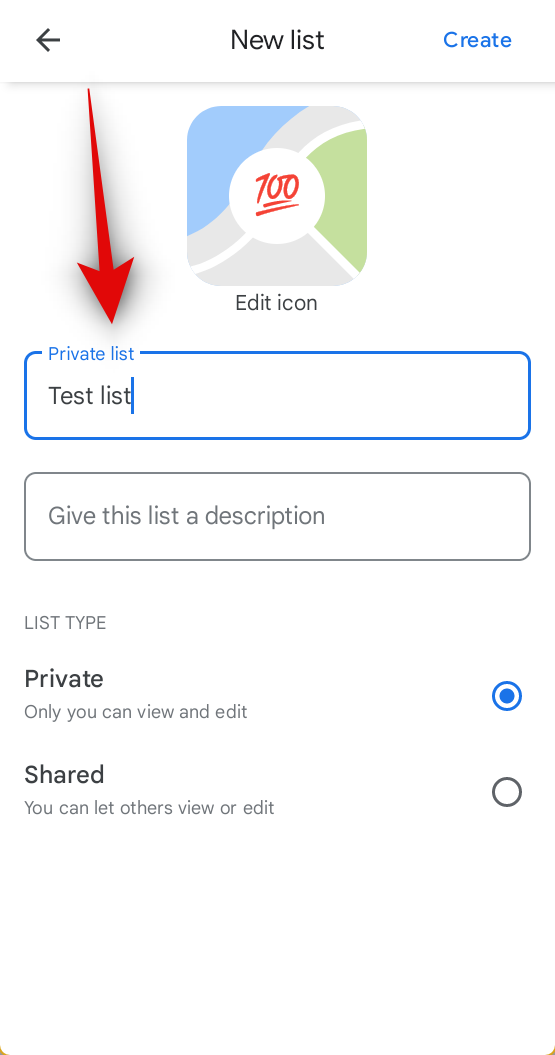
- Tap the emoji icon above Choose icon. Now tap and choose an emoji that best defines your list from the choices on your screen.
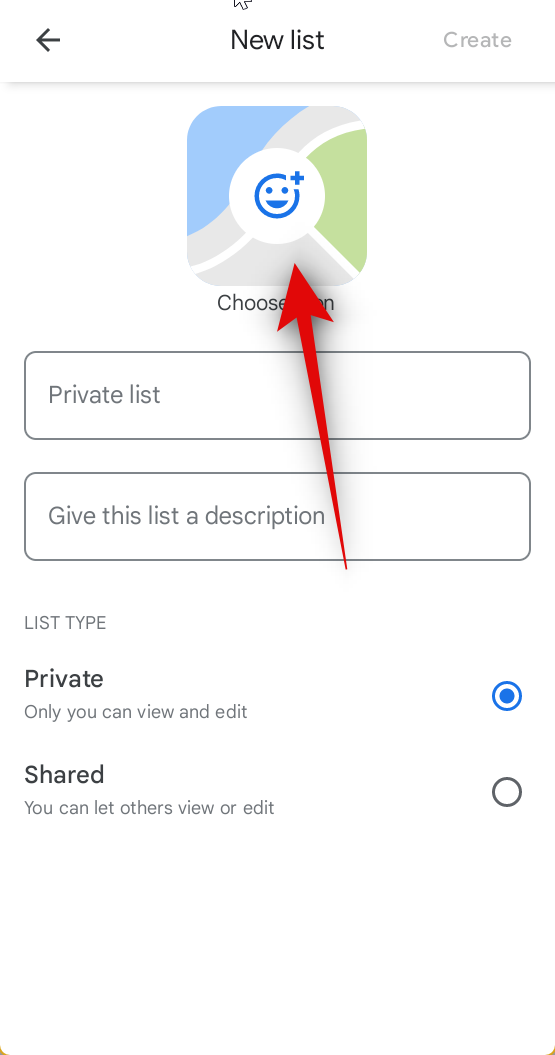
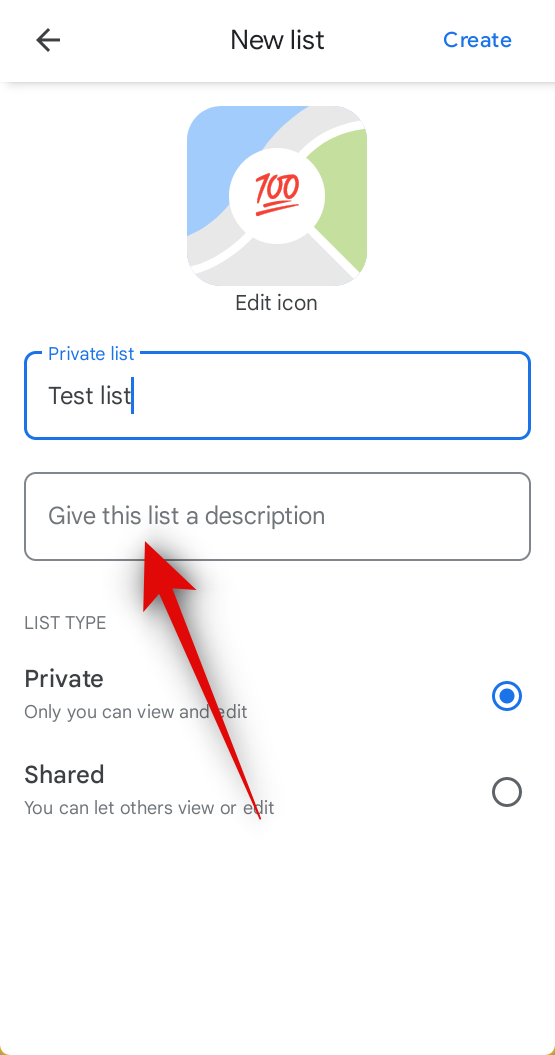
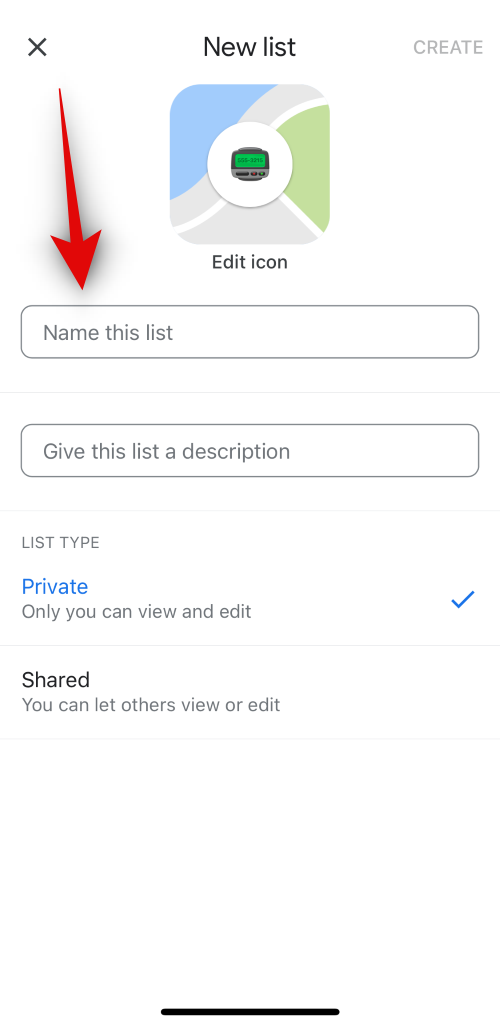
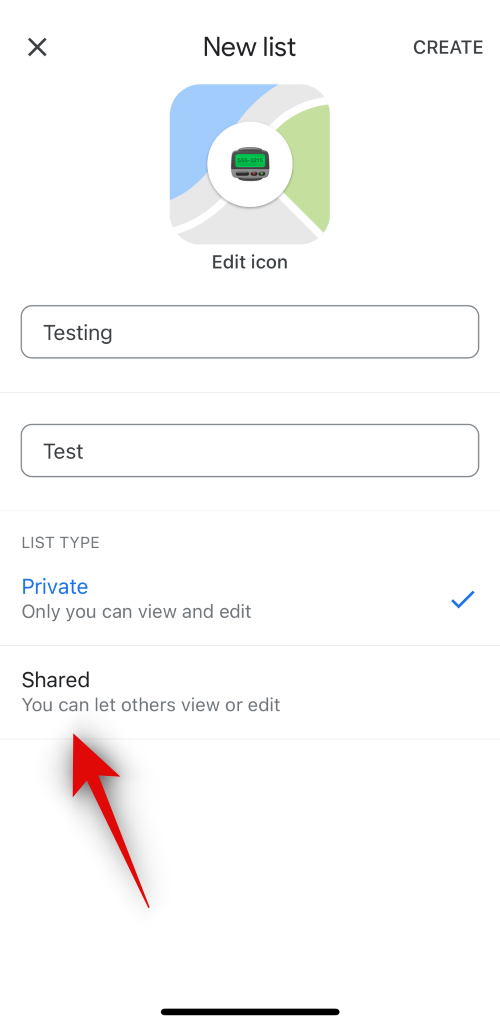
- Tap on Private list next and type in a preferred name for your new collaborative list.
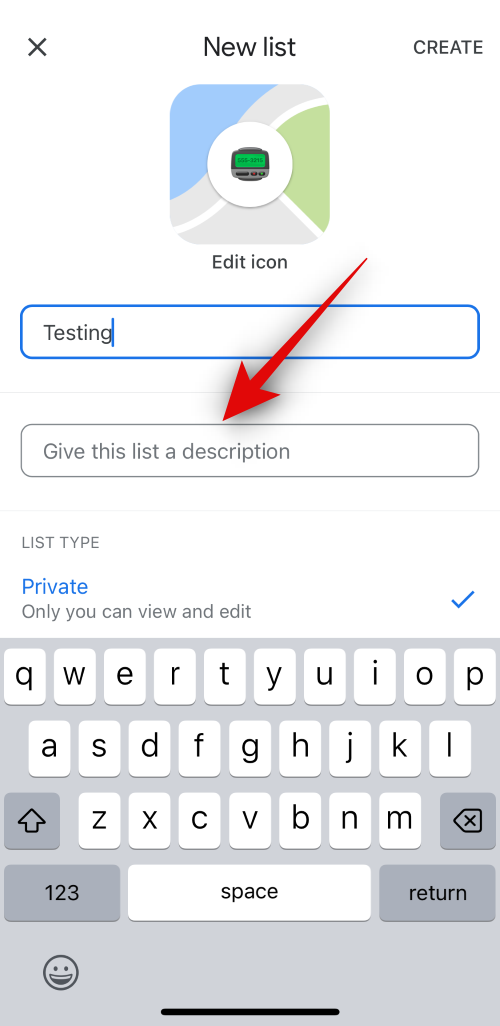
- Tap on Give this list a description. You can now type a description that helps others you collaborate with to get familiar with the list.
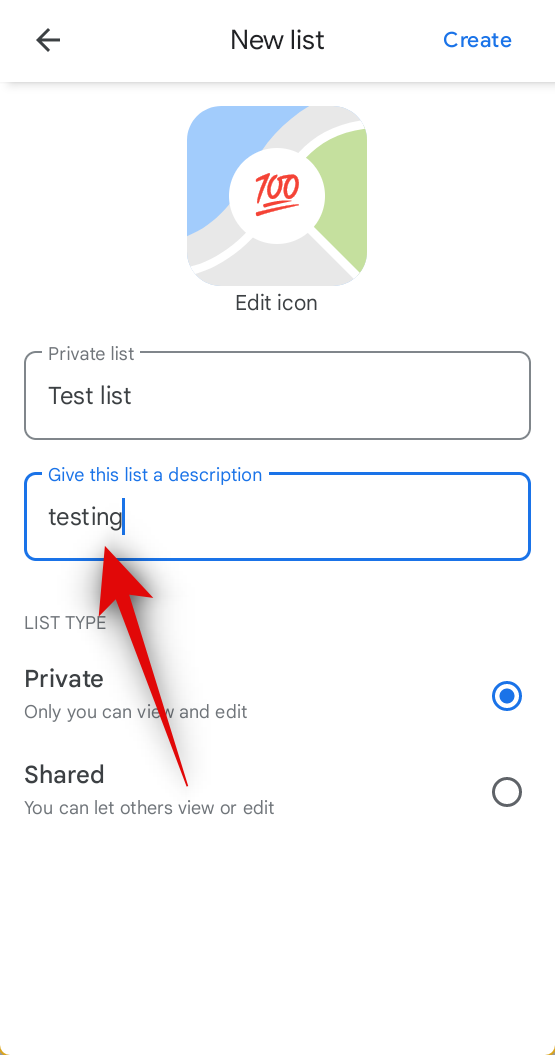
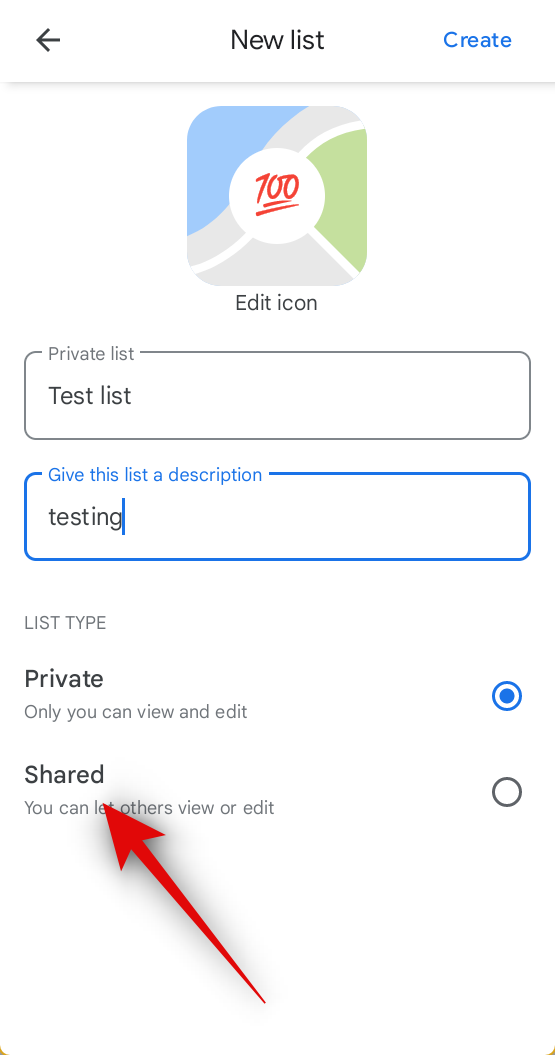
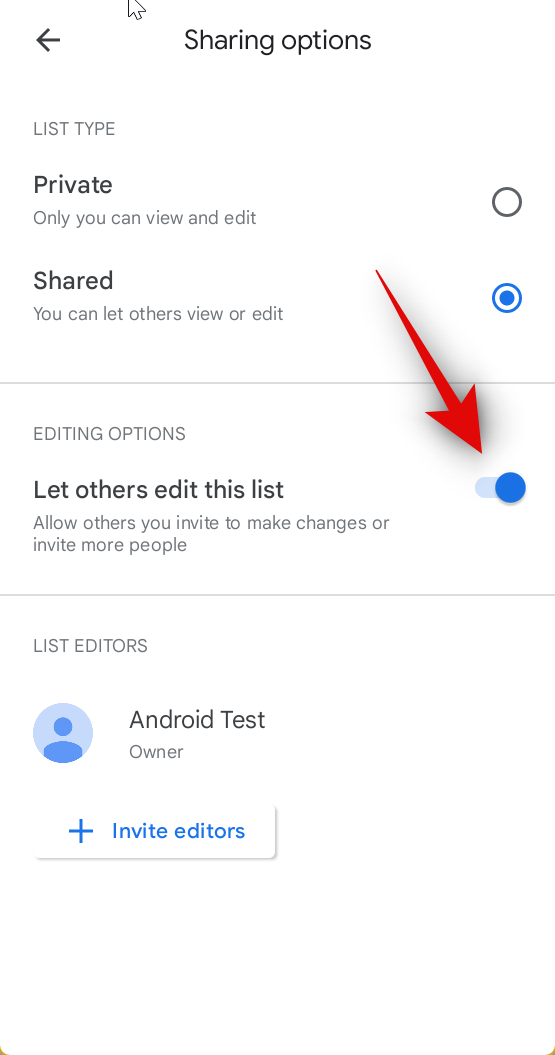
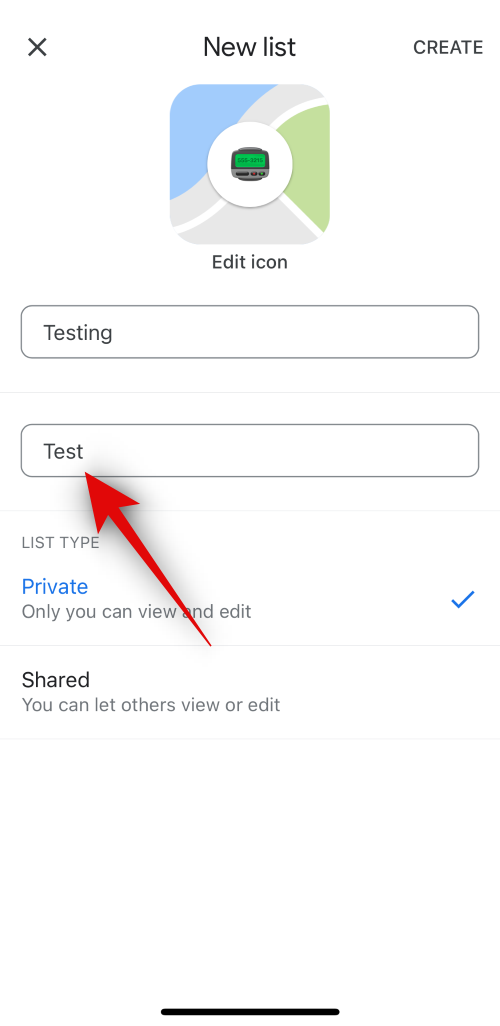
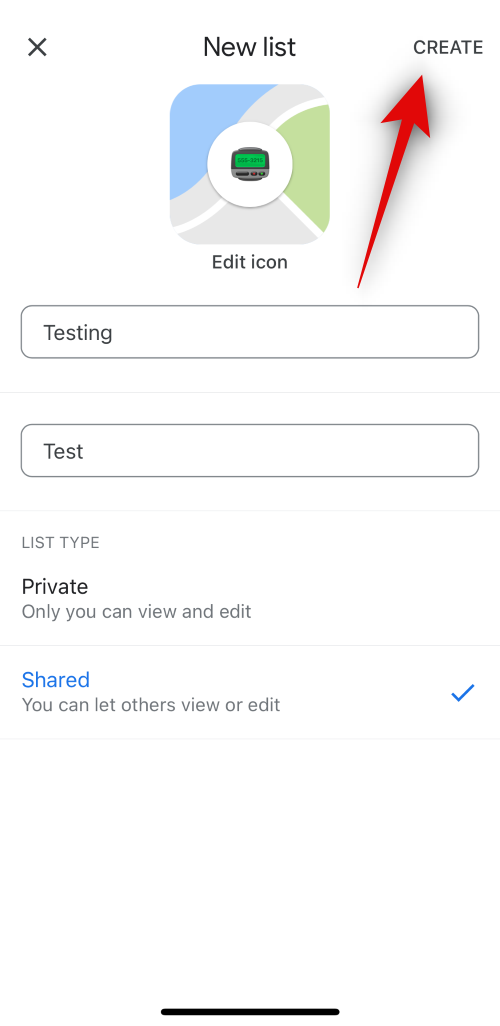
- Tap on Shared at the bottom next. Once you’re done, tap on Create in the top right corner.
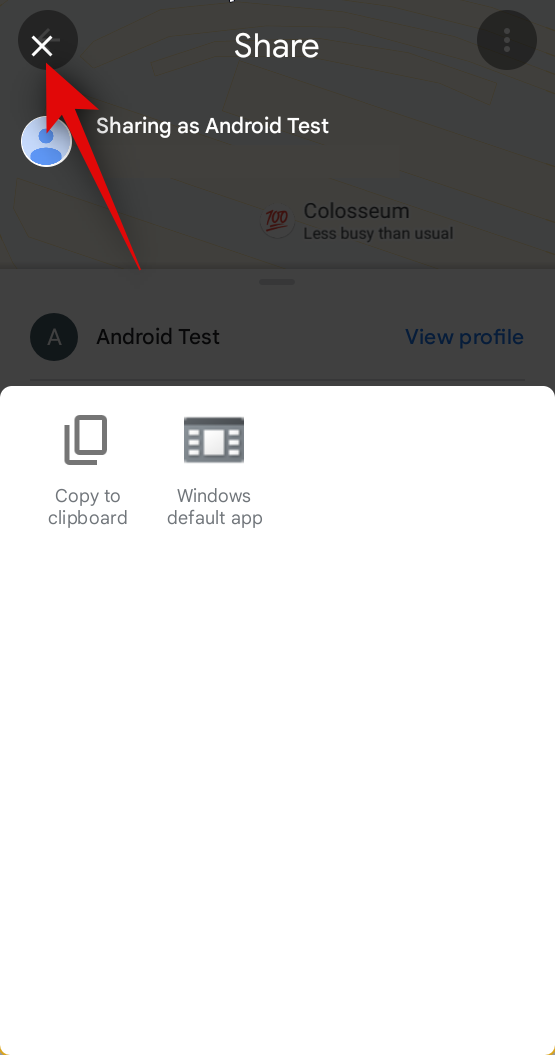
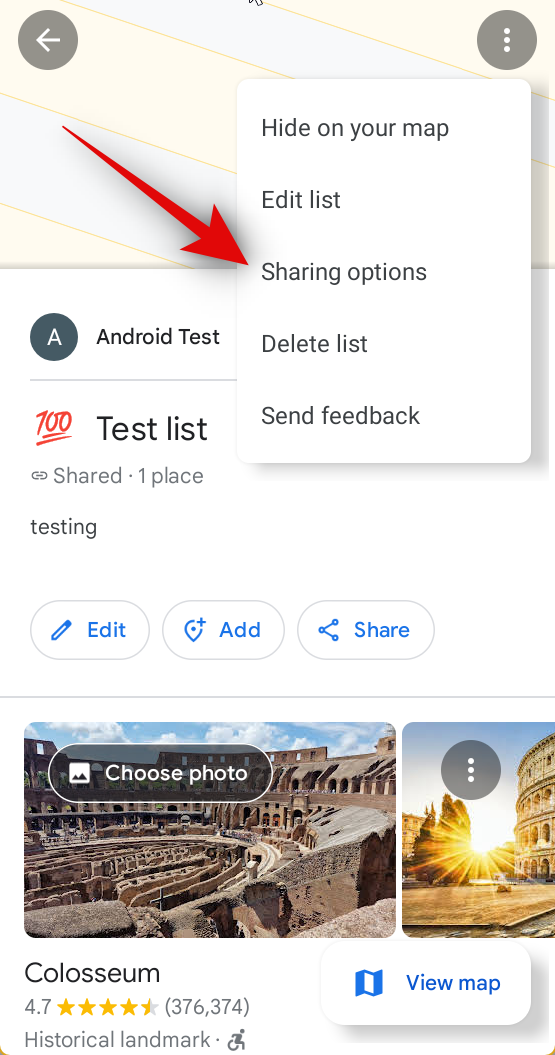
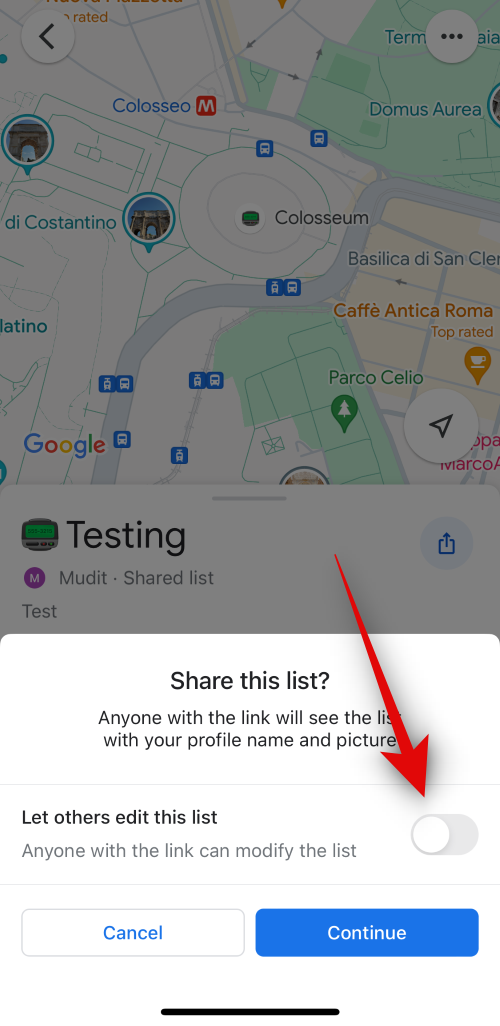
- The new list will now be created. You will now be asked to share it with the people you wish to collaborate with. But before we can do this, we need to enable editing permissions. So tap the X in the top left corner and then tap on the Ellipsis icon.
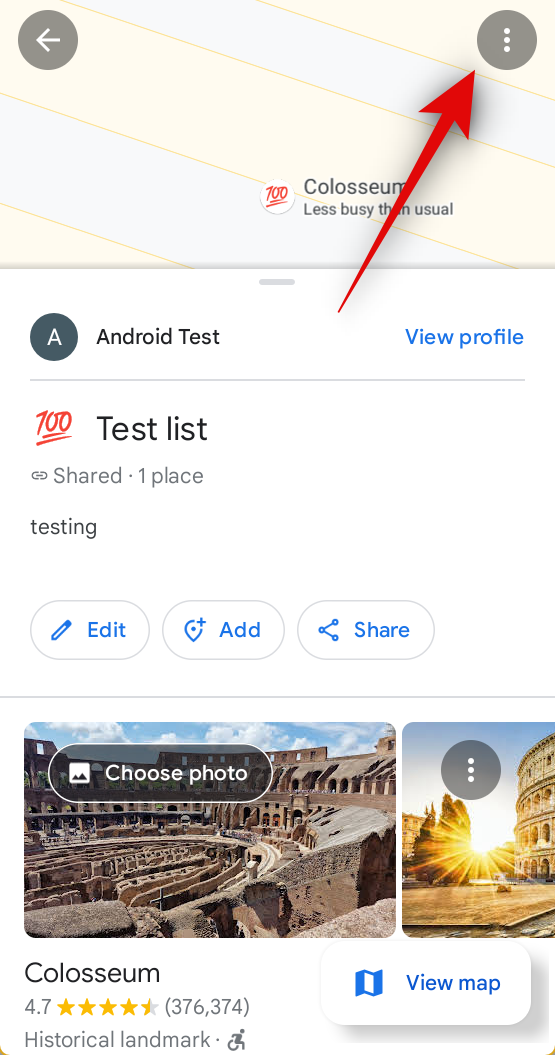
- Now select Sharing options then, tap and enable Let others edit this list.
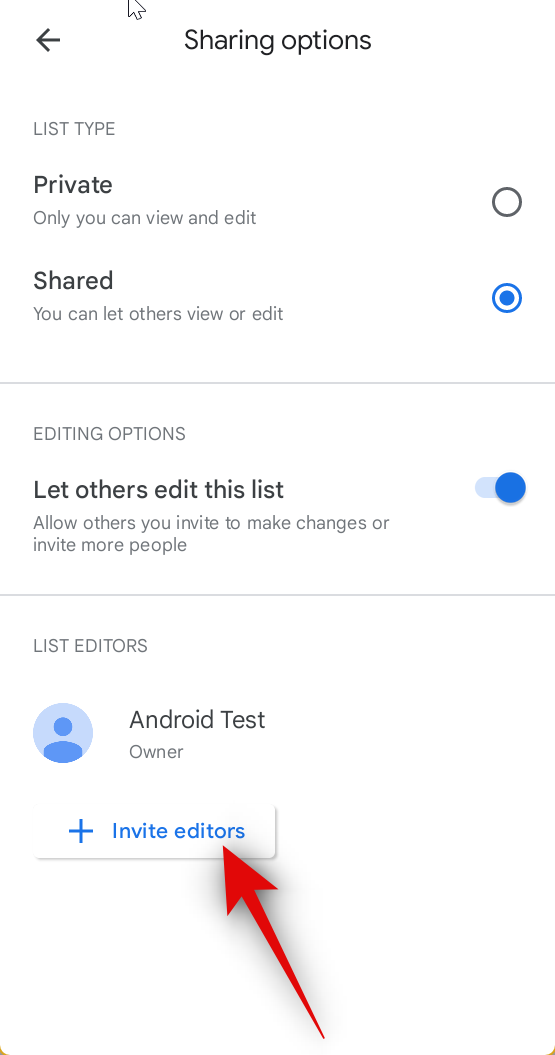
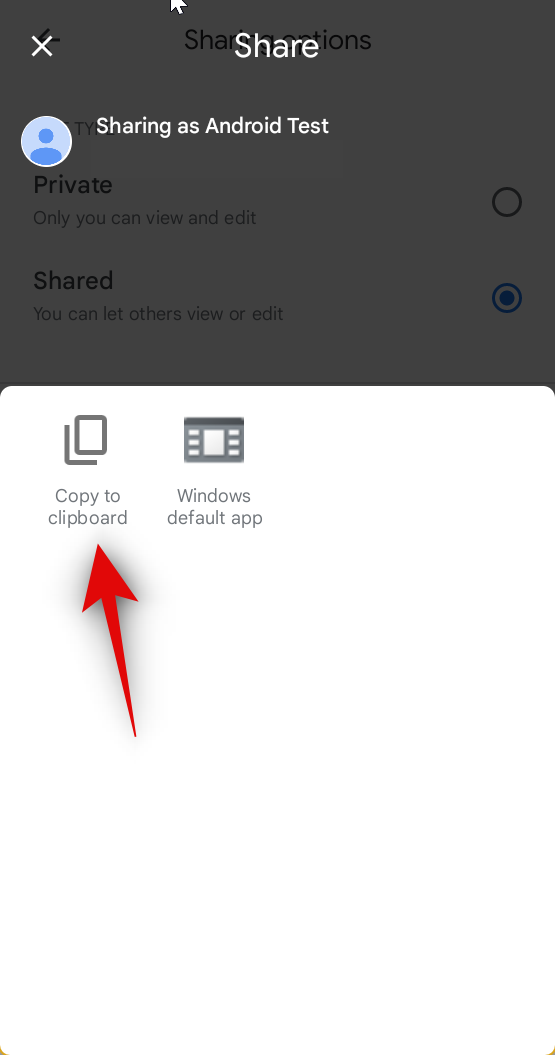
- Once done, tap on Invite editors and select your preferred app, or tap on Copy to clipboard. This will allow you to paste the link for the list in any app and share it with your contacts.
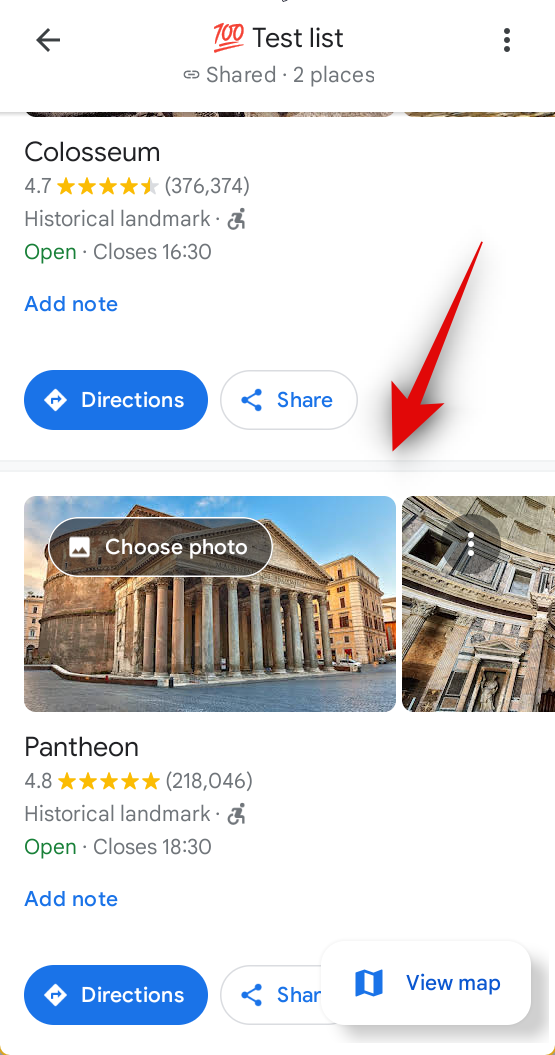
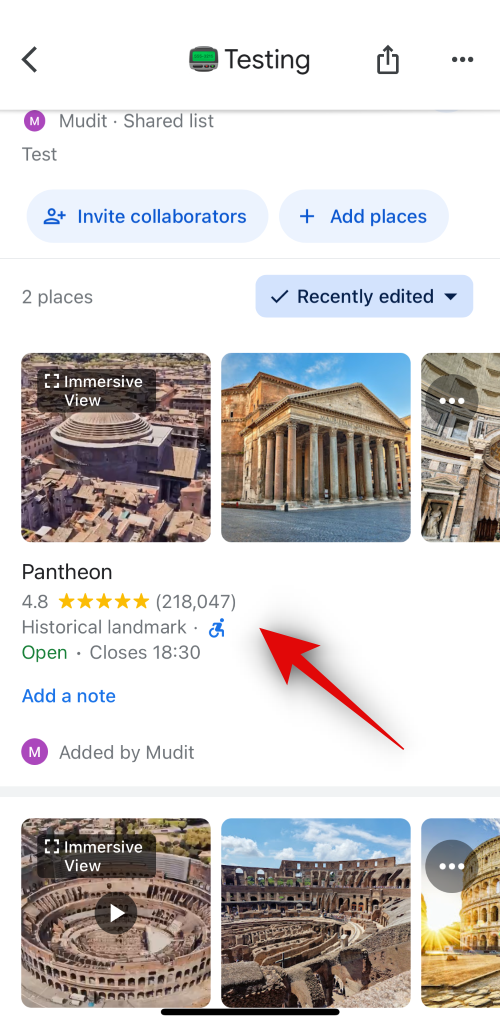
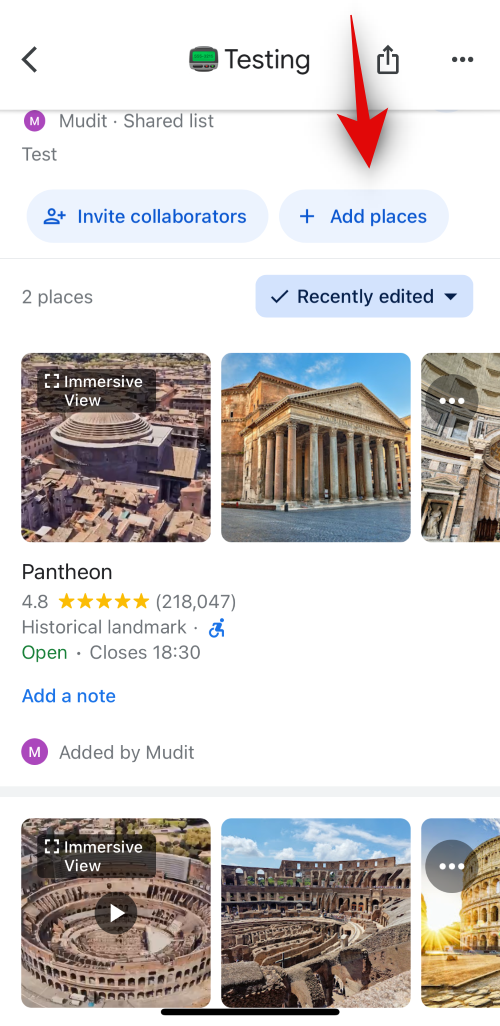
- You can now go back and tap on Share at the top to share the link with more contacts and invite them to the list. You can also tap on + Add again to continue adding locations to the list.

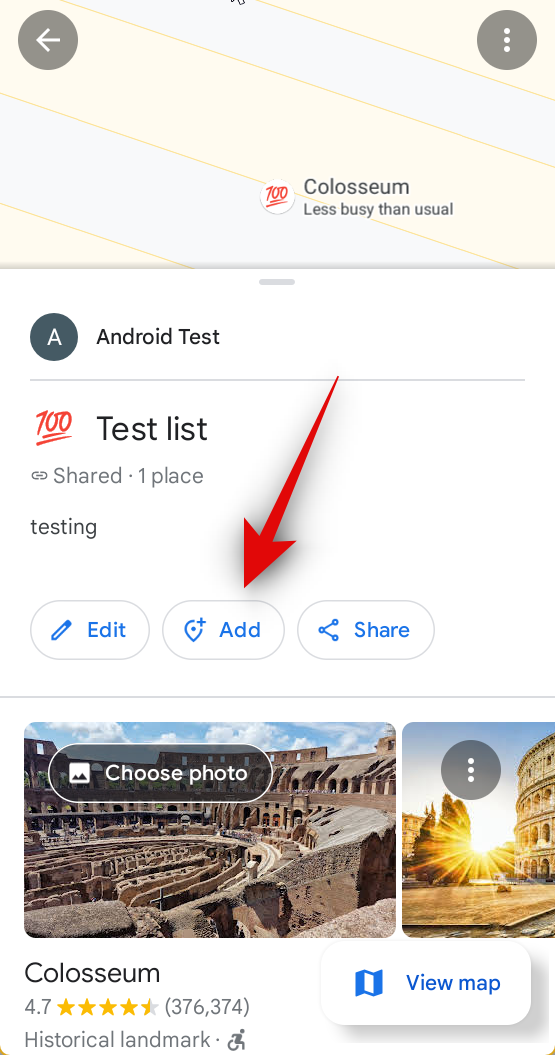
- Tapping add will open up the search. You can now use the search bar to look for the concerned location. Tap on it from your search results once it shows up as we did above, and it will be automatically added to your collaborative list.
And that’s how you can create and use collaborative lists in Google Maps on your Android phone.
Short guide:
- Open the Google Maps app > tap Search > search for a location > tap the location > Save > + New list > choose an icon > provide a name > add description > tap Shared > Create > Copy to clipboard > share the link as suitable.
GIF guide:

Step-by-Step guide:
Here’s a step-by-step guide to help you create and use collaborative lists in Google Maps on your iPhone. Follow the steps below to help you along with the process.
- Open Google Maps on your iPhone and tap on the search bar at the top.
- Now, search for a location you wish to add to your collaborative list. Tap and select the same from your search results.
- Tap on Save under the location. You will now be prompted to select an existing list. Tap on + New list at the top instead.
- Tap on the Emoji icon above Choose icon. Tap and select an emoji you wish to assign to the list so you and others can easily identify it.

- Tap on the text box for Name this list next. Now, type in your preferred name for the list.

- Tap on the Give this list a description text box next. Type in a description so others can easily get familiar with the list you’re creating.
- Tap and select Shared at the bottom of your screen once you’re done. Tap on Create in the top right corner of your screen once you’re done.
- The list will now be created, and you will be prompted if you wish to share this list. Tap and turn on the toggle for Let others edit this list. This will allow people you choose to add new items and edit existing items in the list. Tap on Continue next.
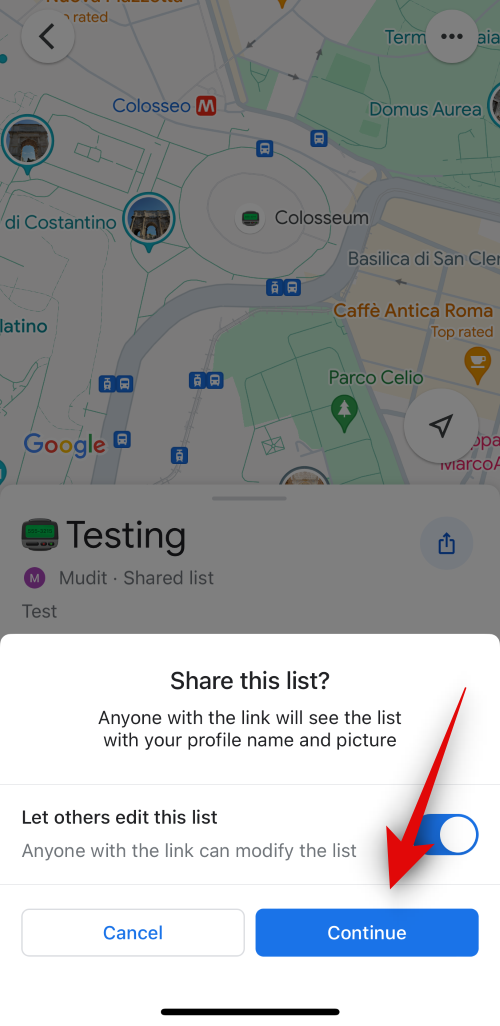
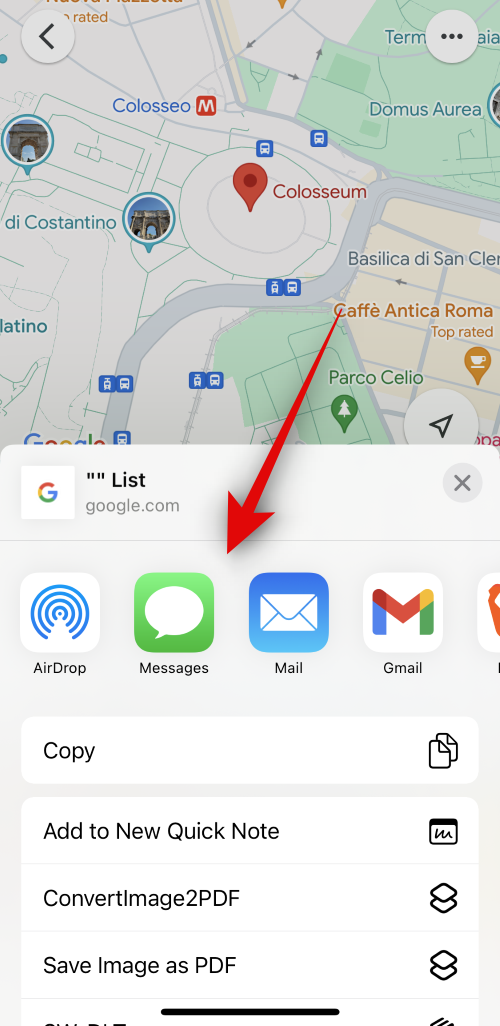
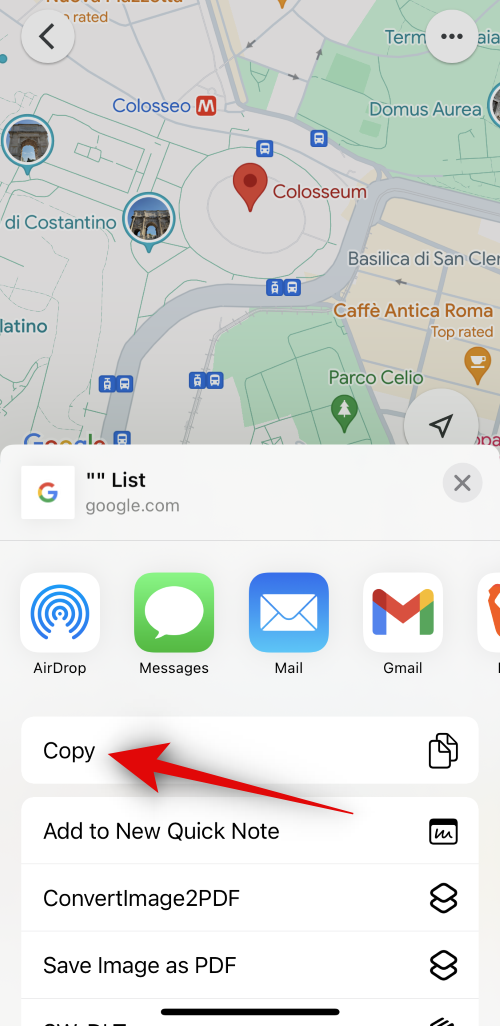
- The share sheet will now open. Tap and select an app at the top you wish to use to share the list with your friends and family. You can also tap on Copy and then paste the copied link into any app to share it with someone.
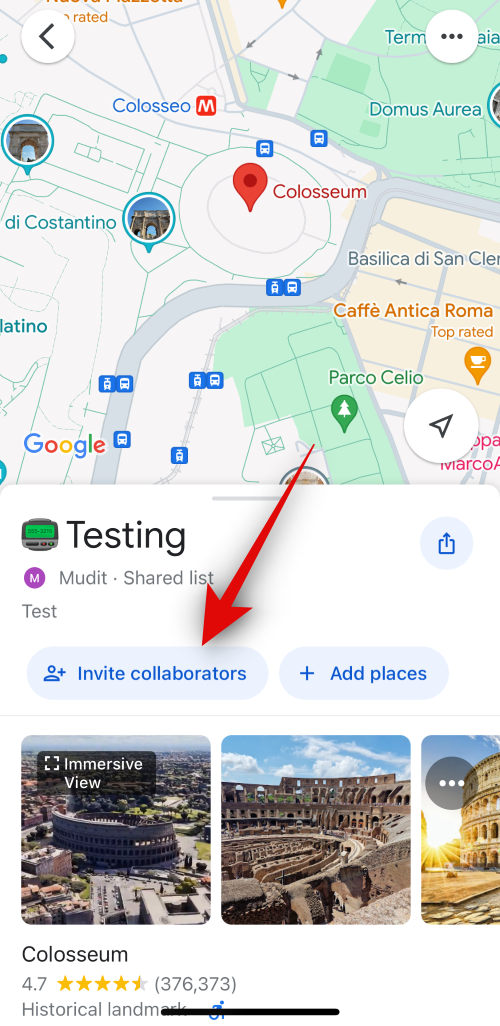
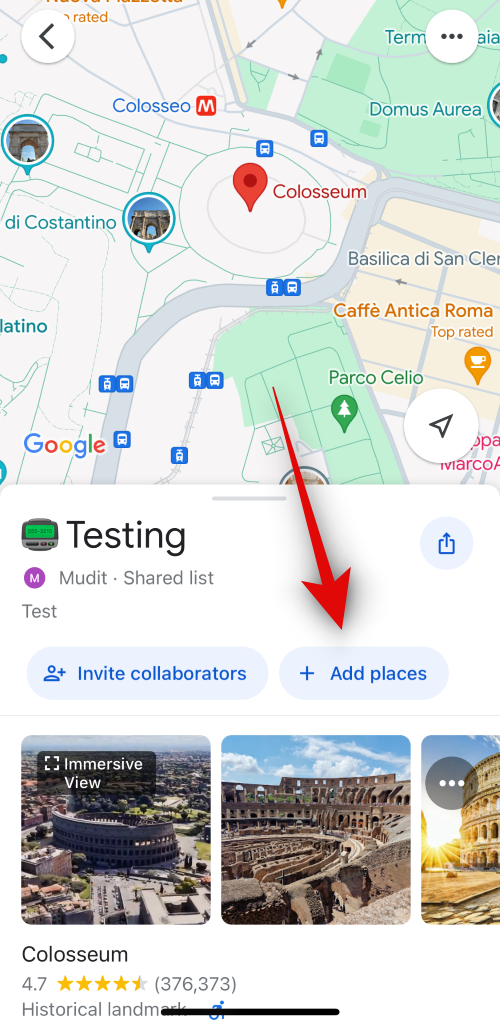
- The list will now be open in Google Maps. Tap on Invite collaborators to invite and share the list with more people. This will invoke the share sheet like in the step above. Tap Add places if you wish to add more places to the list.
- You can now search and select a concerned place as we did in the steps above.
- The selected location will now be automatically added to the shared list. You can tap Add places again and add as many locations as you like to your collaborative list.
And that’s how you can create and use a collaborative list in Google Maps on your iPhone.
We hope this post helped you easily create and share collaborative lists in Google Maps with your friends and family. If you have any more questions or face any issues, feel free to reach out to us using the comments section below.