
To complete Evacuation Procedures, reach the Evacuation Zone, investigate the tremors, rescue Arish, clear the elevator obstruction, and leave through the building’s main entrance.
Evacuation Procedures is a main story quest that begins after you speak with Zoe at the Watchtower during Welcome to Manhattan. Its route takes you from the evacuation streets into the shelter and up to Arish, then back down to the exit. Even the trip to the shelter starts with a sinkhole.
- Where this starts
- What you need
- Reach the Evacuation site and report the sinkhole
- Activate the Main Street door and map Evacuation Zone 1
- Remove the barrier at 1065 Lexington Avenue
- Cross the 12th floor to the next elevator
- Find Arish through the 15th-floor visions
- Escort Arish and get the Level 2 Keycard
- Clear the atrium and escape the building
- How it ends
- Quick questions
Where this starts
You start Evacuation Procedures after speaking with Zoe at the Watchtower.
What you need
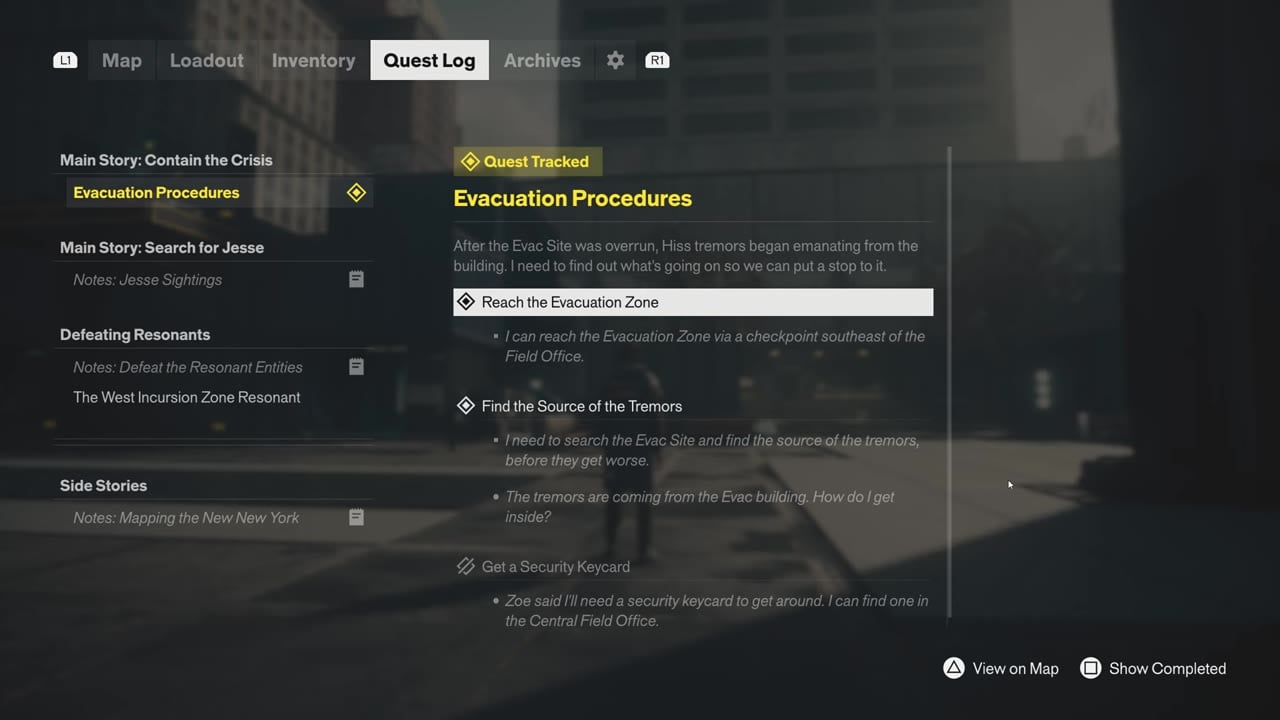
The quest log shows the following item objective.
Reach the Evacuation site and report the sinkhole
The quest begins with Reach the Evacuation Zone tracked and Find the Source of the Tremors also in view. If you see Get a Security Keycard in the quest log, that objective belongs to Welcome to Manhattan.
STEP 1/7
14%
Check the objective map
The city map shows Central 3; zoom in on the Evacuation Zone objective before heading out.
STEP 2/7
29%
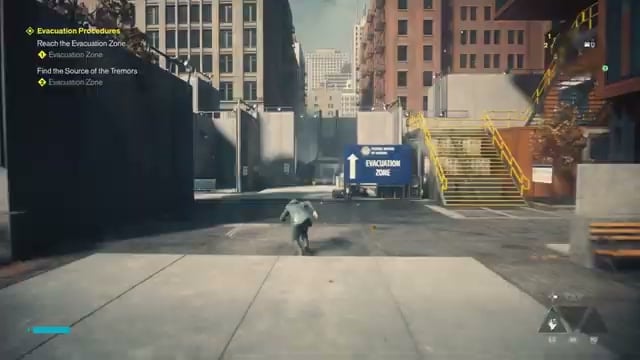
Leave the Central Field Office
Cross the plaza toward the Evacuation Zone signs, descend the alley ramps, and pass through the Zone Access security checkpoint. A large blue billboard reads FEDERAL BUREAU OF CONTROL EVACUATION ZONE.
STEP 3/7
43%
Follow the street route
At the corner, turn right and follow the alleys beyond the signs for gas-leak evacuation, then cross the broad intersection toward the zone gateway.
STEP 4/7
57%
Open the zone gate
Use the button beside the large Evacuation Zone double doors, then follow the road past stalled cars and blockade vehicles toward the lit facility entrance. Open the map to check your position relative to the gate.
STEP 5/7
71%
Climb above the road
Use the wall ledge and service ladder to reach the overhead catwalk, then follow the bright corridor’s directional arrows through the intake lobby and its outward-facing double doors.
STEP 6/7
86%
Cross to the observation platform
Vault the metal barricade, descend the exterior ramps, and use levitation jumps to cross the rooftops above the fog-covered street until you reach the crater.
STEP 7/7
100%
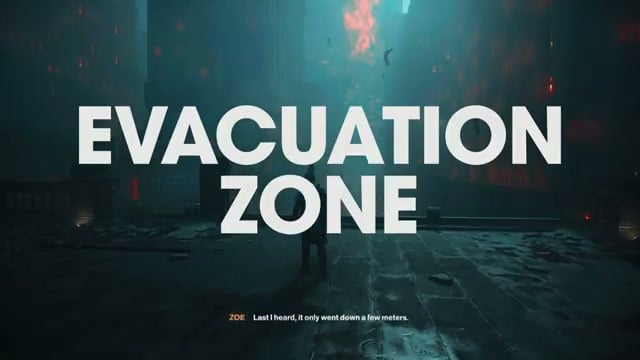
Report the sinkhole
At the crater, use the Report sinkhole interaction prompt to send Zoe the reading over comms.
A tremor hits as Dylan reaches the site. Research suspects patterning caused the sinkhole. Dylan heads for the building to find what is causing the tremors.
Destroy Hiss Clusters when they appear. They heal nearby Hiss enemies, so removing the Cluster cuts off that support.
Activate the Main Street door and map Evacuation Zone 1
The rooftop mapping stop gives you a clearer view of Evacuation Zone 1. The MAP KIT marker denotes an FBC Map Kit that reveals a zone map, while a Fast Travel Door lets you travel both to and from its location. The local zone map is calibrated by aligning the signal dishes at their terminals.
STEP 1/8
12%
Glide down to the avenue
Leave the observation platform for the street below and open the Evacuation Zone 1 map to orient yourself.
STEP 2/8
25%
Climb to Main Street
Follow the misty avenue, climb the fire-escape awning and adjacent brick building, and activate its rooftop Main Street Fast Travel Door. The notification reads Main Street Fast Travel Door Activated.
STEP 3/8
38%
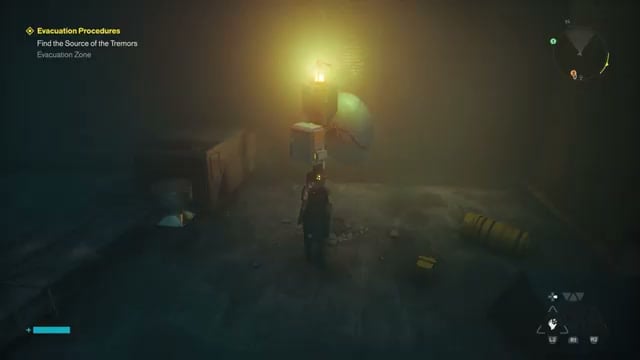
Check the tower
At the nearby communications tower, look for Tower Offline: Calibration Required.
STEP 4/8
50%
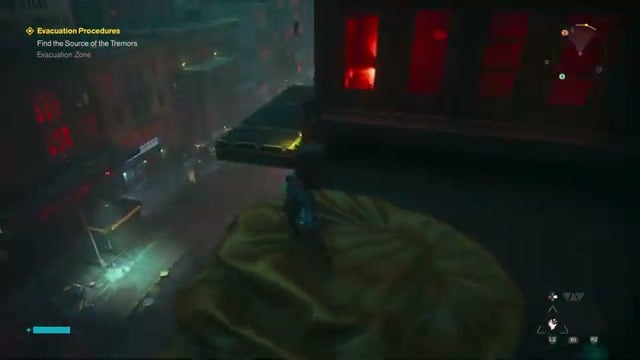
Calibrate the first dish
Jump across the alley to the neighboring rooftop and operate its red dish terminal until the indicator turns green.
STEP 5/8
62%
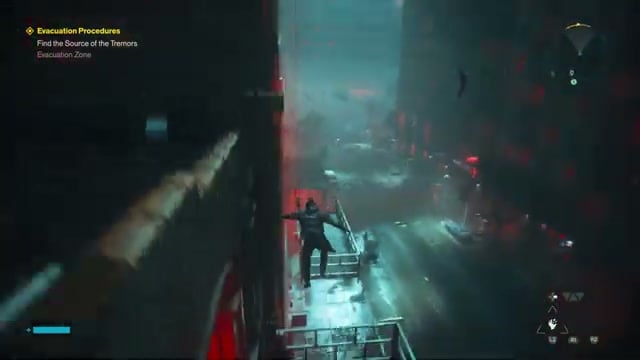
Calibrate the lower dish
Drop to the balcony below and operate the second terminal until its indicator turns green.
STEP 6/8
75%
Reach the remaining dish
Return to the central rooftop, cross to the nearby building ledge, and operate the remaining dish until its indicator changes from red to green.
STEP 7/8
88%
Finish at the tower
Cross the elevated platforms back to the tower and use its base console. Zone Map Unlocked appears. Calibration gives +1 Undefined Reading, and discovering Evacuation Zone 1 gives +100 Source.
STEP 8/8
100%
Open the refreshed map
The updated layout highlights the objective of locating the tremors’ source.
Destroying Breakable Parts helps bring an enemy down faster.
Remove the barrier at 1065 Lexington Avenue
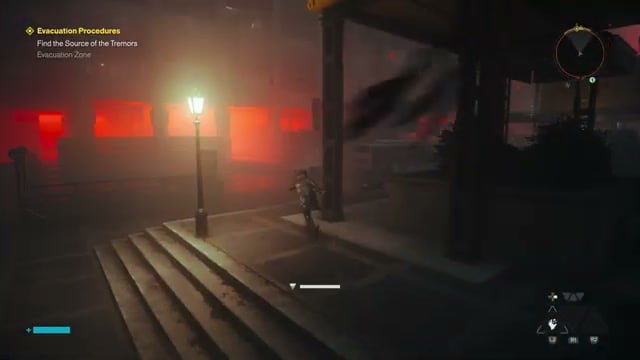
The federal evacuation facility is marked 1065 Lexington Avenue. Its red Hiss Barrier stays invulnerable until you destroy every connected Hiss Node, so trace the glowing red tethers away from the entrance instead of attacking the doorway.
STEP 1/9
11%
Cross toward the shelter
Jump along the raised façade platforms, drop to the avenue, defeat the hovering Hiss Cluster with melee attacks, and continue past the street checkpoints.
STEP 2/9
22%
Locate the connected nodes
At the sealed entrance, use the map to orient around the shelter and turn back toward the red tethers leading outside.
STEP 3/9
33%
Gain the upper route
Climb the yellow scaffolding and roadside containers, glide to the neighboring balcony, and follow the red line along the upper ledges.
STEP 4/9
44%
Cross the guarded roofs
Defeat the Hiss guards on the lower rooftop, then look toward the cables above the alley and glide to the next flat roof. Enemies wearing armor are vulnerable to blunt damage.
STEP 5/9
56%
Check the side entrance
Descend through the awning-covered alley and inspect its red security barrier before continuing the node search.
STEP 6/9
67%
Reach the high-roof node
Climb the metal service container, jump to the raised walkway, and follow the glowing line across dark roofs and scaffolding towers. Destroy the node on the high roof.
STEP 7/9
78%
Break the corner-roof node
Follow the remaining beam down and across the elevated signage to the opposing corner roof, then strike its glowing node.
STEP 8/9
89%
Clear the ground-level line
STEP 9/9
100%
Return to the facility
Pass the illuminated storefronts, vault the low roofs, cross the chain-link partition, and descend to the broad avenue. The shelter barrier has dissolved, leaving the doorway open.
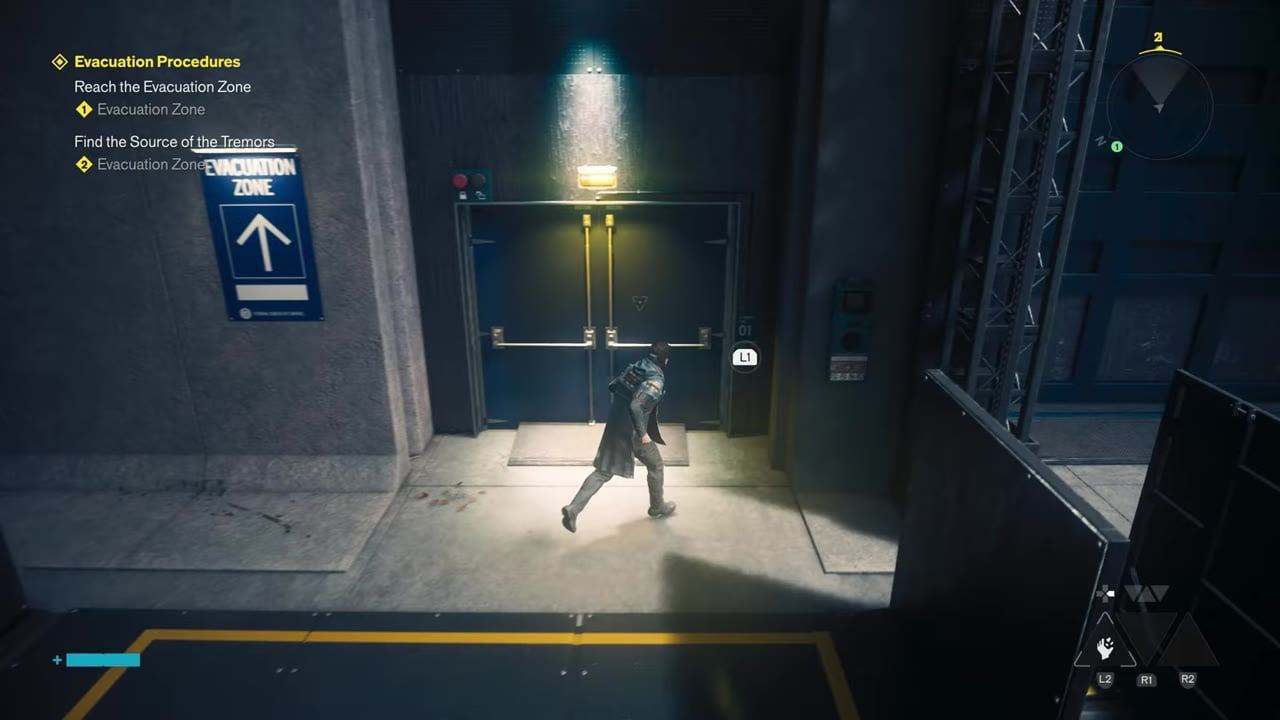 Evacuation Zone security access door | Gamerpillar / YouTube
Cross the 12th floor to the next elevator
Inside the facility, the route climbs through damaged offices and a construction shaft. Dylan finds civilians during the investigation, while the tremors are getting worse.
STEP 1/7
14%
Enter the intake hall
Go through the red-tinted lobby, collect the Evacuation Pamphlet from reception, and use the elevator at the hall’s end. Select 12th Floor.
STEP 2/7
29%
Follow the bloodied hallway
After the intervening vision ends, leave the cab onto the dim, orange-carpeted floor and continue to the multistory atrium with suspended bodies.
STEP 3/7
43%
Enter the construction shaft
Turn right into the corridor with faint cyan light strips, then enter the shaft lined with scaffolding and ladders.
STEP 4/7
57%
Climb through the staging area
Drop through openings in the wooden floor, climb the tarp-covered scaffold, and cross the planks to the upper staging office. Collect the Health Upgrade Point from its corner terminal.
STEP 5/7
71%
Continue through the offices
Leave by the open doorway and follow the red-lit administrative corridors as the visions interrupt the route.
STEP 6/7
86%
Pass the chain-link divider
Go through its maintenance opening, defeat the floating Hiss obstruction in the adjoining office, and collect Mission Notes 3 from the table.
STEP 7/7
100%
Take the second elevator
Leave through the double doors, cross the dark open-plan room, call the elevator at its vestibule, and select 15th Floor.
Find Arish through the 15th-floor visions
Pickups include +1 Distorted Form and +71 Source. On the 15th floor, the search shifts from the tremors to the survivor heard beyond the triage ward.
STEP 1/5
20%
Search the triage room
Leave the elevator, pass the motionless bodies in the debris-strewn hallway, and enter the abandoned room of medical cots. Pick up A Note to Mom at its intake desk.
STEP 2/5
40%
Follow the red corridor
Move toward the distant shouting. During the containment-cell conversation behind glass, choose I'm sorry; the vision then returns Dylan to the 15th-floor corridor.
STEP 3/5
60%
Approach the crimson chamber
Enter the chamber with a distant figure as Locate the Survivor becomes active. Dylan thinks he has found the source of the tremors.
STEP 4/5
80%
Move through the transition
Approach the figure through the red mist, continue along the containment ward corridor, and enter the red void to find Simon Arish alive.
STEP 5/5
100%
Speak with Arish
When the dialogue wheel opens, the conversation here proceeds through I can help, What's wrong?, and You can still help. Arish says his injector fluid is running low and that he has little time; he ultimately tells Dylan to go first.
As you approach the figure, a warning announces a linear sequence. Open-world exploration is restricted until you complete or abandon it; the warning offers abandonment through the death screen or the System menu.
Escort Arish and get the Level 2 Keycard
Get Arish Out Alive becomes the active objective. Lead him back toward the elevator, because his condition leaves him unable to handle the fight ahead.
STEP 1/5
20%
Leave the red void
Head toward the dark square portal and pass through it with Arish. Back in the flooded chamber, lead him up the stone steps, through the large doorway, and across the triage ward.
STEP 2/5
40%
Open the stuck elevator
At the 15th-floor doors, check the jam. The stairs are suggested, but that plan is rejected because time is short; Arish forces the doors apart with a tool.
STEP 3/5
60%
Try the lift
Enter the cab with Arish and press its button. Hiss tendrils obstruct the opening doors, and an armored attacker enters the lobby; defeat it with melee attacks.
STEP 4/5
80%
Check the locked door
Arish identifies more corruption blocking the elevator and points out a door. Trying it produces Insufficient Clearance Level.
STEP 5/5
100%
Return to Arish
Speak to him in the elevator area and choose I'm not gonna leave you. Dylan commits to restoring the elevator, and Arish hands over +1 Level 2 Keycard.
Clear the atrium and escape the building
The Level 2 Keycard opens the orange security door beside the elevator area. Beyond it, Hiss corruption fills the atrium below an elevated metal gantry.
STEP 1/5
20%
Open the security door
Swipe the Level 2 Keycard at the locked orange door and cross onto the gantry overlooking the atrium.
STEP 2/5
40%
Break the obstruction
Drop toward the glowing red core in the lower atrium and strike it with your melee weapon. Its destruction brings up Escape the Building.
STEP 3/5
60%
Return to the main elevator
Drop onto the safety matting below, retrace the bloodied corridor to the 12th-floor elevator lobby, and use the main elevator’s control panel.
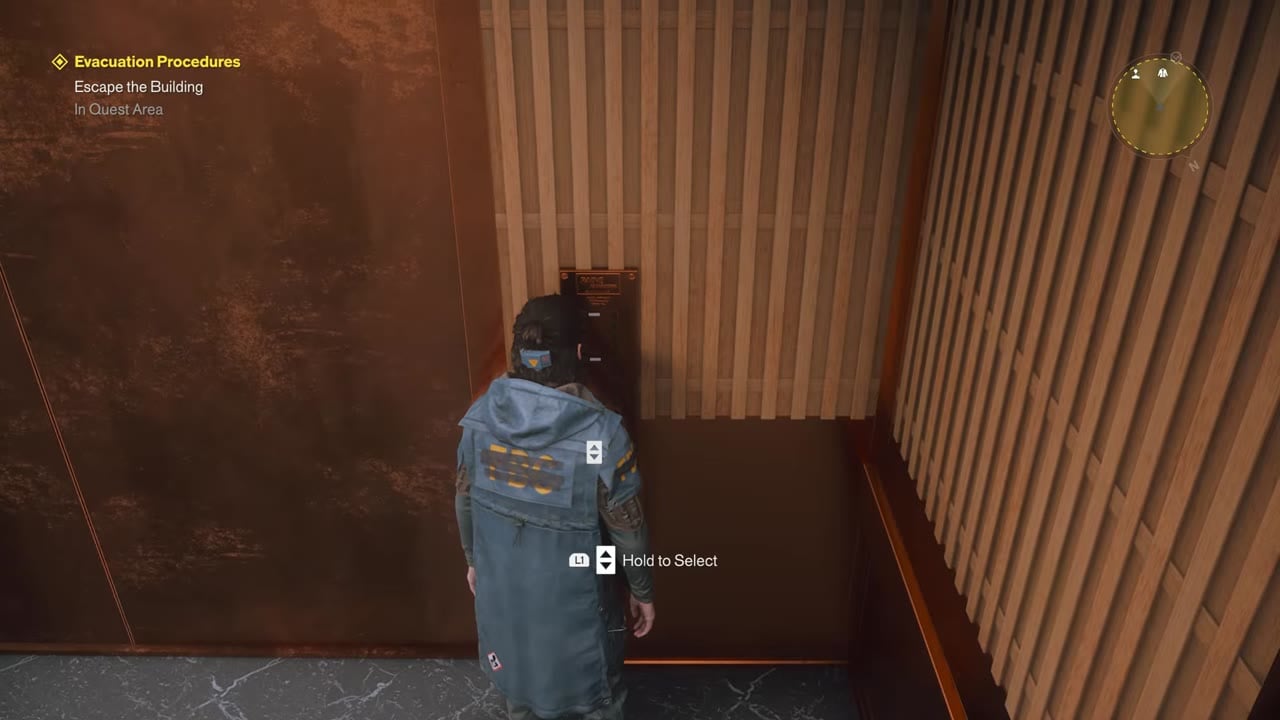 Elevator button panel to escape | Gamerpillar / YouTube
STEP 4/5
80%
Go to the Ground Floor
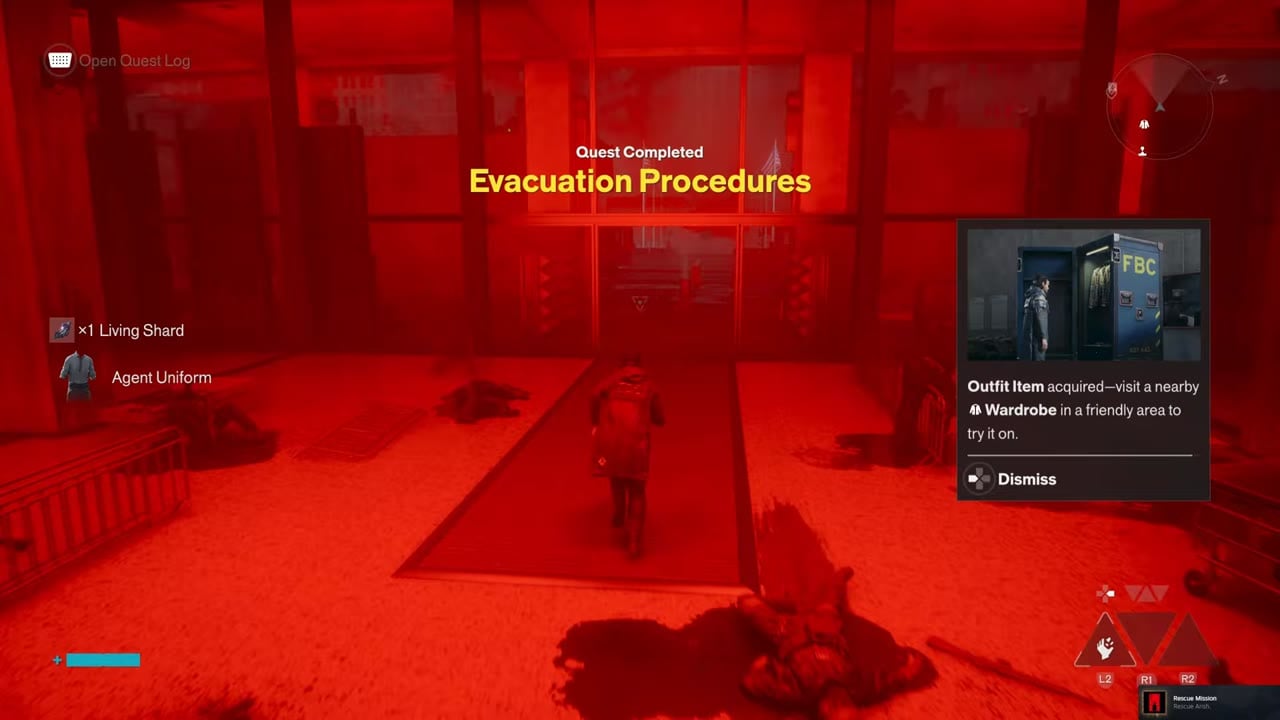
Select Ground Floor, leave the cab after it descends, and pass through the intake hall and outer lobby doors. The threshold triggers Quest Completed Evacuation Procedures.
STEP 5/5
100%
Collect the completion rewards
Complete the quest to receive the Agent Uniform and +1 Living Shard. To try on the outfit, use a nearby Wardrobe located in a friendly area.
Arish’s elevator is working, the building is behind you, and the evacuation’s triplicate paperwork can wait.
Related Control Resonant guides
How it ends
You finish Evacuation Procedures when “Quest Completed” appears. You receive Agent Uniform and Living Shard rewards.
Quick questions
Where can you find the Security Keycard?
You can find a Security Keycard in the Central Field Office.
Which button do you press for Sinkhole on PlayStation?
You use the Report sinkhole interaction prompt.
What rewards do you get for completing Evacuation Procedures?
You receive Agent Uniform and Living Shard.



Leave a Reply