Web browsers are our foremost point of interaction with the internet. Most apps use your default browser to display data from the internet as well. This makes it an integral part of your mobile device and there are several different choices to choose from. Most OEMs nowadays have their own dedicated browsers but there might be times when you wish to customize your experience and sway away from the norms.
This is where third-party browsers come in and what better way to customize your experience than to change the look of all the websites you visit! That is exactly what Vivaldi’s latest update brings for Android devices! Let’s take a look at how you can customize your browsing experience using the Vivaldi browser for Android.
Why customize a webpage?
Well, all websites are not made the same, some come with janky animations, others do not have a dark mode. You might encounter some websites that have a janky UI which makes it pretty hard to navigate them and others might simply have time and data consuming animations that interfere with your overall experience. You can fix all these issues with the latest update to the Vivaldi browser.
You also get access to skewed images if you are in the mood for something funky and a few display filters that can help enhance your experience in case a website does not live up to its aesthetics.
Lastly, these filters will also help tone down colors on websites that do not have a dark mode which should help reduce the strain on your eyes especially in dark rooms or at night. Let’s take a look at all the things you can do using the new Page tools offered by Vivaldi.
How to customize a webpage using Vivaldi
Vivaldi has added all these new customization options under the ‘Page Actions’ section on the ‘Settings’ page. This helps you find all your toggles in one place which makes them easy to access. Let’s take a look at how you can access all the ‘Page actions’.
How to access Page Actions
Open Vivaldi and tap on the ‘Vivaldi’ icon in the top right corner of your screen.

Now tap on ‘Page Actions’.

And that’s it! You will now have access to all the page actions mentioned below. Simply toggle the feature that you wish to use. 
If you wish to disable a feature simply visit the ‘Page Actions’ menu again and turn off the toggle. Now let’s take a look at what each of these toggles does and how you can use them to improve your web experience on Vivaldi.
Change Font Size
Android allows you to change the font size based on your preferences but this affects all the apps and in most apps that have a graphical UI, this has little to no impact. In turn, it deteriorates the experience by introducing scaling bugs in the UI which cause pixelations in certain images and elements.
However, what if you wish to increase the size of the text you read in your browser? Well, that is now possible as Vivaldi and other browsers give you the option to adjust your text size. This setting only affects the web browser and the websites you visit while leaving the rest of your phone untouched.
If you do a lot of reading via your browser, then this is a pretty nifty feature that you can use. This is the only option that you won’t find under the ‘Page Actions’ menu. Follow the guide below to change the font size within Vivaldi.
Open Vivaldi and tap on the Vivaldi icon in the top right corner of your screen.
Now tap and select ‘Settings’.
Scroll down and tap on ‘Accessibility’. 
Now use the slider at the top to increase or decrease your Font Size. You can gauge the changes by looking at the real-time preview below the scaling slider. 
Once you are happy with the changes, simply tap the back arrow in the top left corner of your screen. 
And that’s it! The text size within Vivaldi should now be changed based on your preferences.
Note: This scaling will only affect the websites you visit and not the Vivaldi Menu or other app items.
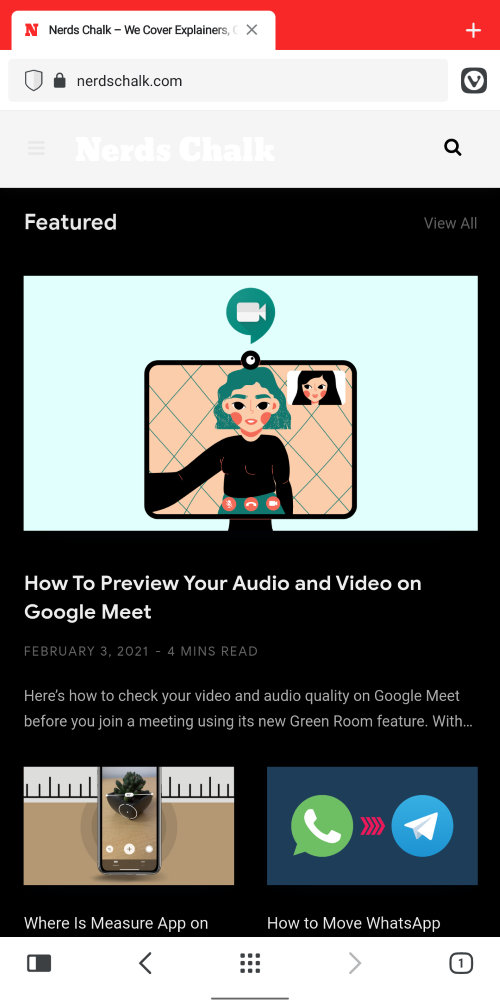
Apply Visual Filters
With its new Android app update, Vivaldi has introduced handy new visual filters that can help enhance the aesthetics of any website you visit. Furthermore, websites that lack a dark mode can be forced to appear with darker shades using these filters to help reduce the strain on your eyes. This is an especially useful tool if you have a habit of reading/scrolling at night. Let’s take a look at the different filters offered by Vivaldi.
Black and White
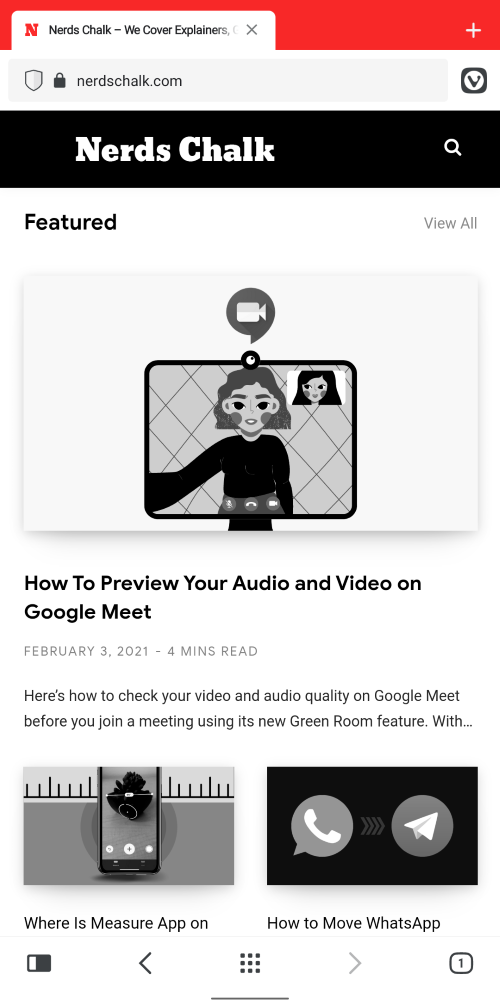
The black and white filter, as the name suggests will make the current and subsequent websites you visit, appear in black and white. This setting will affect the entire website layout including images, text, web UI elements, Ads, animations, and more. The black and white filter will help save battery while reducing the blue light emitted by your screen. If you want to reduce eye strain, then black and white is a great option. However, if you do not like absolute black or white colors, then the next filter might be a better fit for you.

As usual, visit the ‘Page Actions’ using the guide above and turn on the toggle for ‘Filter Black and White’ to apply this filter.
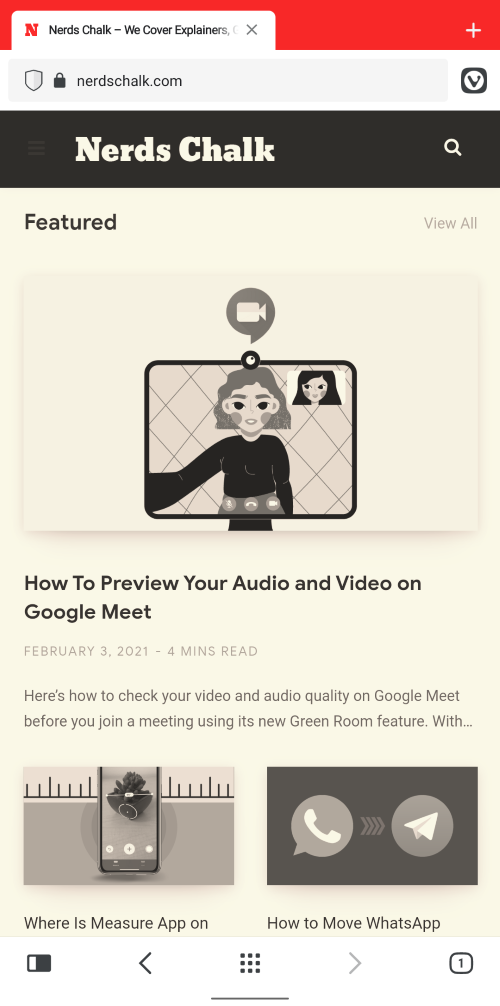
Grayscale
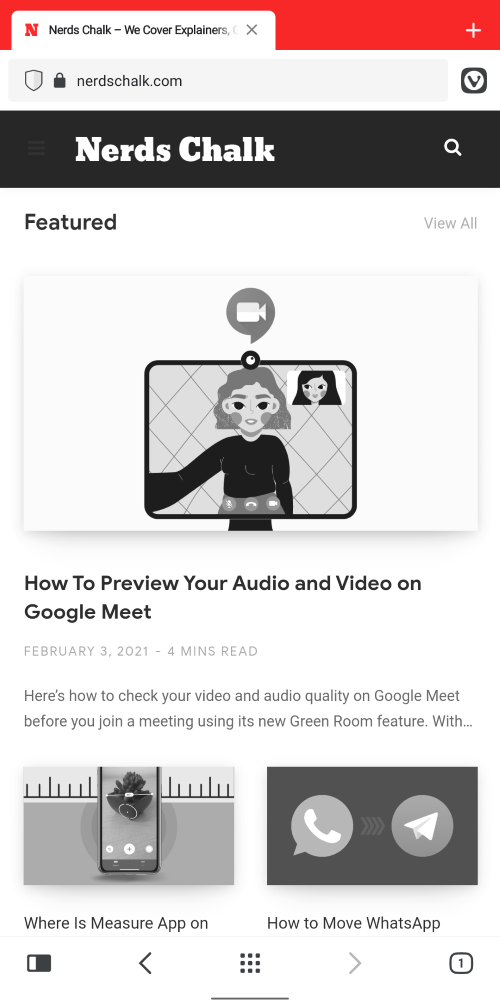
Grayscale is similar to a black and white filter but it is much easier on the eyes. This is because it deals with values of gray to produce contrast and brightness without actually ever taking a value to absolute black or white. This helps preserve raw data and details within images and texts while ensuring a reduced eye strain for your eyes when compared to normal colors.
In ideal case scenarios, if the website you are viewing has tons of images and visual elements, then you will benefit from the greyscale filter. As it can reproduce gradients, shades, color lines, and more effectively.
However, if you are viewing a website with lots of text then you will be better off with a Black and White filter that will allow for easy viewing. Using greyscale in such scenarios can cause the text to appear washed out and muddy in some places especially if the website uses different fonts frequently. 
Access the ‘Page Actions’ using Vivaldi’s icon in the top right and turn on the toggle for ‘Filter Grayscale’ to apply a grayscale filter to your website.
Intensify
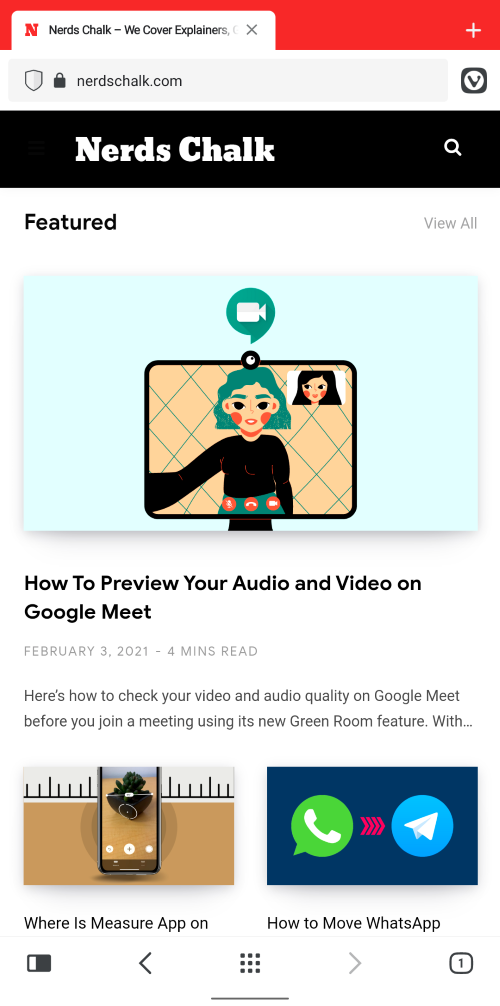
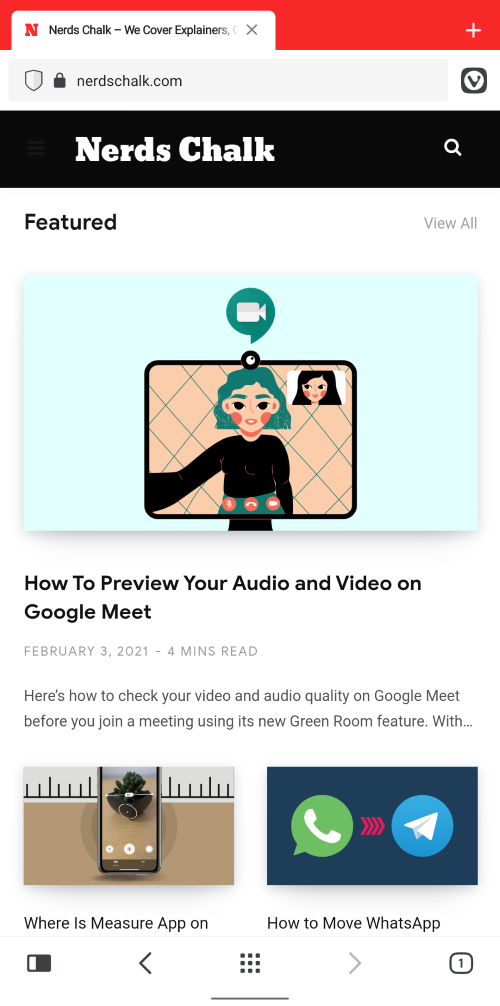
Intensify as the name suggests, intensifies the colors on any given page. Be it the colors in an image or on a logo, all the colors are enhanced on a web page. This filter mostly affects the saturation and contrast of your overall webpage to help bring out the colors while preserving all the necessary details.
Intensify can help with the viewing experience on displays that are using a washed-out color profile by default. It can also help on older devices that have now started malfunctioning. Additionally, if your device has a low-resolution panel with bad viewing angles, then this filter can help slightly improve your web viewing experience as well.
To activate the intensify filter, access ‘Page Actions’ by tapping on the Vivaldi icon in the top right corner.
Now simply turn on the toggle for ‘Filter Intensify’. 
Invert
Invert colors is a long known filter that effectively helps minimize white light by inverting all your colors. The filter uses high contrast colors for text that are easily visible while preserving the necessary details and formatting underneath. Invert is not an ideal filter for images or videos but works exceptionally well for text documents. It is another way to force dark mode on websites that don’t comply with Android’s system default theme.
The invert filter is especially useful when you want to use your phone in dark situations but don’t wish to draw attention to yourself. A good example of this would be texting in movie halls or using your phone in a dimly lit environment like your bedroom.
Tap on the Vivaldi icon in the top right corner and select ‘Page Actions’.
Now enable the toggle for ‘Filter Invert’. 
You should now have activated the inverted filter within Vivaldi. This change will affect all your websites until you turn it off manually.
Obscure
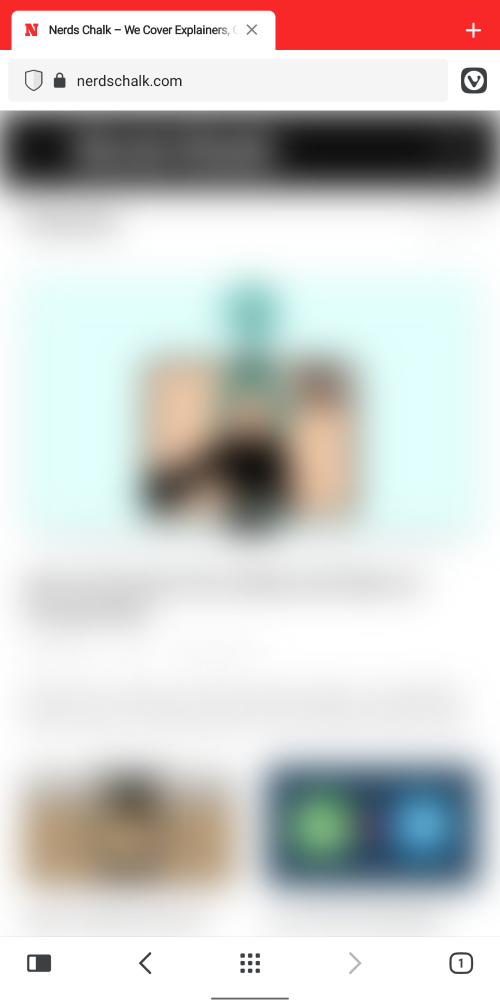
Obscure is a blur filter within Vivaldi introduced to enhance privacy. The Obscure filter blurs everything on your current webpage temporarily. This filter will affect all subsequent websites you visit and blur everything on the page.
This can help hide important information from prying eyes and provide a more streamlined way of opening important documents in your browser in the background. When you wish to view the documents yourself, simply disable the filter and you should be able to view everything on the page again.
Enable Obscure filter by tapping on the Vivaldi icon in the top right corner of your screen and selecting ‘Page Actions’.
Now simply enable the toggle for ‘Filter Obscure’.
Sepia
Sepia is a long-standing filter that despite its multiple uses over the past few decades has not faded away like other trends. Sepia gives you the washed out, rustic vintage look on any device. The filter is easy on the eyes, preserves almost all the details, is compatible with shades of grey, and can provide an enhanced aesthetically pleasing viewing experience.
Sepia was first introduced during the days of film cameras as a way to preserve details in a photograph. When a photograph/film was exposed, highly reactive metallic compounds could interact with pollutants and other impurities which could introduce defects in your final output. Sepia helped circumvent this risk by using sulfide compounds that would essentially act as a shield between your print and the pollutants. This would result in a better image with enhanced details and a unique look.
Nowadays, Sepia is solely used for aesthetic purposes and comes in tons of different shades. Thankfully, Vivaldi is sticking to the traditional Sepia look for now. 
Visit ‘Page Actions’ using the Vivaldi icon in the top right and turn on the toggle for ‘Filter Sepia’ to activate this filter in your browser.
Change Font spacing
Most websites tend to use their own fonts and formatting. This leads to a variety of font choices, spacing choices, and line spacing to create a unique look for each website. However, many websites tend to overdo this customization which can hamper the reading experience for many users that are used to traditional text. The Monospace option within Vivaldi can help fix this issue.
Activating the monospace tool within Page Actions will change the spacing for all the text on your current web page to single spaces. This will help fit more text in a single line, allow for easily distinguishable words, and in the end, result in an overall better reading experience.
If you are on a website that uses a lot of funky text that does not seem to fit well with your Android device’s aspect ratio and screen size then the Monospace option can help you fix such issues.
Tap on the Vivaldi icon in the top right and select ‘Page Actions’.
Now turn on the toggle for ‘Fonts Monospace’. 
Skew Images

So you just want to have some fun and are tired of the traditional websites that mostly all look the same with a single thumbnail, some text, and lots of ads. How do you make your experience a bit more fun, interesting and funky may I add?
Well, how about skewing your images at a 45o angle? You should give it a try, it definitely makes for an interesting viewing experience. Skew Images in Vivaldi seems to be only for some added fun when you are browsing the web. Here’s how you can activate it.
Open ‘Page Actions’ by tapping on the Vivaldi icon in the top right corner.
Now turn on the toggle for ‘Skewed Images’. 
Force Animations (Transitions only)
Animations are subtle transitional elements within your page browsing experience that aren’t noticeable until you are looking for them. Albeit, janky transitions stick out like a sore thumb but that is rarely the case unless you are visiting an obscure website.
These transitions help provide a seamless transfer between web pages and other elements while you are browsing the web. Some websites use fade transitions while others opt for more prominent ones like pan or zoom but the concept remains the same.
Depending on your preferences you can either turn on or turn off this animation to customize your web experience to better suit your needs. Adding transitions will lean towards an aesthetically pleasing experience while adding a few microseconds to your page loading time as the transition does take a few microseconds to execute.
If you like animations then you can force them on all websites with the latest update to the Vivaldi browser.
Open ‘Page Actions’ and turn on the toggle for ‘Transitions forced’. 
Note: The application of this feature depends solely on a compatible website. If the website does not have inbuilt transitional elements or doesn’t have support built-in, then this option might not work. However, it should work without a hitch with most modern websites that are updated regularly.
Remove Animations (Transitions only)
So you are not someone for aesthetics but sole productivity. You like things to be fast, snippy and you do not like to waste time on things that lower your work efficiency. Well, then I think it’s time you look into disabling animations when browsing the web. Each website uses a certain set of transitional animations to provide a pleasing viewing experience when navigating the menu or switching between different posts.
However, these animations increase load times and have their own time frame within which they are executed. This can end up making you wait longer which is something you might be looking to avoid. Additionally, if you are on a slower device then disabling animations will make it look like your device has gotten slightly faster.
Although it will be a placebo is a placebo really a placebo if everyone experiences it? Existential thoughts aside, disabling transitions might be the right choice for you if you are focused on productivity, don’t care for aesthetics, and generally prefer a faster experience.
Tap on the ‘Vivaldi’ icon in the top right corner of your browser and select ‘Page Actions’.
Now turn on the toggle for ‘Transitions Removed’. 
And that’s it! Transitional animations should now have been disabled within Vivaldi and should affect every website you visit from now on.
Note: While you can use filters and other page actions in conjunction with each other, we recommend using the transition options as standalone. Using them in conjunction with each other provides no real benefit while significantly increasing the risk of introducing unwanted bugs to your web viewing experience.
We hope this guide helped you get familiar with all the customization options available in the Vivaldi browser that can help enhance your web viewing experience. If you face any issues or have any questions, feel free to drop them in the comments below.