To build your own Trampler in SAND: Raiders of Sophie, open the Blueprint menu, create a new design, lay down a chassis with its required core modules, connect them with decks, add combat and utility parts, then save and deploy the blueprint from the menu.
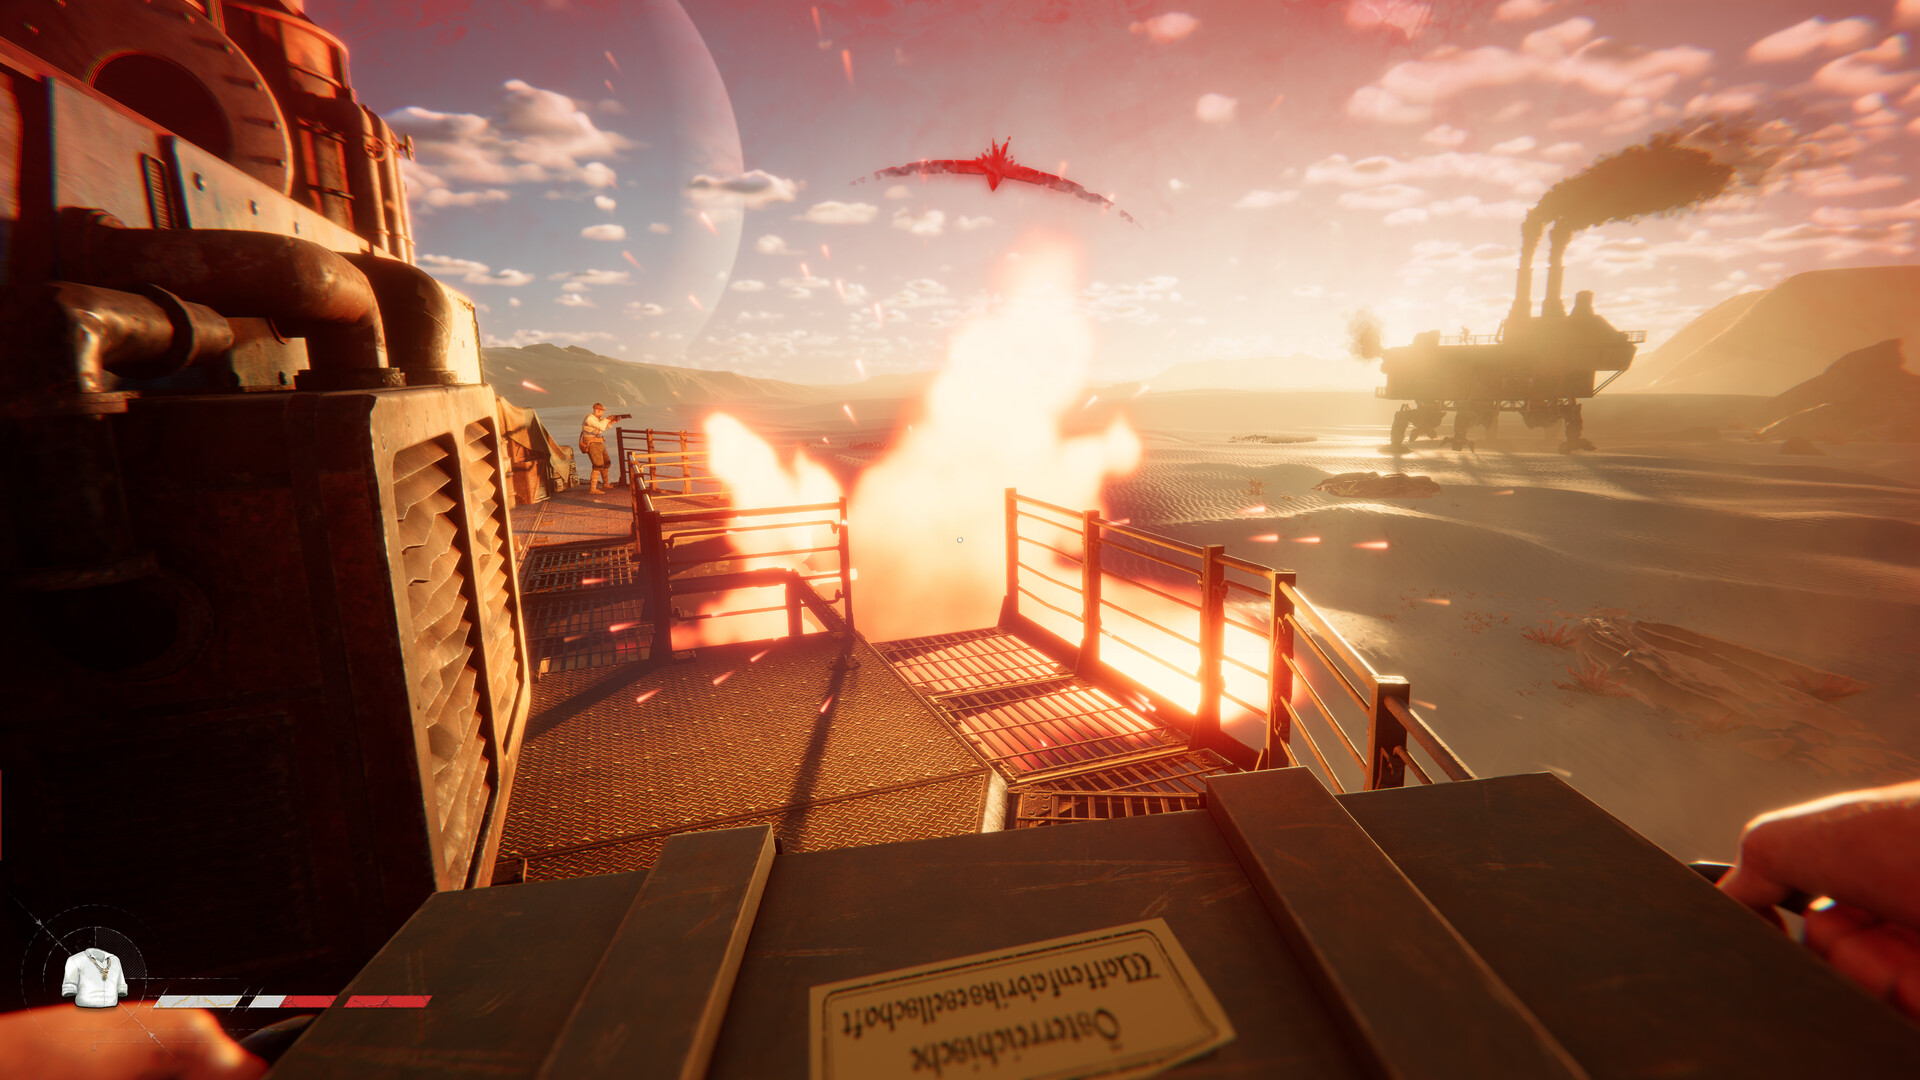
In SAND: Raiders of Sophie, your Trampler is a giant walking mech-base that acts as your primary progression hub during Voyages across the Wastes. Instead of settling for default designs, the game’s Trampler Editor lets you construct a custom mobile base from scratch, giving you full control over its interior layout, power, armor, and weapons.
What a Trampler is and why you need one
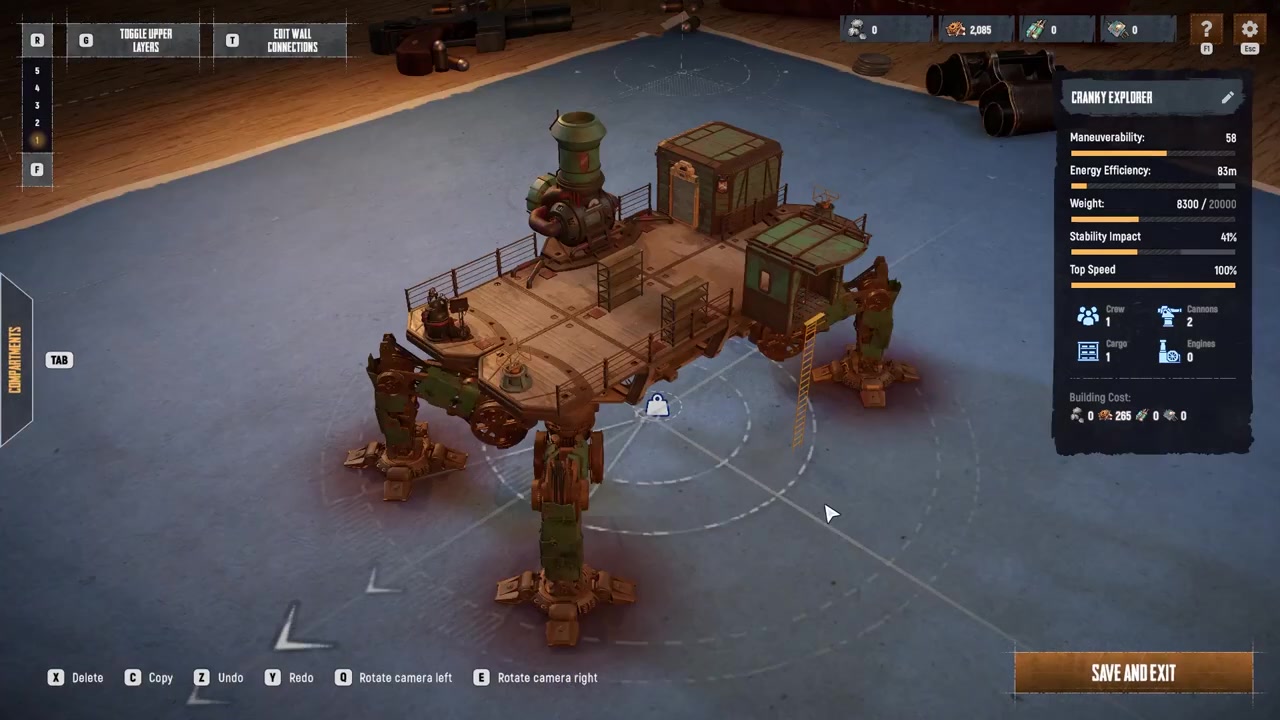
A Trampler is your mobile walking base and central progression hub. It traverses the desert planet of Sophie on mechanical legs, housing your crafting stations, storage, respawn areas, and weapon mounts while serving as the anchor point for all your Voyages.
The game lets you design this vessel entirely from scratch through the blueprint system. Building your own ensures the mech is tailored to your squad size, combat preferences, and extraction habits rather than relying on a one-size-fits-all default.
How to construct a Trampler in the blueprint editor
| Editor Control / Shortcut | Action |
|---|---|
| C | Create a new blueprint or copy an existing deck onto empty spaces |
| X | Remove a selected deck or part |
| R / F | Raise or lower the floor view |
| Q / E | Rotate the camera |
| Mouse wheel | Zoom in and out |
STEP 1/15
Open the blueprints menu
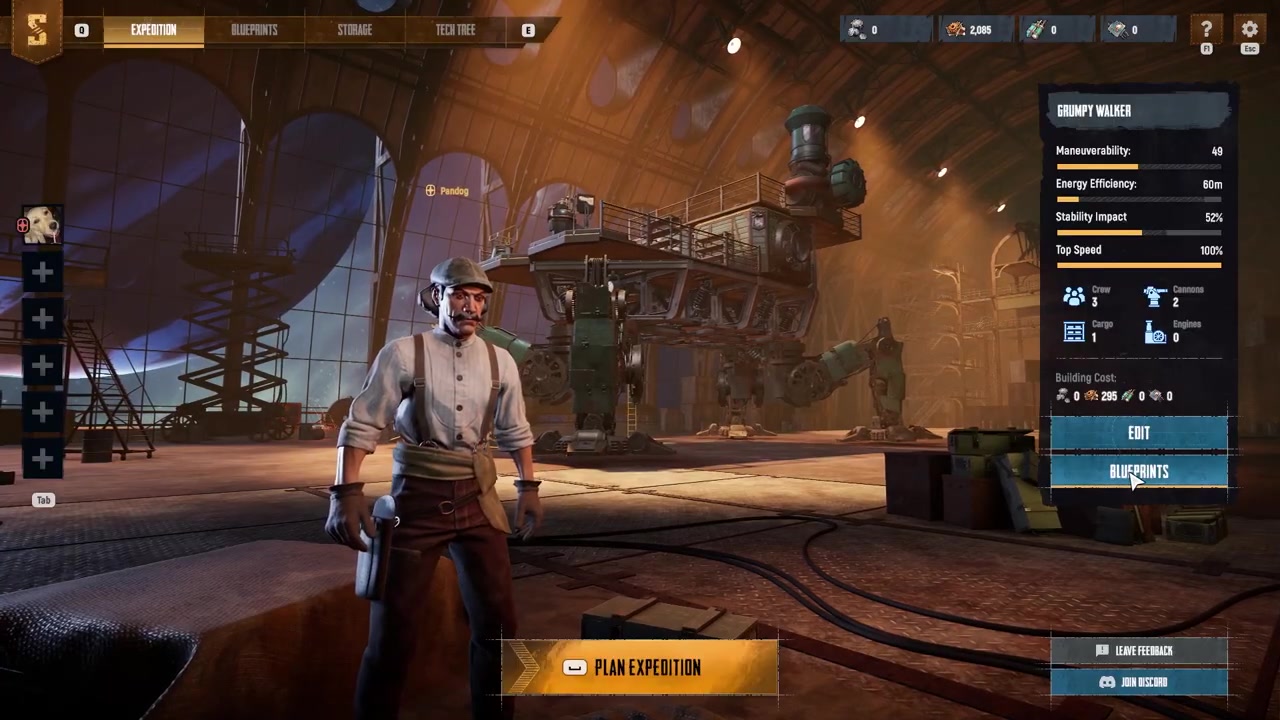
Open the blueprints menu from the top navigation bar or the right-side panel.
STEP 2/15
Create a new blueprint
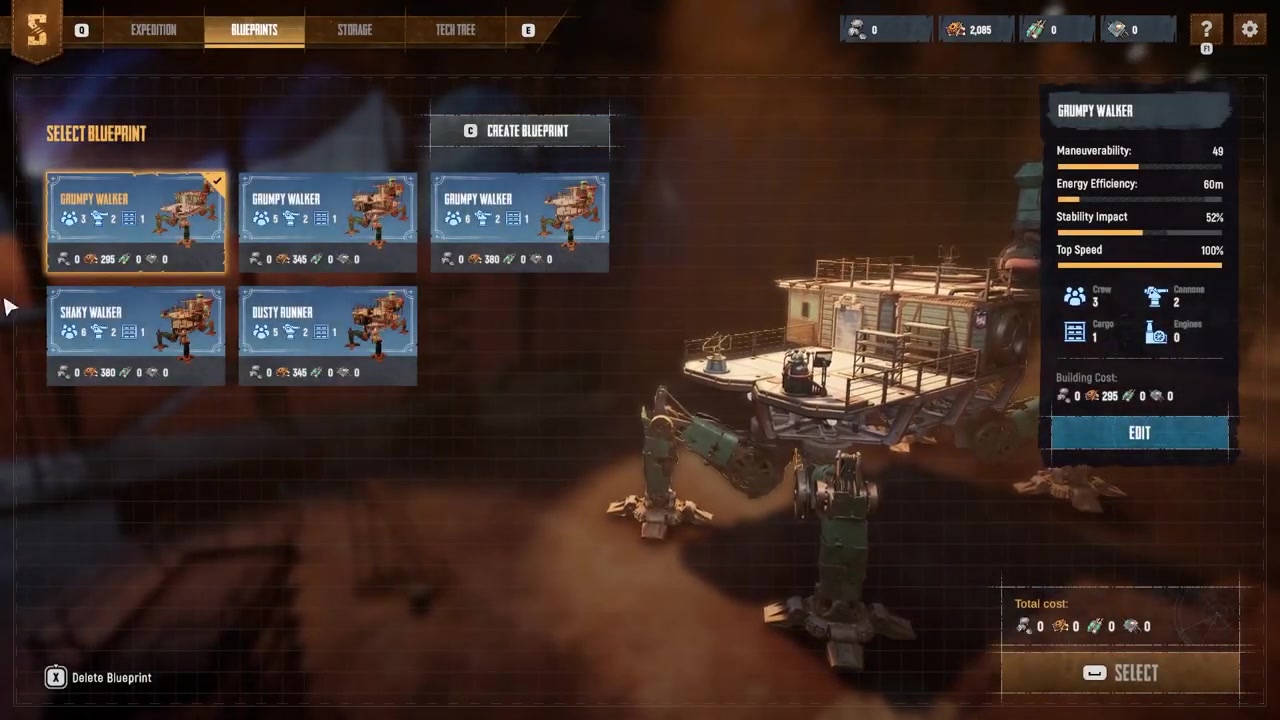
Press C or click Create Blueprint at the top of the blueprint list to enter the design screen.
STEP 3/15
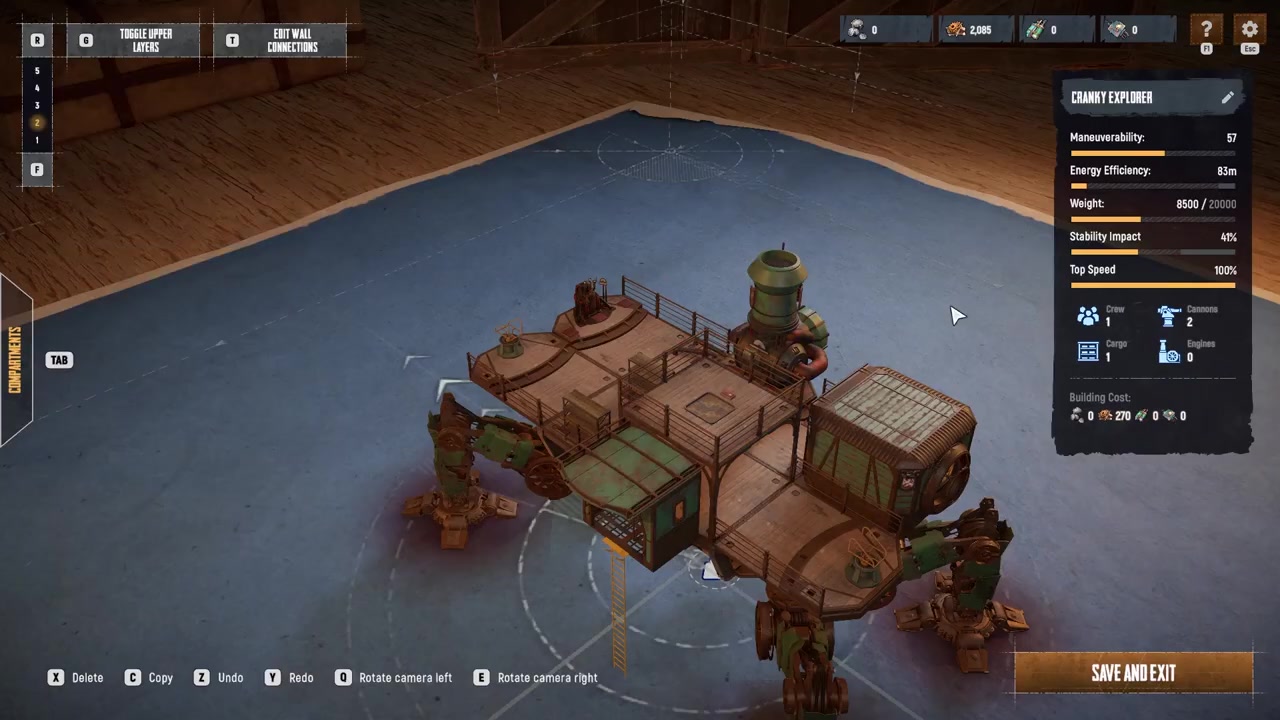
Navigate the camera
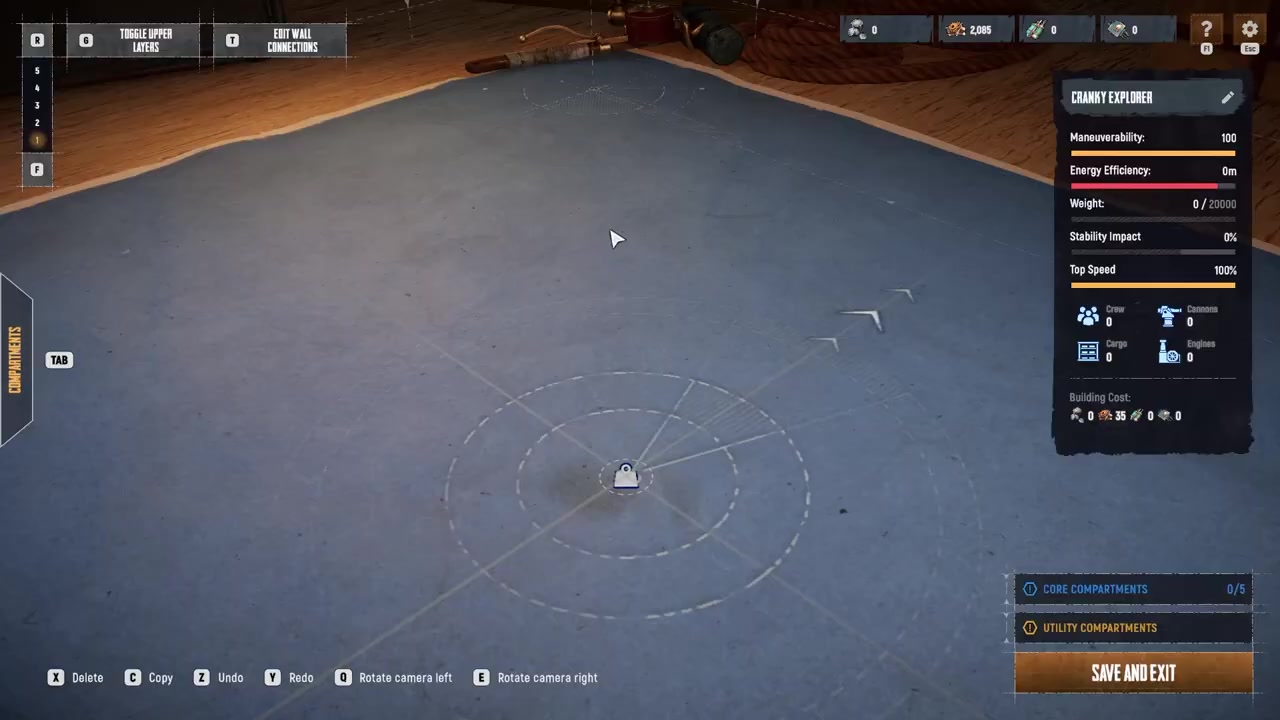
Move the camera with the movement keys, zoom with the mouse wheel, raise or lower the floor view with R and F, and rotate with Q and E.
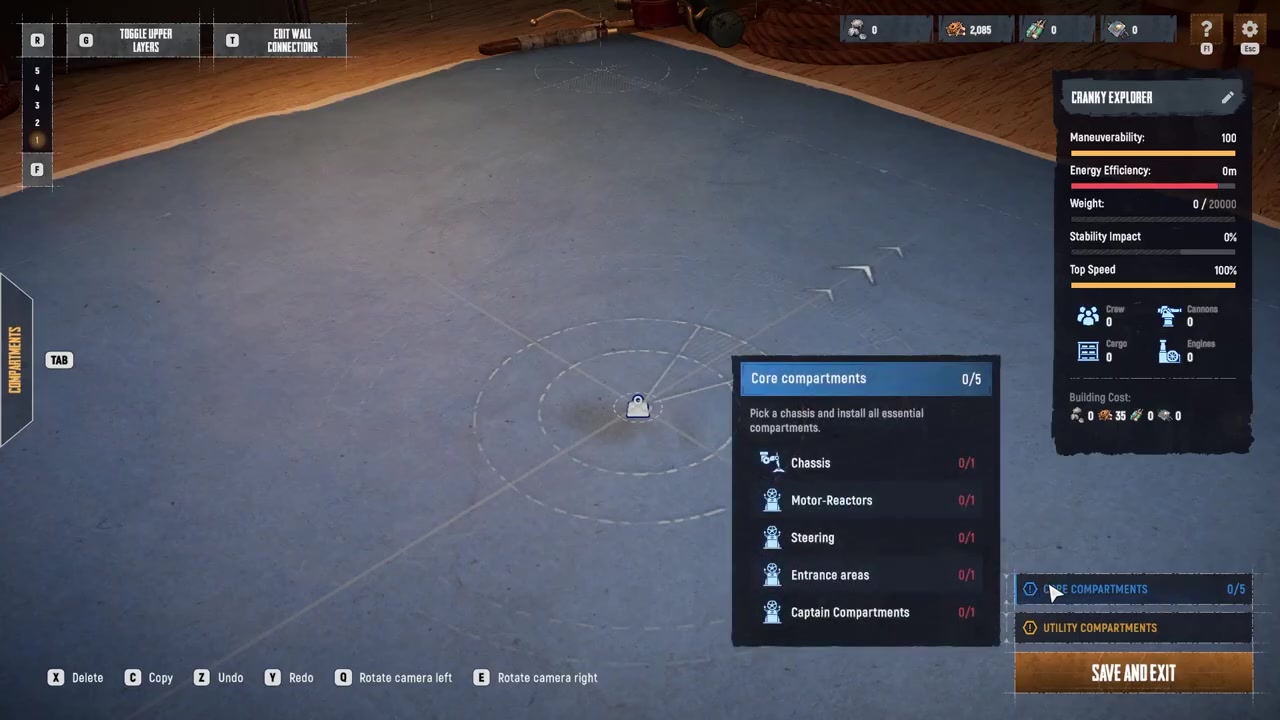
STEP 4/15
Check the core components
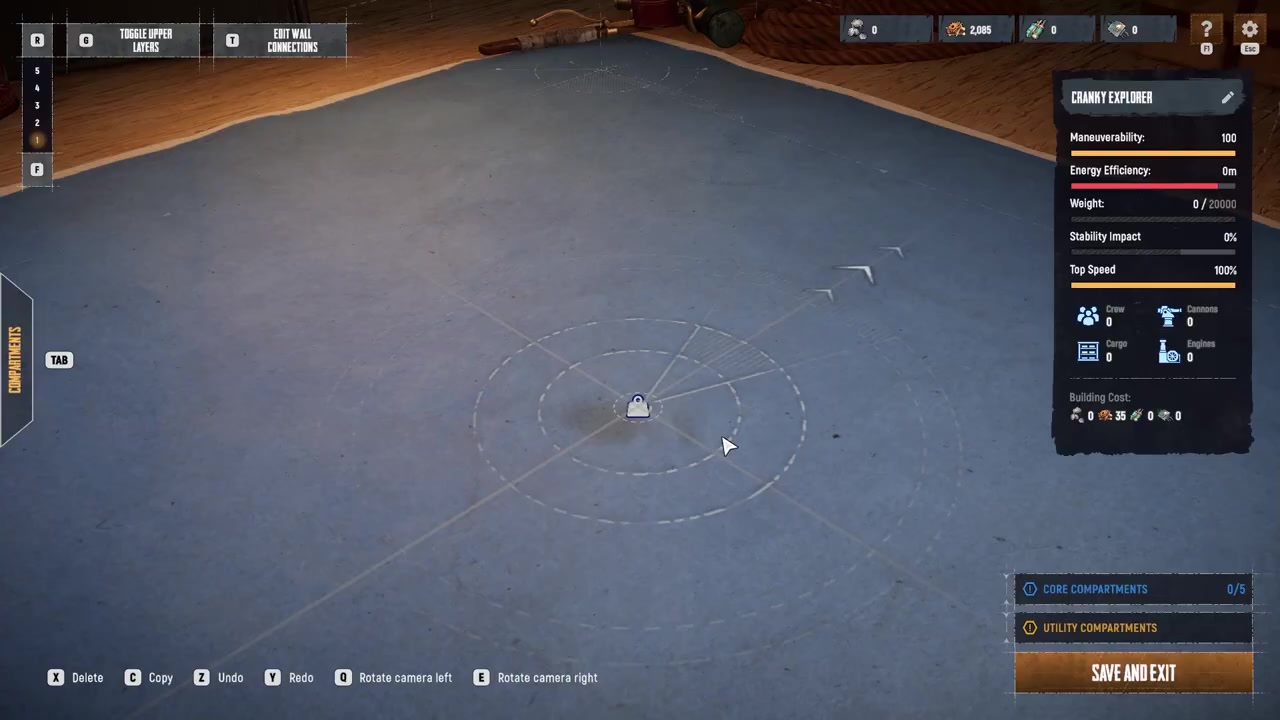
Hover over the core component section in the lower right corner to see the minimum required parts for a functional Trampler.
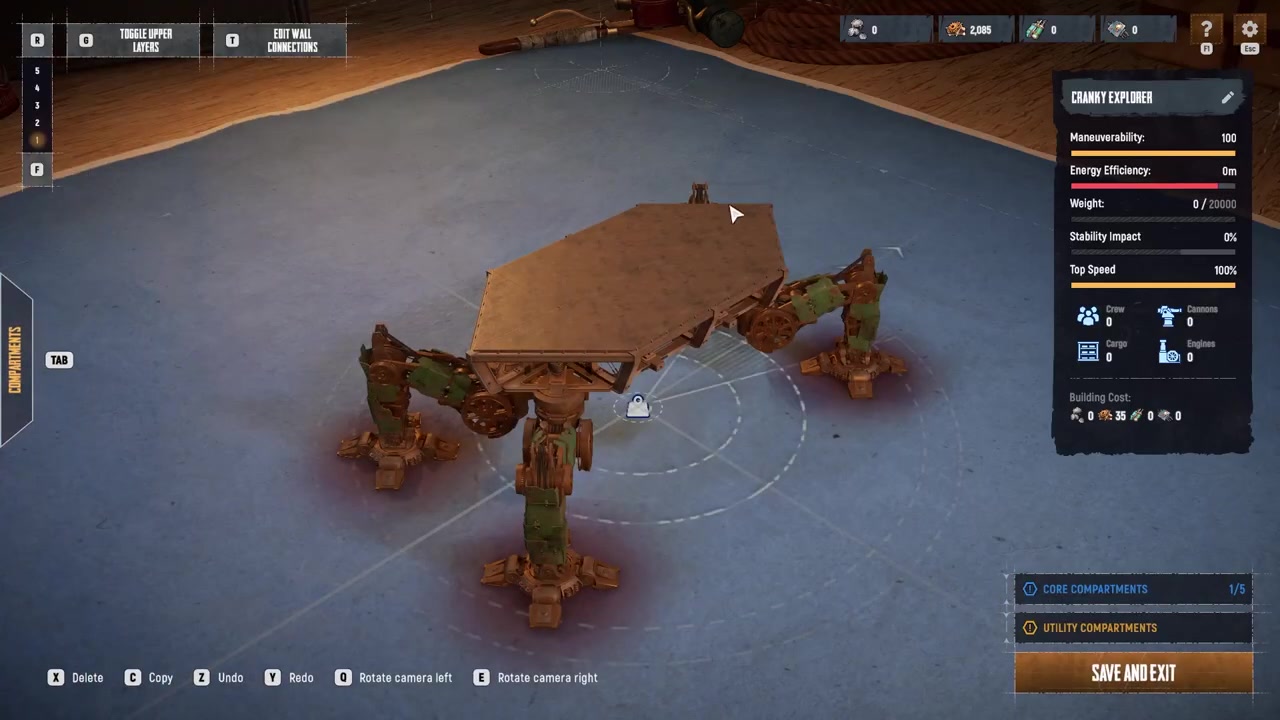
STEP 5/15
Place the chassis
Go to the chassis tab and place a chassis to serve as the foundation of your Trampler.
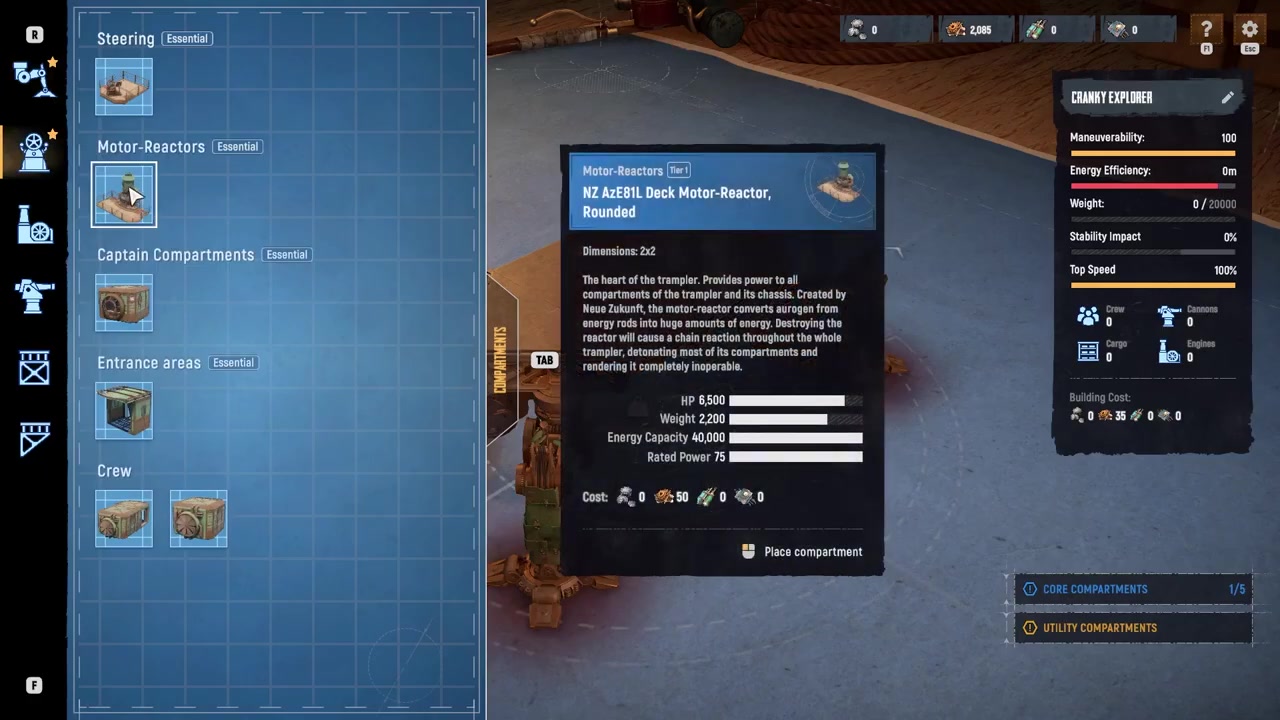
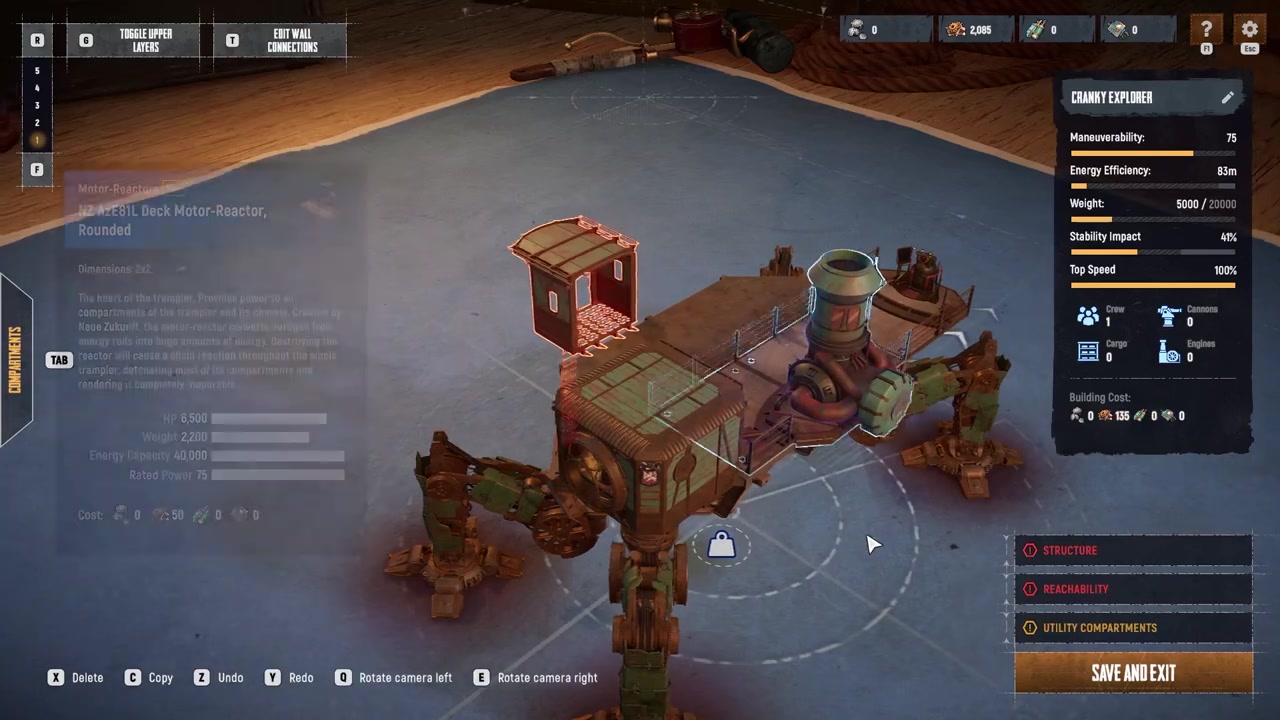
STEP 6/15
Add the motor reactor
Open the essentials tab and place a motor reactor to supply power.
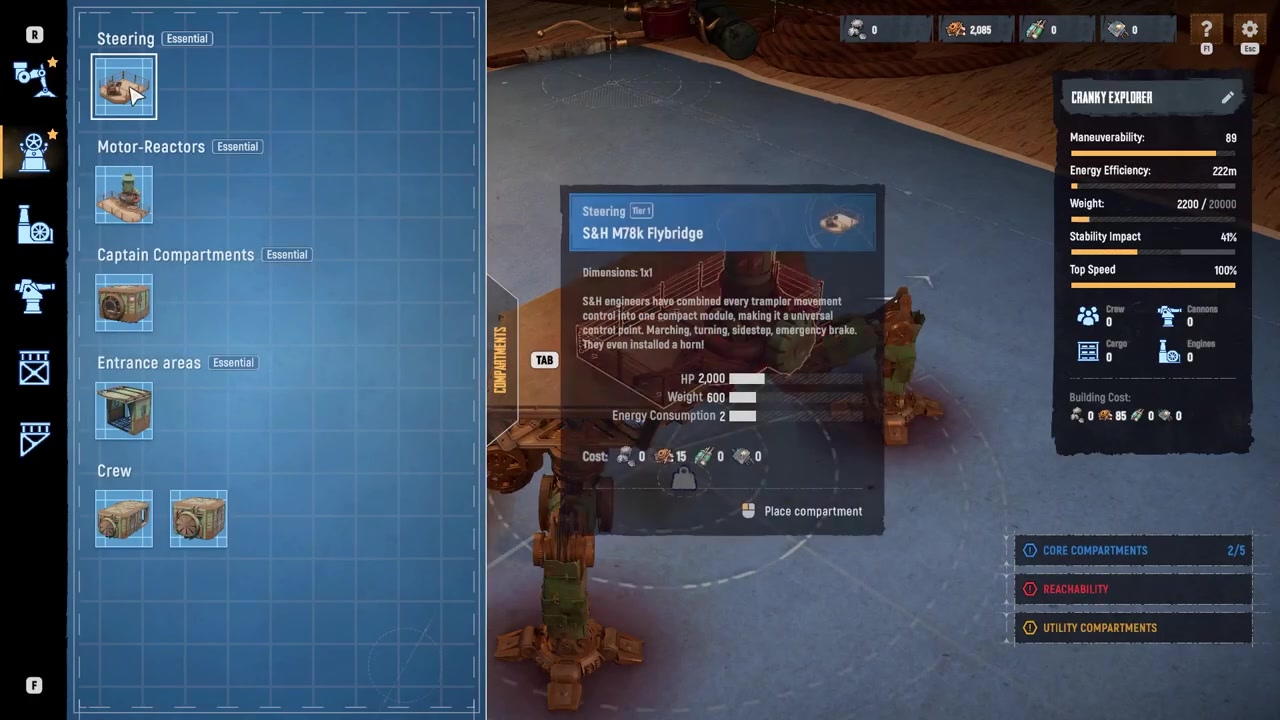
STEP 7/15
Place the fly bridge
Add a fly bridge from the essentials tab to serve as your steering compartment.
STEP 8/15
Add the entrance and captain’s compartment
Place an entrance area followed by a captain’s compartment to complete the core modules.
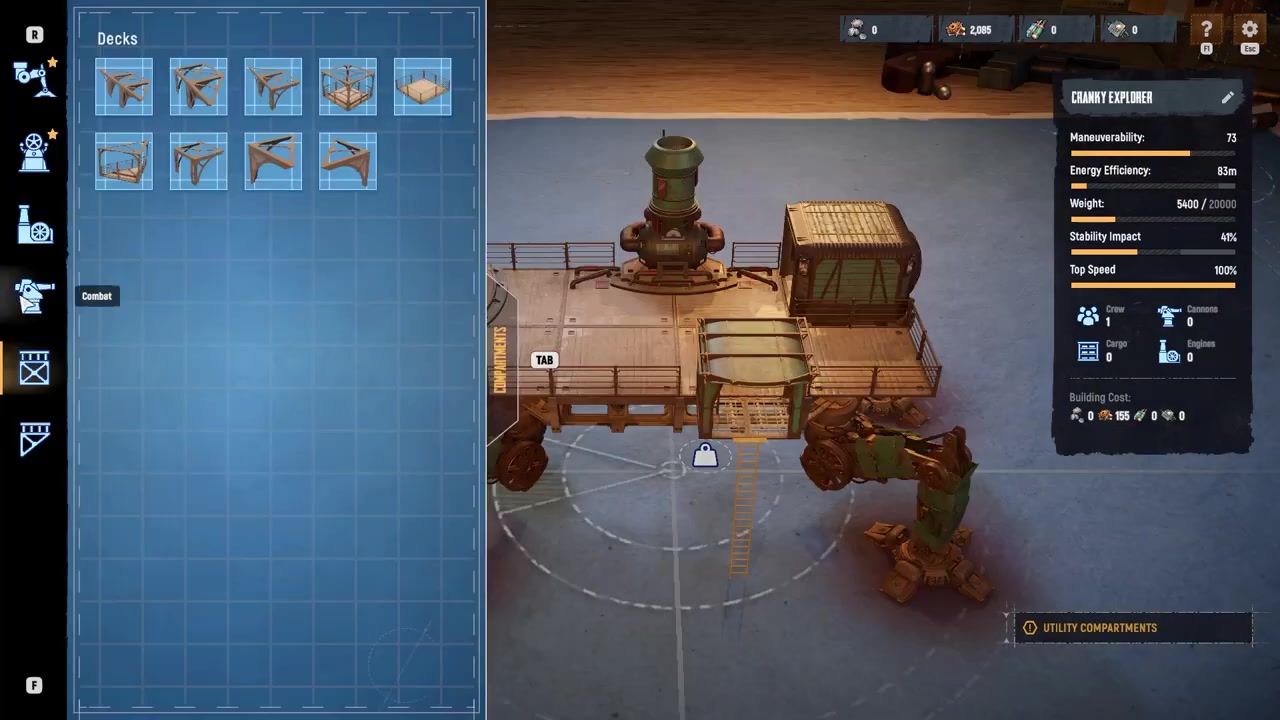
STEP 9/15
Connect the components with decks
Open the decks and frames tab and place standard decks between the compartments, pressing C on an existing deck to copy it to empty spaces until construction warnings disappear.
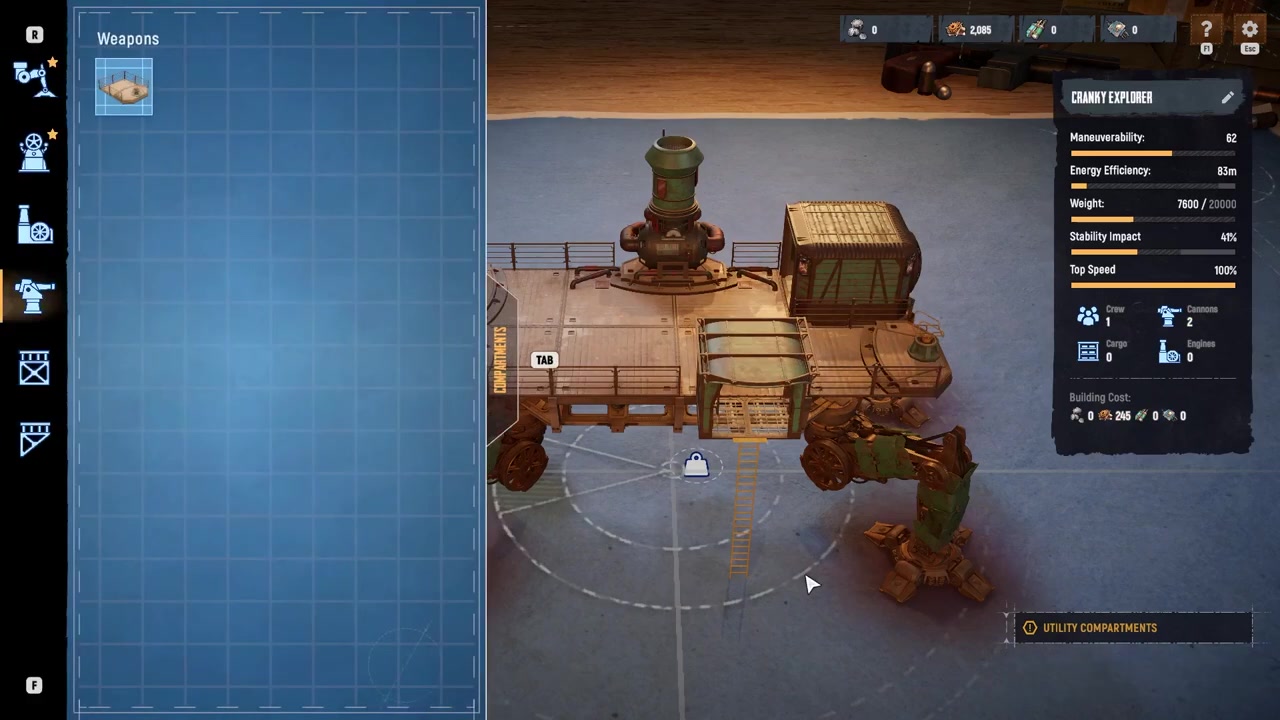
STEP 10/15
Place turret decks
Open the combat tab and place turret decks where you want cannons mounted, removing standard decks with X if necessary to maintain a clear field of fire.
STEP 11/15
Add a storage deck
Open the utility tab and place a storage deck on any available section of the chassis.
STEP 12/15
Build a second floor
Place a support frame with a hatch from the decks and frames tab, then build additional decks above it for larger designs.
STEP 13/15
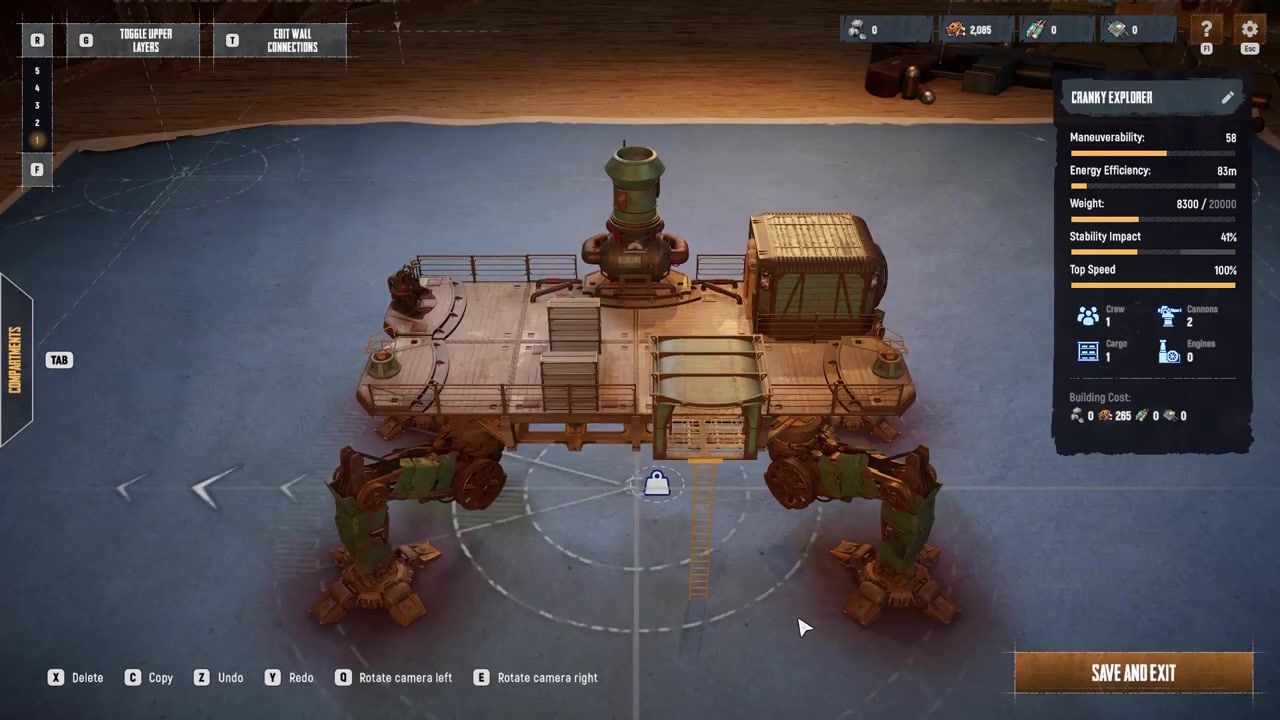
Monitor your statistics
Watch the statistics on the right side of the screen to balance speed, maneuverability, durability, and construction cost.
STEP 14/15
Name and save the blueprint
Click the pencil icon beside the Trampler’s name to name it, then click Save and Exit to finalize the blueprint.
STEP 15/15
Deploy your custom Trampler

Return to the blueprints menu and select your saved design to use it.
Video help
Advanced design considerations and common mistakes
Balancing weight against speed is the most critical design challenge. Heavier frames allow you to mount more modules and armor, but they cause the Trampler to move slower, making it harder to reposition or escape fights. Overbuilding armor and decks is a common mistake that turns your mobile asset into a sluggish target. Keep an eye on the statistics panel on the right side of the editor as you build, ensuring your speed and maneuverability remain viable.
Power and fuel systems require an oversupply early in the design process. Underinvesting in power leads to disabled weapons or stalled movement mid-Voyage. Community tips stress oversupplying power early so later upgrades do not stall your build. Always ensure your motor reactor can handle your turret loadout and movement systems simultaneously.
Turret placement dictates your survival in the PvPvE environment. Leaving blind spots in turret coverage—especially rear and high-angle arcs—makes the Trampler easy to flank. Position turret decks where they have a clear field of fire, prioritizing front and high-angle arcs to handle ambushes and elevation differences in the dunes. You may need to remove standard decks first by selecting them and pressing X to clear a path.
Crew rooms must be scaled to your team size, with a maximum crew capacity of six players. If you do not build enough crew rooms, you cannot properly support a full squad. Additionally, configure your storage and extraction flow so valuable loot is close to the ramp or entry point, minimizing the time you are exposed during PvPvE raids. Finally, remember that the Trampler is a mobile, repositionable asset—treating it as a static base defeats its primary purpose.
Press C while hovering over an existing deck to instantly copy it onto other empty spaces, saving you from repeatedly opening the parts menu when connecting compartments.
Deploying your Trampler and next steps
Once your blueprint is saved, you can test your build by deploying into a Voyage or a Storm Dive. Voyages offer a lower-stakes, persistent open world to adjust legs, weight distribution, and turret placement until driving and firing arcs feel comfortable. Storm Dives are battle-royale-style modes with higher-tier loot and higher risk.
Keep in mind that while Trampler blueprints are shared across your characters, inventories and tech trees are strictly tied to the region selected at character creation. Choose your testing ground wisely based on the gear you are willing to risk.
Frequently Asked Questions
What are the minimum required parts to make a Trampler function?
You need a chassis, a motor reactor, a fly bridge for steering, an entrance area, and a captain’s compartment. You can see this list at any time by hovering over the core component section in the lower right corner of the design screen.
How do I add a second floor to my Trampler?
Open the decks and frames tab and place a support frame with a hatch, then build additional decks above it. This allows you to create larger and more complex Trampler designs with multiple levels.
How many players can a Trampler support, and how do crew rooms work?
A Trampler supports a maximum crew size of six players. You must build enough crew rooms to match your team size, whether you are playing solo or with a squad of up to six, or the Trampler cannot properly support the team.
Are Trampler blueprints shared across my characters?
Yes, Trampler blueprints are shared across your characters, but your inventory and tech trees are strictly region-locked based on the region you selected at character creation.
What happens if I lose all my Tramplers and resources?
If you lose all your resources and have no Tramplers left, you must create a new character or join another team’s Trampler to recover.