
Besides Android, Google offers a wide variety of products that offer to better your productivity. One such product is Snapseed which is an app that can enhance images with one-touch tools, add filters, edit RAW photos, tune images with sliders and give them a new look in just a matter of minutes.
As smartphone cameras have come to reach the capabilities of DSLRs, smartphone editing has also moved likewise in terms of offering users desktop-like editing functions. Portrait photography and pictures with bokeh effects were only possible on DSLRs till half a decade ago and then came phones with dedicated depth sensors to give you a background blur effect. But if your phone lacks that second camera or if you’re not impressed with its bokeh effect, you can create pictures with blurred backgrounds using Snapseed.
How to blur your background using Snapseed
The guide below will help you create a background blur effect on your pictures. For simplicity, we’ve divided this section into two pieces – basic and advanced; so that you can choose between convenience and perfection every time you’re making an edit to your pictures.
Basic editing

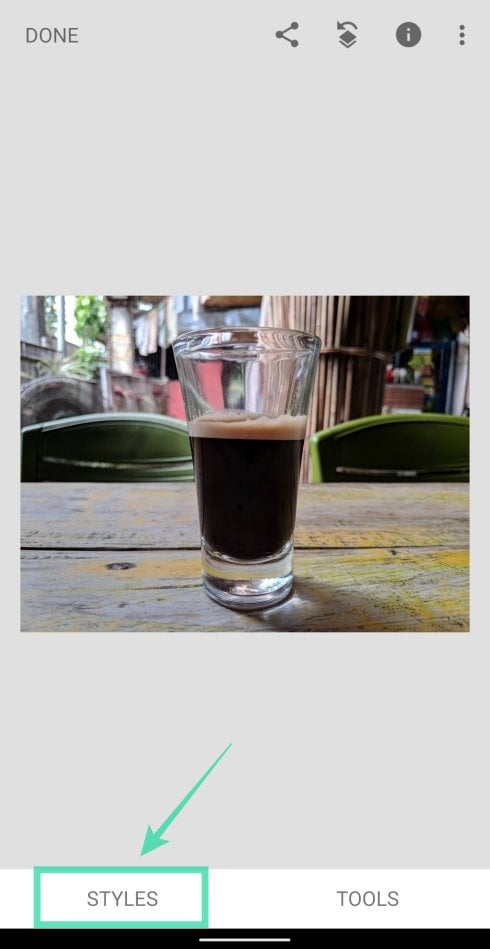
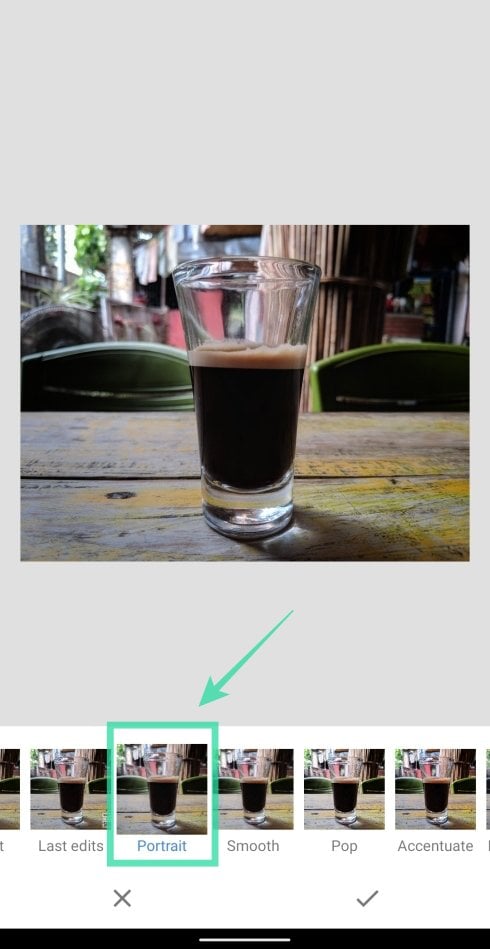
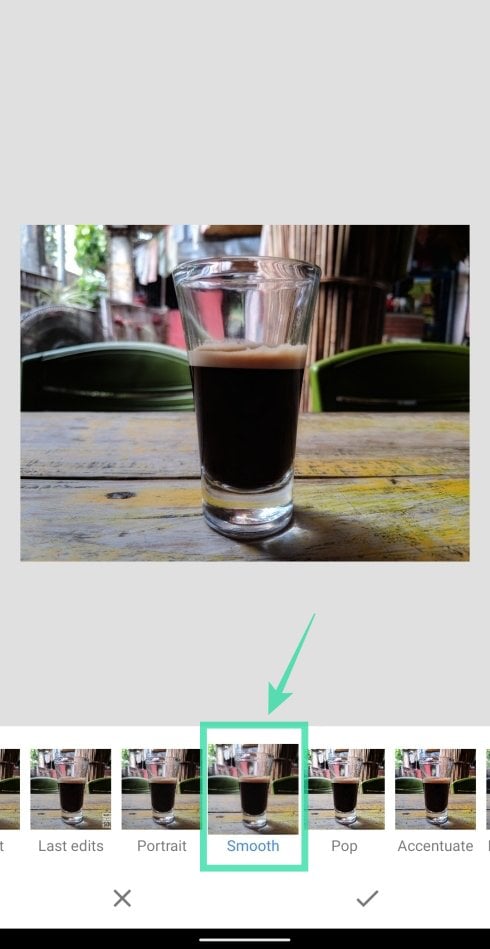
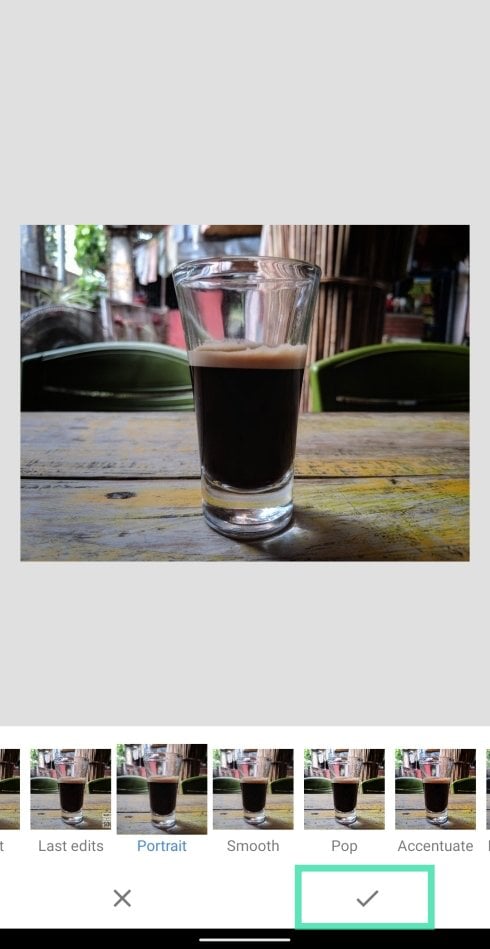
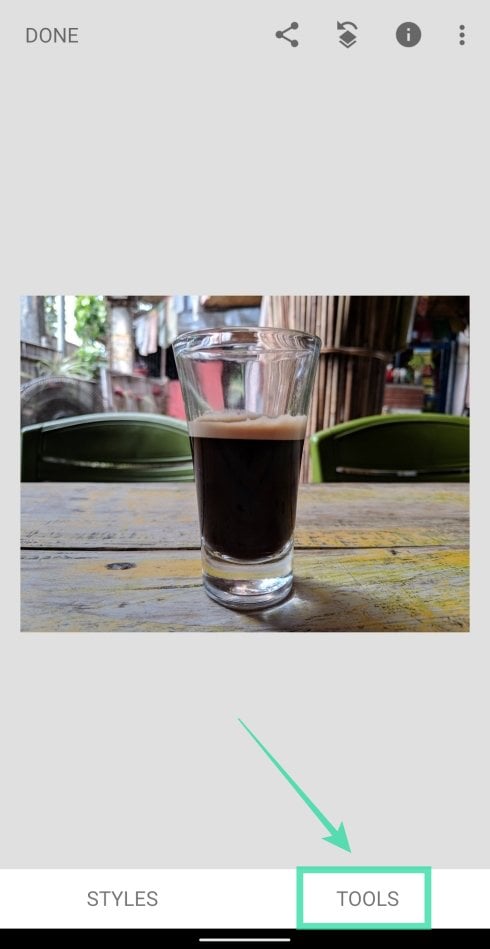
Step 5(optional): In order to make the subject look better with background blur, we recommend adding some more contrast and saturation to the image before moving on to giving it the blur effect. To do so, tap on the Styles tab, choose either Portrait or Smooth from the options and then tap on the tick mark at the bottom right to apply the style.
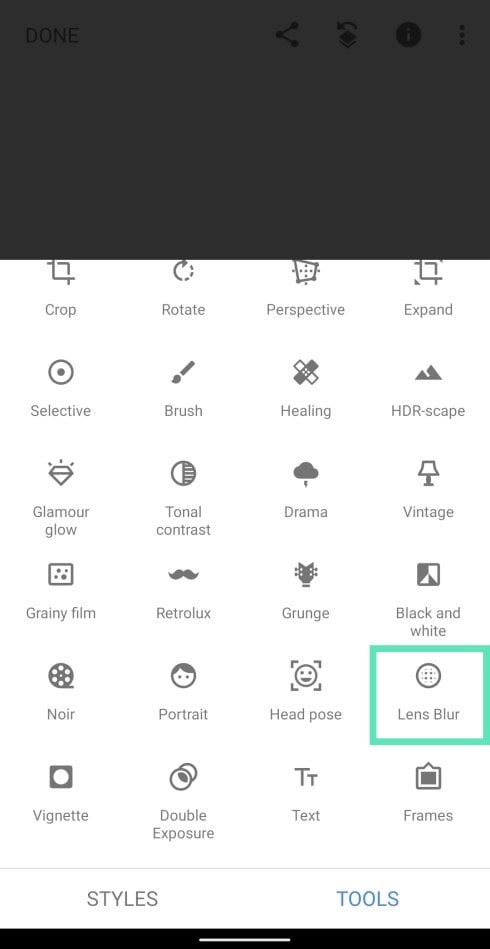
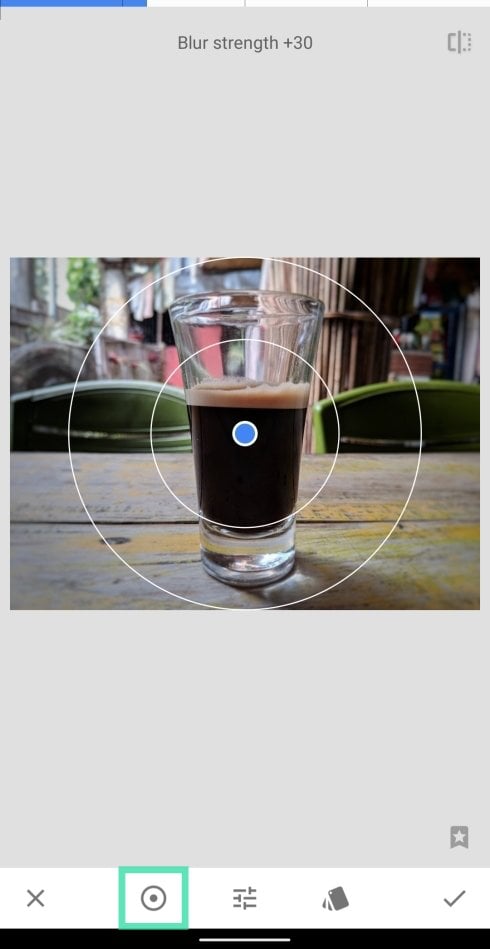
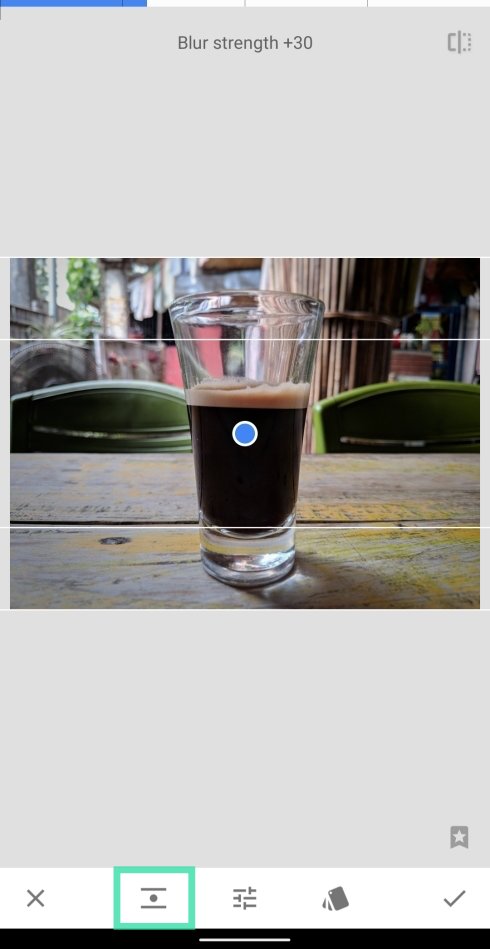

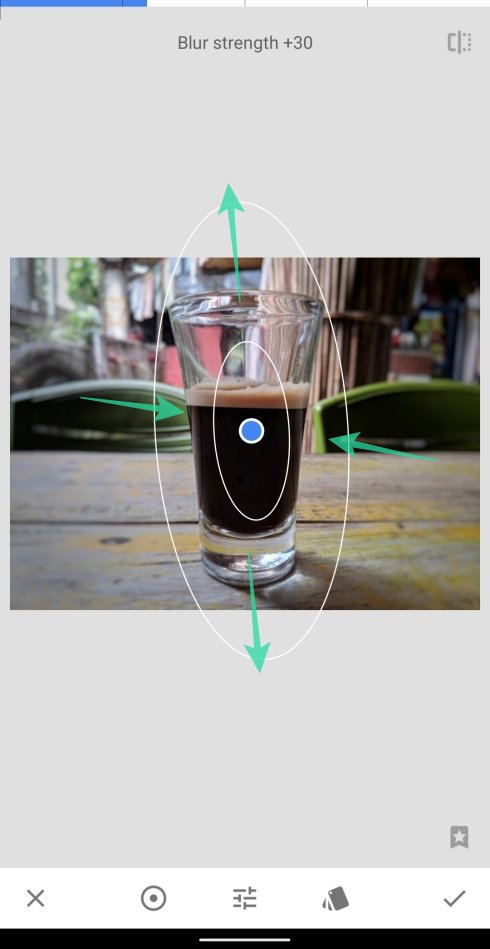

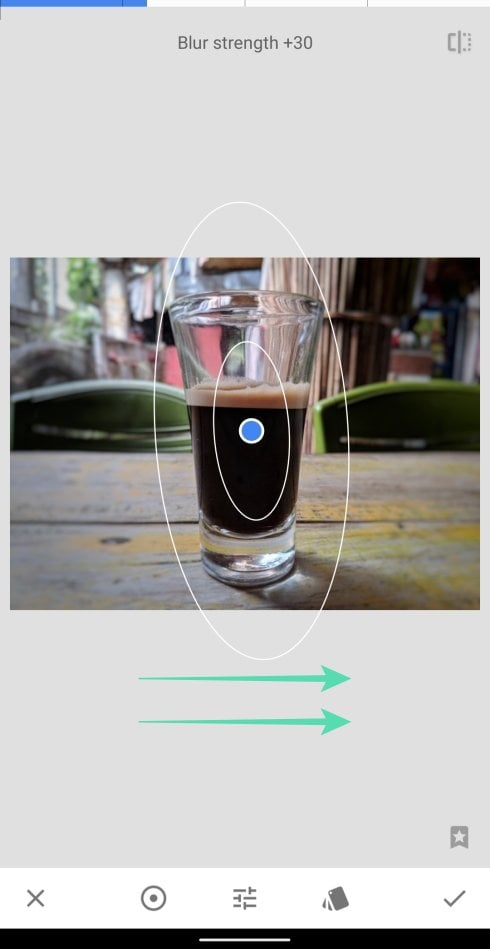
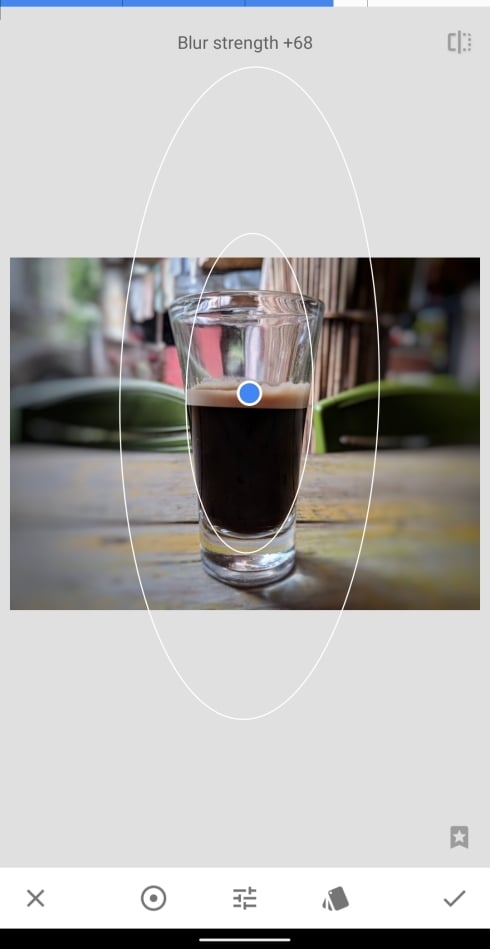
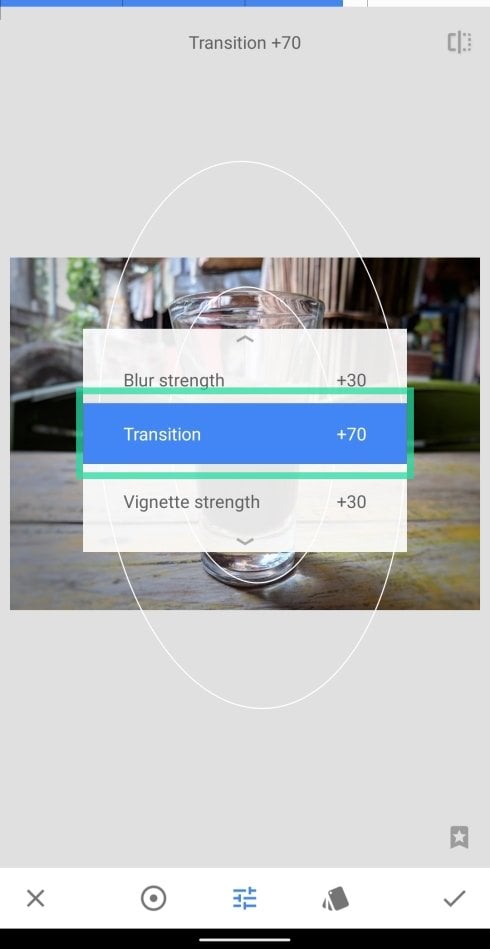
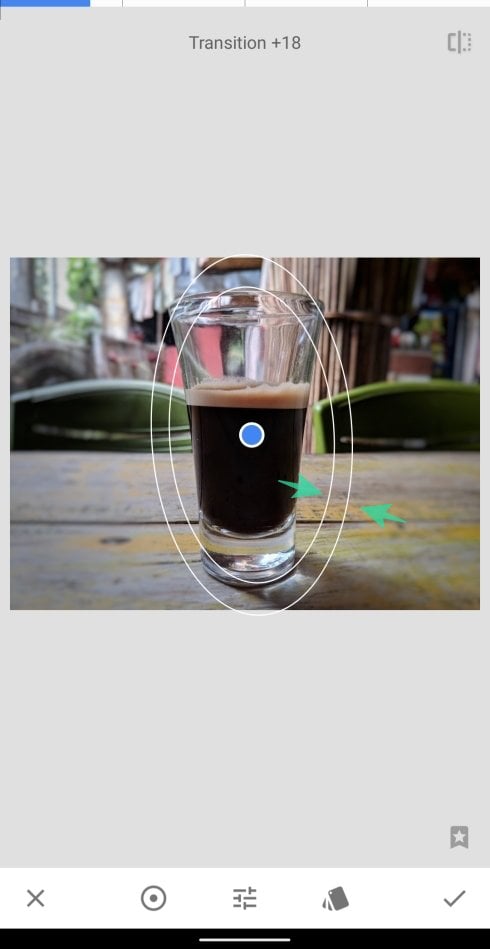
The transition area is the area between the inner and outer circle that gives you a subtle change in the blur effect for the area surrounding the subject.
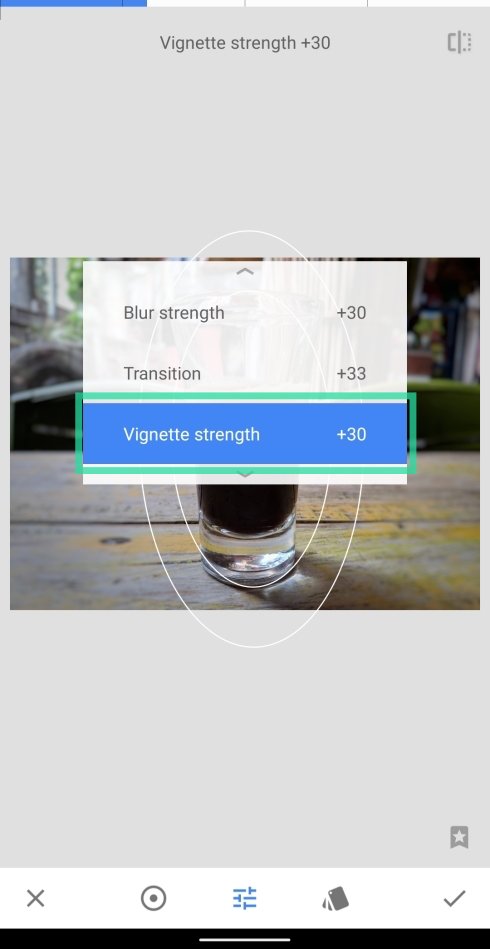
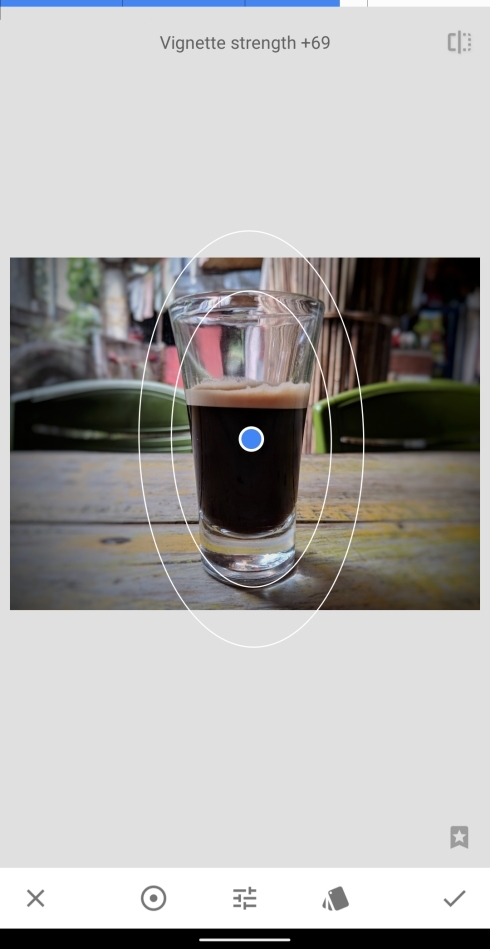

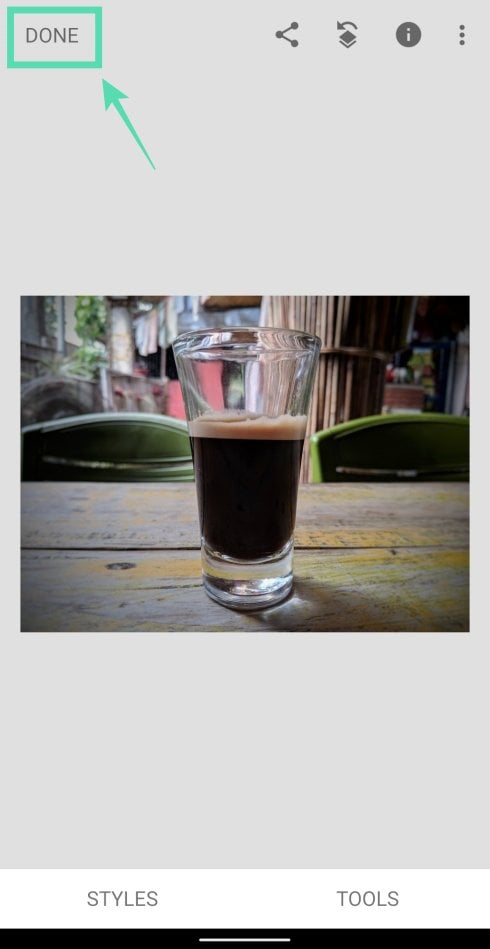
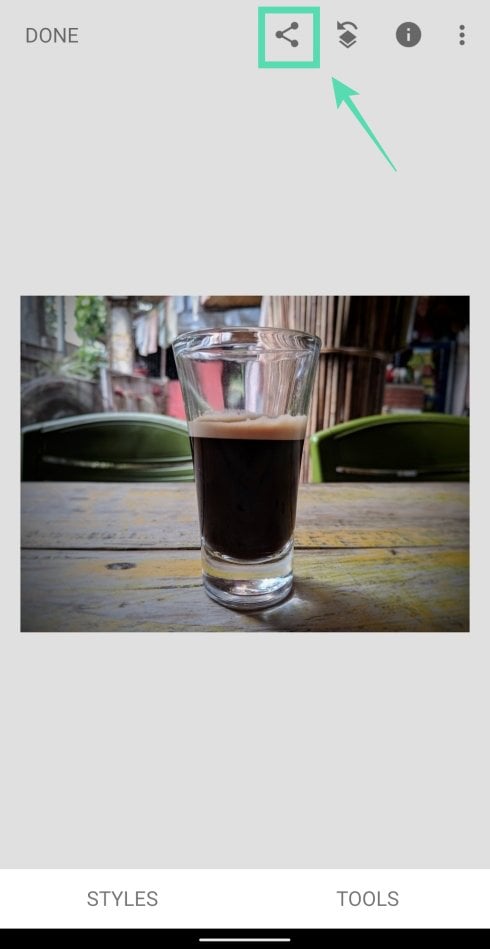
That’s it. You have created a picture with background blur in the easiest way possible. For those who want to do a little more editing to the blur effect on their pictures, the following guide will surely be of help.
Advanced editing
While the above method offers to let you add a blur effect to backgrounds, it fails to define the shape of your subject perfectly. To improve the effectiveness of the blur, you will need to follow these steps.
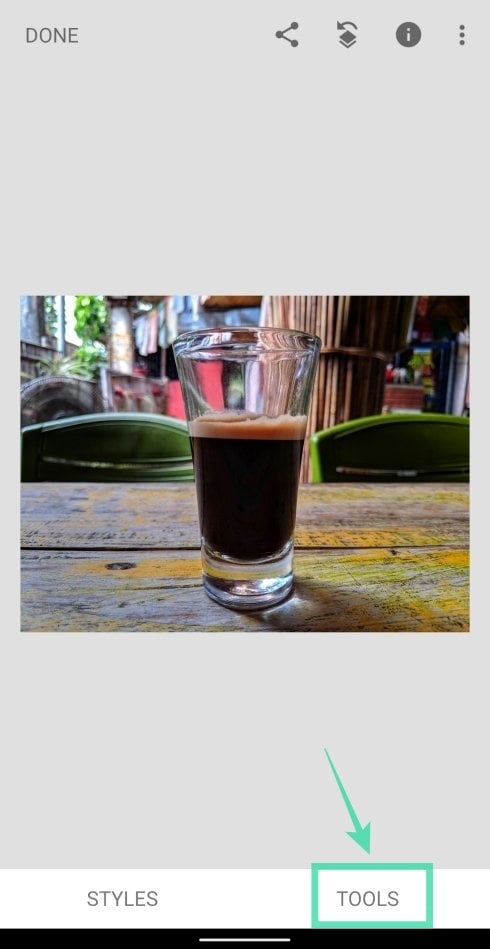
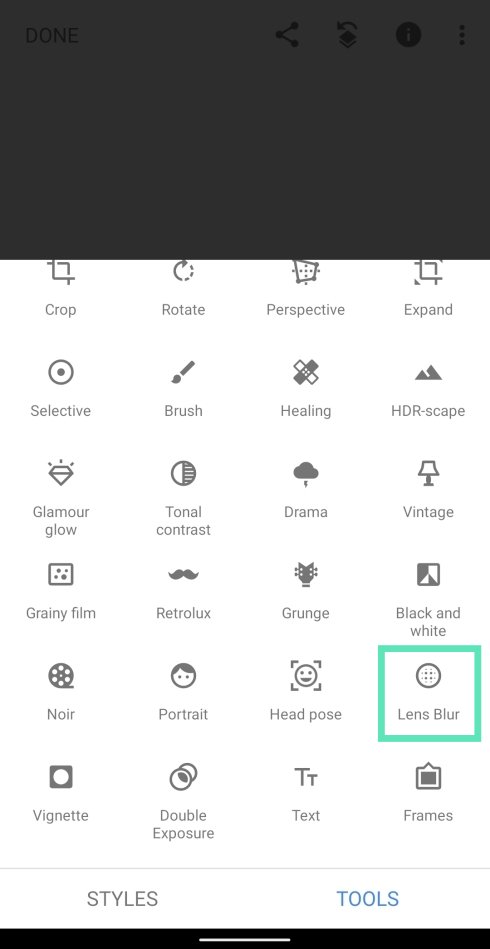


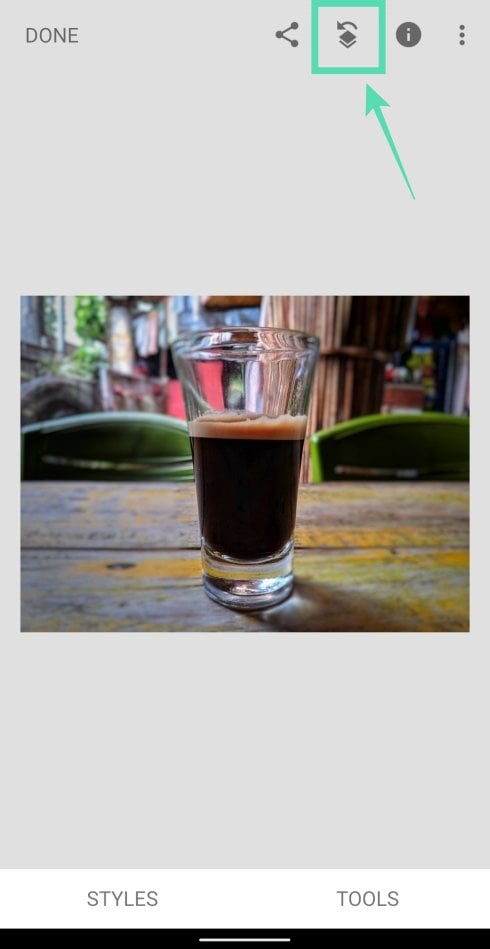
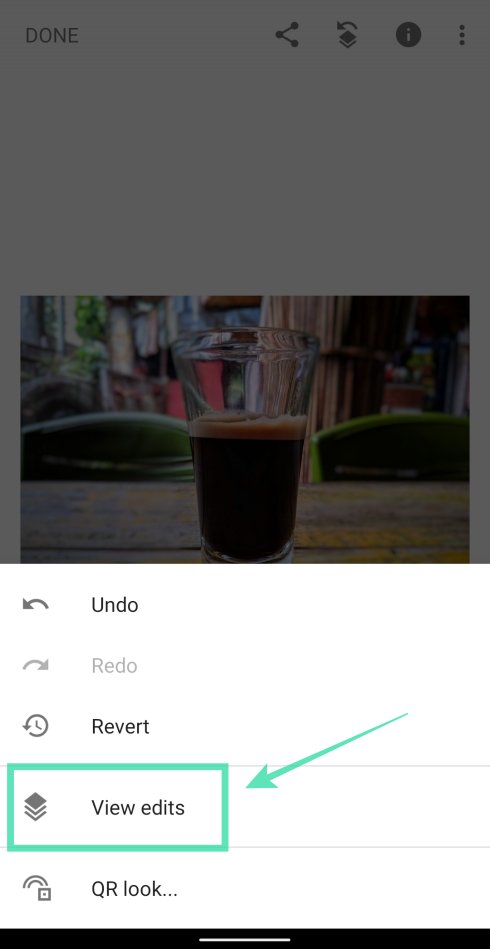
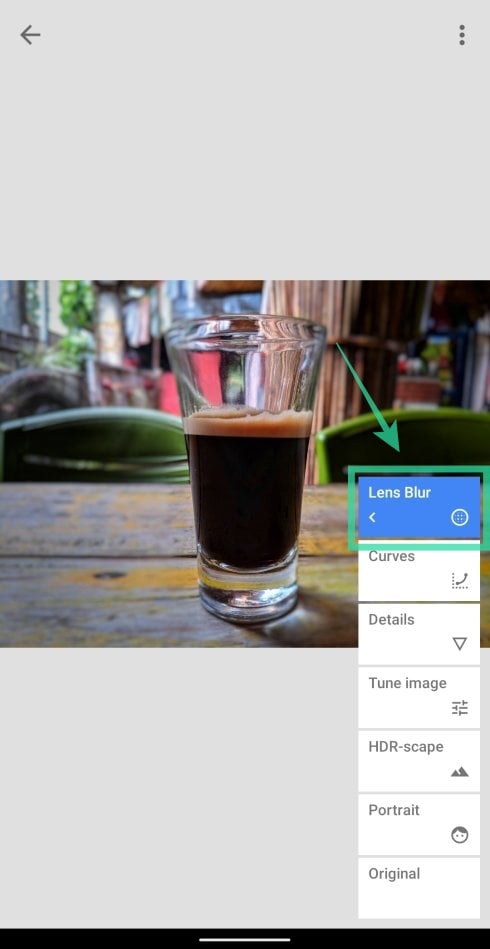

Ensure that that the Lens Blur value at the bottom is set to 100.
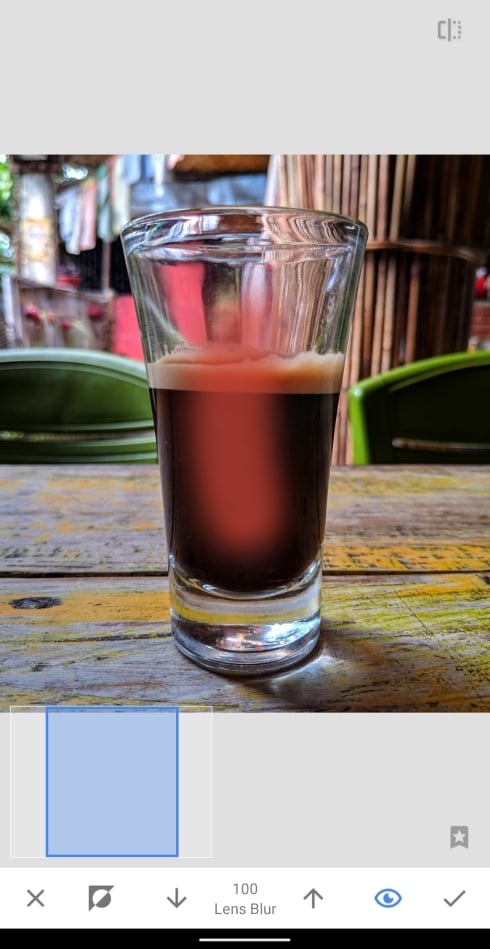
For best results, you can zoom in to the picture (by pinching outward with two fingers) to brush the area around the edges of the subject. Zoom out of the picture (by pinching inward with two fingers) to check how the brushed image looks in the original view.
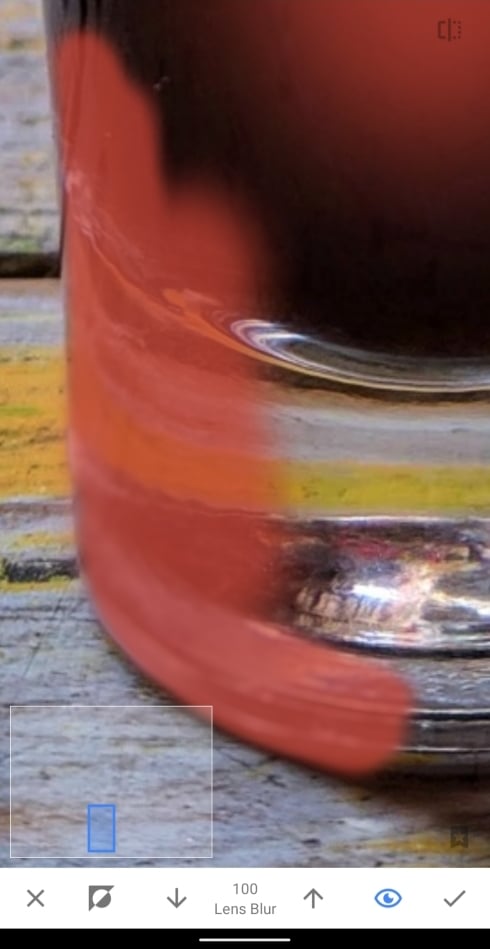
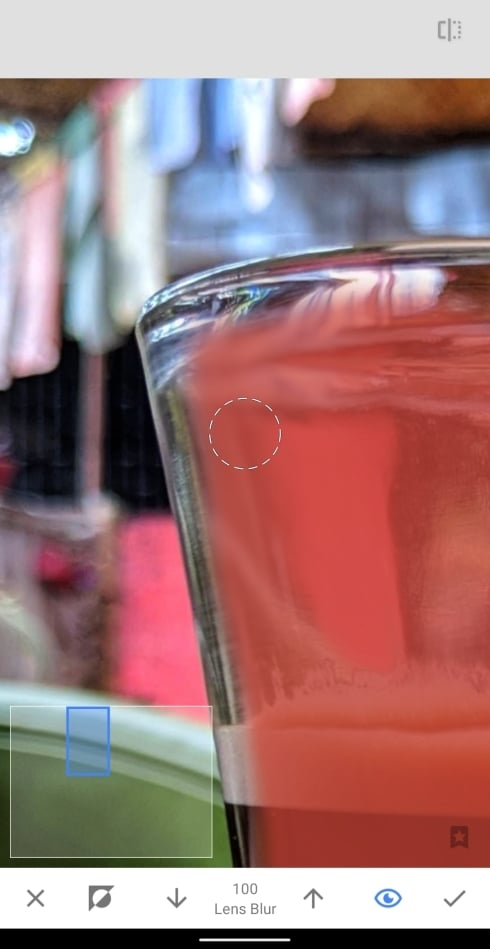

If you brushed an unwanted region, you can go back to erasing the region by adjusting the Lens Blur effect to zero, brushing over the mistakingly shaded region and changing the value back to 100.
Continue brushing till the whole subject is highlighted in red as shown below.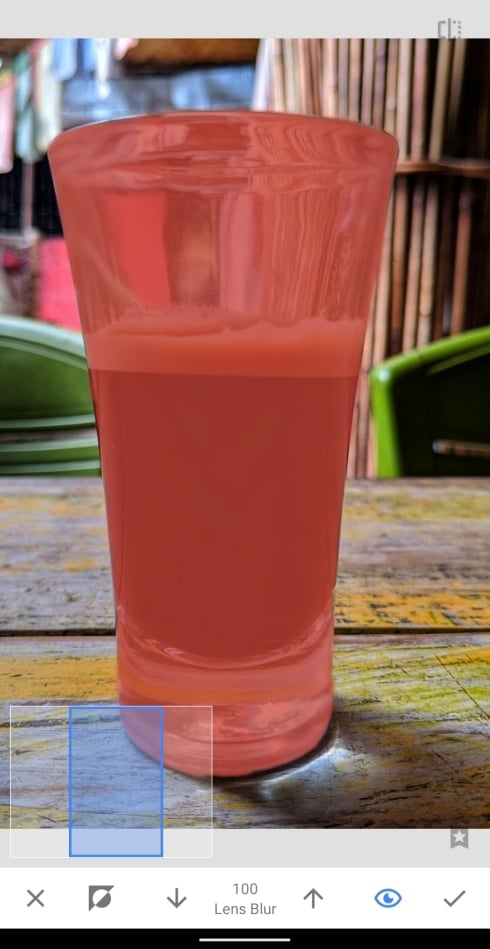
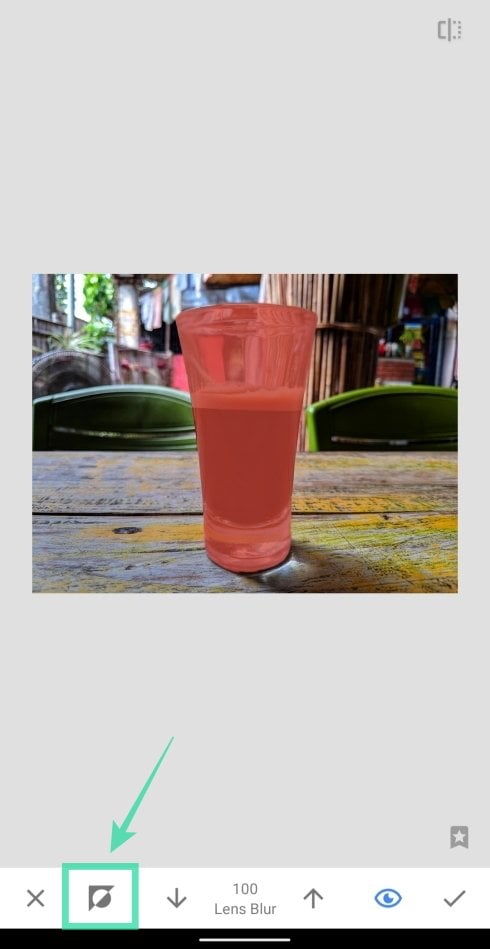
When you do so, Snapseed will now invert the mask area, thus highlighting all the areas in red except for the subject that you brushed over.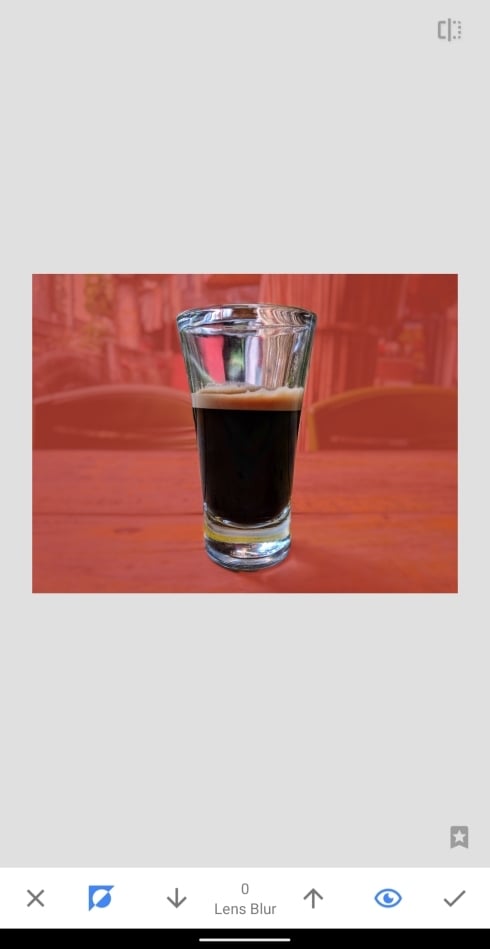
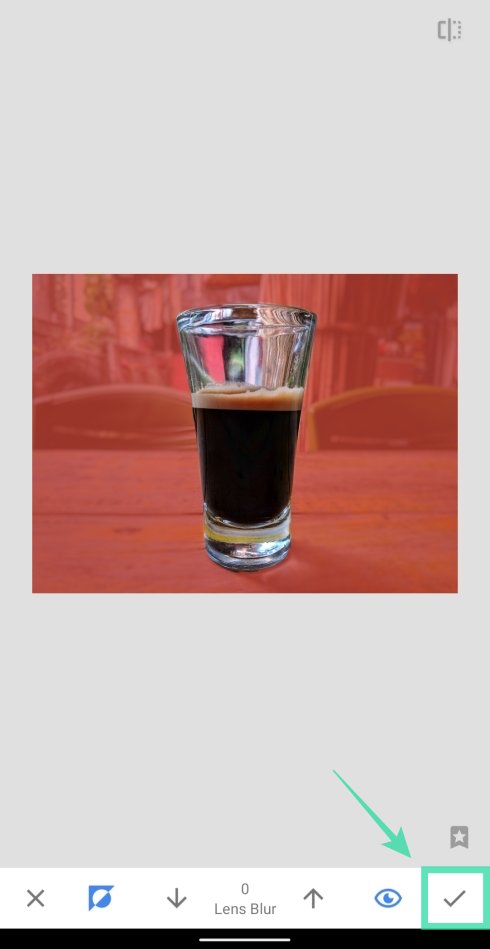
You’ll now have a picture applied with the Lens Blur effect as shown below.
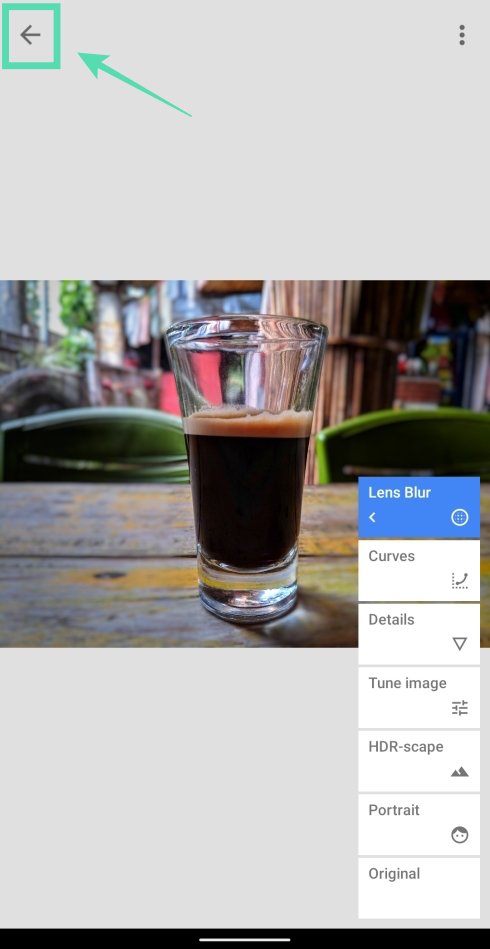


That’s it! You have successfully created your own picture with the Lens Blur effect. Try out the effect on other pictures from your gallery. Don’t be disappointed if the picture didn’t pan out like you thought it would. The more you practice, the better your blurred background pictures will turn out over time.
What do you think about the Lens Blur effect on Snapseed? Let us know in the comments below.




One response to “How to blur background using Snapseed”
I am most thankful for those tips. Really made my work easyer. ಡ ͜ ʖ ಡ