


Rescue Donnie from the Kingfishers, escape in Brian’s Dodo, return to the marina, drive Cal home, and enter Jason’s house.
Gone Fishing begins as a job helping Donnie skim bricks from a shipment, before sending Jason into the Kingfishers’ camp in Pelican Valley. This walkthrough covers the opening boat approach through the Enter your house objective at Jason’s home. The pause menu names the mission GONE FISHING, while its save entry carries the title Gone Fishing (3%).
Grand Theft Auto VI has platform listings for PlayStation 5 alongside Xbox Series X|S. The game’s build identifier is 930.048.020.
How to progress through Gone Fishing in Grand Theft Auto VI
Follow the boat approach, work through the camp and shack, return by seaplane, then make the drive home.
Part 1 – Follow the plane and scout the dock
Begin with Catch up to the plane.
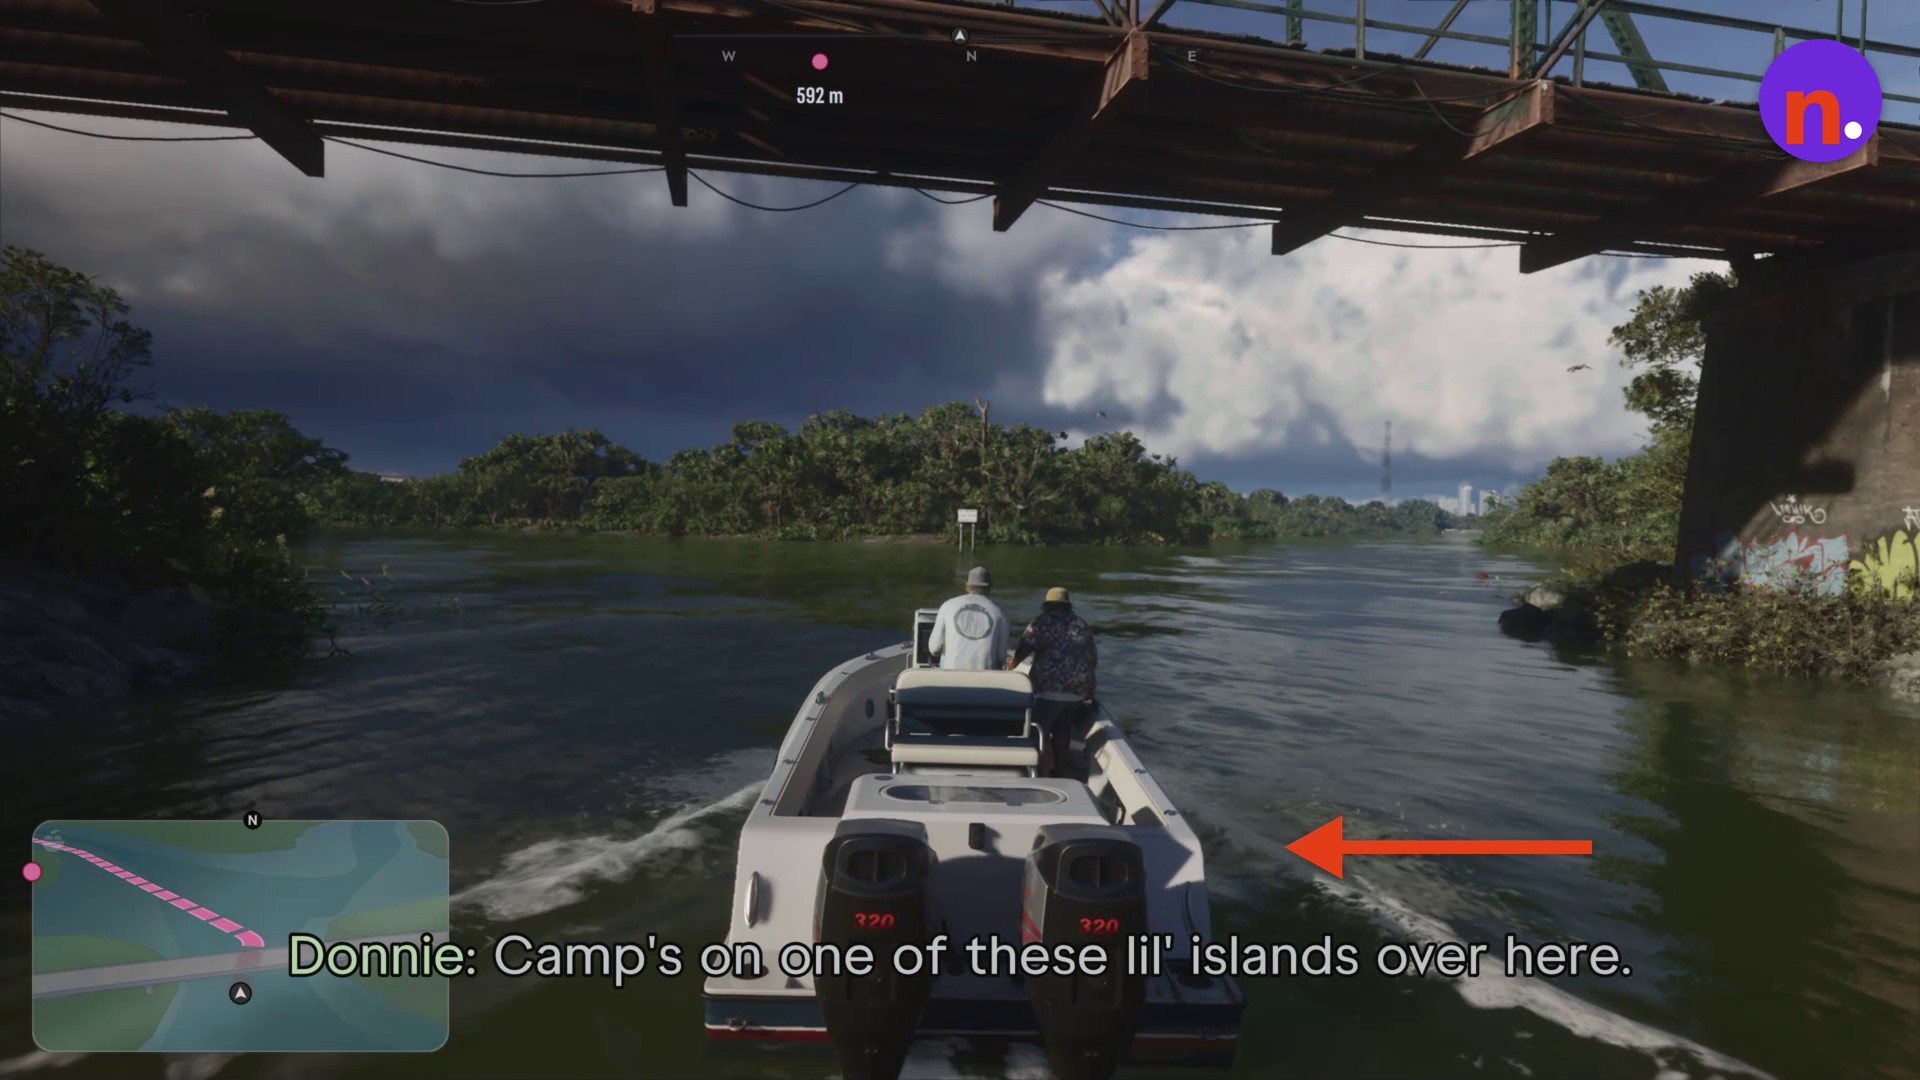
Follow the river marker
Donnie identifies the camp as being on one of the nearby small islands.
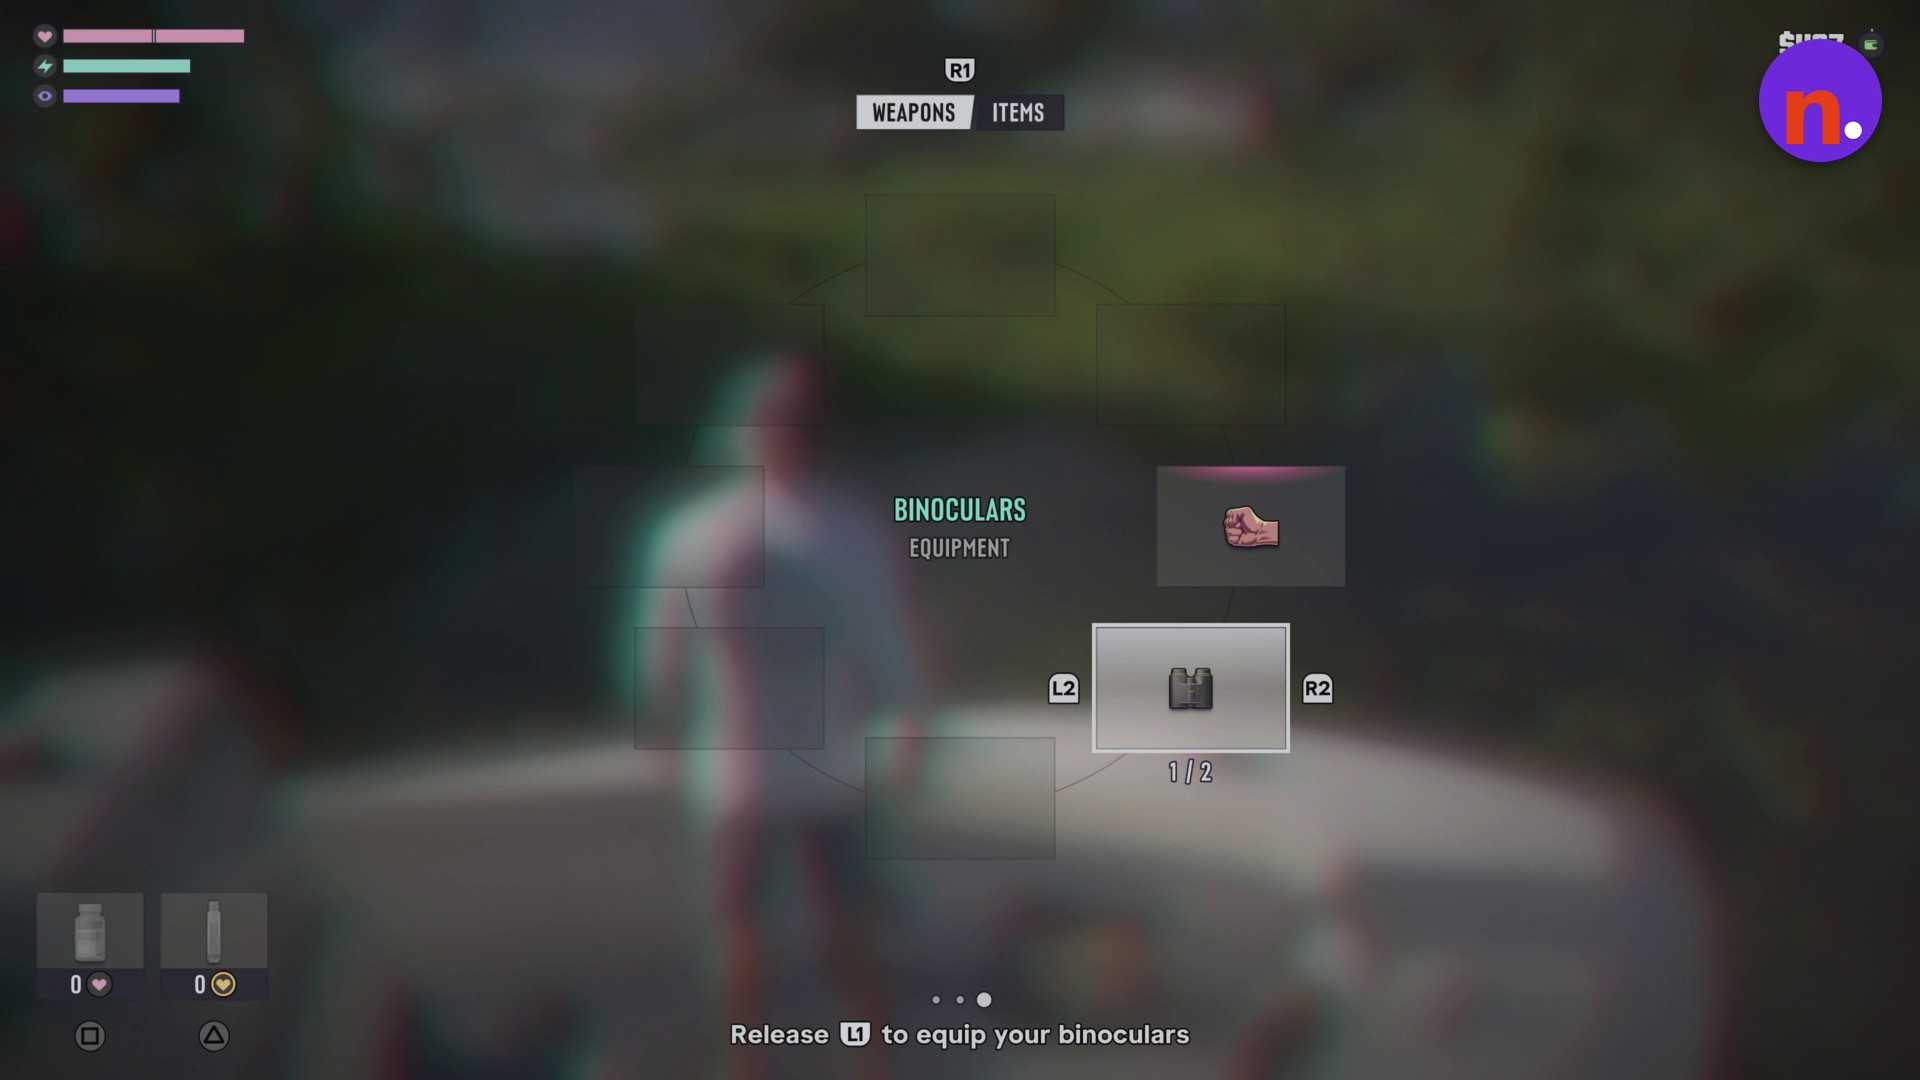
Equip the binoculars
While aboard, hold L1 to open the WEAPONS/ITEMS wheel. Use R to select BINOCULARS, then release L1 to equip them.
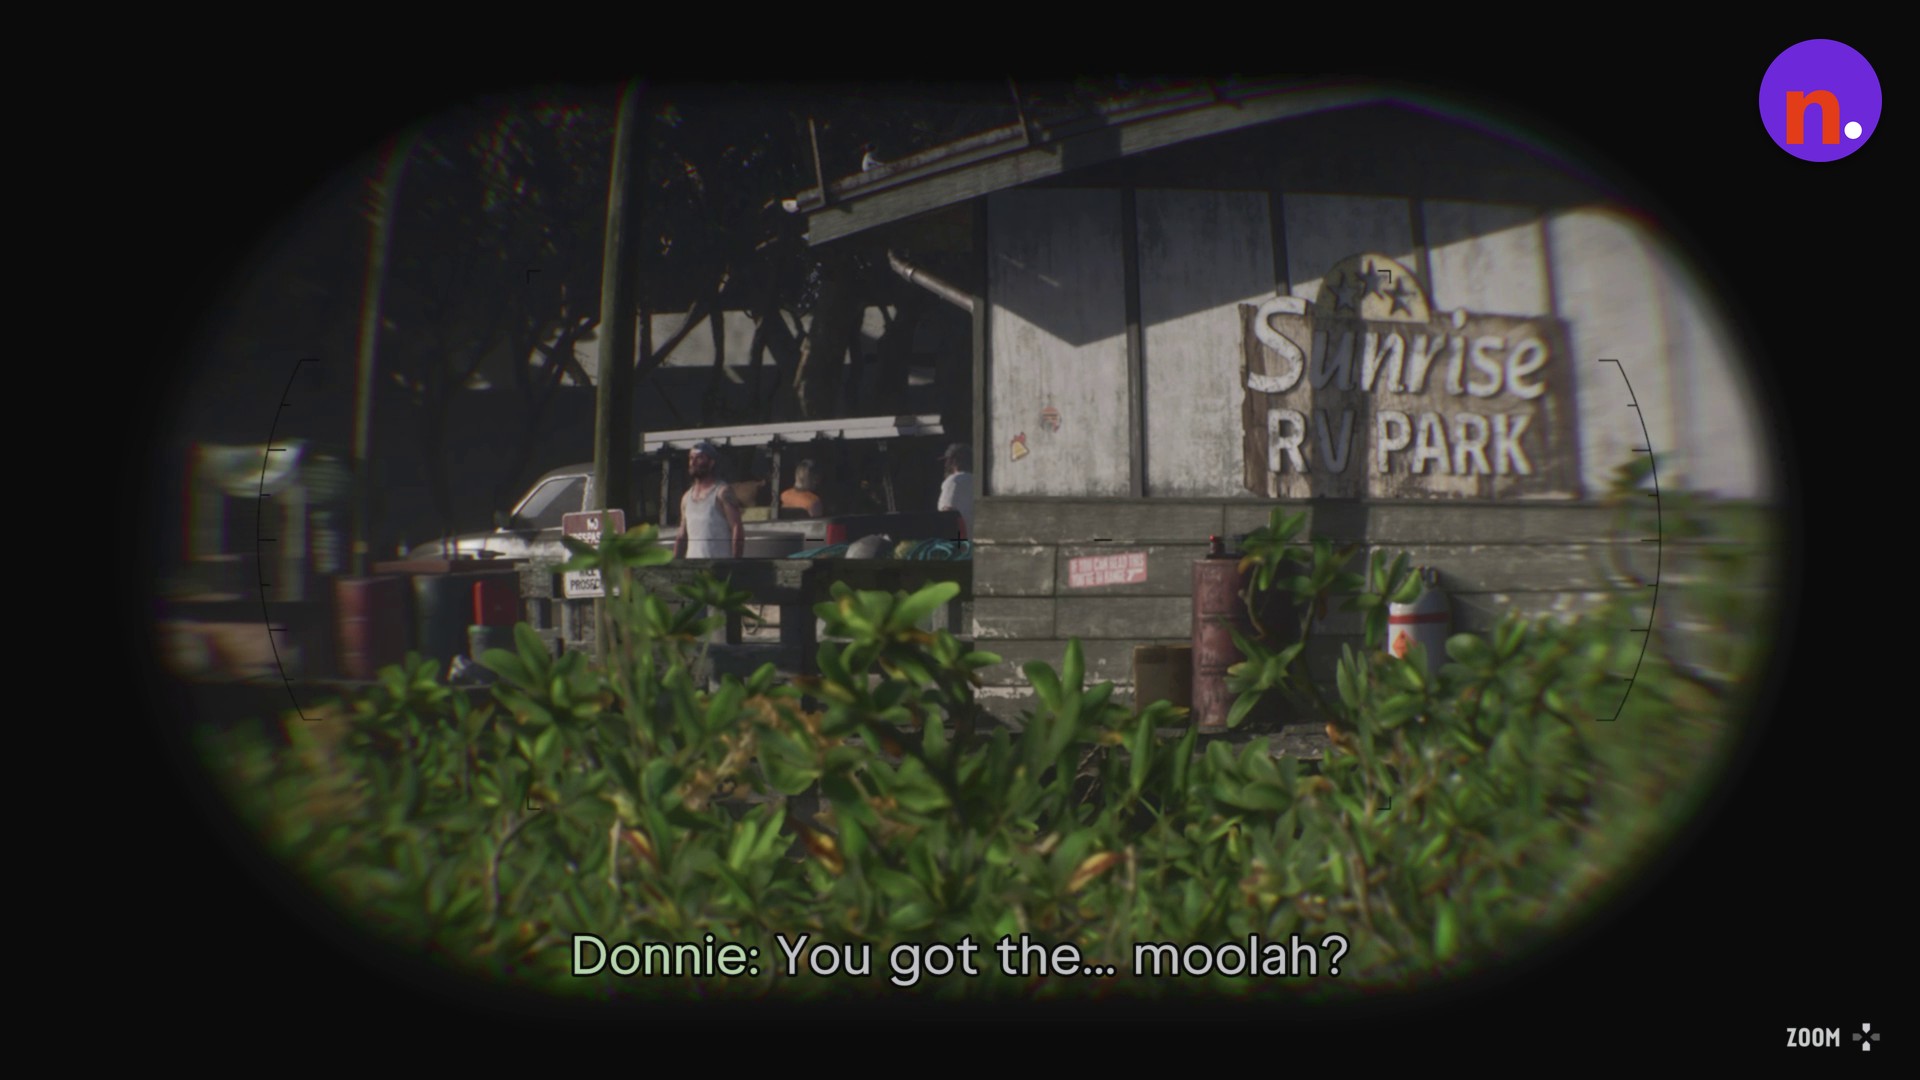
Scout the dock
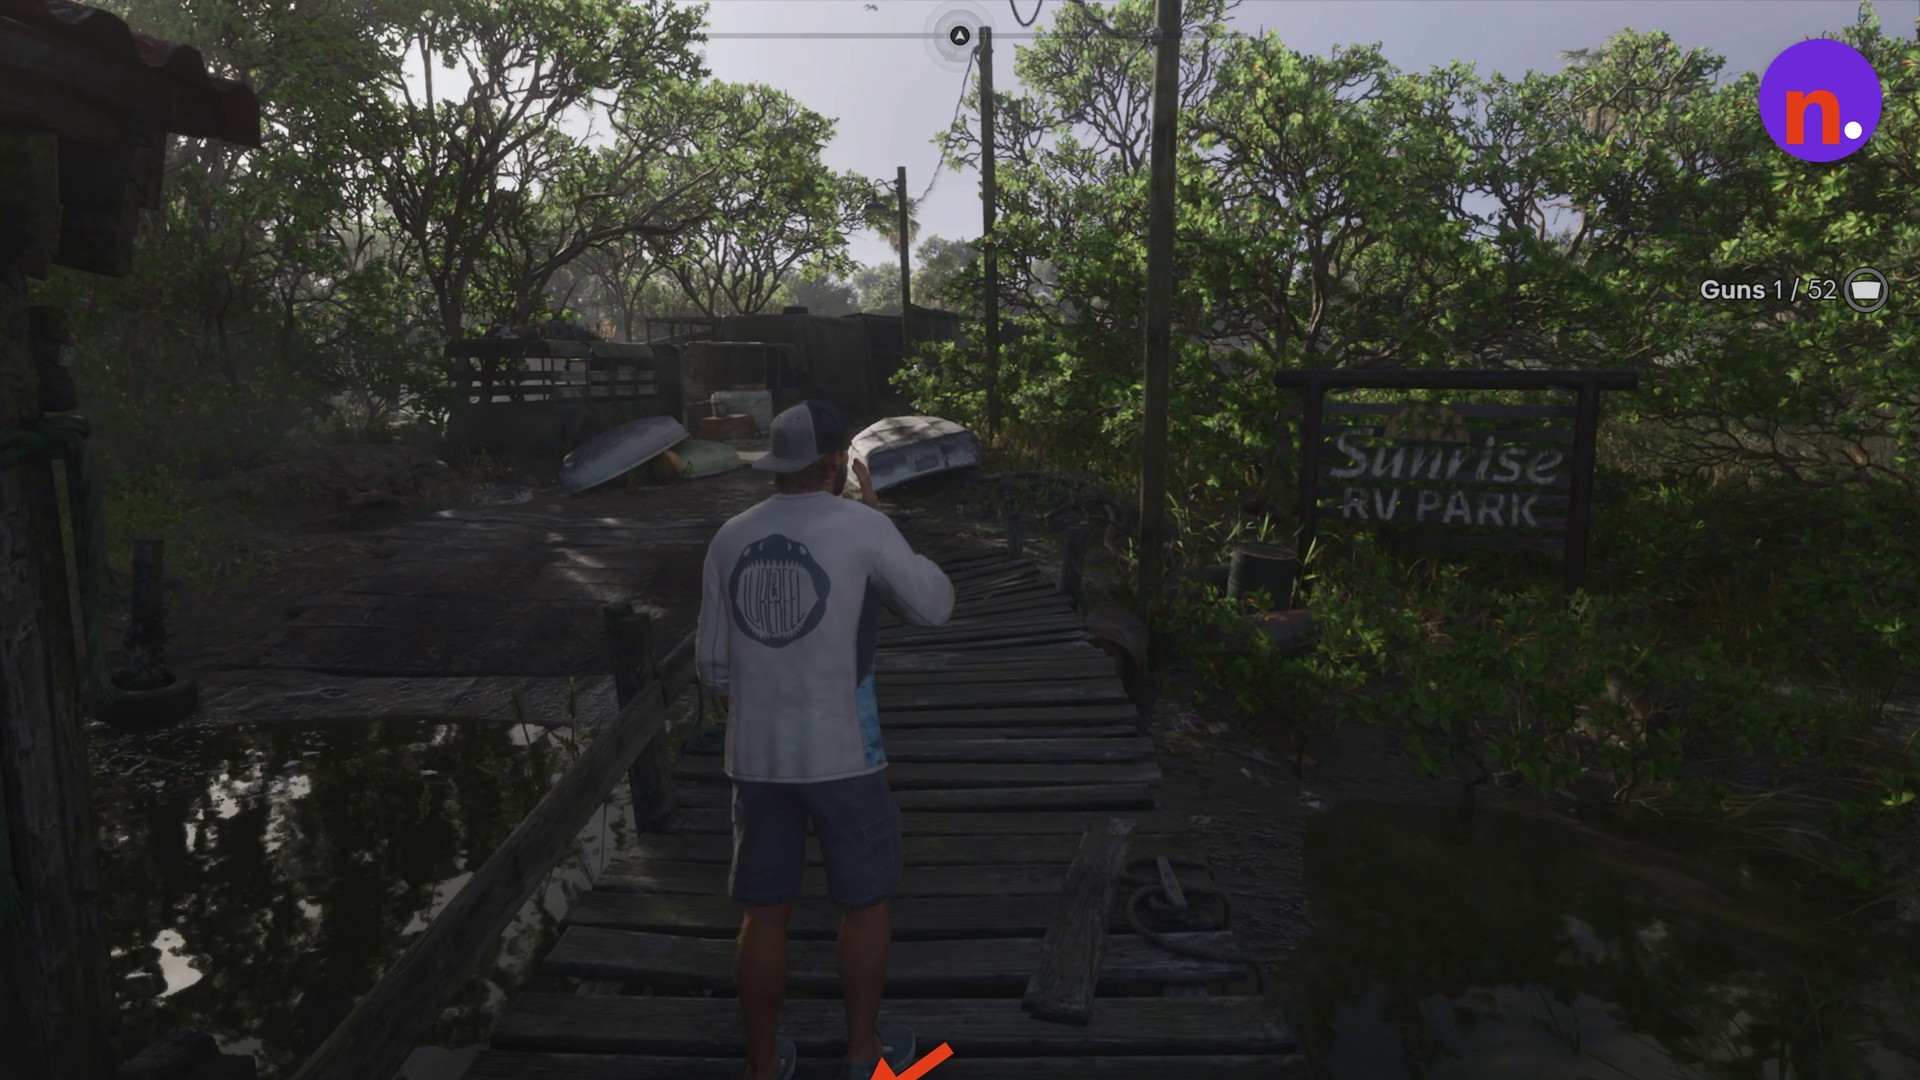
Press L2 to look through the binoculars and locate the Sunrise RV Park sign. Keep the wooden pier in view to observe Donnie and the Kingfishers; the binocular display includes a ZOOM label. Watch as the Kingfishers question Donnie, hold him on the pier and take him away.
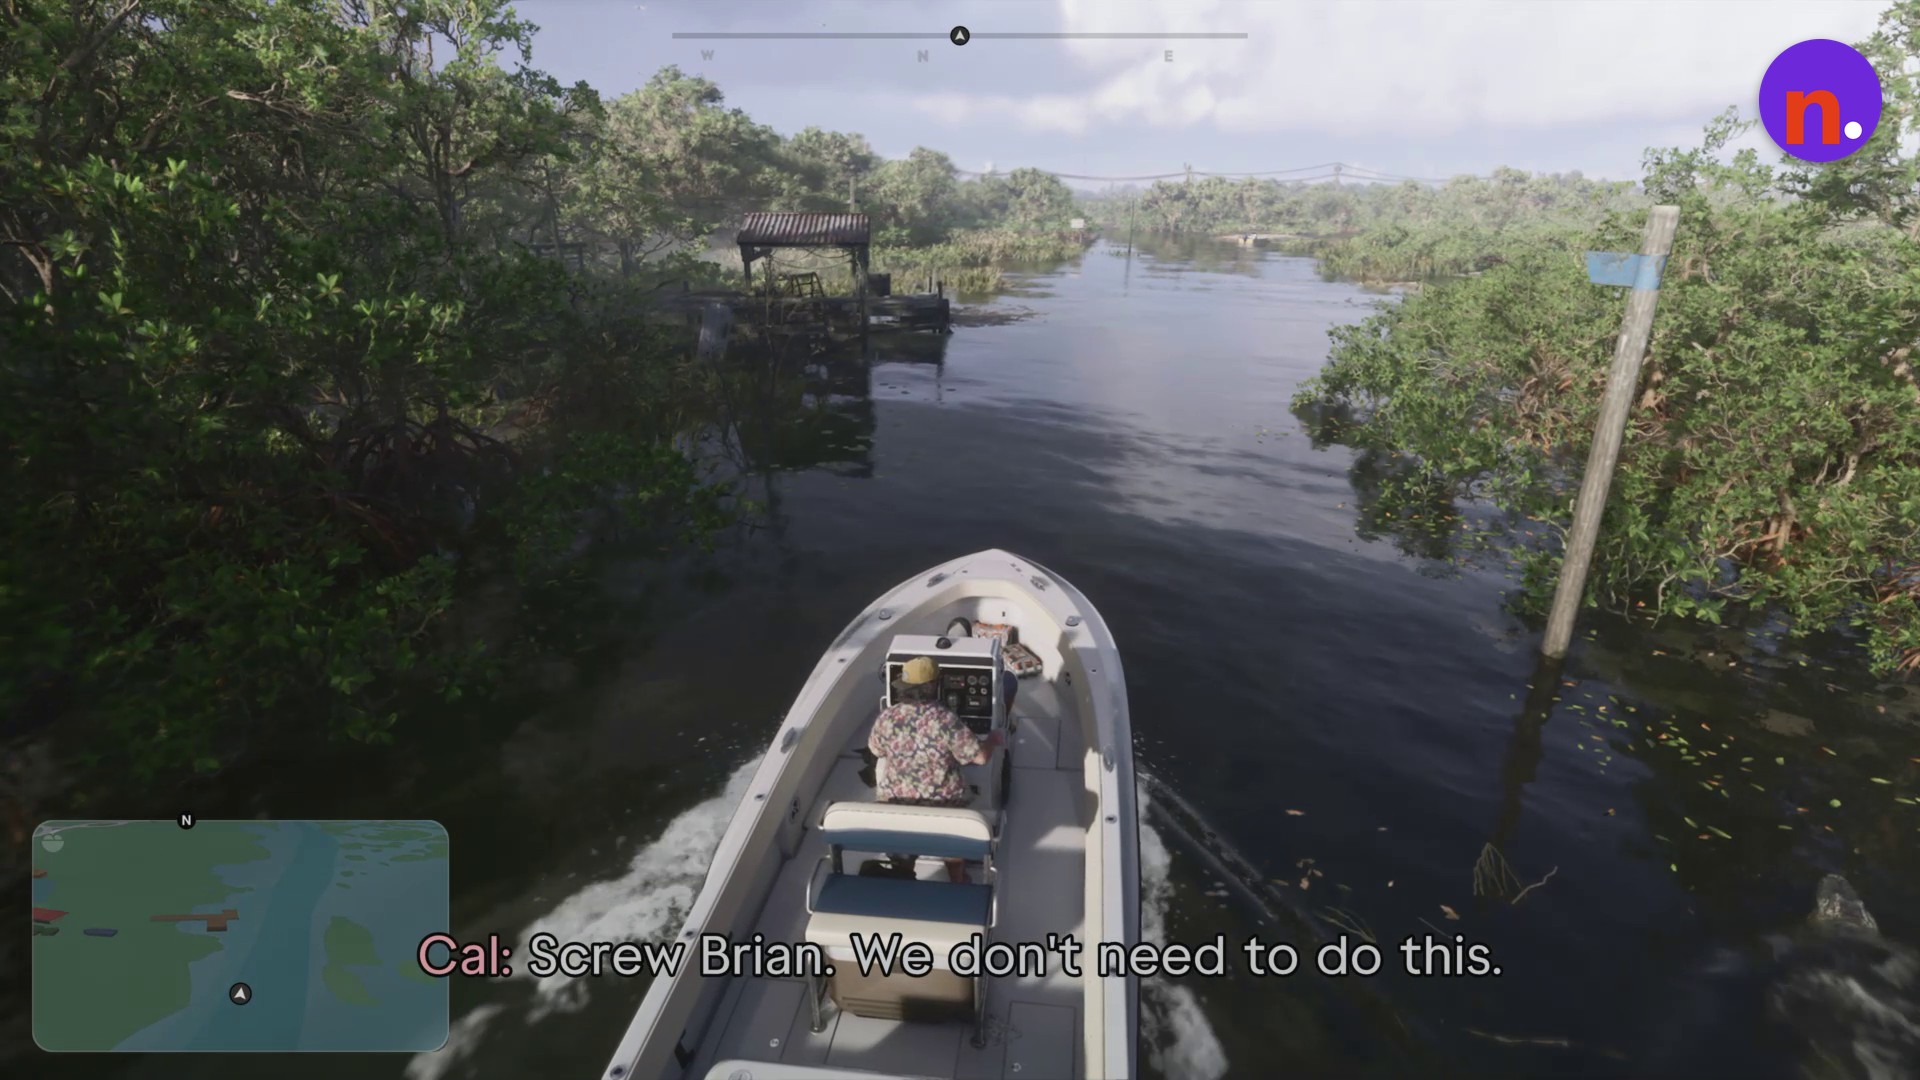
Ride to the side landing
Follow Remain in the boat while Cal pilots through the swamp’s side channel to the secluded landing. The boat pulls up beside the wooden dock.
Disembark onto the pier
Cal supplies a firearm before you step onto the wooden pier. Follow the walkway toward the Sunrise RV Park entrance and camp.
Part 2 – Infiltrate the camp and reach the shack
Search the camp for Donnie within the highlighted Pelican Valley search area.
Crouch behind the overturned boats
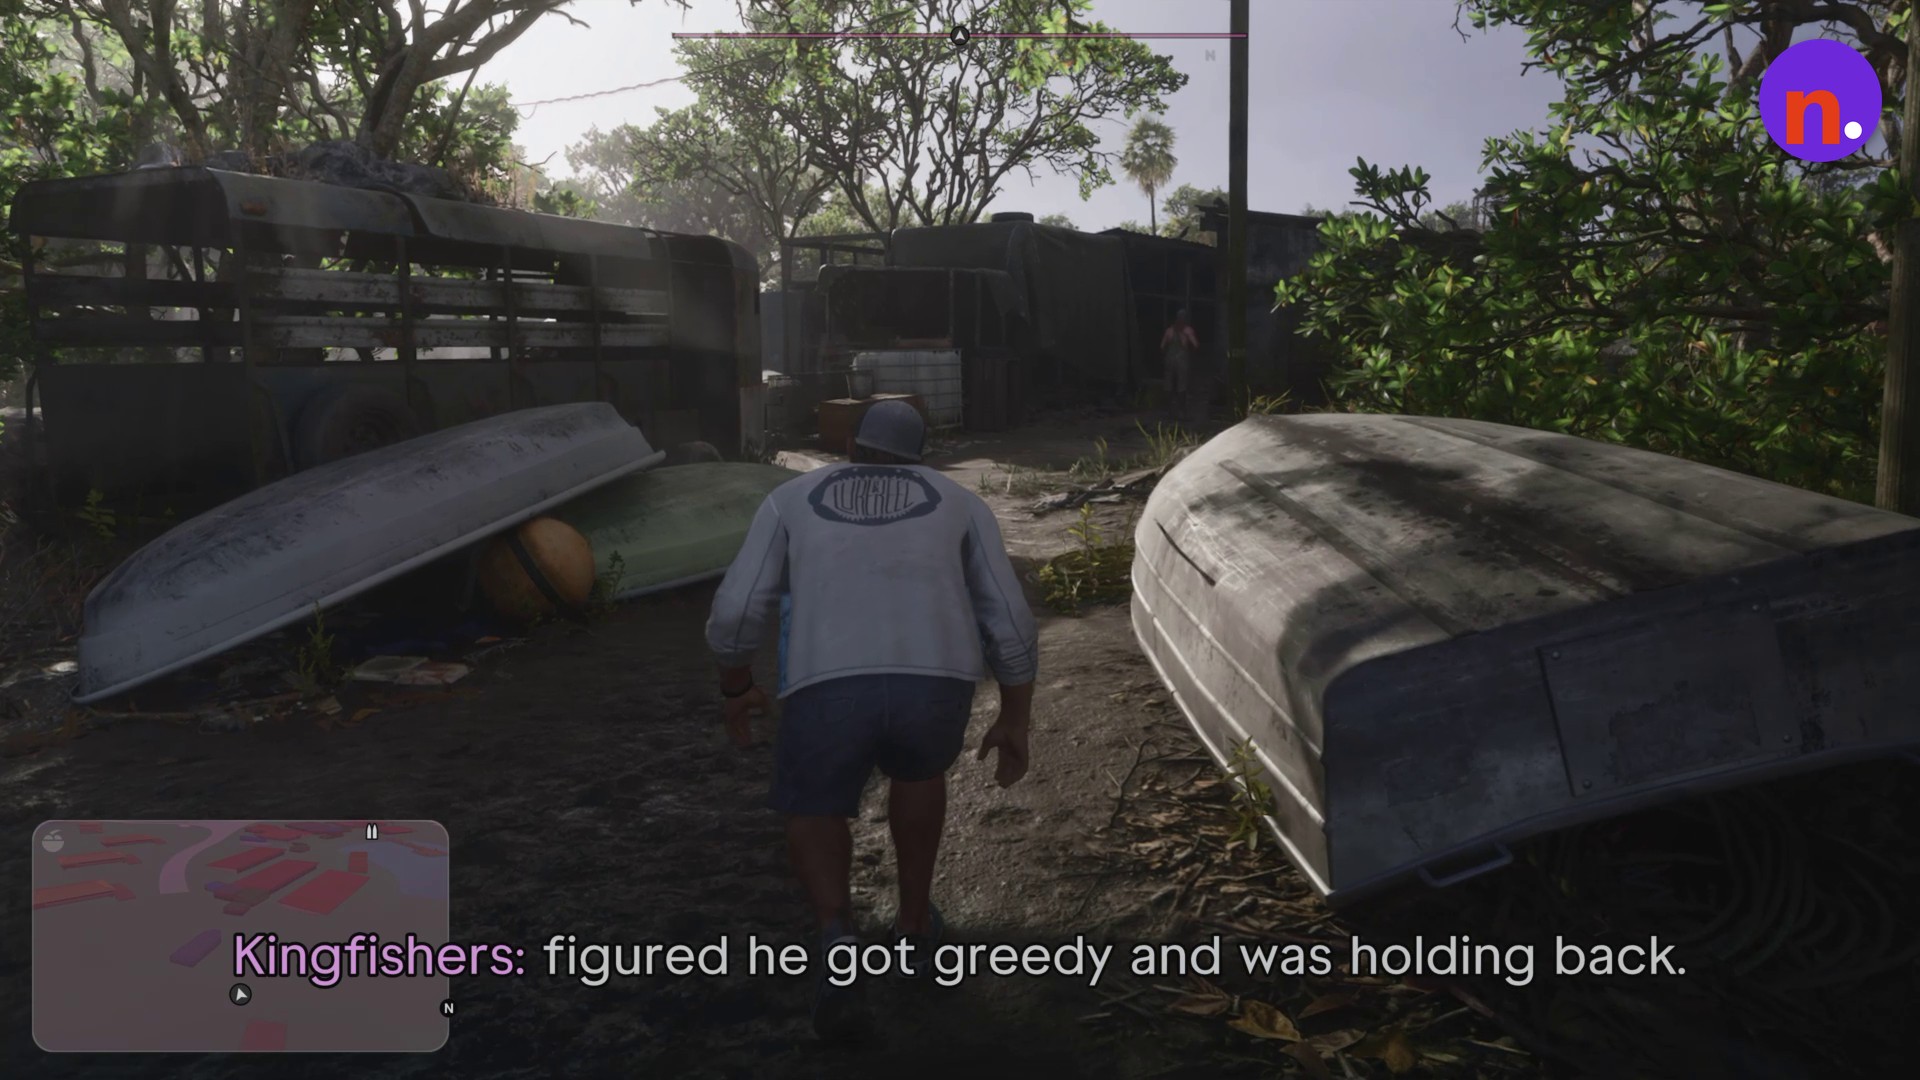
Press Circle to crouch, then move quietly behind the overturned aluminium boats toward the first guard. Crouching and quiet movement keep you hidden.
Subdue the first guard
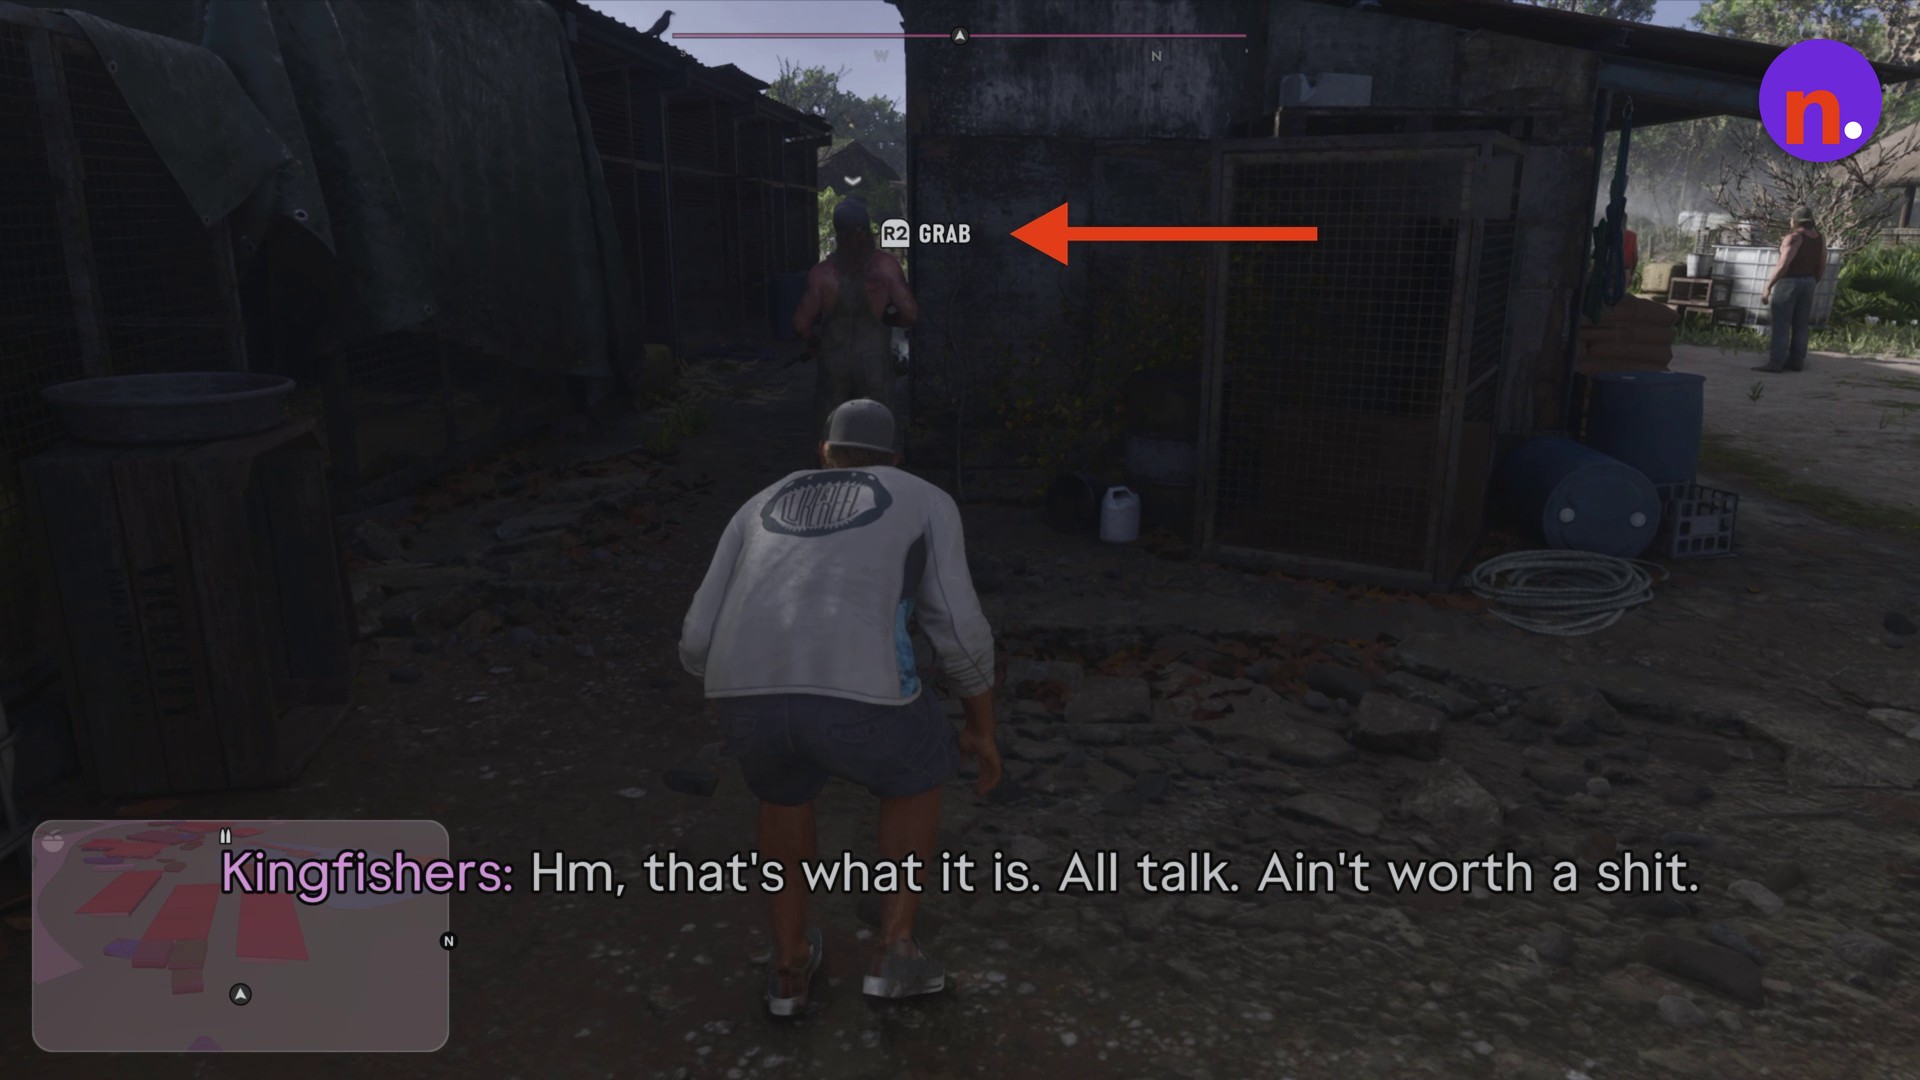
Approach the guard beside the animal cages from behind. When R2 GRAB appears, press R2 to grab him and perform the takedown.
Collect the W-14 Rifle
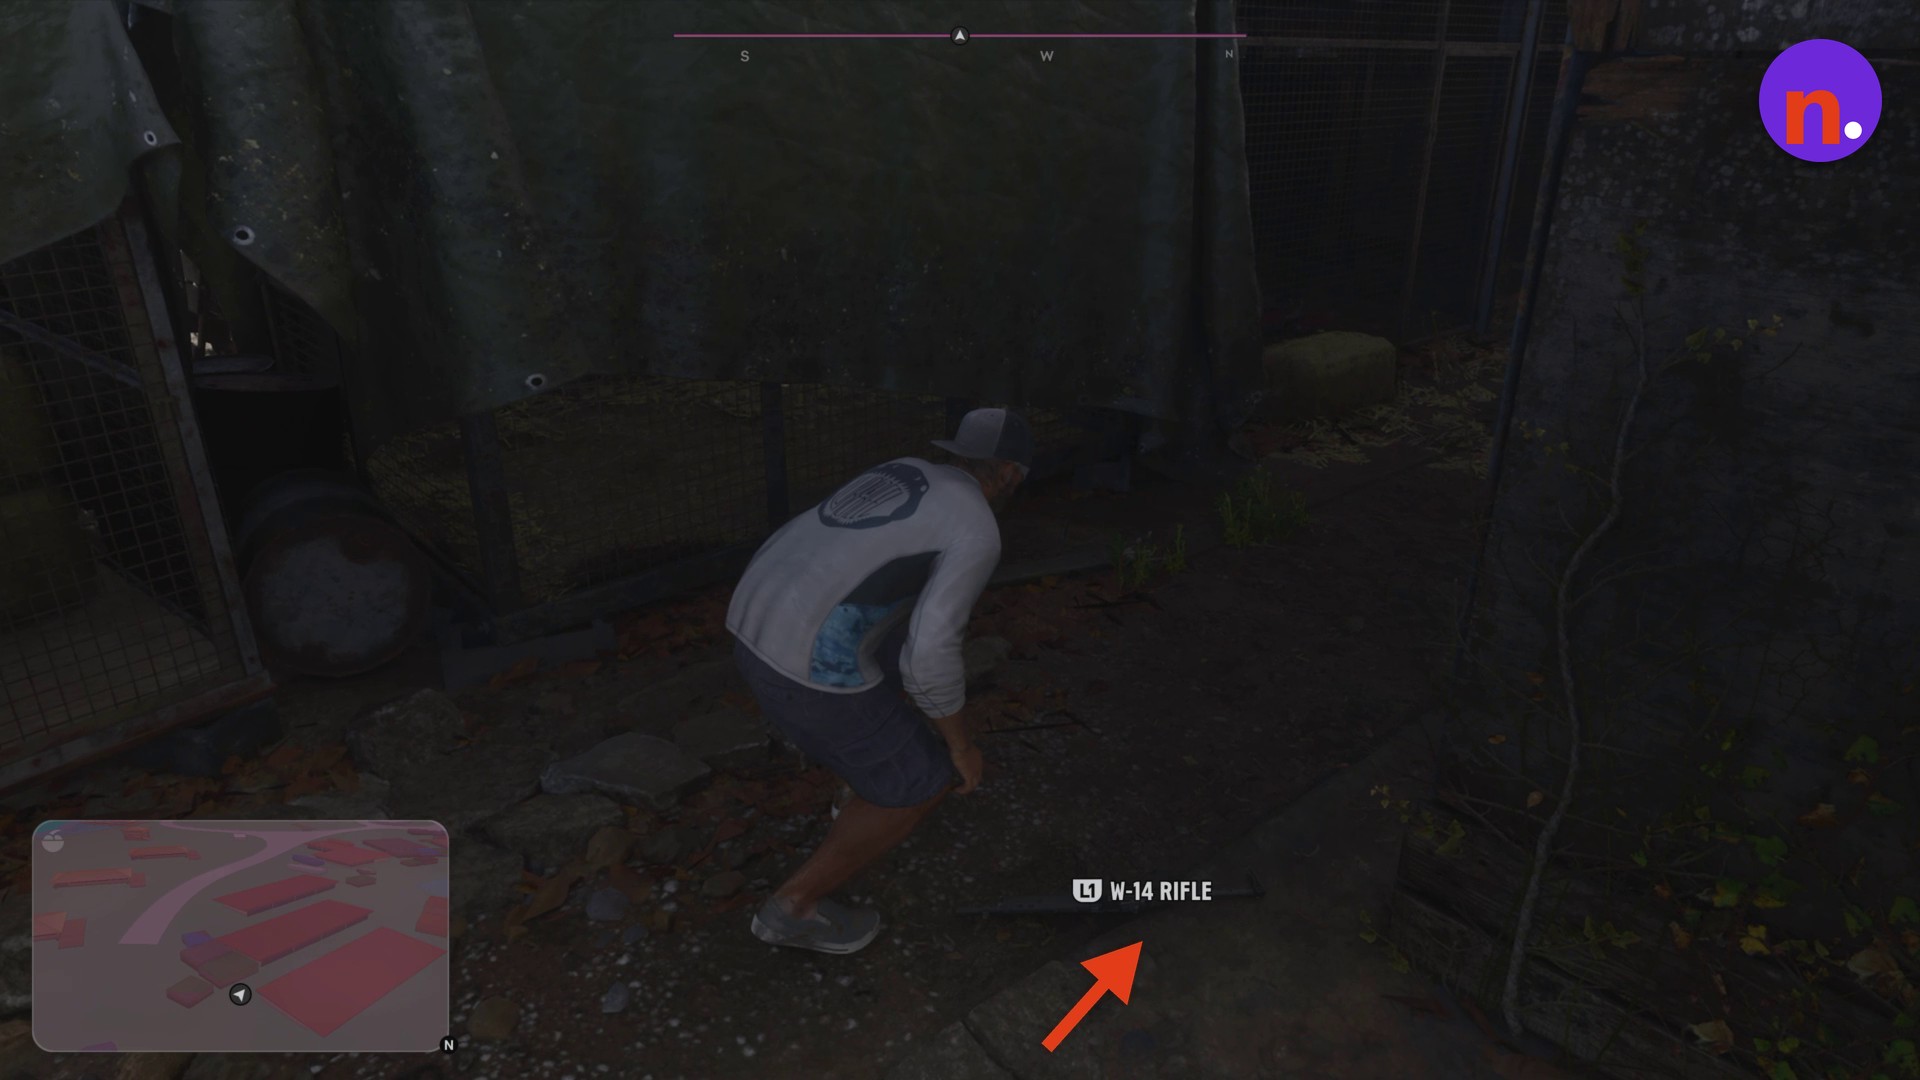
The subdued guard drops a W-14 Rifle beside him. Press L1 at the weapon’s W-14 RIFLE pickup prompt to collect it.
Advance through the tiger-cage aisle
Stay crouched as you pass between the tiger cages toward the open yard. Listen for Donnie’s cue that he is on the west side of the camp.
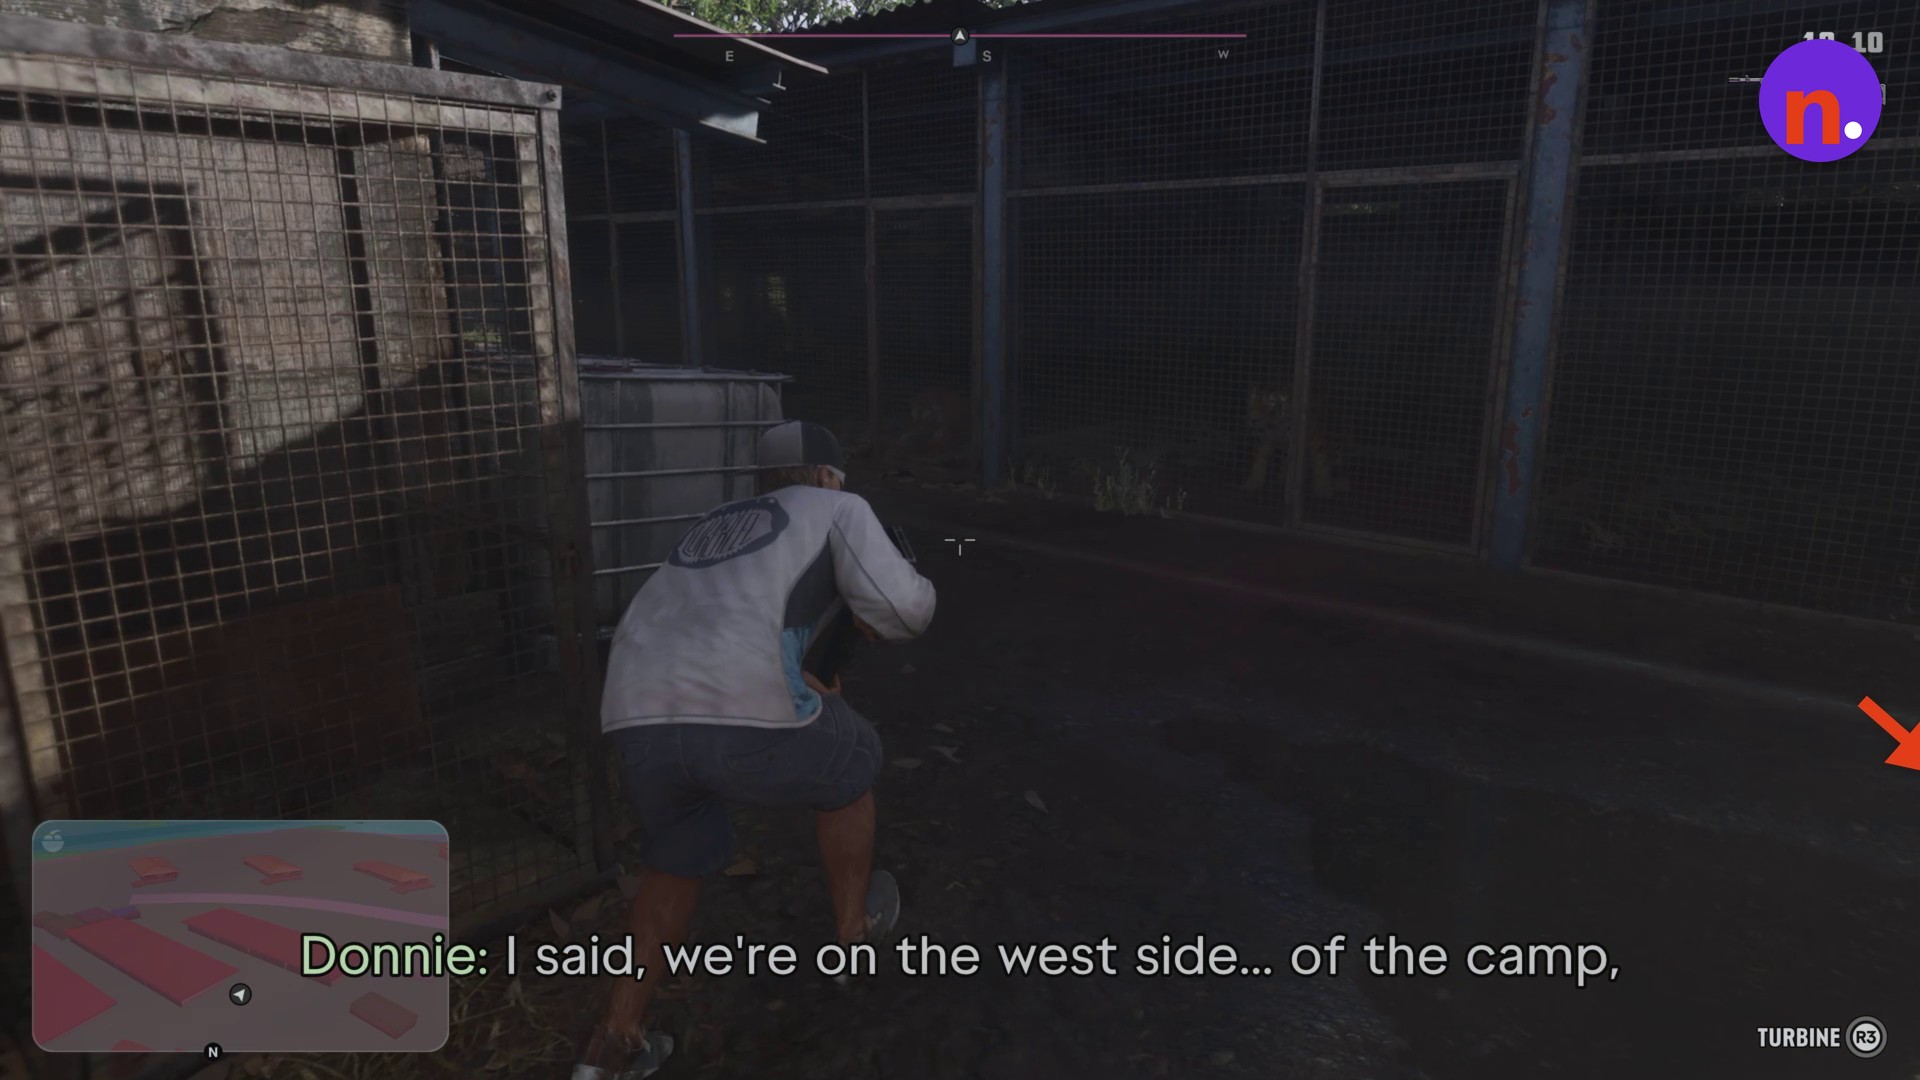
Take down the horse-trailer guard
Creep behind the guard working beside the horse trailer. Use the stealth-grab interaction when its prompt appears to subdue him.
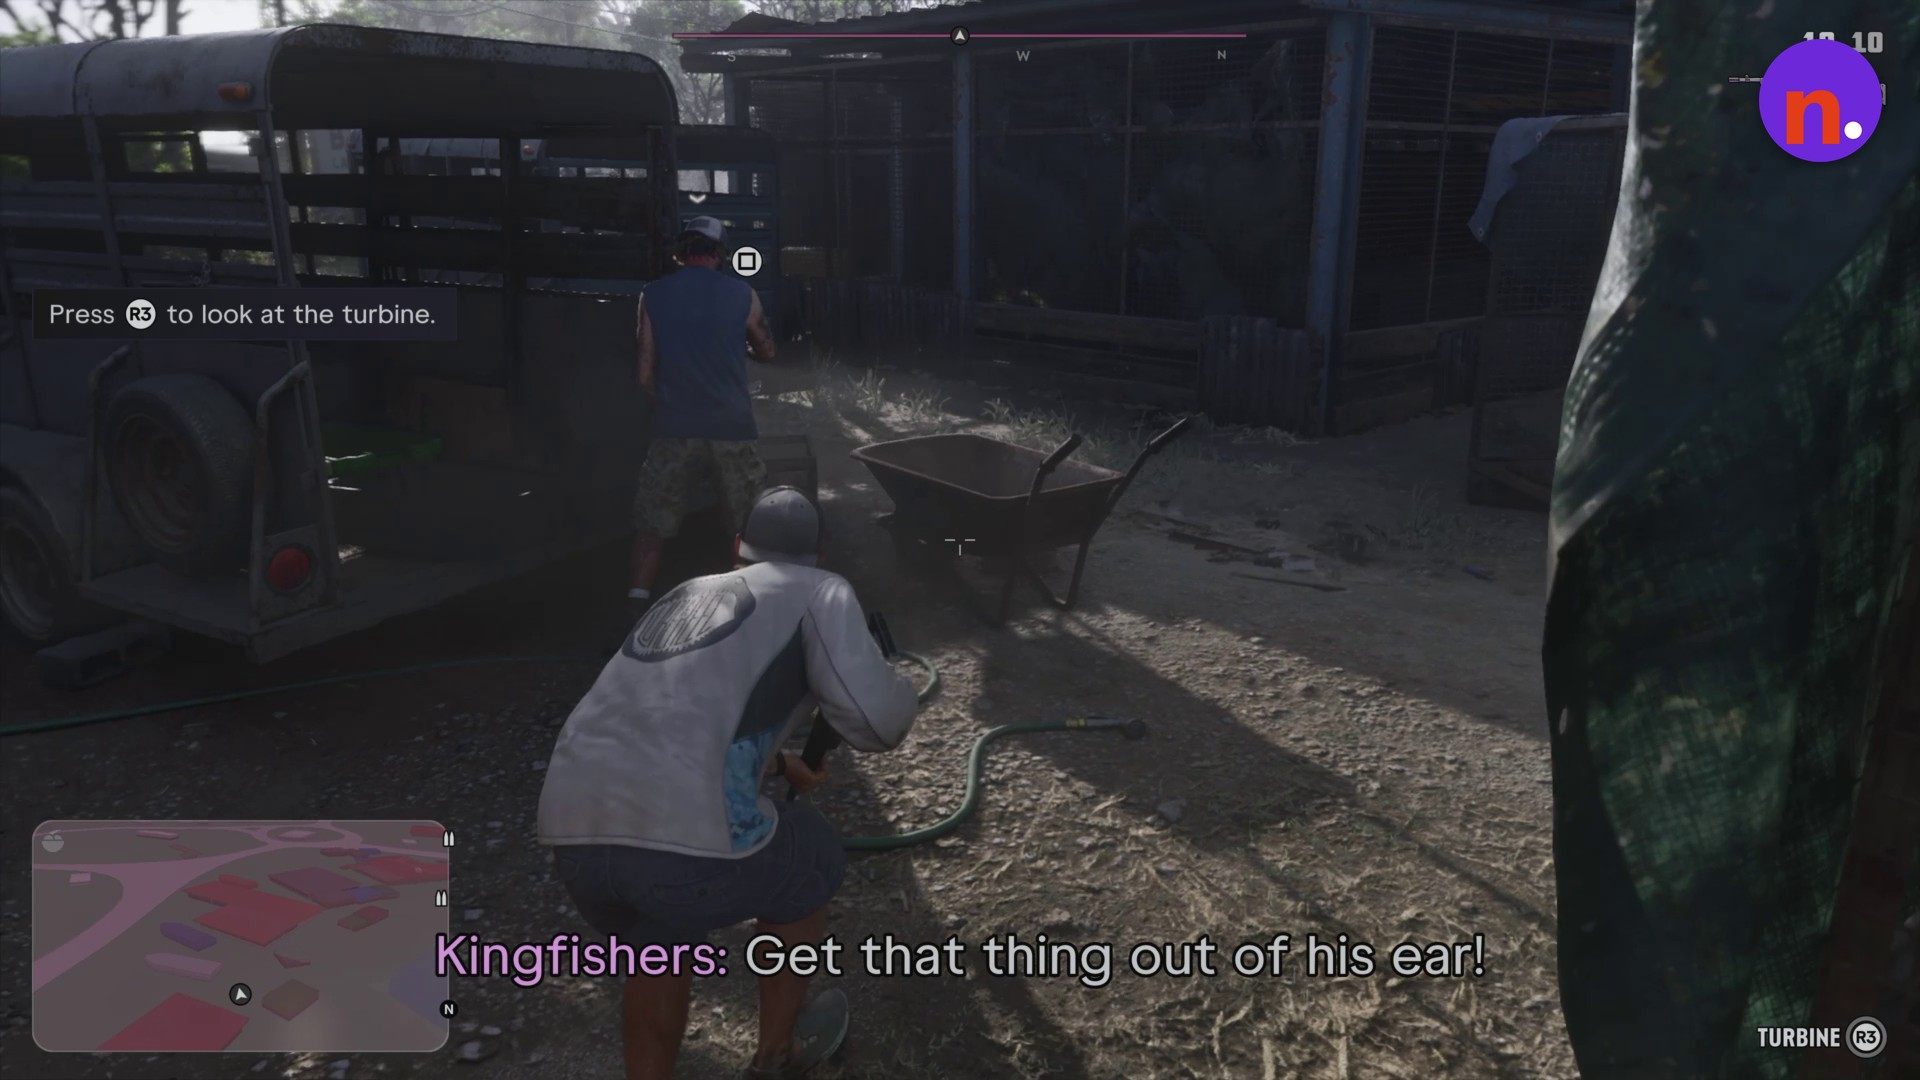
Subdue the storage-shelf guard
Move between the cages and tarps to reach the guard beside the covered storage shelves. Approach from behind and use the takedown prompt.
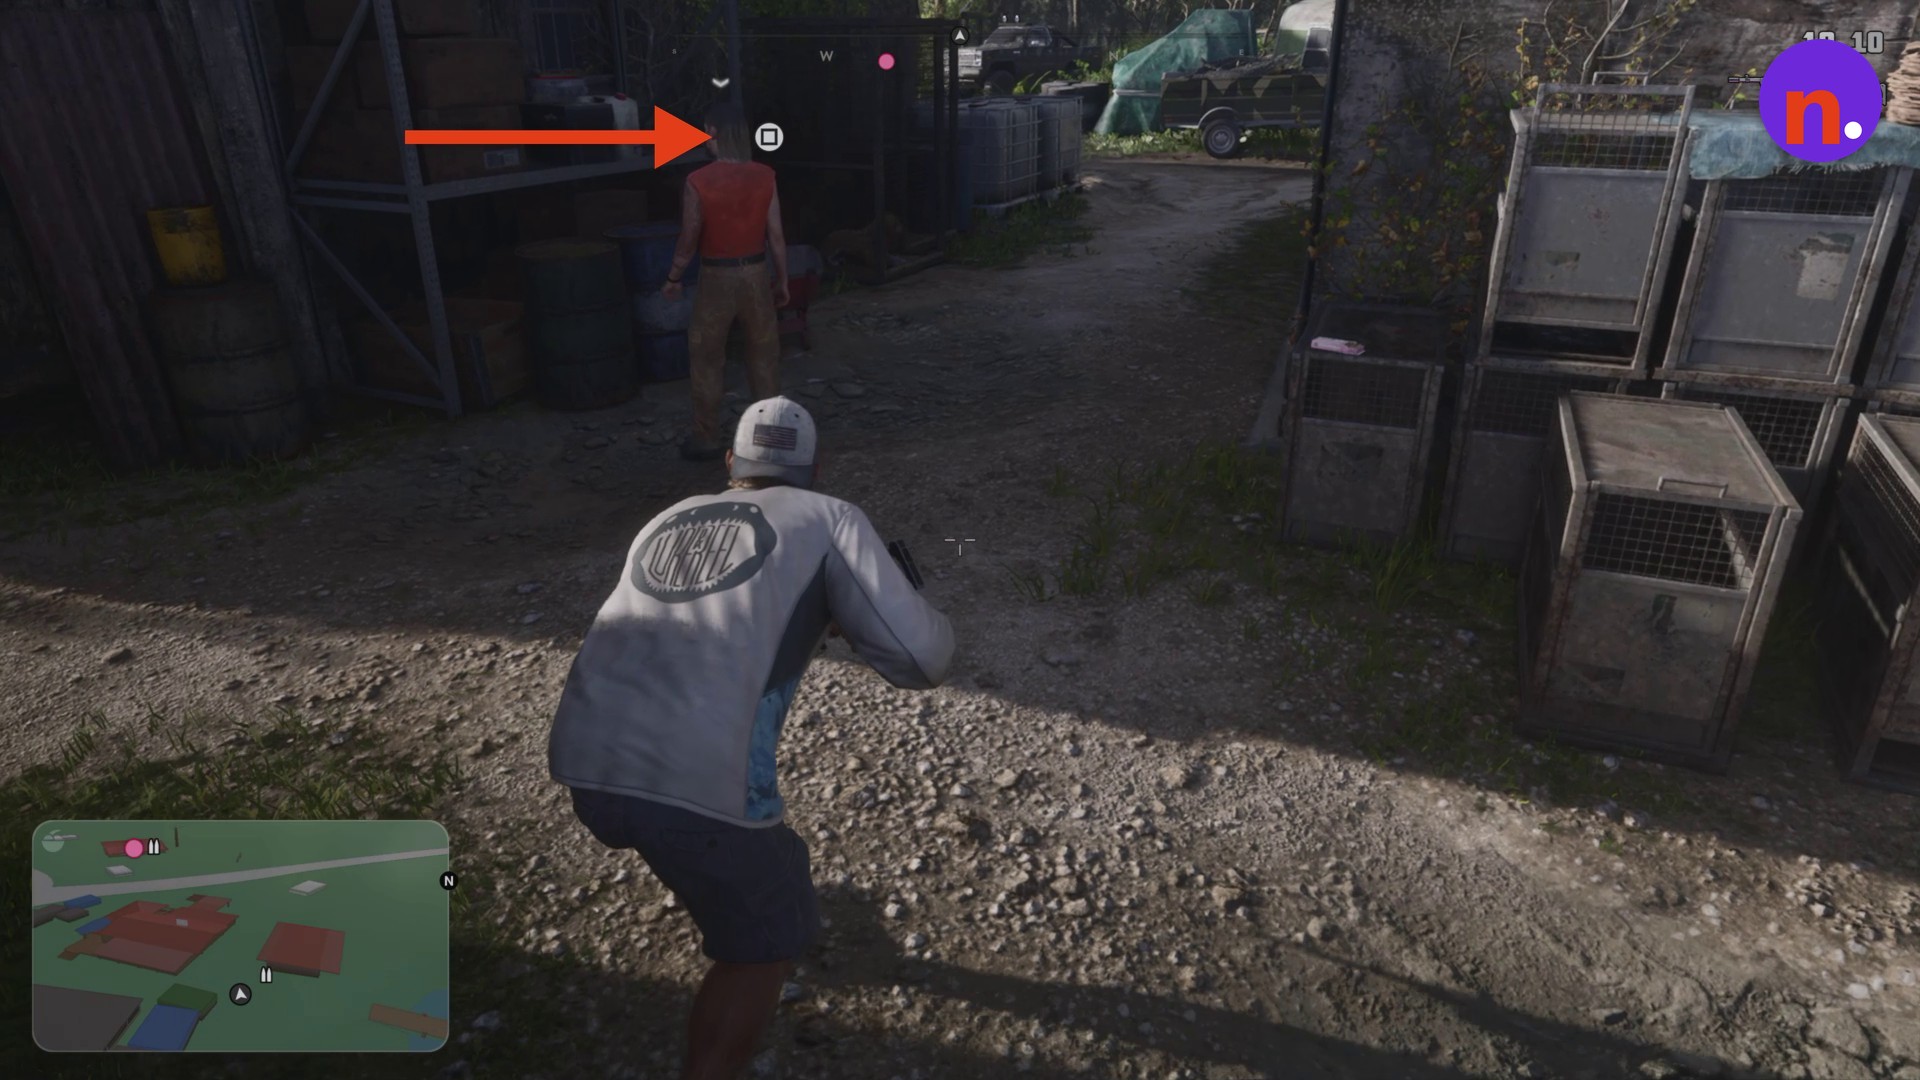
Take down the pickup guard
The next guard leans against a pillar beside a camouflaged pickup. Creep behind him and perform the stealth takedown.
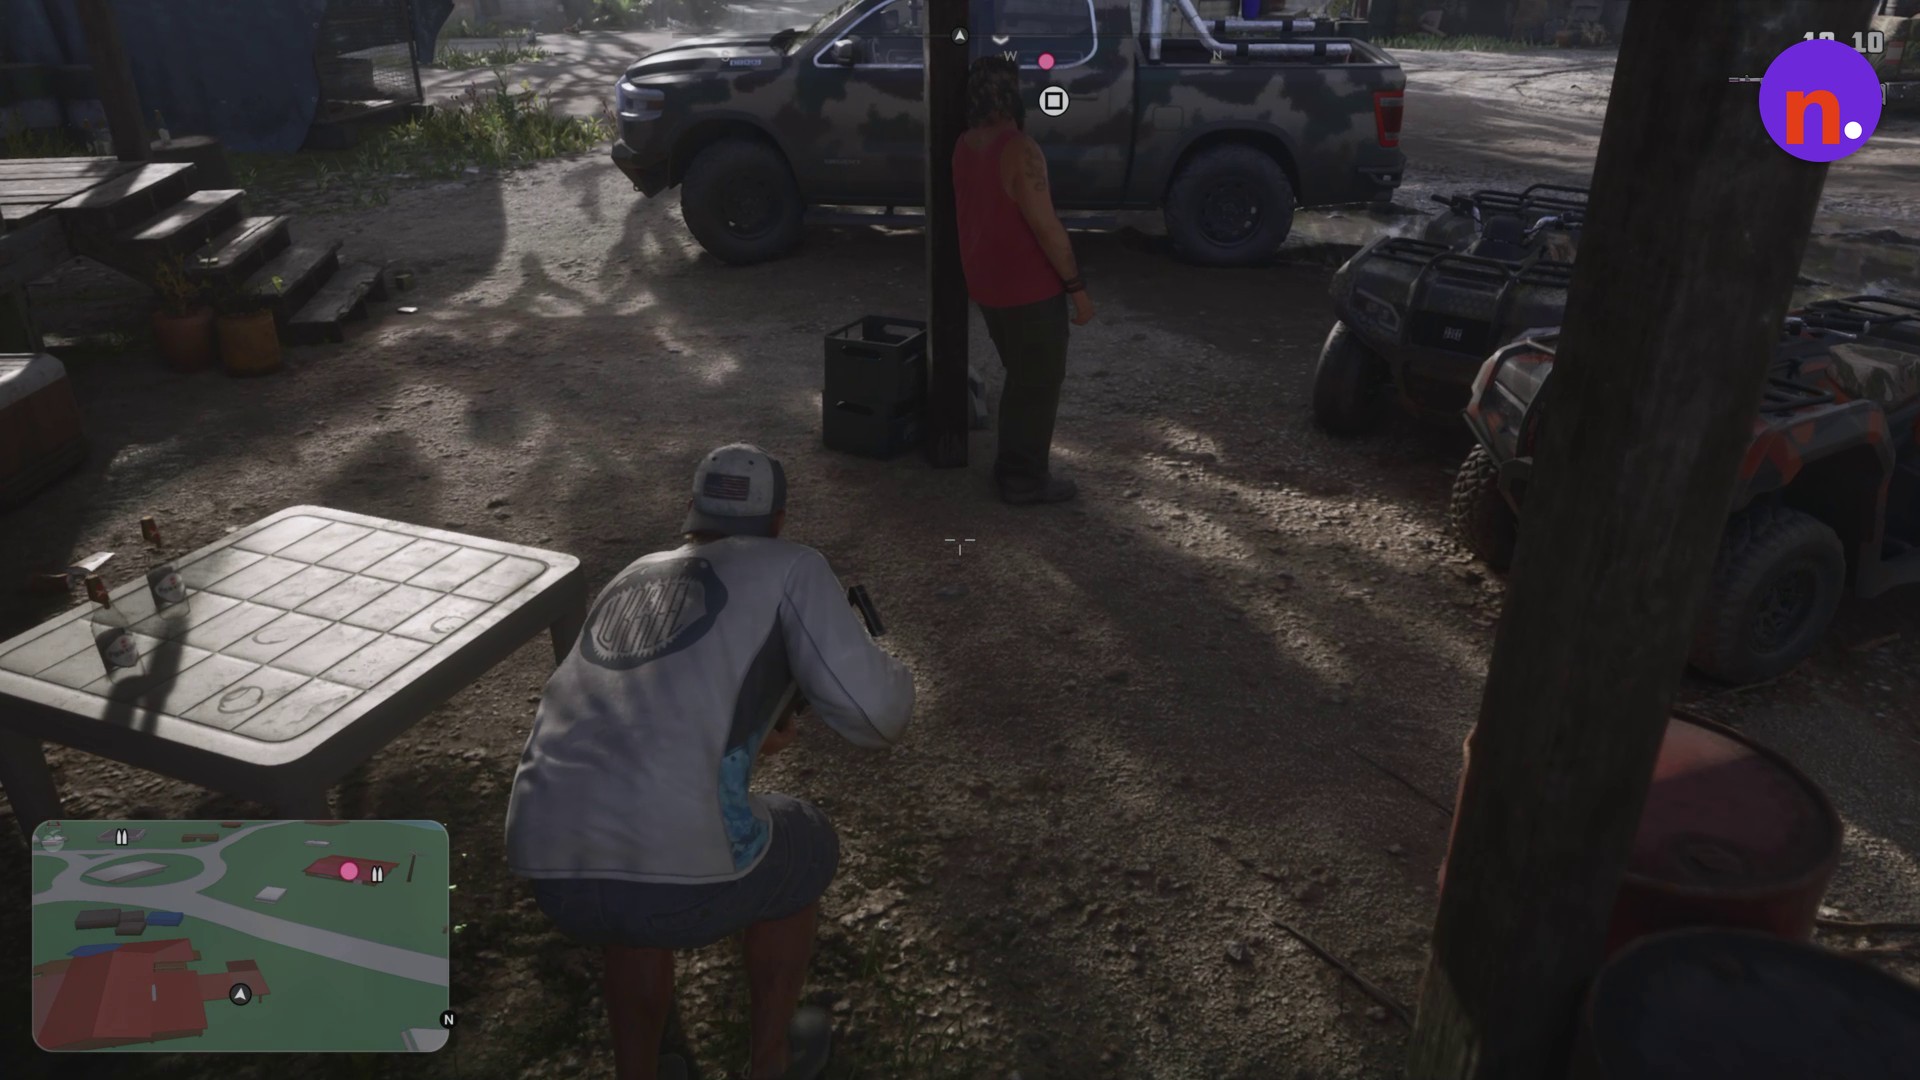
Reach the shack porch
Circle quietly around the vehicles, muddy ground and bushes until you reach the wooden shack’s covered porch.
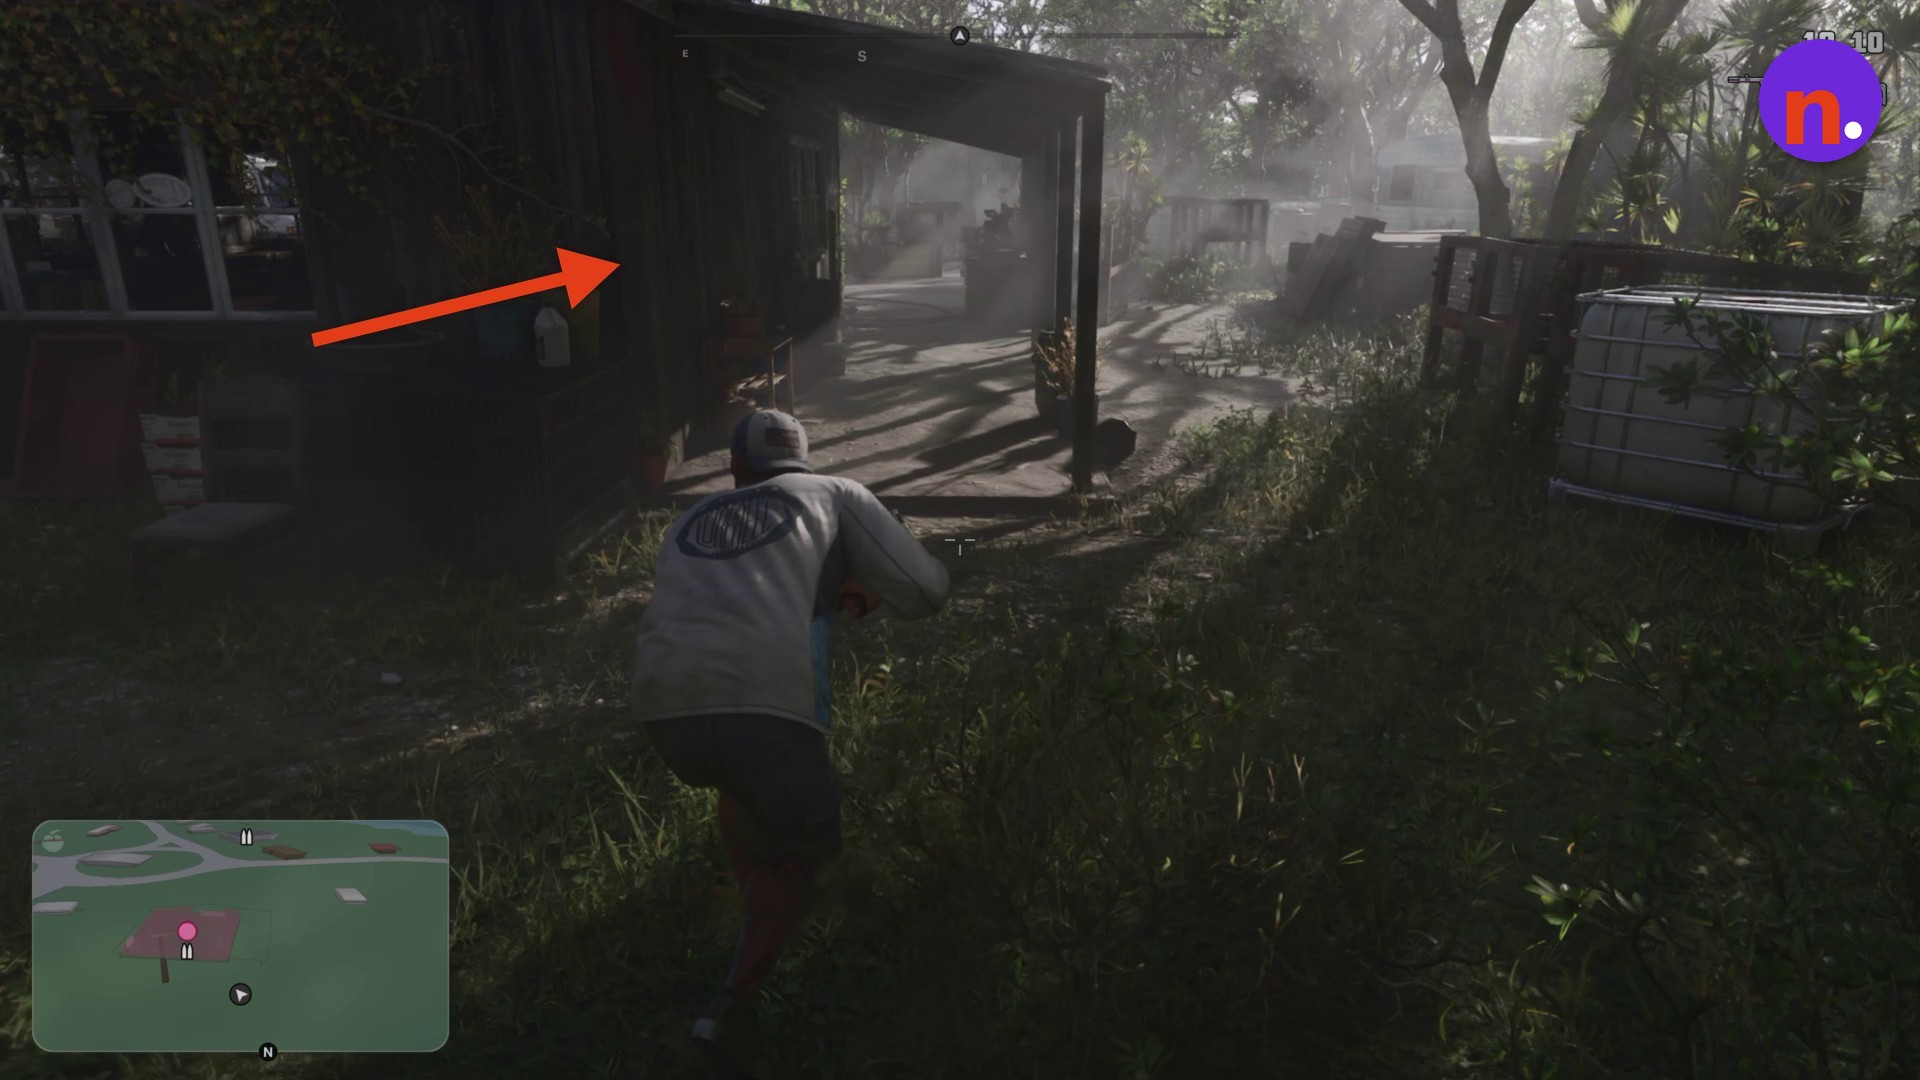
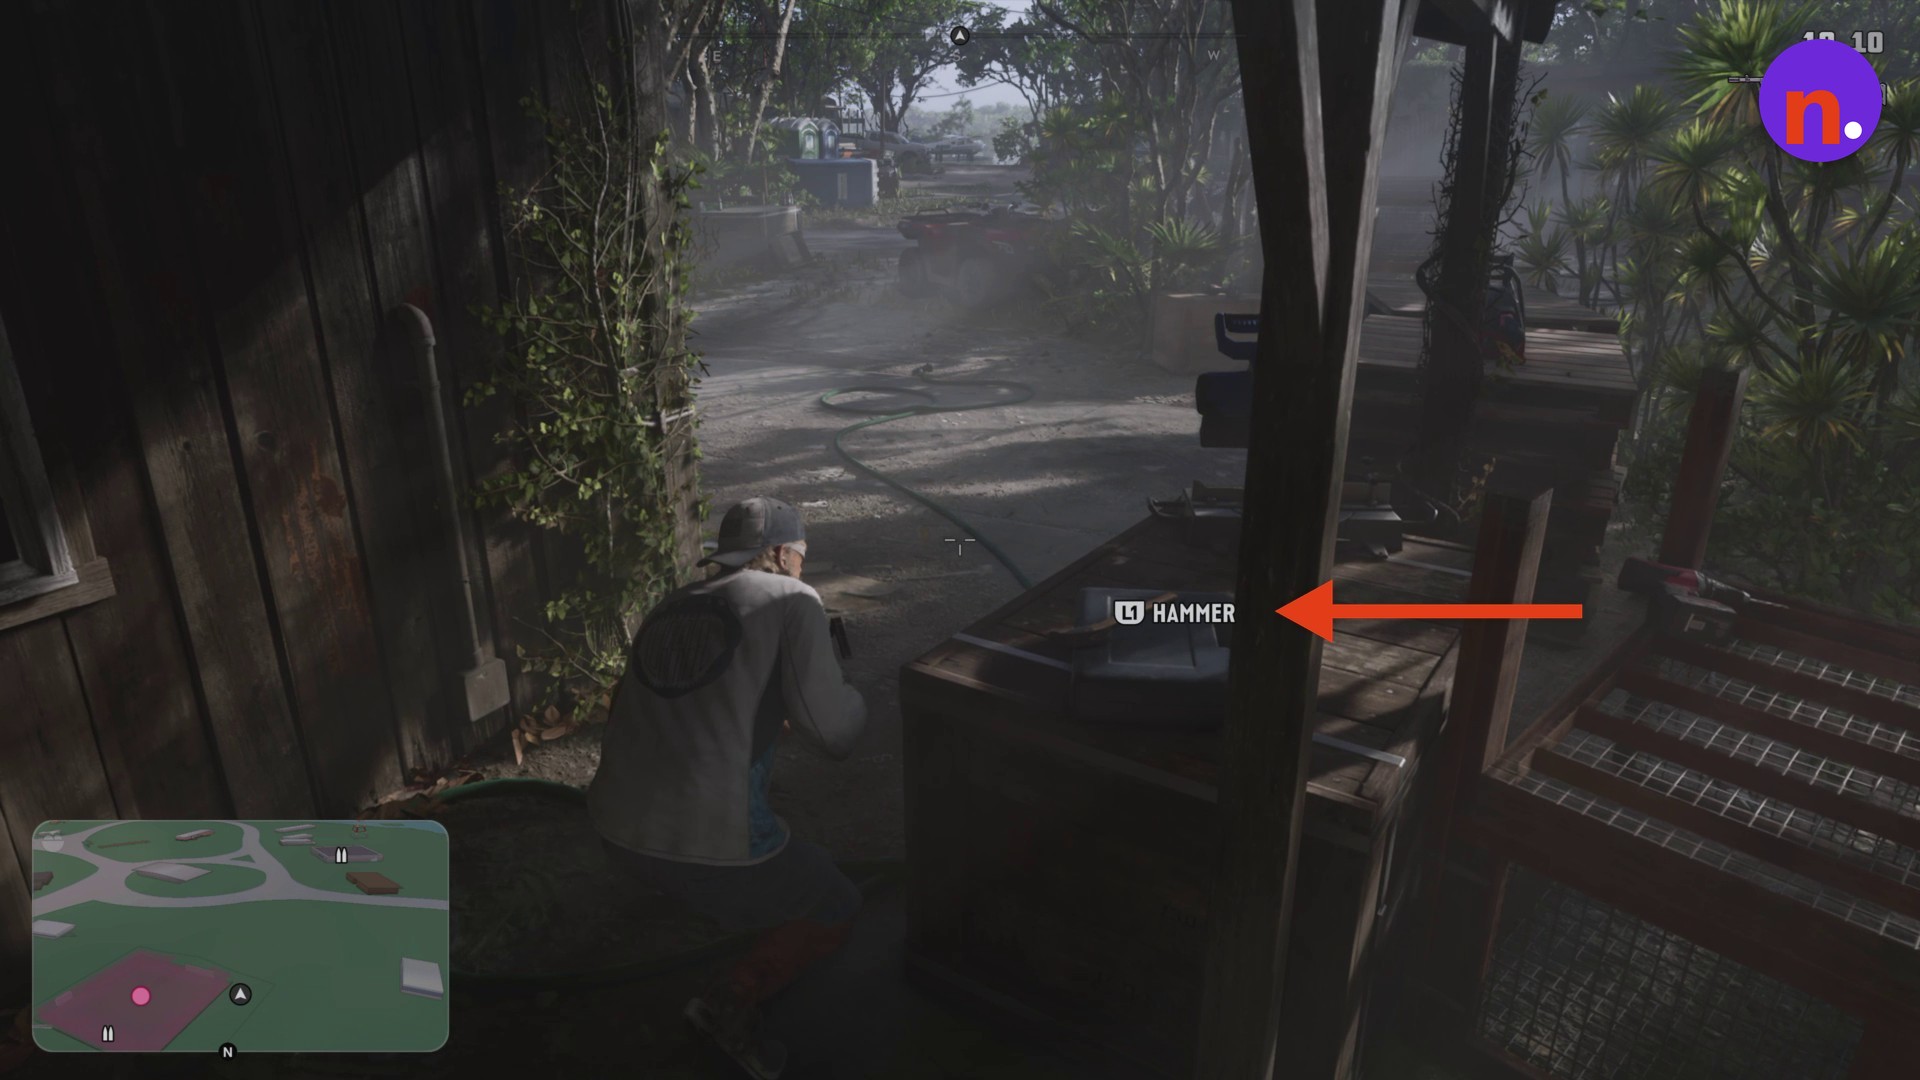
Pick up the hammer
Look on the porch’s wooden workbench for the HAMMER prompt. Press L1 to collect it.
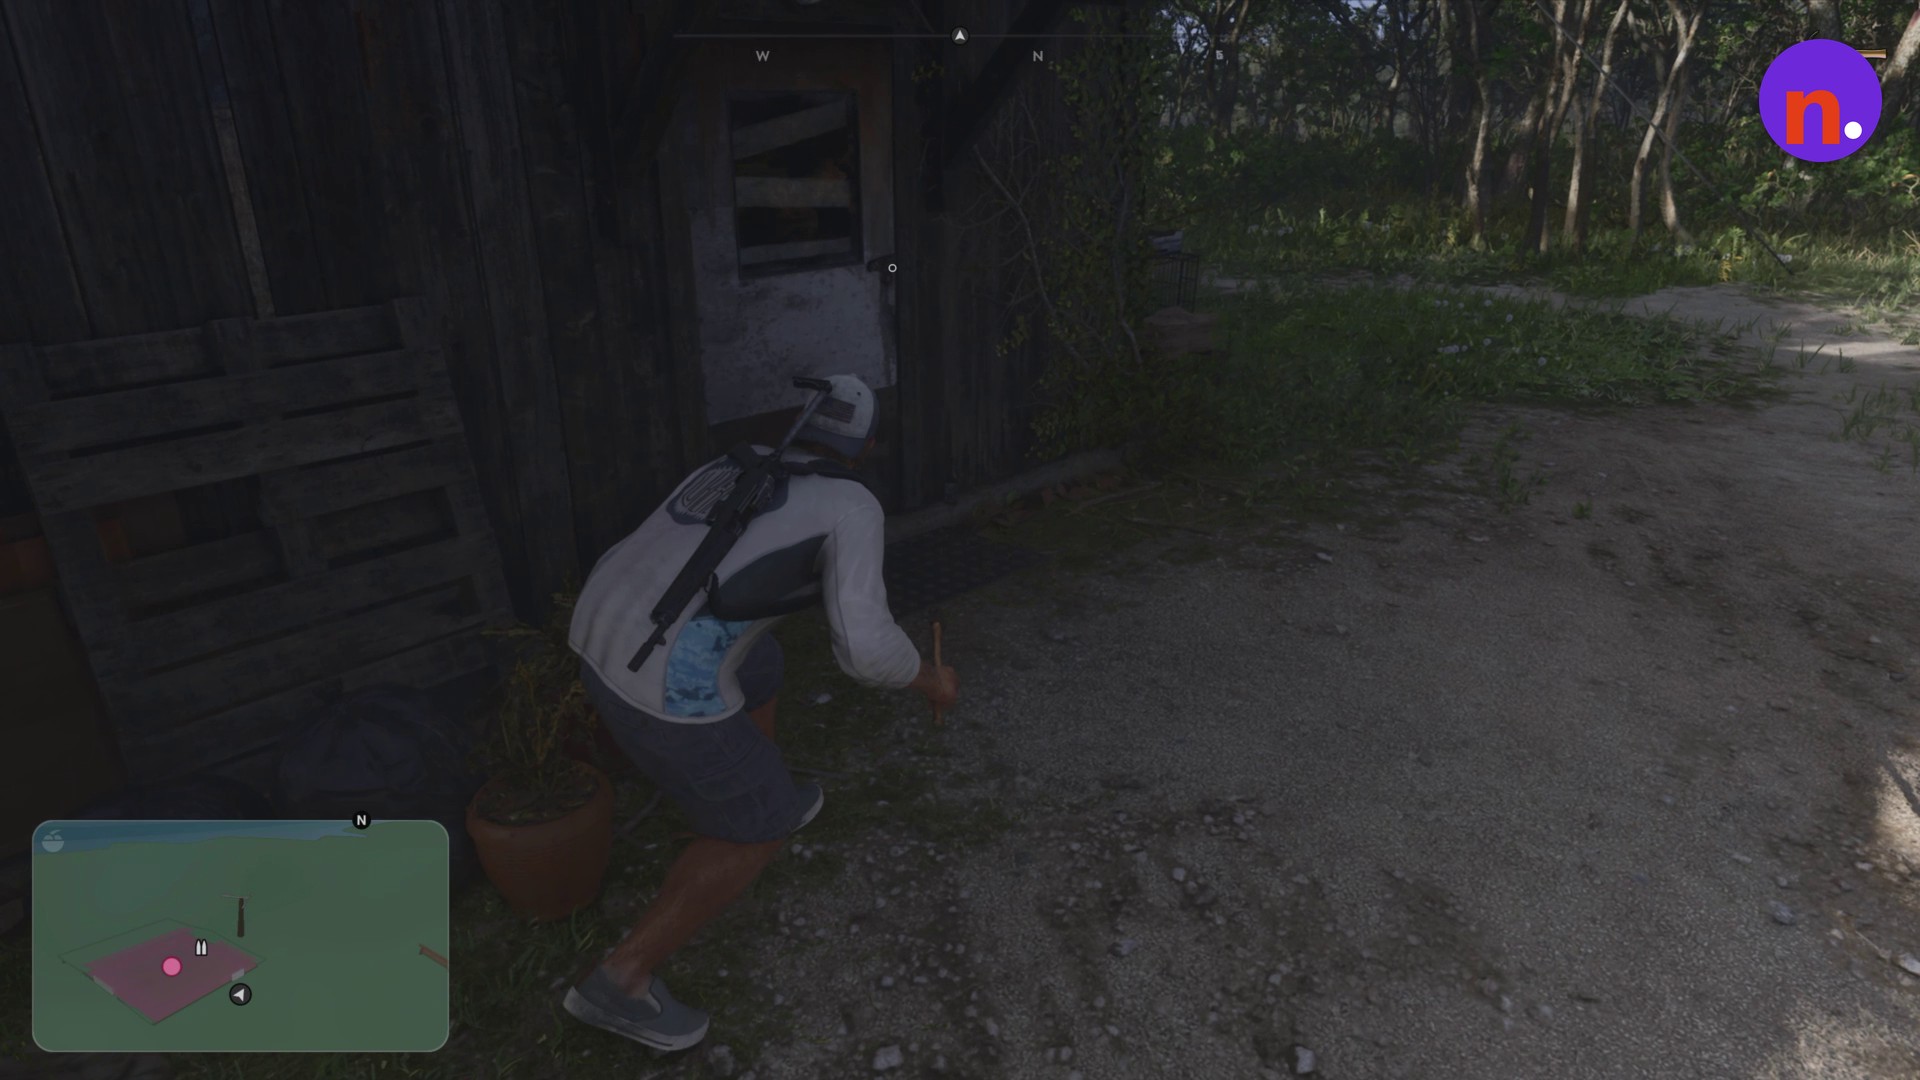
Enter through the side door
For Find a way into the shack, follow the building’s wall around to its side door and go inside.
Part 3 – Free Donnie and leave the shack
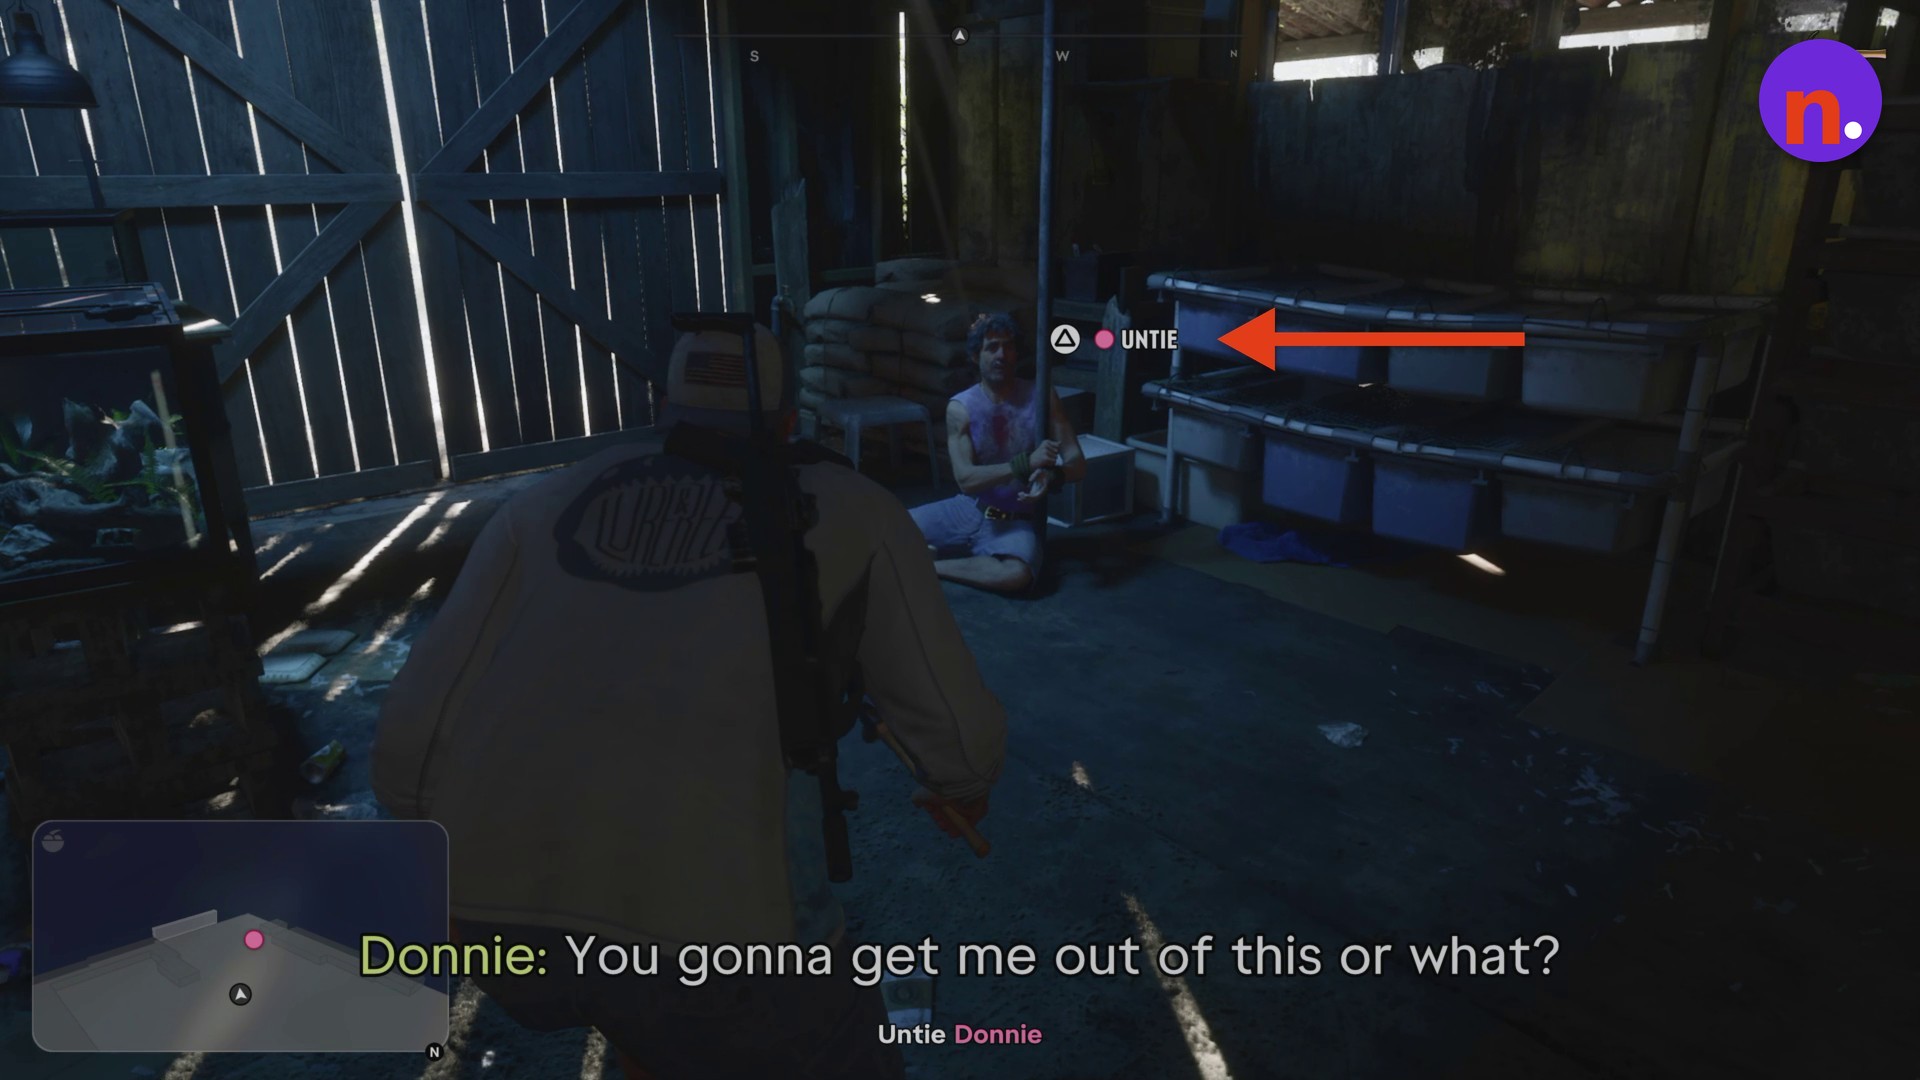
Approach Donnie for Untie Donnie.
Untie Donnie
Move close to Donnie, who is seated and bound to a post inside the shack. Press Triangle at the UNTIE prompt to release him.
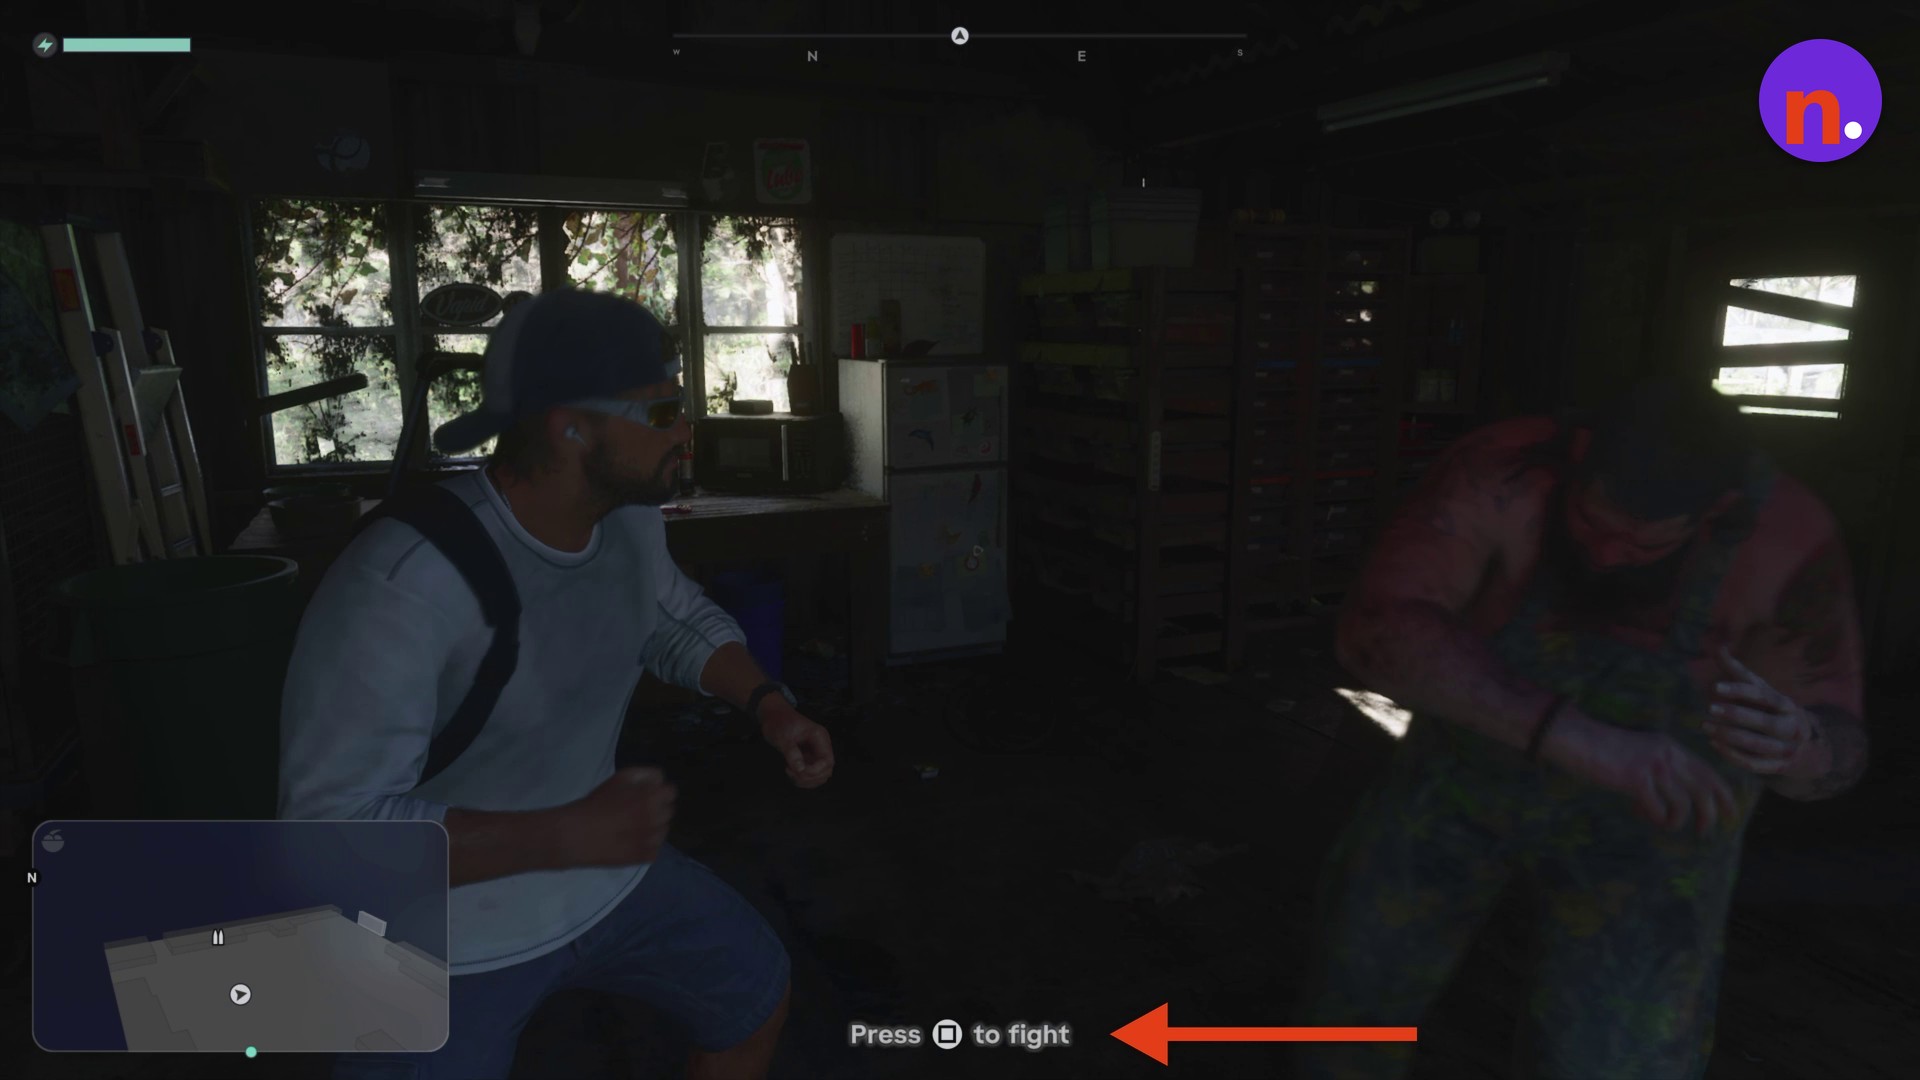
Defeat the heavy thug
Fight the large Kingfisher thug at close range using the displayed Square melee prompt when he enters the shack. Continue attacking until he is subdued.
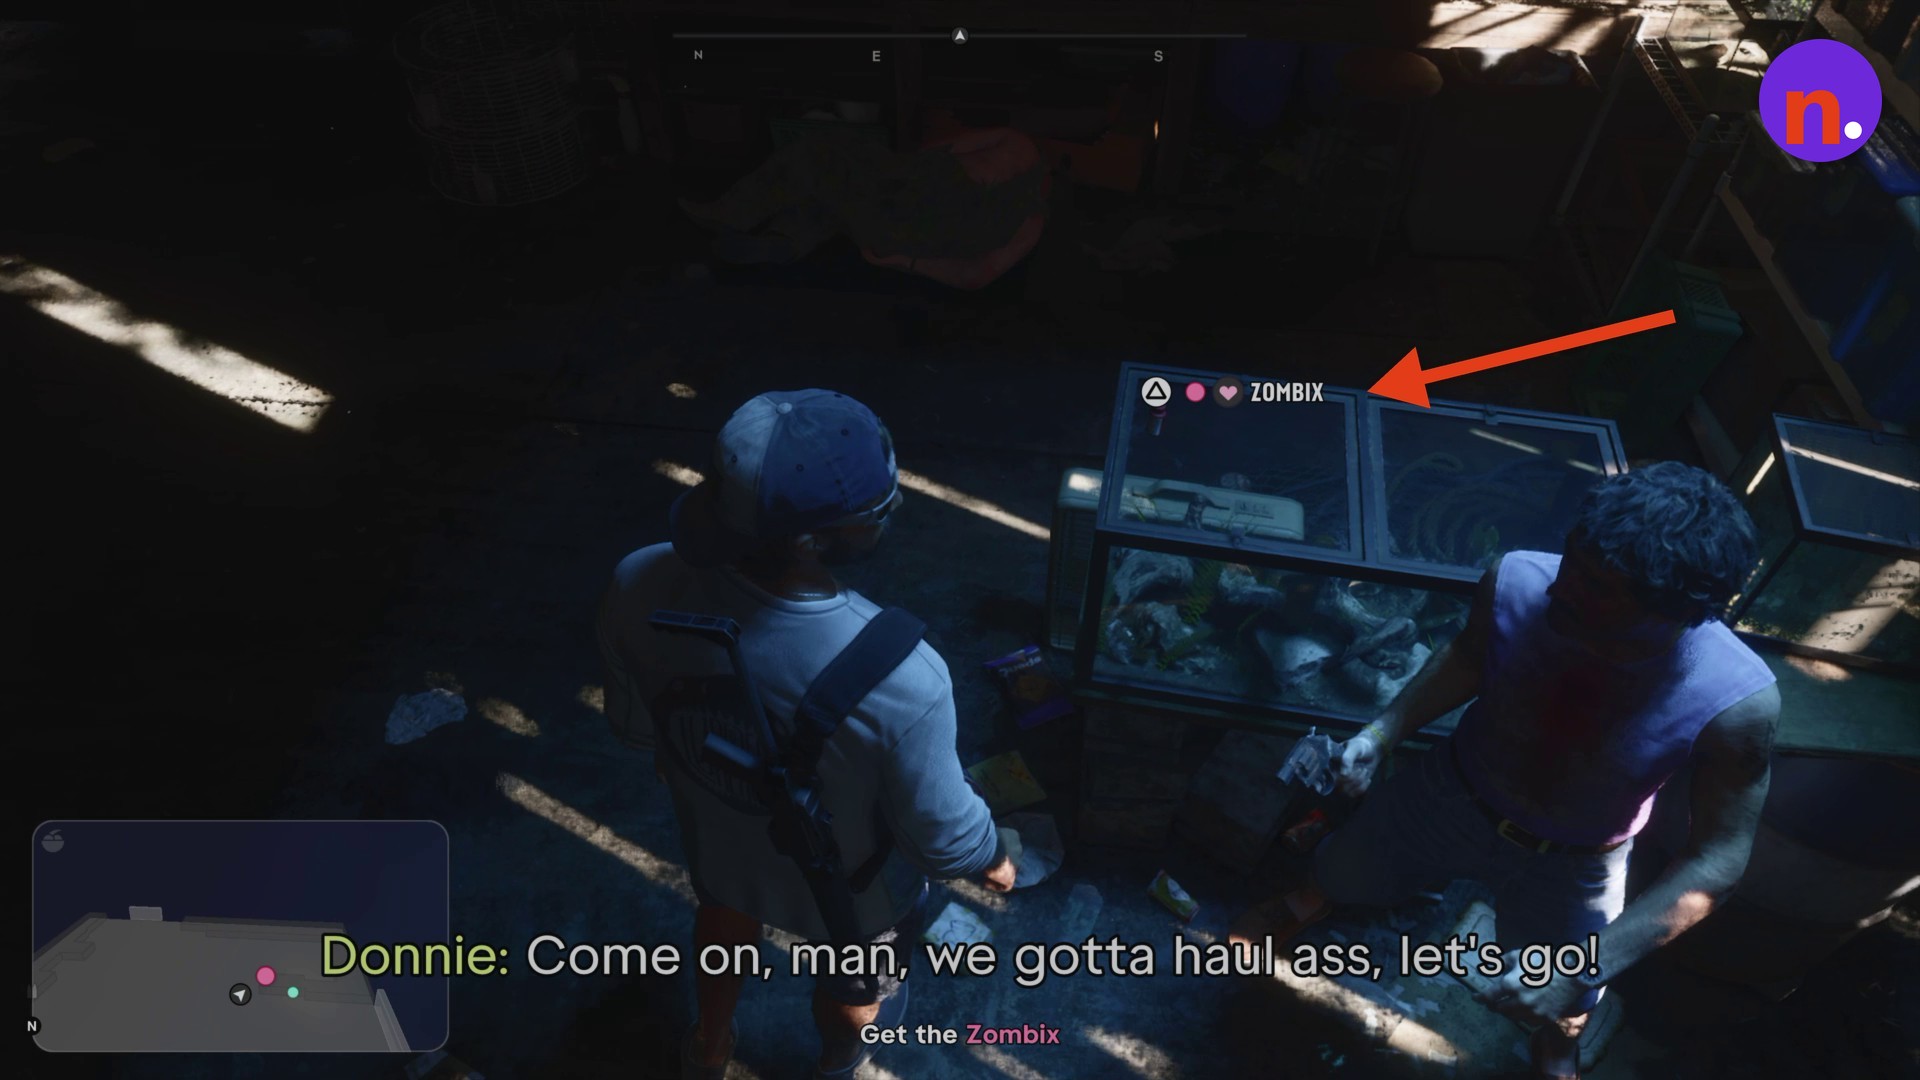
Collect Zombix
For Get the Zombix, approach the reptile tank and press Triangle to take the Zombix medicine from its top.
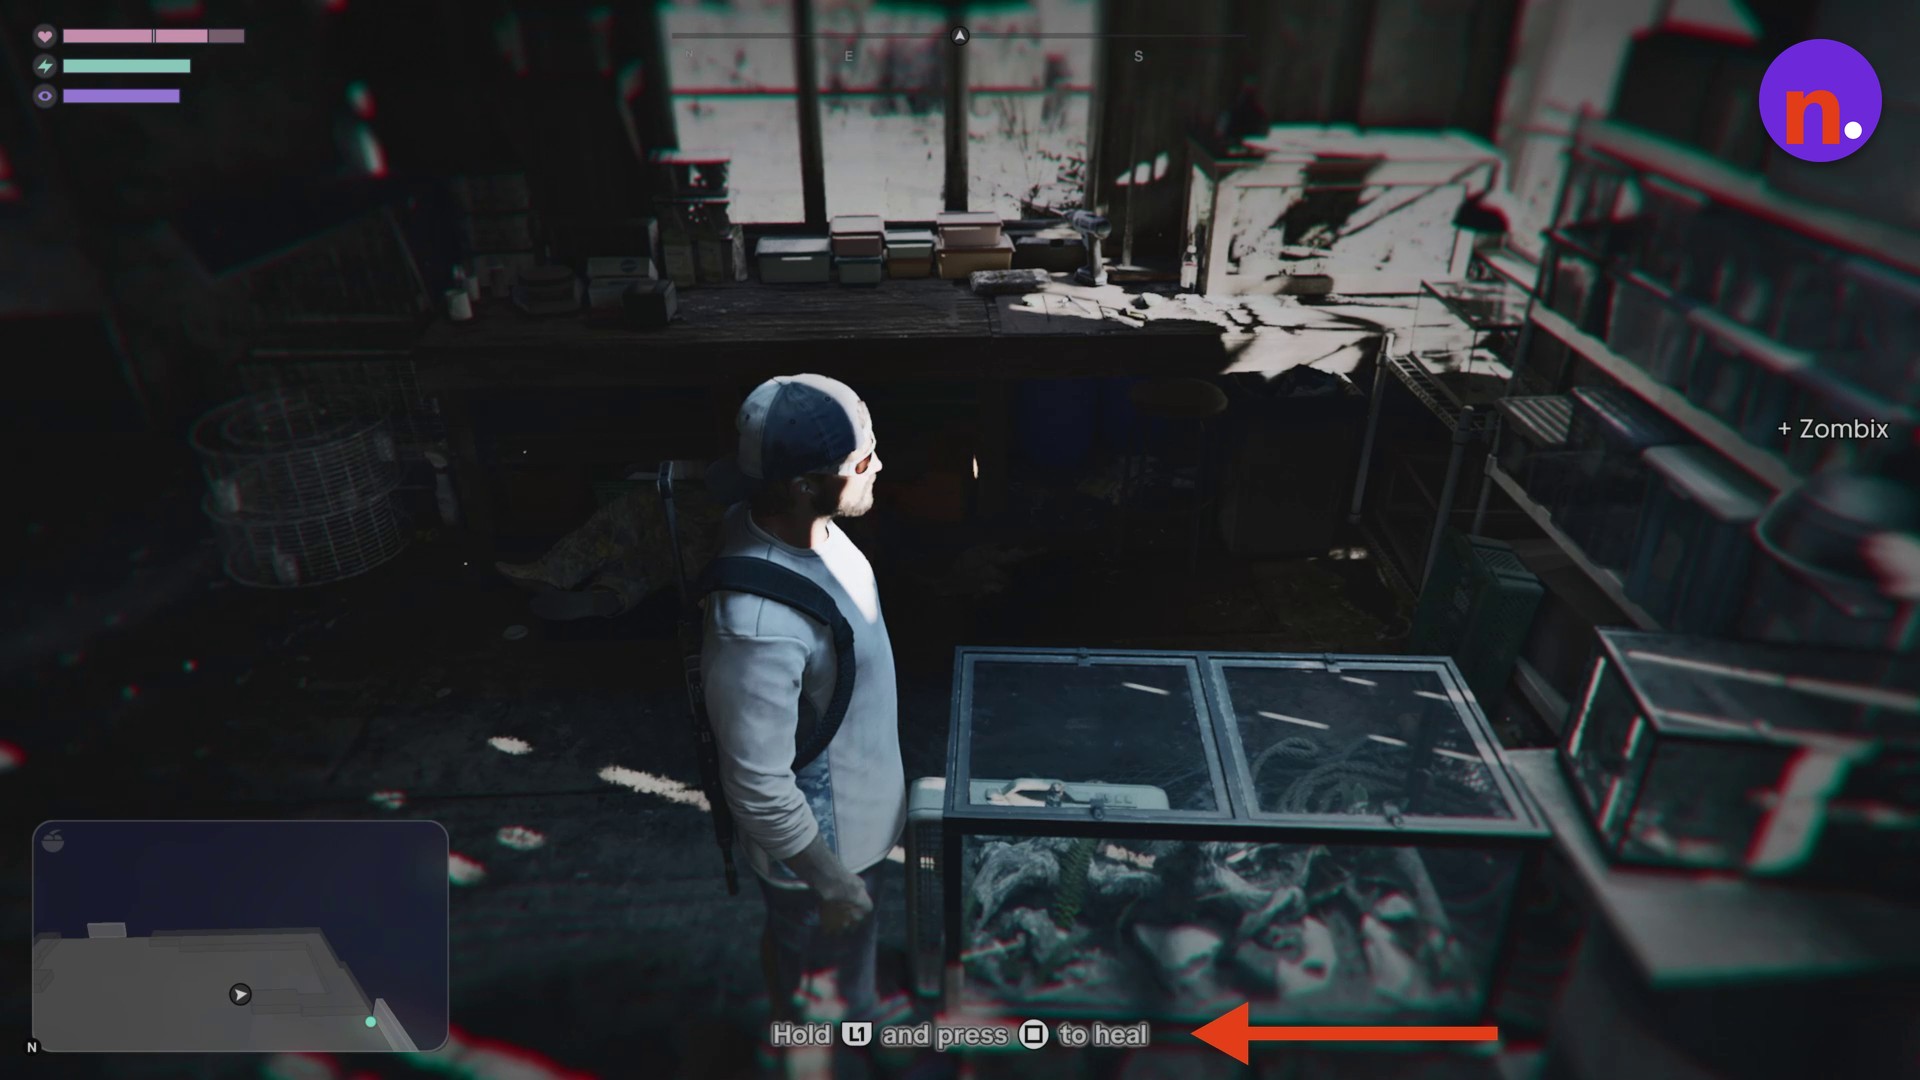
Restore your health
Hold L1 and press Square to consume Zombix and restore health before leaving.
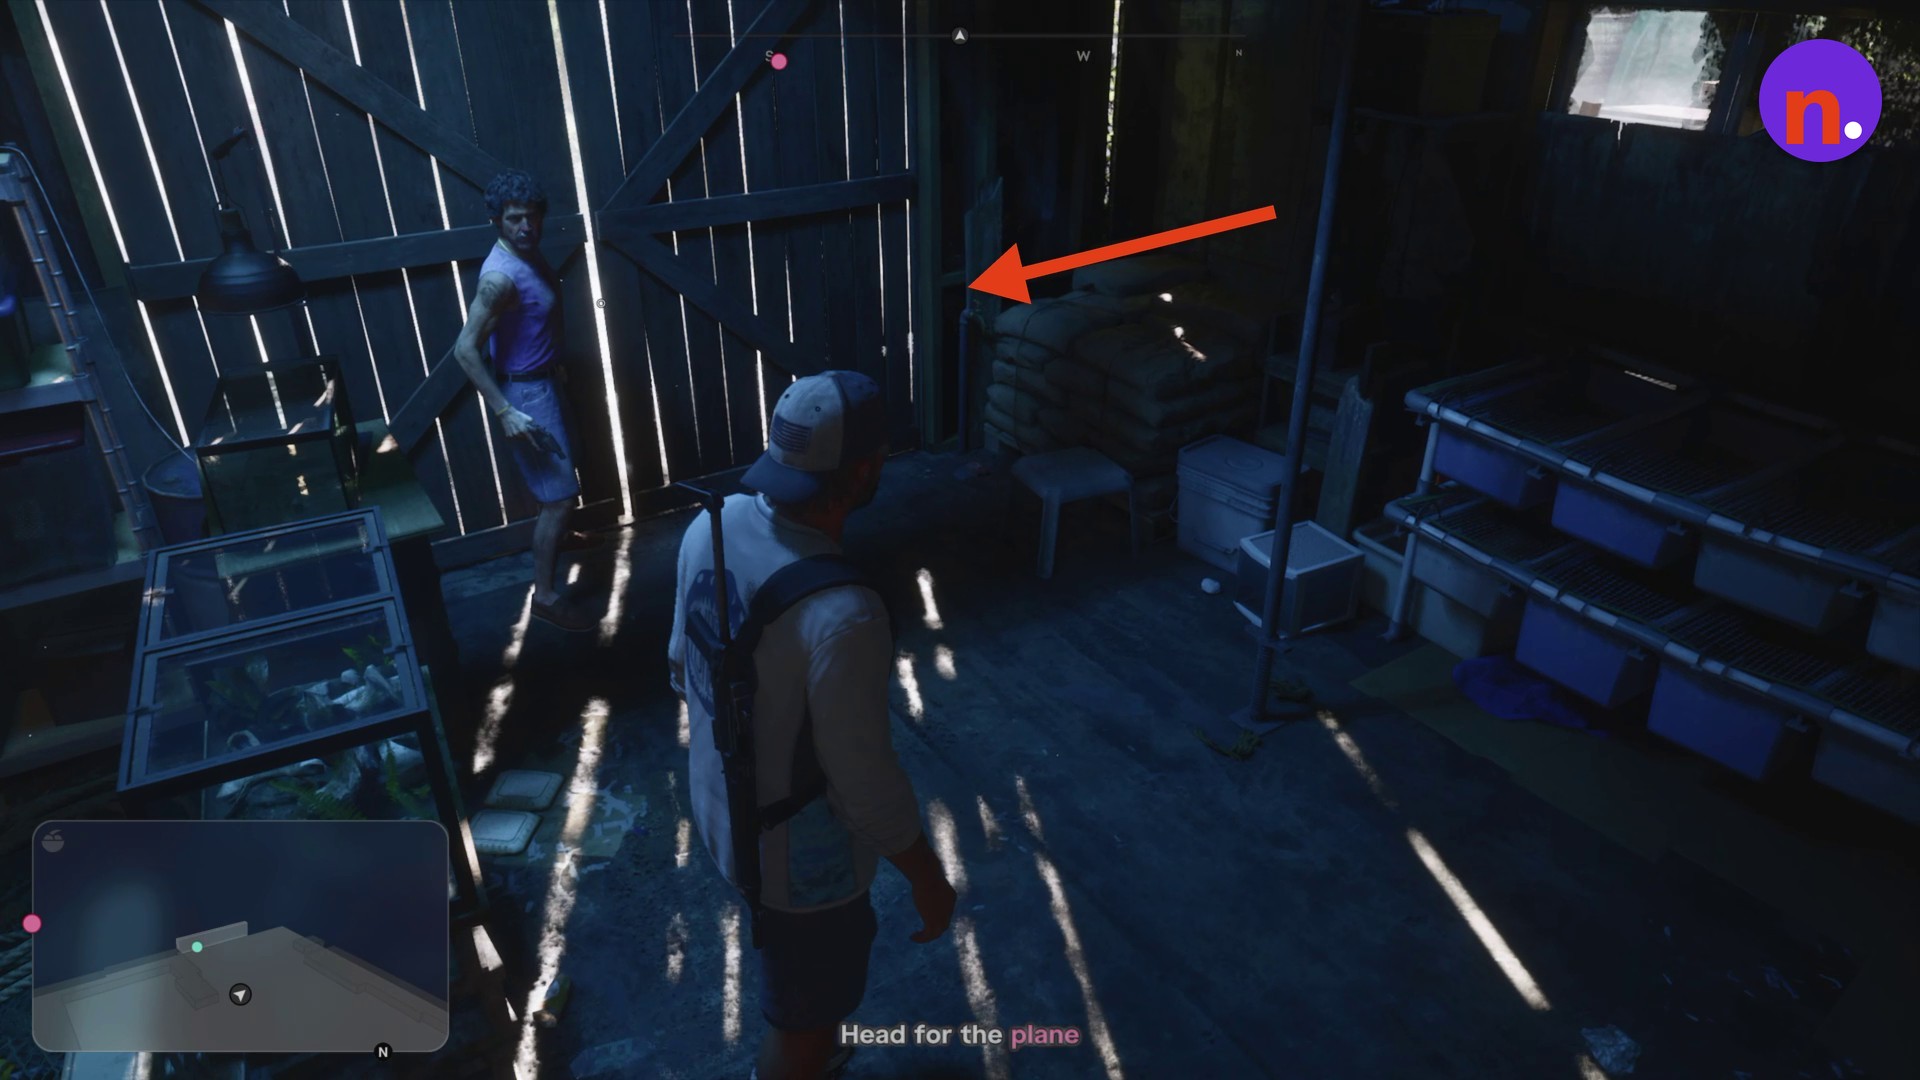
Push open the barn doors
Walk to the large wooden barn doors and push them open with Donnie. Leave the shack beneath the porch roof.
Part 4 – Escape by seaplane and return to the marina
Continue with Head for the plane.
Move into the tree line
Sneak into the woods outside the shack with Donnie following. Slip past the enemies among the trees.
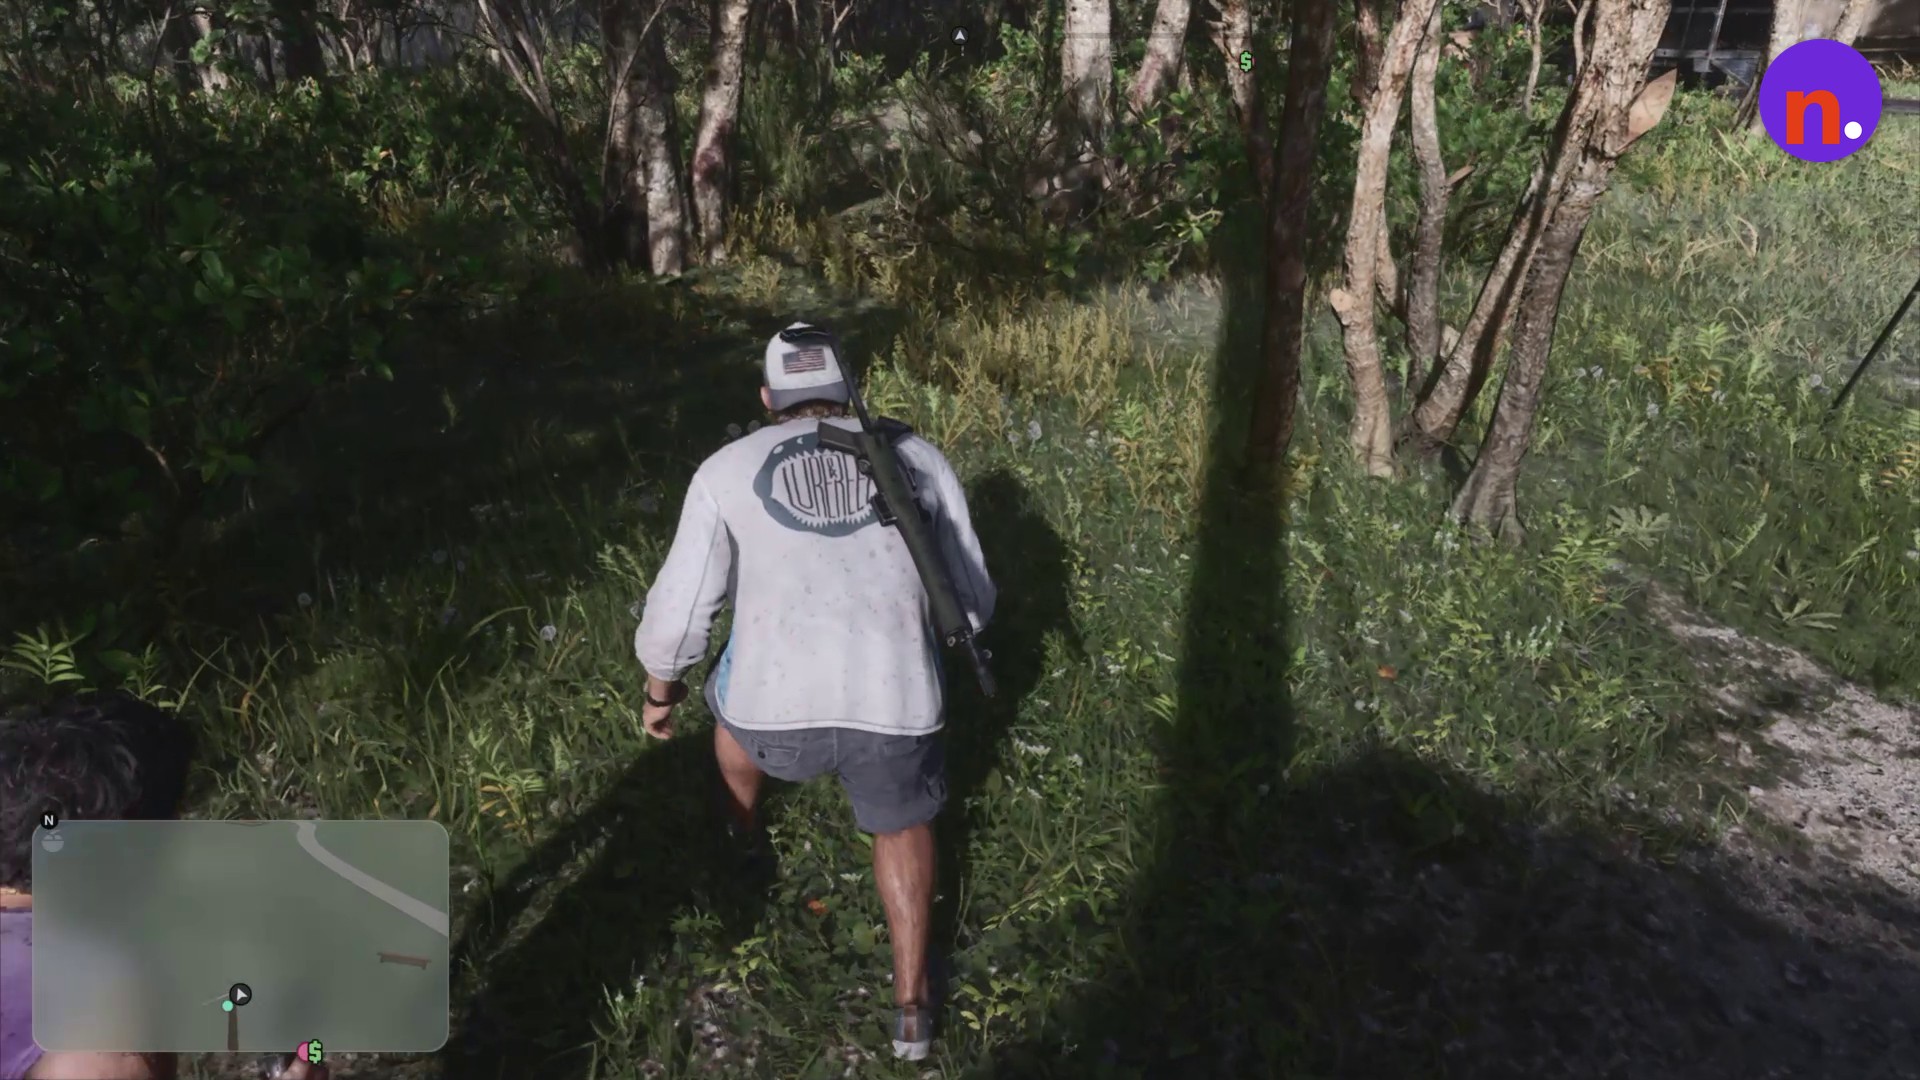
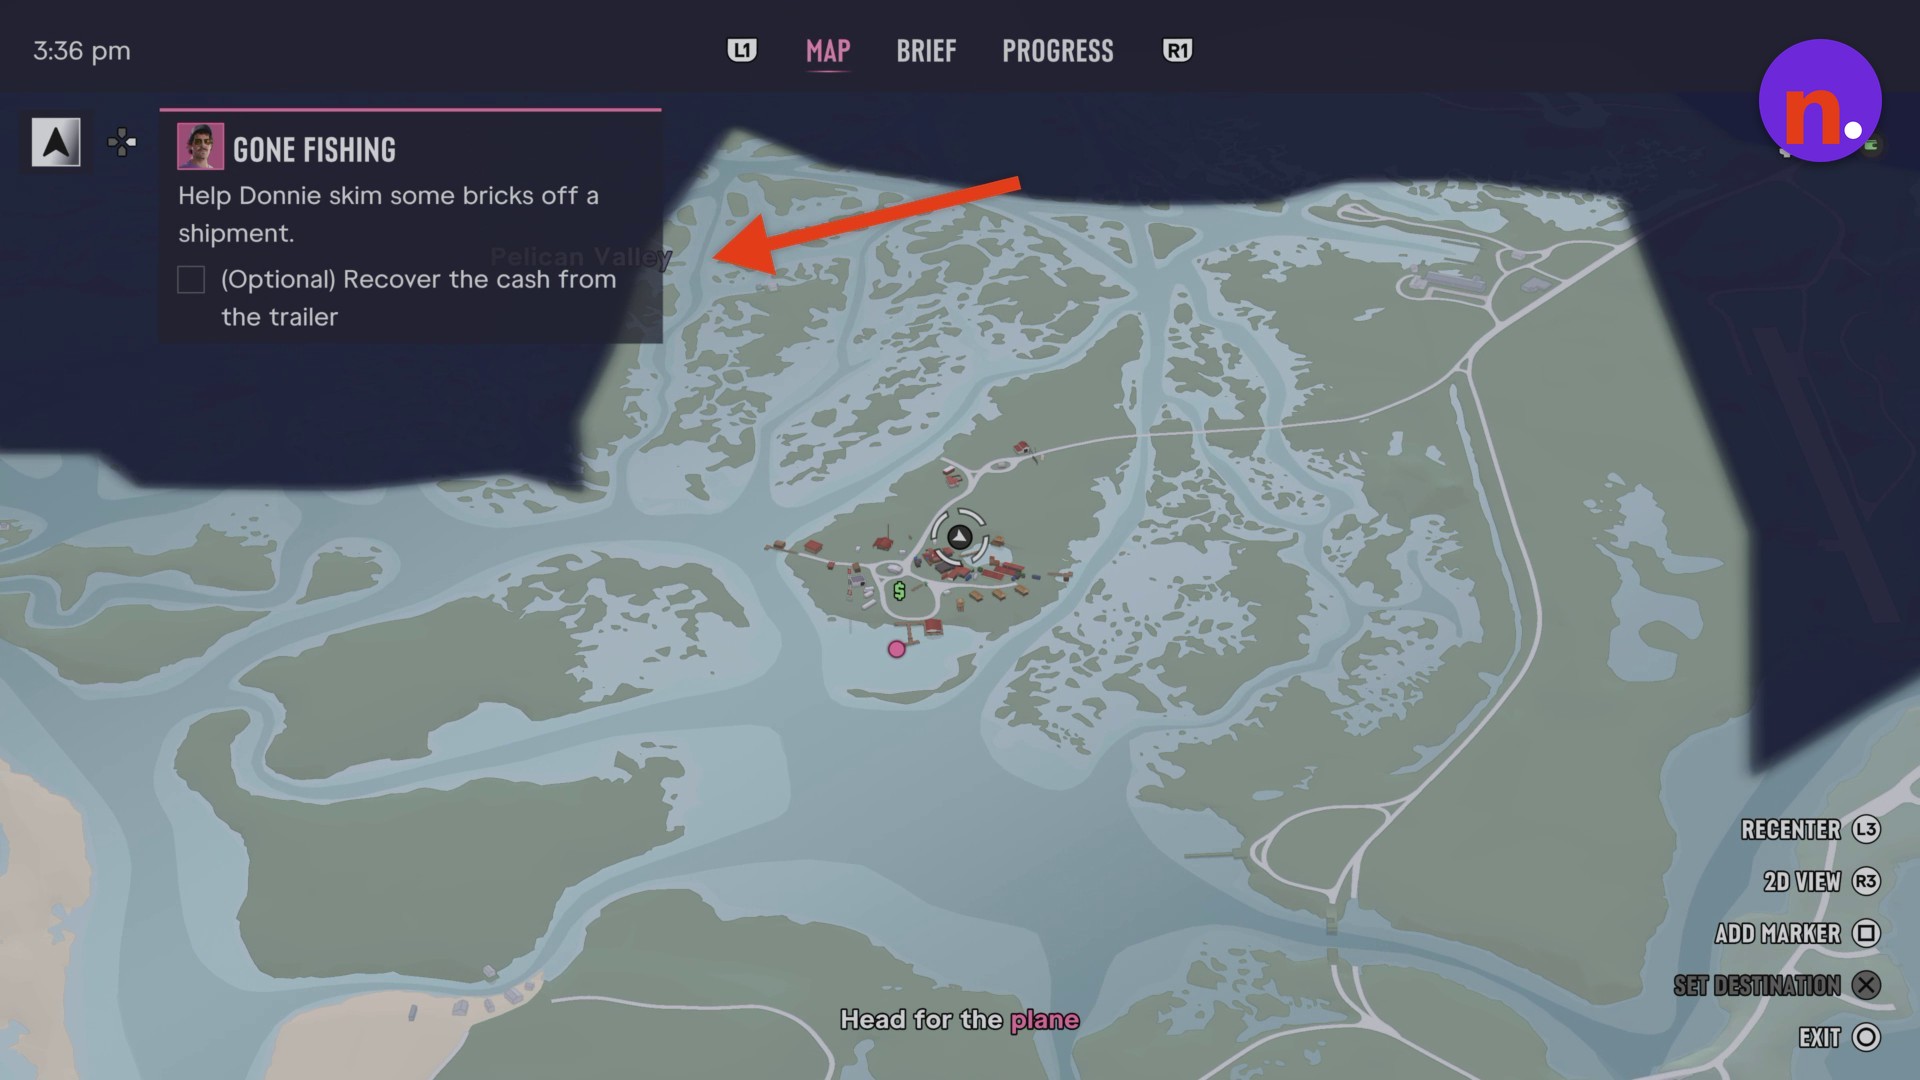
Reach the water
Continue past the animal cages and trailers toward the dock. The map marks the mission area in Pelican Valley during the approach to the seaplane. Recovering cash from the trailer is an optional objective.
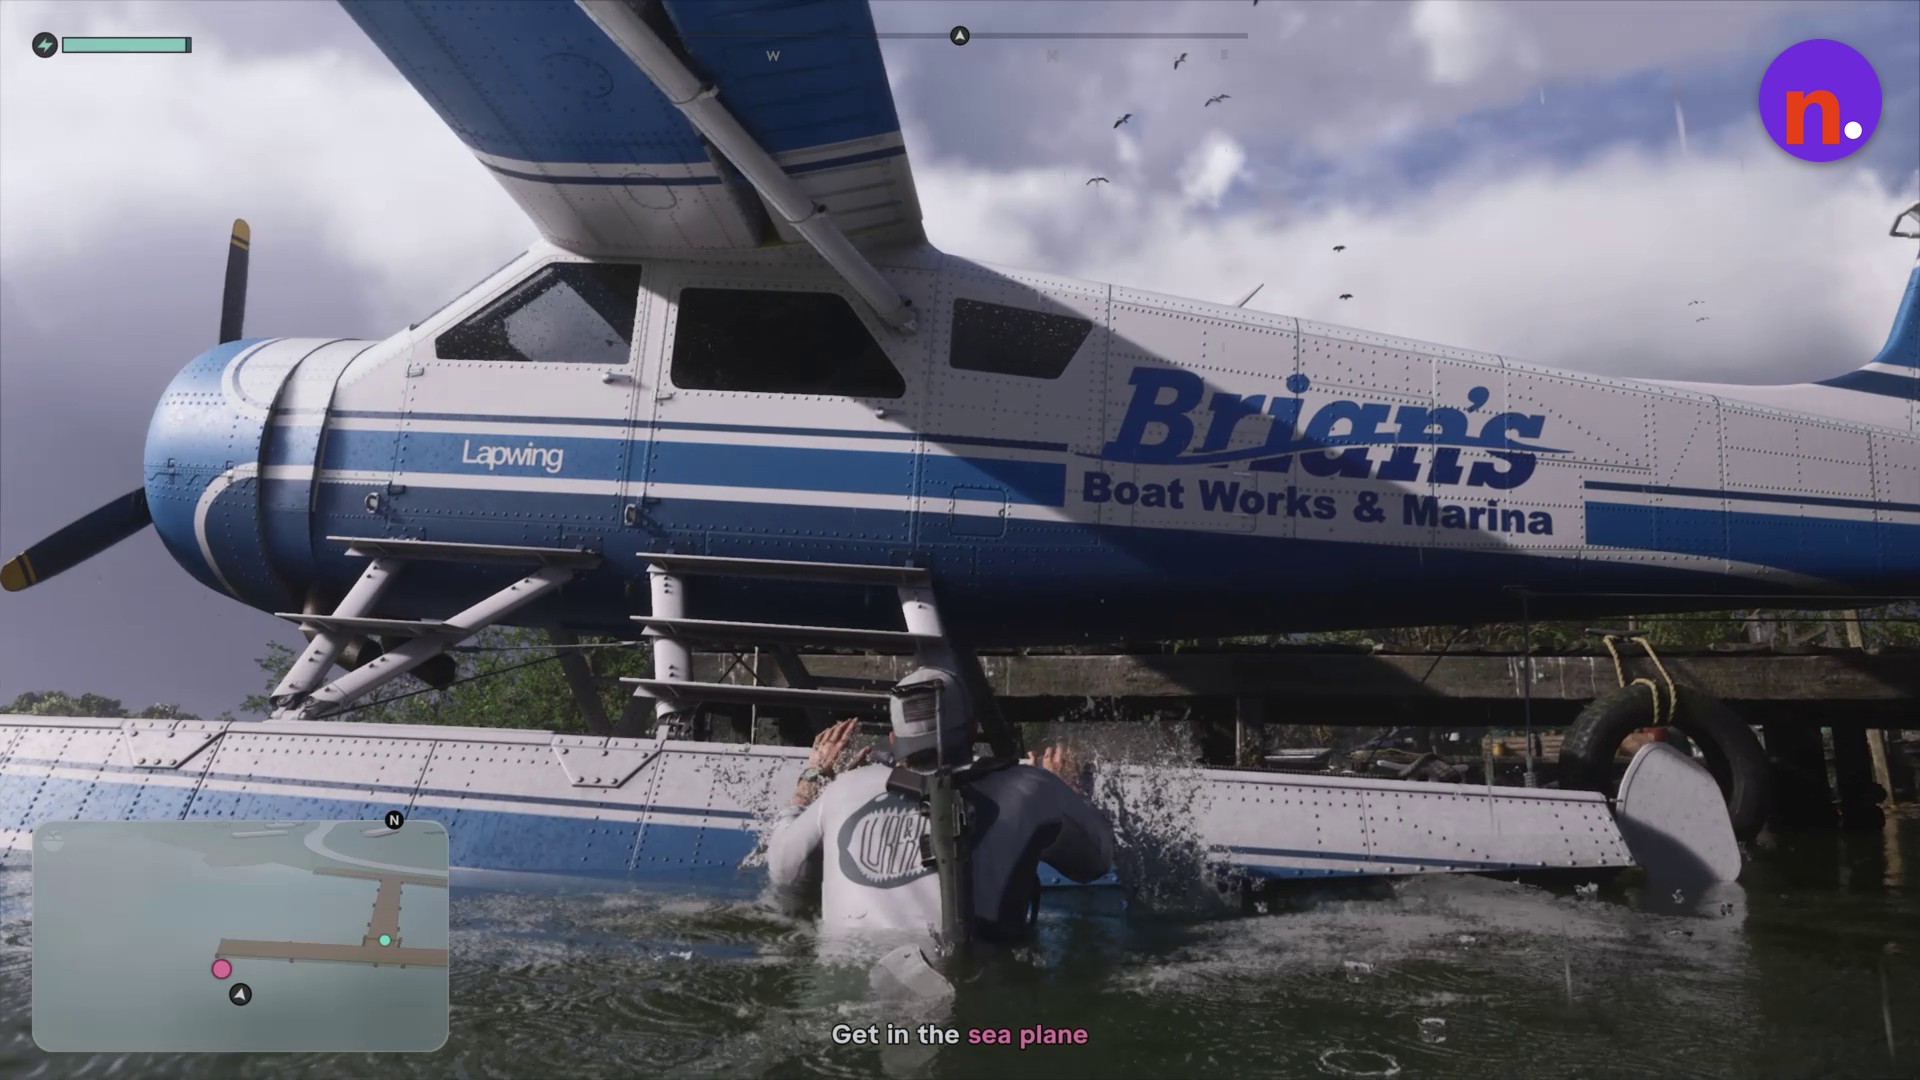
Board Brian’s Dodo
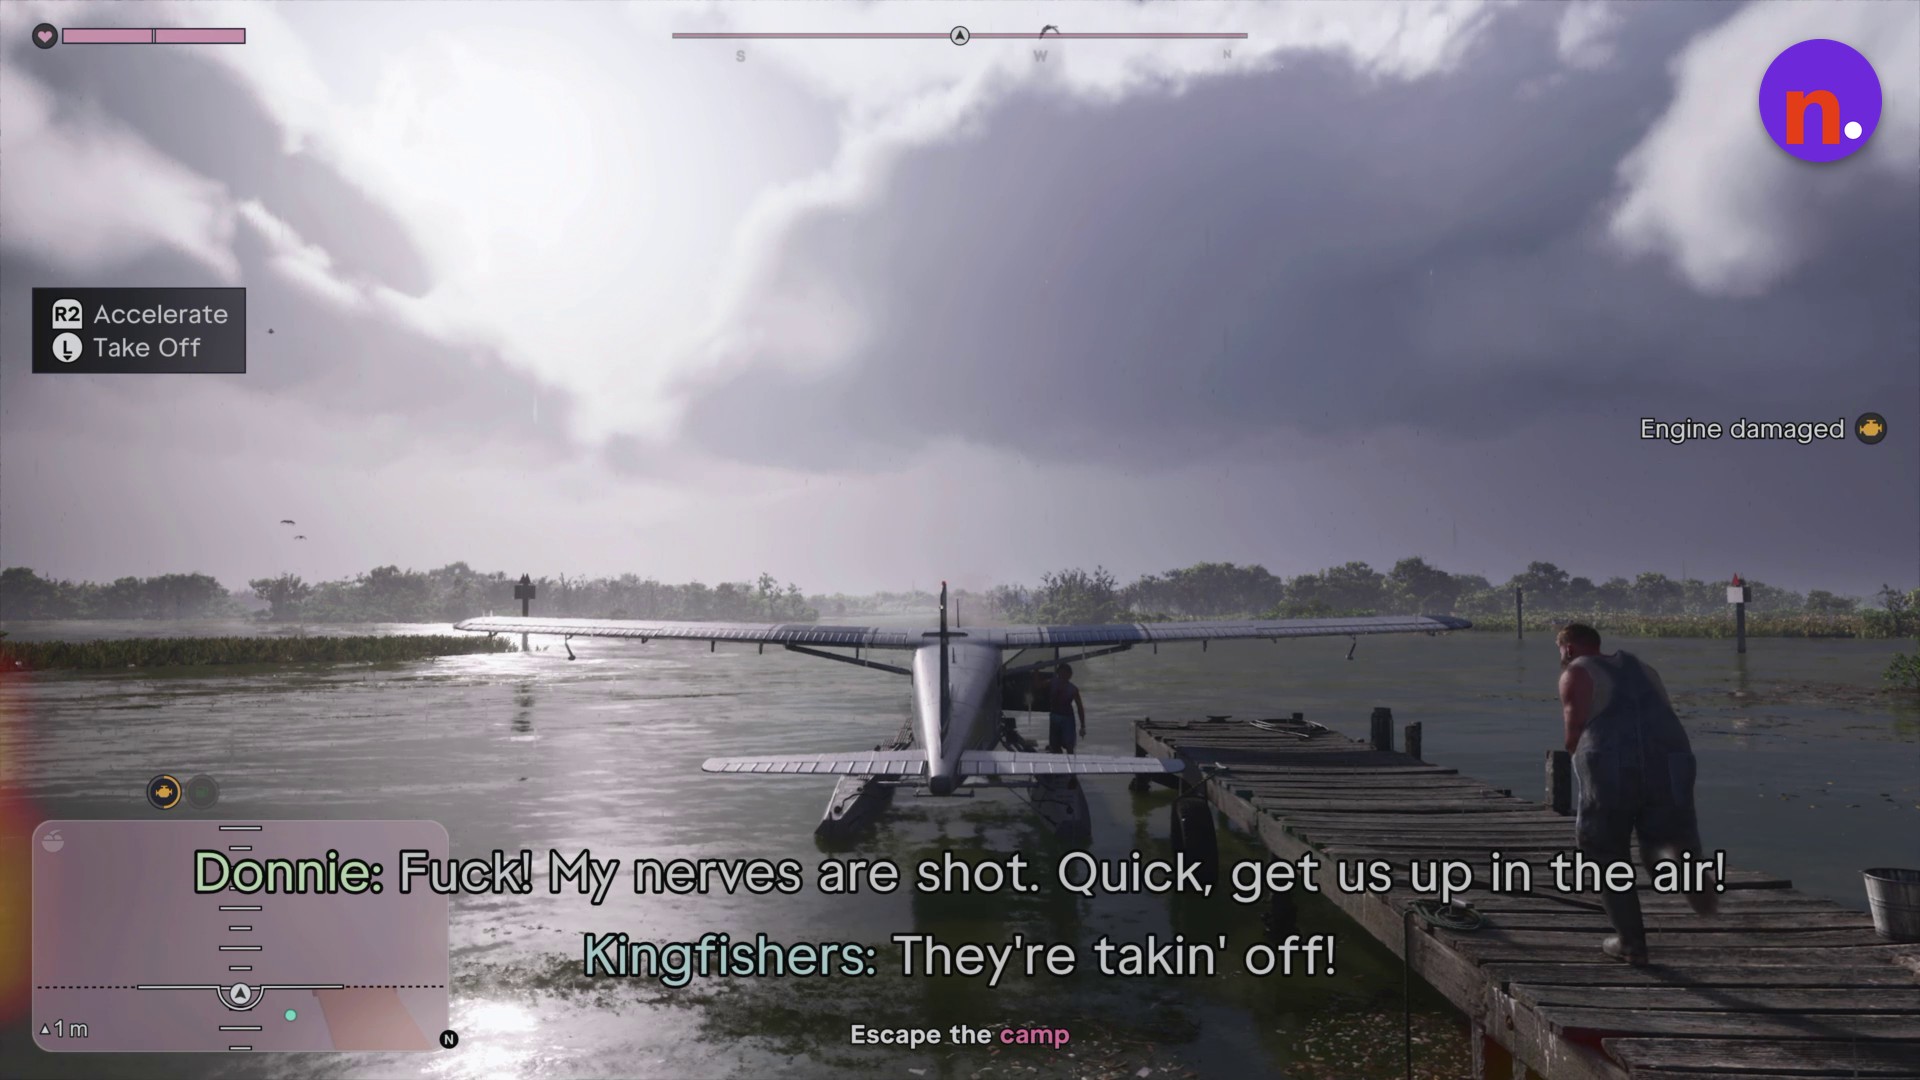
At Get in the sea plane, wade toward the seaplane beside the wooden pier. Climb onto its float and enter the cockpit of Mammoth Brian’s Dodo.
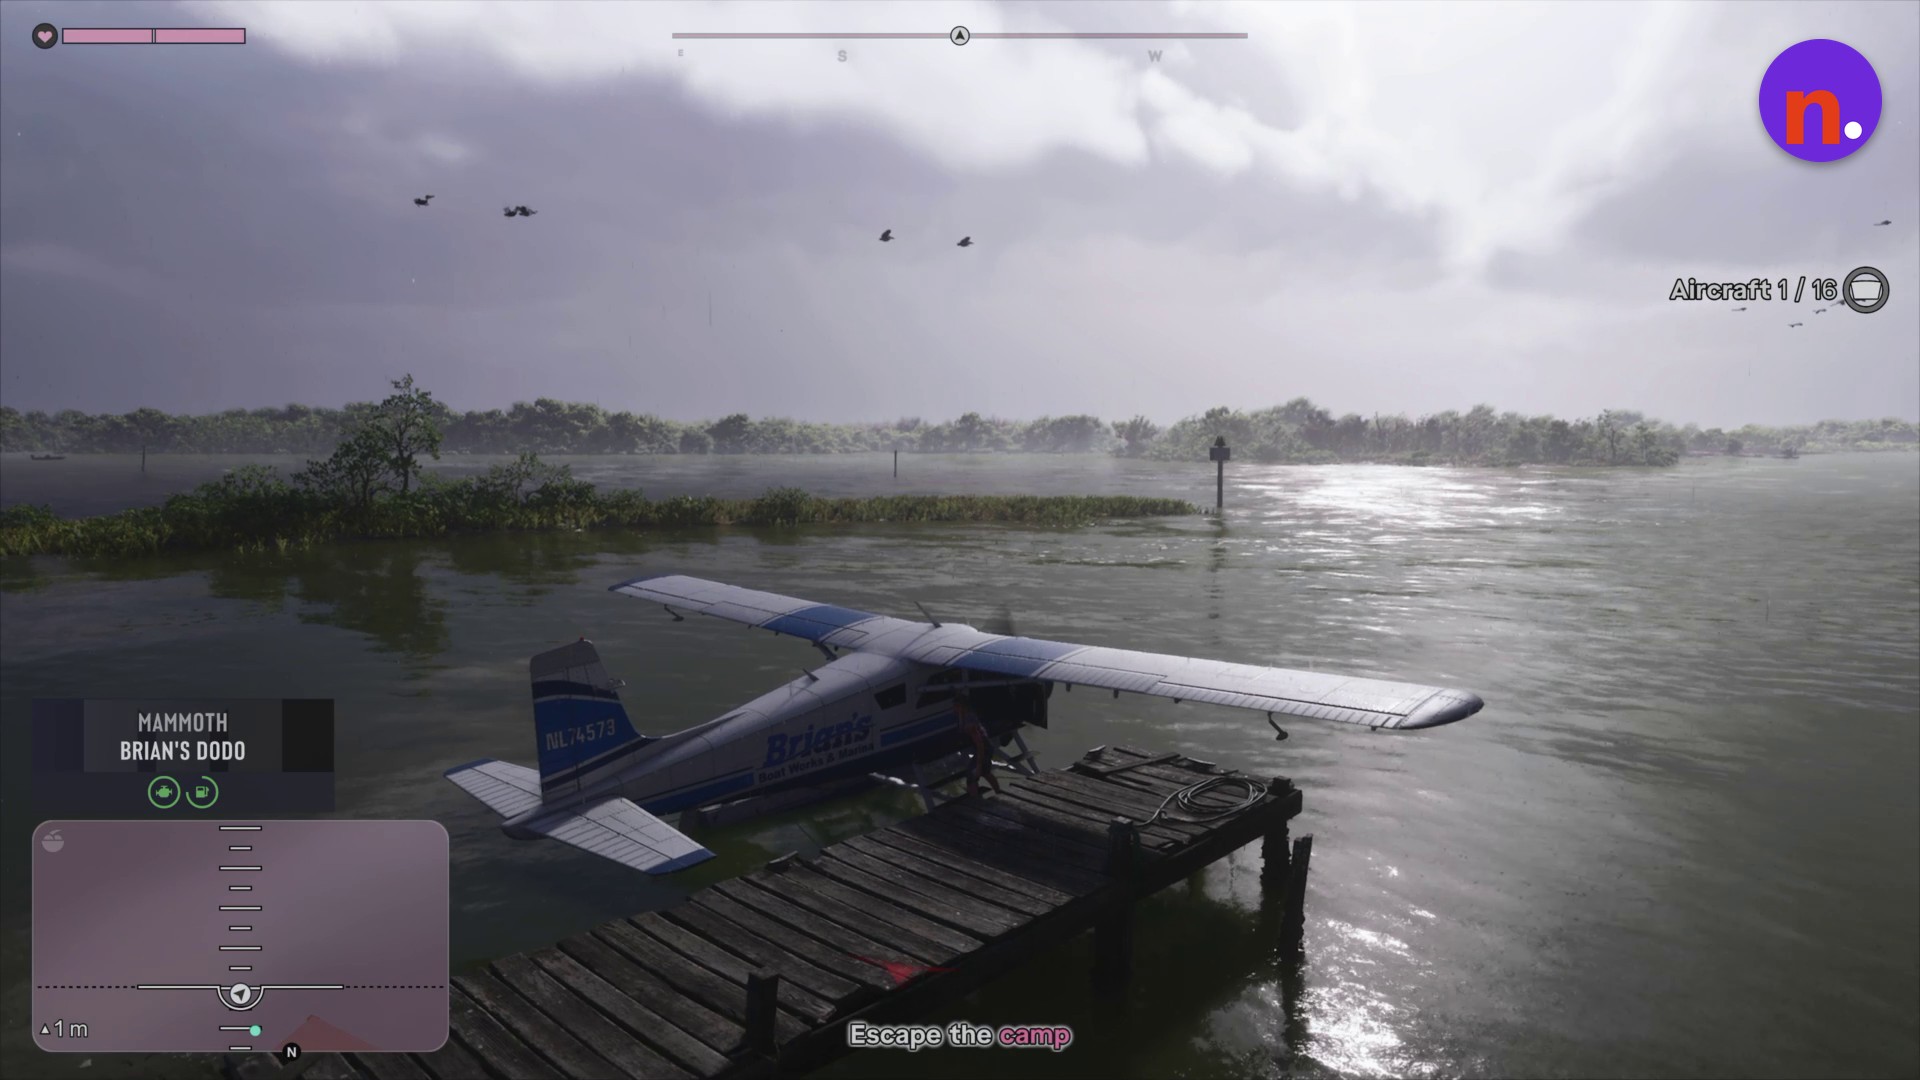
Take off from the camp
During Escape the camp, enemies fire on the aircraft. Accelerate across the water, then pull up to take off and climb above the water.
Retry from the checkpoint if needed
If you need another departure, open the pause menu and choose the checkpoint retry option. Back at the dock, accelerate down the water channel and take off again. A hard water impact can make the aircraft explode and bring up the wasted screen. After a landing crash, resume the flight above the water near the landing area.
Fly toward Brian’s marina
Follow Fly back to Brian’s marina across the open water. Head toward the objective marker guiding the return flight.
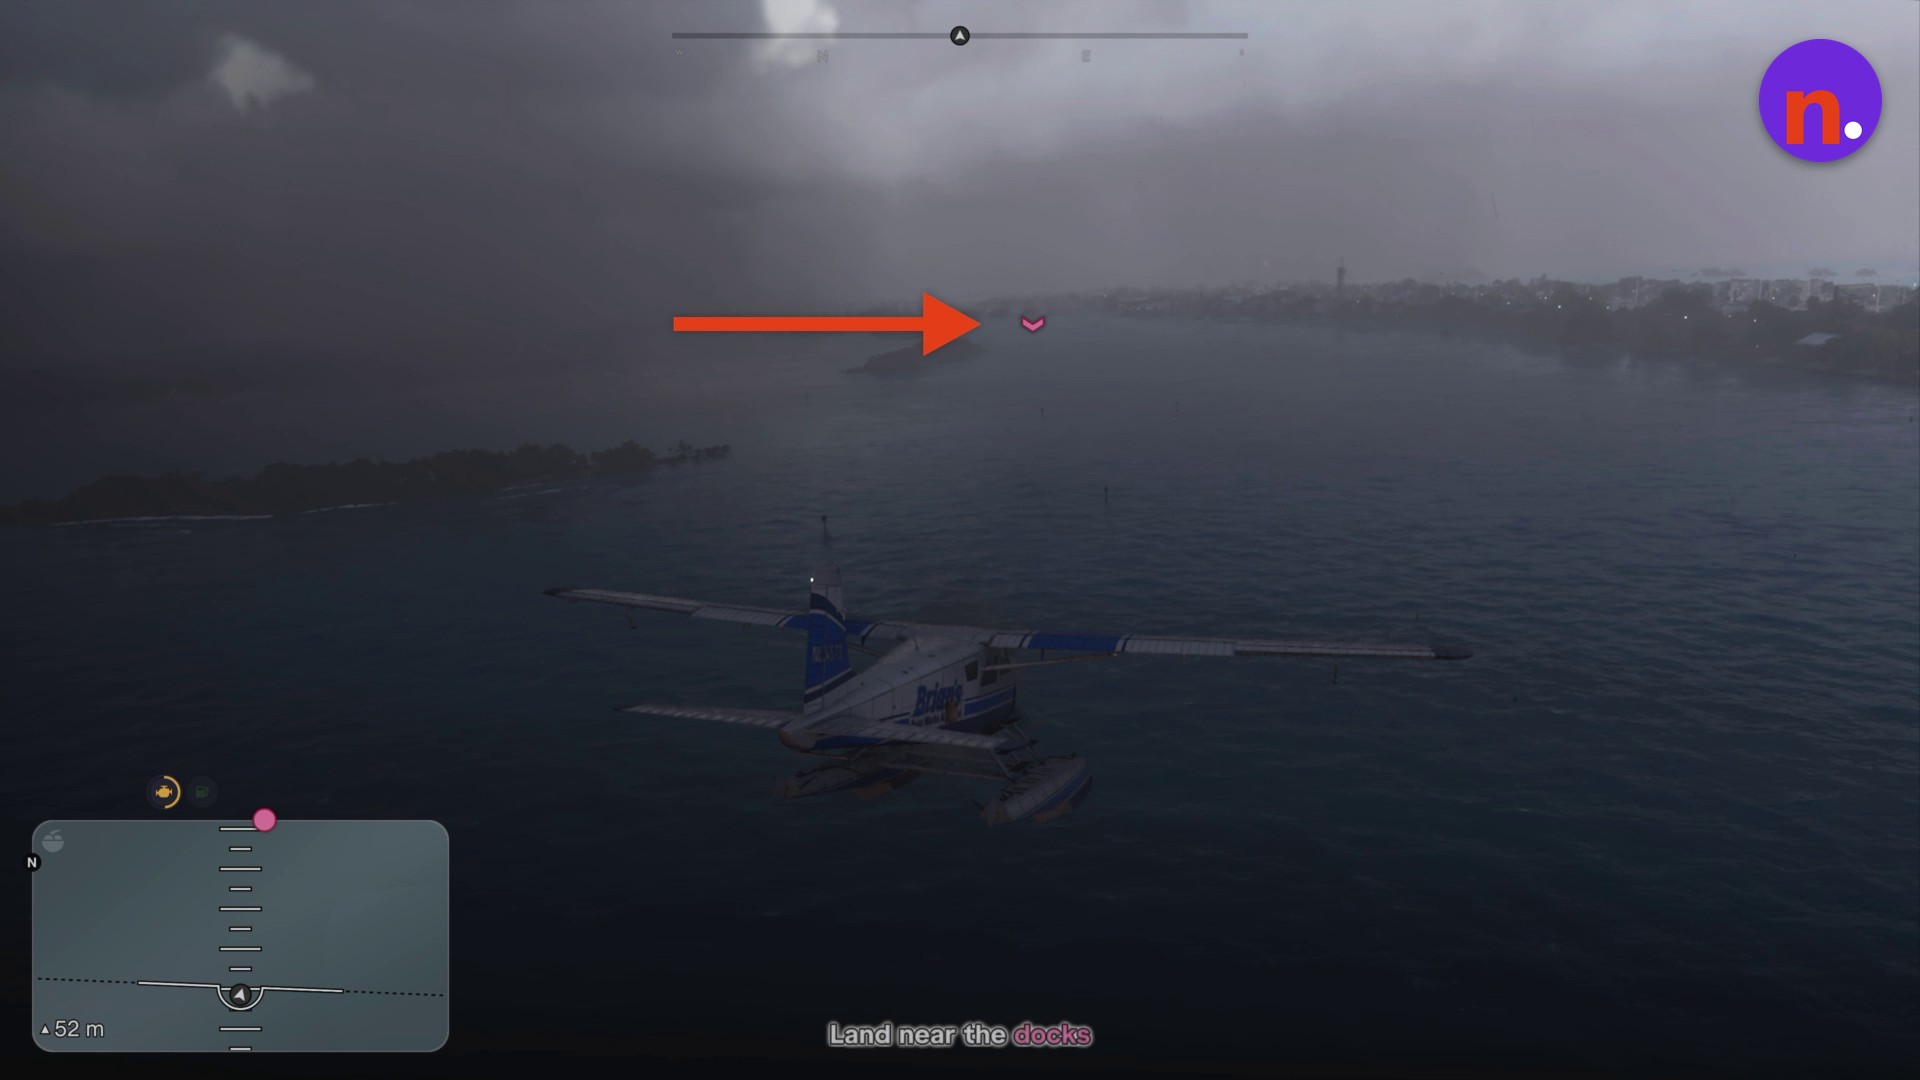
Land near the docks
When Land near the docks appears, approach the landing marker near the docks low over the water. Reduce speed and descend gently for a smooth touchdown near the marked docks.
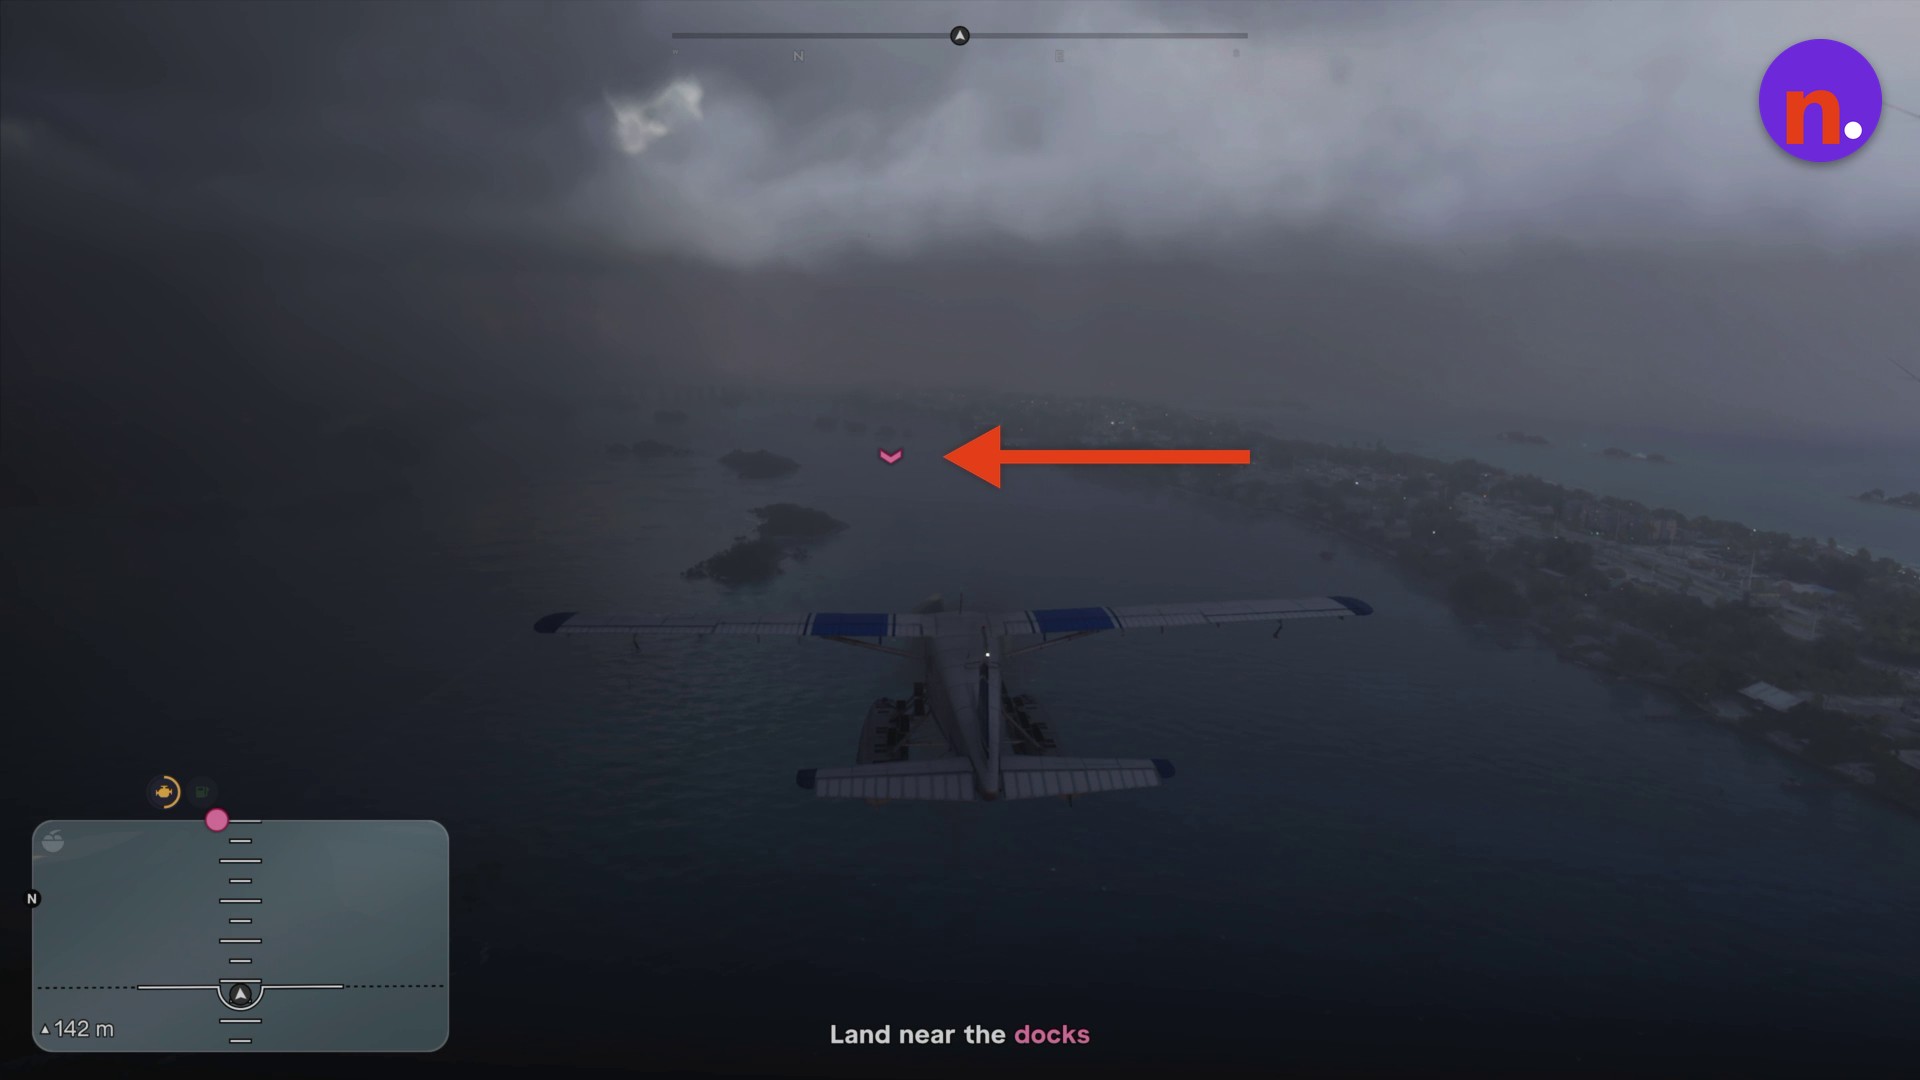
Taxi into the marina
For Take the plane to Brian’s marina, guide the Dodo through the canal and stop beside Brian’s dock at the boat works hangar entrance.
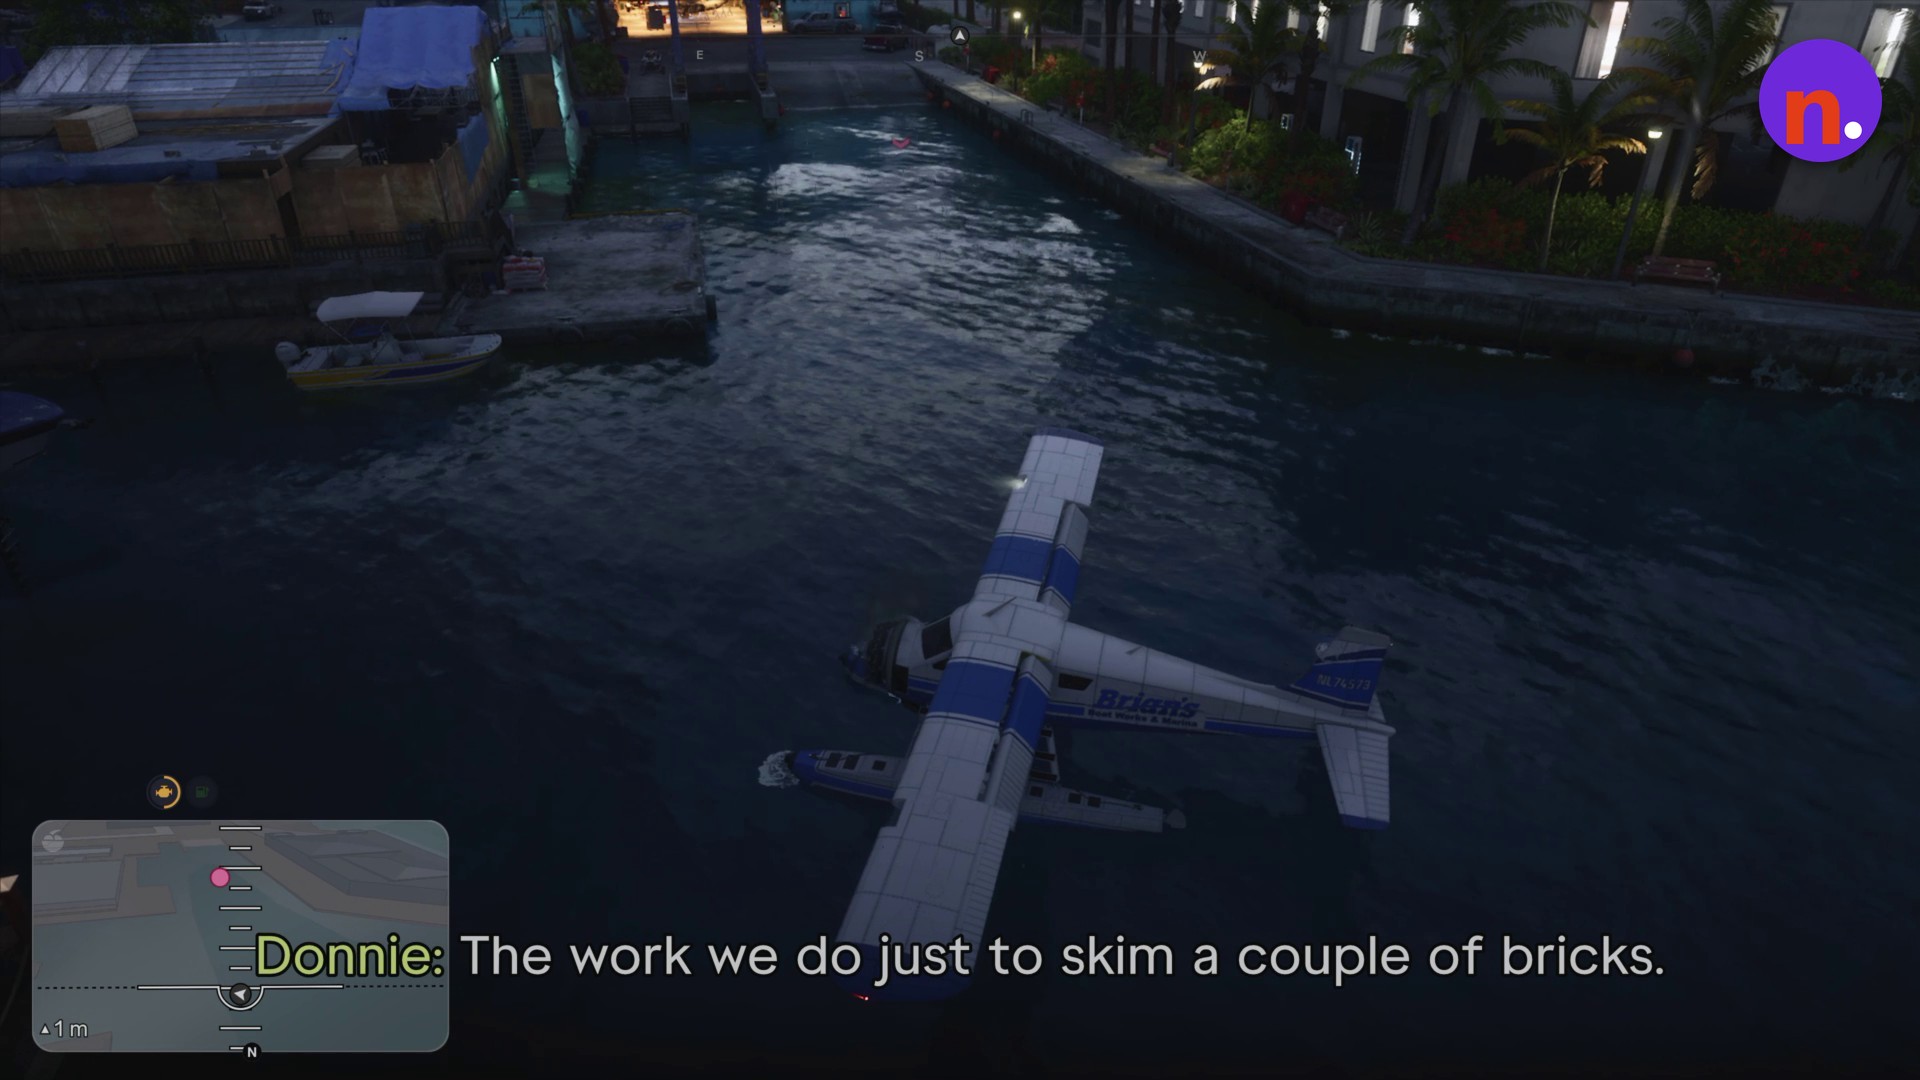
Part 5 – Take Cal home and return to Jason’s house
Leave the hangar and continue to Get in your car.
Walk to the pickup
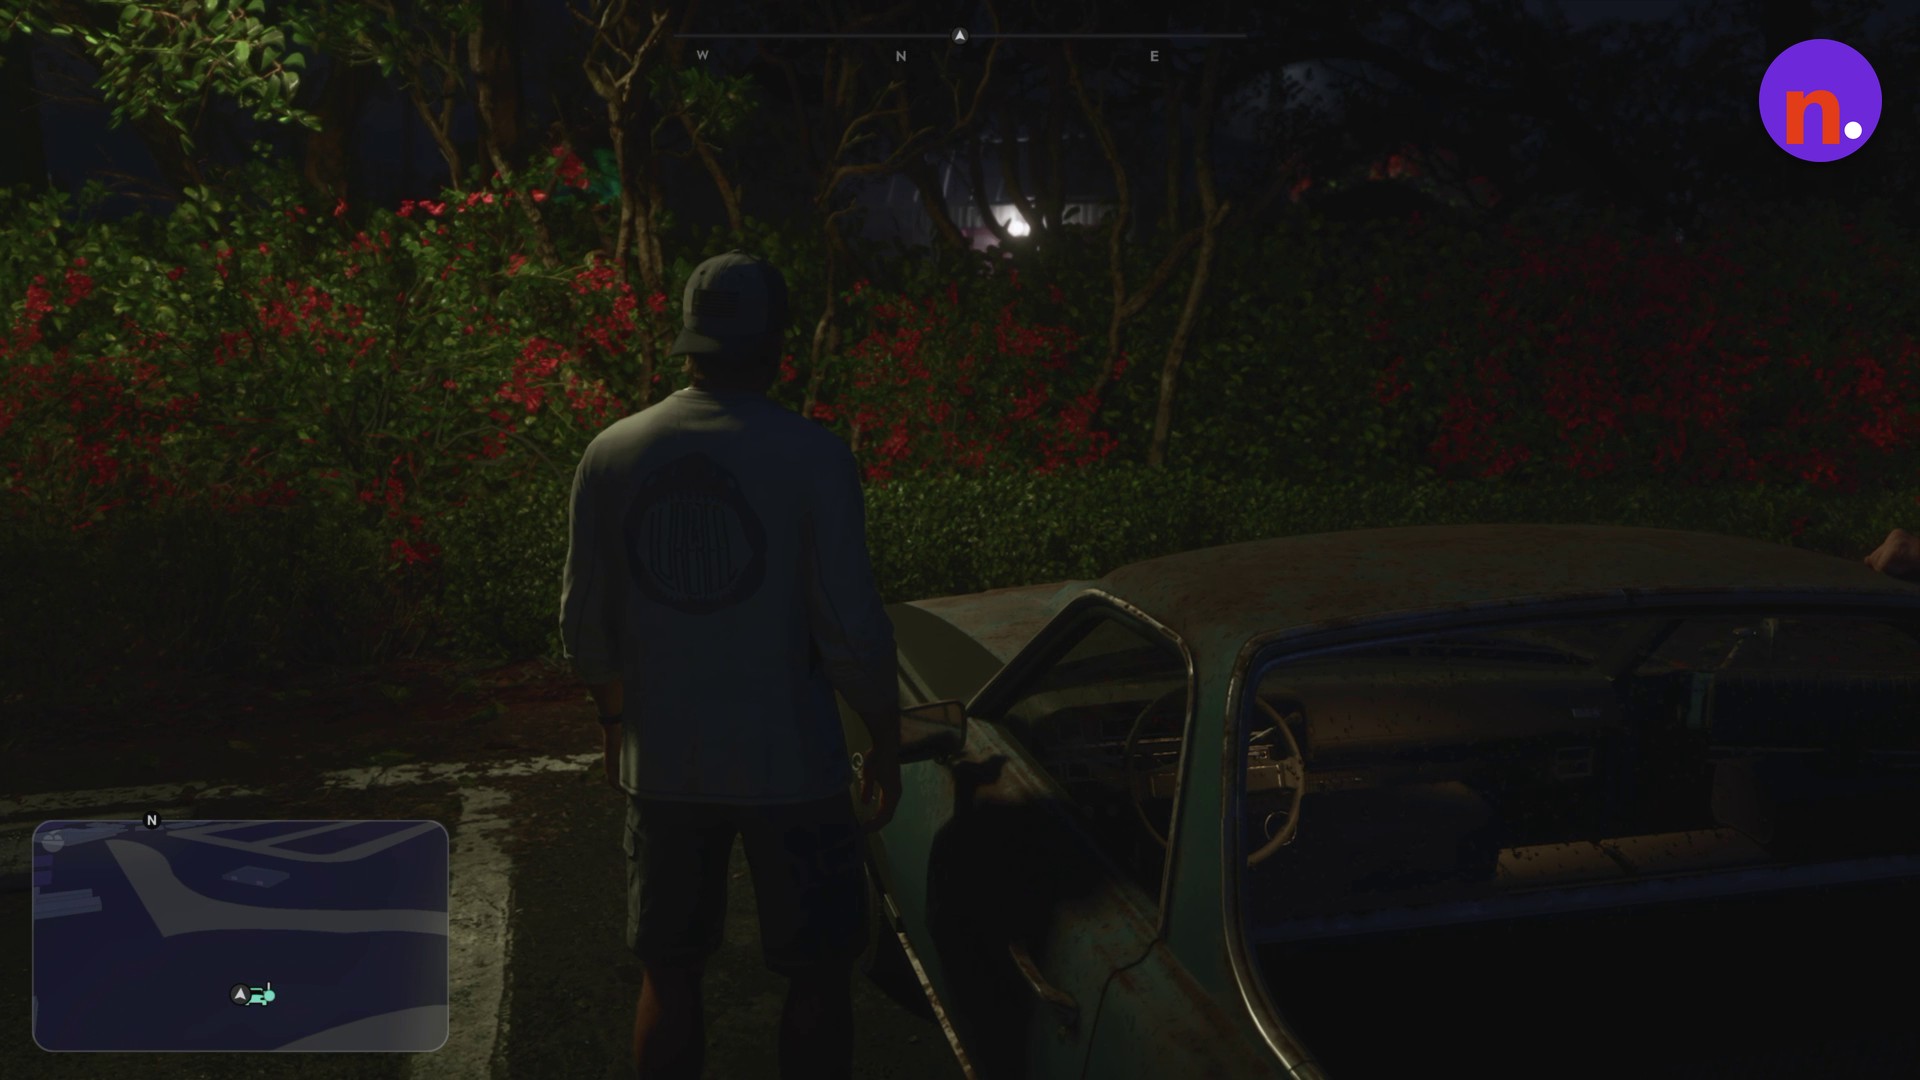
Meet Cal outside the hangar and follow him into the parking lot. Find Vapid Jason’s ’70 Ganado parked in the lot.
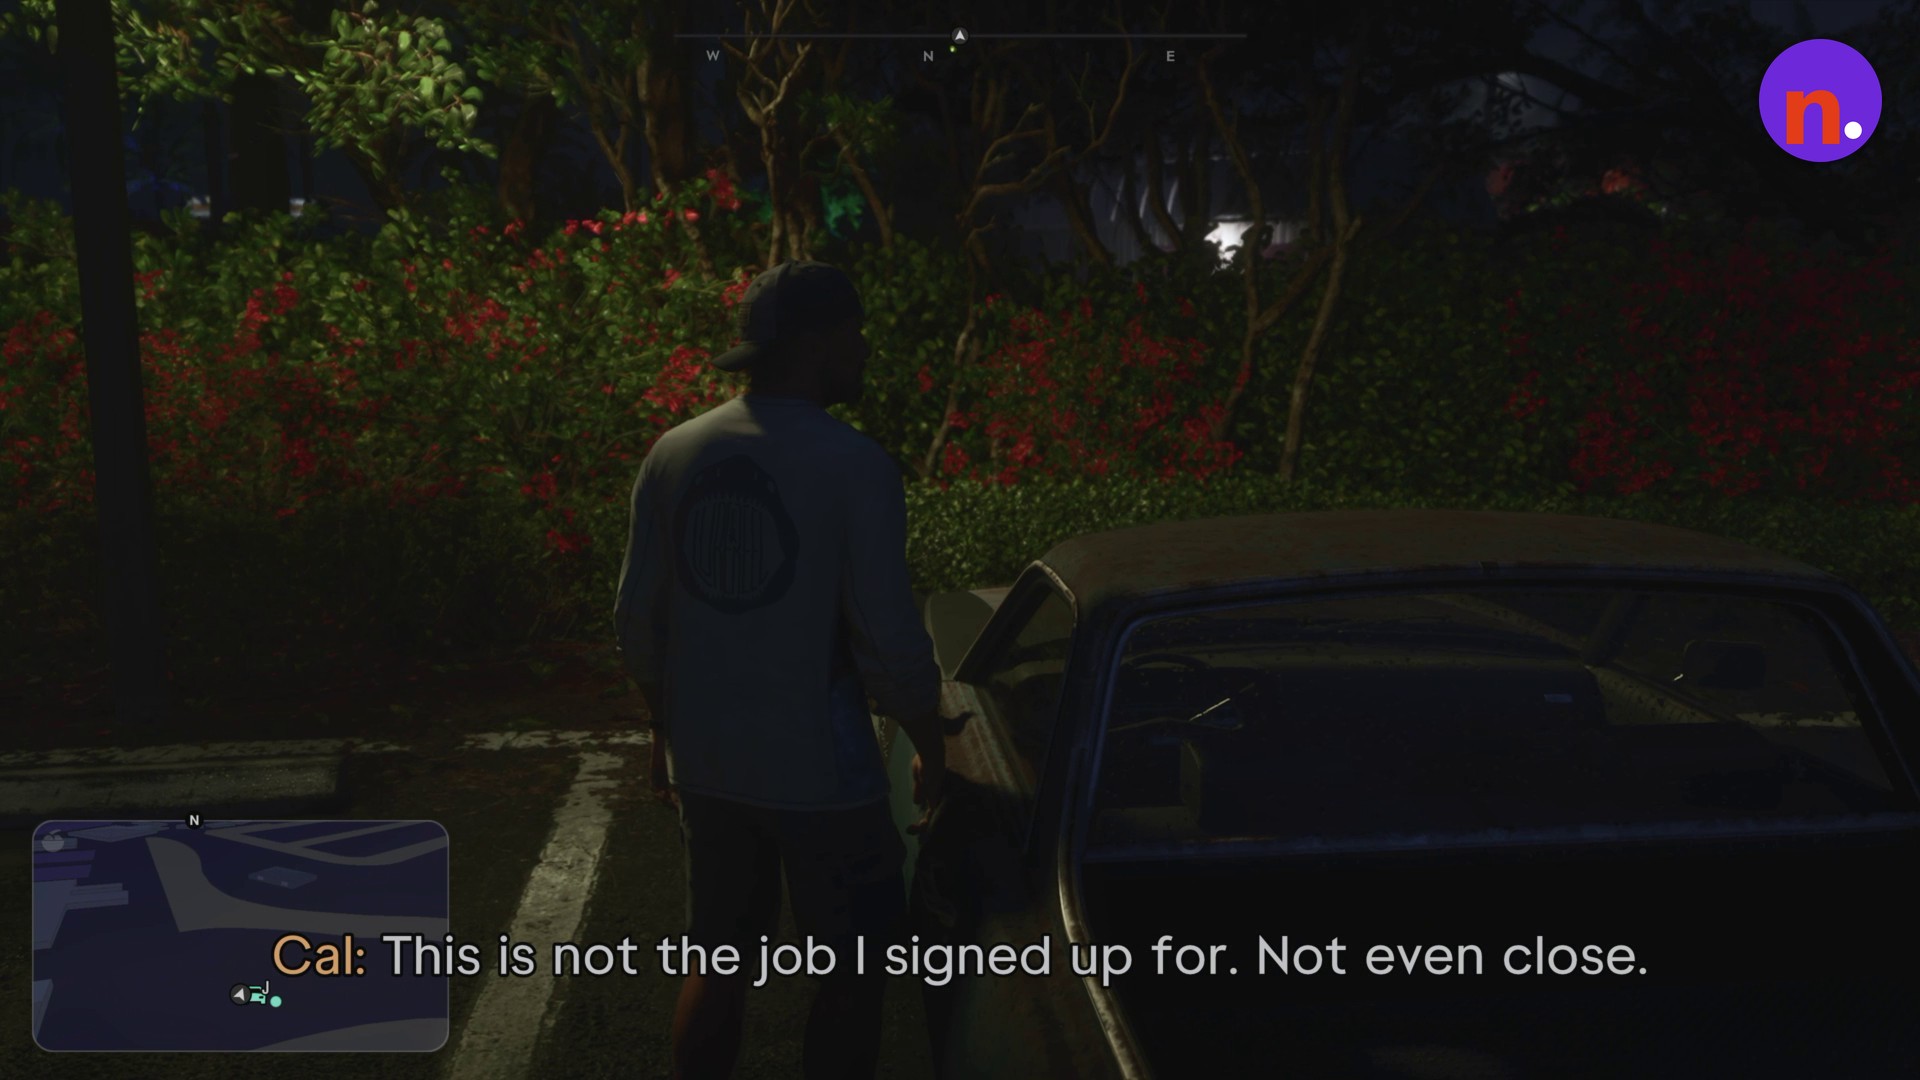
Get inside with Cal
You can inspect the pickup bed before boarding. Enter the vehicle with Cal when you’re ready to leave.
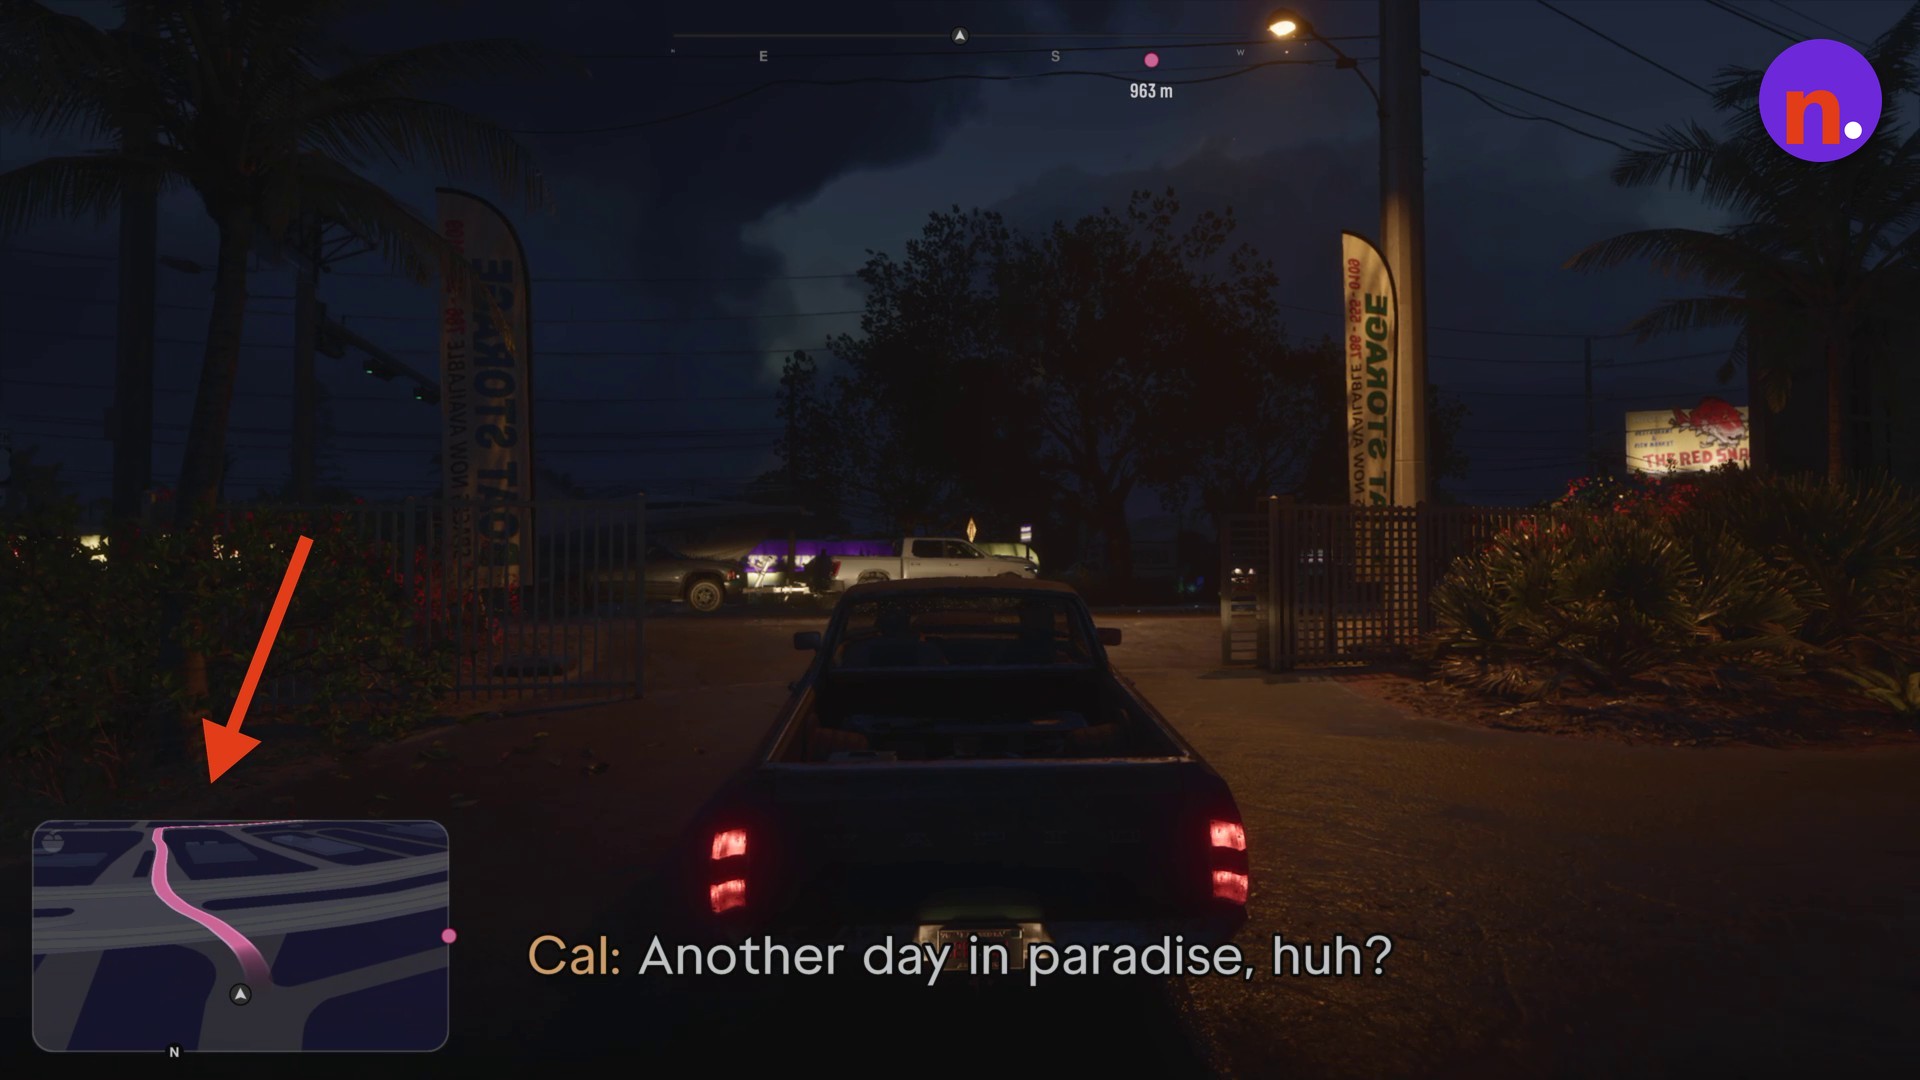
Drive Cal home
Follow Drive to Cal’s house along the minimap GPS route. Leave the marina, continue along the rural roads and drop Cal off at his house.
Return to Jason’s house
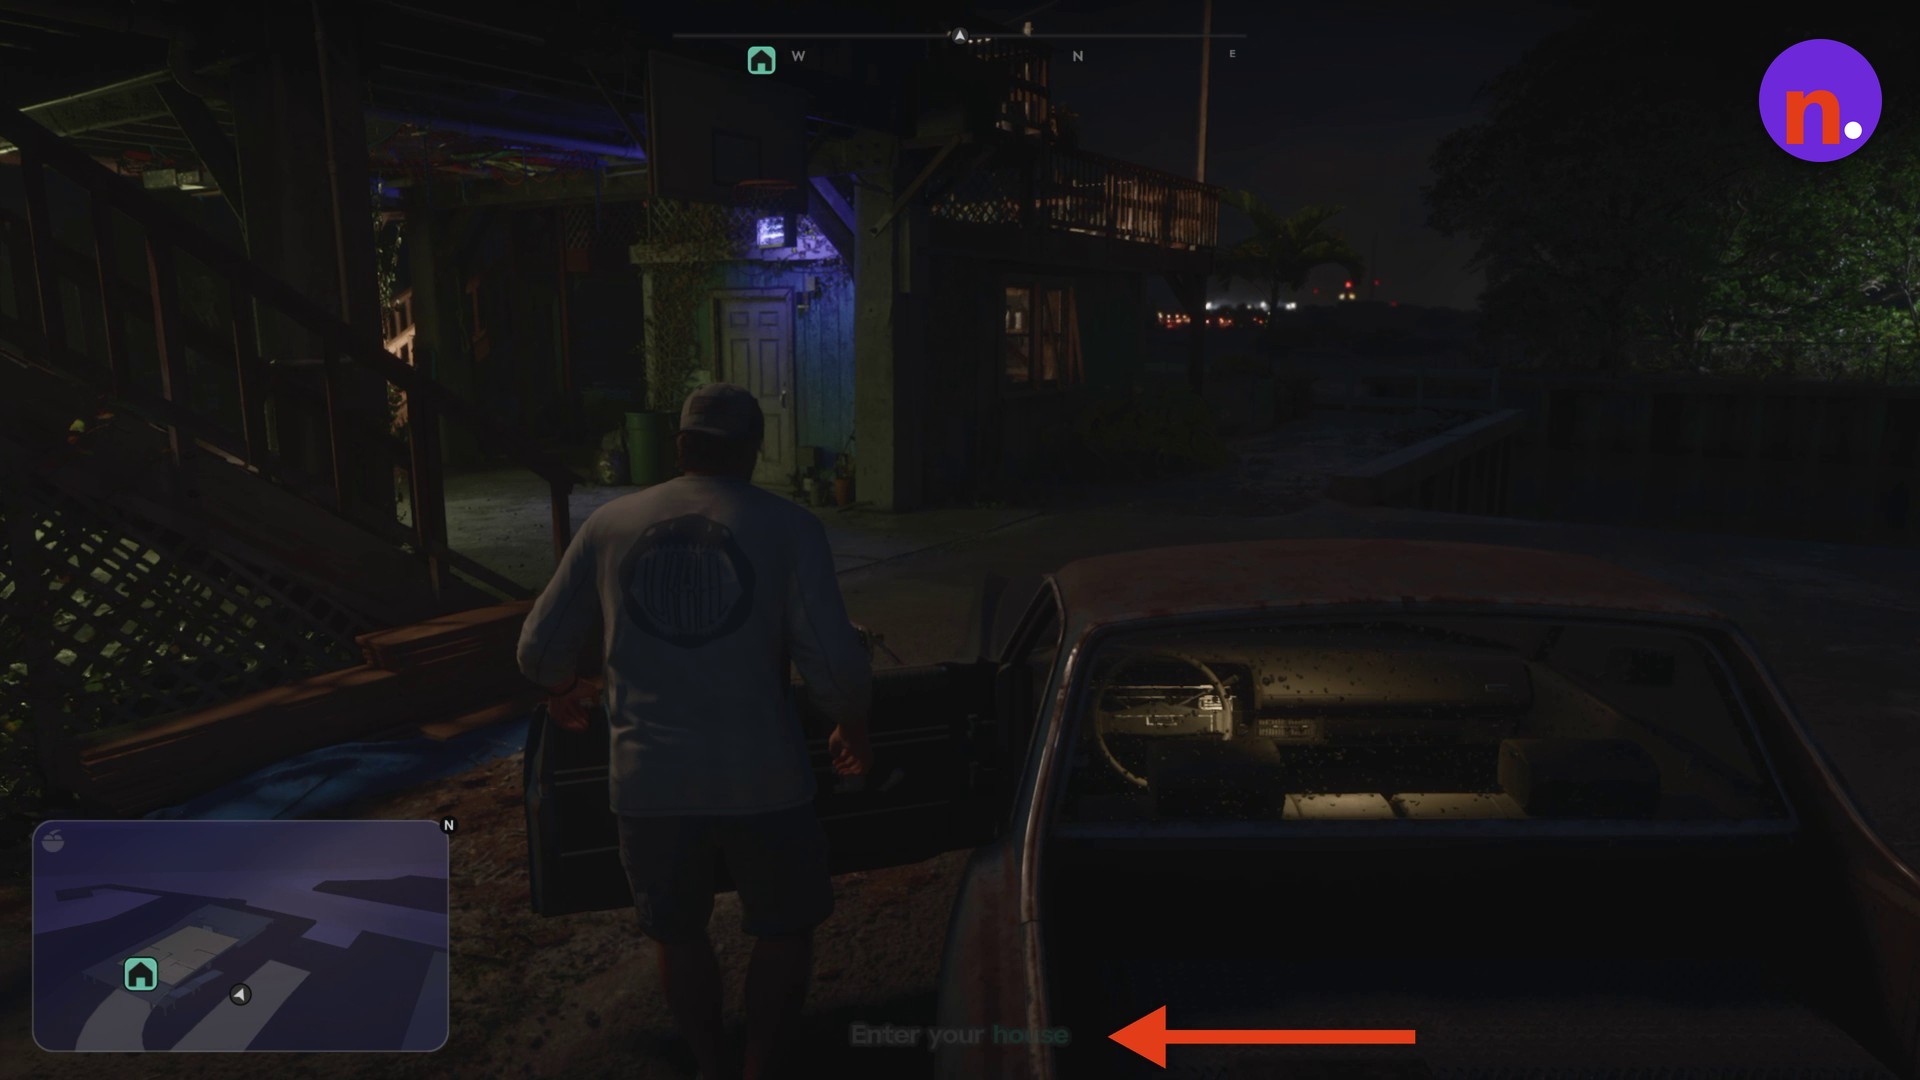
After the drop-off, follow Drive to your house through the neighborhood to Jason’s home. Park outside.
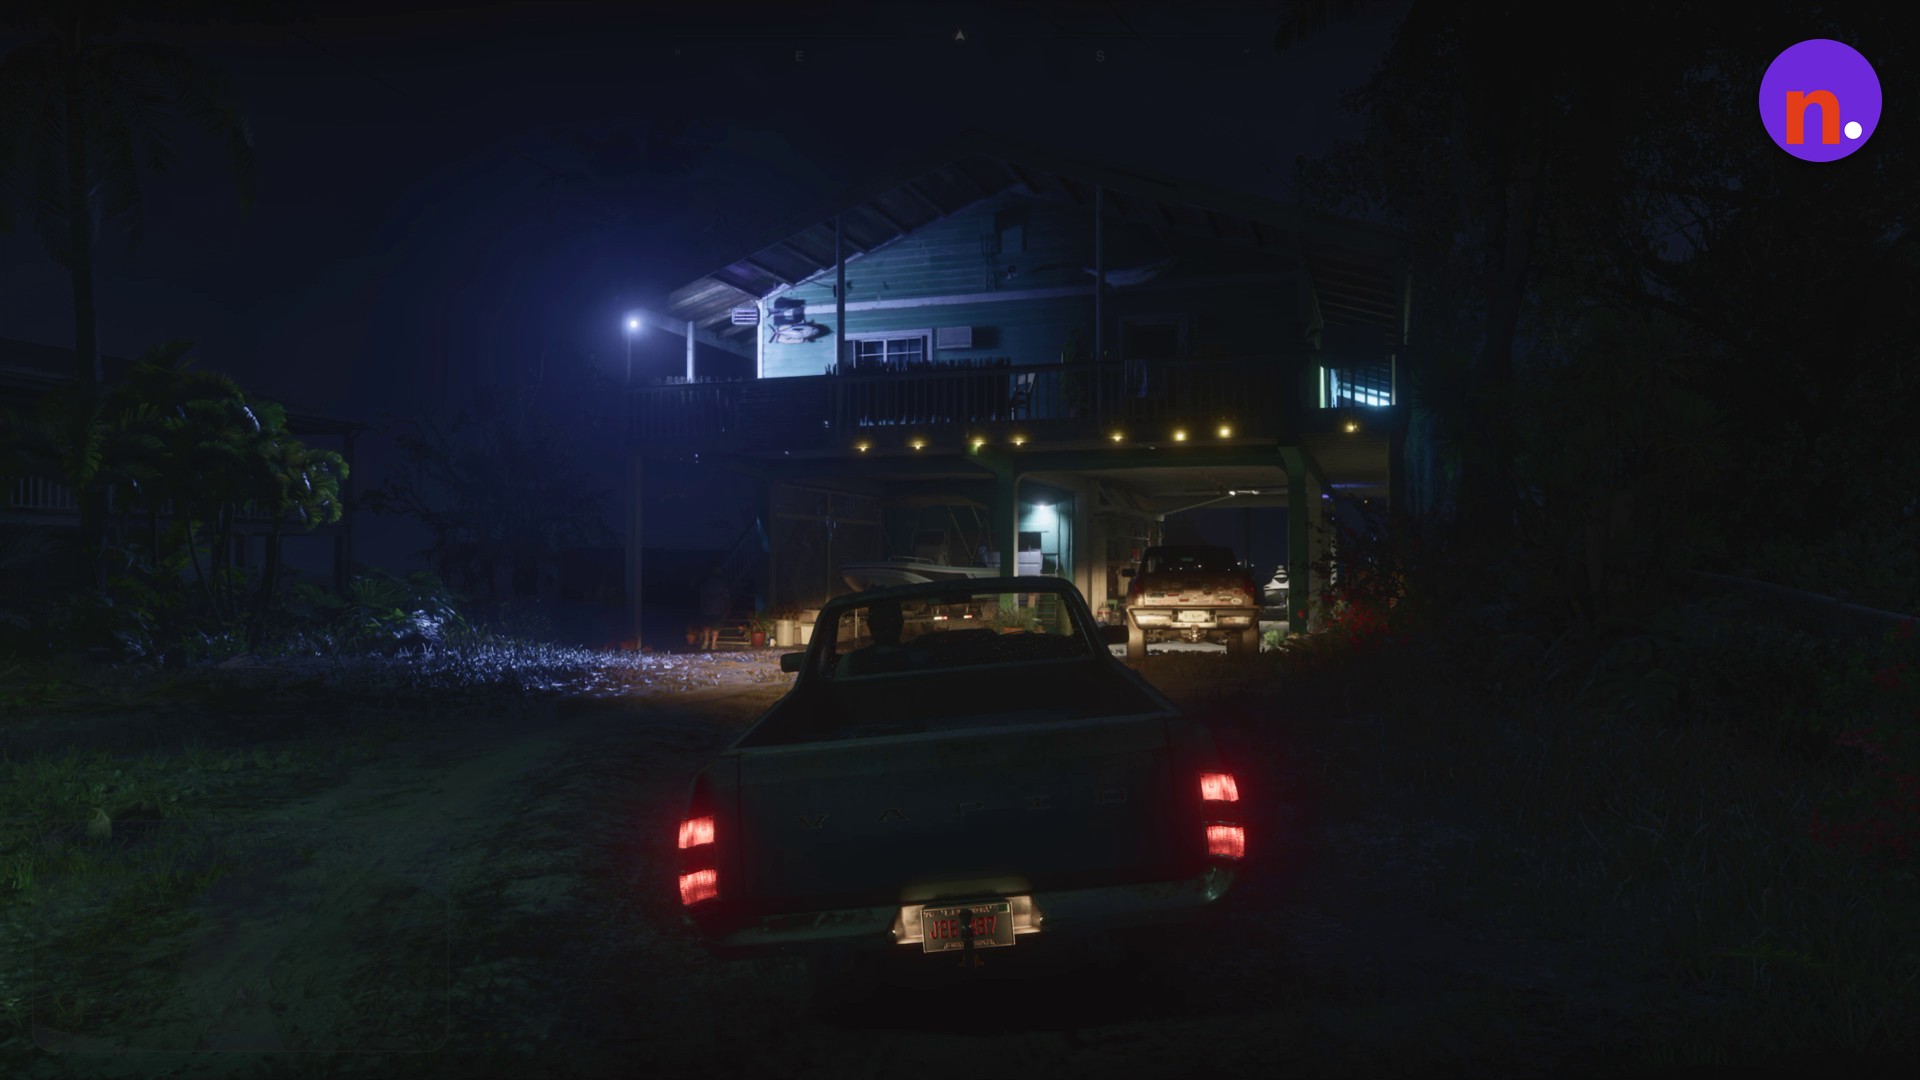
Enter the house
At Enter your house, exit the pickup and head for the exterior wooden stairs. Climb the stairs and go inside.
Plane destroyed The failure screen reads THE PLANE WAS DESTROYED. An explosion among the trees also brings up that failure screen. Keep the aircraft intact throughout the escape and return flight.
Open the pause menu’s Brief tab to revisit Dialogue, Help Text and Objective Text when you need a reminder of a prompt or instruction.
› story detailsSpoilers for the story. Open to read.
Gone Fishing story details
Back at Jason’s home, Lucia Caminos phones from The Hamlet Correctional Facility and says overcrowding could lead to her early release.
The pause-menu map includes robbery-target details for Sunrise RV Park.
Brian visits Jason at home and assigns a collection job: retrieve overdue rent checks at the art market boutique’s lab.
Andrew at Chuck’s Gun Shop contacts Jason with an invitation to purchase weapons and ammunition.
Related Grand Theft Auto VI guides


Leave a Reply