

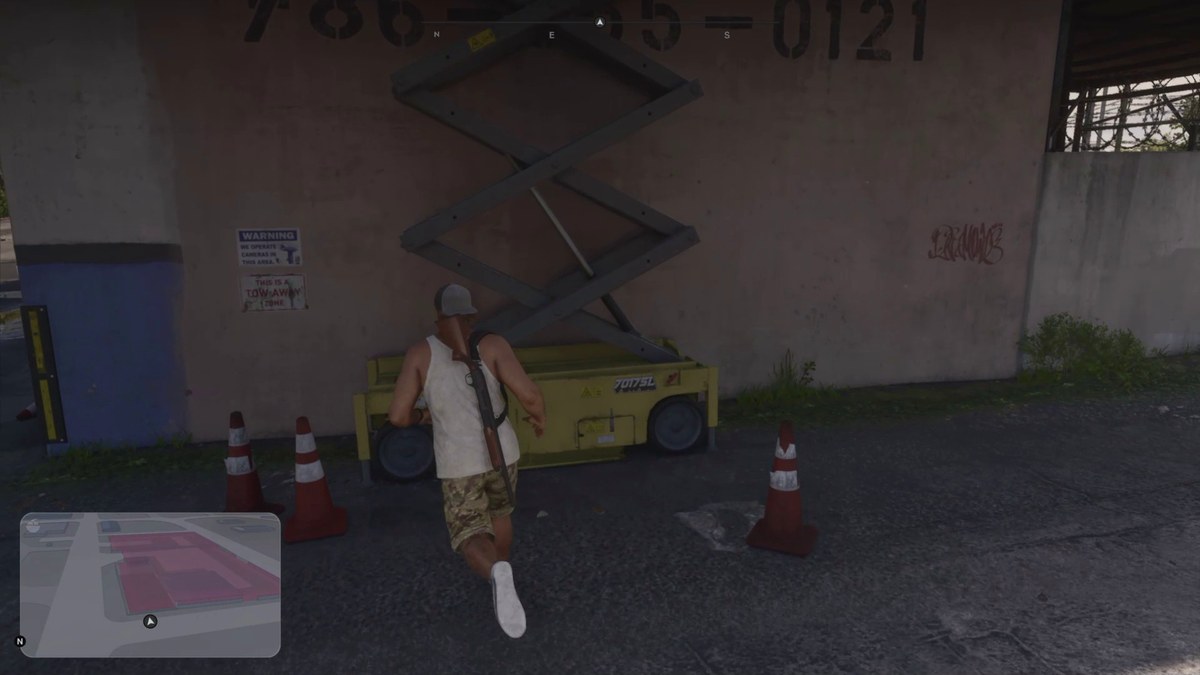
Use the yellow scissor lift to reach the impound roof, enter the yard and steal the Phoenix, escape through the highway fields and lose the cops, then get the car repaired and given a new paint job at Peyton’s Scrapyard.
In Grand Theft Auto VI, you work with Cal to recover an impounded car for Brian. Getting it moving brings police pursuit into the job. This guide covers the impound entry, Phoenix theft, police escape and garage services, ending as you head toward Brian’s garage. The game’s listed platforms are PlayStation 5 and Xbox Series X|S.
How to free the Phoenix and lose the cops in Grand Theft Auto VI
Reach the roof, get the Phoenix out of the yard, escape pursuit, and prepare the car for delivery.
Part 1 – Reach the impound roof
Use the exterior lift to reach a position overlooking the yard.
Inspect Cal’s message
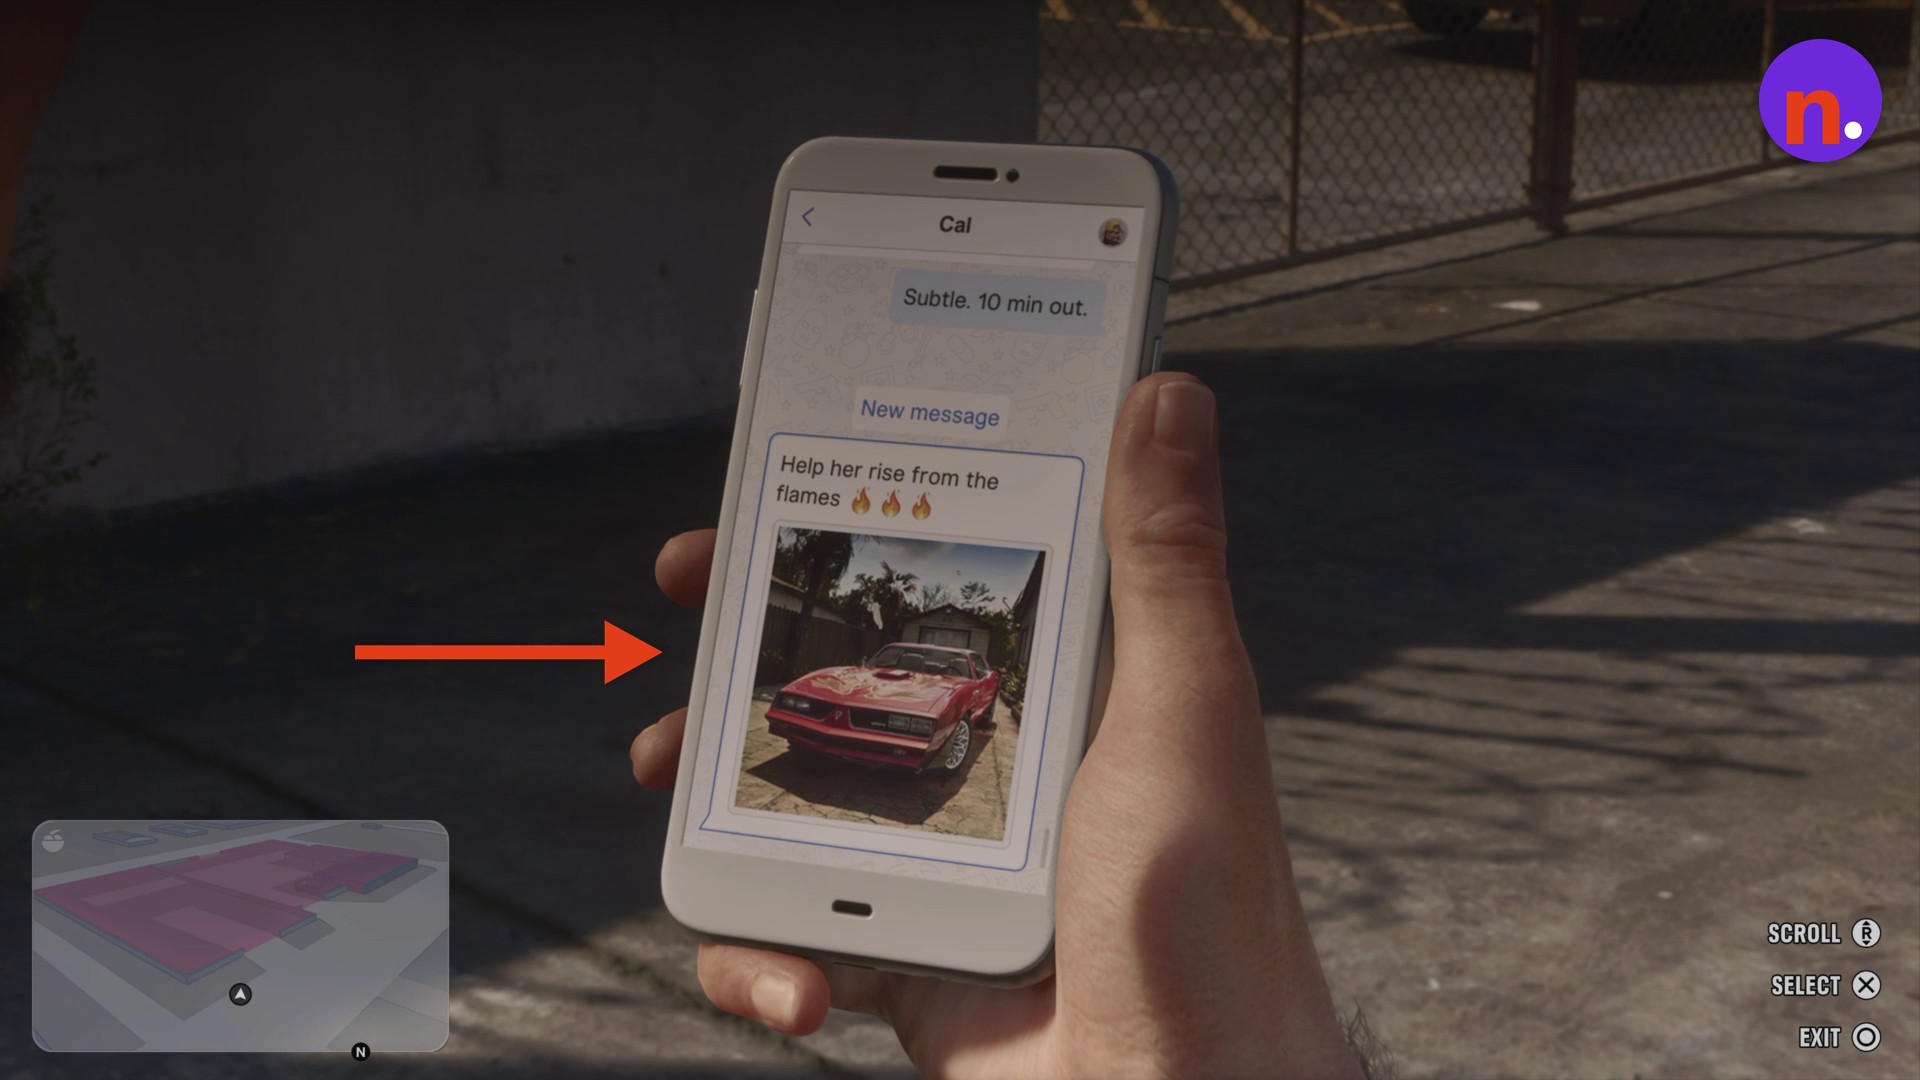
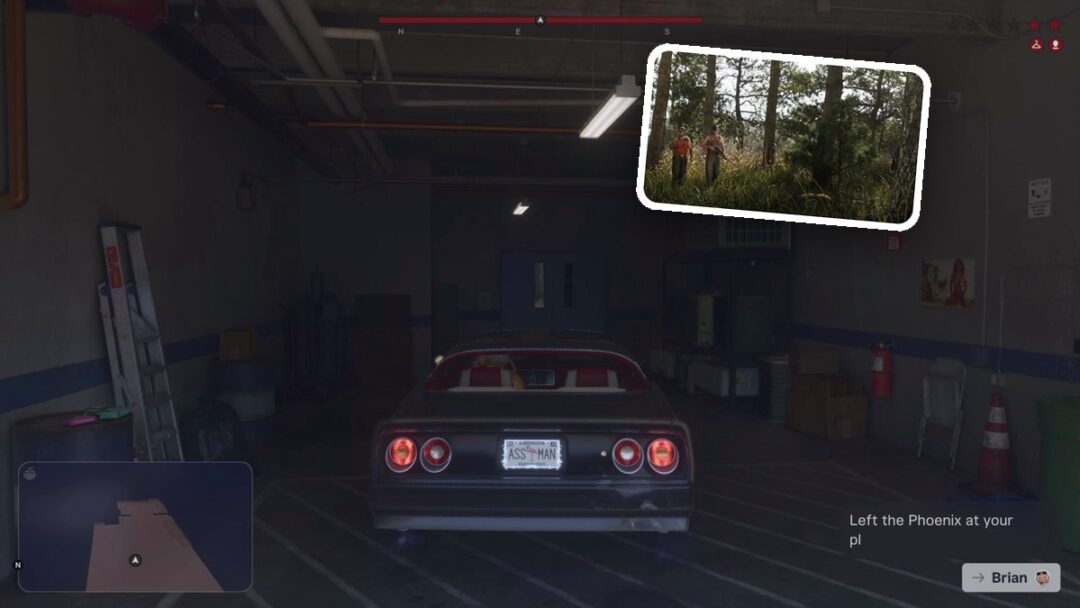
Open your smartphone and read Cal’s message, “Subtle. 10 min out.” Its attached photograph shows the red Phoenix you’re collecting.
Find the yellow scissor lift
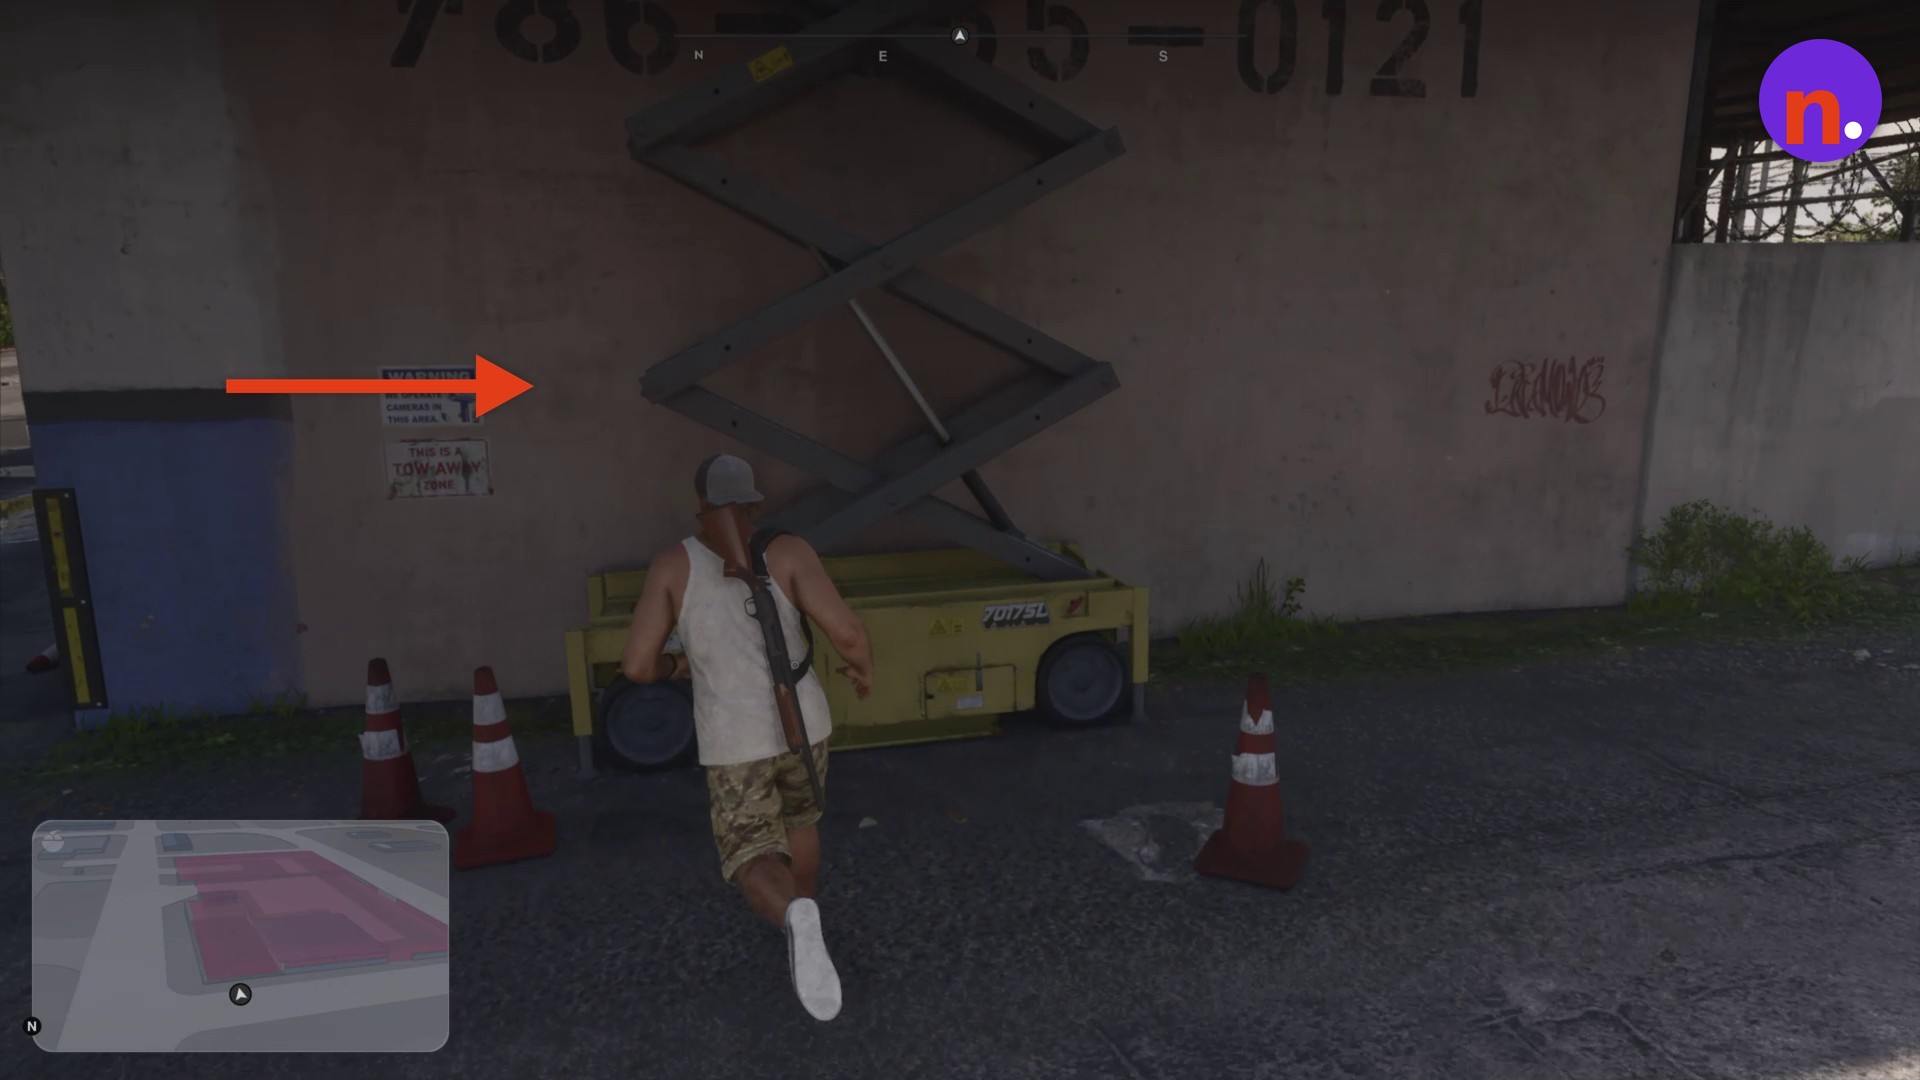
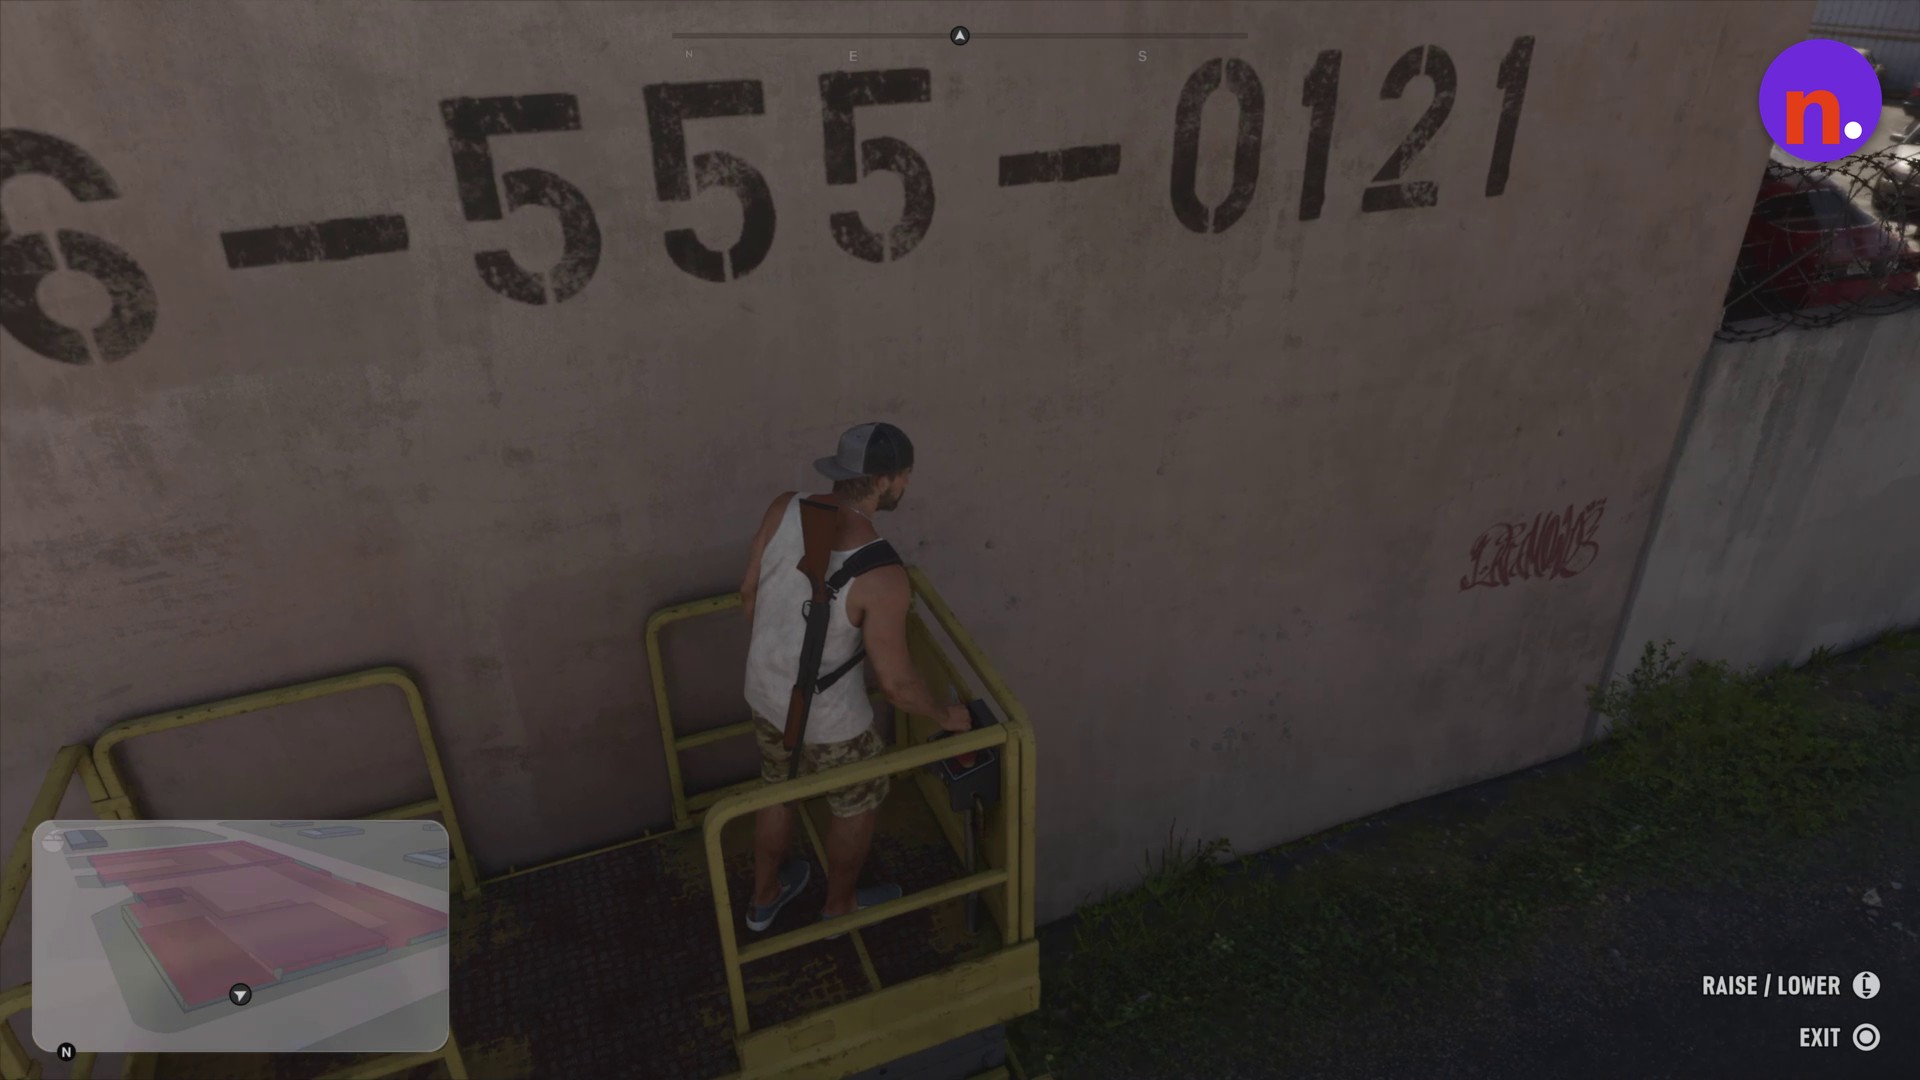
Follow the exterior wall past the main impound entrance. The yellow scissor lift is parked against the building’s wall.
Lower the lift platform
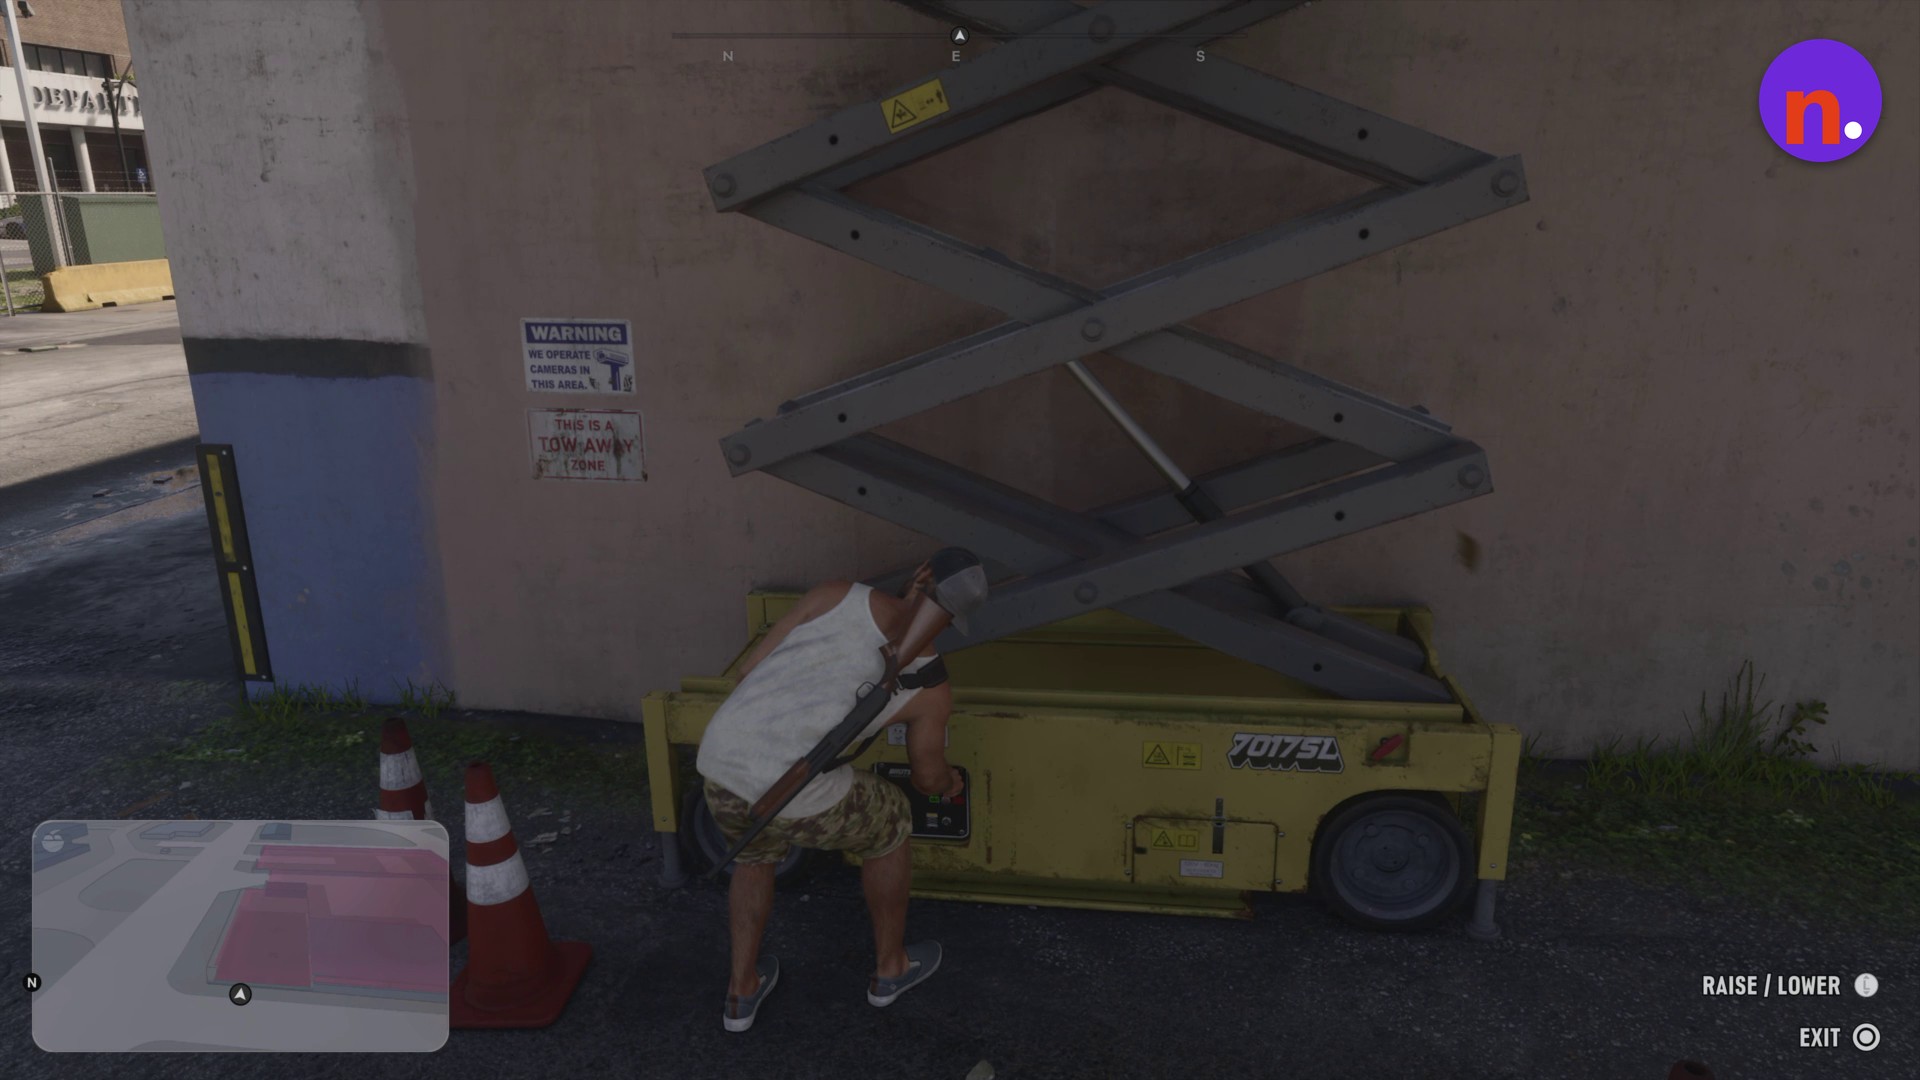
Press Triangle at the ground-level control panel, then use the RAISE / LOWER interface to bring the platform down so you can board it.
Ride the lift to the roof
Climb onto the lowered platform and activate its controls to raise it to roof height. Climb from the platform onto the police building’s roof.
Scan the impound with WAiNK
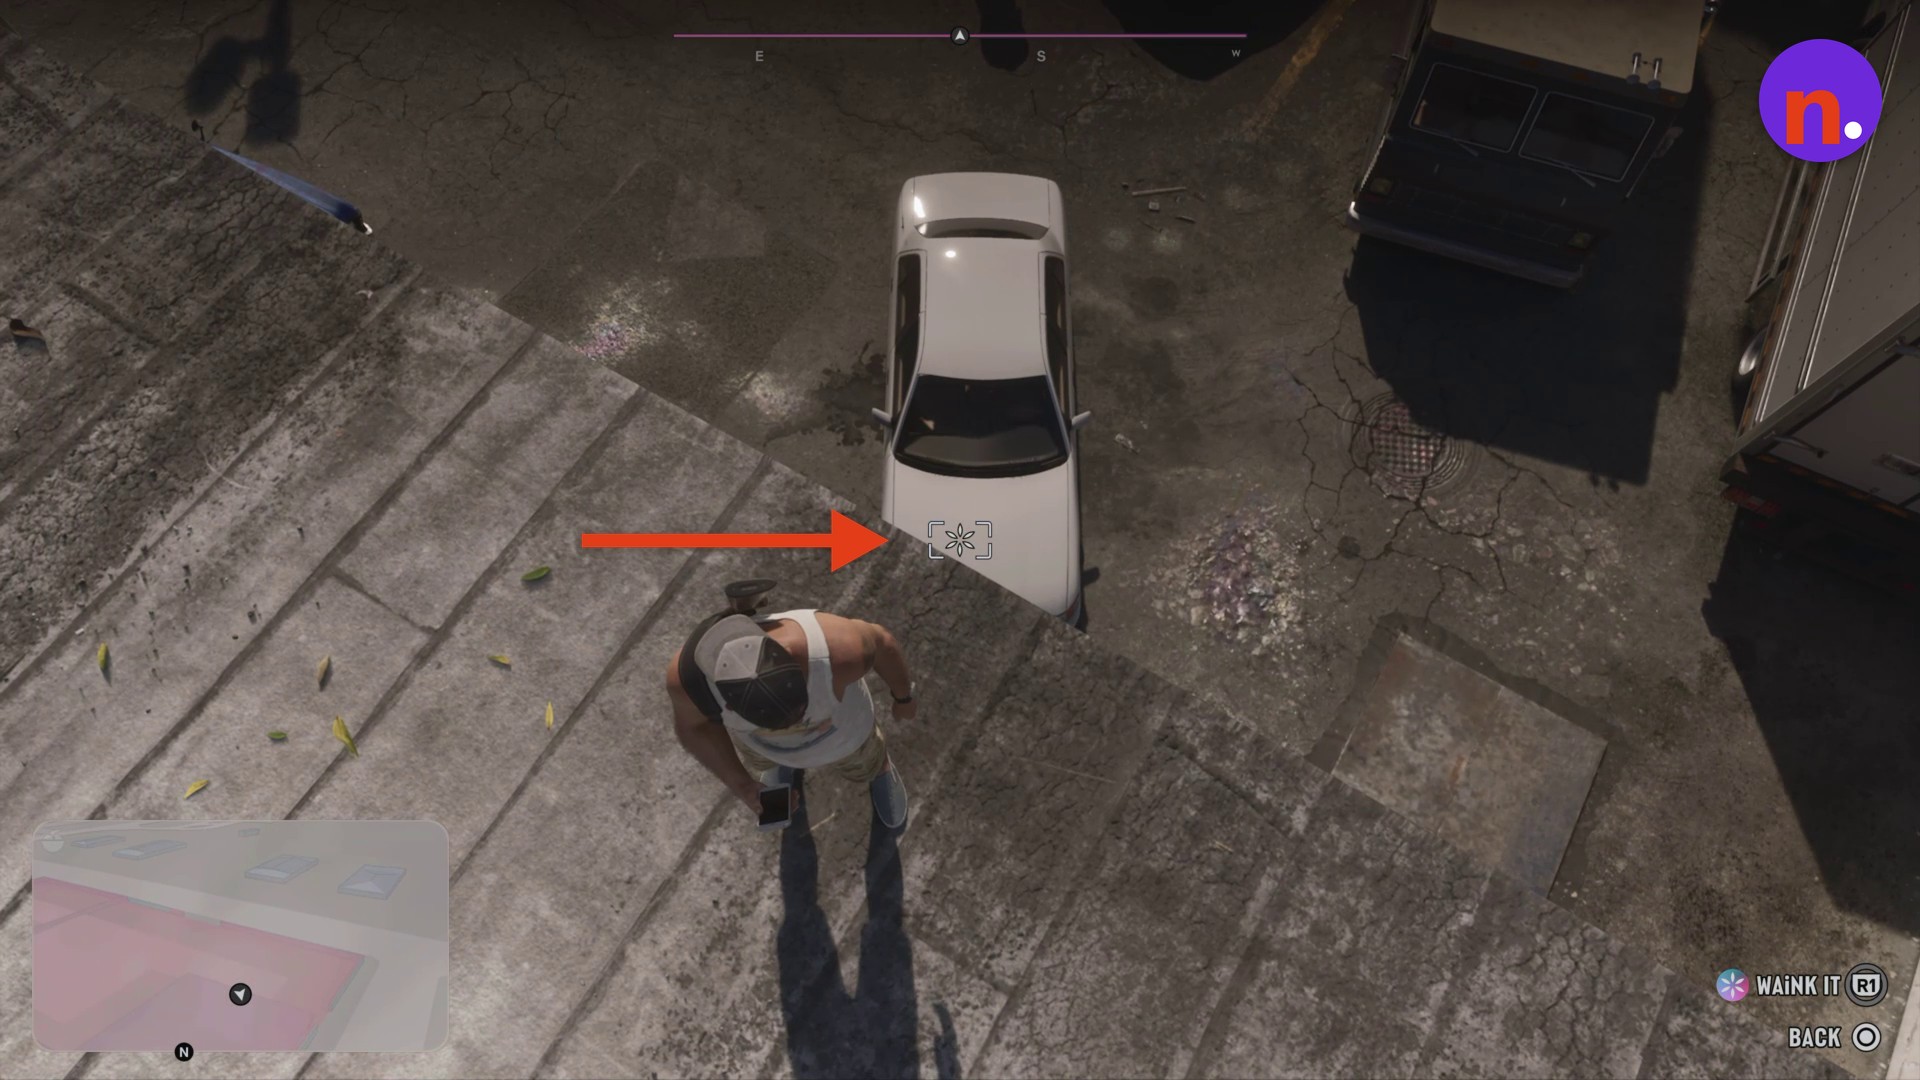
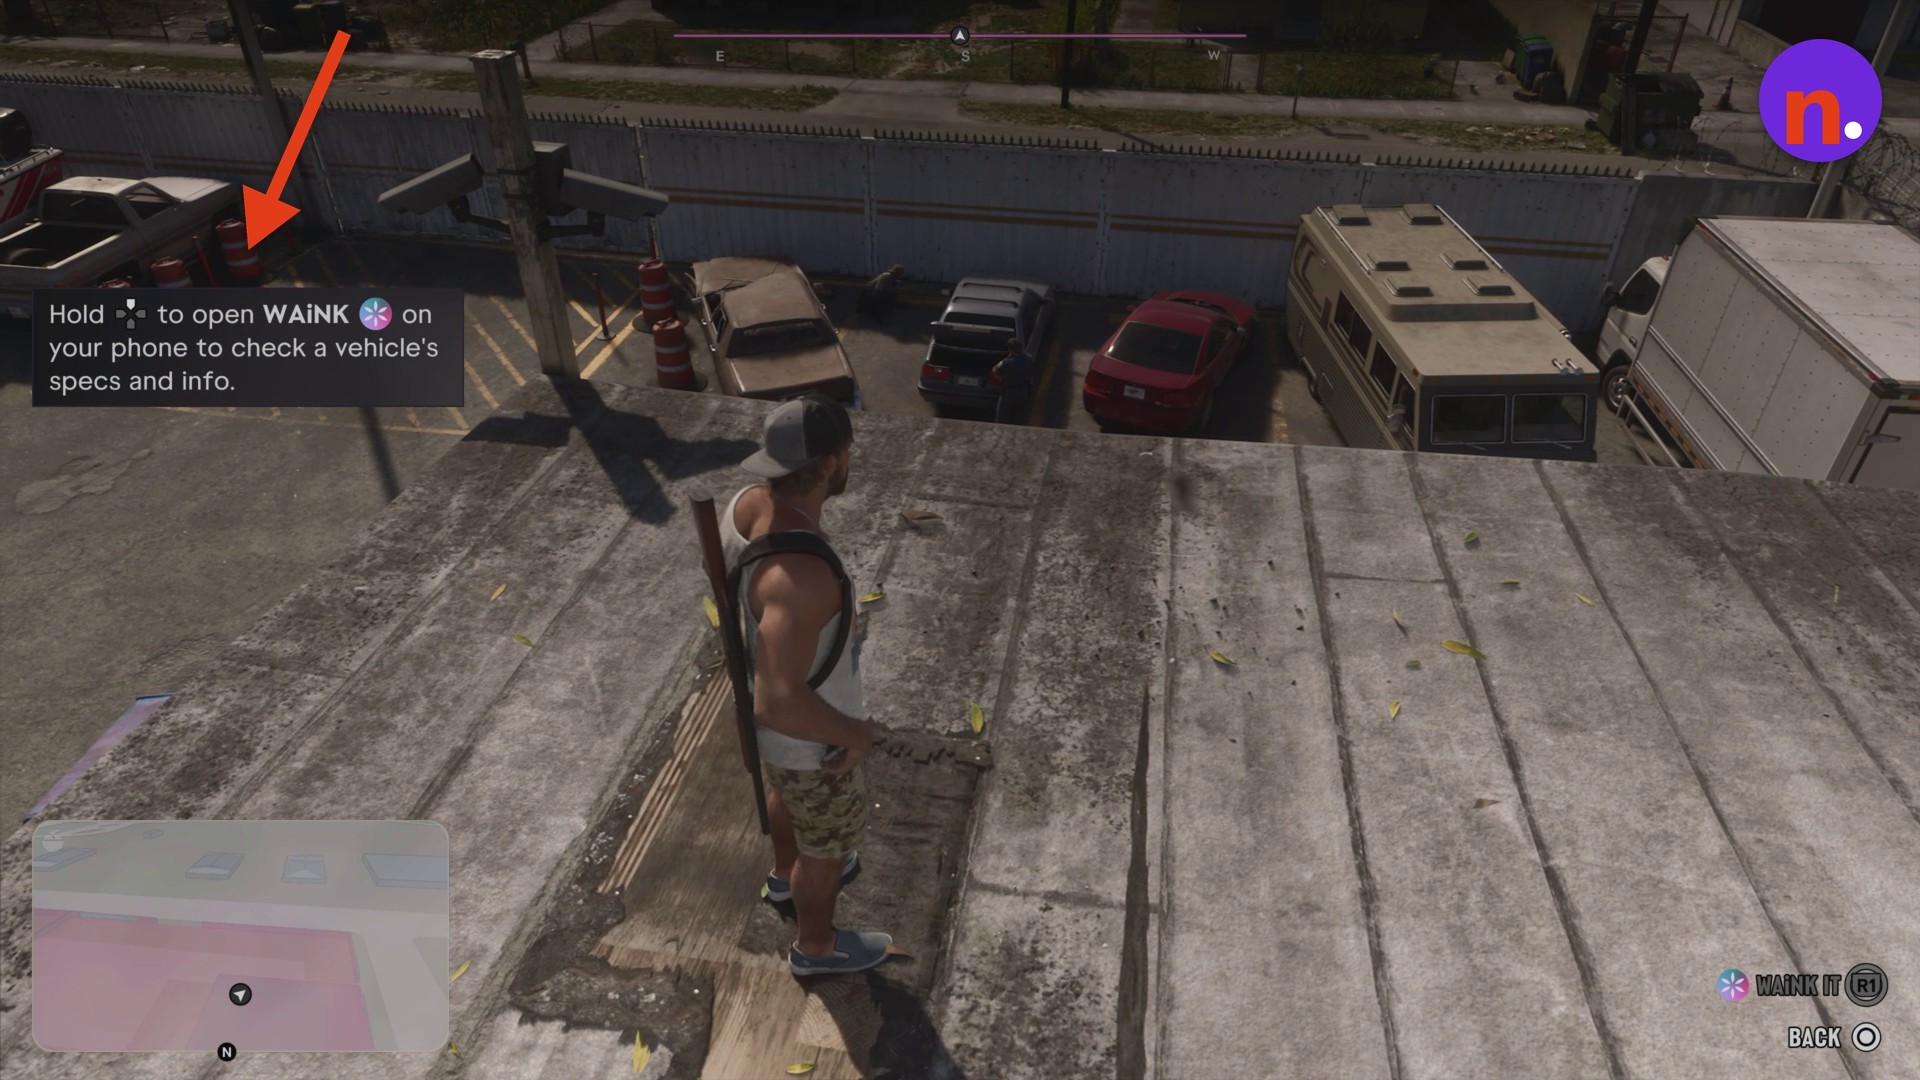
Cross the rooftop until you overlook the parked vehicles. Hold D-Pad Up to open WAiNK on your phone, then use the R1 action labeled WAiNK IT to inspect vehicles in the yard.
Part 2 – Get into the yard and steal the Phoenix
Follow the Steal the Phoenix objective.
Drop into the impound yard
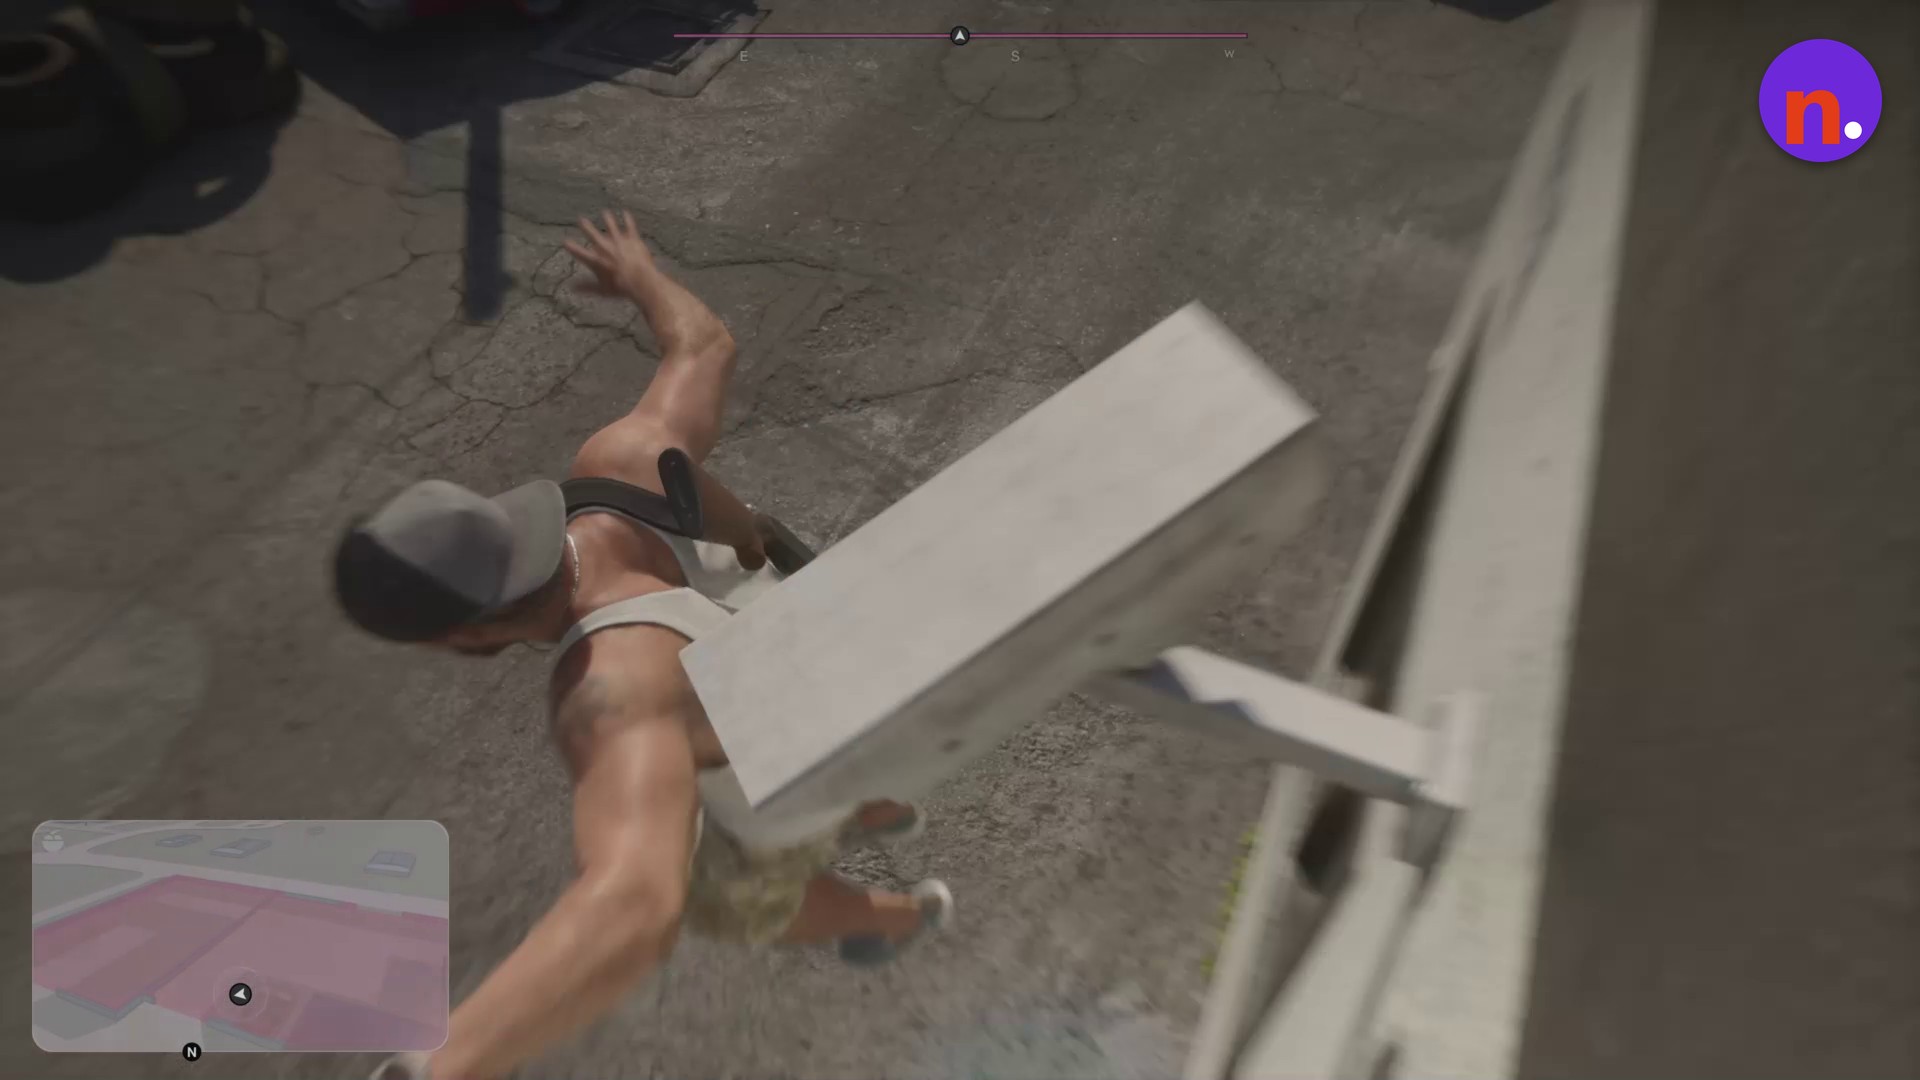
Head toward the inner shed’s edge and cross its corrugated roof. Drop to the ground behind the tow truck, then sneak past the parked tow trucks.
Approach the tow-hook controls
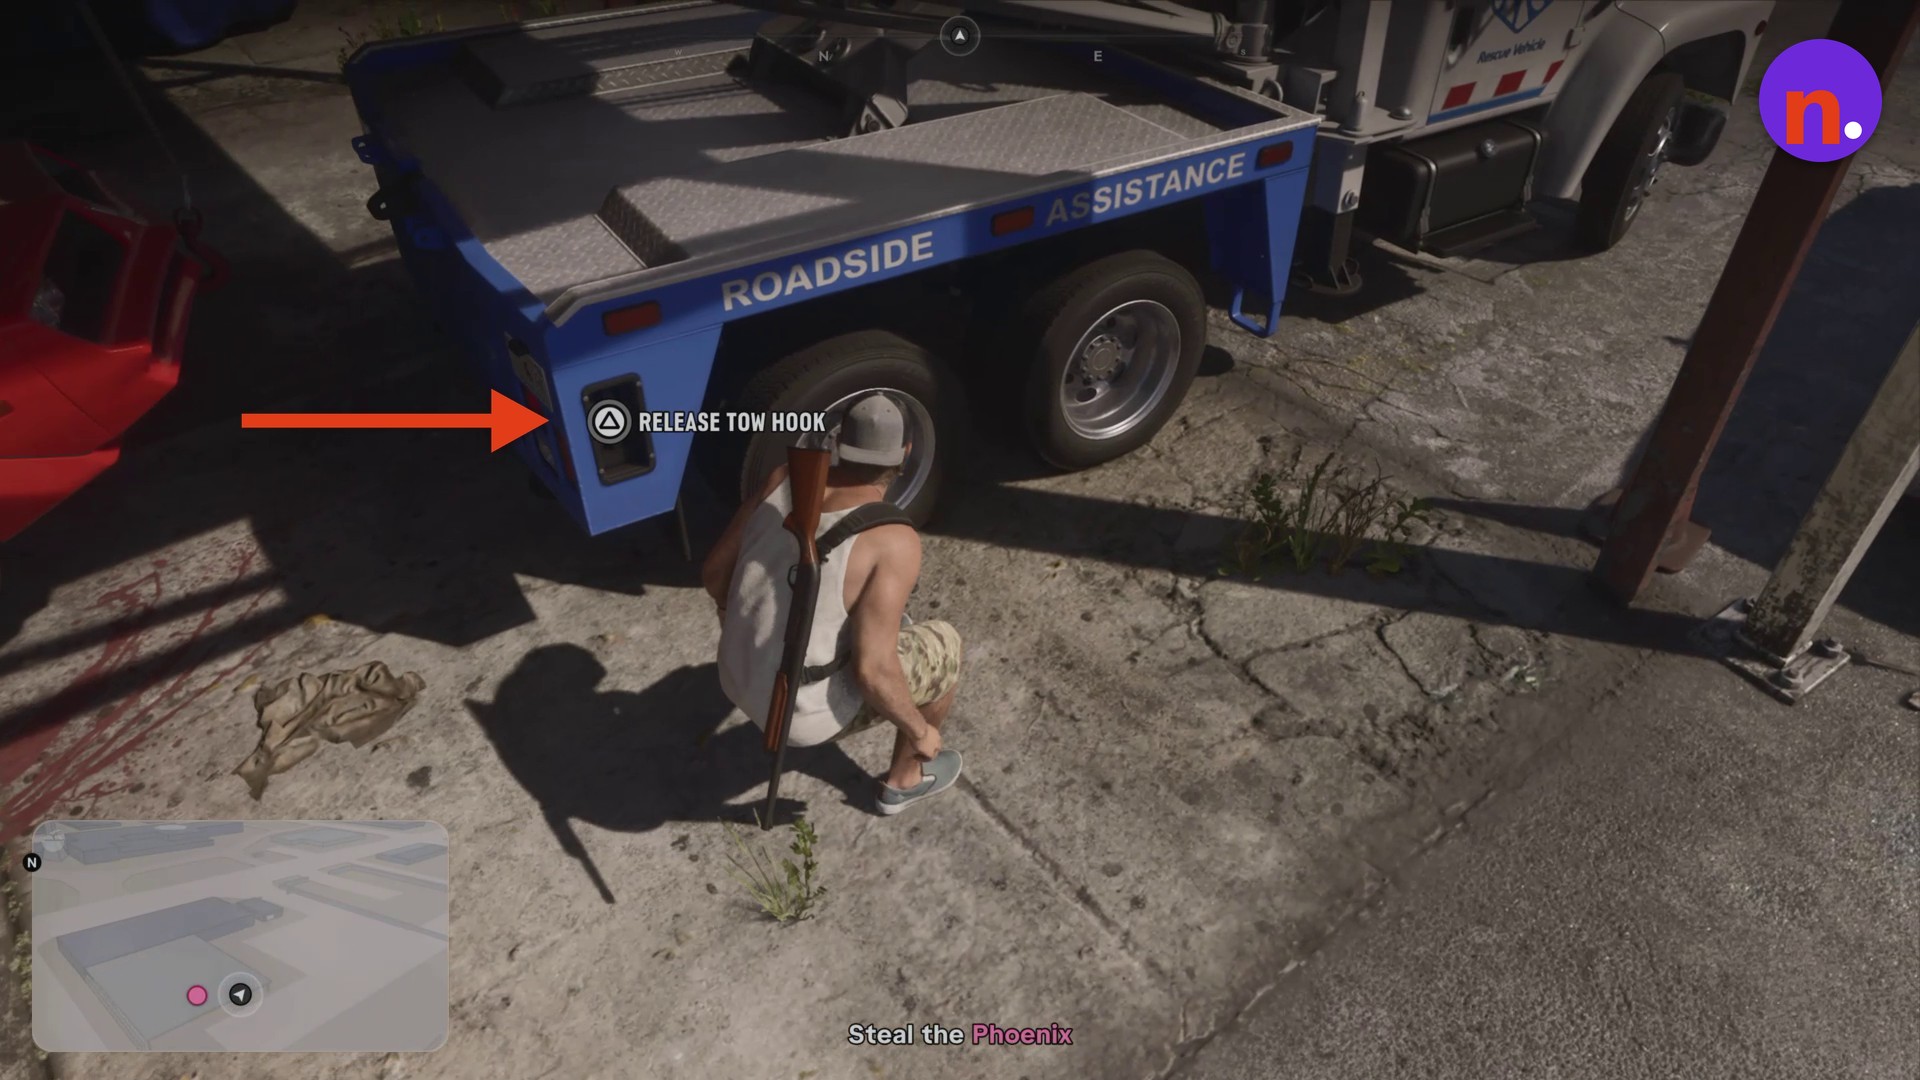
Move to the rear of the blue roadside-assistance truck to reach the tow-hook interaction before taking the Phoenix.
Enter the red Phoenix
Walk around to the Phoenix’s driver-side door and get into that car, not the tow truck. The red Phoenix is parked behind the truck.
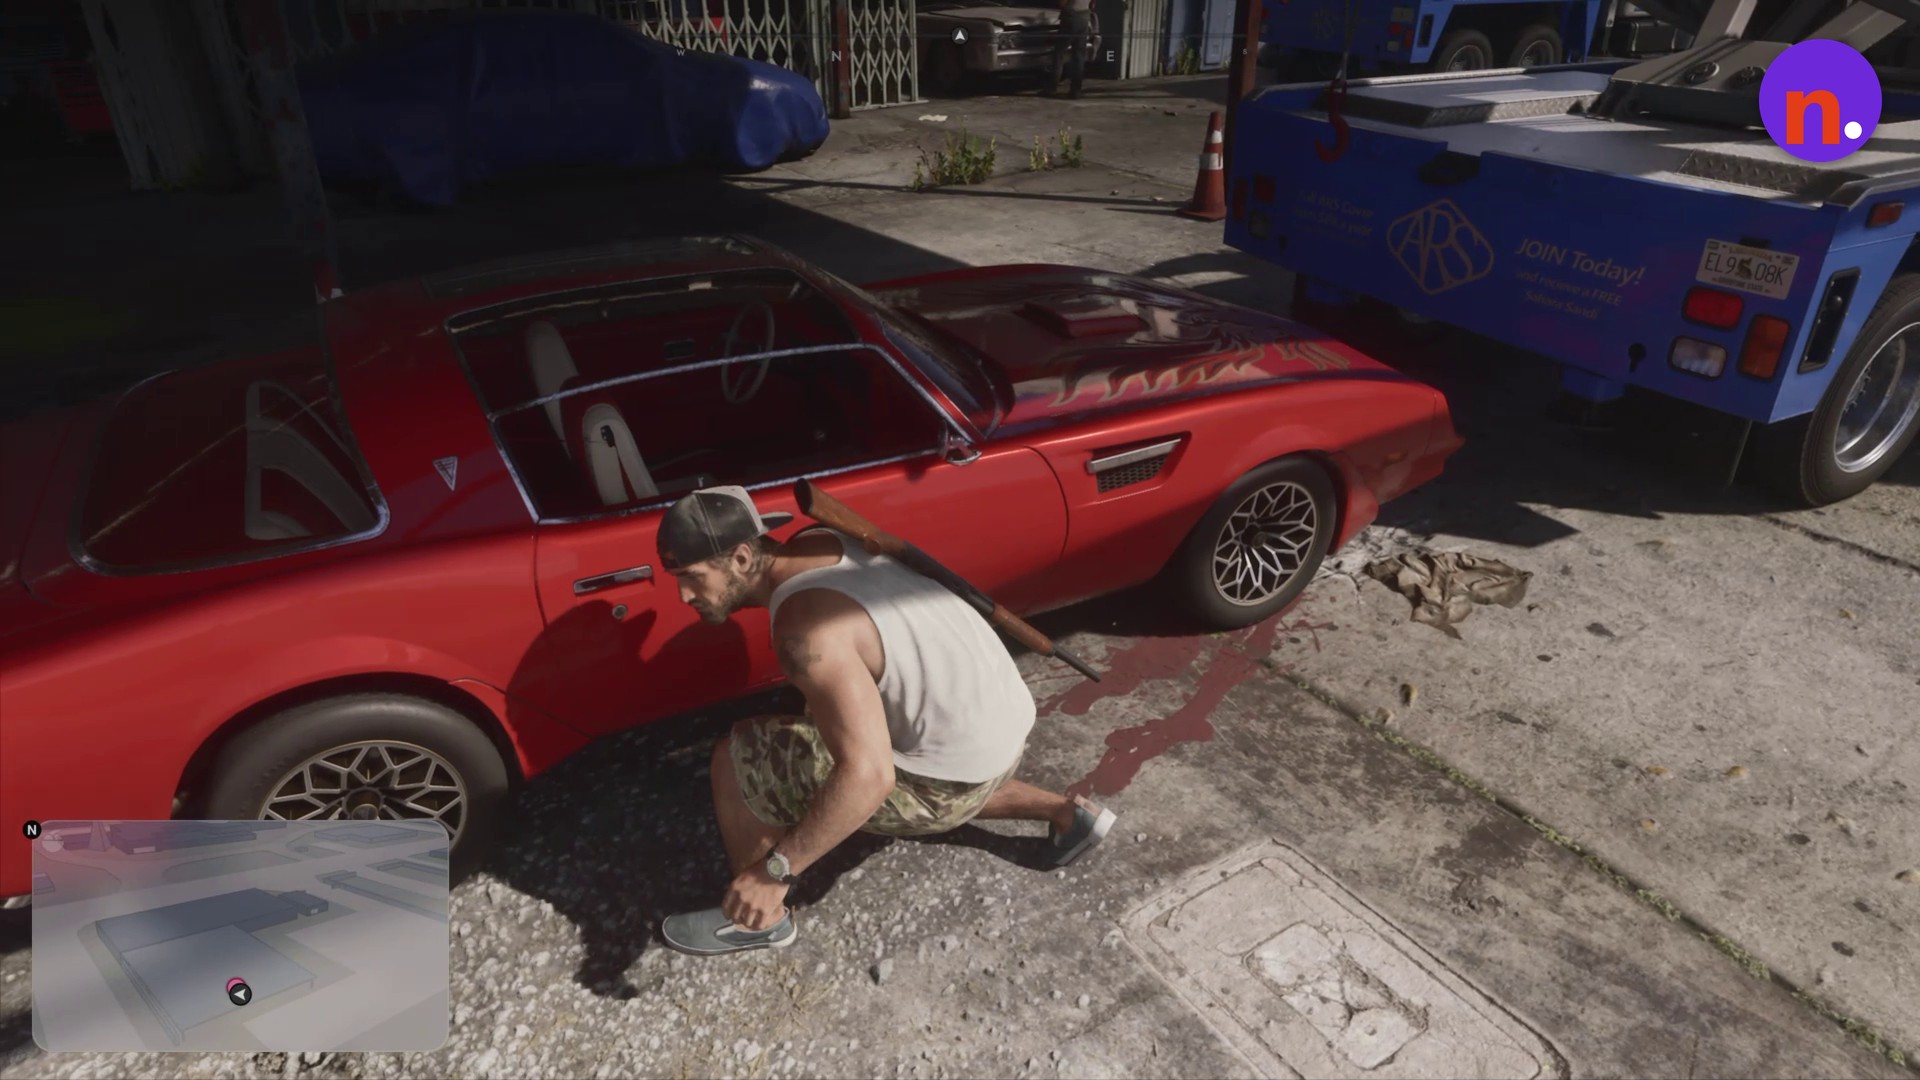
Hotwire the Phoenix
Rotate the right analog stick, identified as R in the tutorial, to fill the semi-circle meter and hotwire the engine. Starting it alerts both the police and the lot staff, so be ready to leave. The vehicle display also shows Muscle Cars 2 / 24.
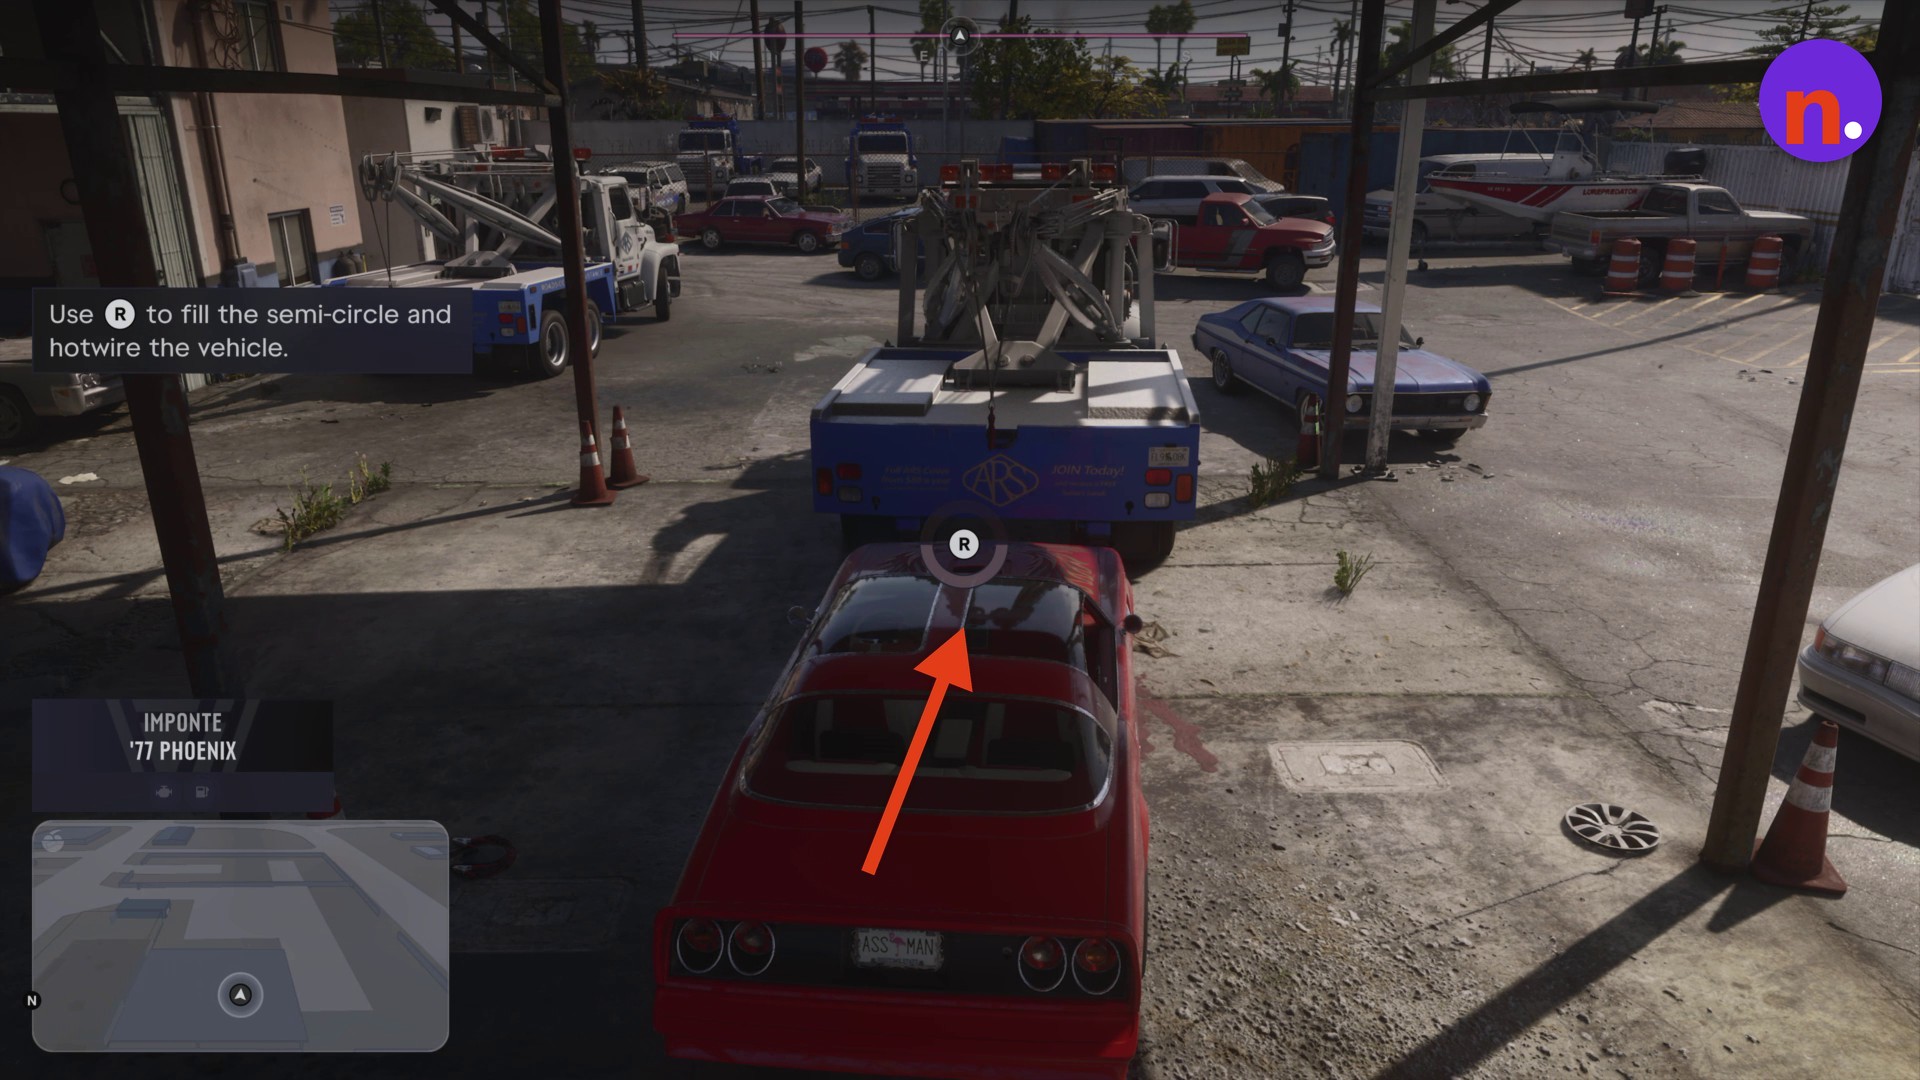
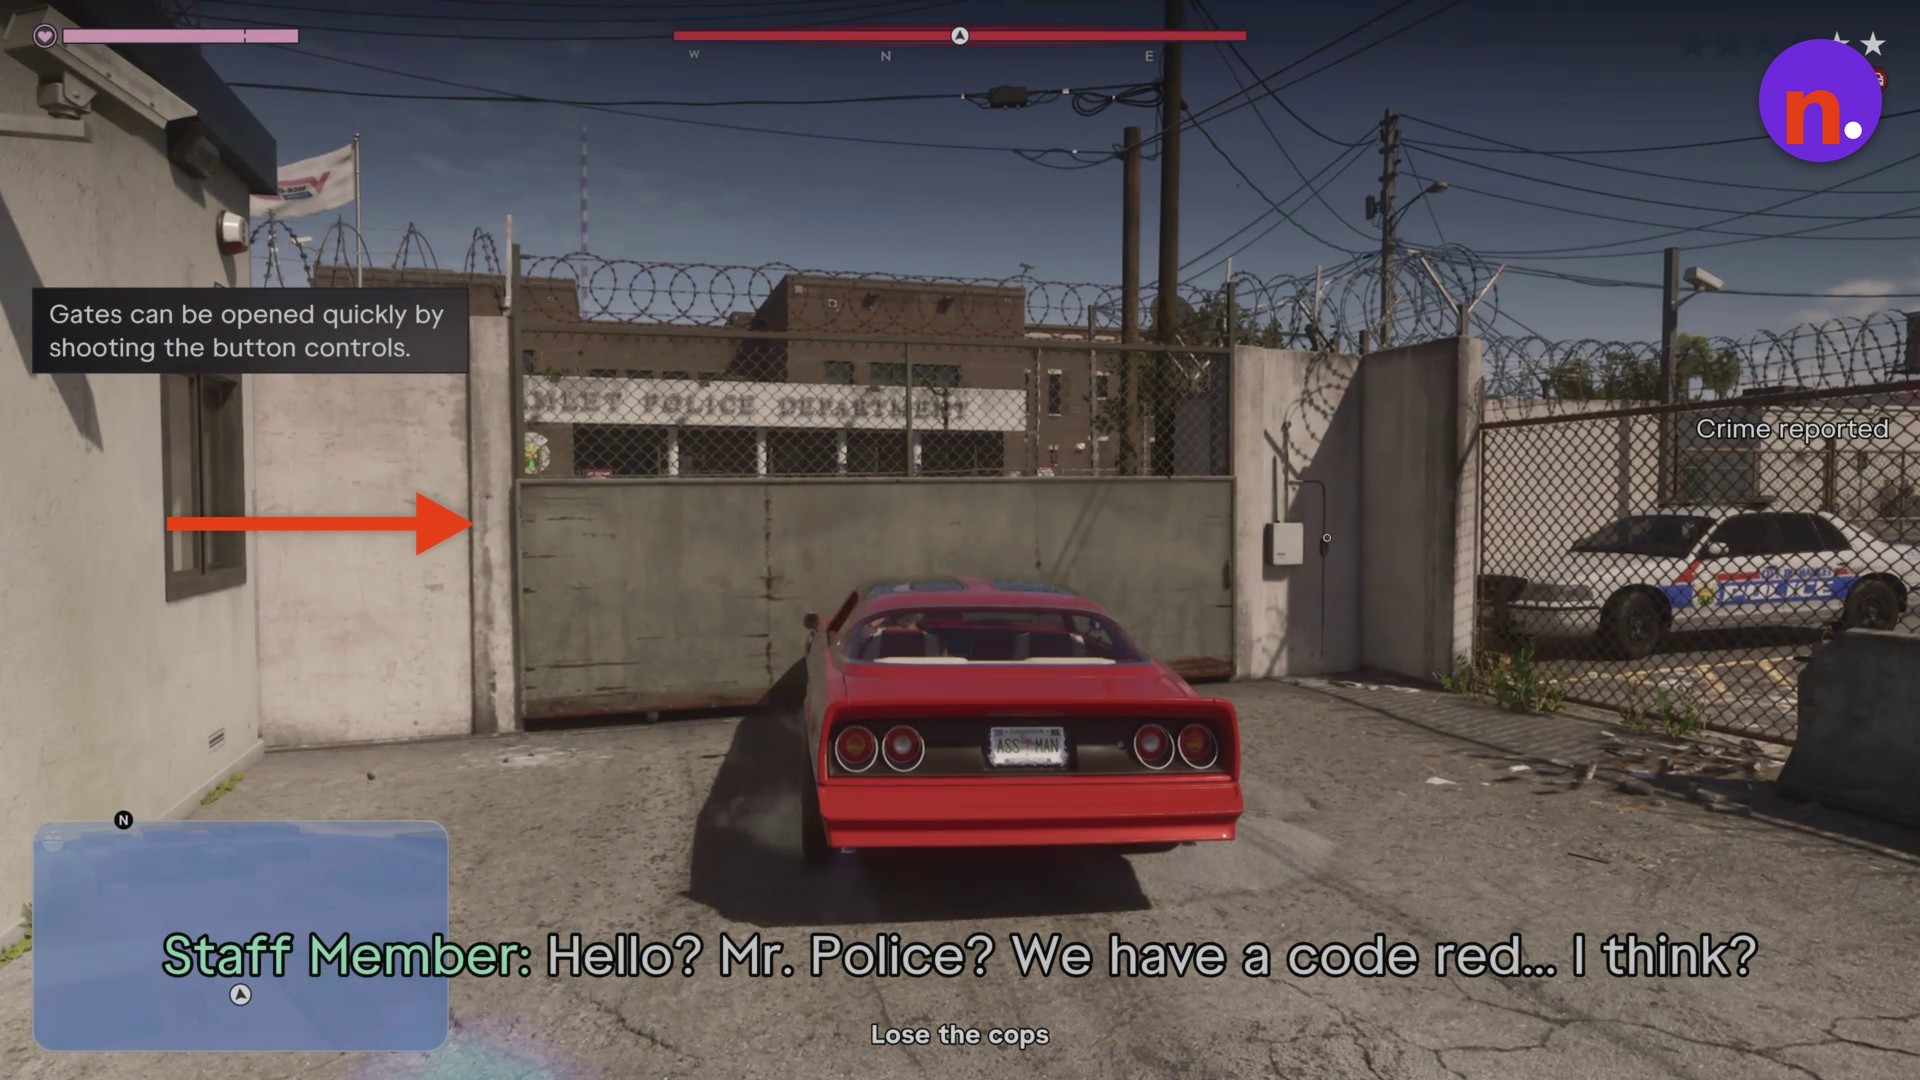
Ram the exit gate
Accelerate straight into the closed police-department exit gate. Keep ramming it until it opens, then drive out of the lot.
Part 3 – Escape Hamlet and lose the cops
Follow the Lose the cops objective.
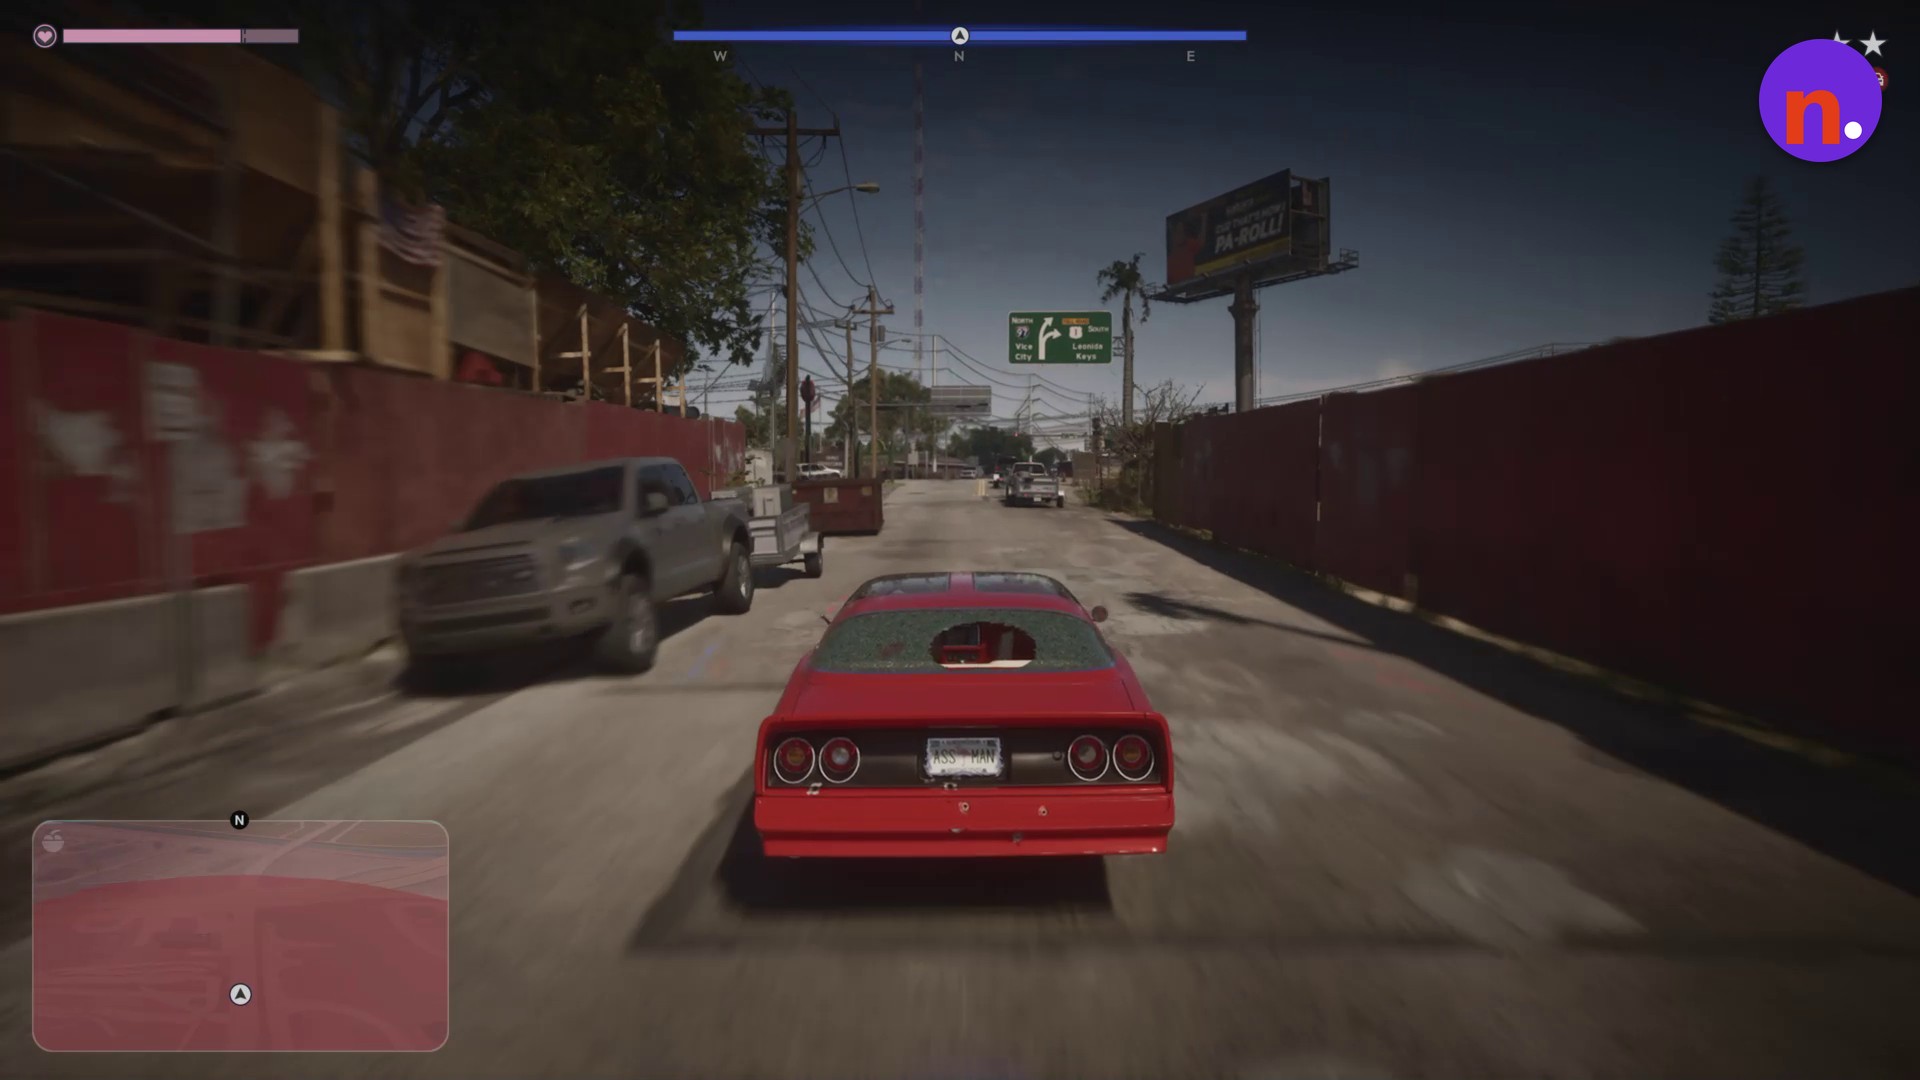
Escape onto Route 1 and into the fields
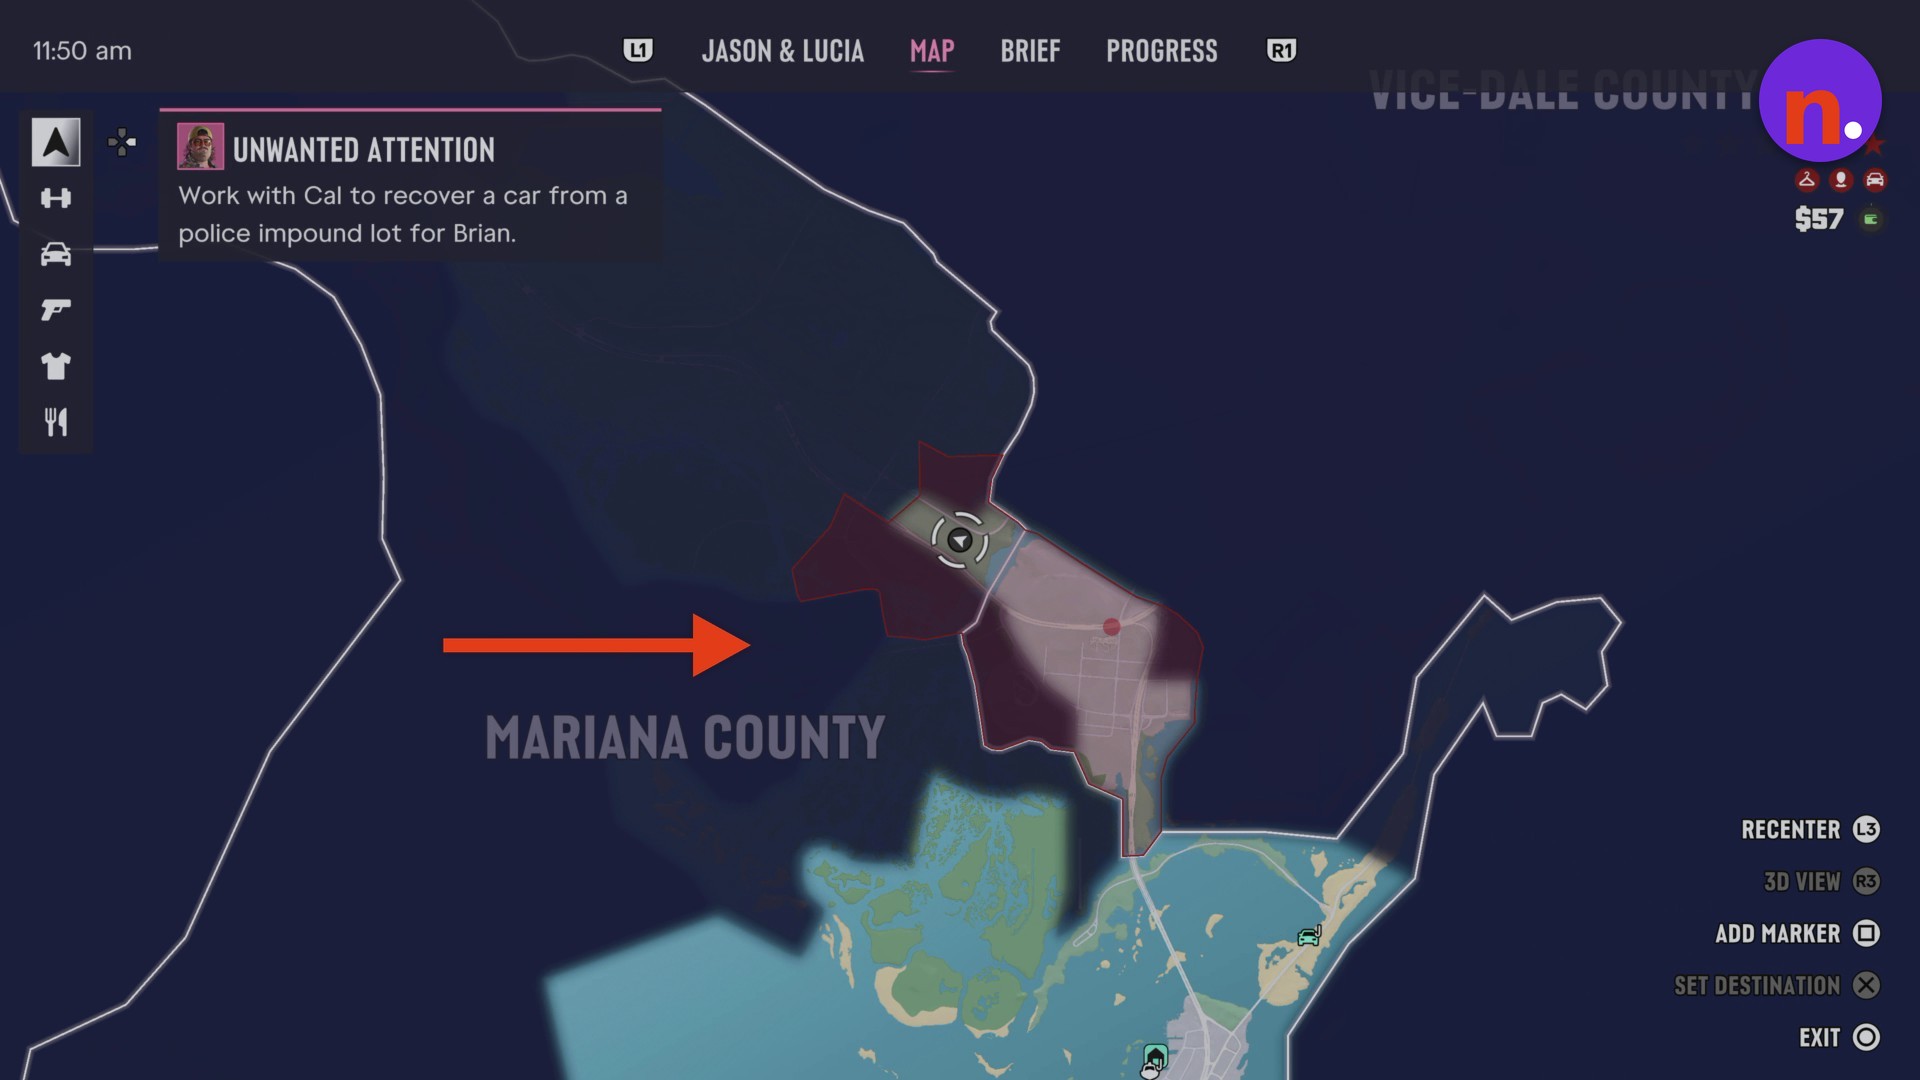
Drive through Hamlet’s streets and take the Route 1 highway out of town. A departure road sign marks the route leaving Hamlet. Turn off into the fields to break police line of sight. Along the dirt trail, answer Brian’s call and pause to open the world map.
Part 4 – Repair and respray the Phoenix before heading toward Brian’s garage
Continue to Peyton’s Scrapyard Pay ‘n’ Spray.
Find Peyton’s Scrapyard Pay ‘n’ Spray
Drive to Peyton’s Scrapyard and look for the spray-can icon marking the Pay ‘n’ Spray entrance. Drive into the garage to access its services.
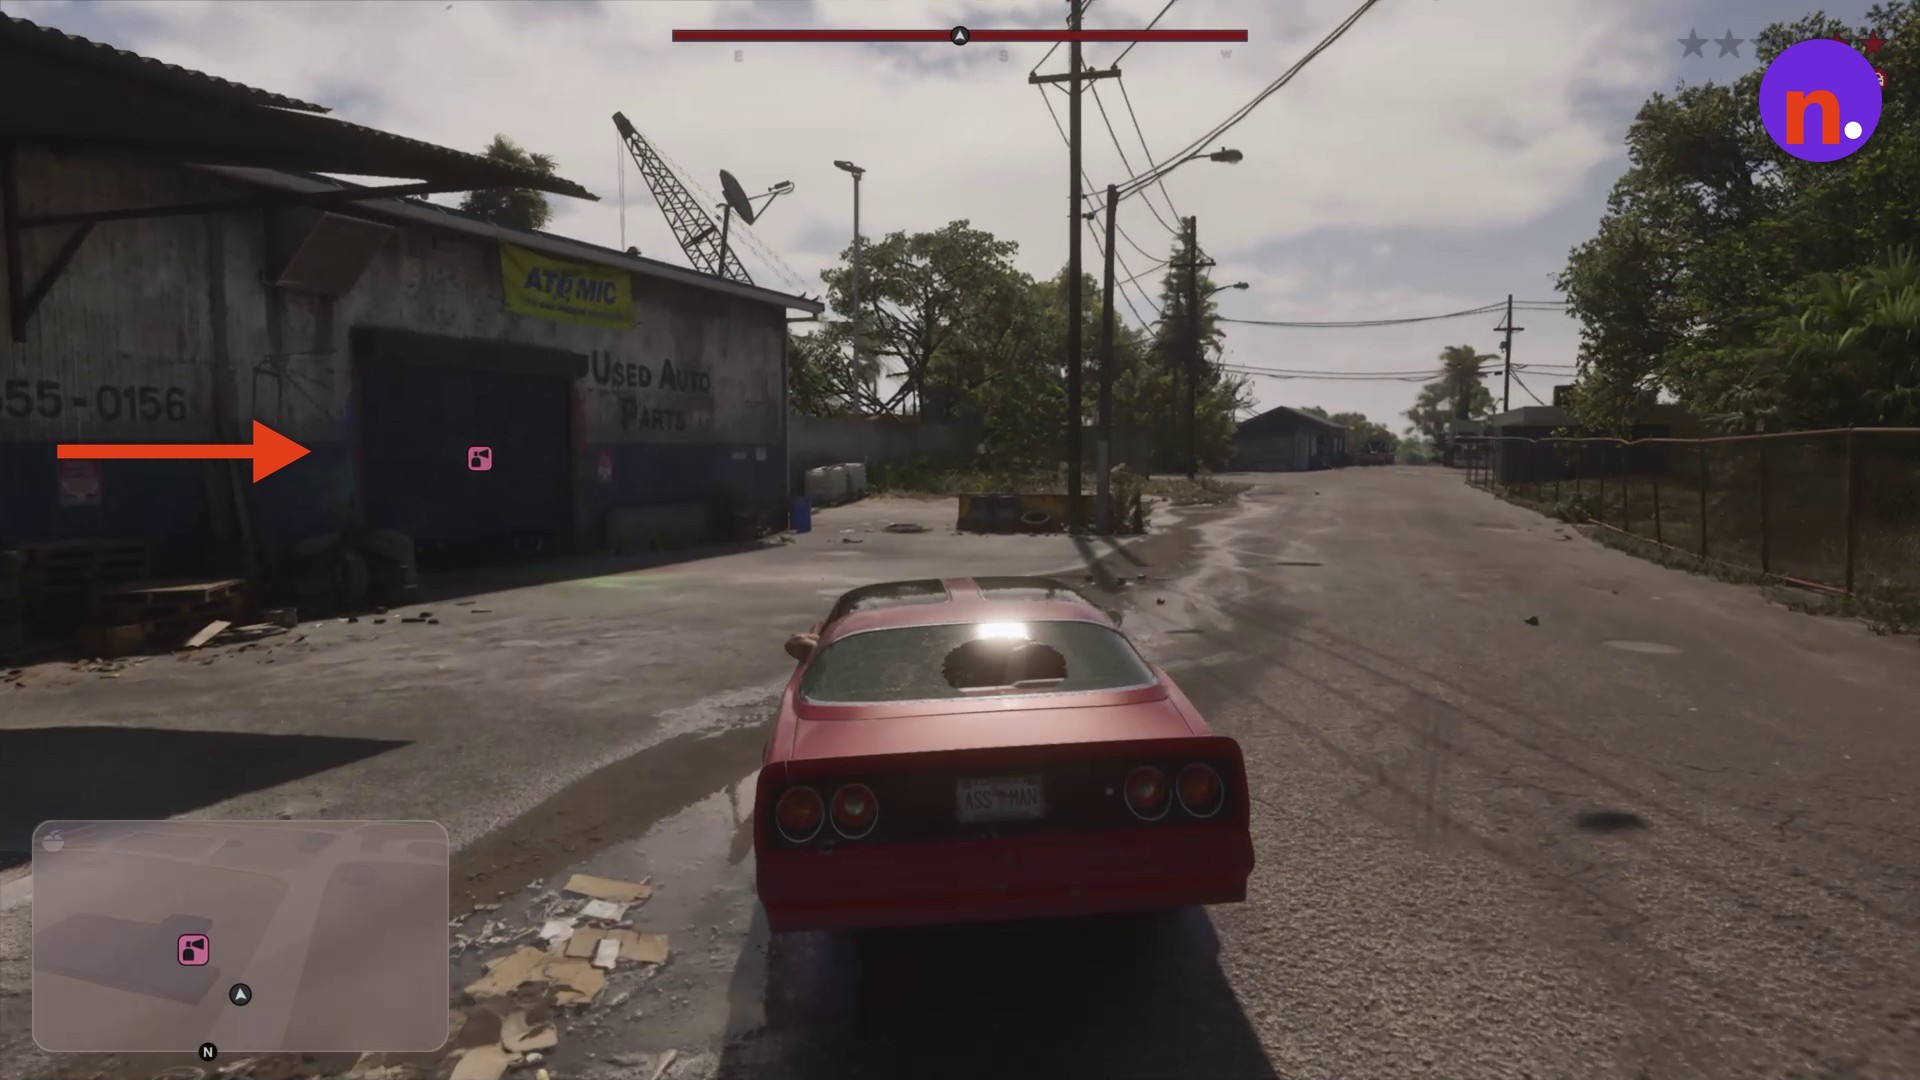
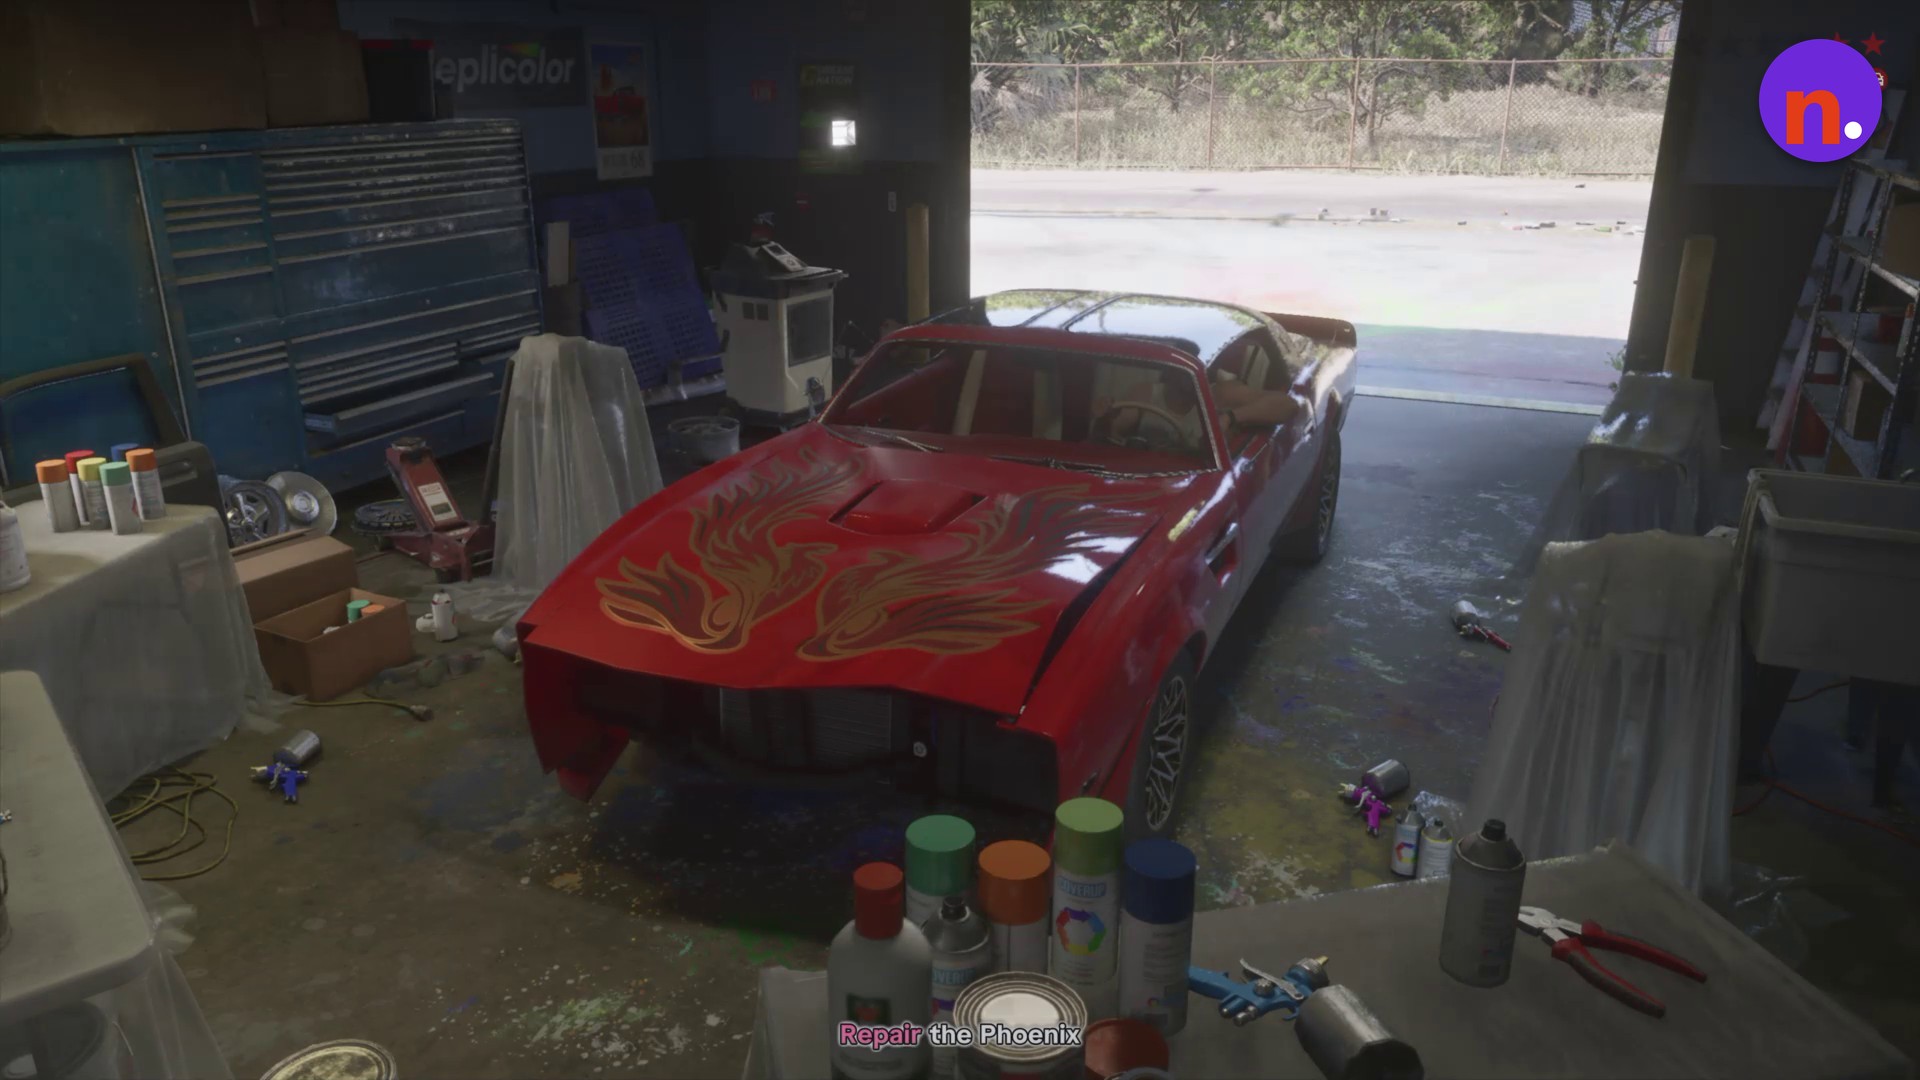
Repair the Phoenix
With Repair the Phoenix active, select Repair from the garage menu to restore the damaged car.
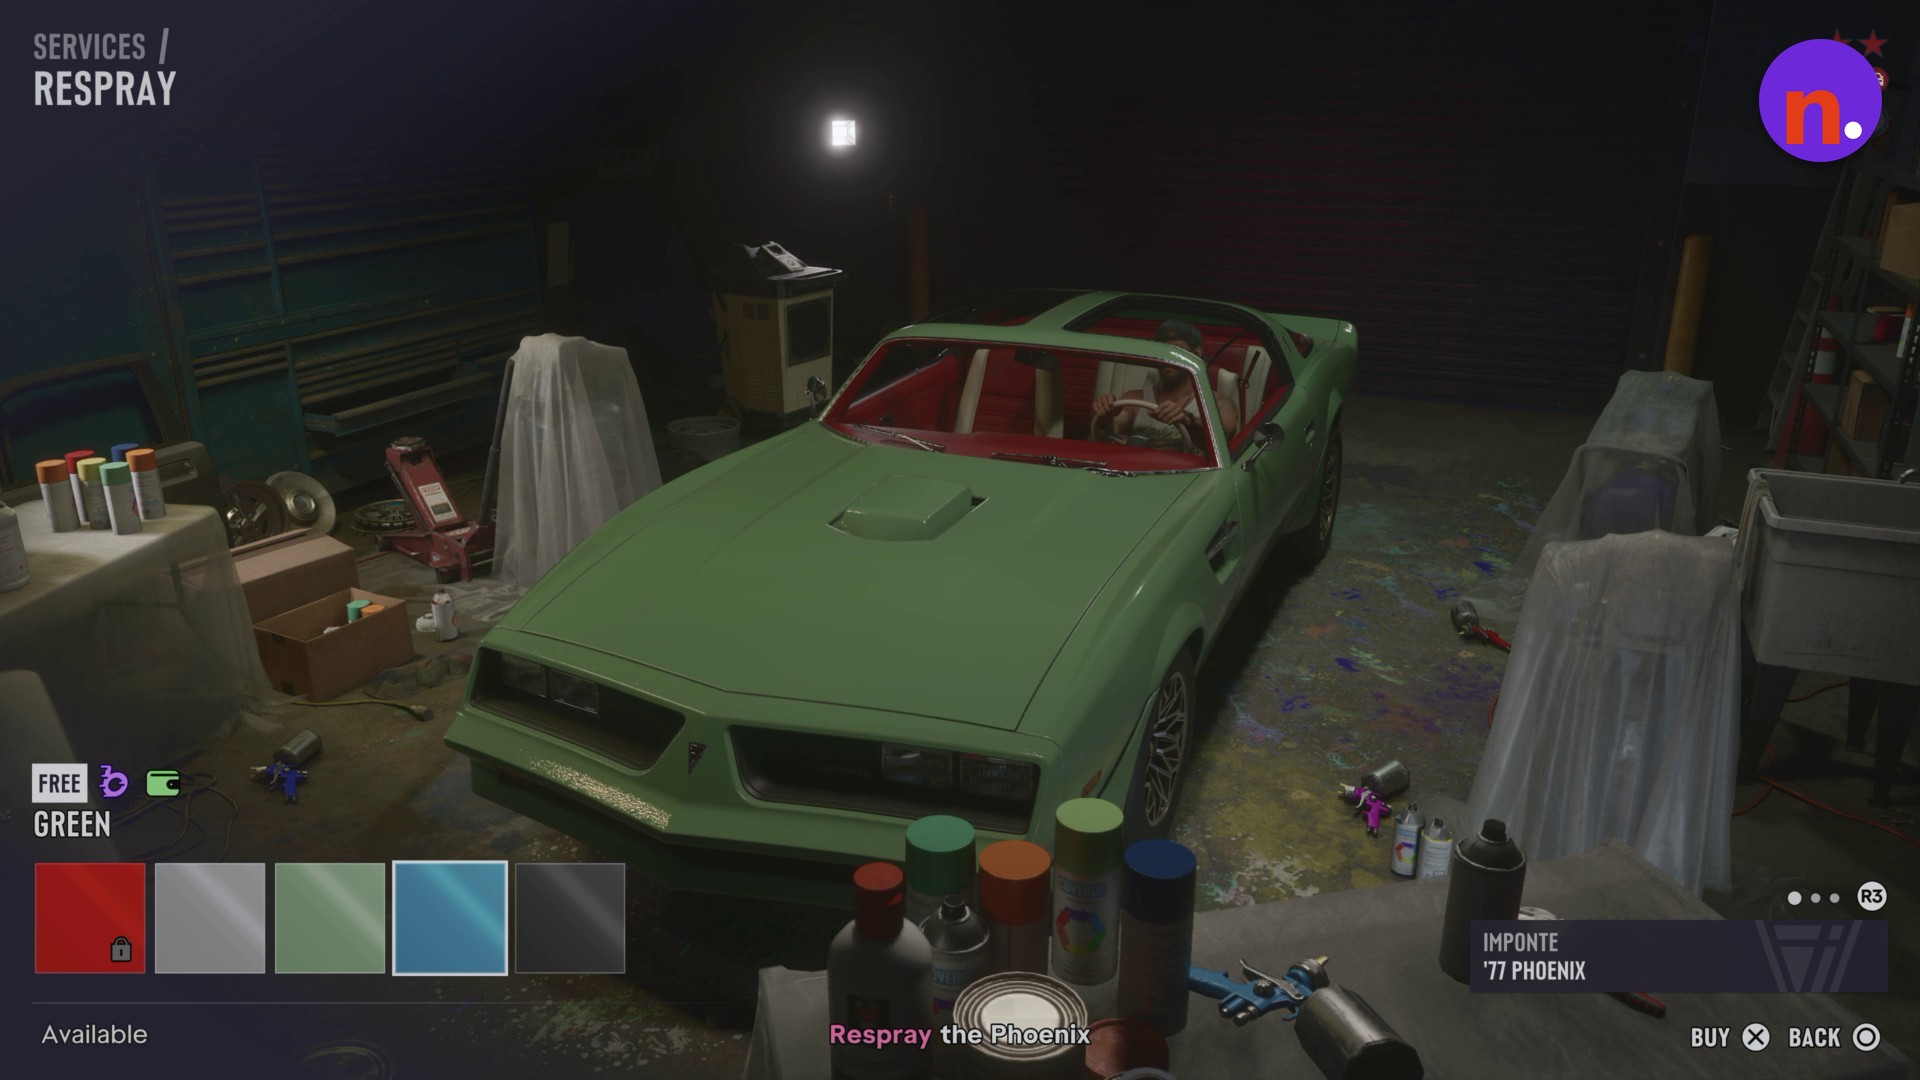
Respray the Phoenix
Under Respray the Phoenix, select Respray, choose black from the available colors and apply it with BUY. The respray clears the stolen vehicle’s police heat.
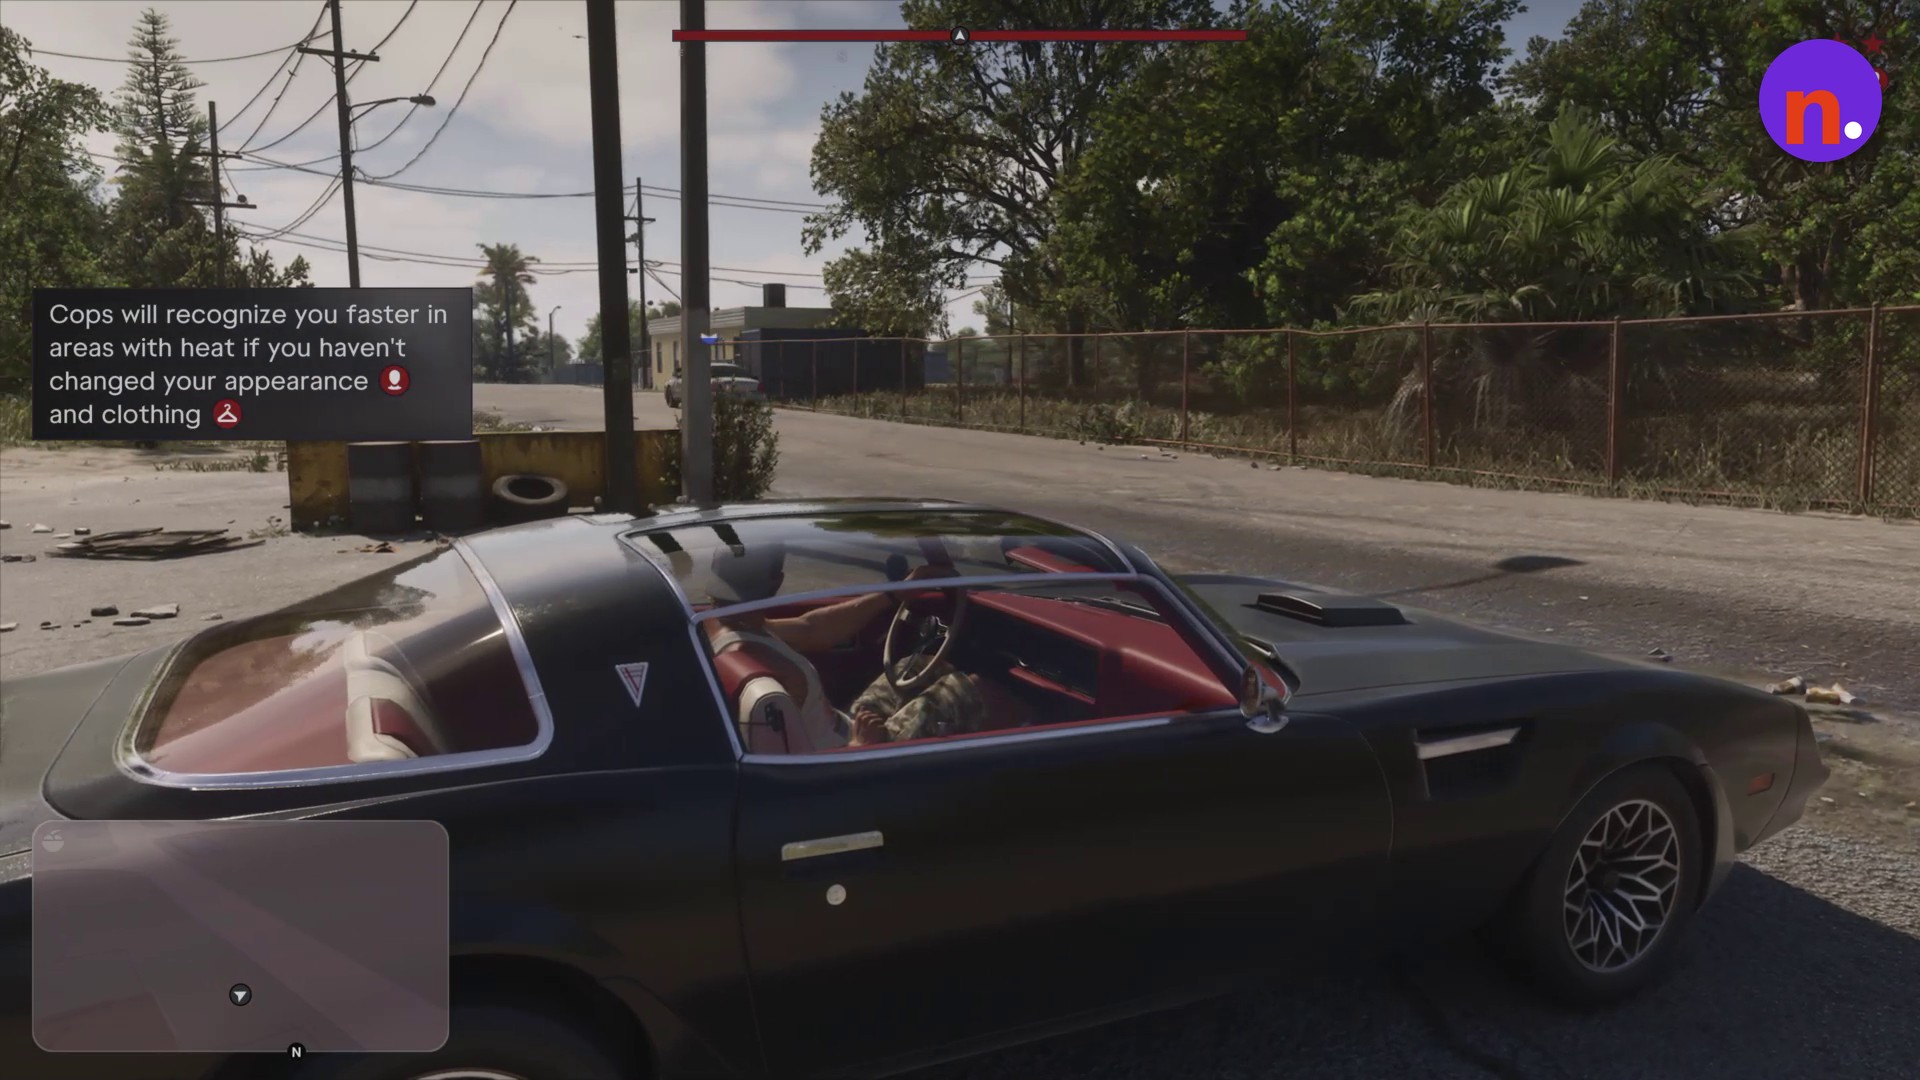
Leave toward Brian’s garage
Drive the Phoenix out of the Pay ‘n’ Spray and follow the delivery route toward Brian’s garage.
Repairing the Phoenix is free during this mission, and available respray colors are free. Both garage services are available without spending your cash.
At the impound exit, you can shoot the gate’s button controls to open it quickly.
WAiNK provides vehicle specifications and information while you inspect the yard from above.
The pause map displays your position alongside the boundary of Hamlet’s police search zone, giving you a view of the active search area during the escape. The pause menu also includes restart and checkpoint options.
Your next objective is Deliver the Phoenix to Brian’s garage. Keep the separate character-recognition mechanic in mind: in areas with heat, police recognize you faster when your appearance and clothing remain unchanged.
› story detailsSpoilers for the story. Open to read.
Brian’s instructions
Brian calls Jason and explains where to get the car repaired and resprayed. He tells Jason to respray it at Peyton’s Scrapyard before bringing it in because police are tracking the stolen car.
Related Grand Theft Auto VI guides
Leave a Reply