The iPhone 14 lineup is the first series of iPhones to be released without a physical sim card slot in favor of eSIM. eSIM allows you to store multiple lines on your device which allows for easy switching between networks and carriers. This comes in extremely handy when you’re traveling to different regions regularly. But what if your eSIM stops working or fails to activate? This can be quite a serious situation that can leave you without cell and data service. If you’re in a similar situation, then here’s how you can fix this issue on your iPhone.
iPhone eSIM network unavailable issue: How to fix it in 12 ways
You can try to fix your eSIM using the following fixes depending on your current situation. If you’re facing issues activating your eSIM then use the solutions in the first case, if you’re facing issues after activating your eSIM you can use the fixes mentioned in the second case. Let’s get started and troubleshoot your eSIM on your new iPhone 14.
Case 1: If facing activation issues (5 fixes)
If you’re unable to activate your eSIM then you can use the following fixes to troubleshoot your iPhone 14. Start with the first fix and make your way through the list until you manage to fix your issue.
Method 1: Wait a while
In most cases, waiting will help resolve most activation errors. Carriers around the world need some time to process and activate your eSIM. This time can range from a few hours to almost a day or two. Even if you have been issued a QR code and activation details from your carrier, likely, your eSIM is currently still being activated in the background. iPhones will refuse to register and install unactivated eSIMs during the setup process. Thus we recommend you wait a few hours and try to activate your eSIM again. In most cases, you should be able to easily activate your eSIM once a few hours have passed.
Method 2: Contact your carrier
Most activation issues are caused by errors or wait times at your carrier’s end. We thus recommend you try calling and getting in touch with your carrier support team now. You can also try visiting your carrier’s nearest authorized to further help troubleshoot your eSIM. According to user reports and in my personal experience as well, most carriers will simply reissue you a new eSIM to help resolve any errors. This might mean issuing you a new QR code in most cases. You can then scan the new QR code to activate and install your new eSIM on your iPhone 14.
Method 3: Restart the new and old device
If you’re transferring your eSIM from your previous phone and are unable to activate your eSIM or complete the transfer process then this is another known issue which is an iOS 16 bug rather than an iPhone bug. This issue occurs when the transfer process is interrupted at either end. Restarting both of your devices will help fix this issue. We recommend force restarting iPhones to help restart background services and clear cache files to ensure that the transfer process completes this time without any issues.
You can force restart your iPhone 14 using the steps given below.
- Step 1: Press the Volume Up button on your iPhone and then press the Volume Down button.
- Step 2: Press and hold the Sleep/Wake button.
Keep the Sleep/wake button held down until you see the Apple logo. Once your iPhone(s) restarts, try transferring your eSIM to your iPhone 14 again. You should now be able to complete the transfer process without any issues.
Method 4: Get a new QR code
This is a fix for users subscribed to carriers that use an automated process to generate a QR code. This is usually done through the dedicated carrier app. If your carrier uses a similar process then we recommend you generate a new QR code. However, we highly recommend you generate a new QR code after waiting a day. If your QR code doesn’t work even after waiting for a day then you can try generating a new QR code. A new QR code will help you install and activate your eSIM on your iPhone 14 without any issues.
We recommend waiting a day as the automated process of QR codes can take some time to register the generated QR code on the network. Most carriers refresh and update such details regularly, daily at a specific interval of time. Waiting a day will give your carrier enough time to register and activate your QR code so that it can be used to install your new eSIM. If your QR code doesn’t work after a day, we recommend generating a new one.
Method 5: Ensure you’re entering the correct IMEI number in the carrier app
This fix is mainly for iPhone 14 users residing outside the US. Many carriers around the world also allow you to manually enter your iPhone’s IMEI number so that the eSIM can be directly installed on your iPhone. However, what carriers fail to specify is that the iPhone 14 lineup has two eSIM variants. One model that offers only eSIM without a physical SIM slot is sold in the US, and one model that offers eSIM, as well as a nano-SIM slot, is sold elsewhere in the world.
Due to this, users with iPhone 14s that have a physical SIM slot will need to enter the IMEI2 number instead in the carrier app. This is because your IMEI number is assigned to your physical SIM slot and the IMEI2 number is assigned to your eSIM. We recommend you enter the IMEI2 number in your carrier app when generating your eSIM mobile plan. This will help enter the correct details and you will be prompted to activate your new mobile plan from your carrier momentarily.
Case 2: If facing issues after activating eSIM (7 fixes)
If you’re facing issues after having activated your eSIM then you can use the following fixes to troubleshoot your iPhone. We recommend you start with the first fix and make your way through the list until you manage to get everything back up and running again. Let’s get started.
Method 1: Force restart your iPhone
A Force restart can help fix most existing issues as it helps clear your iPhone’s cache files, restart background services, refresh app caches and clear any temporary configurations. Thus if your eSIM is facing issues due to misconfigured settings or corrupted cache then a force restart can help fix this issue. To force restart your iPhone, press and release the volume up button. Now press and release the volume down button and press and hold the Sleep/Wake button once you’re done. Keep holding the Sleep/Wake button till you see the Apple logo. You can let go of the button once you see the logo on your screen and let your iPhone restart normally. Your eSIM should now be able to connect to your carrier’s cellular network without any issues.
Method 2: Reset Network Settings on your iPhone
We now recommend you try resetting your network settings. Your eSIM could be facing issues due to misconfigured network settings or incorrect carrier configuration updates. Resetting your network settings will allow you to use default configurations which should help fix issues with your eSIM. Follow the steps below to help you reset network settings on your iPhone.
Open the Settings app and tap General.
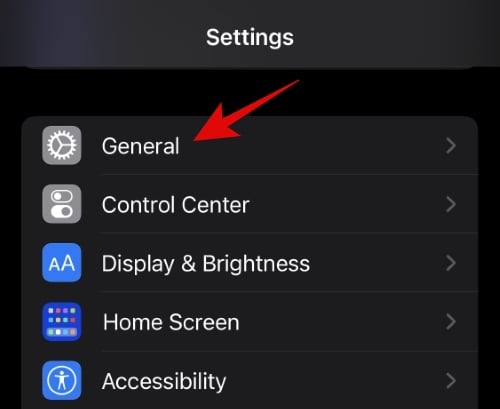
Scroll down and tap on Transfer or Reset iPhone.
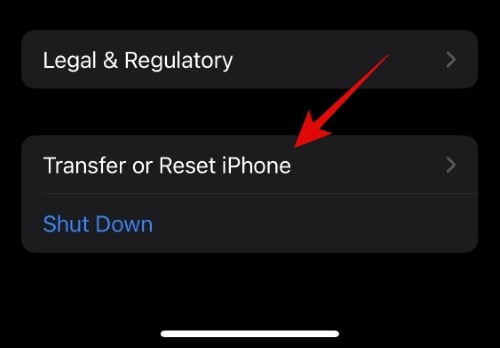
Tap Reset at the bottom of your screen.
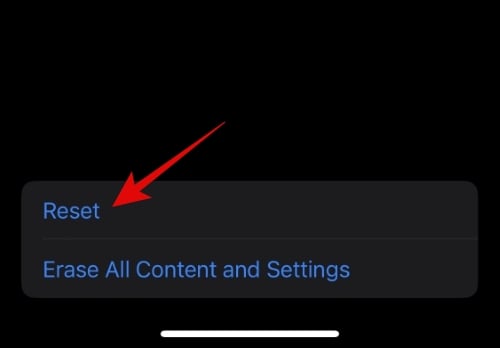
Tap and select Reset Network Settings.

Now type and enter your iPhone’s passcode to reset your network settings.

Your iPhone will now reset all network settings and restart itself. Once it restarts, your eSIM should be back up and running again as usual on your iPhone.
Method 3: Check your cellular settings
We now recommend you check your cellular settings and change them if they might be interfering with your eSIM. Use the sections below to help you check and correct the same on your iPhone.
3.1 – Turn on Data Roaming
You could be in a region that requires roaming to be turned on so that you can access data and voice using your eSIM. We recommend you turn on Data Roaming on your iPhone to check and verify the same. Your carrier could charge extra if you use Data Roaming. We recommend you check the roaming charges applied by your carrier before proceeding with the steps below.
Open the Settings app and tap Cellular at the top.

Tap on Cellular Data Options.

Turn on the toggle for Data Roaming at the top.
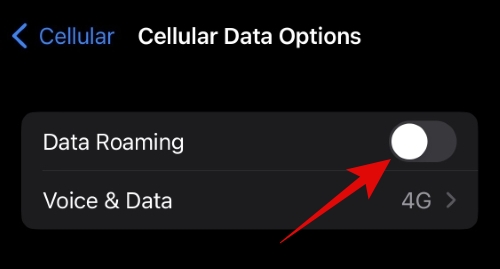
We now recommend you toggle Airplane mode on your iPhone to register the changes we made. Your eSIM should be working once Airplane mode is turned off if issues were caused by Data Roaming.
3.2 – Try manually selecting a network
Manually selecting or searching for a network will help determine the functionality of your eSIM. If you can manually search and select networks then you’re likely facing bugs with your eSIM. However, if your eSIM is unable to search or select networks then you could be looking at an issue at your carrier’s end. We recommend getting in touch with your carrier to troubleshoot and fix the same. In most cases, your carrier will issue you a new replacement eSIM to help fix such issues.
Such issues can also be caused by hardware damage to your iPhone. In some cases, the cellular radio and receiver can get damaged on your iPhone which can prevent your SIM or eSIM from discovering nearby networks. If things seem to be okay on your carrier’s end then you could be looking at a hardware issue with your iPhone. We recommend getting in touch with Apple Support to diagnose and fix the same.
Use the steps below to manually try and select a network for your eSIM.
Open the Settings app and tap Cellular at the top.

Tap and select Network Selection under your current eSIM that is facing issues.

Turn off the toggle for Automatic at the top.

Your iPhone will now automatically search and display available carriers in your current region. Tap and select your carrier once it shows up in the list.

You should now be able to connect to the network using your eSIM without any issues if you were facing carrier selection bugs.
3.3 – Turn off Low Data Mode
Low Data mode sometimes does not play well with certain carriers. We recommend you try turning it off on your iPhone to fix issues with your eSIM. If you haven’t turned on Low Data Mode on your iPhone then you can skip this guide and use the next fix to troubleshoot your issue. Let’s get started.
Open the Settings app and tap Cellular at the top.

Tap and select Cellular Data Options.

Now tap and turn off the toggle for Low Data Mode.

We now recommend you toggle Airplane mode on your iPhone to register changes. Your eSIM should work as intended if issues were being caused by Low Data Mode on your iPhone.
Method 4: Switch off your VPN
VPN and private DNS providers help protect your privacy and secure your device by hiding your IP address. However, such services are blocked by carriers in certain regions. It could be that you’re in such a region and thus your eSIM is unable to function as intended due to your VPN or Private DNS provider. You can usually turn off such services from their dedicated apps or use the Settings app on your iPhone. Use the steps below to turn off VPN on your iPhone using the Settings app.
Open the Settings app and tap VPN.
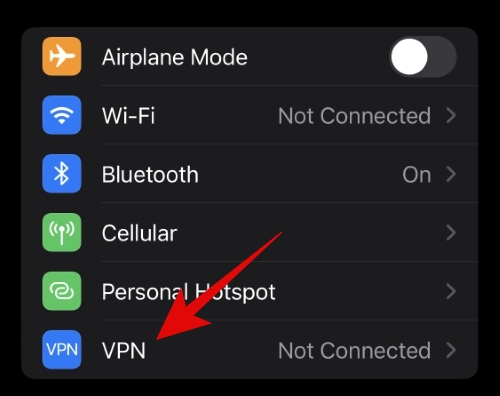
Turn off the toggle for Status at the top.

Your eSIM should now be working if issues were caused by your VPN.
Method 5: Check and install pending updates
We now recommend you check and install pending updates on your iPhone 14. These devices are fairly new and thus can end up facing bugs and issues previously undocumented. Apple actively releases hotfixes to fix immediate issues with new devices as we saw with the release of iOS 16.0.1. We thus recommend you now check for carrier and iOS updates on your iPhone 14. Use the steps below to help you check for updates.
Open the Settings app and tap General.

Tap Software Update.

Your iPhone will now automatically check and show any available updates for your device. Tap Download and Install if an update shows up for your iPhone 14.

Once your iPhone is updated, go to Settings > General again and tap About.
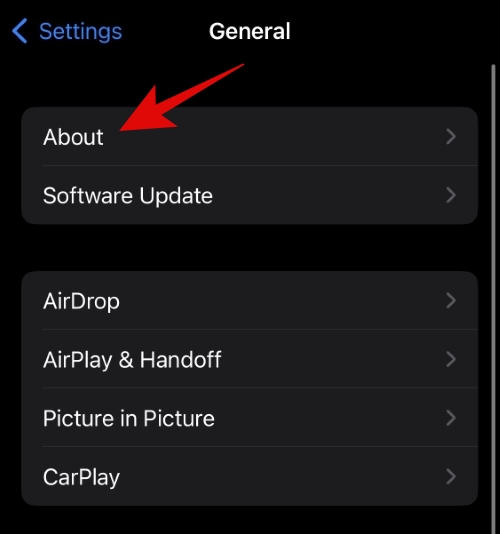
iOS automatically checks and installs carrier updates when you open the About page. We recommend you leave your device plugged into the wall and on the about page for a few minutes. This will ensure that iOS checks and installs any pending carrier updates on your iPhone 14.
If you were facing existing bugs then they should now be fixed with software updates. Your eSIM should now be working and you should now be able to make calls and use mobile data.
Method 6: Reset your device
If you’re still facing issues using your eSIM then you could be facing major bugs. We now recommend you reset your iPhone 14 and set it up as new. This will help ensure that your iOS installation is not causing issues with your eSIM. Use the steps below to help you reset your iPhone 14.
Note: Resetting your iPhone will delete all apps and data contained on it. We recommend you back up your iPhone before proceeding with the guide below.
Open the Settings app and tap General.

Tap and select Transfer or Reset iPhone at the bottom.

Now tap Erase All Content and Settings.

Tap Continue at the bottom of your screen to reset your iPhone.
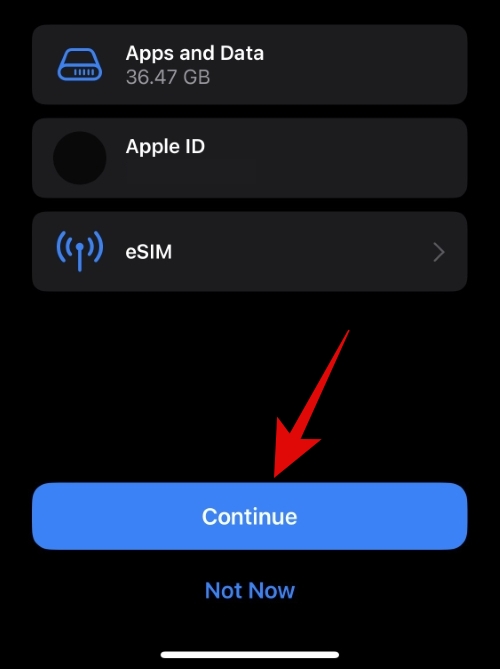
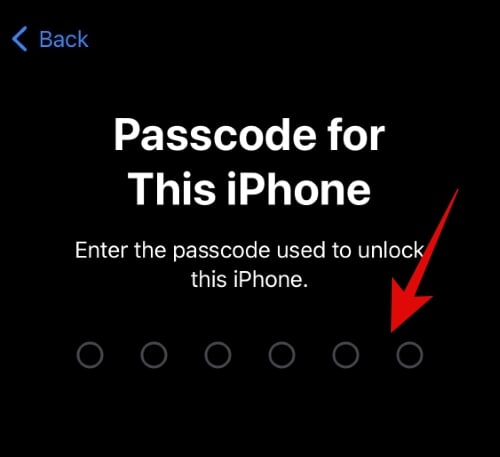
Enter your iPhone’s passcode when you’re prompted.
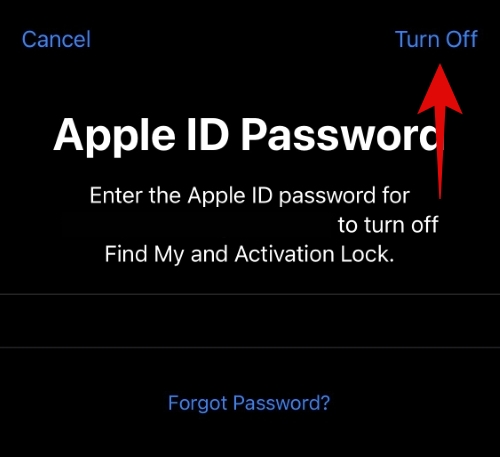
Now enter your Apple ID password to turn off Find My on your iPhone 14.

Tap Turn Off once you’ve entered your password.
Review your details and tap Erase once you’re ready.
Your iPhone will now reset itself and return to factory default settings. Once your iPhone is reset, set up your device as new before restoring your backup. If you can use your eSIM once you’re iPhone 14 resets, you were likely facing issues due to previous configurations and apps. We recommend you selectively restore your backup to help avoid this issue with your eSIM in the future.
Method 7: Contact your carrier
If you’re still facing issues with your eSIM despite using the fixes above then we recommend you contact your carrier. You could be facing issues with your iPhone or your current eSIM installation. Your carrier can help identify such issues and fix them accordingly. We now recommend you visit your carrier’s nearest store to fix your eSIM issues and restore the network on your iPhone 14.
We hope the post above helped you easily fix eSIM issues on your iPhone 14. If you face any issues or have more questions, feel free to drop them in the comments section below.


