- What to know
- All Cow Level Items details
- Farming the three base‑game cow relics
- Unlocking the stamina potion in Forlorn Hollow
- Obtaining the Vessel of Hatred cow relics
- Corrupting the three relics for the unusual key
- Trading corrupted relics for the unusual key
- Getting the rusted bardiche from Forlorn Burrow
- Preparing your cow‑level item set before Lord of Hatred
What to know
-
You need three cow relics from the base game (bloody wooden shard, musty tome, intricate metallic fragment), then the stamina potion from Forlorn Hollow.
-
Vessel of Hatred adds three new relics (rusted old bell, jabbering gemstone, crooked staff), which you must corrupt and trade for the unusual key, then use that key to enter the hidden Forlorn Burrow section and claim the rusted bardiche.
-
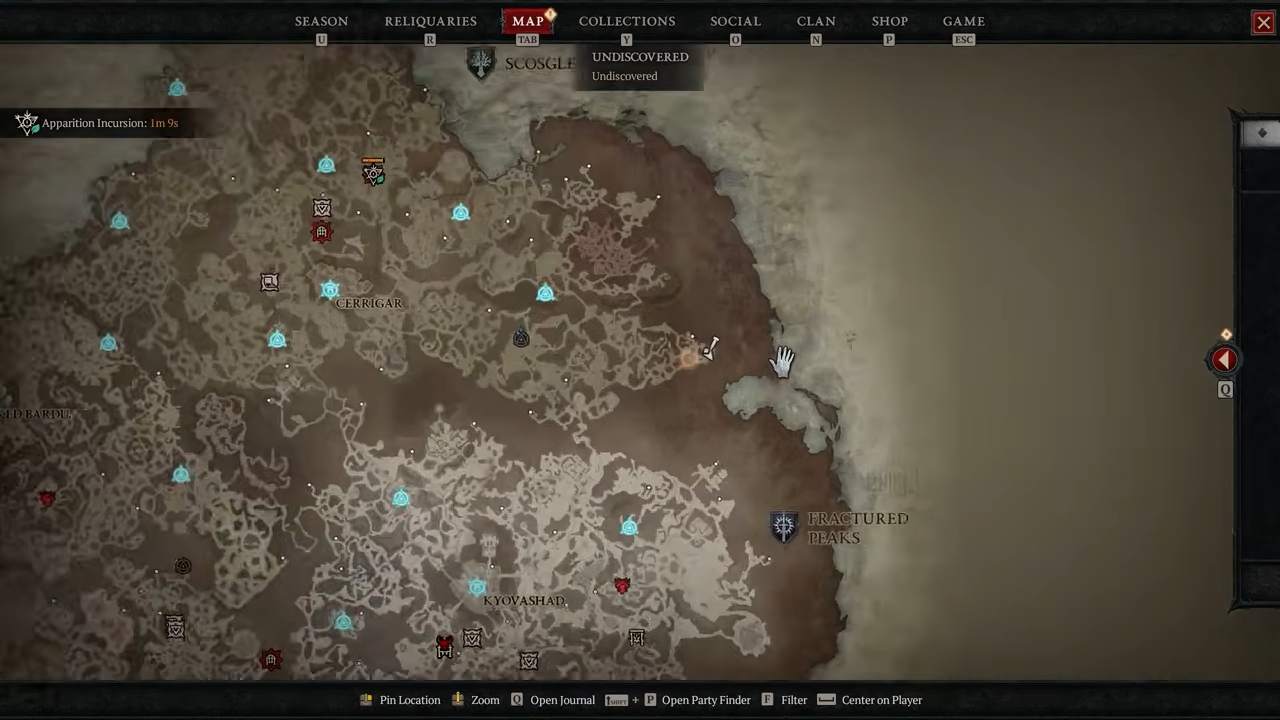
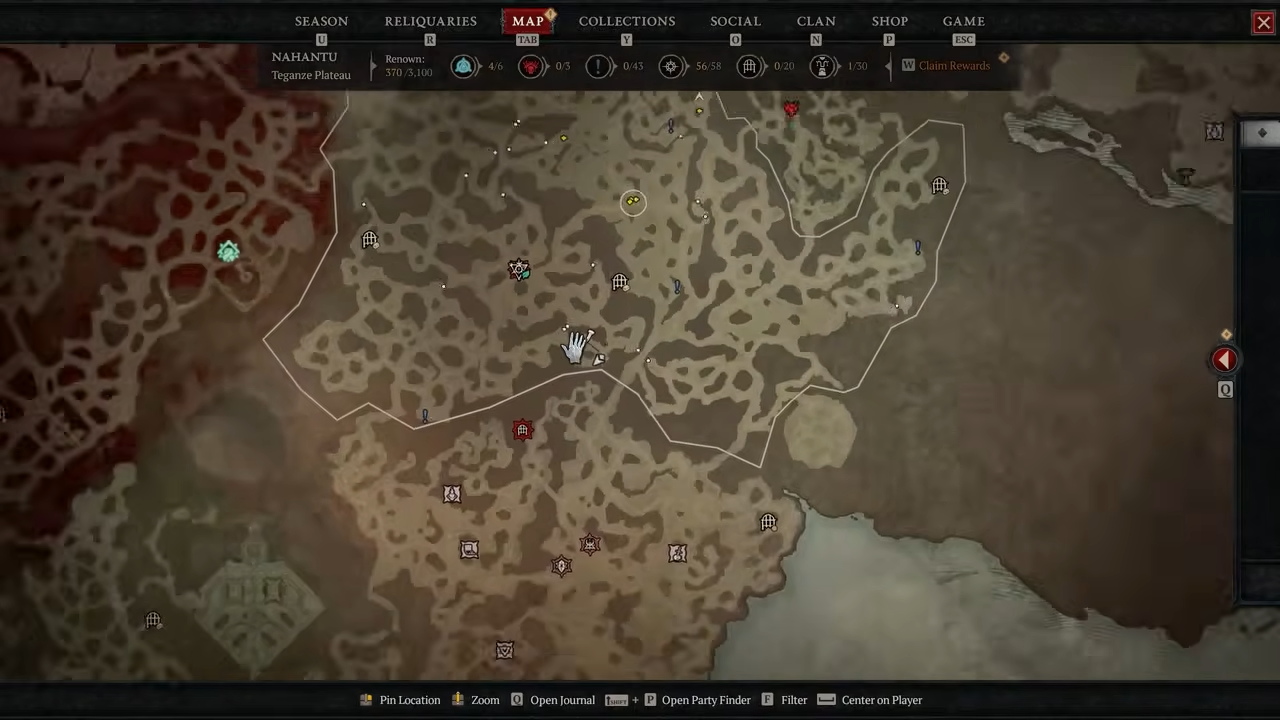
Each cow relic is tied to a specific zone kill and a hidden 666‑cow counter per character; zones for the three relics are Dry Steppes, Hawezar, and Scosglen.
-
The stamina potion and the rusted bardiche both drop from the last cow killed in their respective secret cow areas, and you can farm multiple copies of each.
You can secure both the stamina potion and the rusted bardiche before Diablo 4‘s Lord of Hatred expansion goes live, locking in your cow‑level‑gate items on a single account. This guide explains exactly how to farm the base‑game relics, the Forlorn Hollow item, and the Vessel of Hatred relics step‑by‑step, including the precise locations and conditions for each drop.
All Cow Level Items details
Farming the three base‑game cow relics
Each relic is tied to a hidden counter of 666 cows killed on a single character, and the final kill zone determines which relic drops. The three relics are:
-
Intricate metallic fragment – kill the 666th cow in the Dry Steppes.
-
Bloody wooden shard – kill the 666th cow in Kehjistan or Hawezar.
-
Musty tome – kill the 666th cow in the Fractured Peaks or Scosglen.
You must farm all three on the same account, but you can use three separate characters to avoid wasting runs once each character’s counter ticks over.
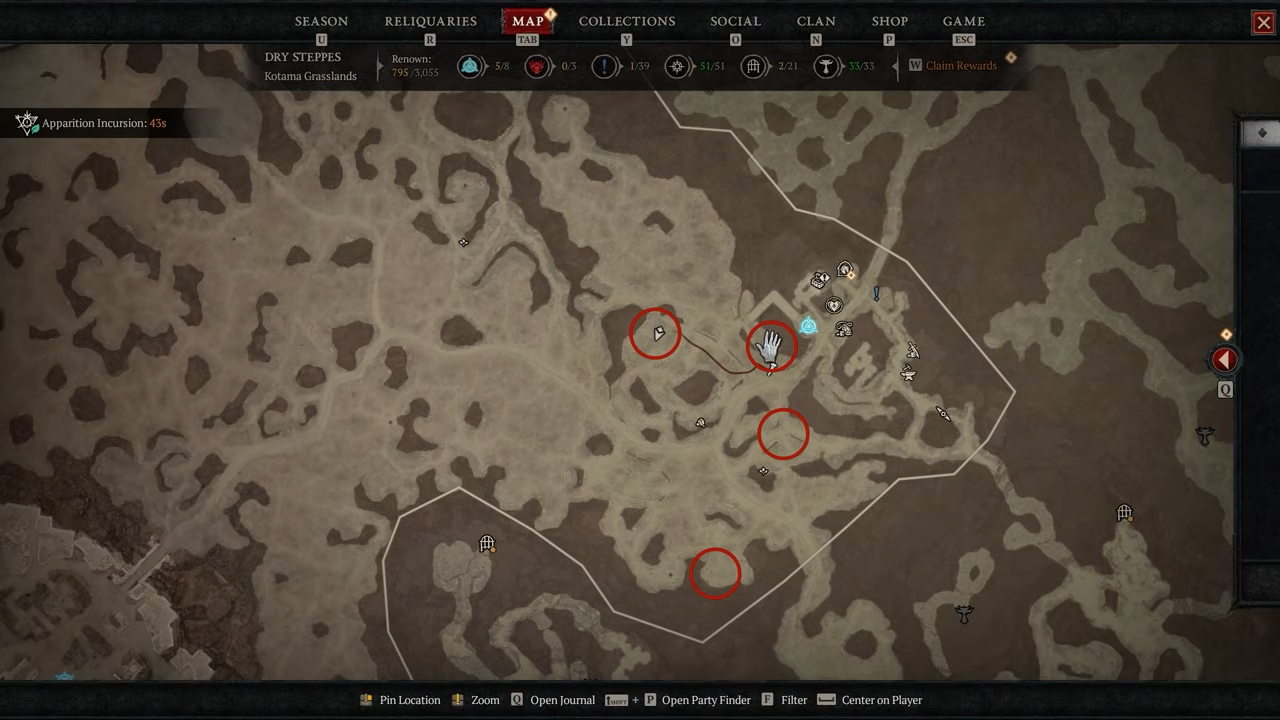
Step 1: Starting zone and rotation
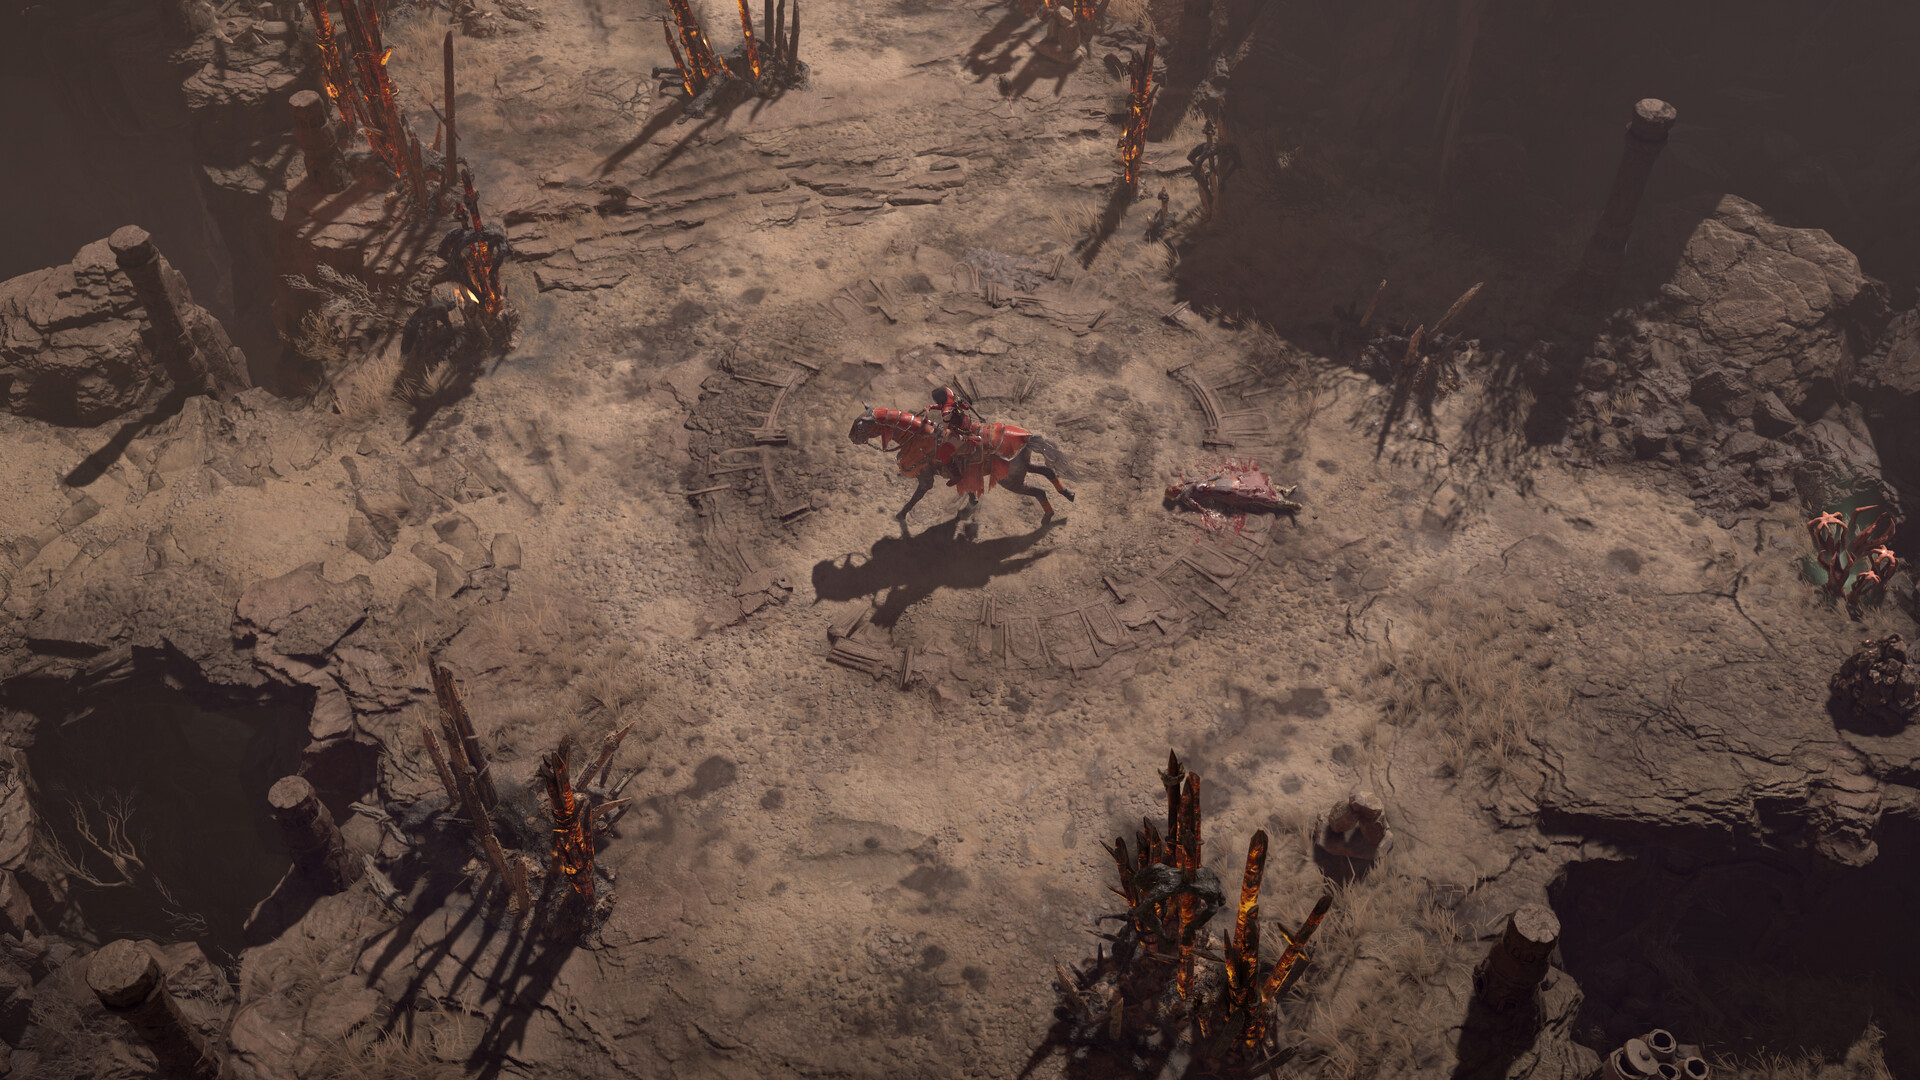
The fastest cow‑farming spot is in the Dry Steppes, where four nearby spawn points cluster a lot of cows.
-
Log into a character and rotate between these four spawn‑like spots, killing every cow you see.
-
Any AoE build (for example a Sorcerer using Firewall) can one‑shot cows, since they have only one health.
-
After each loop, log out and back in, then rerun the route in the opposite direction to reset spawns and keep the kill‑rate high.
Aim to clear roughly 4–5 cows per full round, and time each round to stay under 2 minutes so you can comfortably hit 666 kills in a few hours.
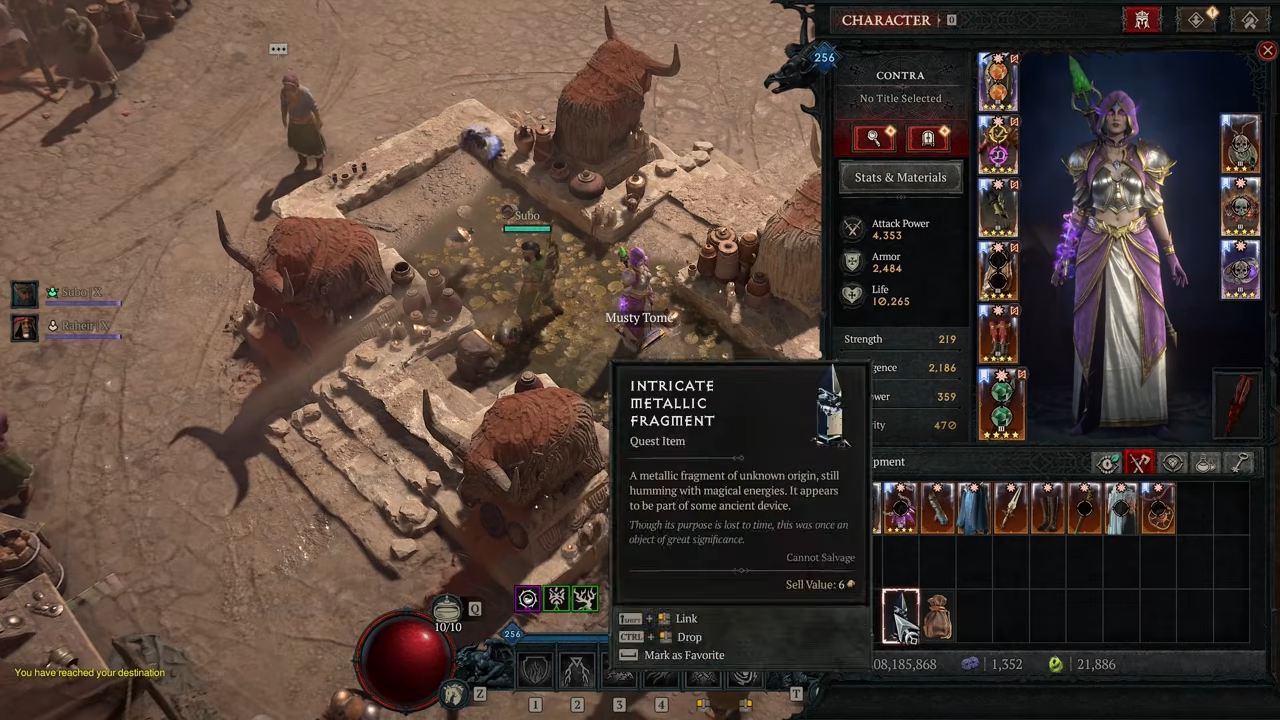
Step 2: Getting the intricate metallic fragment
Farm 666 cows on Character 1 in the Dry Steppes using the rotation above.

-
After the 666th cow dies, a red pentagram‑like effect appears and the intricate metallic fragment drops.
-
This is your first relic; save it and do not reset this character’s cow counter again, because the 666‑rule applies only once per character.
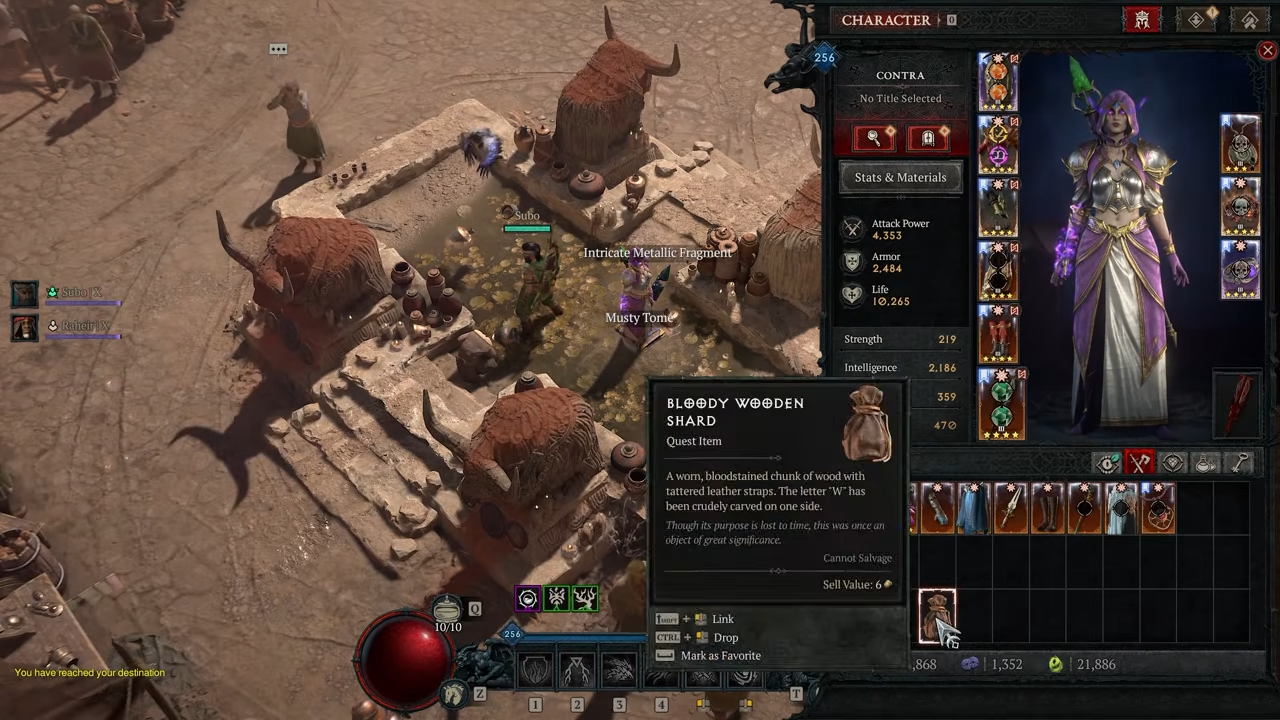
Step 3: Getting the bloody wooden shard
You can still farm most of the required 666 cows in the Dry Steppes, then finish the last chunk in Hawezar.

-
On Character 2, farm roughly 400–500 cows in the Dry Steppes using the same rotation.
-
Track your loop count with a simple online counter or a notepad to avoid overshooting.
-
Once you are near 666 cows, teleport to Hawezar near Zarbinzet and rotate between two common cow‑spawn points south of the town.
-
Kill every cow in that area until the 666th cow dies in Hawezar; the bloody wooden shard will drop from the red‑effect kill.
Because the relic depends only on the zone of the final kill, this method lets you farm the bulk of cows in the fastest spot while still keeping the zone‑specific relic.
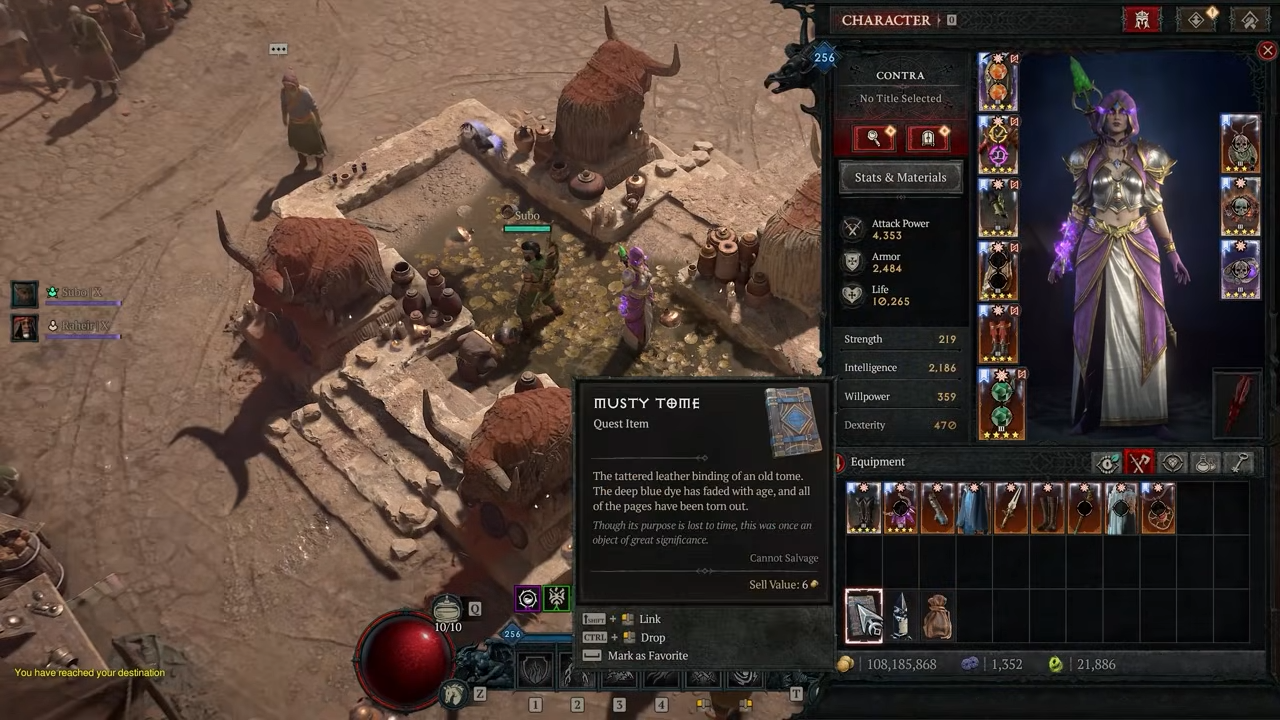
Step 4: Getting the musty tome
Repeat the same pattern for Character 3 to claim the last relic.
-
Farm about 400–500 cows again in the Dry Steppes, using the same rotation and counter.
-
Once you are close to 666 kills, teleport to Scosglen and move between two high‑density cow‑spawn points.
-
Kill every cow until the 666th one dies in Scosglen; the musty tome will drop from that final kill.
At this point you own all three base‑game cow relics: bloody wooden shard, musty tome, and intricate metallic fragment.
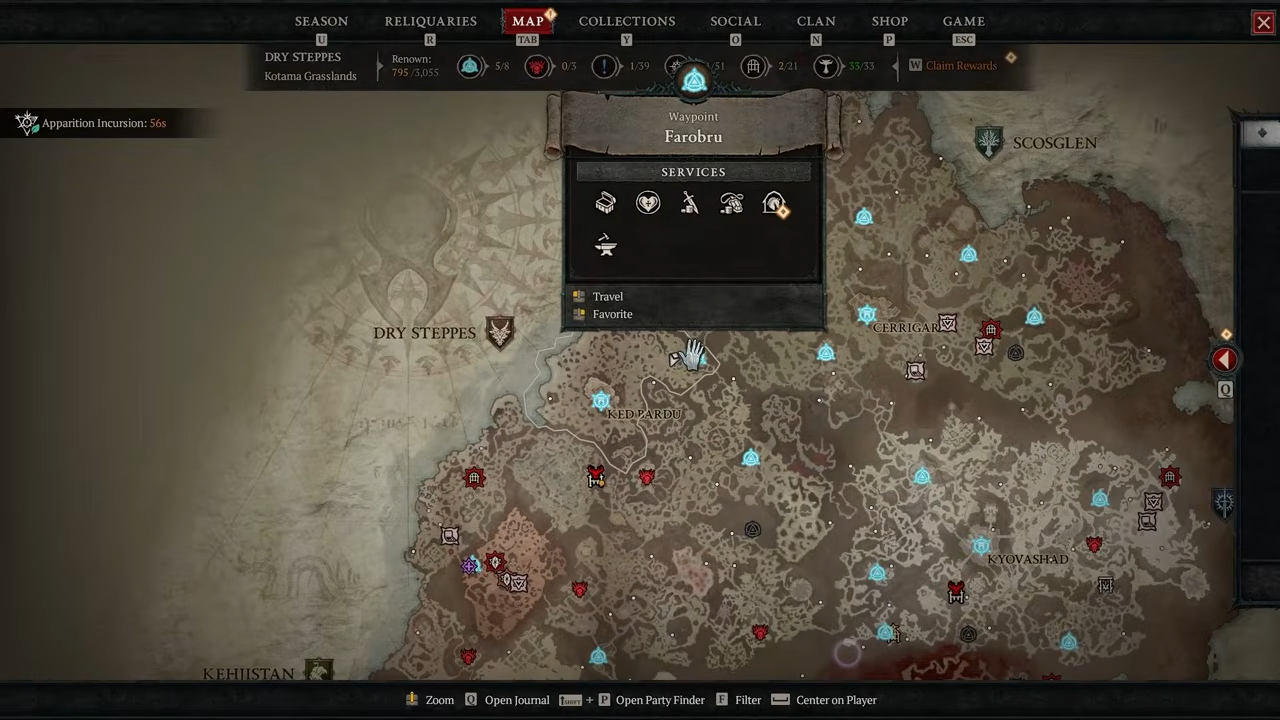
Unlocking the stamina potion in Forlorn Hollow
With the three relics in hand, you can now open the Forlorn Hollow cellar and farm the stamina potion.
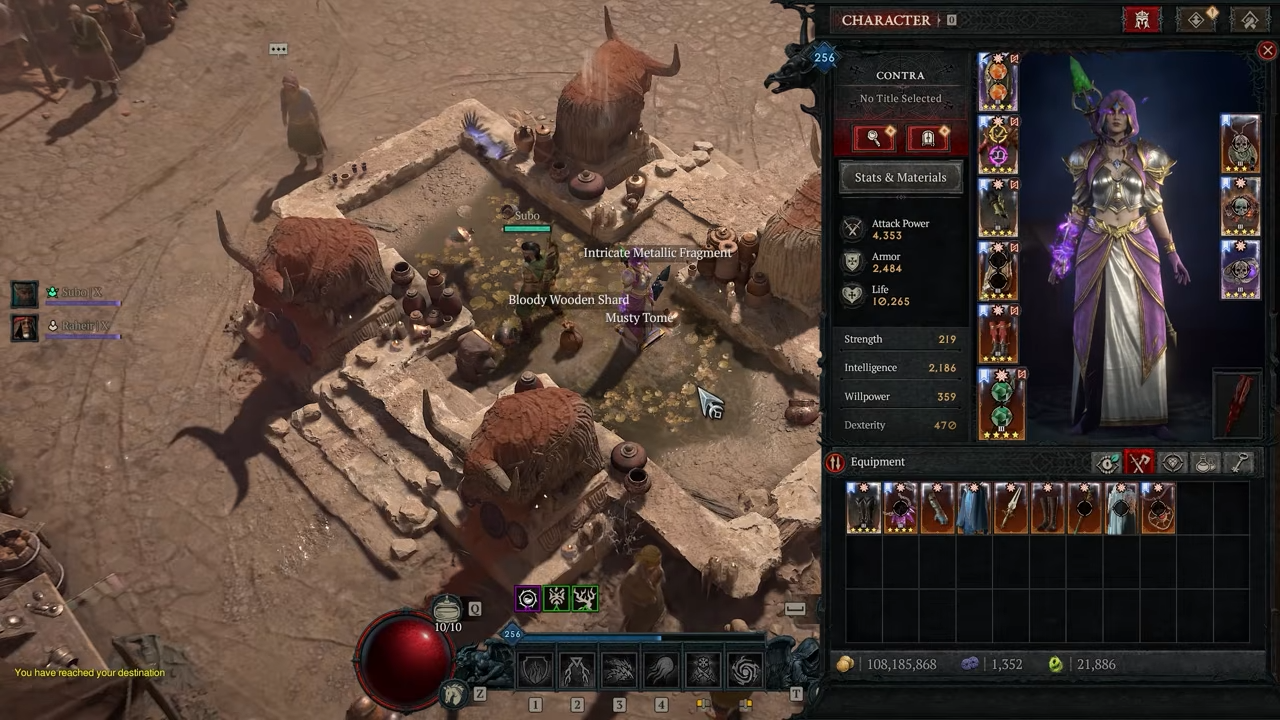
Step 5: Taking the relics to Ked Bardu
Travel to Ked Bardu in the Dry Steppes and head to the central fountain area that features four ox‑headed statues around it.
-
By default only one ox is interactable.
-
Drop all three relics into the fountain, then pick them back up. Each time you retrieve an item, another ox becomes interactable.
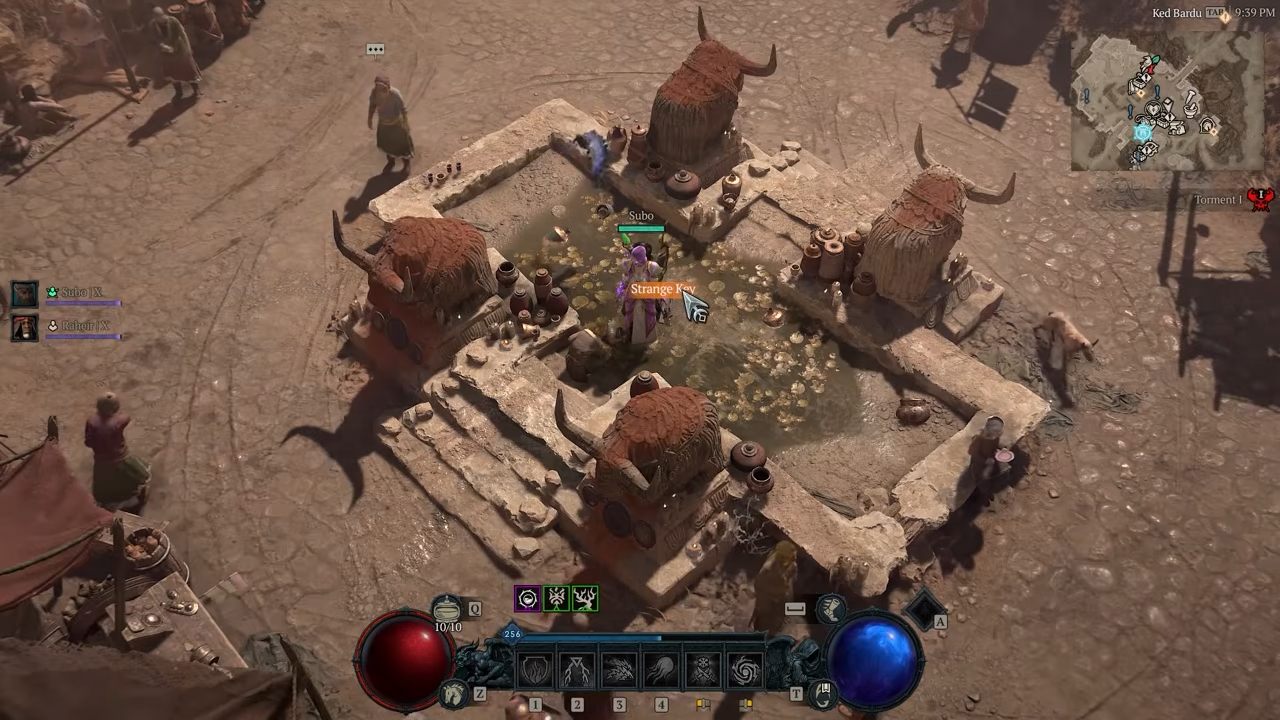
Step 6: Interacting with the oxen
Once you have picked everything back up, interact with the three remaining oxen in any order.
-
After the third interaction, a strange key will drop into the fountain.
-
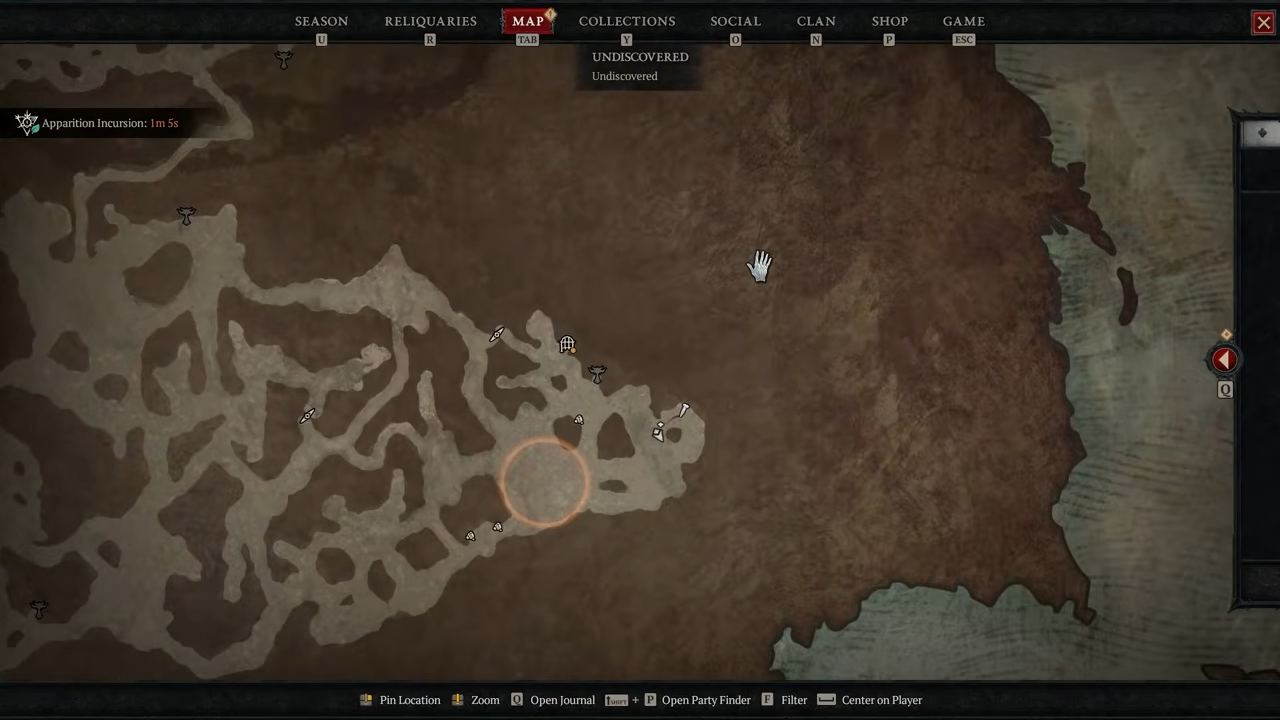
This key grants access to the Forlorn Hollow, a secret cellar in eastern Scosglen.
Step 7: Entering and clearing Forlorn Hollow
-
The Forlorn Hollow is located at the far eastern tip of Scosglen, in a peninsula‑like area that some players describe as cow‑shaped.
-
Equip the strange key and interact with the door there to open the cellar.
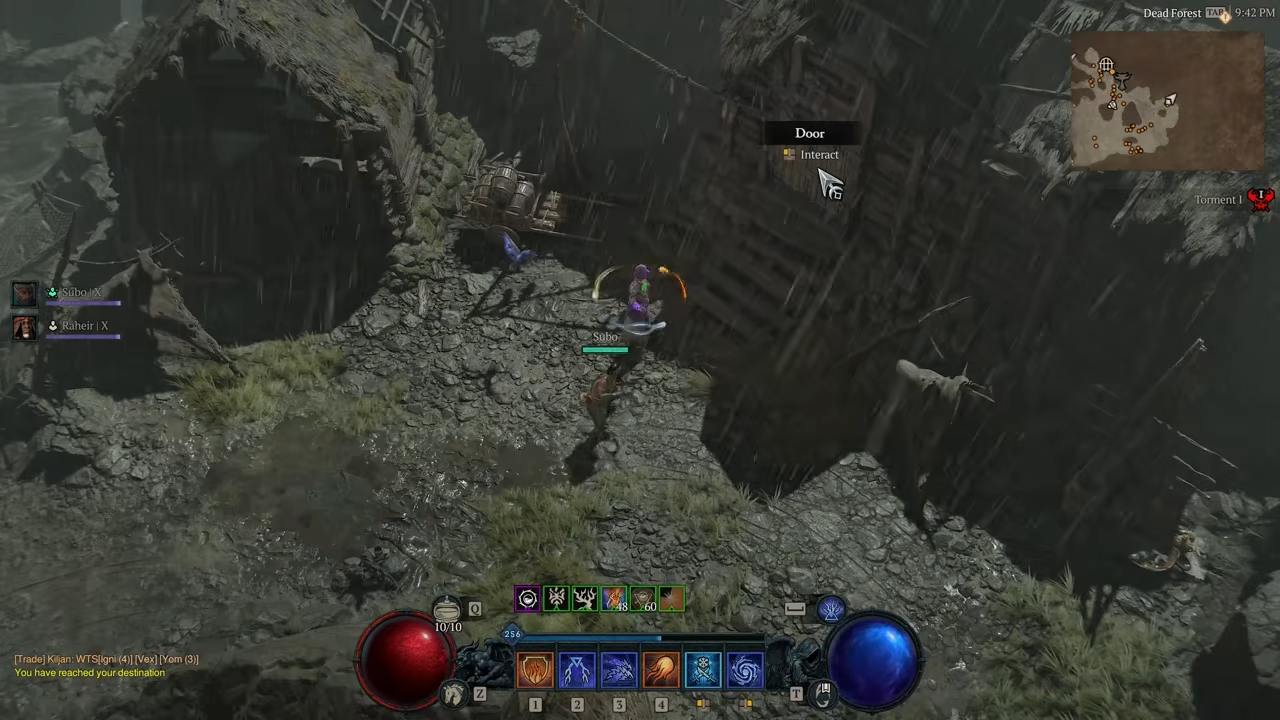
-
Only this character will ever be able to open the door; the key disappears from your inventory once used.
Inside the Hollow you will find:
-
A number of dead human bodies.
-
Several animated cows that will turn and stare at you until you kill them.
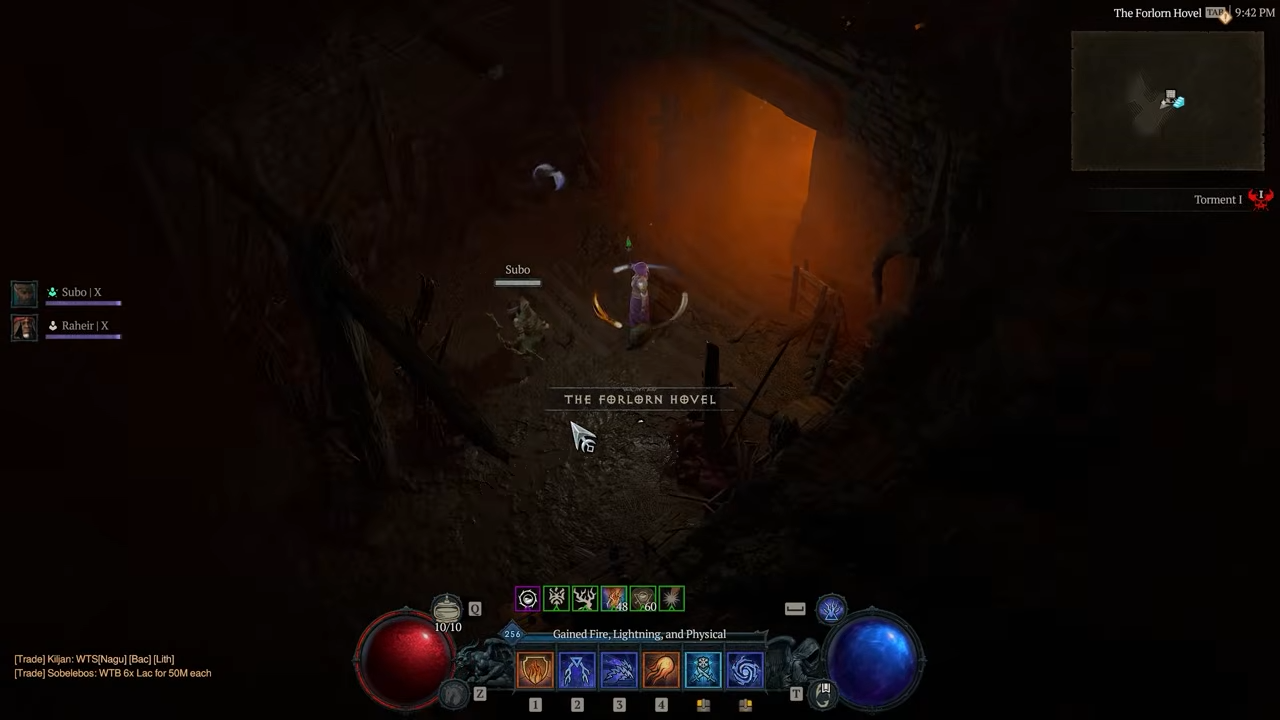
Step 8: Killing the cows for the stamina potion
-
Kill every cow in the Hollow.
-
The last cow to die will drop the stamina potion.
-
You can leave the area and reset the Hollow to farm additional stamina potions, which can be stored in your stash and shared with alts.

The stamina potion currently has unknown effects, but it is expected to play a role when the cow level is formally integrated into the Lord of Hatred expansion.
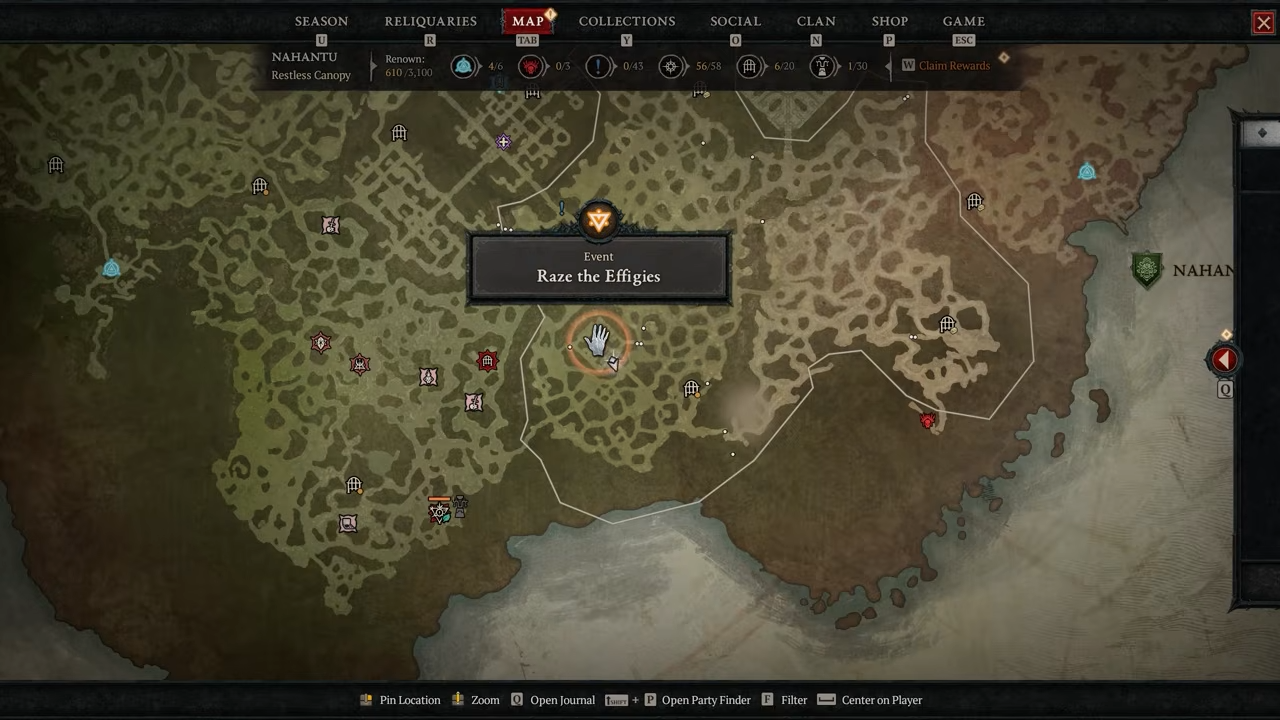
Obtaining the Vessel of Hatred cow relics
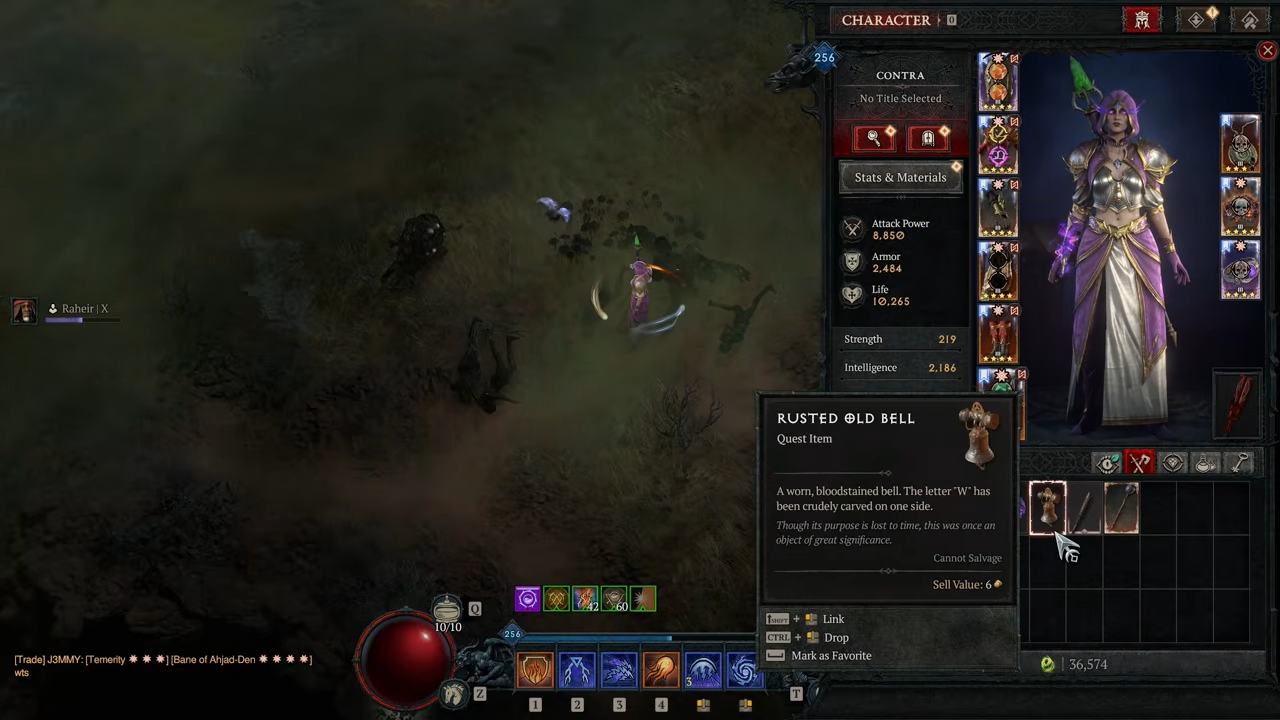
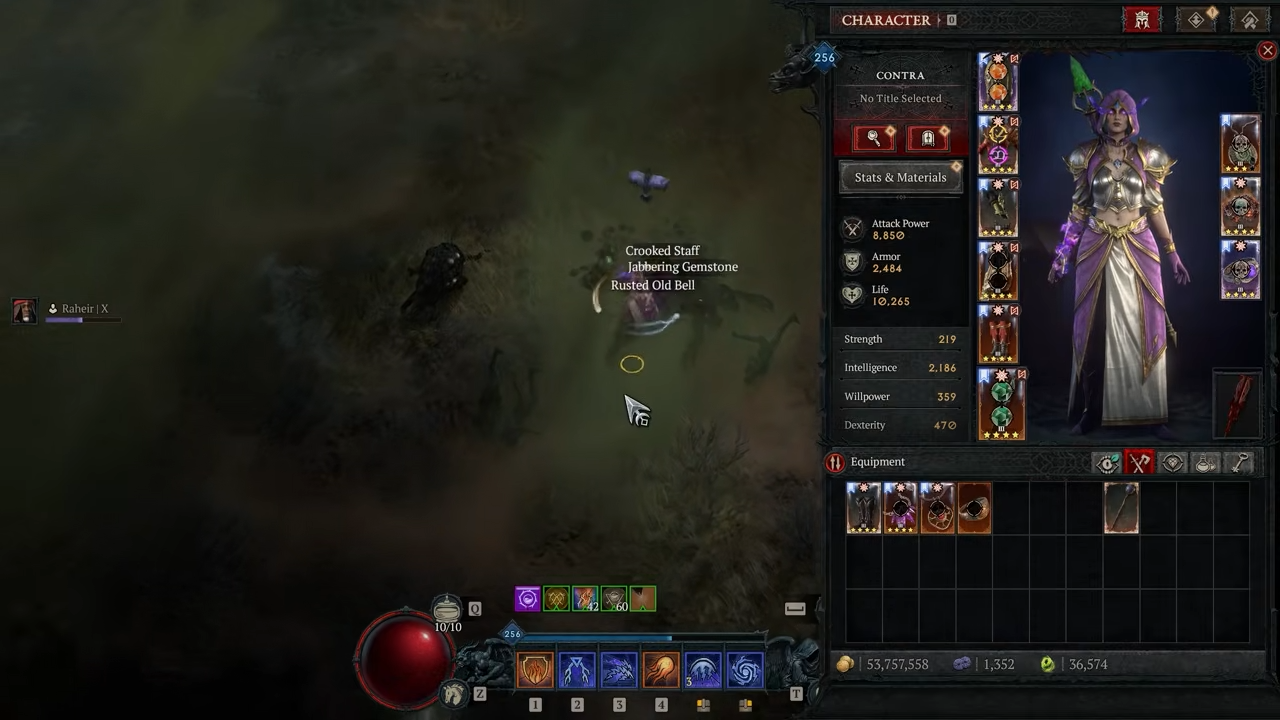
The Vessel of Hatred expansion adds a second set of cow‑related relics: the rusted old bell, jabbering gemstone, and crooked staff. These three are easier than the original 666‑cow relics but still require specific steps.
How to get the rusted old bell
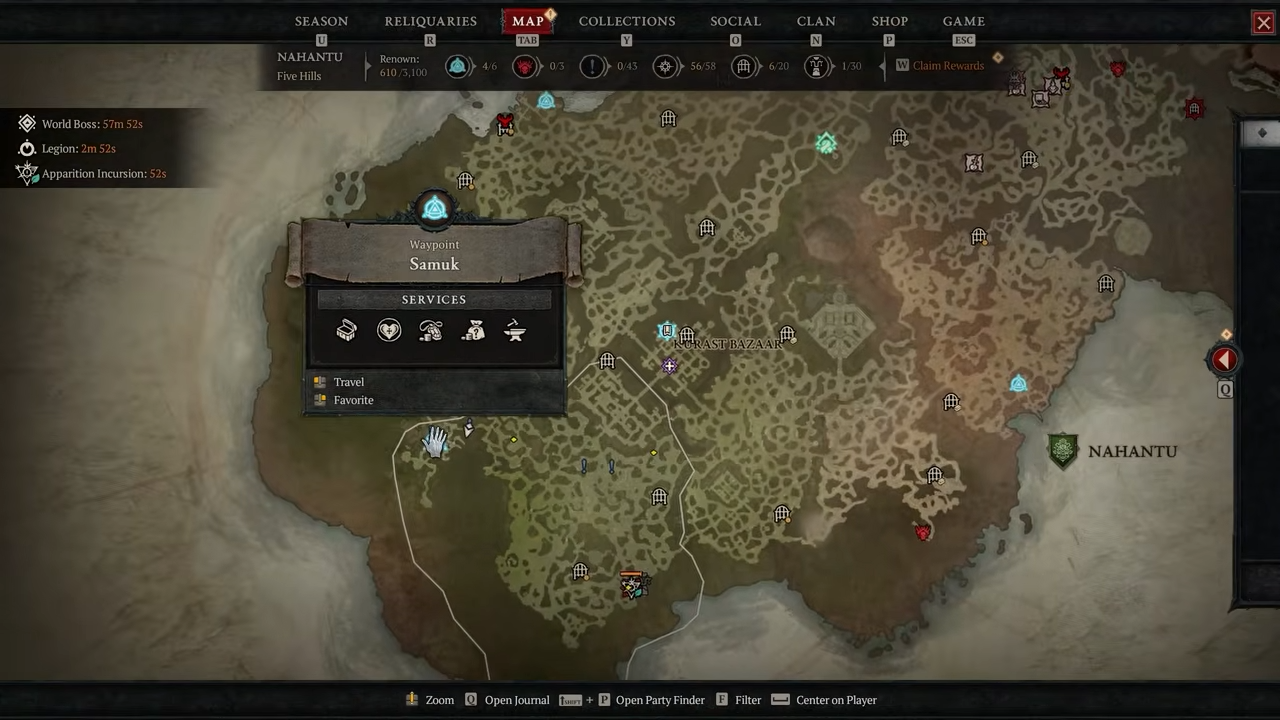
The rusted old bell is obtained by visiting a ring of bird‑statues in Nahantu.
Step 9: Visiting the bird‑statue circuit
In Nahantu there are 12 bird‑statues that form a loop.
-
You must approach and walk near each statue in the correct order; the route circles back so that the 1st and 13th statue are the same.
-
There is no visible confirmation (no sound or animation) when you successfully “count” a statue; you must rely on proximity and map notes.
Step 10: Completing the circuit
-
After you reach the final (13th) statue, the rusted old bell will drop on the ground.
-
The statues are small and blend into the environment, so it helps to load a compact map layout and follow the loop closely without skipping any points.
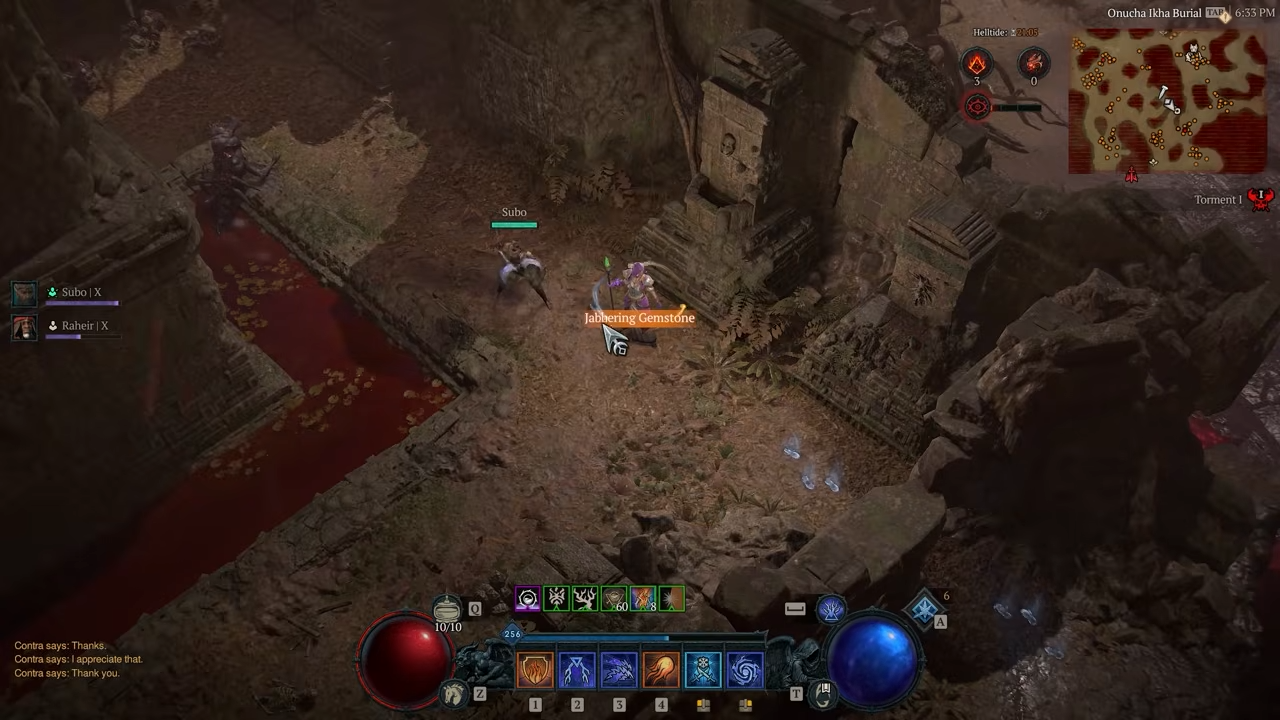
How to get the jabbering gemstone
The jabbering gemstone is the simplest of the three Vessel of Hatred relics.
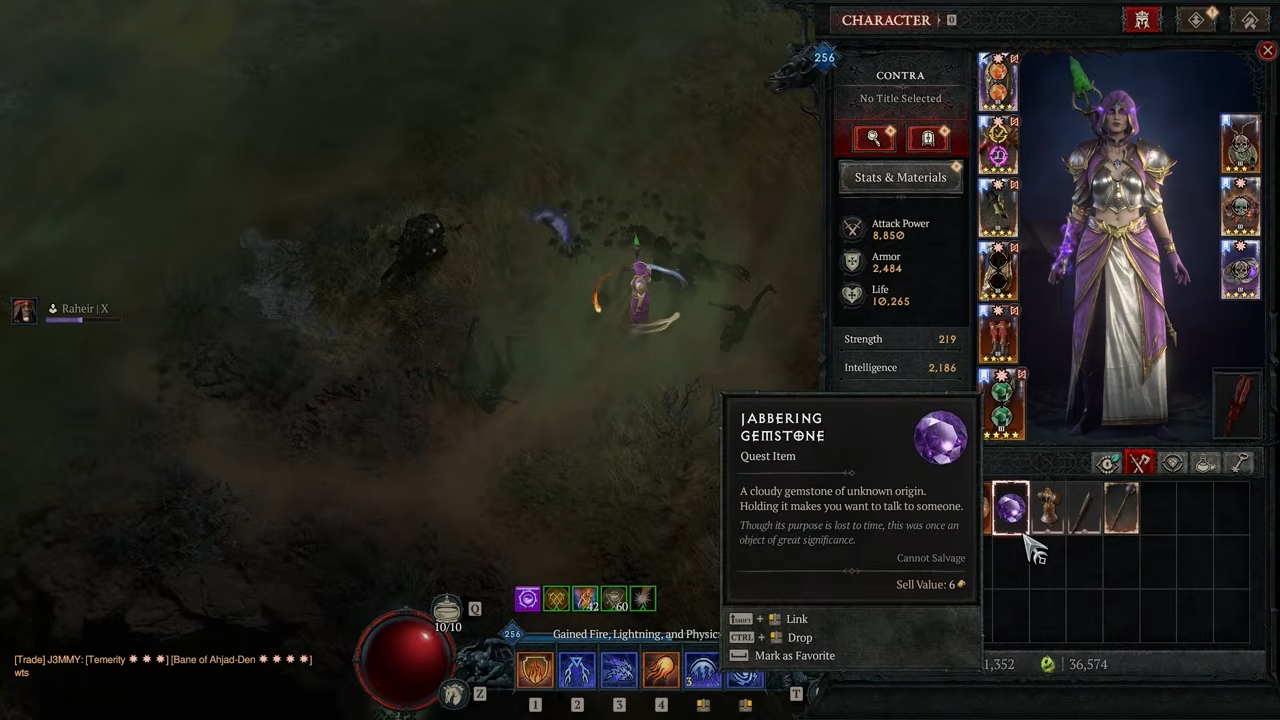
Step 11: Emoting at the altars
In a specific area of Nahantu you will find three altars.
-
Stand in front of each altar and perform the “thanks” emote in a specific order: middle → left → right.
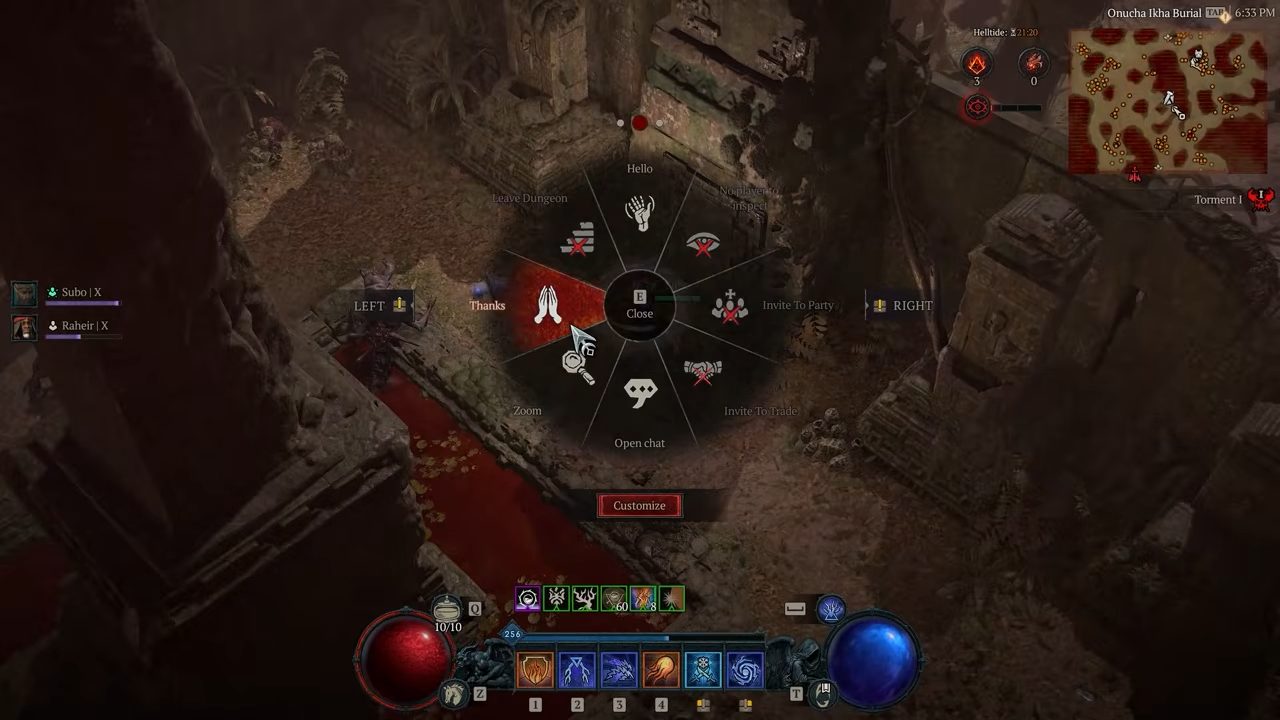
-
After the third emote, the jabbering gemstone will drop on the ground.
Because this event only requires emotes and a short walk between altars, it is one of the fastest ways to obtain one of the three relics.
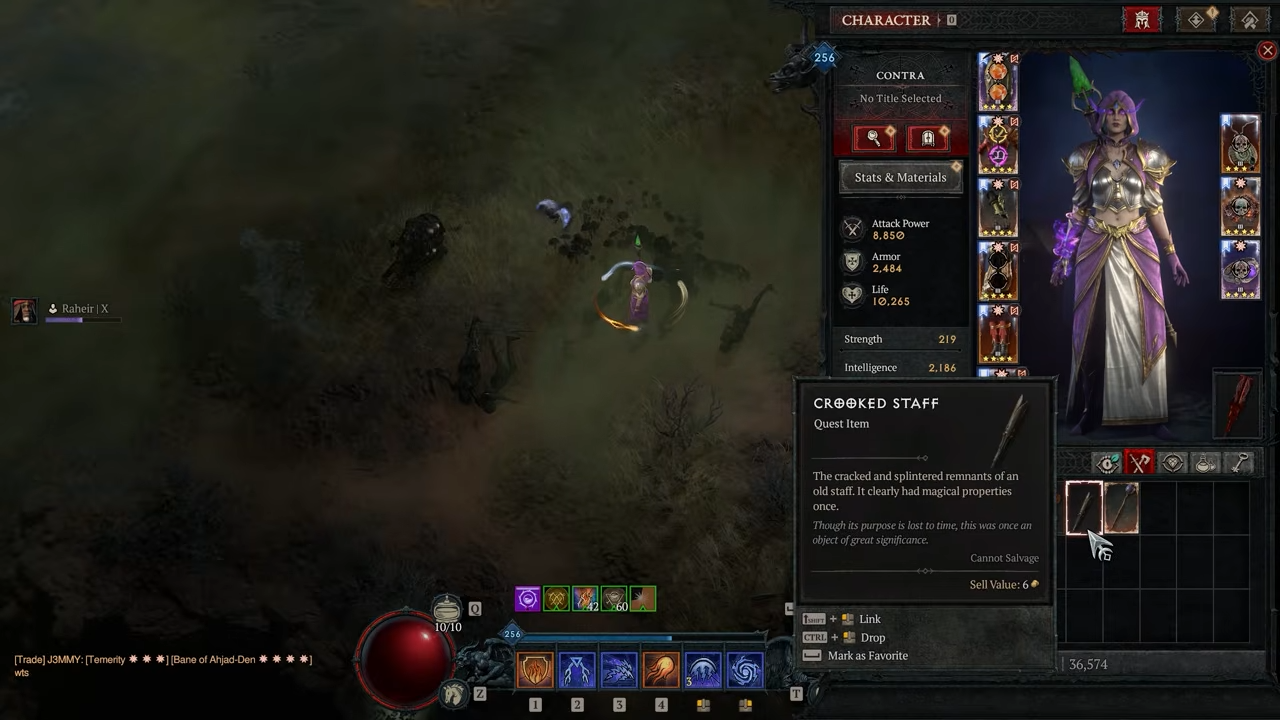
How to get the crooked staff
The crooked staff requires killing an elite Lacuni boss with a basic attack.
Step 12: Finding Blood Lightning
Travel to the designated part of Nahantu where the elite Lacuni “Blood Lightning” patrols.
-
The fight is straightforward if you approach it with a low‑difficulty, low‑build character.

Step 13: Removing skill points
The key condition is that you must deliver the final blow with your basic attack, which you only have if you have no active skill points in your skill tree.
-
You can either:
-
Start a fresh low‑level character and fight the boss with minimal gear.
-
Or take a high‑level character, remove all skill points, unequip any gear that adds skill points, and lower the difficulty to Normal.
-
This turns the boss into a simple, slow‑health‑drain encounter because your base stats from gear and paragon still carry you through.
Step 14: Kite the fight and avoid mercenaries
-
Do not bring mercenaries, as a mercenary kill will void the condition.
-
Use only your basic attack to finish the elite.
-
On death, the crooked staff will drop on the floor for you to pick up.

Corrupting the three relics for the unusual key
Once you have the rusted old bell, jabbering gemstone, and crooked staff, you must corrupt them in a special event.
Step 15: Preparing for the corruption event
Grab all three relics and head to a specific area in Nahantu where cordyceptic zombies spawn.
-
You will need three cordyceptic zombies alive at the same time in the same spot.
-
There are three nearby spawn clusters that make this easier.
Step 16: Gathering the zombies
-
Find the first cordyceptic zombie, then kill all other trash mobs around it so you do not accidentally pull extra enemies.
-
Use a ranged or fast‑kiting character to pull the zombie to the second spawn point without killing it.
-
Repeat the process for the second zombie, bringing it to the third spawn point.
-
Finally, bring the third zombie to the same cluster so all three are stacked together.
These zombies have very weak melee attacks and follow you over long distances, which makes kiting them manageable.

Step 17: Killing the zombies and dropping the relics
-
Kill all three cordyceptic zombies together.
-
After they die, a patch of mushrooms will appear on the ground where they fell.
-
Drop all three relics (rusted old bell, jabbering gemstone, crooked staff) into the mushrooms.
If the corruption is successful, the relics will emit a deep purplish fog when you pick them up again. These are now your corrupted relics.

Trading corrupted relics for the unusual key
The next step trades the corrupted relics for the key that unlocks the second cow area.
Step 18: Locating the braziers
Travel to a temple area in Nahantu where three braziers sit near the entrance.
-
Hover your cursor over nearby objects; the braziers will show a slight white outline when you pass over them, while other objects will not.
Step 19: Offering the relics
-
Have all three corrupted relics in your inventory.
-
Use each relic on a separate brazier, clicking each one once.
-
After the third relic is offered, the unusual key will drop on the ground.
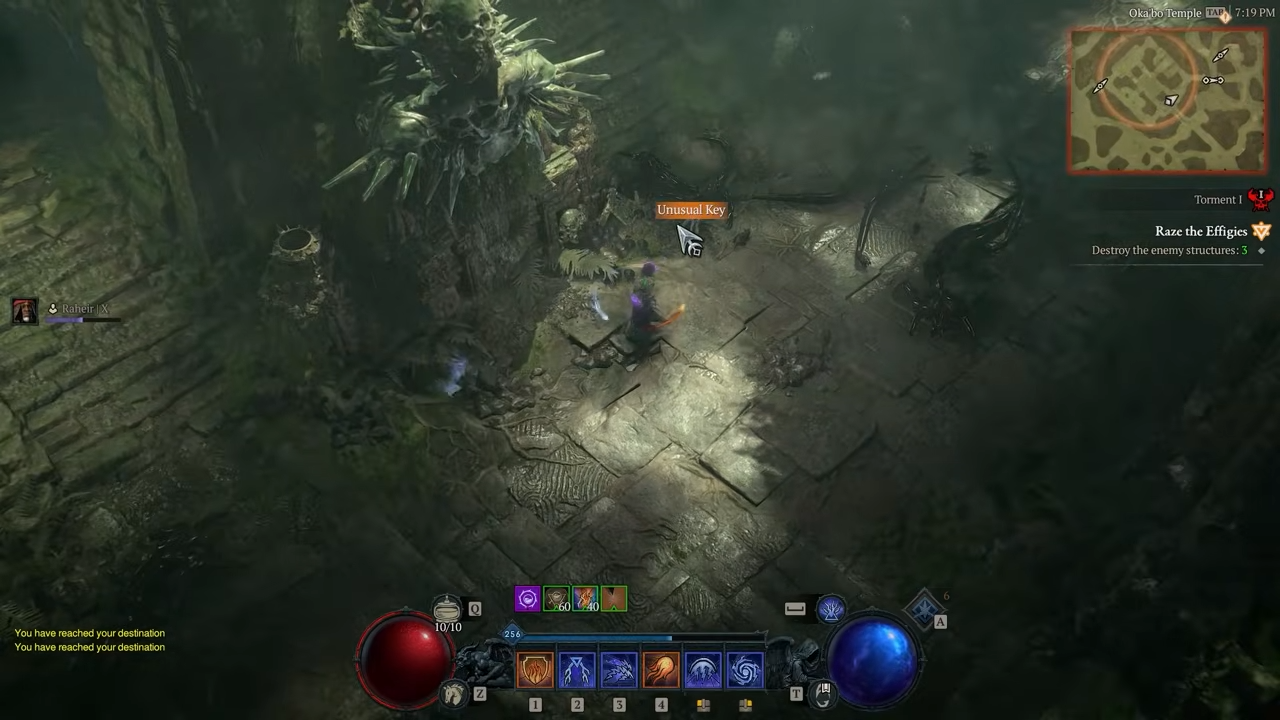
This key is the final pass‑item needed to access the hidden cow section in Nahantu.
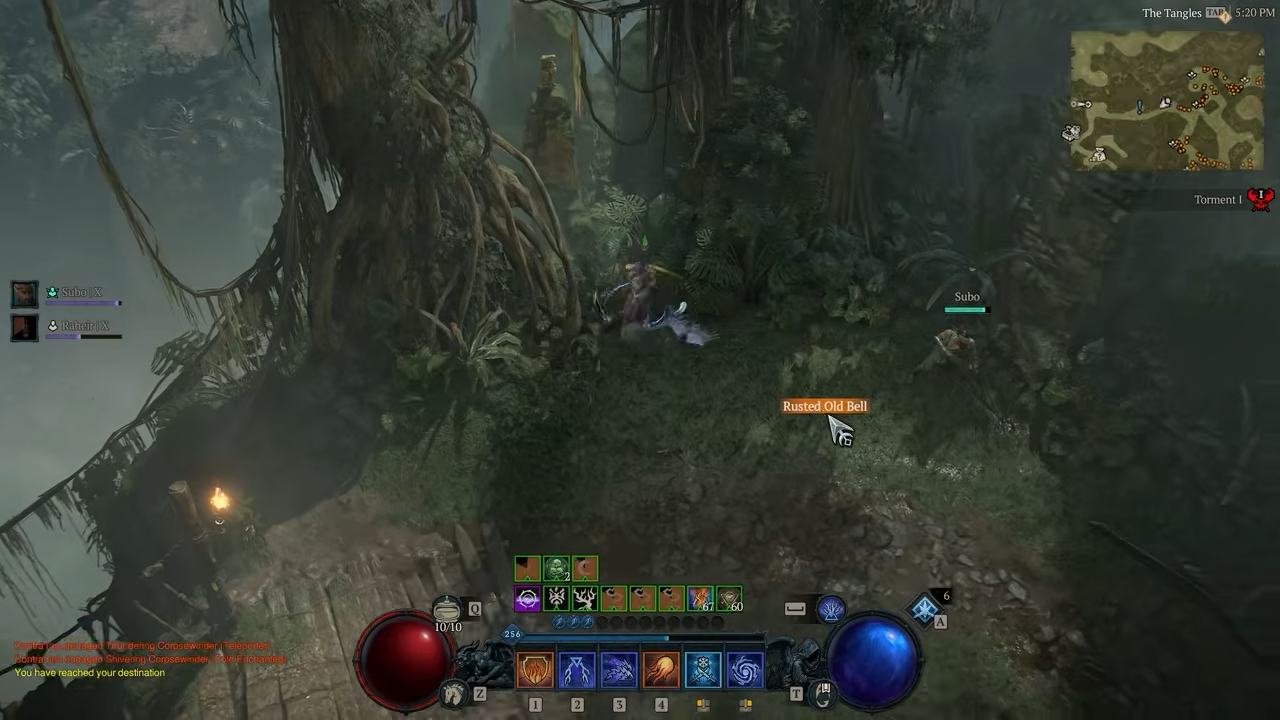
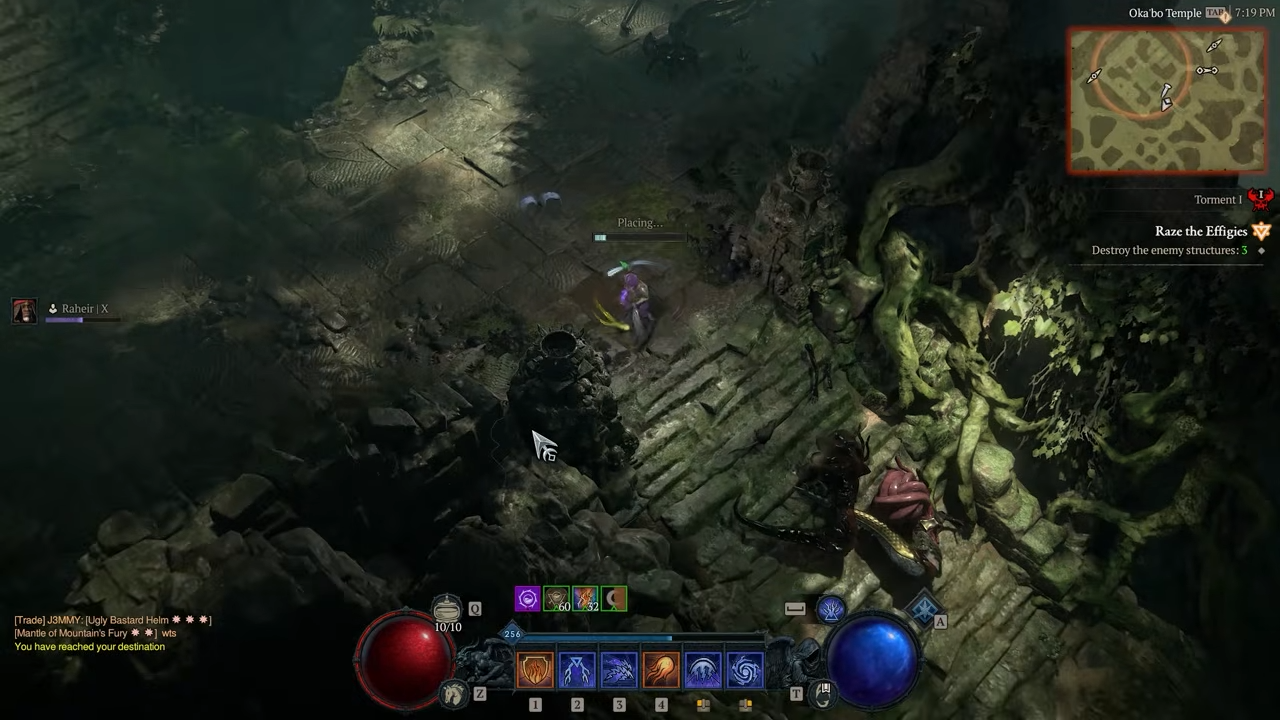
Getting the rusted bardiche from Forlorn Burrow
The last cow‑level item to obtain before Lord of Hatred is the rusted bardiche, which drops from the final cow in a hidden part of the Forlorn Burrow.
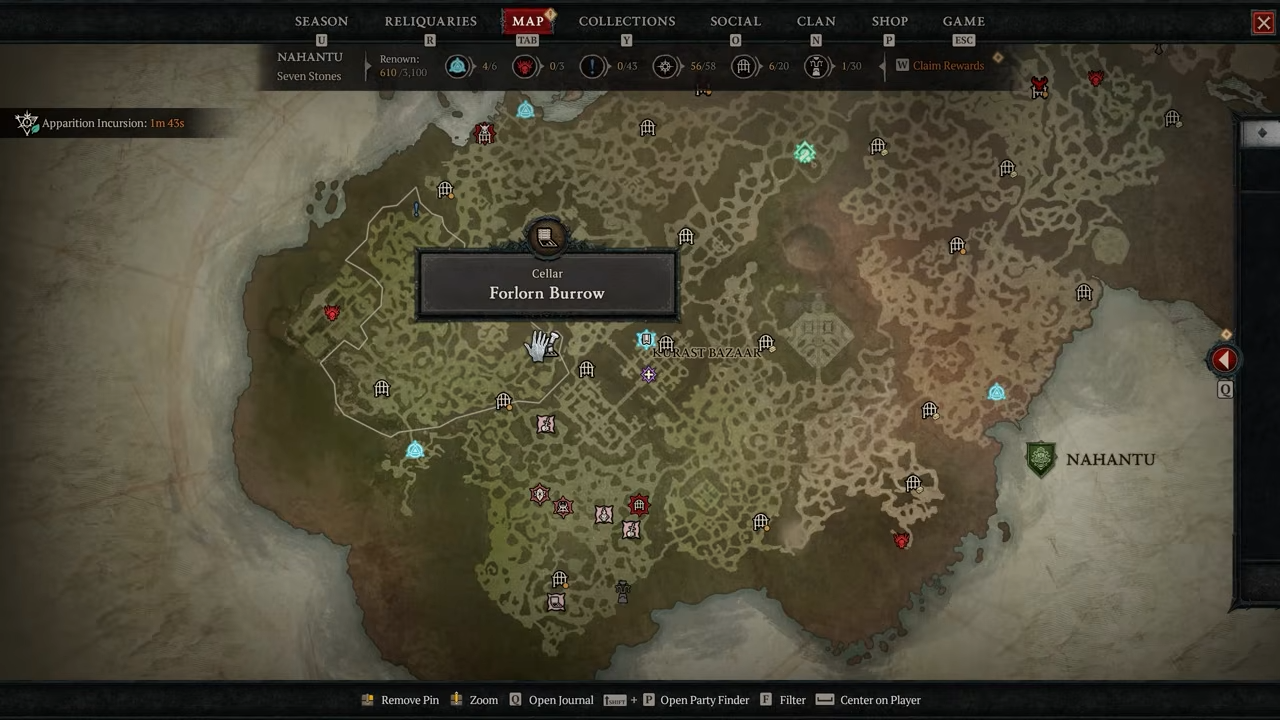
Step 20: Entering the Forlorn Burrow
-
The Forlorn Burrow is a cellar in Nahantu that is accessible to all players without a key.
-
Enter and complete the event inside the burrow by clearing the standard enemies.
After finishing the event, the burrow becomes “cleared,” but a hidden section remains gated behind the unusual key.
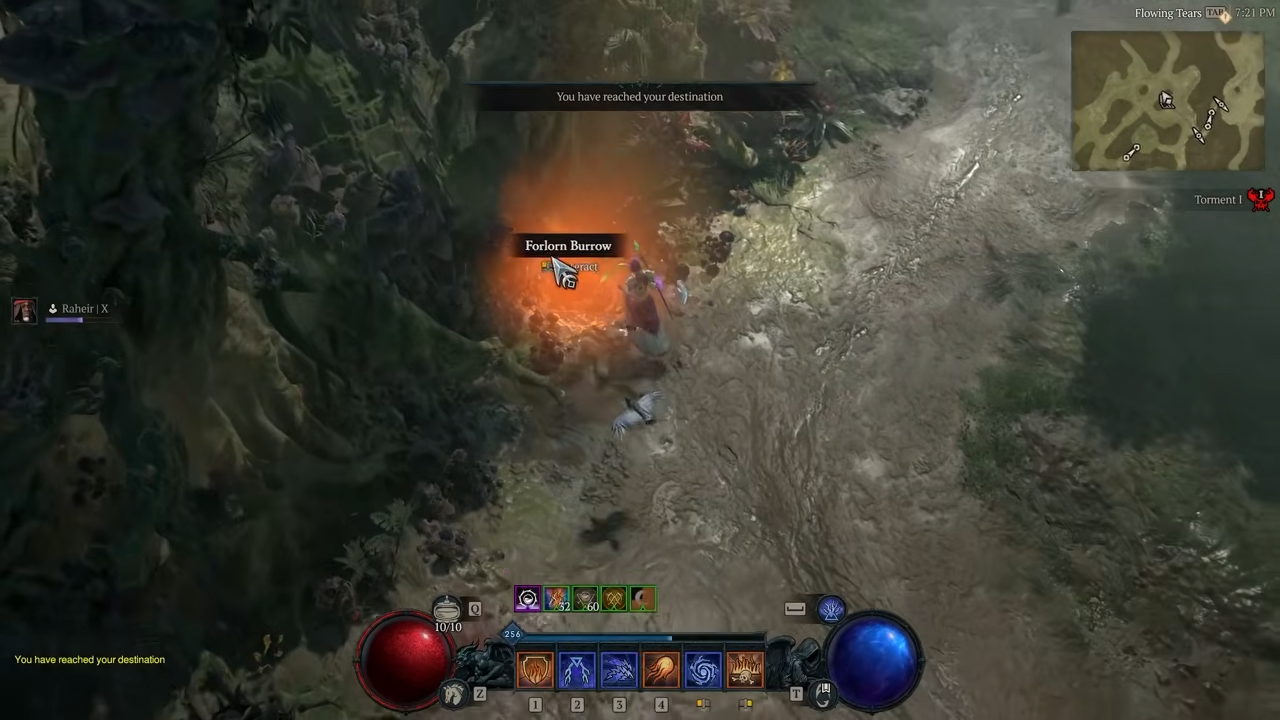
Step 21: Finding the hidden wall segment
-
With the unusual key in your inventory, walk around the walls of the burrow.
-
One small wall segment will show a white outline when you hover over it, indicating the secret entrance.
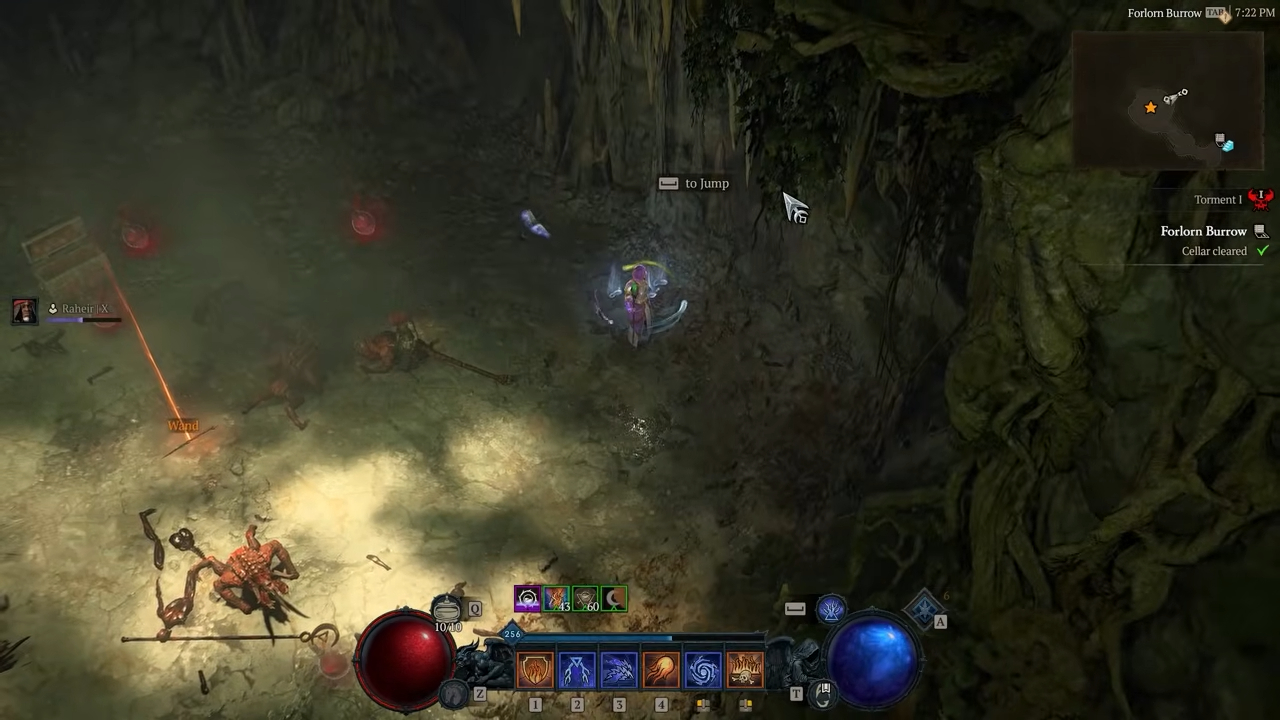
Click that segment to open a hidden passage you can jump into.
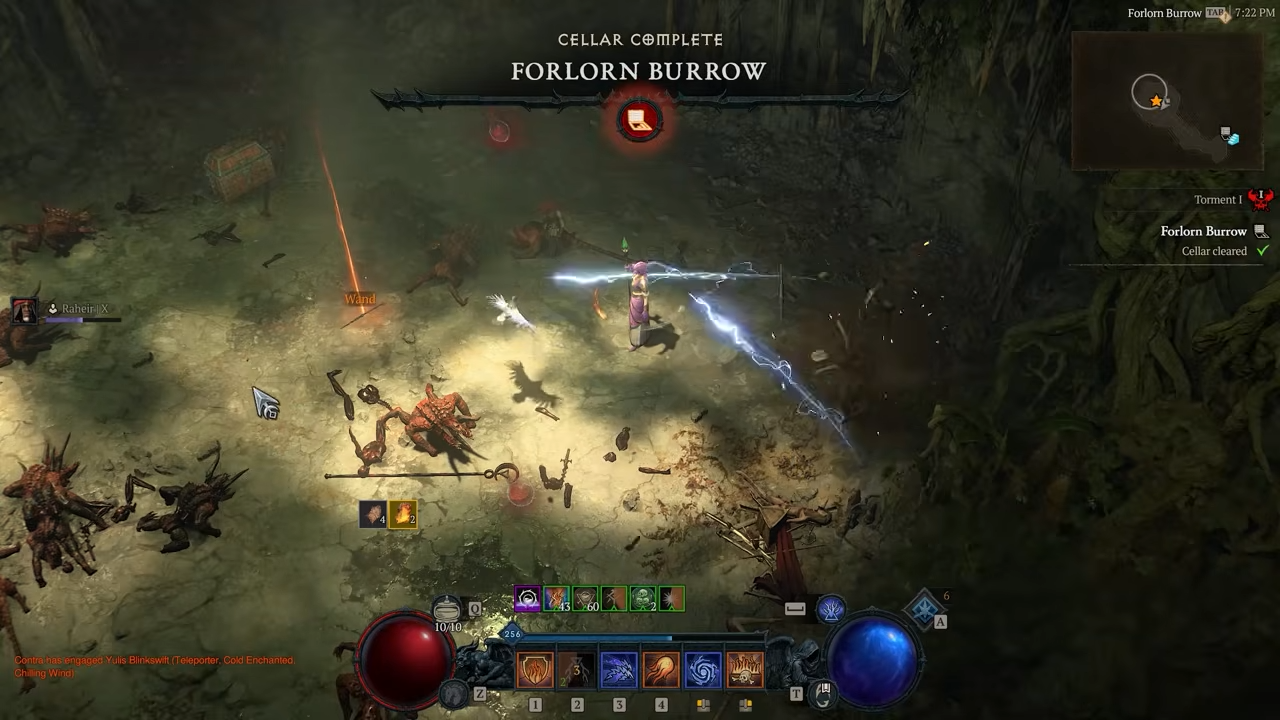
Step 22: Fighting the hidden cow‑room
-
The hidden chamber is filled with cows that turn and stare at you as you enter, plus several dead humans scattered around.

-
Kill every cow in the room.
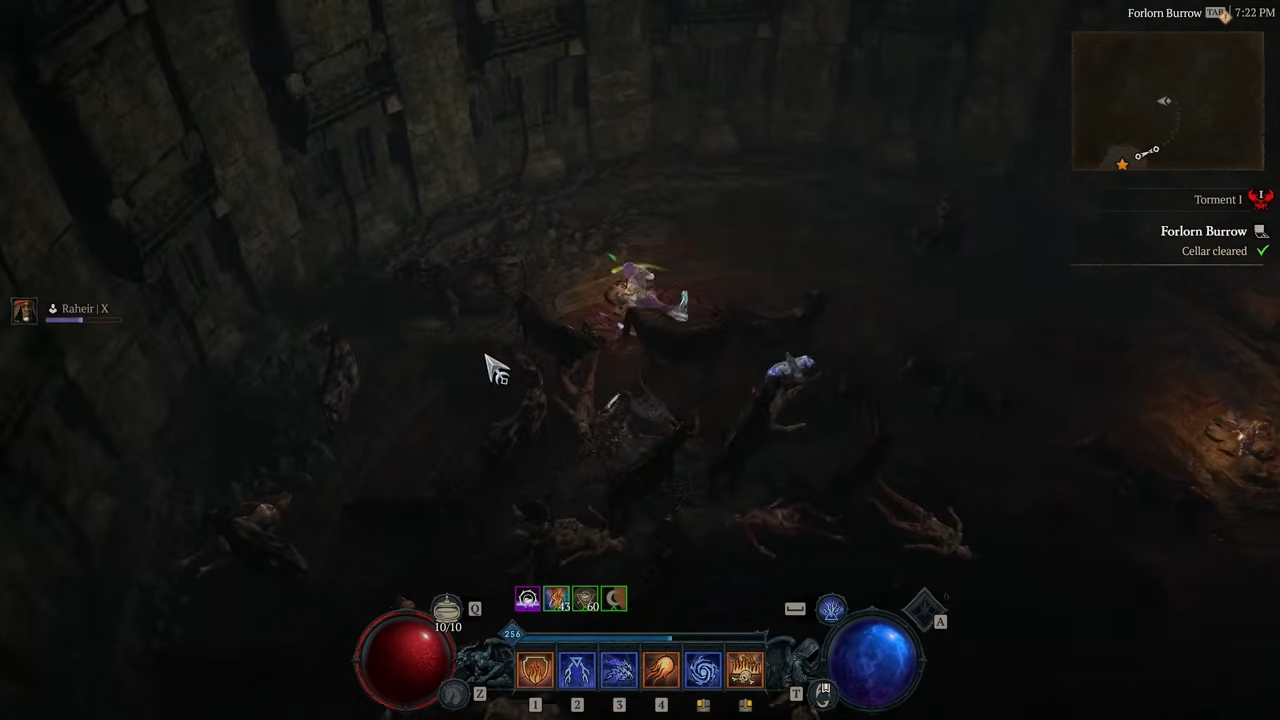
-
The last cow to die will drop the rusted bardiche.

The rusted bardiche is a fully equippable weapon, albeit with intentionally poor stats and a humorous “reeks of manure” description, and it is widely expected to be a required component for entering the cow level in Lord of Hatred.

Preparing your cow‑level item set before Lord of Hatred
By following this sequence you can stockpile both the stamina potion and the rusted bardiche on one account ahead of the Lord of Hatred launch. That gives you a complete set of cow‑level‑gate items—three base‑game relics, the stamina potion, three Vessel of Hatred relics, the corrupted versions, and the rusted bardiche—ready in case the new expansion introduces additional conditions or re‑balances the existing ones.
Because the cow‑level progression is already tied to very specific zones and counter‑based events, doing this early means you can focus on the actual Lord of Hatred campaign and endgame instead of back‑tracking through relic‑hunting after the expansion goes live.


Leave a Reply