Find Crimson Desert hidden secrets across overlooked vistas, Vision memories, hidden gear, tameable pets, rare mounts, and useful mechanics tucked just beyond the main path.
Crimson Desert hides dozens of secrets a normal playthrough walks right past — striking vistas, lore-rich Vision memories, tucked-away gear, tameable pets, and quiet mechanics — and below are the most notable ones grouped by what they are and where to find them.
Crimson Desert rewards players who slow down and poke around, and a huge amount of its best content sits just off the main path. This roundup groups the standout finds into five buckets — locations, lore and Vision memories, hidden loot, pets and mounts, and overlooked mechanics — and tells you roughly where to look for each. One note before you go hunting: many place and item names here are transcribed from spoken in-game audio, so treat exact spellings (Pae Loom, Demenis, Hernand, Calpheon, and the like) as approximate.
- What counts as a secret in Crimson Desert
- Hidden locations and vistas worth the detour
- Lore, Vision memories, and what the desert is hiding
- Hidden gear and where each piece is stashed
- Tameable pets and mounts, and how to get them
- Overlooked mechanics and quality-of-life tricks
- Frequently Asked Questions
What counts as a secret in Crimson Desert
By “secrets” we mean discoveries you’d miss on a normal run — a vista with a reward tucked behind it, a Vision memory that quietly fills in the world’s backstory, a unique weapon at the bottom of a dungeon, or a mechanic the game never sits you down to explain. This isn’t a numbered checklist you grind toward 100; it’s a tour of the genuinely worthwhile finds.
The desert and its surrounding regions are full of scenic finds, and a lot of them pay you for the trip with an Abyss Crescent or Abyss Crest. In the south, the Mushroom Cap Cliffs below Varnia are a gorgeous set of rock formations with an Abyss Crescent on site, and the Forgotten Cliff Ruins vista nearby is one of the best lookouts in the desert — you can see almost the entire region from it, and there’s an Abyss Crescent here too. The Sand Haven Tree is a quiet oasis pilgrims pass before reaching the holy city of Varnia, and the Sand Rest Ruins on the edge of the map are a pretty (if underused) spot occupied by bandits.
Up in the colder regions, the Giant’s Hand in the Everfrost is a hand-shaped rock formation sitting roughly between the E and R of Hernand on the map, and there’s another standout vista on top of a tower in the Argen Peaks northwest of the Ancient Hernand. North of Ordava you’ll find a square formation worth calling the Dragon Stone, with a nearby Vision describing how the Blackstar Dragon mount would rest there, plus an abyss cresset. Near the Spire of Frost, the Weeping Rocks are a calm place to rest your horse, said across Pywell to have some connection to the stars.
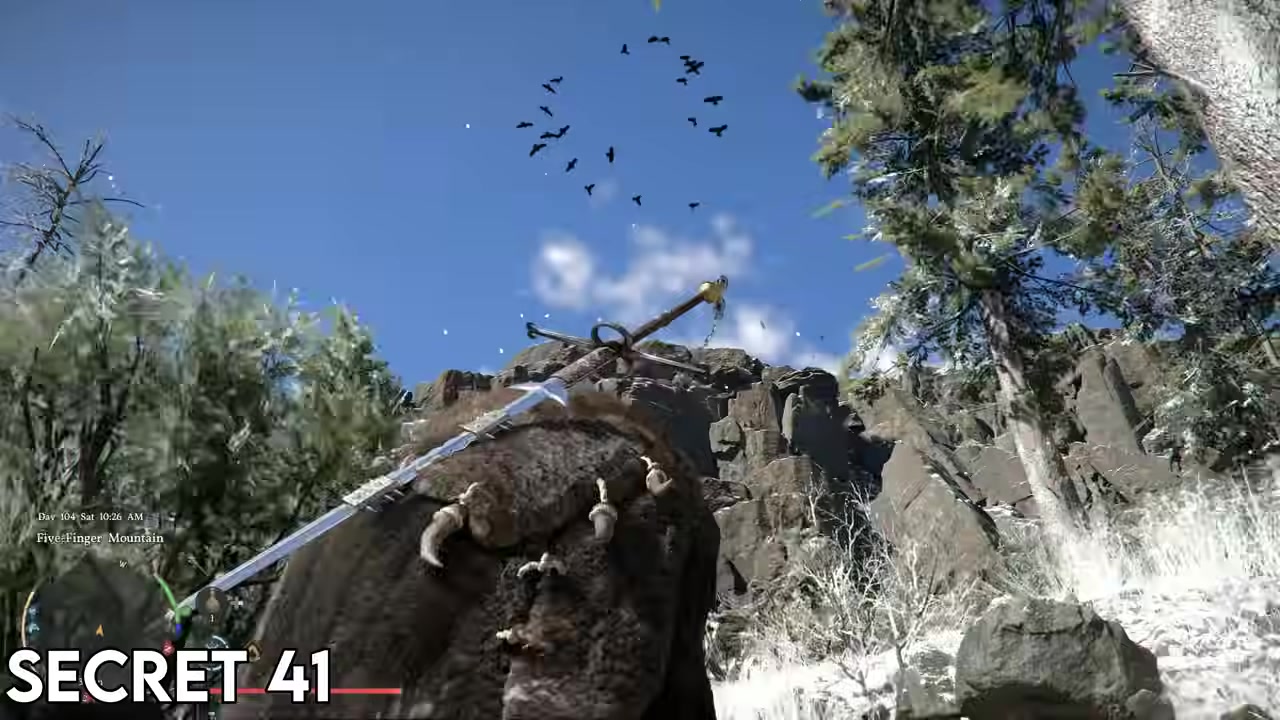
For the more dramatic landmarks: the Five Finger Mountain in the northwest holds the remains of a giant skeleton with a sword plunged through its jaw, and the Forgotten City is a once-sprawling settlement that quicksand has largely swallowed. Other finds worth the walk include a Stonehenge-style structure northwest of Calpheon (south of the Upper Naz River), the waterfalls in southern Demeniss overlooking the islands by the Gigong Temple, a beautiful castle ruin in the Black Wall Mountain Range with an Abyssal Crest, and the atmospheric Frost Veiled Ruins and foreboding Echidna Cave over in Paloom.
Lore, Vision memories, and what the desert is hiding
This is the heart of the game’s hidden storytelling. In the mountains of Hernand, King’s Rest Cave was the final resting place of a brother, with a letter that plays as you arrive — a direct rebuttal to the “no narrative” complaint. A recurring theme you’ll notice everywhere is the idea that the desert might once have been an ocean: there’s a desert shipwreck in the Traitor’s Expansion where guardsmen puzzle over how a ship ended up in the middle of the sand, and north of Valencia you can find giant aquatic dinosaur bones near another wreck, with NPCs musing that the place “wasn’t always a desert.” Take these as in-game speculation, not confirmed history.
Bones turn up constantly. There are mechanical parts south of Due Haven that look like dinosaur skeletons of unknown origin, T-Rex-like remains in the rainforest north of Delicia, and a Vision of scholars studying a T-Rex skull and theorizing that giants once rode these dinosaurs as mounts — the same theory a father tells his child in another scene, that “long ago giants rode raptors across the desert.” Whether the Five Finger Mountain giant and all these bones are connected is left as open speculation.
Darker corners abound. A high vantage point in the northeastern desert overlooks a pit that never stops burning, where a Vision shows the Antumbra order sacrificing people to their god. North of Delicia, a stone altar piled with large animal bones is tied by speculation to the Primeval Mages who raised a dolmen to oppose Assyrian, the great serpent. There are mass graves under the floor of ruins south of Vetten Hall Fortress, burnt coffins from cover-up grave-robbing northwest of the hills of no return, and grave-robbers at the Rockveil Ruins with a nearby memory of cloaked figures forcing people to dig. The Reed Devil boss has unusually deep side lore — a creepy shed full of mannequins wearing his mask, and a crashed cloud cart on a hill above the Reed fields with dwarves fretting that he’s coming for them.
| Item | Where to find it | Notes / requirement |
|---|---|---|
| Iris Longsword | Crafting book on ~3rd floor of the Spire of Insight, Steel Mountains, southern Hernand | Read volume three of the “two-handed weapons of the world” book, then craft at any blacksmith; reportedly also drops from Inquisitors in Demonus |
| Eastern (fan weapon) | Cave south of Gigong Temple, west of Delicia | Need the Focus Force Bomb to enter; reportedly unlocked around chapter four |
| Survivor’s Solitude (sword) | Death’s Grip Cave, west of Skull Stone Institute | — |
| Faded Shadow (one-handed sword) | Nest of Valor, in the Abyss | — |
| Vow of the Dead King (halberd) | Dungeon beneath the Frost Veiled Ruins, Paloom | Legendary; reportedly the weapon used by the boss Baylord |
| Akria (one-handed sword) | End of the dungeon in Rockshard Valley Ruins | Ruins occupied by bandits |
| Blazing shield | Sand Borrowed Basement, east of Tash Camp | Guarded by tree-man enemies |
| Golden shield | Silent Water Grotto Cave, southeast of Dry Wind Valley | — |
| Demenis royal guard shield | Right of the S in Demenis — a church, through a hole in the ground at a grave | — |
| Unique shield | Cellar / hidden dungeon in a shed at Odek, northern Balenos | — |
| Unique sword | Basement torture dungeon of Stellan Manor, Balen | Manor also has an attic torture dungeon |
| White Horn cult helmet | Equipment vendor in Skoghorn, Balen | Sold only after you defeat the White Horn boss |
| Ashad plate cloak | Skoghorn, western Pae Loom | Reward for completing the White Horn boss quest |
| Plate gloves of the shadows | Cave in the Everfrost, southwest of the Ancient Hernand | — |
| Chelsea plate helmet | Contribution shop at Demenis castle | Can’t be dyed |
| Dragonflame cloak | Tomaso contribution shop, Crimson Desert | No hood |
| Golden greed plate cloak | Venom Blade Grotto, north of the Red River | — |
| Taritas cloth cloak | Tailor in Taritas, north of Demenis | — |
| Dark marksman cloak | East of Deminus, north of Gorthak/Delisia | — |
| Brimstone-immunity mask + treasure map | Shed northwest of the M in Demones | Map marks a quarry-like spot; treasure itself unconfirmed |
| King’s Dagger | Totemfelt POI, Pyloon | 10% chance to gather additional resources |
| Alabaster dagger | Whale carcass on the beach at Demenis Port | Not a unique weapon — same dagger found elsewhere, no bonus |
| Demenisian chainsaw | Craft at the Steel Spike Armory | Requires the electricity-movement-conversion research at Duvencrune Keep, Delicia |
There’s a lot of named gear scattered around, much of it single-creator finds rather than web-documented, so treat the locations below as reported rather than gospel. A couple are worth calling out in prose. The Iris Longsword is notoriously rare — it reportedly drops from the Inquisitor faction in Demonus early on — but there’s a guaranteed route: head to the Spire of Insight in the Steel Mountains of southern Hernand, climb to roughly the third floor, and grab volume three of the “two-handed weapons of the world” crafting books. Read it, and you can craft the Iris Longsword at any blacksmith afterward.
Also keep the contribution crown mechanic in mind while shopping: certain vendor items are locked until you buy the contribution crown at that region’s contribution shop. In Hernand, for example, the Balthian armor set at the equipment vendor only becomes purchasable after you buy the contribution crown at the contribution shop in the castle of Hernand. The rest of the gear is laid out below.
Tameable pets and mounts, and how to get them
| Pet / mount | Location | How to tame / obtain |
|---|---|---|
| Pet hawk | Anvil Hill, east of Hernand | Sidae of Bond, baited with a mix of tough and tender meat |
| Pet crow | Hollow Haven, near the Hex Sanctuary | Sidae of Bond, filled with grains such as oats |
| Bald eagle | Bow Spirit Cape | Sidae of Bond, with roughly 4–5 pieces of tender meat |
| Choppies (abyss bunnies) | Various | Pick them up and feed them carrots |
| Baby wyvern | Three Brothers Cliff Wyvern Nest | Take the egg from the cave to a nest, wait an in-game hour, then hatch it |
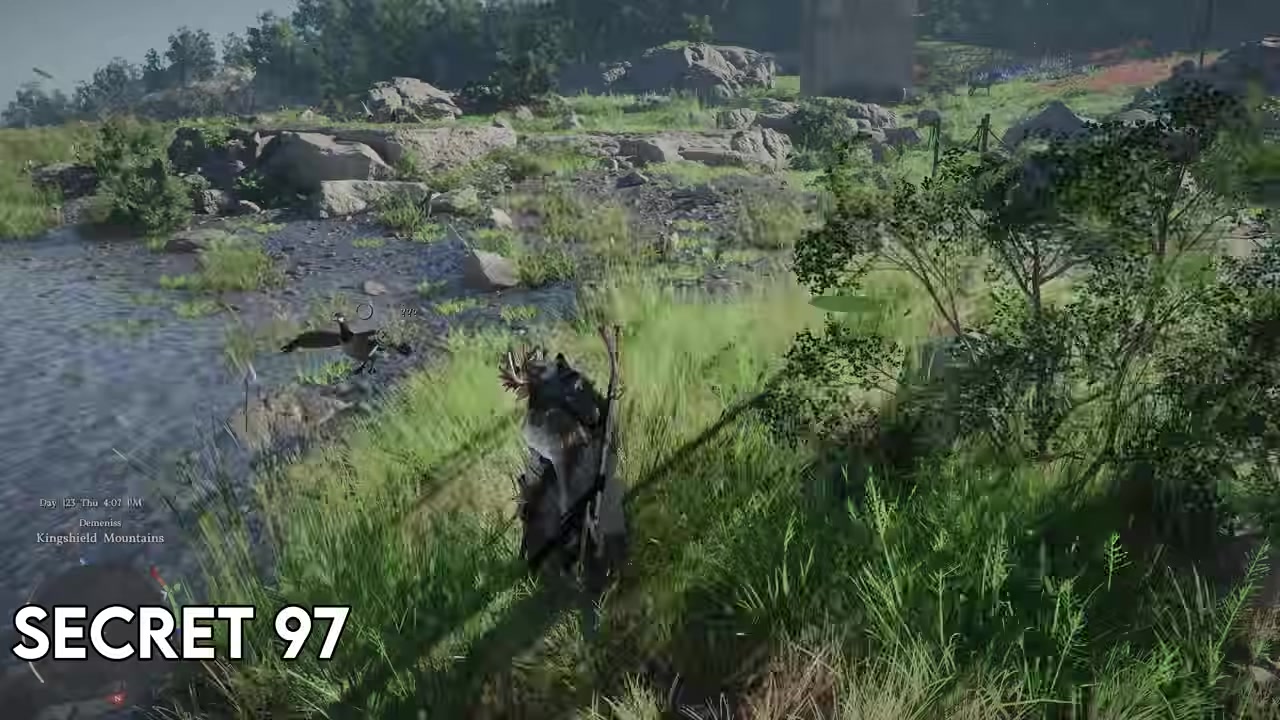
| Snow white deer mount | Above the A in Pae Loom | Kill and skin it, then have a witch craft the required sigil from the material |
Several animals can be tamed, and most birds use the same Sidae of Bond item filled with the right bait. The baits below are reported rather than officially documented, but they’re a solid starting point. The standout is the snow white deer mount, which you don’t tame so much as earn: kill the deer, skin it, and bring the material to a witch who crafts the sigil needed to claim the mount.
Overlooked mechanics and quality-of-life tricks
A handful of mechanics make a real difference once you know them. If you’re standing on an Abyss Nexus and teleport to another Abyss Nexus, you skip the usual loading/portal animation, which is the faster way to travel. For dispatch missions, the location map can take a solid 10 seconds to open — turn off 3D Stronghold view in the gameplay settings and it loads far quicker. And early on, when guards block areas like the Lion’s Crest Manor, you don’t need the front door: climb the building and slip in through a window.
In combat, use shield bash right after blocking to knock weapons out of enemies’ hands, lean on the storm (wind-element) ability as a smoke-bomb escape to break line of sight and fast travel away, and against the flying diamond bosses use focus unleash to knock them out of the air before wailing on them. You can also launch yourself upward with the axiom hook by pulling the top of a tree.
For the smaller, immersive touches: you don’t need a rod to fish — dive in and grab fish by hand, and shine your lantern into the water to make it clear and spot legendary fish faster. NPCs follow rough daily schedules (the Calpheon logging camp crew sleeps at night and works by day), they’ll crowd around and pick up valuable loot you drop, and wood-choppers actually produce fine wood — though taking it counts as stealing, same as looting that animal-hide hut’s chest in the Everfrost. Your horse can even lie down and rest if you hit crouch while mounted, and dropping a carrot beside it will heal it.
To travel without the usual loading animation, stand on an Abyss Nexus before teleporting to another Abyss Nexus — it skips the portal screen entirely and is faster.
Related Crimson Desert guides
Frequently Asked Questions
Does Crimson Desert actually have a story or hidden narrative?
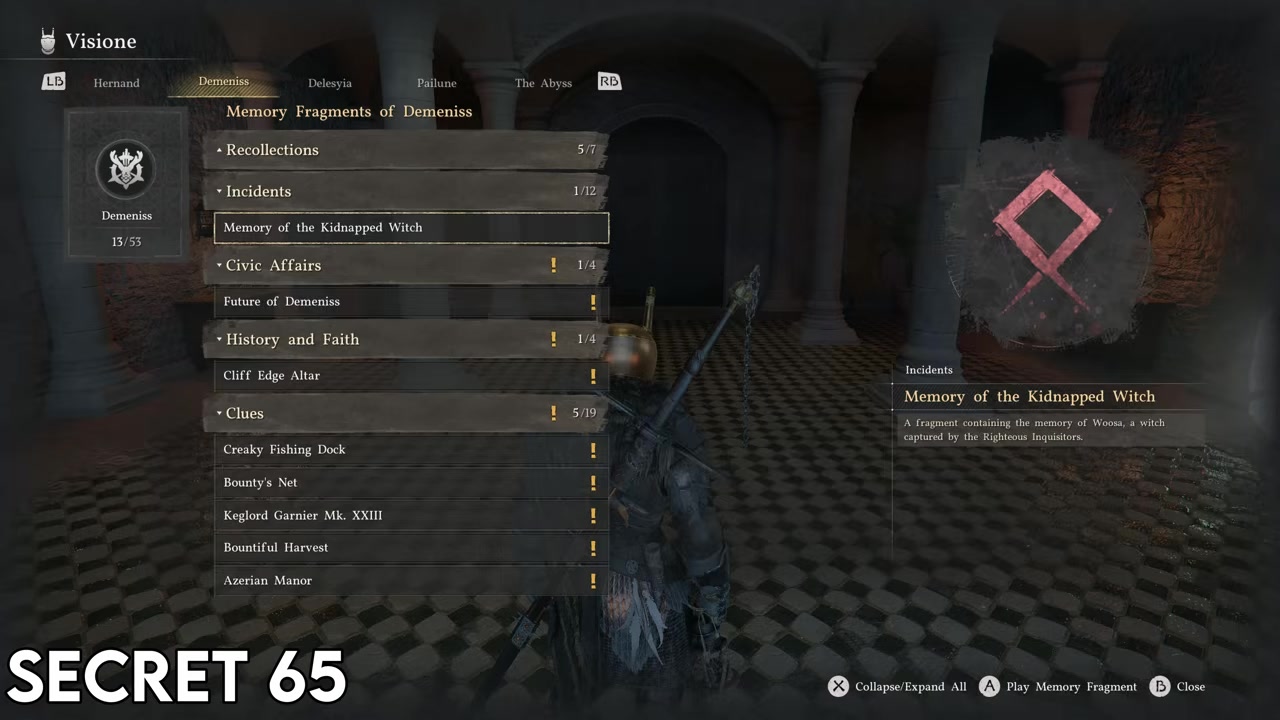
How do you replay Vision memories?
How do you tame pets like the hawk, crow, or eagle?
How do you get the snow white deer mount?
How do you reach areas the guards block early in the game?
Video help