
To complete the Hallowed Hills Tulu Cylinder contract, leave the fort, drop the cow-cart bridge, climb the three ladders, follow the drum sound to the cylinder, load it onto the cow cart, then follow the white trail back to the rowboat.
This is a straight route guide for reaching the Tulu Cylinder in Hallowed Hills and getting it out alive in The Mound: Omen of Cthulhu. The important thing to remember is that finding the cylinder is only half the job: once you pick it up, it has to go onto the cow cart so you can extract with it.
Start the Hallowed Hills cylinder run
Your objective is to push from the starting area through the fort, open the route for the cow cart, reach the cylinder by sound, and then bring it back to the rowboat. Treat the cow cart as part of the route from the beginning, because the bridge has to be lowered before it can follow you across.
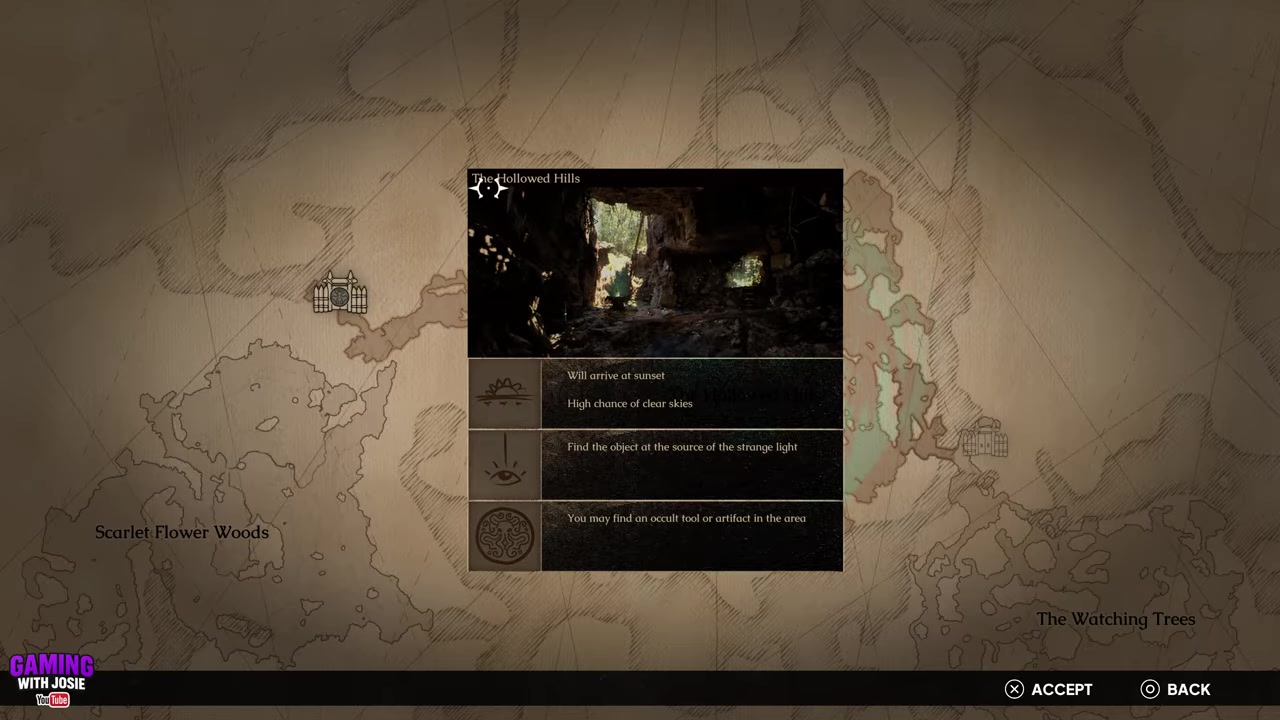
Some broader contract notes mention selecting the available cylinder objective, following sky light, or finding an altar first, but this Hallowed Hills route works as a direct path from spawn to pickup and extraction. Stick to the trail, the bridge mechanism, the ladder bypass, and the drum cue.
Hallowed Hills route at a glance
| Segment | Action |
|---|---|
| Spawn | Go straight past the cow cart toward the fort. |
| Fort gate | Turn left and leave through the gates. |
| Main trail | Follow the ground trail over the bridge and into the forest. |
| Forest turn | Take the right turn, then loop left, right, and left toward the mechanism. |
| Bridge control | Lower the cow-cart bridge and clear the enemies. |
| Fallen tree | Continue on the main track and pass underneath it. |
| Ladders | Climb all three ladders to avoid the enemy-heavy left side. |
| Cylinder | Follow the path and drum sound, drop down, and pick up the Tulu Cylinder. |
| Extraction | Load the cylinder onto the cow cart and follow the white trail to the rowboat. |
KEY!Use this as a quick recovery map if you lose your place mid-run. The full procedure below gives the exact turns and timestamps, but the contract route itself is a clean chain from fort exit to bridge control, then from three ladders to the drum sound.
Lower the cow-cart bridge before chasing the Tulu Cylinder, because the cart needs that route open when you bring the cylinder back.
How to complete the Tulu Cylinder contract in The Mound: Omen of Cthulhu
Follow this route from spawn to the cylinder, then keep moving until the cylinder is on the cow cart and back at the rowboat.
STEP 1/32
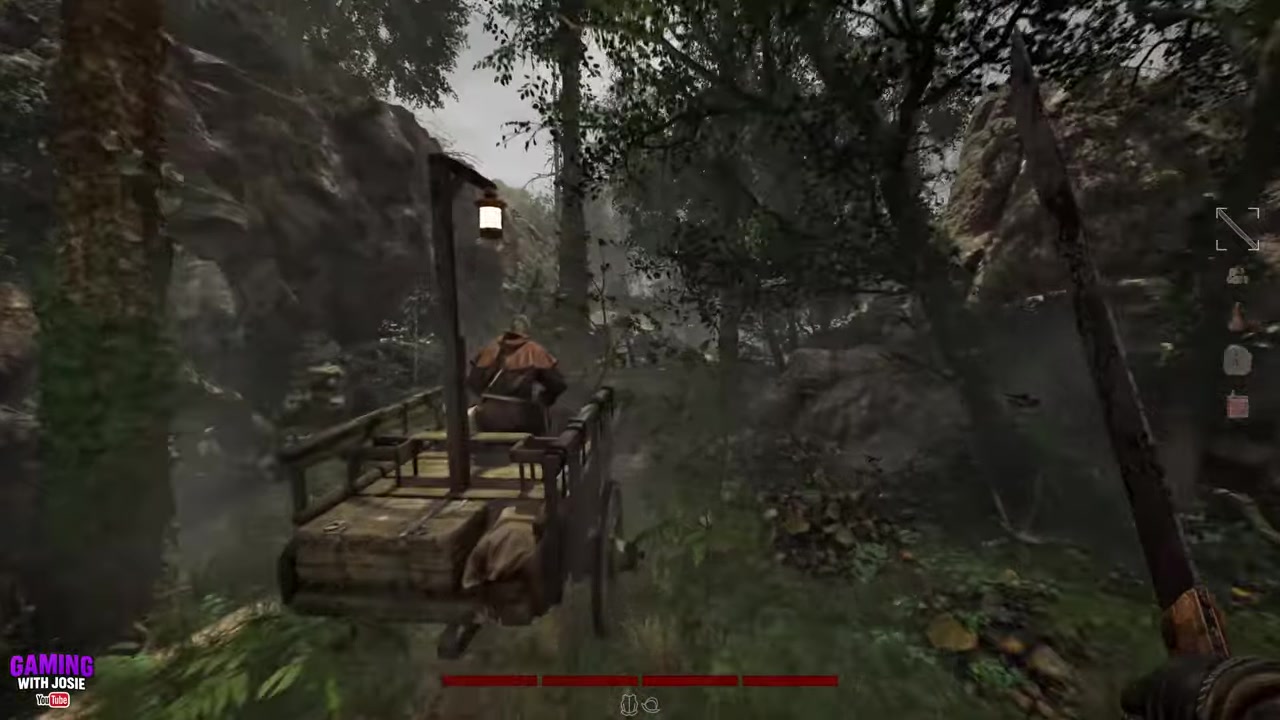
Go straight past the cow cart
From the starting area, head straight ahead and pass the cow cart on your way toward the fort.
STEP 2/32
Reach the small fort
Keep moving toward the fort structure ahead of you.
STEP 3/32
Leave through the left gate
At the fort, go left and exit through the gates.
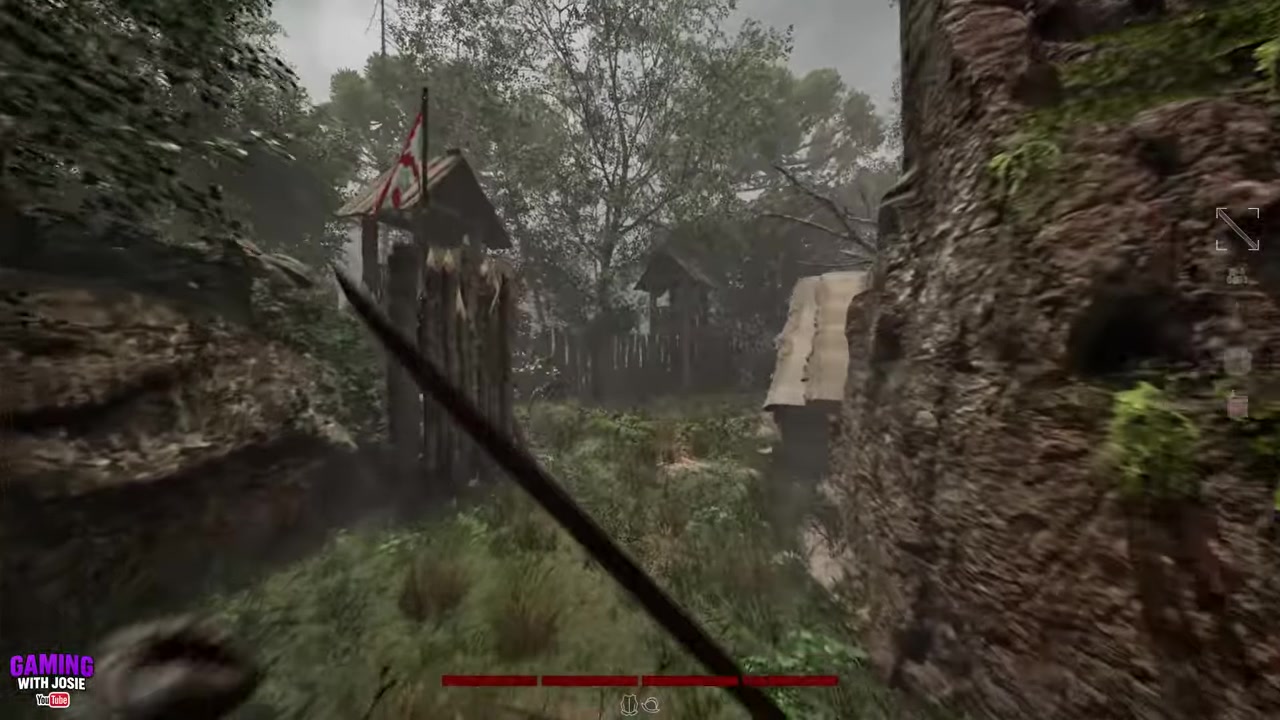
STEP 4/32
Follow the ground trail
Stay on the trail and use it to carry you toward the first bridge.
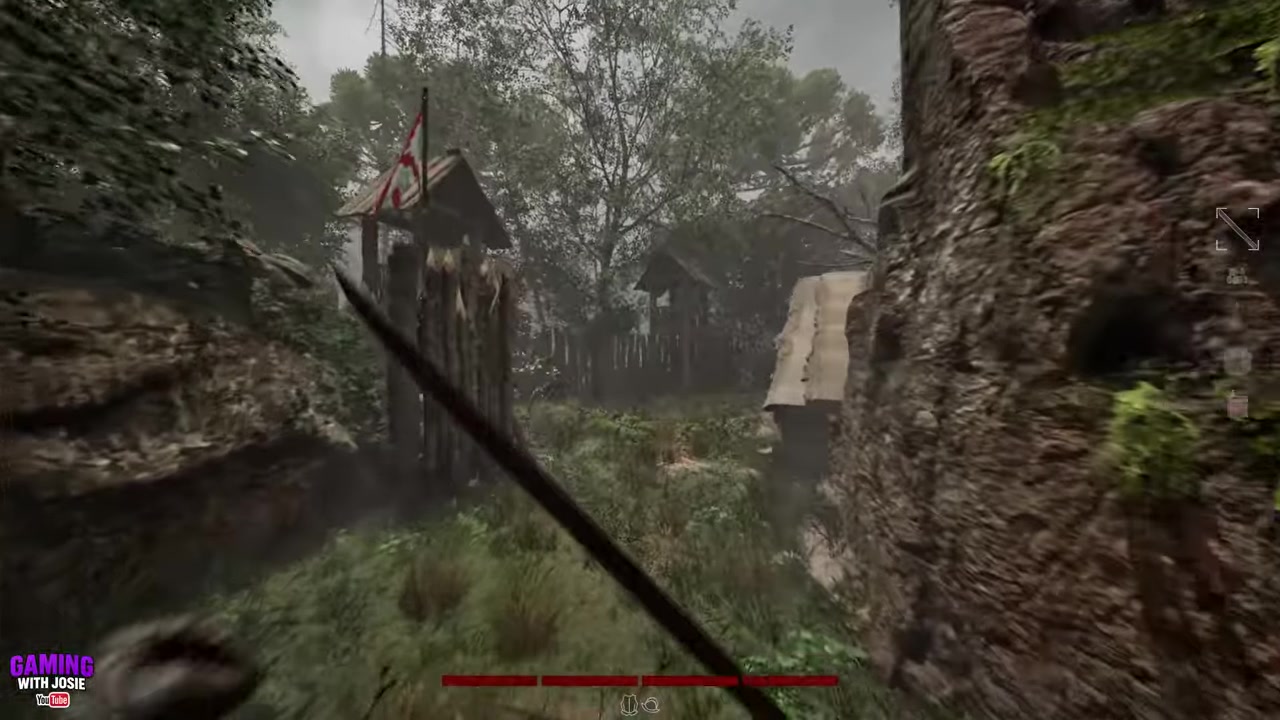
STEP 5/32
Cross the bridge
Go over the bridge and continue into the forest.
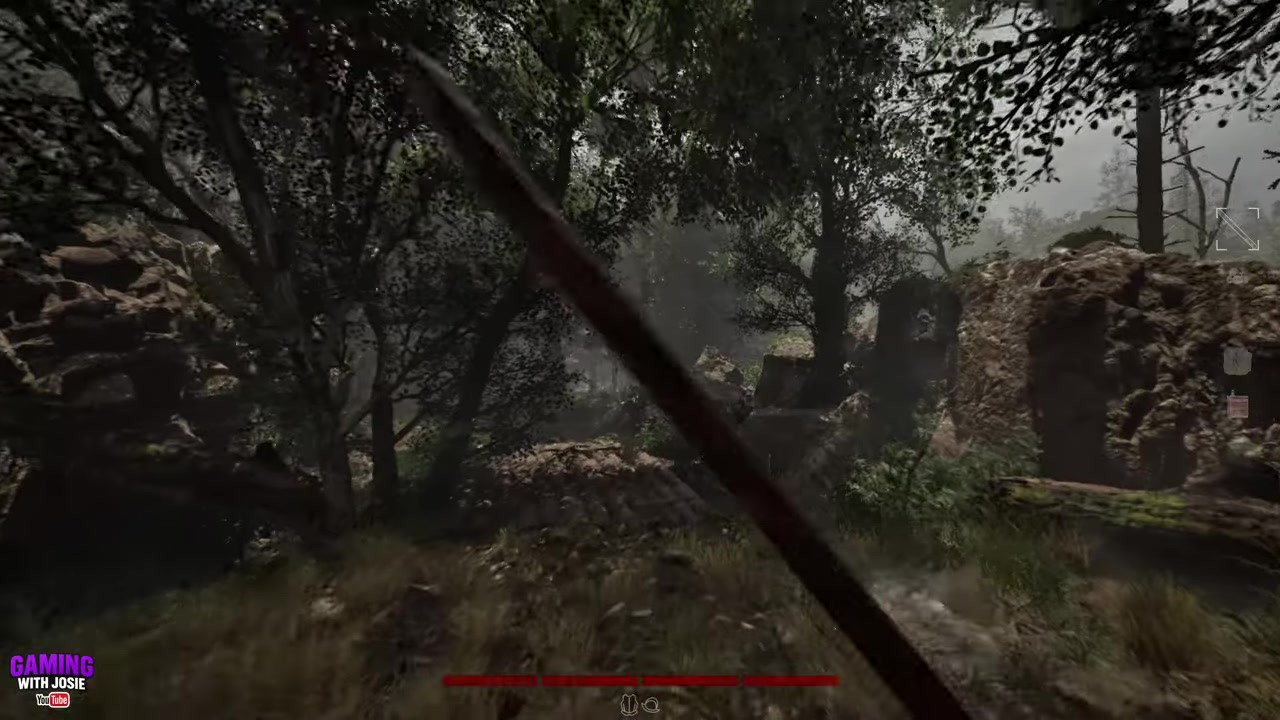
STEP 6/32
Take the right turn
After following the forest trail, take the right turn when the path opens that way.
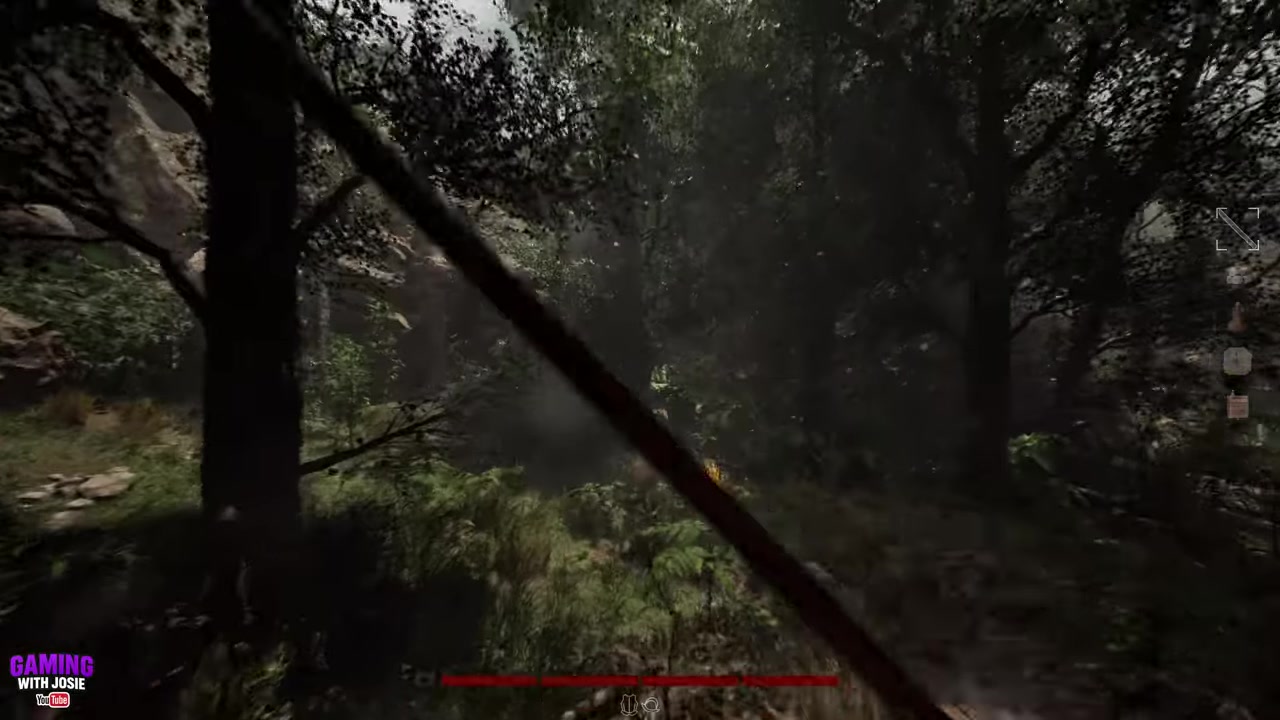
STEP 7/32
Swing left toward the bridge route
Begin looping left because you need to reach the mechanism that drops the cow-cart bridge.
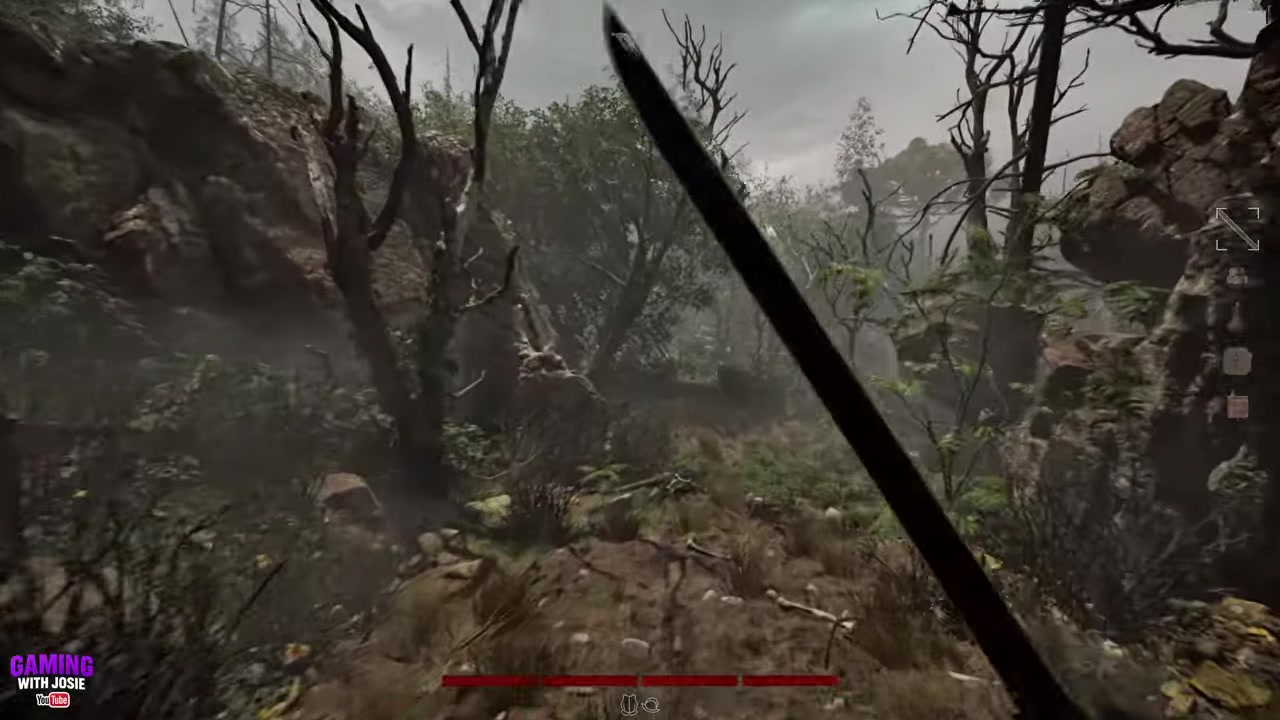
STEP 8/32
Turn right after the left bend
Continue the loop by going right, then keep following the path through the trees.
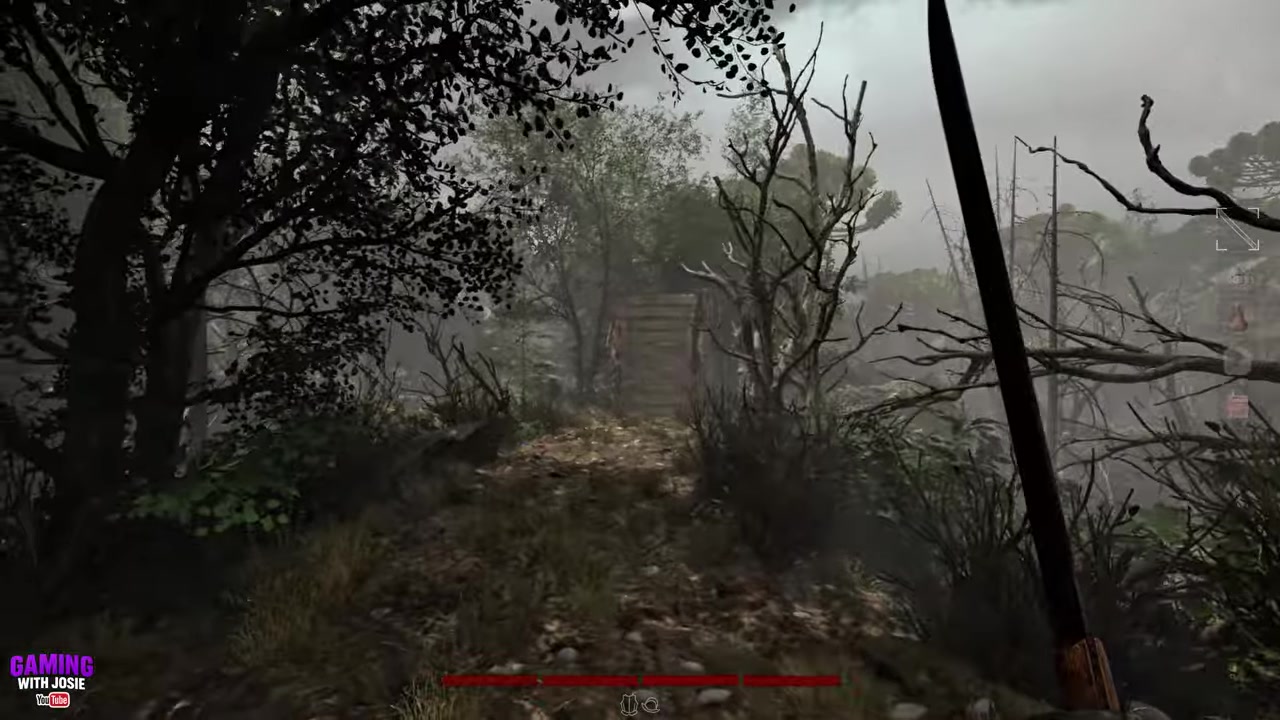
STEP 9/32
Bend left again
Take the next left and keep moving around the tree line.
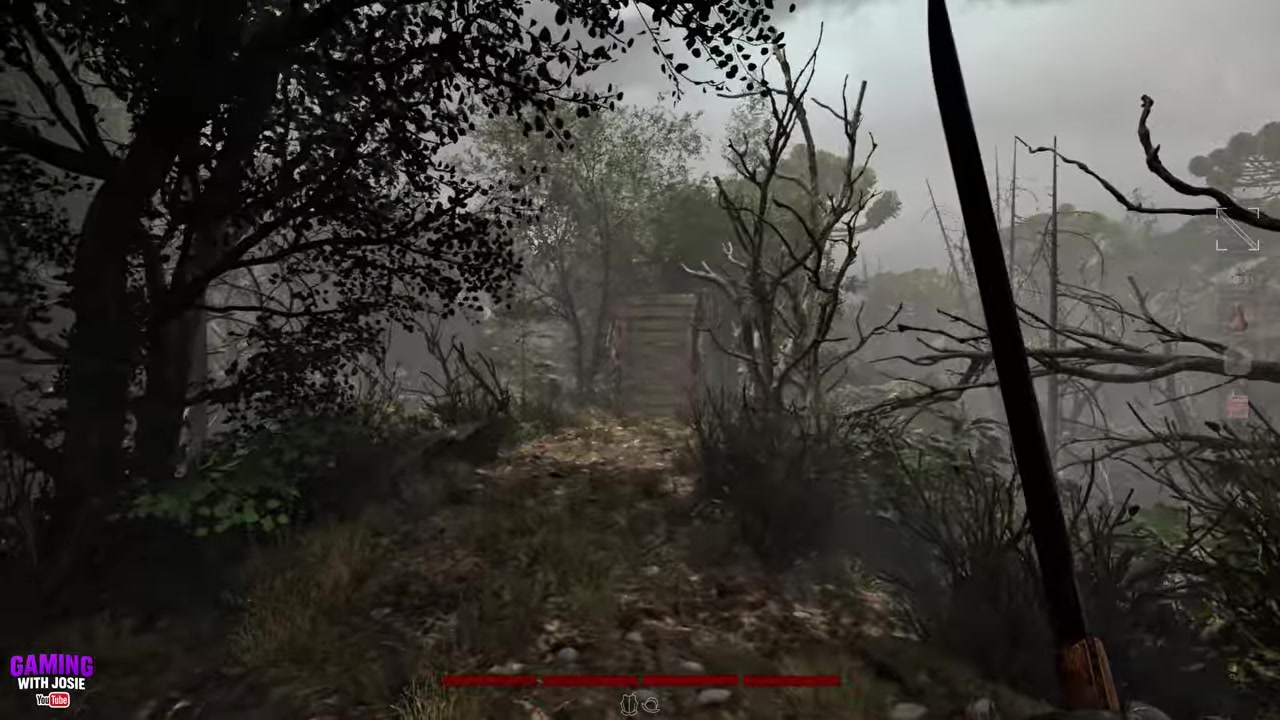
STEP 10/32
Move carefully through the trees
Pass through the trees without snapping them loudly if you can avoid it.
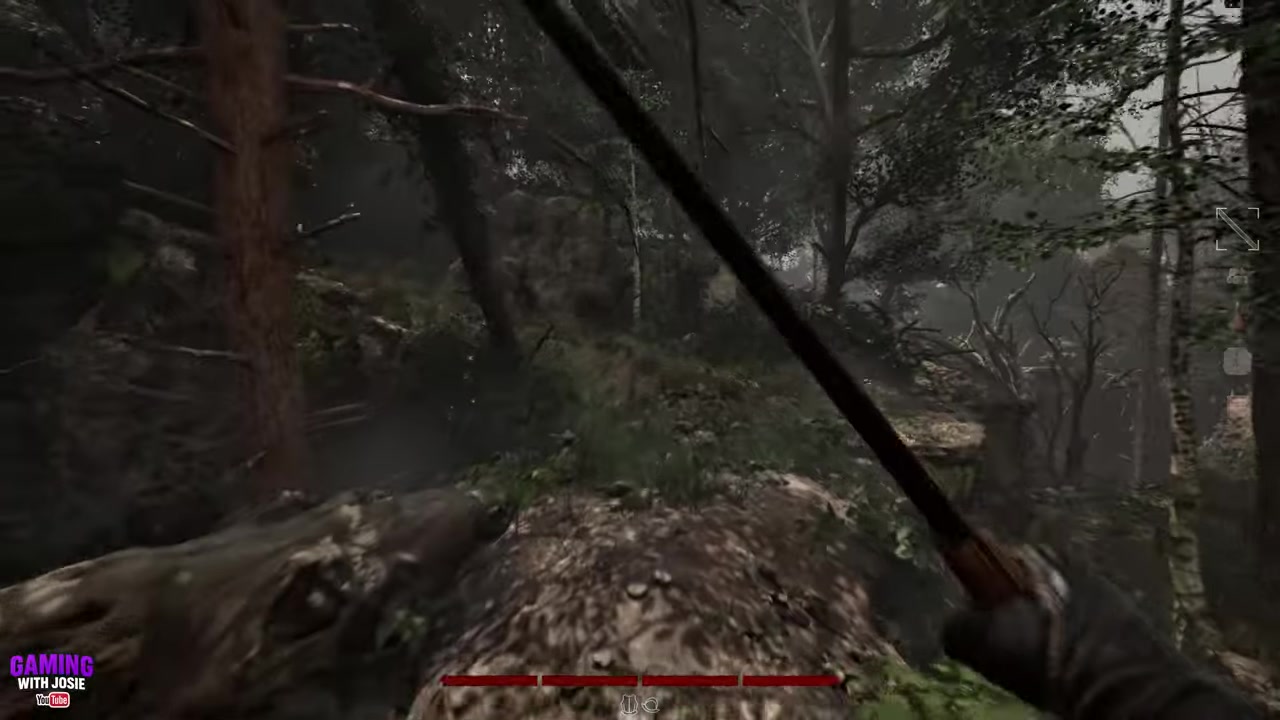
STEP 11/32
Cross the double-log bridge
Go over the double-log bridge and stay on the route toward the bridge control.
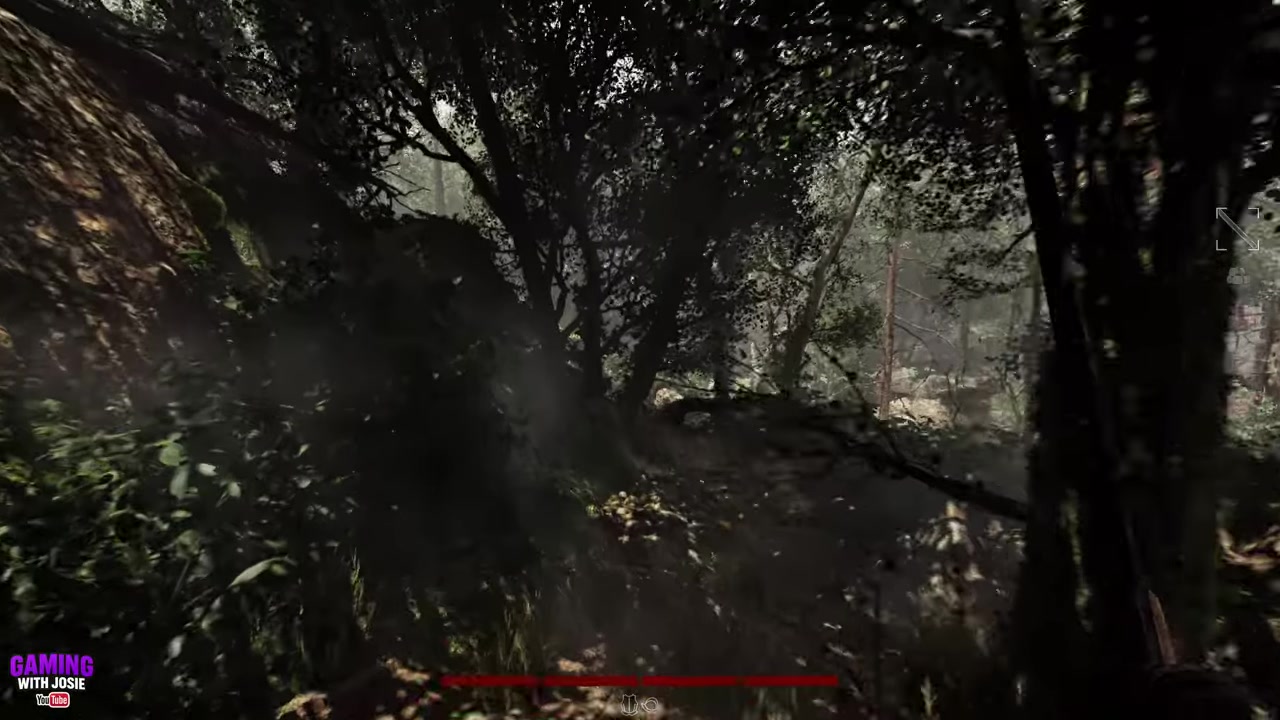
STEP 12/32
Drop right through the greenery
Head down to the right through the dense greenery.
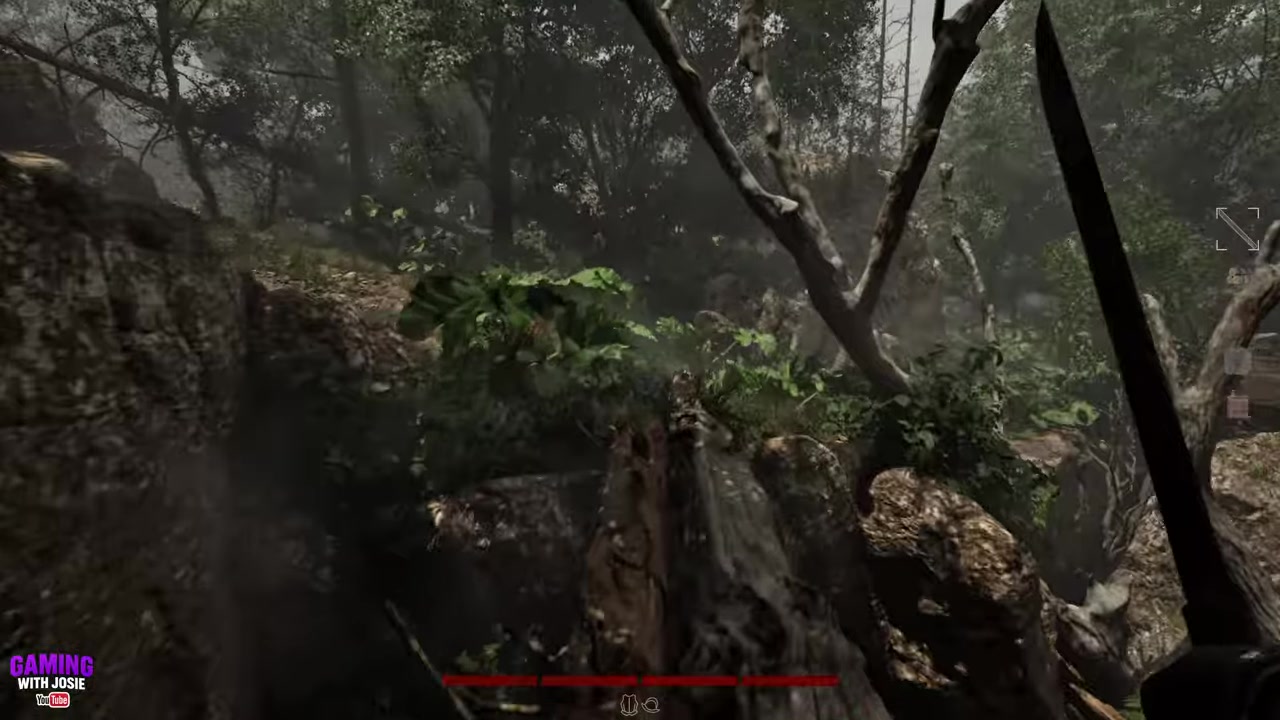
STEP 13/32
Turn right to the bridge control
Curve right again and use the mechanism to let the bridge down.
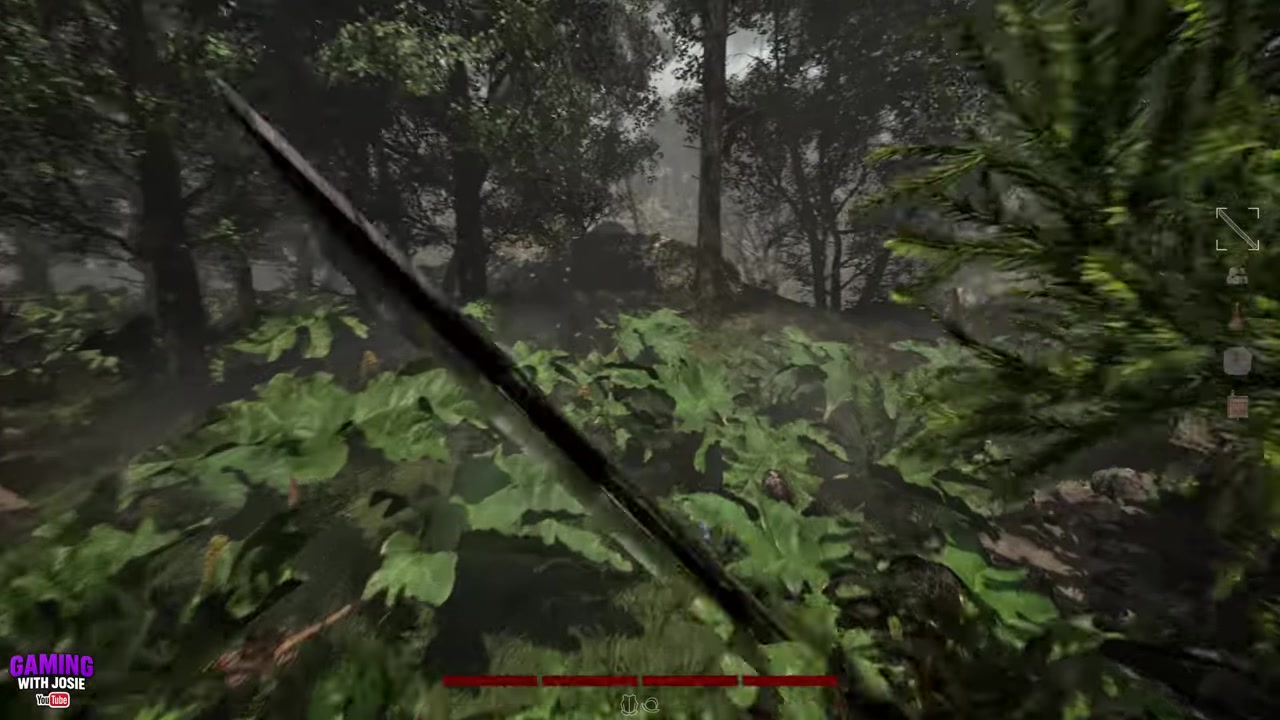
STEP 14/32
Clear the bridge enemies
After lowering the bridge, turn around and deal with the enemies in the area, including the fish man.
STEP 15/32
Return to the main track
Once the fight is handled, continue through the forest while following the main track.
STEP 16/32
Pass under the fallen tree
Go underneath the fallen tree blocking the path.
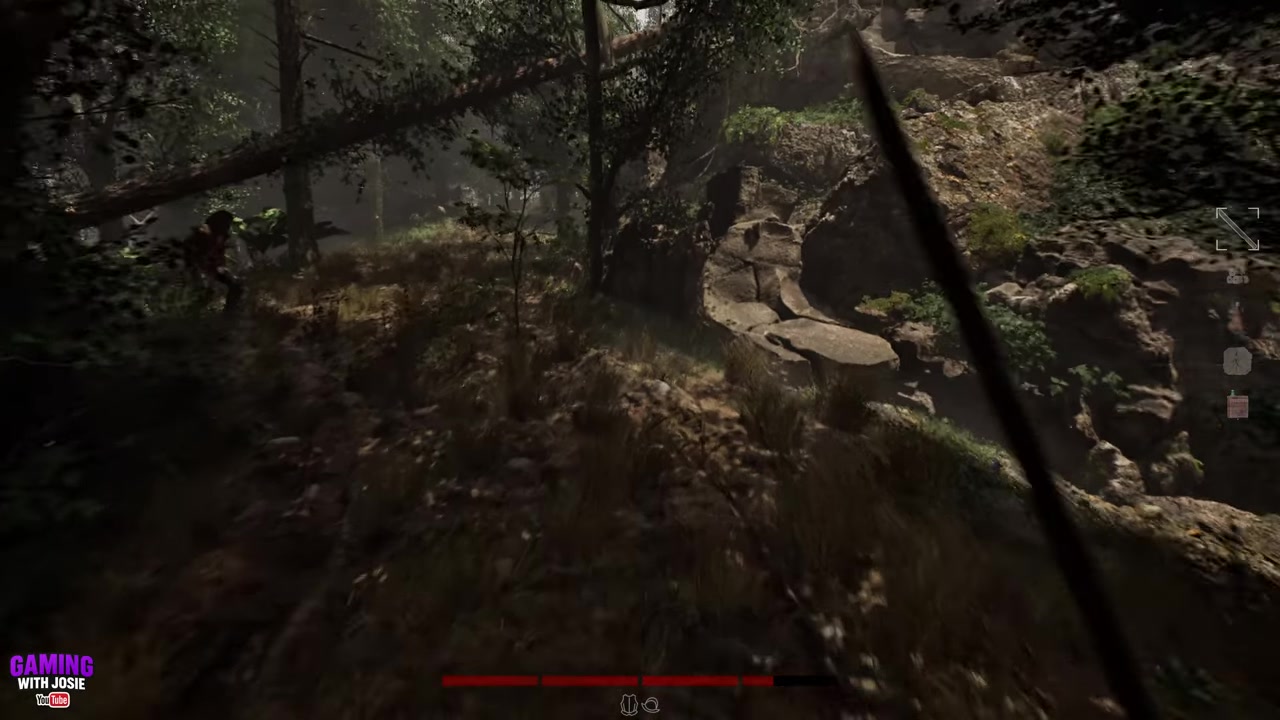
STEP 17/32
Find the three ladders on the right
Look right after the fallen tree and move to the ladder route.
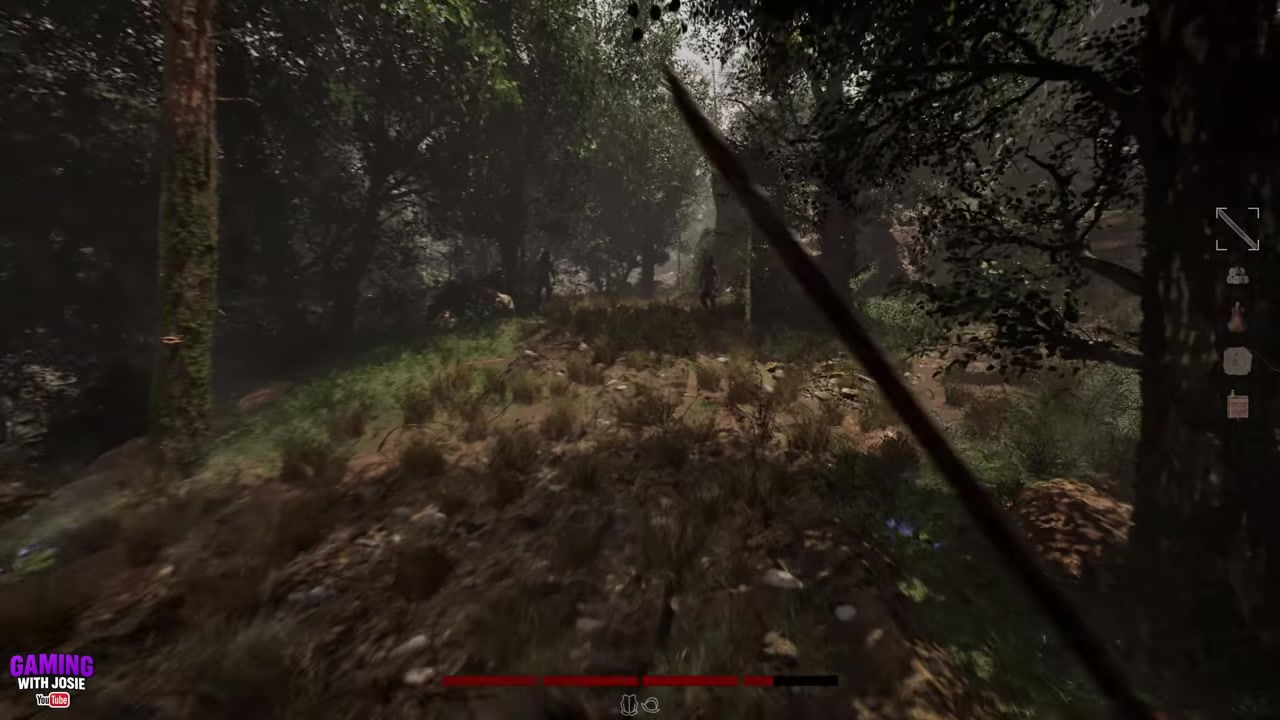
STEP 18/32
Climb the first ladder
Go up the first ladder to begin the bypass.
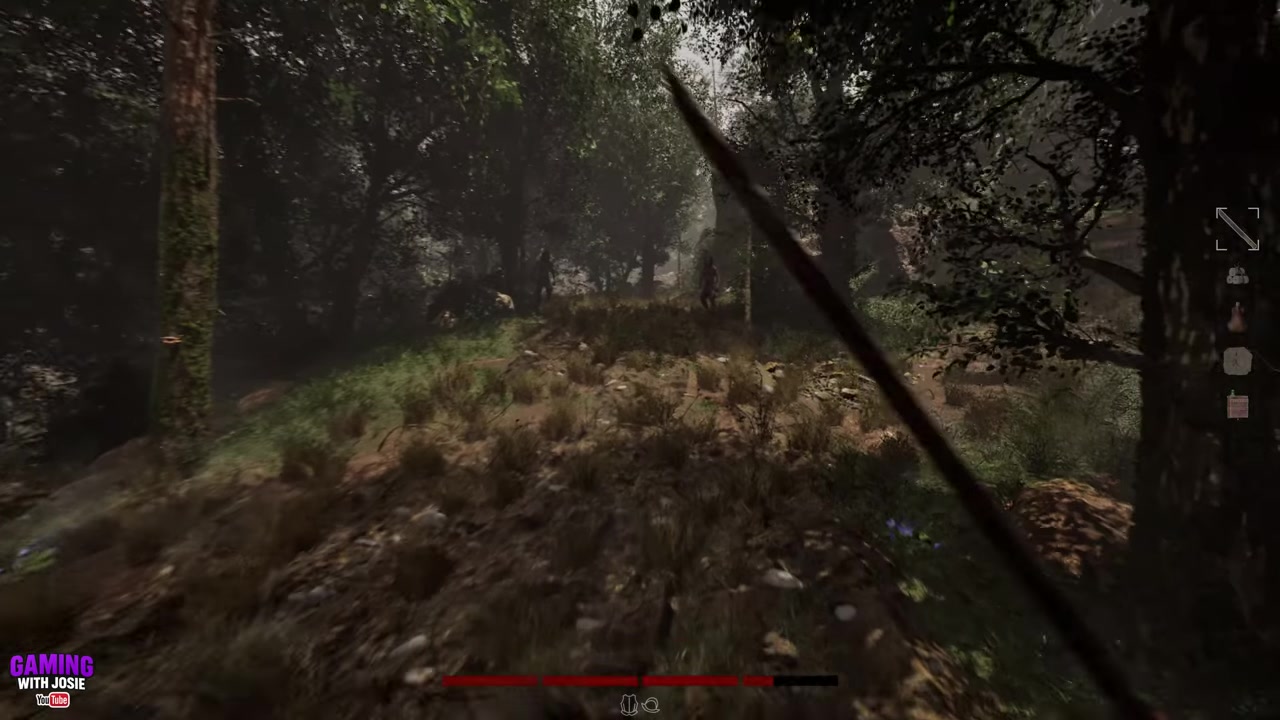
STEP 19/32
Climb the second ladder
Continue straight onto the second ladder.
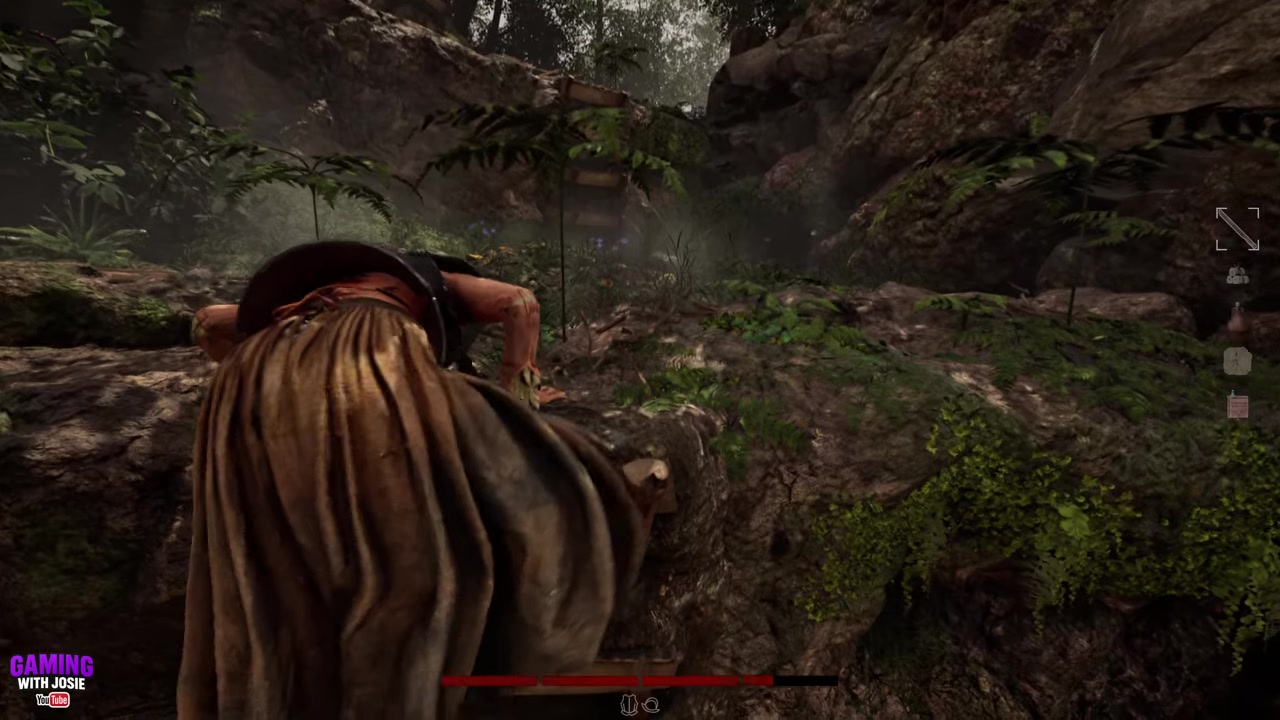
STEP 20/32
Climb the third ladder
Climb the third ladder as well, using this route to avoid the enemies on the left.
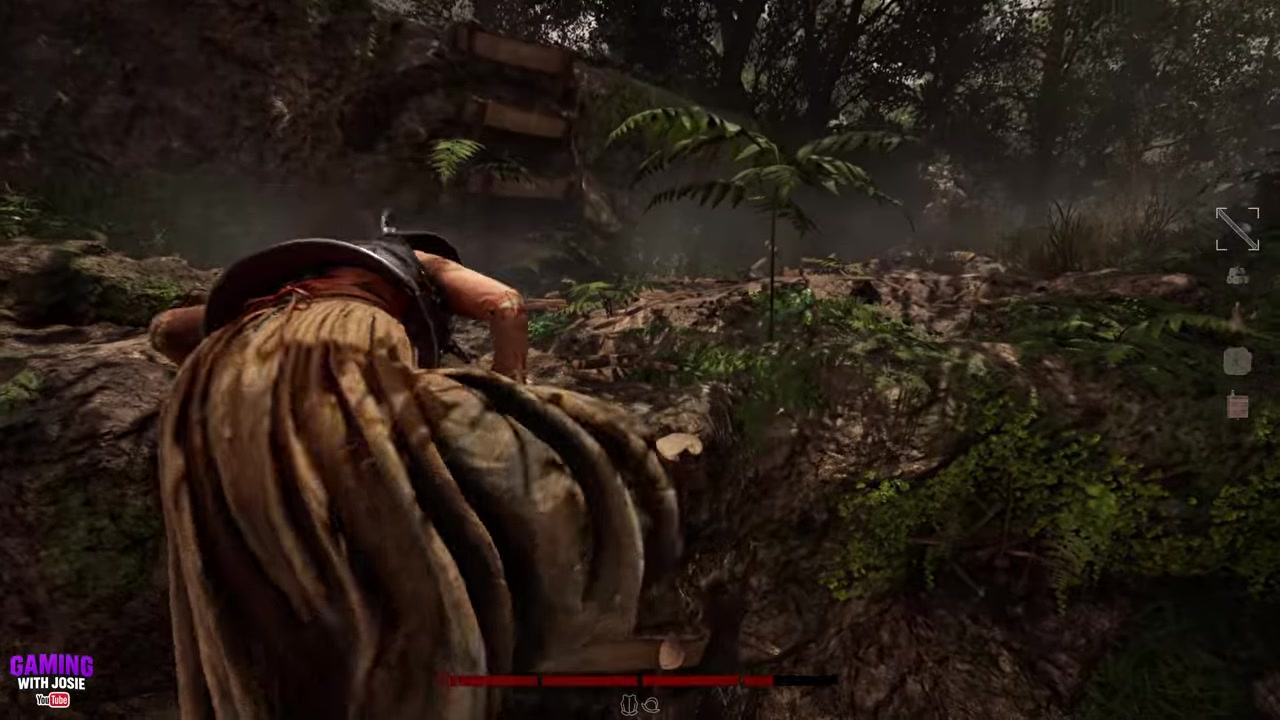
STEP 21/32
Follow the upper path
Go straight from the top of the ladders and listen for the drum sound in the background.
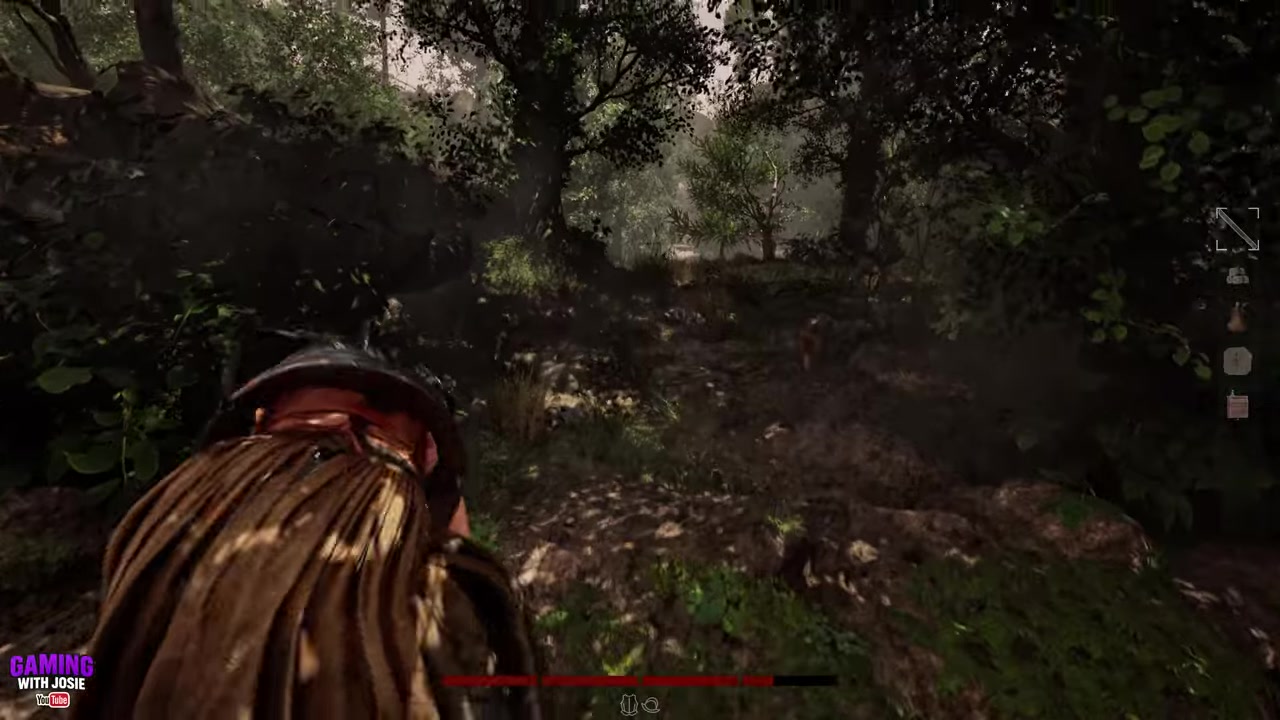
STEP 22/32
Loop around toward the sound
Since the cylinder is not reachable directly from there, follow the path around.
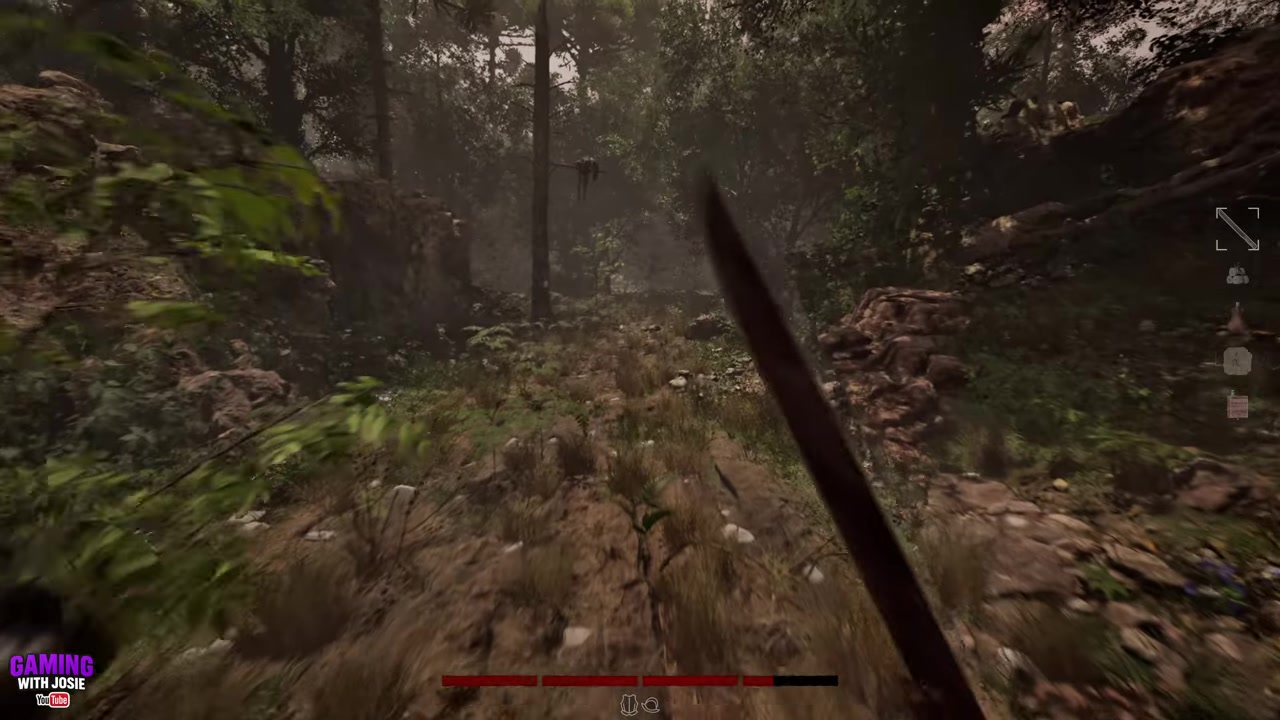
STEP 23/32
Take the left into the tunnel
Turn left and pass through the small tunnel.
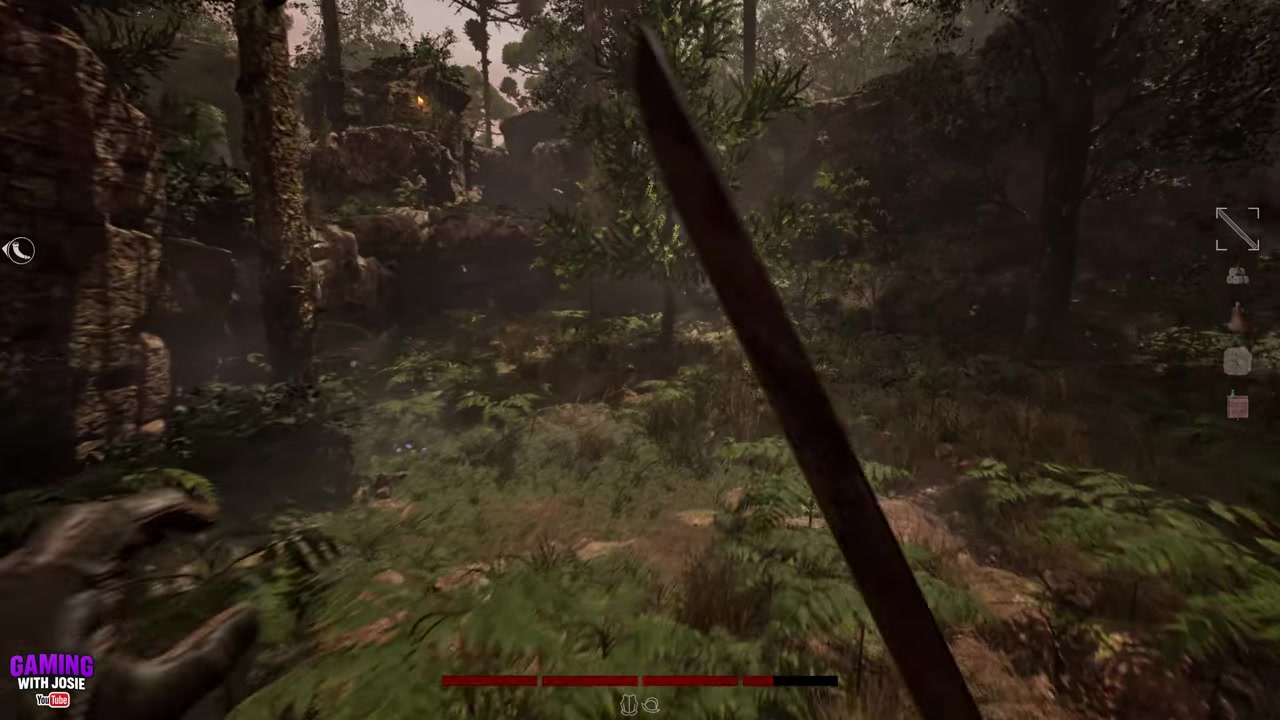
STEP 24/32
Continue while the drums grow louder
Keep going straight up while using the drum sound as your locator cue.
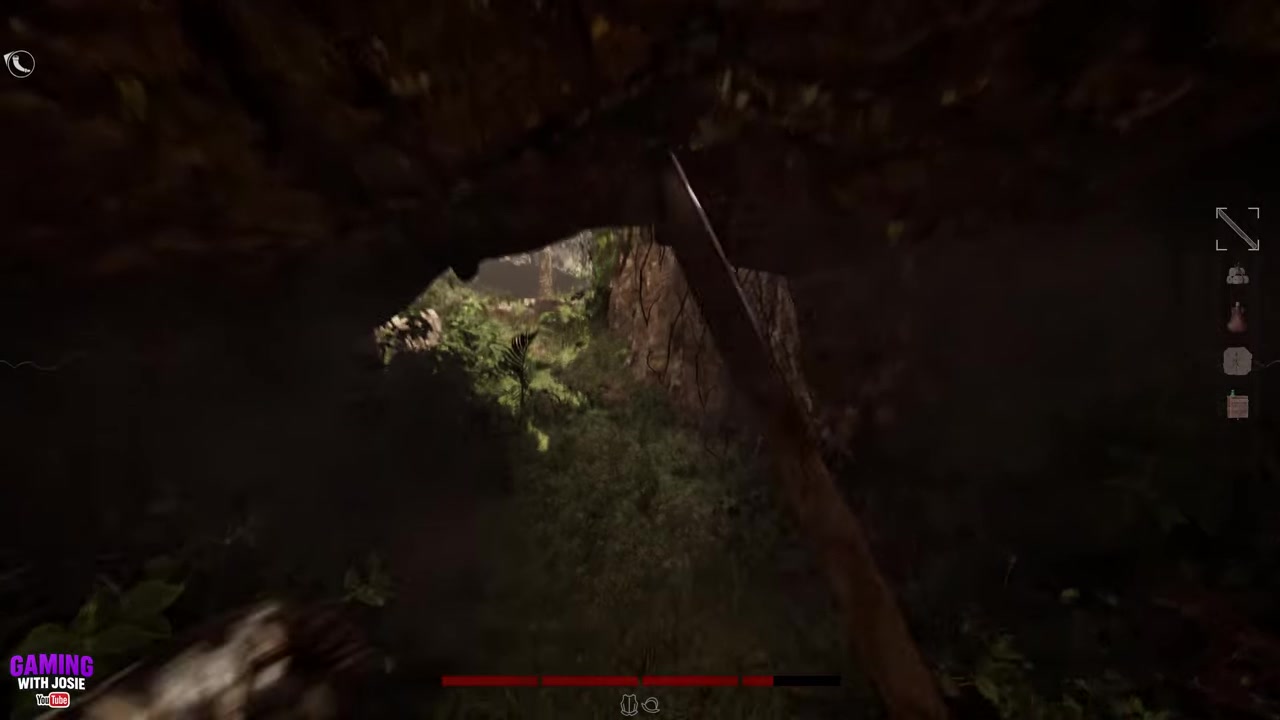
STEP 25/32
Drop down near the cylinder
Drop down once you reach the lower area near the sound.
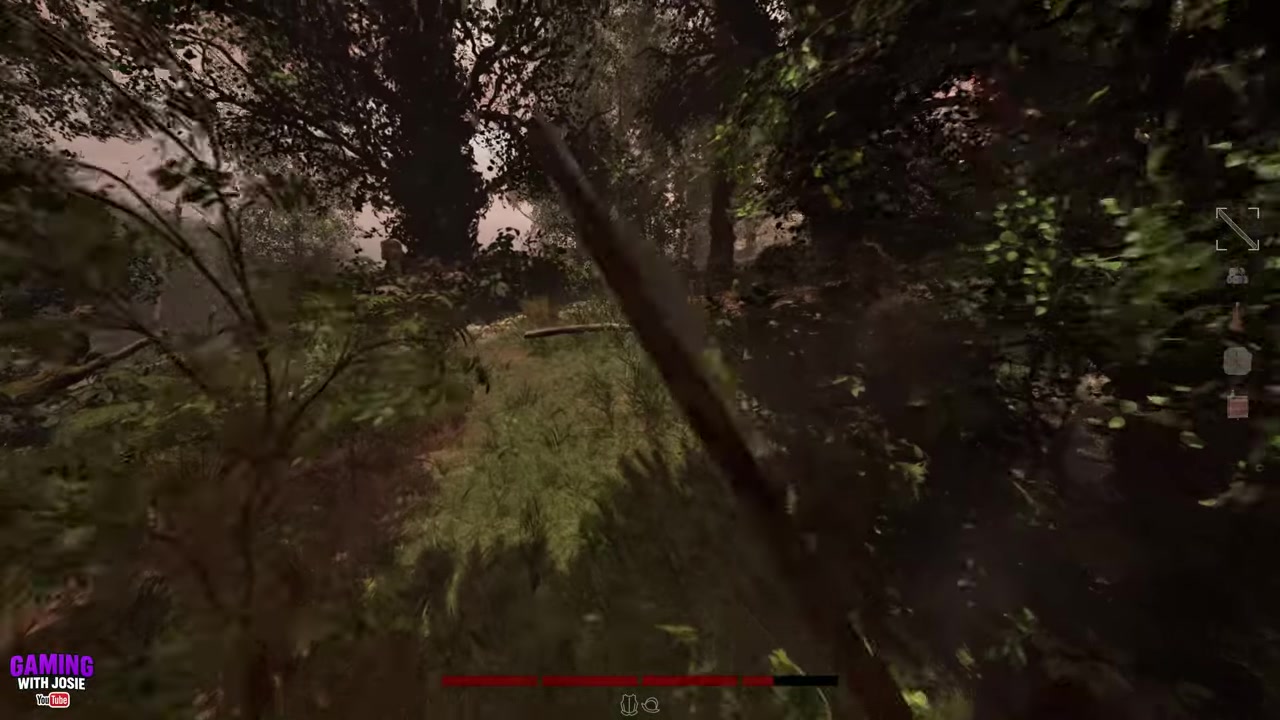
STEP 26/32
Pick up the Tulu Cylinder
Grab the Tulu Cylinder from the ground.
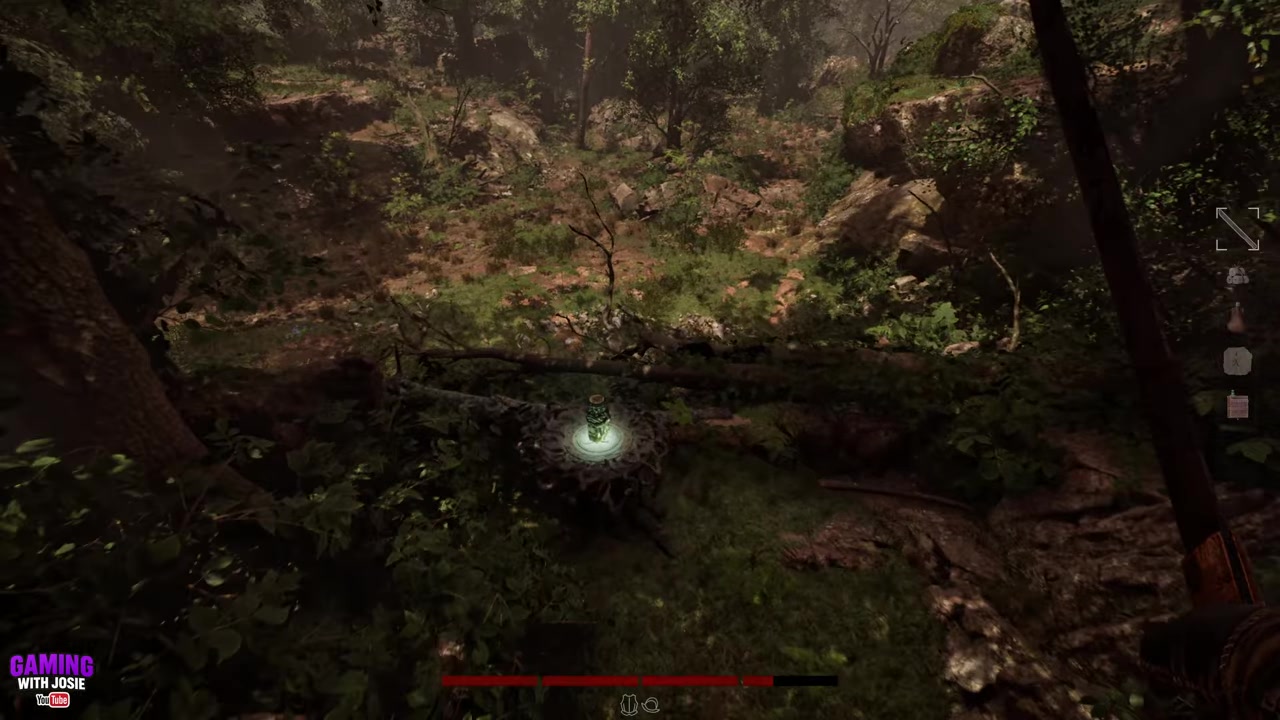
STEP 27/32
Turn back with the cylinder
After pickup, turn around and retrace the route back toward the open area.
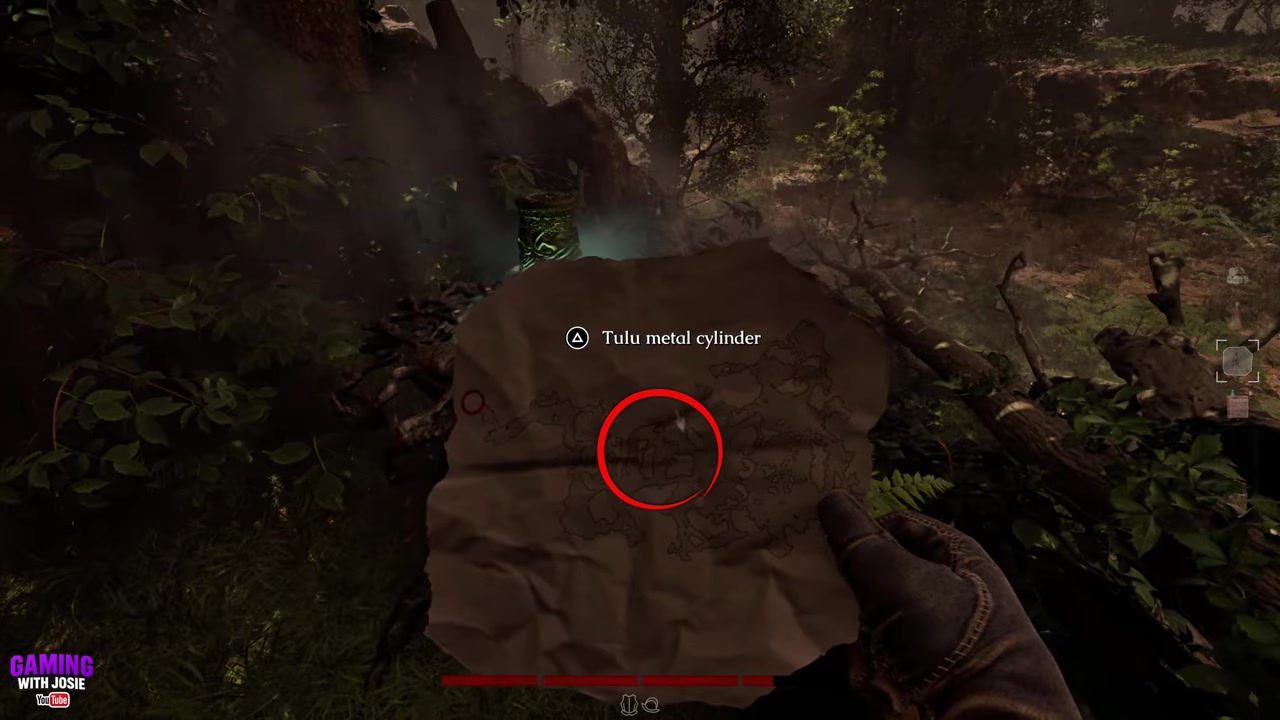
STEP 28/32
Return to the open area
Drop back into the open space where the cow cart should be waiting nearby.
STEP 29/32
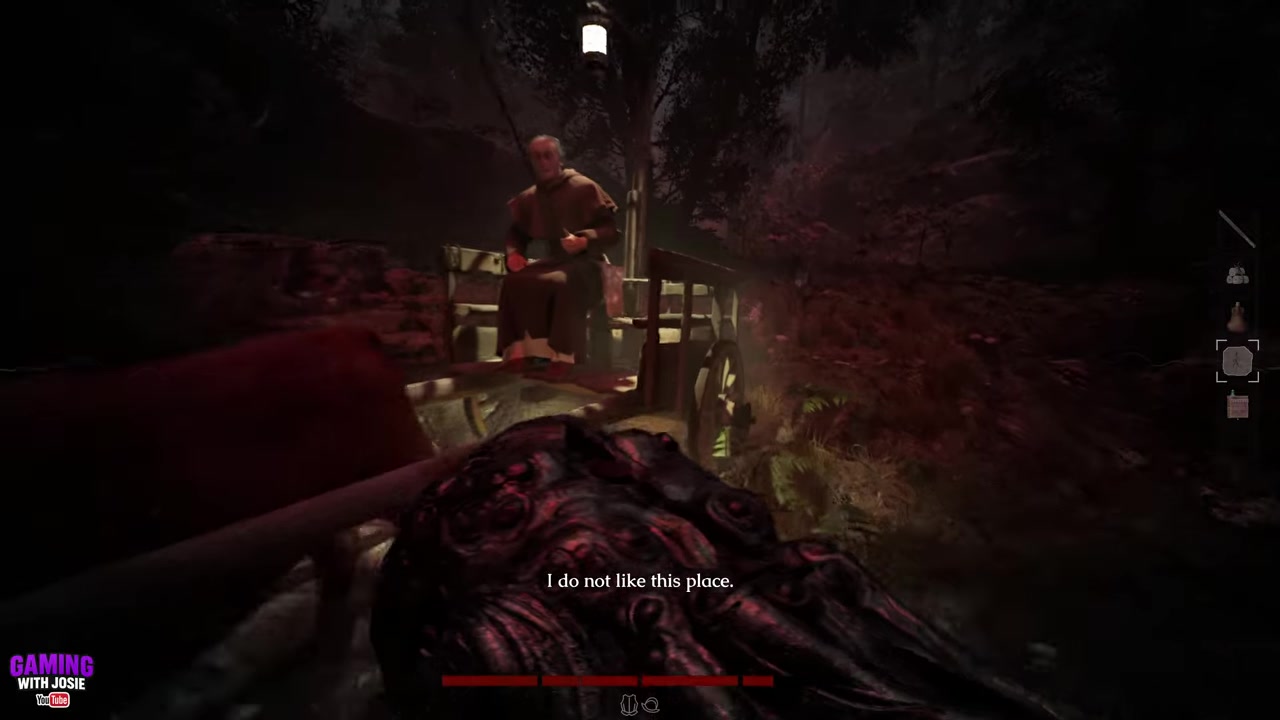
Load the cylinder onto the cow cart
Place the Tulu Cylinder onto the cow cart.
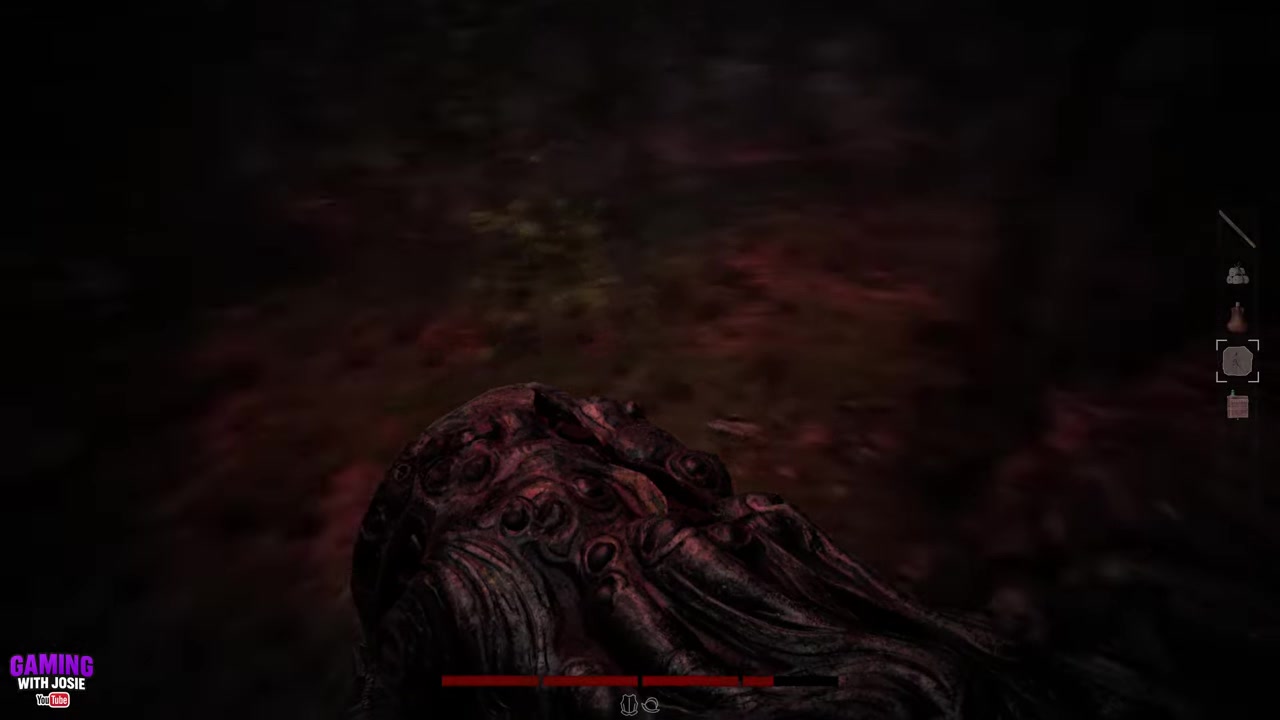
STEP 30/32
Follow the white trail back
Once the cylinder is loaded, follow the white trail toward extraction.
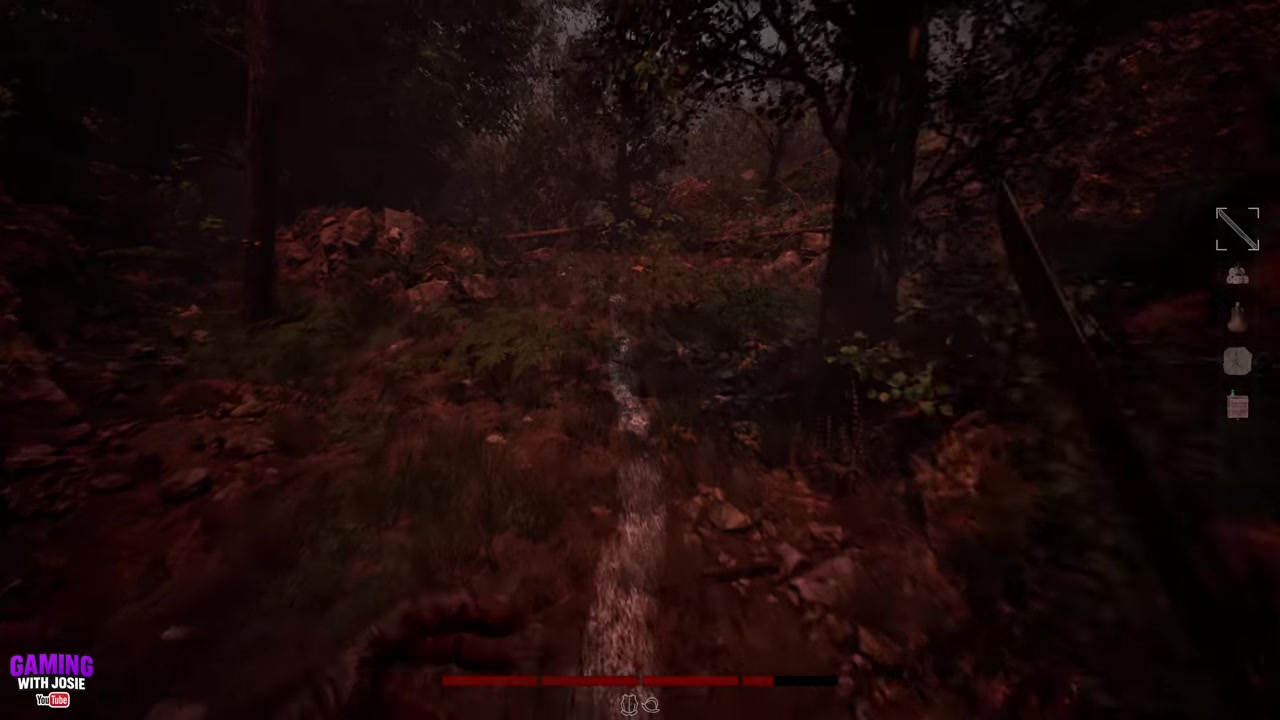
STEP 31/32
Reach the rowboat
Take the white trail all the way back to the rowboat.
STEP 32/32
Return to the main ship
Use the rowboat route to get back to the main ship and finish the extraction.
Video help
Hallowed Hills hazards to watch
The tree section before the bridge mechanism is worth taking carefully, because snapping through it loudly can draw attention at the wrong time. You do not need to fight everything on the route, but you should be ready for a real stop once the bridge comes down.
The biggest forced danger is around the bridge control, where multiple enemies can be waiting after you lower it, including a fish man. Clear that area before pushing deeper, because the cow cart route matters later.
After the fallen tree, the three-ladder route is the cleaner path. It keeps you away from the enemy-heavy left side and gets you onto the upper route where the drum sound becomes your main cue for closing in on the Tulu Cylinder.
Frequently Asked Questions
Where is the Tulu Cylinder in Hallowed Hills?
It is beyond the fort route, past the lowered cow-cart bridge, under the fallen tree, up the three ladders, through the small tunnel, and down near the area where the drum sound is loudest.
What sound helps you find the Tulu Cylinder?
A drum sound starts in the background after the ladder climb and gets louder as you approach the cylinder.
Why should you climb the three ladders?
The three ladders form a bypass around enemies on the left, saving time and reducing combat before you reach the cylinder.
What do you do after picking up the Tulu Cylinder?
Turn back, return to the open area, put the cylinder on the cow cart, and then use the white trail to get back to the rowboat.
Are there enemies near the bridge control?
Yes. After you lower the cow-cart bridge, expect several enemies in that area, including a fish man.






Leave a Reply