

In Palworld 1.0, build your merchant base by capturing the specialists you need from their settlements, ruins, and fixed spawn spots, then deploy them at your base for instant access to ammo, food, medicine, materials, Dog Coin trades, bounty rewards, and Pal selling.
Palworld’s 1.0 update turns captured merchants into a private supply depot. Catch the specialist vendors you care about, assign them at a base, and the game’s best consumables become a short walk and a pile of gold away.
- What changed in Palworld’s 1.0 merchant update
- Best merchants to prioritize at a glance
- How to force-spawn and capture legendary merchants at the Hill of Beginnings
- Capturing a merchant without triggering the guards
- What each legendary wandering merchant sells
- Other merchants worth a permanent base slot
- Keeping deployed merchants pinned with sandbags
- Funding your trades by breeding Dumud Gilds
- Frequently Asked Questions
What changed in Palworld’s 1.0 merchant update

The big change is simple: merchants can now be brought home. Place a captured merchant at a base and its full stock opens right on your doorstep, turning a long trip to a ruined church or desert waypoint into a one-time capture.
With steady gold behind you, that stock becomes an on-demand pipeline for items you’d otherwise farm or craft by hand. Higher-tier merchants carry deeper inventories, and the rule is clear: a captured merchant only trades while it’s deployed at a base. Keep it in your active party and it will not open its shop.
Best merchants to prioritize at a glance
| Merchant | Main use |
|---|---|
| Pharmacist | Heals and recovery-crafting materials |
| Gourmet | Buff food, including Mammorest Curry |
| Grocer | Cavern Mushrooms, seeds and vegetables |
| Materials Merchant | Crafting and upgrade materials |
| Game Hunter | Mammorest meat and other raw meat |
| Ammo Merchant | Endgame ammo types |
| Medal Merchant | Star Fruit and Ivy goods for Dog Coins |
| Bounty Merchant | Passive implants for bounty tokens |
| Pal Merchant | Buying Pals and selling Dumud Gilds |
These fall into two groups: the six legendary wandering specialists you capture in the world, and the fixed or special vendors you can visit or capture for convenience. Prioritize the legendary version of each specialist whenever you can. Low-level stalls like a bakery stand baker or a butcher in training carry thin stock, while the legendary tier is the deep inventory worth a base slot.
How to force-spawn and capture legendary merchants at the Hill of Beginnings
Use this as a capture workflow after you locate the merchant you want. Merchants such as Medal Merchants are tied to ruined churches, settlements, and other world locations instead of approaching newly placed bases, so the route is to find the vendor first, capture it, then bring it home.
Place a Pal Box

A Pal Box manages captured merchants at your own base. Placing one does not make Medal Merchants or settlement merchants walk over to it.
Build at the Hill of Beginnings

Use the Hill of Beginnings as a staging base. The merchants you need still come from their world locations.
Read the spawn from the flat ground

Check the merchant at its ruin, settlement, or fixed spawn spot and make sure it is the vendor you want before throwing a sphere.
Reroll the visitor if it is wrong

Deleting and replacing a Pal Box will not reroll Medal Merchants or other fixed-location vendors. Move between the correct merchant spots instead.
Throw your best sphere

Catch the merchant like a Pal. The instant you try, it counts as a crime and gives you a wanted level.
Retreat if the wanted level climbs

Land the catch in your first couple of attempts. If it goes sideways, run, stay away until the wanted level resets, then come back and finish the capture.
Equip a Mercy Ring or Pal Dealer’s Glasses

Either accessory stops you dropping the target below one health, so you will never accidentally kill a legendary merchant mid-capture.
Deploy the merchant at your base
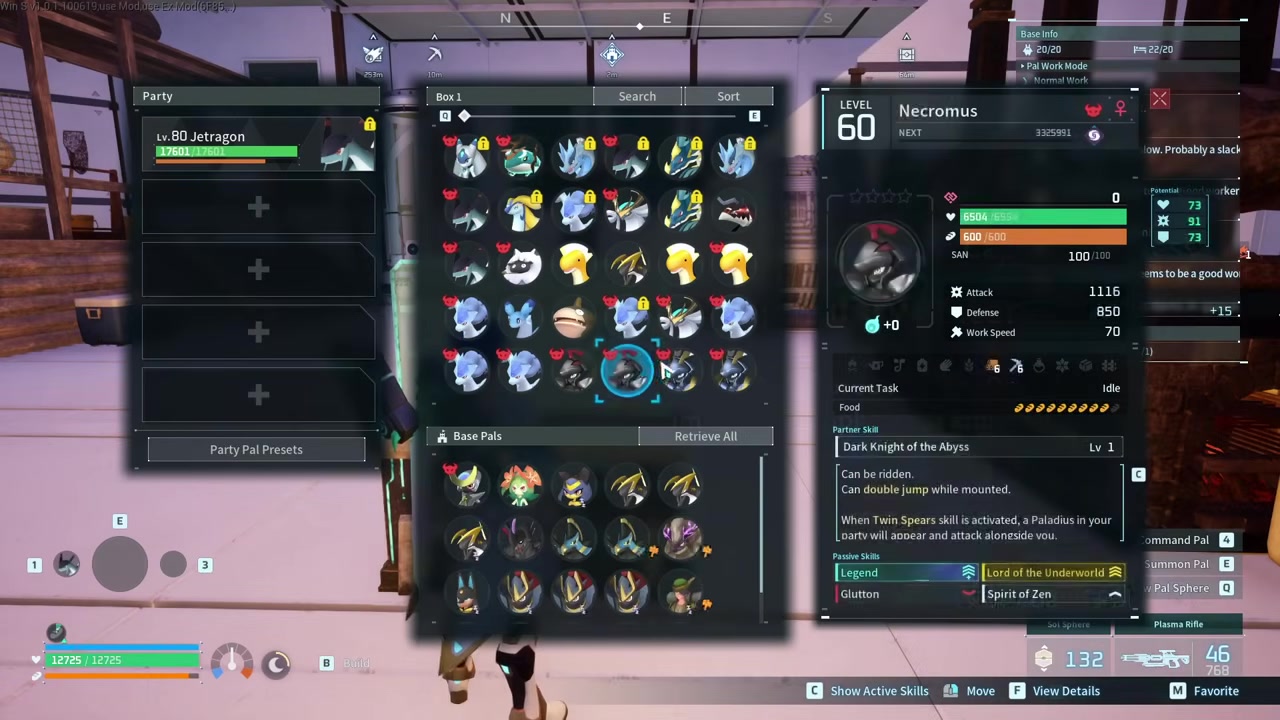
Move the caught merchant from your Pal Box list into the base and it spawns ready to trade.
Lock it down with a Monitoring Stand

Use the stand’s fixed assignment to pin the merchant in place instead of letting it wander into chores.
The reliable trick is to capture merchants at their actual locations, then deploy them at your own base so their shop stock is available whenever you need it.
Video help
Capturing a merchant without triggering the guards
Catching a merchant is illegal behaviour, so the moment another NPC sees it, you become wanted and PIDF guards come after you. High-level merchants travel with guard Pals that attack on sight, and legendary merchants bring plenty of them, which makes the catch a real fight.
One wanted star is manageable. Two stars and above escalate fast, so commit to the capture early. If the first attempts fail, break off and put distance between you and the base until the level clears. Then return and try again; that reset-and-retry rhythm gets the catch done even on messy runs.
What each legendary wandering merchant sells
| Merchant | Best buys |
|---|---|
| Pharmacist | Heals and recovery-crafting materials |
| Gourmet | Mammorest Curry and buff food |
| Grocer | Cavern Mushrooms, seeds, vegetables |
| Materials Merchant | Crafting and upgrade materials |
| Game Hunter | Mammorest meat and other meats |
| Ammo Merchant | Endgame ammo |
The Pharmacist is your walk-in clinic: direct heals for you and your Pals, plus the materials to craft your own if you’d rather stockpile them. The Gourmet solves food entirely. Alongside basic meals, it sells buff food, and the standout is Mammorest Curry, which gives you a flat 25% attack boost for as long as you can afford to keep eating it.
The Grocer sells ingredients, seeds, and mushrooms, and it earns its slot on one item: Cavern Mushrooms are the gating ingredient for Revival Potions, and buying them on demand beats hunting them down every time. The Materials Merchant is the boring-but-essential one: whatever crafting or upgrade material you’re short on is cheaper to buy than to farm. The Game Hunter sells raw meat by the stack, Mammorest meat included, which feeds straight into high-end cooking. The Ammo Merchant is the big one: every endgame ammo type over the counter, with no crafting and no material hunt behind it.
Other merchants worth a permanent base slot
| Merchant | Where to find |
|---|---|
| Medal Merchant | Ruined churches around the world |
| Bounty Merchant | Small Settlement, 73, -487 |
| Pal Merchant | Dune Shelter (desert), 355, 342 |
Three more vendors deserve regular access, though a couple sit at fixed spots you can simply visit if you don’t want to spend a base slot on them.
The Medal Merchant hangs out in ruined churches and is your Dog Coin trader, selling Star Fruit, Ivy, and similar goods. Dog Coins come in bursts from opening barrier towers for the first time and cracking element chests, which have set spawns you can look up on interactive maps. The long-term source is farming Behemoths in the World Tree area, where they are the highest level and drop the most.
The Bounty Merchant sells implants that give your Pals the passives you’re after, plus a few other useful items, all paid for in bounty tokens. You earn those by hunting the special bounty targets scattered across the map, with higher-level targets paying more per kill. You can also capture a bounty target, which carries its own icon, and butcher it at base for its coins. The Pal Merchant is a set spawn with a waypoint right on top of it, and it buys and sells Pals, including selling back ones you’ve lost, but its real value is as the place you offload Dumud Gilds for money.
Keeping deployed merchants pinned with sandbags

Once merchants live at your base, they start getting in the way. Leave one unassigned and it chooses its own chores, drifting around until your trader setup is scattered all over the base. The clean fix is a Monitoring Stand fixed assignment onto something small, and the cheapest option by far is sandbags: they sit under Defenses, cost a little wood and stone, and unlock at level 7, so you get them almost immediately.
Funding your trades by breeding Dumud Gilds
All of this only works if you’re rich, and the money engine is the Dumud Gild. They’re a Terraria cave enemy and a high-value Pal, so grab a male and a female, breed them, then breed alphas to push up how many you produce using the usual breeding techniques.
Sell them to a Pal Merchant in bulk, and before you do, load your active party with Pals carrying Noble and Fine Furs to raise the sale value. Double-check that nothing in your party is carrying a passive that cuts what you sell for. One breeding station run this way can pull in millions; set up a few and gold stops being the limiting factor on any of the trading above.
Related guides
Frequently Asked Questions
Can you capture merchants in Palworld?
Yes. You catch them with a Pal Sphere exactly like a Pal. The bonus most people miss is that a deployed merchant also handles light base duty at level one: handiwork, watering, lumbering, and mining. It isn’t purely a shop while it sits in your base.
Where is the best place to farm visiting merchants?
Use the merchant’s own location. Medal Merchants are found at ruined churches, while other merchants are tied to settlements, ruins, and fixed world spots, so the best route is to visit the correct location and capture the vendor there.
Which legendary merchant is best for ammo?
The Ammo Merchant. It’s the most expensive vendor you’ll keep coming back to, but with a steady gold income it’s one of the most valuable too, since every endgame ammo type comes finished with zero crafting and no material grind.
How do you stop merchants from wandering around your base?
Left alone, a deployed merchant picks its own tasks and drifts around the base. A Monitoring Stand fixed assignment pins it to one spot for good. If you don’t mind the chase, you can also just talk to it as it wanders past, no assignment needed.
Why did my captured merchant stop trading at night?
They sleep like any other Pal, heading to beds or lying down where they stand, which leaves them scattered until morning. The workaround is to give a base merchant the Insomnia passive, and it’ll stay up and available to trade through the night.
More questions⤵
What is the exact list of 12 best merchants?
The reliable core is the six legendary wandering specialists above plus the Medal, Bounty, and Pal Merchants. Beyond those, best-12 rankings vary by playstyle and localisation, so use the fixed dozen as a target list and prioritize the specialists whose stock matches what you actually burn through.






Leave a Reply