
Early-to-midgame combat in Beast of Reincarnation is built around parrying normal attacks, dodging red attacks, using Koo and ranged elemental options to create safe openings, and upgrading the entanglement gauge as early as possible.
Beast of Reincarnation does not spell out its damage systems cleanly, so early fights can feel harsher than they need to. The reliable pattern is to treat defense as your main way into offense: survive the tell, create the opening, then spend your best tools instead of forcing raw sword swings through danger.
- Defense turns into damage
- Controls that matter in fights
- Parry normal hits and dodge red attacks
- How to Parry Normal Attacks and Dodge Red Attacks
- Arrows, bolts, elements, and status pressure
- Upgrades to buy before the midgame wall
- Rangifer and Lacerta combat checks
- Mistakes that get Emma killed early
- Frequently Asked Questions
Defense turns into damage
Your first priority in most fights is not taking damage. Normal enemy pressure is there to teach parry timing, because clean parries open the windows where Emma and Koo can actually unload. If you try to play every encounter like a pure dodge-roll action game, you will miss a large part of what makes your damage consistent.
That does not mean standing still and blocking everything. Red attacks, many large area attacks, and bad angles are where you switch to movement, spacing, ranged pressure, and Koo commands. The goal is to keep the fight readable long enough for your parries, arrows, bolts, and skill follow-ups to do their work.
Early-to-midgame combat gets much easier once you stop thinking of ranged options as backup tools. Bows, guns, elemental arrows, and status effects are strong enough to shape boss fights, especially when paired with Koo’s support and Emma’s upgraded entanglement gauge.
Controls that matter in fights
| Tool | Use |
|---|---|
| Parry/guard | Use on normal melee strings to negate damage and create counter-windows. |
| Dodge roll | Use for red-flashing attacks and wide area attacks that break guard. |
| Koo command slowdown | Press Y or Triangle to slow combat, issue Koo actions, and reset your timing. |
| Skill follow-ups | Press RB to spend entanglement gauge on equipped skills. |
| Ranged aiming | Use bows, guns, arrows, and bolts to deal safe damage and apply status from distance. |
| K’s hair attack | Press RT to attack or reposition, including jumping upward to create space. |
| Lock-on target swap | Press the right stick to swap targets when your parry or shot is lined up on the wrong enemy. |
The combat kit is compact, but each tool has a job. Parry/guard handles regular pressure, the dodge roll gets you out of red danger, and Koo’s command slowdown gives you a small window to breathe, time a defensive input, or line up support.
Most of Emma’s active damage comes through equipped skills. Open the equipment menu, check the skill slots near the bottom, and practice the RB follow-ups until you know which ones create a branch, stun, or safe punish window. Ranged aiming also shows how much damage your shot will do, making it useful for deciding when to spend arrows or bolts.
Parry normal hits and dodge red attacks
The clean rule is simple: normal melee strings are parry practice, while red-flashing attacks are dodge checks. If an enemy rushes in with a standard weapon or body hit, meet it with guard timing. If the attack flashes red or marks a large area, roll out or create distance instead.
This matters because red attacks are not just stronger hits. They are built to punish players who try to parry everything, and they can break through your guard. Big circles, sweeping area effects, poison zones, and mud hazards should be treated as space-management problems first, not counterattack invitations.
When a boss keeps overwhelming you, run practice attempts with a narrow goal. Spend one attempt trying to parry only and another trying to dodge only, without worrying about damage. Boss strings often come in short bursts, and separating defense from offense lets you learn the timing before you add arrows, Koo skills, and punish combos back in.
How to Parry Normal Attacks and Dodge Red Attacks
Open with ranged damage
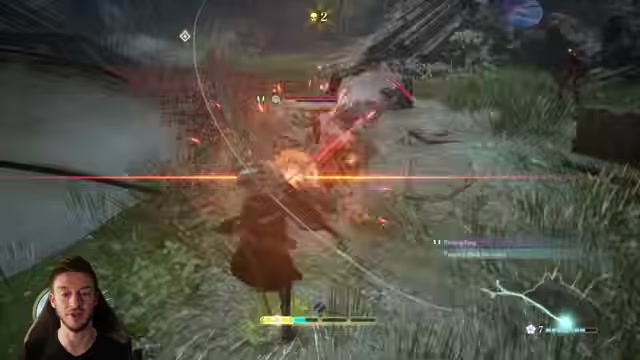
Start from distance with a bow, gun, arrow, or bolt so you get early damage before the boss closes in.
Read the signal
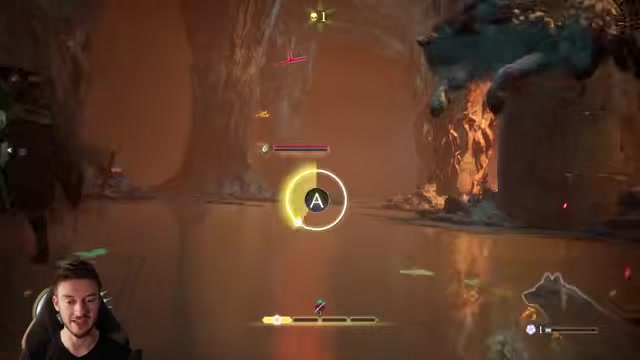
Watch for red flashes, circles, rush starts, and melee chains before choosing your defensive answer.
Dodge red attacks
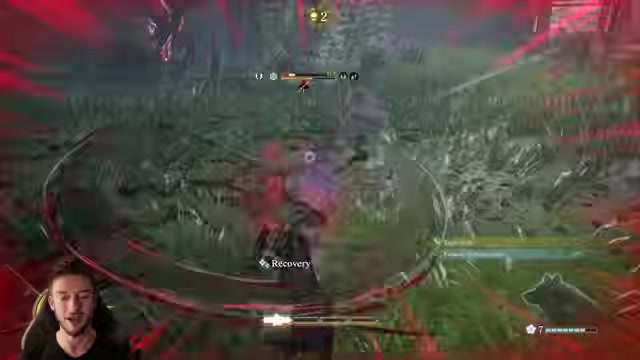
Dodge red and large area attacks instead of trying to guard them.
Parry normal melee chains
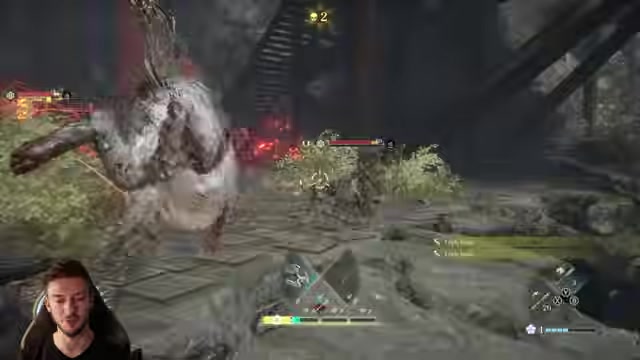
Let regular close-range strings come to you and use them to build clean counter-windows.
Use Koo to breathe
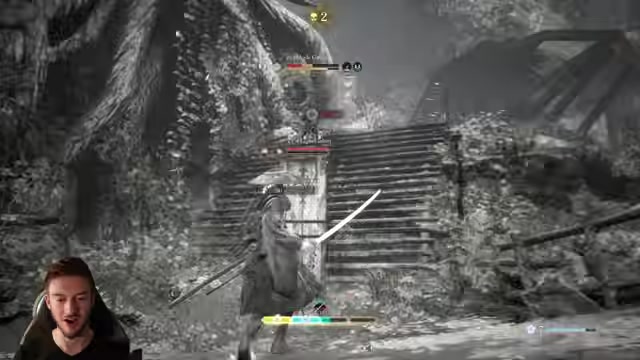
Trigger Koo actions when you need a pause, a stagger chance, or help against shielded enemies.
Punish from distance
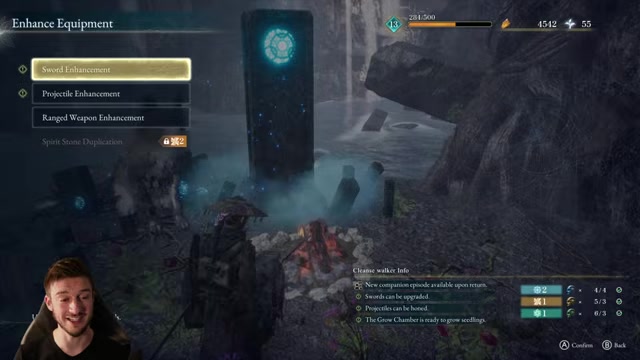
When the boss backs off or finishes a big attack, use arrows, bolts, guns, or skills instead of chasing blindly.
Practice without attacking
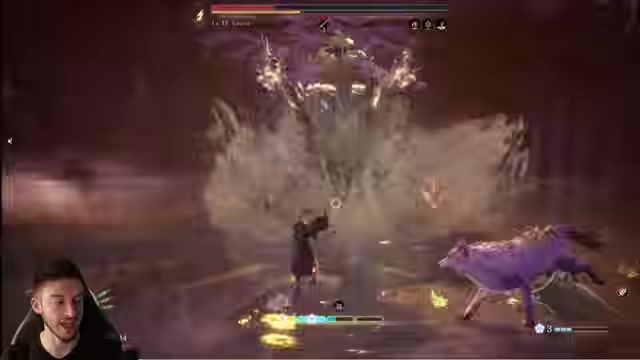
If you are stuck, enter attempts where the only goal is parrying or dodging until the timing becomes readable.
Arrows, bolts, elements, and status pressure
| Ammo or status option | Best use |
|---|---|
| Fire damage | Use against Fire-weak targets and for pressure that can often stun enemies. |
| Acid arrows | Use to apply status pressure from a safer distance. |
| Piercing bolts | Use against awkward angles, shielded enemies, or targets you want to hit from another line. |
| Lightning preparation | Use for midgame fights where the target is weak to Lightning. |
| Status stacking | Pair arrow status with equipped skills and Koo upgrades that amplify status buildup. |
Ranged combat is one of the strongest early-to-midgame habits in Beast of Reincarnation. Buy new arrow types whenever a golem merchant offers them, especially if the ammo adds an element or status effect. These options let you damage bosses without eating every close-range exchange.
You can equip three arrow or bolt types at a time, so build a small loadout instead of relying on one default shot. Fire, acid, piercing, and boss-weakness options all have a place, and your ammunition replenishes at camp-style rest points, so there is no reason to hoard every shot until the fight is already going badly.
The best use of ranged combat is not running away forever. Fire a shot when you have space, use status to soften the target, then let parries and skill follow-ups cash in the opening. Against bosses, this keeps your damage moving even while you are still learning the close-range timing.
Upgrades to buy before the midgame wall
| Priority | Upgrade |
|---|---|
| 1 | Entanglement gauge upgrades as soon as Strength opens them. |
| 2 | Strength for Emma’s attack, defense, and access to key skill-tree options. |
| 3 | Arrow and bolt upgrades, because they are cheap, high-impact, and reduce risky melee time. |
| 4 | Sword upgrades, since they are inexpensive and improve your punish windows. |
| 5 | Vitality when bosses are killing you too quickly to learn patterns. |
| 6 | Fluorescence and Koo status support for stronger skills and better status buildup. |
Strength is the main Emma investment early because it improves attack and defense while also opening the path to more entanglement gauge upgrades. More gauge means more room to use the skills that create stuns, branches, and heavy punish windows, so it directly affects how often your good buttons are available.
Vitality is still worth taking because normal difficulty can hit hard enough to punish one or two mistakes. Fluorescence supports skill power and Koo’s contribution, and Koo’s status-effect amplification becomes especially valuable once you are leaning on arrows, bolts, and status-focused skills.
KEY!
Do not forget the equipment menu while upgrading stats. Equip spirit stones, recovery tonics, Koo attacks, and any arrow-focused manuals you have bought, because unused slots are wasted power.
Buy every new elemental arrow or bolt type from golem merchants, then equip three useful options before the next boss.
Rangifer and Lacerta combat checks
| Fight | Preparation |
|---|---|
| Rangifer | Bring Fire damage; Sakura Javelin and Sakura Blade Art are tied to this early Fire path. |
| Rangifer rematch | Expect a tougher sealed-lair version with a second phase, so upgrade Strength, gauge, arrows, and swords first. |
| Lacerta | Bring Lightning weapons and Antidote, then dodge poison and mud area attacks instead of parrying them. |
| Lacerta follow-up fight | Build around midgame Lightning pressure; Dokuzeri Fang and Dokuzeri Blade Art support that direction. |
The early Nushi fights are where the combat plan starts asking for real preparation. Rangifer is the early Fire-weak check: roughly around boss level 9 in the Prowling Nushi crater encounter, with players usually better off near level 6-7, then later around level 12 in the sealed lair rematch, where level 10+ is a better target. Treat those levels as approximate, because gear, upgrades, and parry timing matter heavily.
Lacerta is the midgame punishment for players who still try to parry every threat. Its Ancient Civilization Zone fights sit around levels 13 and 16, and the battle stresses dodging poison and mud area attacks while preparing Lightning damage and an Antidote item.
Mistakes that get Emma killed early
The most common error is trying to parry red attacks. If the attack flashes red, roll or leave the area; saving a perfect parry attempt for an unparryable hit just turns defense into free damage for the boss.
The next problem is entering Nushi fights without matching elemental prep. Rangifer should push you toward Fire, while Lacerta asks for Lightning and poison answers. Skipping golem merchant ammo makes those fights longer and forces you into more close-range timing than necessary.
Players also lose damage by forgetting to equip skills, items, spirit stones, Koo actions, and arrow manuals after buying or unlocking them. A full inventory does nothing if your active slots are empty or outdated.
Finally, bad camera control causes avoidable deaths. If you are locked onto the wrong target, stuck at an odd angle, or fighting where you cannot see the tell, swap targets, reposition with K’s hair movement, use Koo to reset the pace, and stop attacking until the rhythm is visible again.
Related Beast of Reincarnation guides
Frequently Asked Questions
Is Beast of Reincarnation more parry-focused or dodge-focused?
It is more parry-focused for normal attacks, but dodge is mandatory for red-flashing and many area attacks. Treat parry as your main answer to melee pressure and dodge as your answer to danger signals that are designed to break guard.
What should I do if a boss keeps killing me in two hits?
Put points into Vitality, upgrade your sword and ranged options, equip recovery tonics, and spend a few attempts only learning defense. If you cannot survive long enough to practice, add health first; if you can survive but cannot deal damage safely, add arrows, bolts, and entanglement gauge upgrades.
Should Koo be used aggressively or saved for emergencies?
Use Koo actively, but with purpose. Koo is best used to create breathing room, interrupt or stagger pressure, help with shielded targets, and strengthen status-focused play rather than being held until the fight is already out of control.
Video help






Leave a Reply