
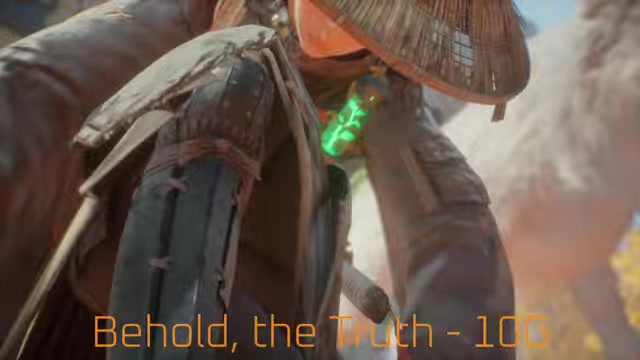
Behold, the Truth unlocks after you examine all nine legendary murals in Beast of Reincarnation, with one mural hidden in each of the first nine main zones.
This cleanup is easiest when you treat it as a zone-by-zone pass. Use the checklist to identify the camp or map text you need, then follow the matching section for the route to the painting.
- Legendary mural locations in Beast of Reincarnation
- Mural cleanup basics
- Ogouchi Buffer Zone mural
- Ancient Civilization Zone mural
- The Great Wall Terraces mural
- Pilgrim’s Zone mural
- Matsukawa Zone mural
- Fuji Frontier Zone mural
- Giant Tree Zone mural
- Crater Zone mural
- Inukami River Zone mural
- Behold, the Truth unlock troubleshooting
Legendary mural locations in Beast of Reincarnation
| Mural | Where to look |
|---|---|
| 1 – Ogouchi Buffer Zone | Cliff-Facing Tower – swing across the large chasm into the cave. |
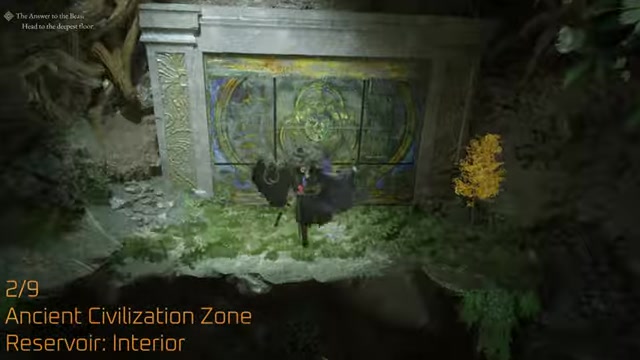
| 2 – Ancient Civilization Zone | Reservoir: Interior – cross the hair bridge into the side chamber. |
| 3 – The Great Wall Terraces | Mountain Overlook – break the wall with the barrel, then drop below. |
| 4 – Pilgrim’s Zone | Trail Area – circle the right side of the central structure into a cave. |
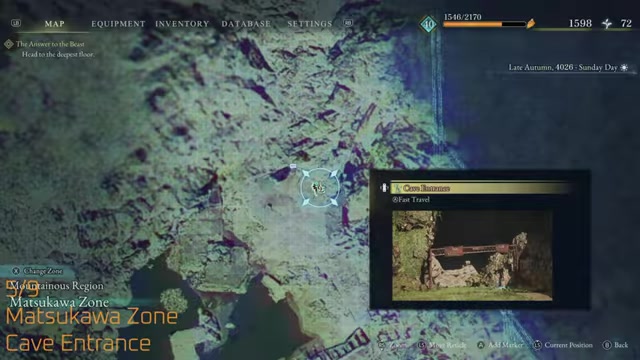
| 5 – Matsukawa Zone | Cave Entrance – cross the burning underground area with a hair bridge and zip. |
| 6 – Fuji Frontier Zone | Bridge Control Room: Approach – climb the scaffolding after the statue. |
| 7 – Giant Tree Zone | Cableway – Line 2: Peak A – check the small building behind the nearby camp area. |
| 8 – Crater Zone | Crater: Rear – enter the side cave left of the large tree. |
| 9 – Inukami River Zone | Ruined Plaza – push through the cave behind camp to the back room. |
Key When you reach a painting, stand close enough for the examine prompt and interact before leaving; simply entering the room will not finish that entry.
Mark each mural off by zone after you examine it, because several rooms are easy to pass through without interacting with the painting.
Mural cleanup basics
Behold, the Truth is a 10G Xbox achievement and a PlayStation trophy tied to the game’s lore-painting collectible set. The murals add story and world-history context, but they do not grant a separate gameplay reward.
You can collect murals as you progress through the story, clean up missed ones in endgame free roam, or revisit them in New Game Plus. The exact patch or season label for the current build is not needed for this route.
Ogouchi Buffer Zone mural
Start at Cliff-Facing Tower
Return to the Ogouchi Buffer Zone tower area facing the large chasm.
Cross the chasm
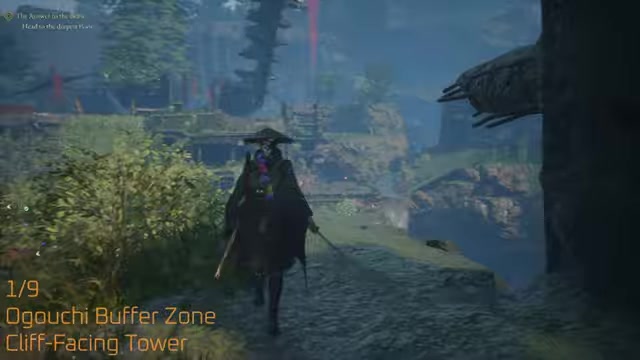
Use the swing route across the gap instead of dropping into the lower route.
Enter the cave
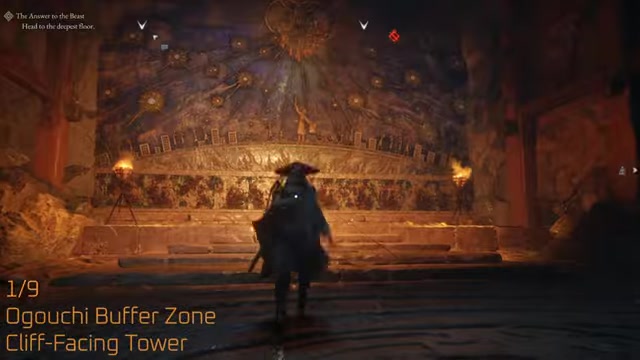
Go into the cave on the far side and examine the first legendary mural inside.
Ancient Civilization Zone mural
Return to Reservoir: Interior
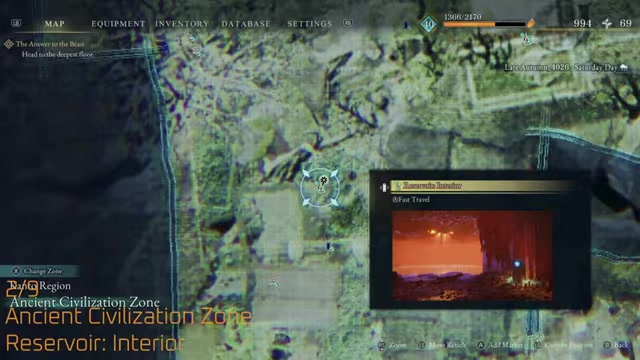
Go back into the small side chamber connected to the late-level reservoir route.
Make the hair bridge
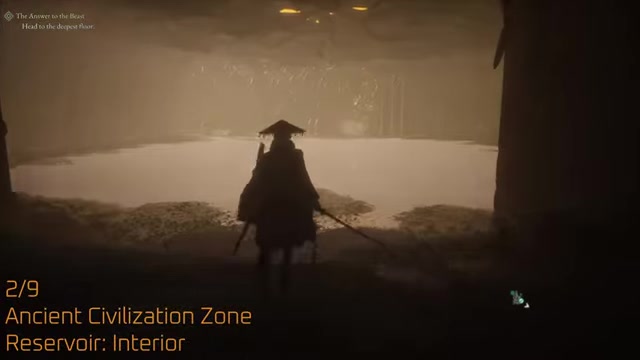
Create or reuse the hair bridge, then cross over to the chamber beyond.
Examine the mural
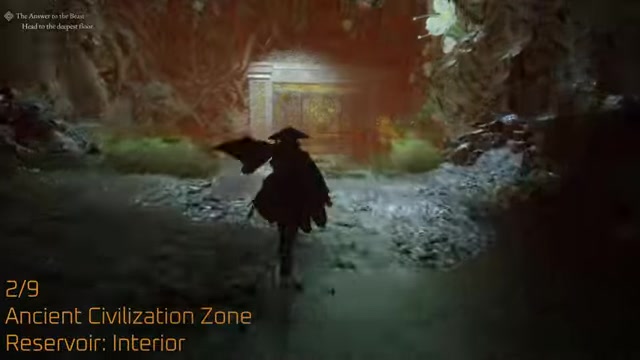
Interact with the painting on the far side before leaving the reservoir.
The Great Wall Terraces mural
Start at Mountain Overlook
At The Great Wall Terraces campsite, face the nearby wall and note the sealed room beside camp.
Find the metal grate
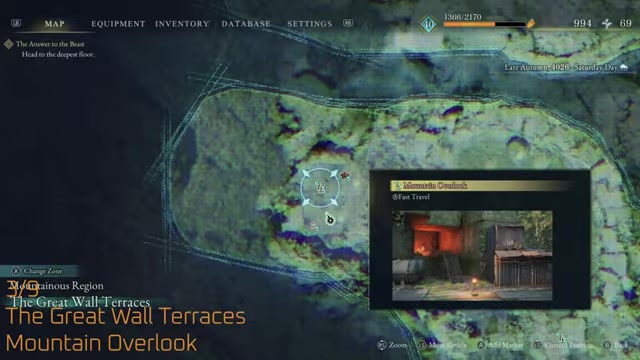
Go outside the wall to the nearby grate instead of trying to open the room from camp.
Shoot the barrel
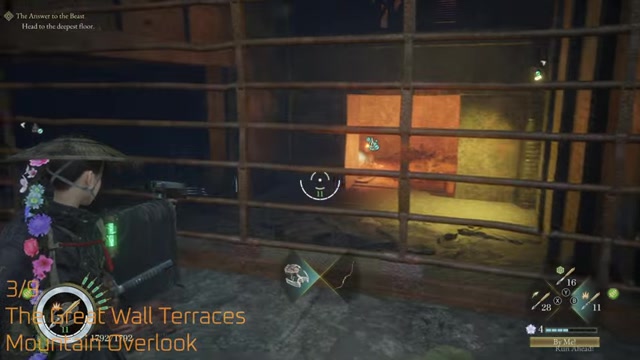
Aim through the grate and hit the explosive barrel; the blast breaks the wall open.
Return to the room
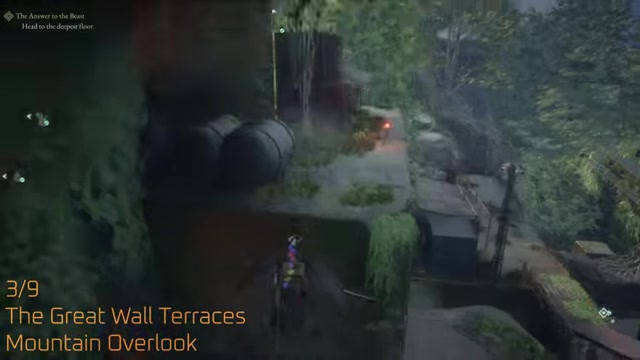
Walk back to the campsite side and enter the opening created by the blast.
Drop through the hole
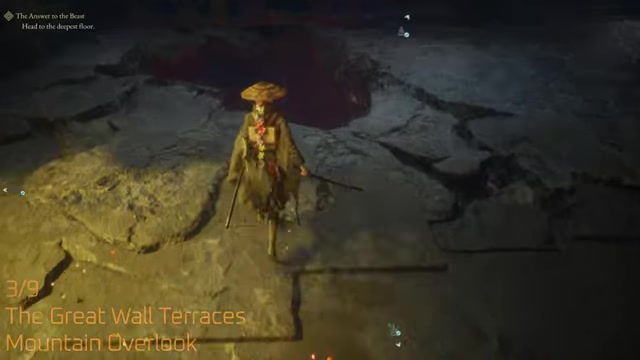
Jump down into the lower room and examine the third legendary mural.
Use the lever to leave
Throw the gate-control lever after collecting the mural for a direct exit.
Pilgrim’s Zone mural
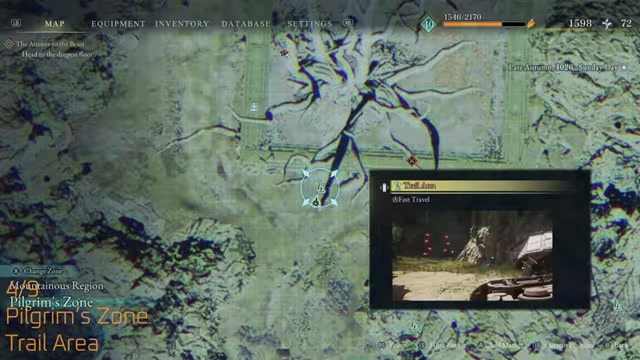
Start at Trail Area
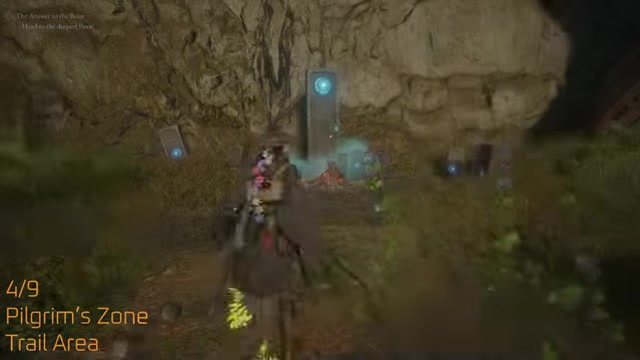
From the Pilgrim’s Zone campsite at the base of the central structure, turn right.
Circle the structure
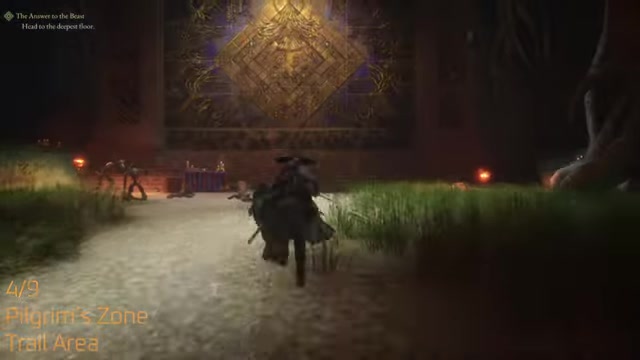
Follow the right/east side around until you see a small cave entrance.
Move through the cave
Clear or bypass the salamander enemies on the way through.
Examine the mural
Interact with the painting at the end of the cave.
Matsukawa Zone mural
Enter the lower route
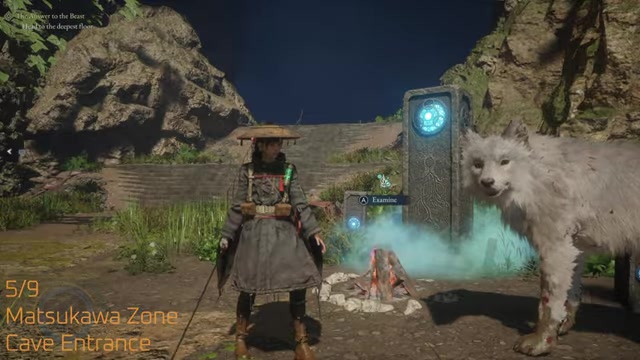
From Cave Entrance, proceed into the underground area.
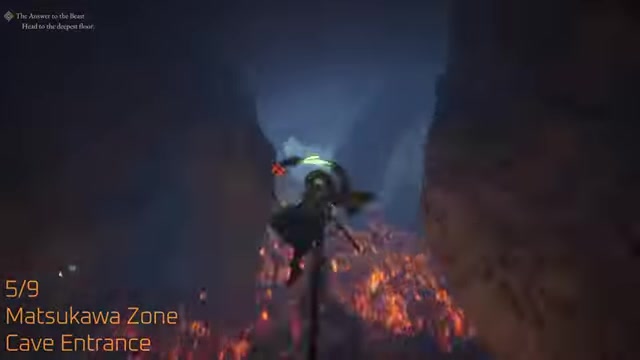
Cross the burning ground
Use a hair bridge across the fire, then quick-zip over the remaining gap.
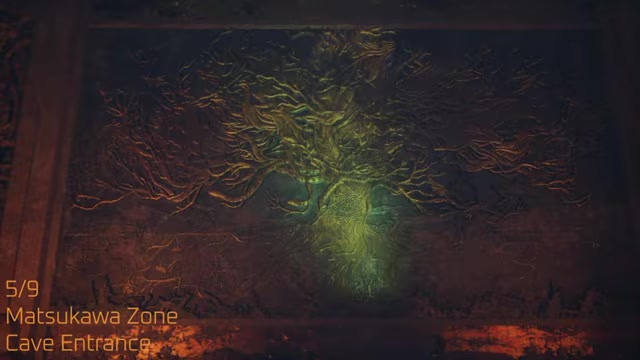
Check straight ahead
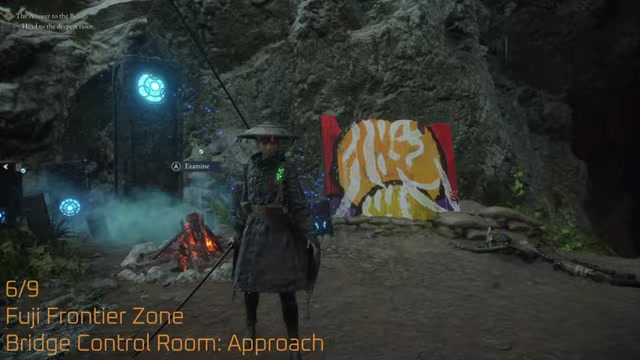
Examine the fifth mural in front of you; a sword collectible sits nearby, so scan the same spot before moving on.
Fuji Frontier Zone mural
Follow the story path
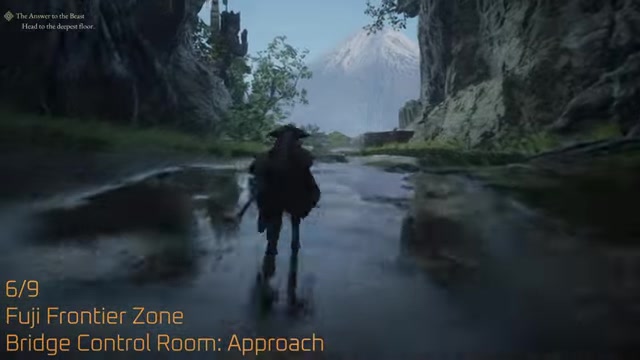
From Bridge Control Room: Approach, move down the bridge-control route near the shortcut area.
Pass the statue
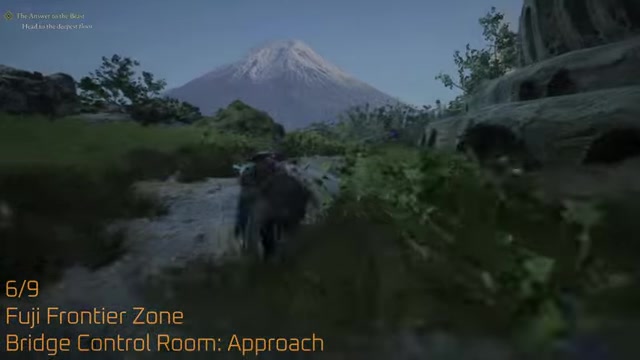
Continue past the statue and look to the upper-right side for scaffolding.
Climb the scaffolding
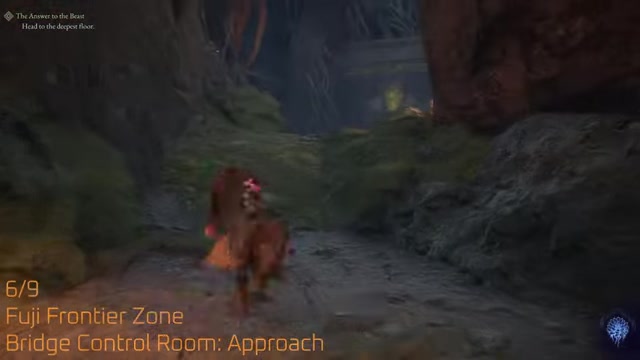
Go up the scaffolding, then keep following the long cave path.
Examine the mural
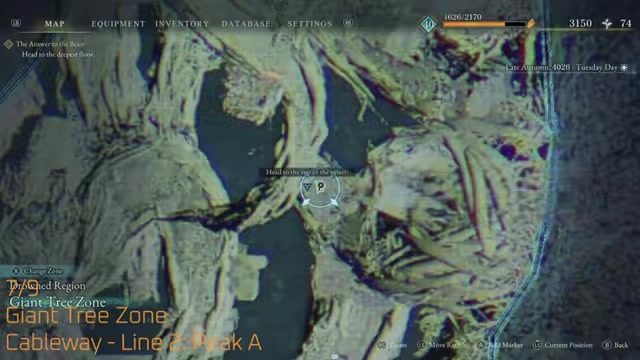
Interact with the sixth mural at the end of the cave route.
Giant Tree Zone mural
Start at Cableway – Line 2: Peak A
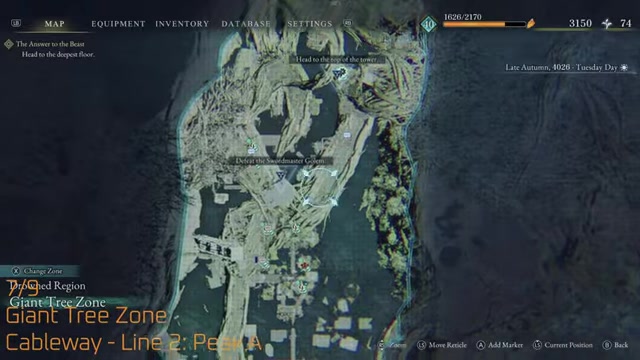
In Giant Tree Zone, move forward from the camp toward the large tree root.
Cross the root
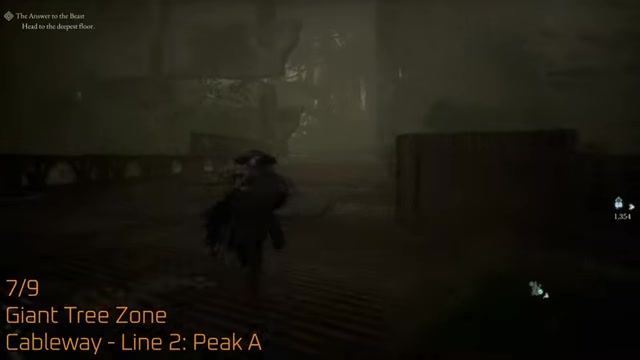
Follow the root to the nearby campsite/area ahead.
Check behind the camp
Enter the small building tucked behind that spot and examine the seventh mural.
Crater Zone mural
Face the crater
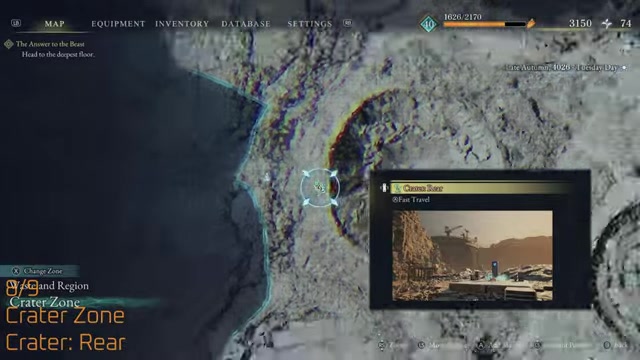
From Crater: Rear, turn toward the crater and look for the large tree.
Move left of the tree
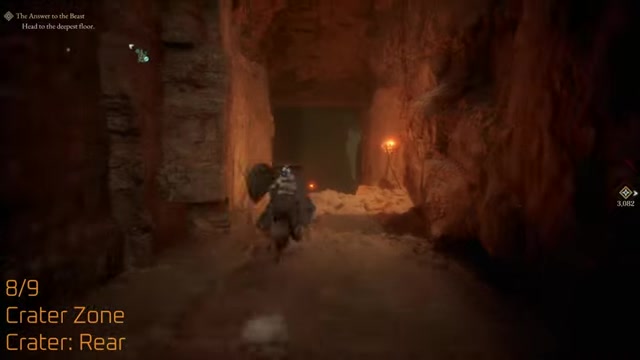
Go to the left side of the tree, away from the main path.
Enter the side cave
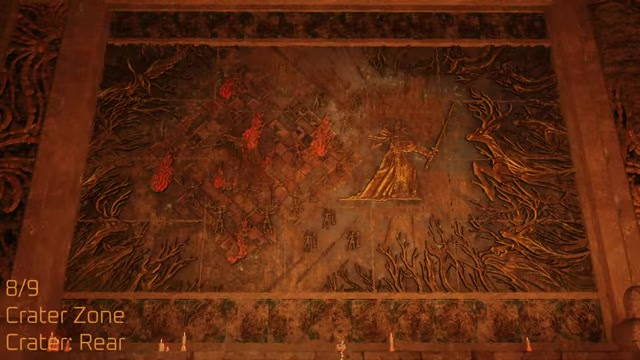
Crawl or walk into the small cave and examine the eighth mural inside.
Inukami River Zone mural
Enter the cave behind camp
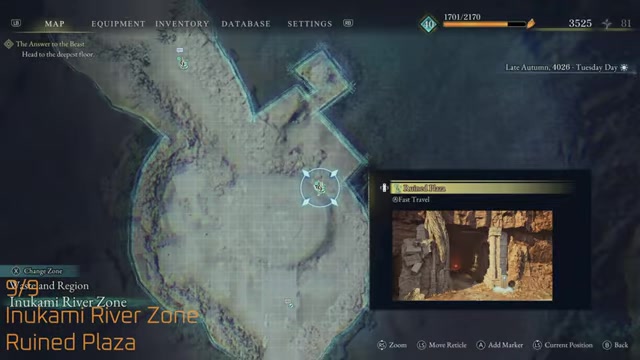
From the Inukami River Zone camp, go into the cave directly behind Ruined Plaza.
Prepare for fights
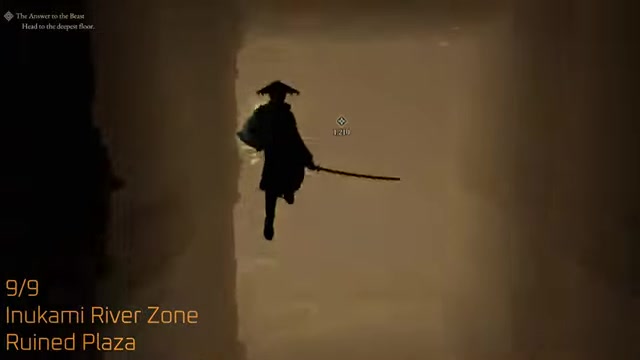
Expect several enemies inside and a swordmaster golem or similarly tough enemy near the mural route.
Cross the cave route
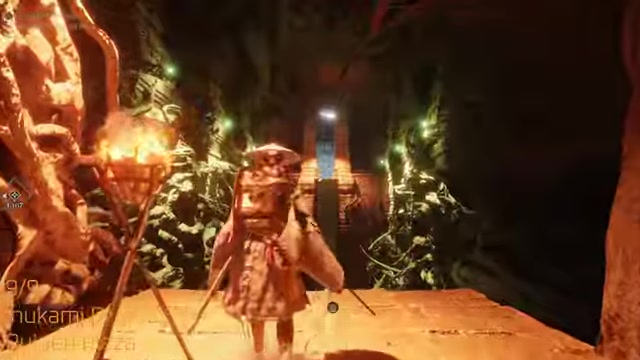
Use the parkour path and hair bridges to move through the cave rooms.
Reach the back room
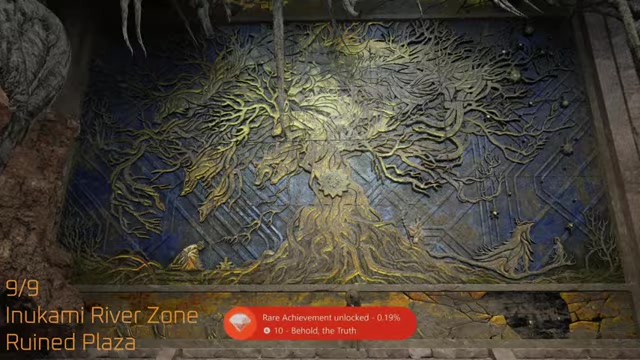
Examine the final mural in the last room; Behold, the Truth should unlock after the interaction.
Behold, the Truth unlock troubleshooting
If the achievement or trophy does not pop, assume one mural was reached but not examined. Revisit the checklist and interact with each painting again if you are unsure which one did not count.
Start with the easy-to-miss stops: The Great Wall Terraces, Giant Tree Zone, Crater Zone, and Inukami River Zone. Endgame free roam and New Game Plus both let you clean up the set without starting from a blank save.
Video help
Related Beast of Reincarnation guides






Leave a Reply