

To kill Lacerta, prepare Koo with Antidote, use ranged shots and parries to build openings, clear the small enemies quickly, then survive the poison-heavy second phase while punishing tail-swipe and jump recovery windows.
Lacerta is a Chapter 2 Nushi boss that punishes rushed melee play more than most early fights in Beast of Reincarnation. The fight starts as a pattern check built around jumps, projectiles, sprout spikes, and tail swipes, then becomes much nastier once Poison, adds, and the later phase start squeezing your healing.
Where Lacerta appears in Chapter 2
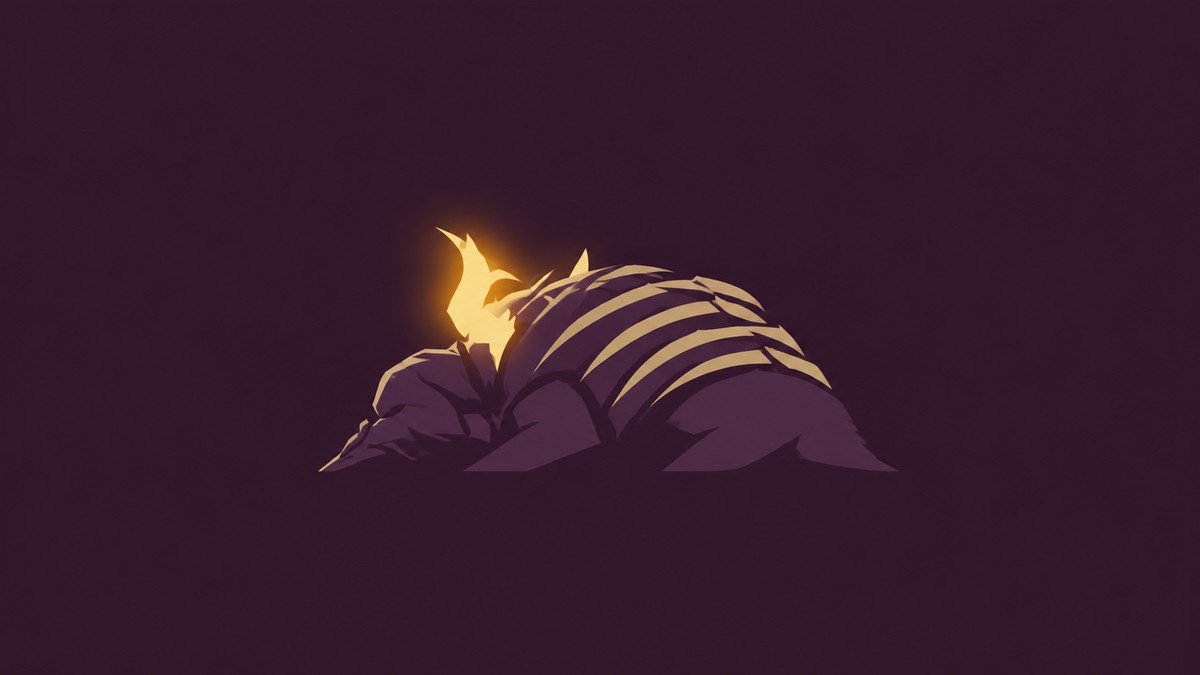
Lacerta is the second main boss and appears through main-story progression in the Ancient Civilization Zone. You do not need a side route or optional trigger; keep following the Chapter 2 objective and the fight comes to you.
The boss is fought twice in Chapter 2, first around Lv. 13 and later around Lv. 16. The first encounter teaches the core moveset, while the second is the real difficulty spike because Lacerta adds heavier status pressure, more dangerous phase behavior, and extra enemies.
Prep Koo and your ranged tools before Lacerta
| Bring | Use |
|---|---|
| Koo with Antidote | Clear Poison during both encounters, especially the later phase. |
| Bow | Spend safe ranged shots before Lacerta closes distance. |
| Crossbow | Fire during short openings when bow shots are too slow. |
| Rotating Koo Bloom Arts | Alternate skills and rebuild FP through parries. |
| Fire Bloom Art | Use as a reliable fallback when you are unsure of the weakness window. |
| Electric sword | Try during melee punish windows if you have one. |
KEY!Before challenging Lacerta, set up for a long fight rather than a clean damage race. Koo with Antidote is the big preparation check, because Poison can turn a recoverable mistake into a failed attempt once the second encounter gets going.
Your bow and crossbow serve different jobs. The bow is for safer opening pressure, while the crossbow is better when Lacerta gives you only a short punish window after a jump, projectile, or awkward movement.
For Bloom Arts, avoid planning around one repeated cast. Koo cannot use the same Bloom Art twice in a row, so rotate your options, rebuild FP through parries, and keep a Fire option as a steady fallback when you are not leaning on another element.
Lacerta attacks and counters
| Attack | Counter |
|---|---|
| Jump attack | Parry slightly early, then punish briefly. |
| Thrown projectile | Parry slightly before impact to create a punish window. |
| Sprout spikes | Move away as soon as the attack starts. |
| Tail swipe | Watch the body turn and reset instead of staying close. |
| Ground-slam thump | Give it space, then re-enter after recovery. |
| Jaw snap | Avoid standing directly in front for long trades. |
| Dive and summoned mobs | Clear the smaller enemies before returning to Lacerta. |
| Poison phase pressure | Create room for Koo’s Antidote before attacking again. |
Lacerta’s moves are readable, but the punish windows are short. The safest rhythm is to parry early on the leap, take one clean hit sequence, then reset before the tail or status follow-up catches you.
The fight also asks you to separate attacks that can be challenged from attacks that should simply be avoided. Sprout spikes and Poison pressure are where greed gets punished hardest; projectiles and jumps are where good timing gives you openings.
Parry Lacerta’s jump a beat early, then take one short punish and reset before the tail swipe.
How to beat Lacerta in Beast of Reincarnation
This route takes Lacerta from the first arena through the poison-heavy finish by using ranged pressure, early parries, add clears, and controlled burst windows.
STEP 1/21
Empty the bow first
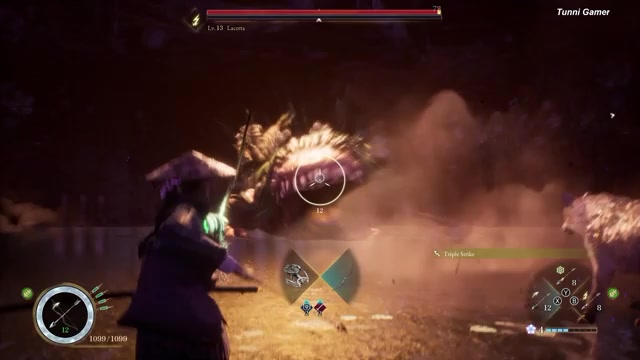
Start the first Chapter 2 encounter by spending bow shots at range before Lacerta closes the gap.
STEP 2/21
Hold crossbow for fast openings
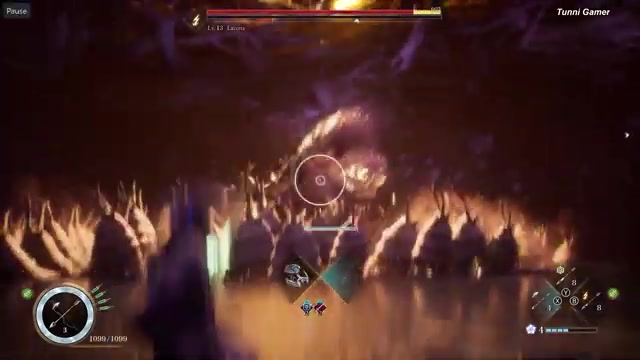
Use crossbow shots when Lacerta is attacking or recovering because they fire quickly enough for small windows.
STEP 3/21
Parry the jump early
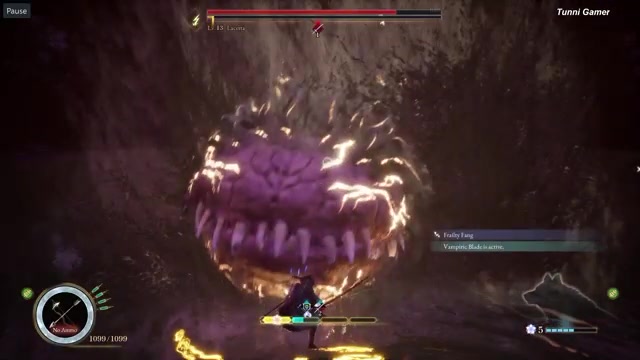
Hit parry slightly before the leap lands, then punish the stagger without overcommitting.
STEP 4/21
Expect the tail swipe
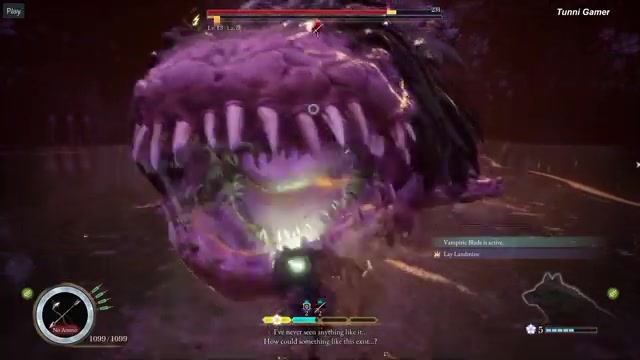
After the jump punish, watch the tail and reset instead of standing in melee range.
STEP 5/21
Back away from sprout spikes
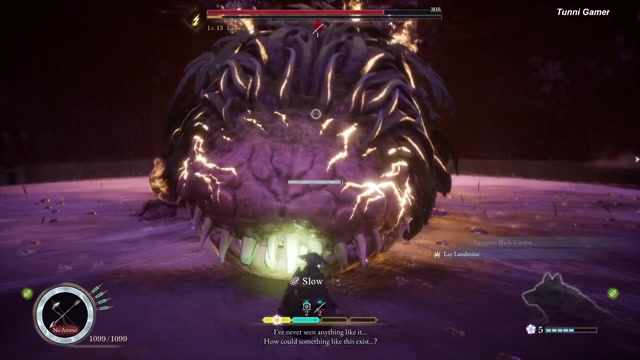
When sprout spikes begin coming up, move out of the area before attacking again.
STEP 6/21
Parry projectiles
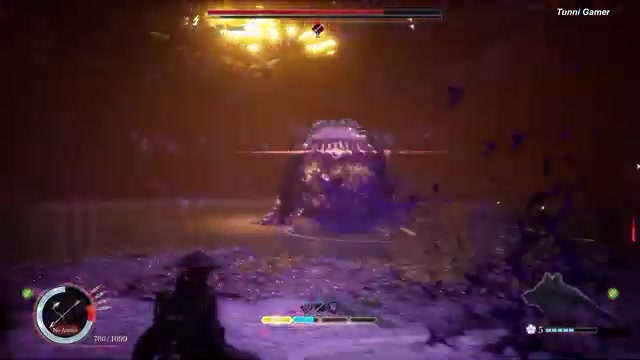
Treat the thrown attack as a reaction check; press parry slightly before impact to create an opening.
STEP 7/21
Chase Lacerta to the next arena
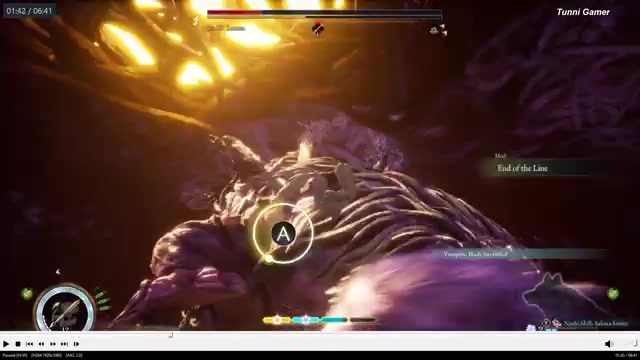
After the first arena, follow Lacerta into the second fight and repeat the ranged opener.
STEP 8/21
Restart ranged pressure
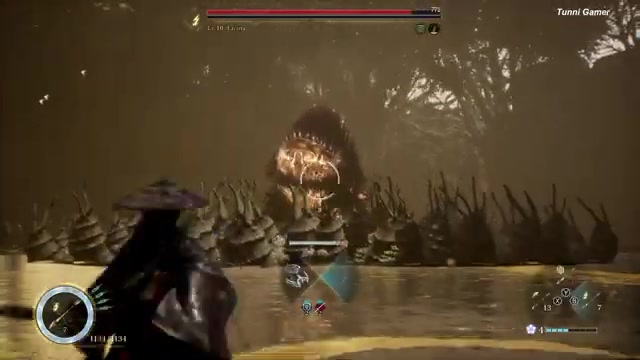
Fire bow and crossbow shots immediately in the second arena to build damage before close-range patterns restart.
STEP 9/21
Swap to the electric sword if you have it
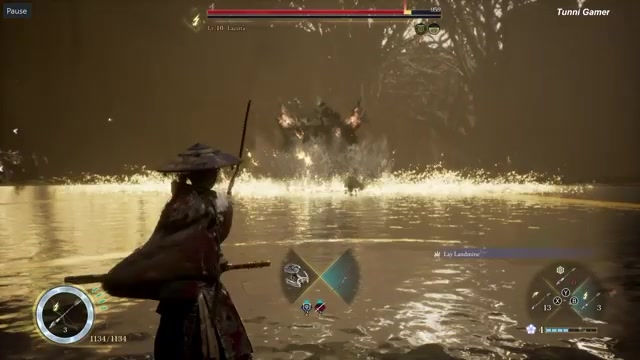
Use the electric sword during melee punish windows, but keep parries and ranged pressure as the main plan.
STEP 10/21
Clear the three smaller enemies
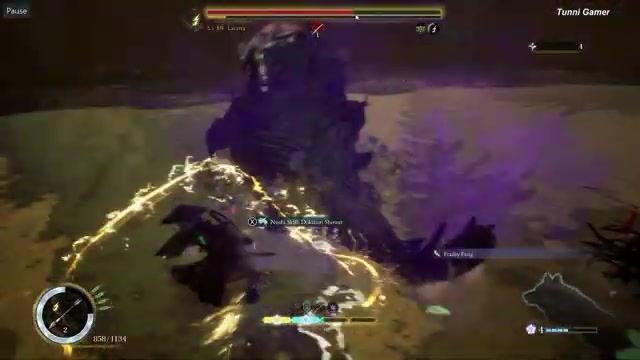
When Lacerta sends out its small adds at about 40% HP in this sequence, kill them fast before focusing the boss again.
STEP 11/21
Burst after the adds are controlled
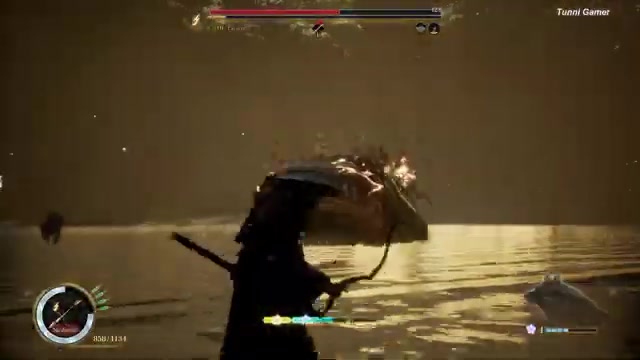
During a clean opening, land a bigger damage window after the adds are controlled.
STEP 12/21
Respect tail swipes during burst windows
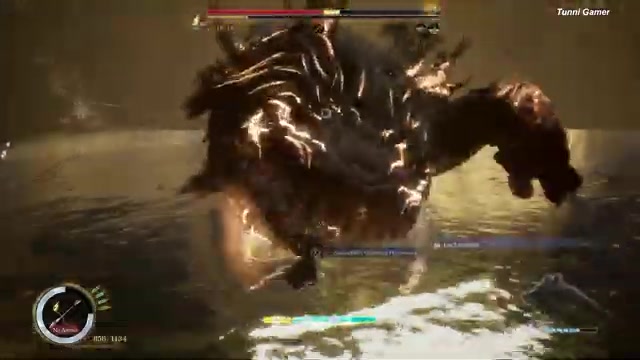
Even while pushing damage, stop early if Lacerta turns its body for a tail chain.
STEP 13/21
Push through the phase change
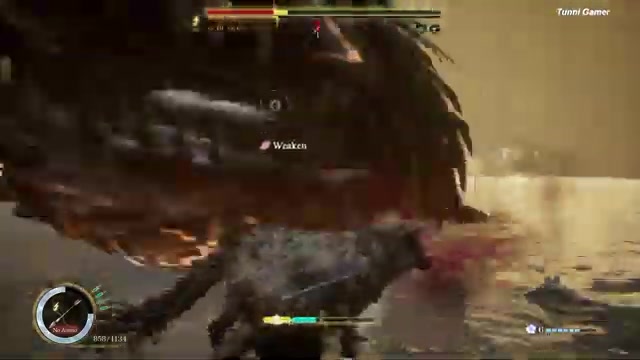
Keep pressure up as Lacerta enters the next phase, then prepare for stronger Poison and Slow pressure.
STEP 14/21
Make sure Koo has Antidote ready
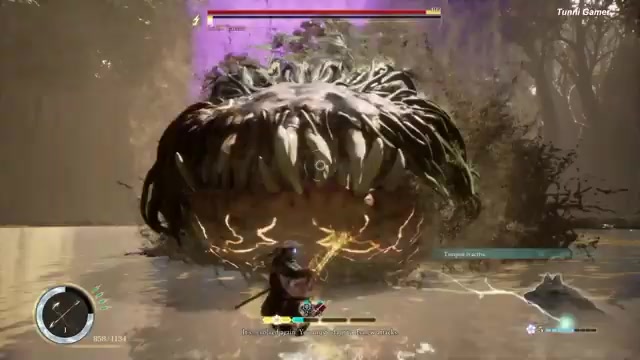
Before the poisonous phase is fully underway, rely on Koo’s Antidote prep so Poison does not snowball the attempt.
STEP 15/21
Parry the poisonous-phase leap early
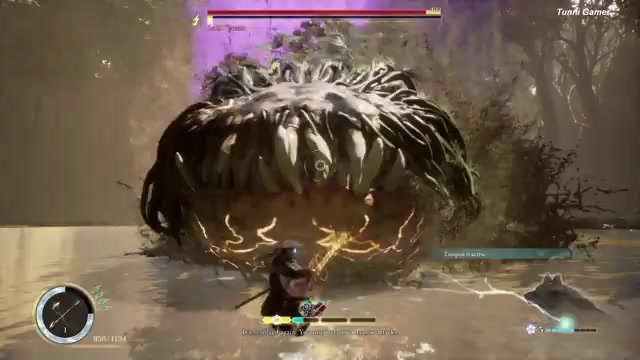
The later jump still wants an early parry, followed by a short punish and an immediate reset for tail swipe.
STEP 16/21
Reset after the heavy thump
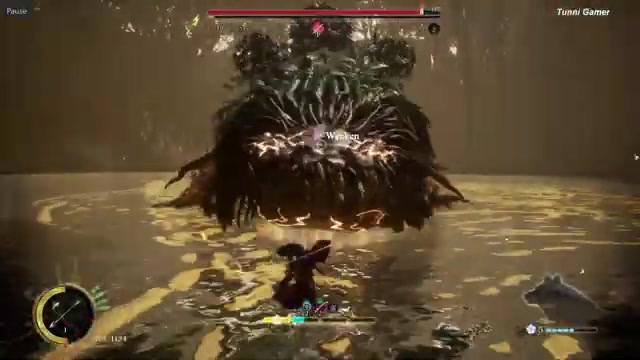
When Lacerta uses the heavier ground-slam attack, give it space and wait for recovery instead of trading.
STEP 17/21
Use crossbow shots while it moves
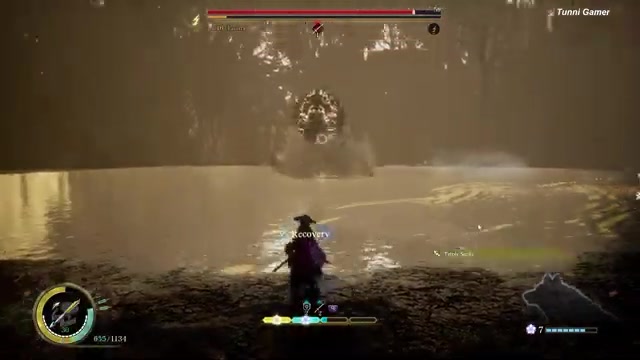
Crossbow fire is fast enough to tag Lacerta during awkward movement without locking you into a long bow draw.
STEP 18/21
Parry the later projectile sequence early
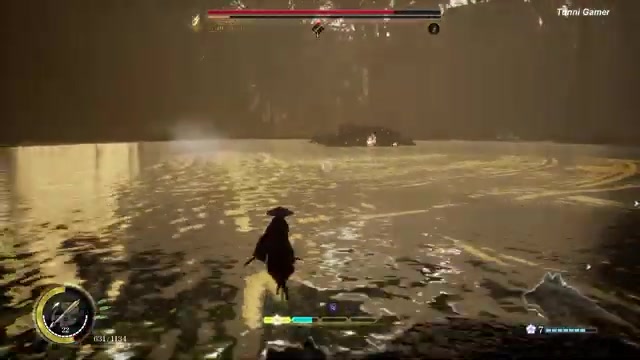
The later thrown attacks can still be parried, but press the parry a little before impact.
STEP 19/21
Let Antidote clear Poison pressure
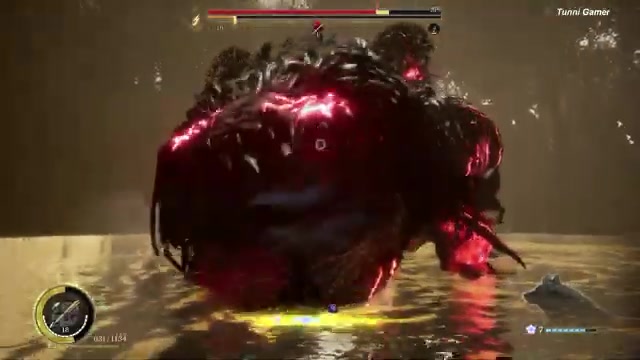
If Poison lands, create space and let Koo use Antidote before you re-enter melee.
STEP 20/21
Finish with parries and Koo pressure
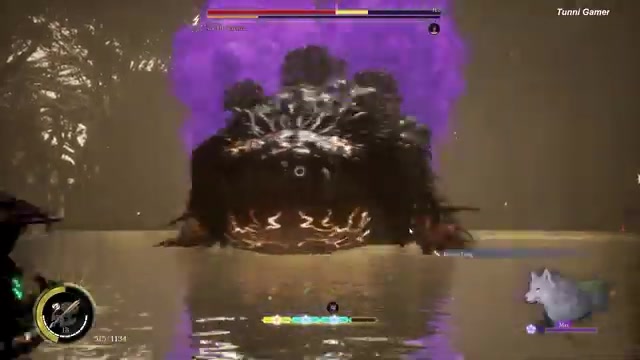
In the final stretch, keep using Koo, early parries, and ranged shots until Lacerta’s last health is nearly gone.
STEP 21/21
Land the final punish
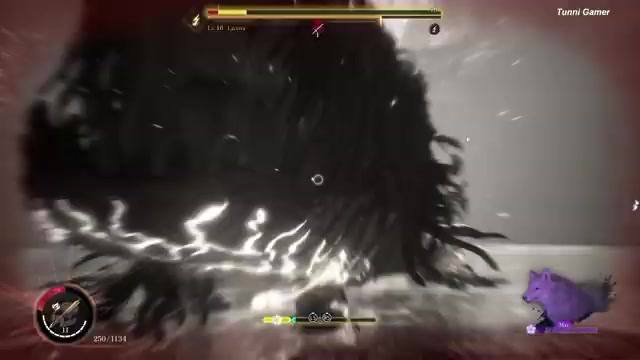
Keep the same rhythm through the last opening and Lacerta falls once its remaining health is depleted.
Video help
Second Lacerta fight and poison phase
The second Chapter 2 encounter is where Lacerta becomes the real wall. It has two health bars, can dive beneath the water, and becomes more dangerous once the later bar reaches roughly half health and Lacerta glows red.
Treat the opening bar as a resource phase: parry to earn FP, rotate Bloom Arts, and preserve healing. Once the poisonous phase takes over, stop chasing every small opening; clear space first, let Antidote stabilize the attempt, then burst only after a jump, projectile, or slam recovery.
Mistakes that make Lacerta harder
Most failed attempts come from treating Lacerta like a normal damage race. Entering without Koo’s Antidote, ignoring summoned enemies, or trying to spam one Bloom Art repeatedly all remove the tools that make the second encounter manageable.
The other big mistake is staying close after your punish is already over. Lacerta’s tail-swipe chains, Poison pressure, and heavier thump attacks are built to catch greedy follow-up swings, so reset first and attack after the next clean defensive answer.
Frequently Asked Questions
How many times do you fight Lacerta?
You fight Lacerta twice in Chapter 2. The first fight is the teaching round; the later fight is the real boss check.
Should you parry or dodge Lacerta’s attacks?
Use both. Parry jump attacks and comfortable projectile timings, but dodge sprout spikes and back off when the tail-swipe chain starts.
How do you deal with Poison in the Lacerta fight?
Prepare Koo with Antidote before the fight, then make room when Poison lands instead of trading hits while the status effect is active.
Are the small enemies during Lacerta worth killing first?
Yes. Kill the smaller enemies quickly so they cannot interrupt your parries, ranged shots, or Antidote recovery windows.
Is Lacerta weak to electric damage?
An electric sword can hit Lacerta very hard, so it is worth using if you have one. Lacerta’s exact elemental weakness is still unsettled, so keep Fire Bloom Arts, parries, and crossbow pressure in the plan too.






Leave a Reply