
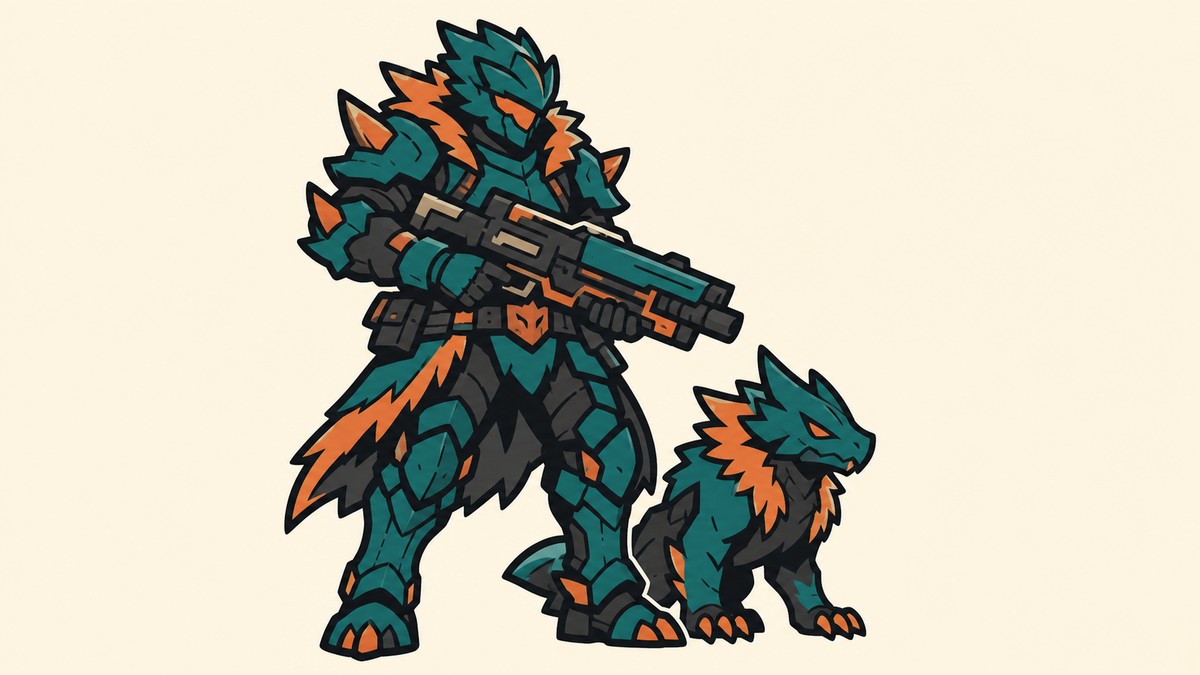
The most reliable low-headshot shotgun build pairs the Beam Scatter Shotgun with Xenogard, Nyafia, Solenne, Dandilord, and Prixter to stack energy, shotgun, attack, and poison damage against hard tower bosses.
Player damage still rules Palworld’s most optimized 1.0 setups, but nearly all of them are built around landing headshots. This loadout throws that requirement out: it’s the highest reliable damage you can put out without any weak-point synergy, so your entire damage stack applies on every pellet, head or not. The whole thing is built on one weapon that no other top gun can copy.
- Why this shotgun build lands reliable damage
- The full Beam Scatter poison loadout at a glance
- Core priorities against hard tower bosses
- Best player accessories for the build
- Party setup and why each Pal earns its slot
- Passive skills and implants to run
- Dandilord active skills for normal and large bosses
- What you need before the fight
- Offensive and defensive swaps
- Common mistakes that lower your damage
- Frequently Asked Questions
Why this shotgun build lands reliable damage

The point here isn’t to be the strongest overall player build — that ceiling belongs to a dedicated headshot setup and is already a solved problem. This is the best you can do while ignoring weak points entirely, which means your damage amp is handed to you whether or not a shot connects with the head. The headshot becomes a bonus, not the plan, and these numbers hold on default damage settings.

That frees the rest of the party to chase damage that has nothing to do with weak points, which is where poison comes in. Poison scales your output through status rather than headshots, and because every pellet of a shotgun blast is its own damage instance, the high-fire-rate Beam Scatter — essentially an automatic shotgun — stacks poison faster than almost anything else.
The full Beam Scatter poison loadout at a glance
| Slot | Pick | Use |
|---|---|---|
| Primary weapon | Beam Scatter Shotgun (Legendary) | Main damage; scales with both energy and shotgun boosts |
| Secondary weapon | Drone Launcher (Legendary) | Free background drone damage |
| Food | Mammorest Curry (attack food) | Player attack buff before the fight |
| Accessories | Attack Pendant, Dogen Emblem, Warsect Terra’s Belt, Vanguard Charm / Underworld’s Baton | Player attack, then defense and a flex slot |
| Party support | Xenogard, Nyafia, Solenne, Prixter | Stack energy, shotgun, attack, and poison-target bonuses |
| Poison combat Pal | Dandilord | Applies poison and deals combat damage |
Here’s the complete loadout so you can copy it fast. The party is Xenogard, Nyafia, Solenne, Dandilord, and Prixter; the video shows multiple active Pals during play, with Dandilord serving as the poison-focused combat centerpiece.
Core priorities against hard tower bosses
A few things matter more than your raw aim in this fight. Keep poison on the boss at all times — a big share of your damage, and Prixter’s bonus, keys off the target being poisoned. Keep your Drone Launcher drones running in the background; they’re free damage the whole fight. And treat the shotgun as forgiving — spray center-mass, clip the head when it’s easy, but never sacrifice uptime chasing it.
It also helps to know that you are meant to be the boss’s main target. Because your own damage dwarfs your Pal’s, bosses focus you, which is why Dandilord can contribute poison and damage while the fight still revolves around your Beam Scatter uptime; the video also uses multiple active Pals rather than making Dandilord the only Pal ever fielded.
Best player accessories for the build
| Accessory | Use | Location |
|---|---|---|
| Attack Pendant | Player attack | Desert hack terminal, northwest of a small pool |
| Dogen Emblem | Bigger player attack, plus a Pal attack boost | Hack terminal in Sun Reach, near the watchtower landing |
| Warsect Terra’s Belt | Large defense and health boost | Hack terminal on a small island off southern Sakurajima |
| Vanguard Charm | Player health and temperature resistance | Hack terminal on north Favric Island, near the fast-travel point |
| Lord of the Underworld’s Baton | Dandilord dark damage, plus general attack | Hack terminal mid-Favric Island |
You’re building almost entirely for player attack, and only two accessories in the game raise it. The Attack Pendant is the simple one; the Dogen Emblem is the bigger boost and also hands a separate attack buff to your Pals. After those two, spend at least one slot on defense — the Warsect Terra’s Belt stacks a large defense and health boost together. The fourth slot is a genuine choice: take the Vanguard Charm for extra health and free temperature resistance if you want to be safer, or the Lord of the Underworld’s Baton to push Dandilord’s dark damage (plus a general attack boost for his non-dark hits) if your survivability is already fine.
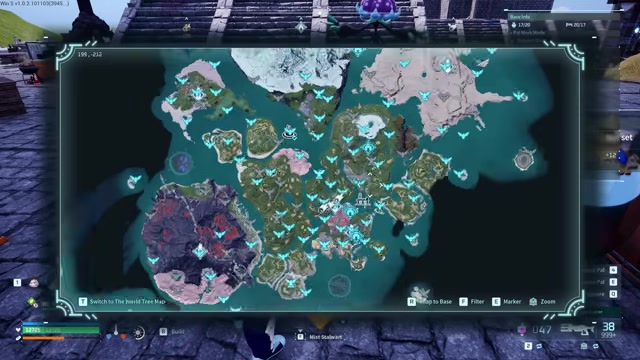
Every one of these comes from a hack terminal out in the world. The exact terminals are marked on the map in-game; here’s where to look.
Party setup and why each Pal earns its slot
| Pal | Role | Main bonus |
|---|---|---|
| Xenogard | Party support | Energy-weapon damage |
| Nyafia | Party support | Shotgun damage |
| Solenne | Party support | Up to 80% player attack (no duplicate species) |
| Prixter | Party support | Bonus damage to poisoned targets |
| Dandilord | Poison combat Pal | Poison application and damage |
The five-Pal party is Xenogard, Nyafia, Solenne, Dandilord, and Prixter. Xenogard, Nyafia, Solenne, and Prixter provide the major party-slot damage bonuses, while the video also shows multiple active Pals in use; Dandilord is the poison applier and combat Pal for the poison side of the build.
Xenogard covers the energy-weapon multiplier, Nyafia covers the shotgun multiplier, Solenne is the big one — up to an 80% player attack boost at full condense — and Prixter adds bonus damage to anything poisoned, which also lifts Dandilord’s own damage since he attacks poisoned targets too. Dandilord supplies the poison application and deals real damage while taking some boss attention as you keep firing.
The one rule that governs the whole party is Solenne’s: her attack buff only counts while every Pal is a different species. This build has no duplicates, so it stays live — but the moment you double up a species, it switches off.
Passive skills and implants to run
| Pal type | Passives | How to get |
|---|---|---|
| Support Pals (Xenogard, Nyafia, Solenne, Prixter) | Idiosyncratic, Vanguard, Stronghold Strategist, Reload Master | Idiosyncratic from ancient relic recycling; Vanguard and Stronghold Strategist as permanent surgery-table unlocks from the bounty vendor (about 15 tokens each); Reload Master from the arena vendor with arena tickets |
| Dandilord | Idiosyncratic, Diamond Body, God of Destruction, Twin-Edged Holy Blade | Idiosyncratic and Diamond Body from ancient relic recycling |
The four support Pals all run the same four passives, because their main job is to make the player stronger from the party. Idiosyncratic is a big survivability boost to both the active Pal and you even from an inactive slot; Vanguard is a player attack boost that stacks across every Pal carrying it; Stronghold Strategist does the same for defense, which matters because you’re the one soaking damage; and Reload Master trims the constant reloading a shotgun build lives with. None of these need breeding RNG.
Dandilord is half-offense, half-defense. He keeps Idiosyncratic — its auto-regen is enough to out-heal most of what he takes, as long as he isn’t the boss’s main single-target focus, which he won’t be here. Diamond Body is close to mandatory for any combat Pal, mostly for the flinch immunity. The last two slots, God of Destruction and Twin-Edged Holy Blade, are huge attack boosts with a real defensive cost — this is the peak version, and if your Dandilord isn’t fully built yet you’ll want to soften it (see the FAQ).
Dandilord active skills for normal and large bosses
| Fight type | Skills | Fallback |
|---|---|---|
| Normal bosses | Poison Promenade, Toxic Dance, Psycho Gravity | Dark Laser for the third slot |
| Large horizontal hitboxes (Victor & Shadowbeak) | Apocalypse, Circle Vine, Psycho Gravity | Toxic Dance for the third slot |
For most bosses, lean on Dandilord’s two species-exclusive attacks, Poison Promenade and Toxic Dance — both deal very consistent damage. The third slot goes to Psycho Gravity if you have it, or Dark Laser as a solid single-target replacement.
The exception is a boss with a large horizontal hitbox, like Victor & Shadowbeak. Those exclusive attacks don’t scale with enemy size — they only deal their damage inside their radius — so against big targets you switch to area attacks. Apocalypse and Circle Vine pump far more into a wide hitbox, with Psycho Gravity still the best third option and Toxic Dance the fallback. Circle Vine is grass rather than dark, so it isn’t boosted by your accessories, but it still gets the 20% same-type bonus from Dandilord’s own grass typing.
What you need before the fight
How to run the rotation in a boss fight in Palworld
Once the loadout is built, the fight itself is a short, repeatable loop that keeps poison and drones up while you do the shooting.
- Start poison through Dandilord — For longer fights, bring Dandilord into the rotation early so his poison application sets up Prixter’s bonus damage window.
- Manage Dandilord’s poison timing — His poison partner skill is on a cooldown, so save it for key reapplications instead of wasting it while poison is already active.
- Reapply poison whenever it drops — Any time the boss isn’t poisoned, fire Dandilord’s partner skill again to keep the status — and Prixter’s bonus — live.
- Keep your Drone Launcher drones up — Activate the drones and let them tick in the background of the whole fight for free damage.
- Blast away with the Beam Scatter Shotgun — Aim for the head when it’s easy, but you’re punished far less for missing it than a headshot build would be.
Activate your Drone Launcher drones, then swap straight back to the Beam Scatter — the drones keep dealing damage in the background while you fire, so it’s free DPS every fight.
Offensive and defensive swaps
If you’re getting deleted, the first dial is food — swap your attack food for defense food before a rough fight. For a bigger sustain change, field Felbat or Lovander as your active Pal in place of one of the weaker weapon-boost slots: both give you life steal while they’re out (and heal themselves), which makes you dramatically tankier at the cost of Dandilord’s offense. That’s the defensive pivot; the rest of this build leans hard on offense.
Common mistakes that lower your damage
The quietest damage loss is breaking Solenne‘s condition — a single duplicate species turns off her attack buff without any warning. After that: letting your drones lapse (re-activate them the moment they expire), and spending Dandilord’s poison cooldown too early while poison is already active.
Misreading Nyafia’s job is a related trap — she is here for the shotgun partner-skill boost, while Dandilord handles poison application for this setup. And don’t judge the gun by its raw attack number; the Beam Scatter’s whole case is the stacked multipliers sitting on top of it, not the figure on the tooltip.
Related guides
Frequently Asked Questions
Is this shotgun build better than a headshot-focused player build?
Why is Beam Scatter better for this setup than a normal shotgun?
Do I need the legendary Beam Scatter Shotgun schematic?
Why does Solenne stop working with duplicate Pals?
What should I replace if Dandilord dies too often?
More questions⤵
Can I use fire instead of poison for the status combo?
Video help






Leave a Reply