
Yes, Chikipi can beat Hard Mode Zenara & Astralym when they are heavily optimized, sent out in five-Pal waves, and protected from the boss duo’s biggest AoE chains.
The Blightstar Calamity Zenara & Astralym Hard Mode clear is real, but it is not a casual Chikipi build pretending to be a normal progression route. It works because the fight is treated like a raid challenge: a Chikipi raid army does the field work, a stronger party Chikipi handles tanking windows, support Pals sit in the player’s party, and the player adds rifle damage when the bosses are vulnerable.
Chikipi clear verdict
The run proves that Chikipi can survive and contribute in Palworld’s hardest final-boss setting when the whole setup is built around keeping them alive long enough to cycle attacks. The important part is not that Chikipi suddenly becomes a normal best pick; it is that optimized passives, careful deployment, and arena control can push even a weak Pal into a successful Hard Mode clear.
That also changes how to read the “Chikipi-only” label. The active raid presence is Chikipi-focused, but the setup still uses off-field party support and player damage, so copying it means copying the whole structure rather than breeding one funny chicken and hoping it solos the room.
Chikipi raid army loadout
| Setup piece | Use |
|---|---|
| Chikipi passive skills | Demon God, Immortality, Serenity, and Diamond Body for damage, sustain, cooldown flow, and toughness. |
| Chikipi active skills | Sand Twister, Circle Vine, and Apocalypse for repeated damage and recovery windows. |
| Party Chikipi | Same layout, used as the main tank and resummoned to redirect boss pressure. |
| Support party Pals | Ribbuny, Cremis, Orserk B, and Solenne support the neutral-focused Chikipi plan. |
| Player setup | Level 80 character using a Plasma Rifle for headshot damage during the finish. |
| Summon rule | Deploy the raid army in five-Chikipi waves instead of committing all 15 at the opener. |
The build leans into durability, neutral-boosted damage, and repeated attack healing. The party Chikipi uses the same core layout as the raid Chikipi, but it gets used differently: it is repeatedly resummoned away from the army so the bosses have a durable target that is not standing inside the whole Chikipi group.
KEY!The loadout is doing two jobs at once: making each Chikipi sturdy enough to avoid instant collapse, and preserving enough reserve Chikipi for the later barrier and burn phases. Without that reserve, one bad AoE chain can end the attempt before the fight reaches its real damage window.
How to clear Hard Mode Zenara & Astralym with Chikipi in Palworld
Run the fight as a wave-management clear: keep the bosses’ worst attacks off the army, spend Chikipi groups only when the boss state gives them room, and use player damage to close.
STEP 1/15
Pull the opener onto the player
Start the fight by letting Zenara & Astralym aim the first attack at you instead of the Chikipi army.
STEP 2/15
Keep the tank out of Psycho Gravity

Watch the party Chikipi’s position so it does not sit inside Psycho Gravity while the first wave starts attacking.
STEP 3/15
Absorb the bad first AoE chain
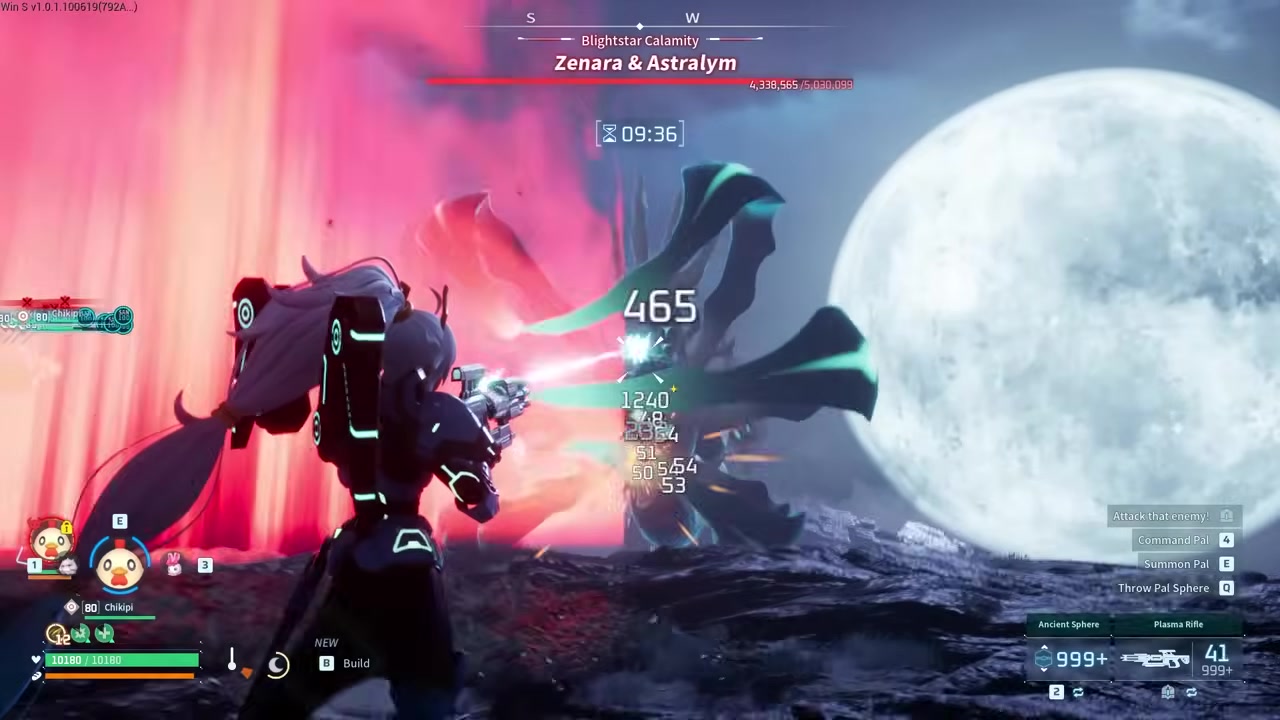
The first five Chikipi get punished hard by Psycho Gravity into a meteor-rain-style attack, leaving the wave badly damaged.
STEP 4/15
Summon five more during the barrier

When the barrier phase begins, send in the next five Chikipi instead of committing the full reserve.
STEP 5/15
Resummon the party Chikipi as tank
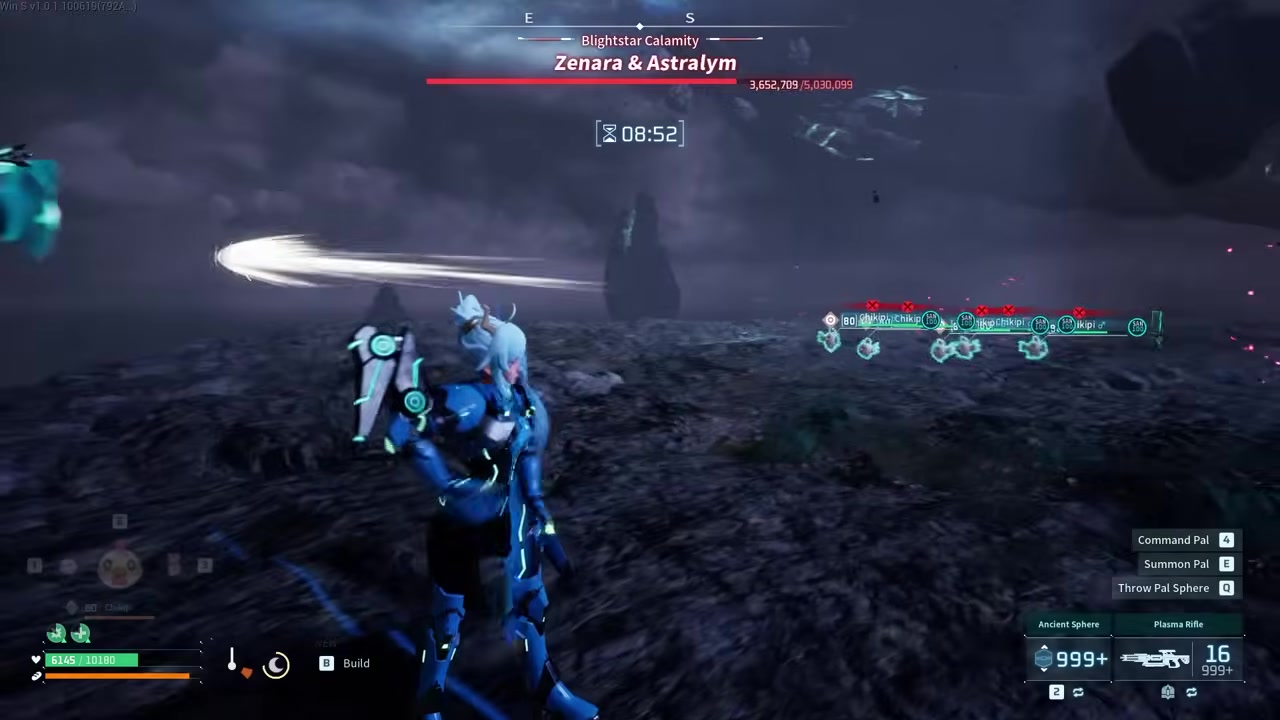
Drop the main Chikipi near the boss so it can pull target priority and out-damage the base raid Chikipi.
STEP 6/15
Reset tank placement before the next chain
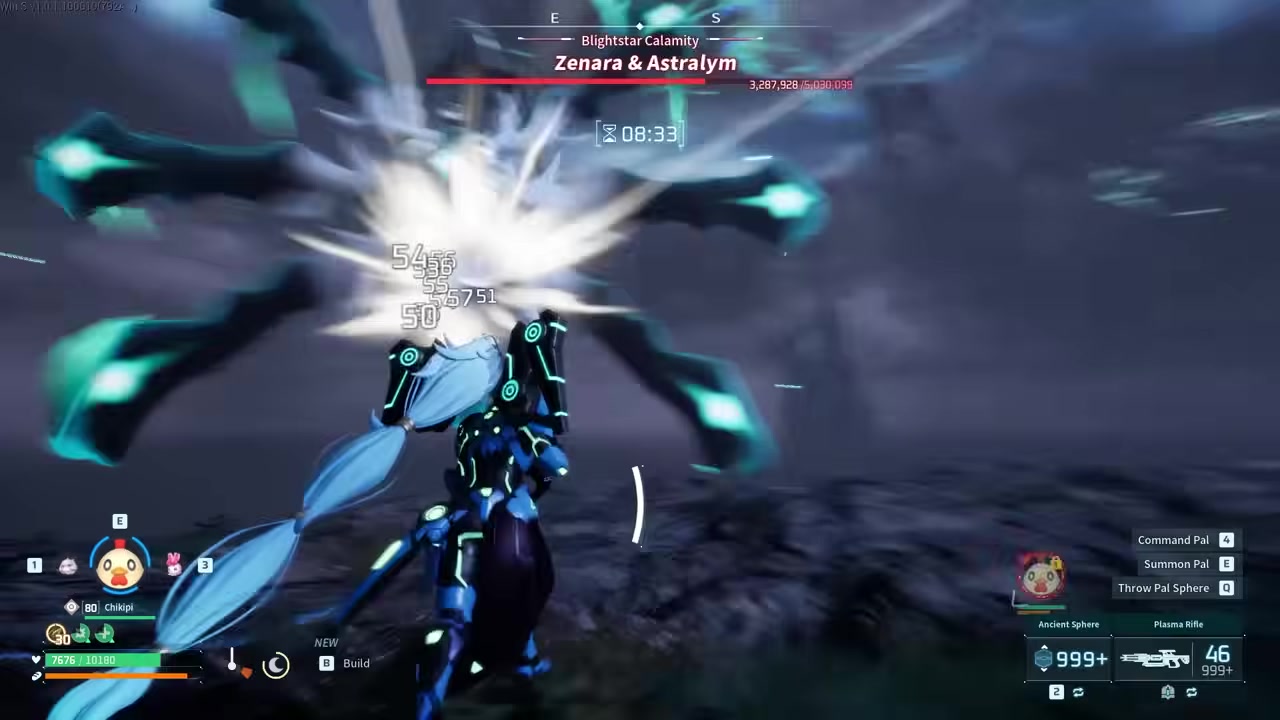
Keep moving the party Chikipi so it soaks attacks away from the army while the final five Chikipi stay saved.
STEP 7/15
Swap sides to split pressure

Resummon the tank, cross the arena, and make the bosses divide attention instead of stacking damage on one Chikipi cluster.
STEP 8/15
Drag the lethal pass away from the army

Move away when the hard-hitting multi-pass attack begins, because standing beside the raid group can get them wiped.
STEP 9/15
Use withdrawal dodging on the party Chikipi

Withdraw and quickly redeploy the tank through dangerous attack windows, then let its next real attack heal it back up.
STEP 10/15
Keep moving through the flying attack

Stay mobile while Astralym flies around the room, since the attack hits hard and repeats multiple times.
STEP 11/15
Wait for the beam window to end

Hold the remaining army until after the beam attack, then prepare to accelerate once the field is safer.
STEP 12/15
Send the remaining Chikipi all-in
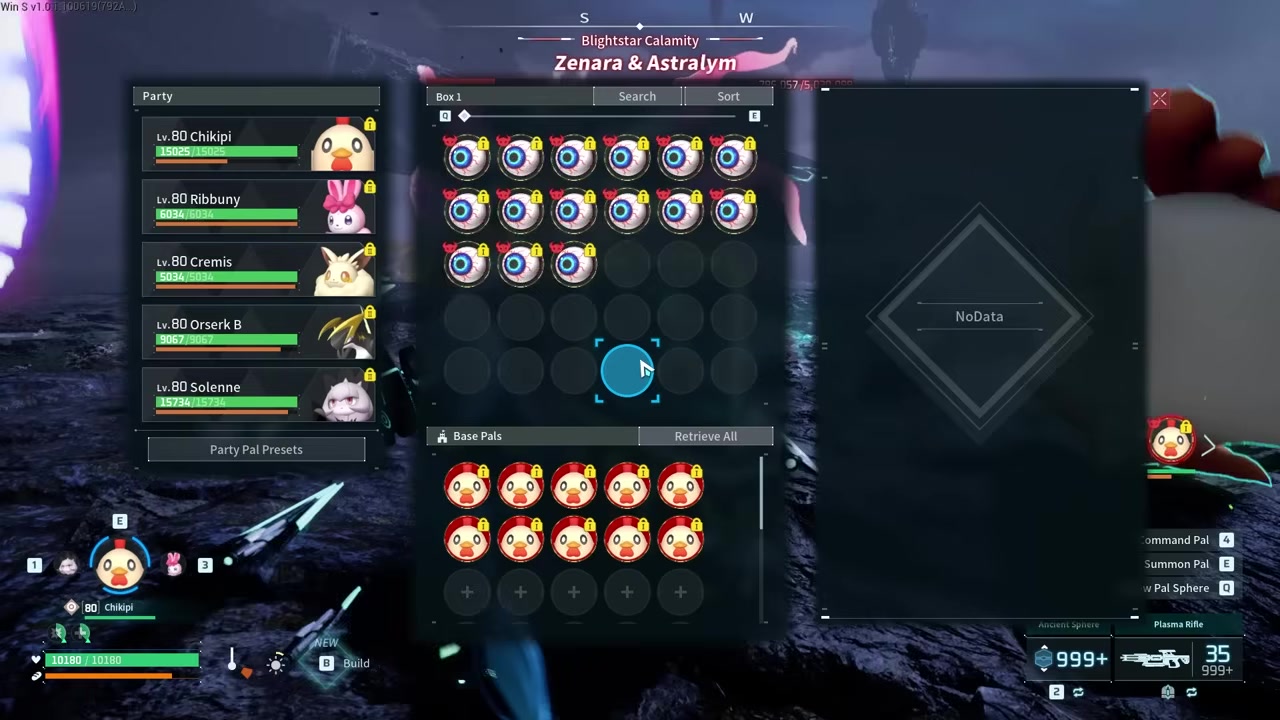
Commit the last wave near the late fight, accepting some wasted attacks in exchange for full Chikipi pressure.
STEP 13/15
Push through the 503,000-health threshold

Keep the pressure on as the boss crosses the 503,000 point and stays inside kill range.
STEP 14/15
Finish with Plasma Rifle headshots

Find Zenara through the effects, use clearer first-person aim if needed, and stack headshots with Chikipi damage.
STEP 15/15
Clear Hard Mode with the Chikipi army

The fight ends with the Chikipi army and party Chikipi doing enough work to finish Zenara & Astralym.
Video help
Five-Chikipi waves preserve the clear
The five-at-a-time summon rule is the main reason the attempt survives bad early RNG. If all 15 Chikipi are sent out at the start, the opening Psycho Gravity plus meteor-rain-style AoE chain can erase the whole raid army before their sustain has time to matter.
Small waves limit the damage when a boss chooses the wrong pattern. A damaged group can still buy time, the party Chikipi can retake attention, and the remaining Chikipi stay available for the barrier and late-health push.
The sustain only works if the Chikipi live long enough to attack again. When they land proper moves like Sand Twister, their health can swing back sharply; when they are deleted in a stacked AoE, the build never gets that recovery window.
Start with only five Chikipi and keep the rest in reserve; the run is much easier to recover when a bad AoE chain only punishes one wave.
Boss attacks that decide the run
Your best positioning habit is to make the early boss attacks care about the player, not the raid army. Keep your Chikipi group away from large AoEs, and do not stand beside them when the boss starts a pattern that tracks or sweeps through the room.
The attacks to respect most are Psycho Gravity, meteor-rain-style AoE, Holy Burst, beam attacks, and the flying multi-pass strike that hits repeatedly while circling the arena. The multi-pass attack is especially dangerous because a player standing near the raid army can accidentally bring the full chain through the Chikipi pile.
Withdrawal dodging, side-swapping, and full-field withdrawal are all survival tools. When the arena fills with a pink-laser-style danger window, pull the field back through the Palbox withdraw-all control and redeploy after the unsafe attack ends.
Bounty Tokens affect party Pals
Bounty Tokens from map bosses add stackable elemental damage bonuses for party Pals. The working values are about 1%, 2%, and 3% for small, medium, and large tokens, with many elements landing around a 15% total stack depending on boss clears.
That bonus does not apply to the base raid army, so it is not what makes the Chikipi waves suddenly overpowered. It still matters for tower fights, one-shot builds, and your main combat Pal, where party Pal damage bonuses directly affect the Pal you are actually using.
Copying the Chikipi challenge
This clear can survive a rough start, but it depends on the full package: heavily built Chikipi, off-field support, correct five-wave timing, a strong party Chikipi tank, and active player damage. Miss one of those pieces and the same boss patterns that were recoverable here can turn into a full raid wipe.
Use this as an optimized challenge template, not a normal Hard Mode recommendation. For a first clear, the safer route is still to bring your strongest endgame-ready Pals, best armor, and a level-appropriate character before trying to make low-tier challenge Pals carry the hardest final-boss fight.
Frequently Asked Questions
Can Chikipi really beat Hard Mode Zenara & Astralym?
Yes. The clear works when Chikipi are built for high durability and repeated damage, then managed as a raid army instead of being thrown into every AoE at once.
Why should you summon only five Chikipi at a time?
Five-at-a-time summoning keeps backup waves alive for later phases. If the opening group gets clipped by a major AoE chain, the run still has fresh Chikipi for the barrier and final push.
What passive skills and attacks did the Chikipi use?
The Chikipi used Demon God, Immortality, Serenity, and Diamond Body with Sand Twister, Circle Vine, and Apocalypse.
Does this count as Chikipi-only if support Pals are in the party?
It counts as a Chikipi raid-army challenge, but it is not a pure no-support solo. The support Pals stay in the party for passive value while Chikipi handle the visible raid work.
Do Bounty Tokens help the raid army or only party Pals?
Bounty Tokens help party Pals, not the base raid army. They are still worth collecting because they improve main-party damage in tower fights and other burst setups.






Leave a Reply