
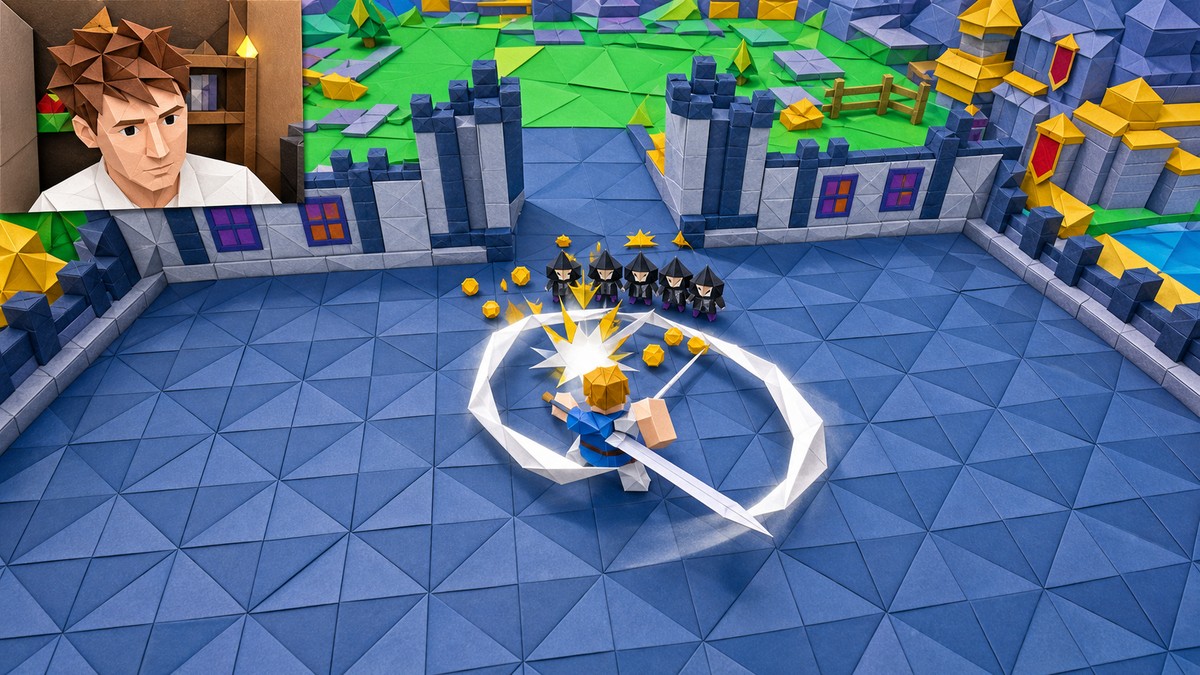
Be The Final Boss is a Roblox castle-defense game where your early progress comes from stacking useful minions, spending Coins on Skill Tree scaling, using Souls for better units, and pushing checkpoints like Wave 25, 50, 75, 100, and 125.
Be The Final Boss flips the usual Roblox defense setup: heroes attack your castle, and you sit as the boss while minions try to stop them first. Early runs are supposed to fail, because every collapse feeds your next weapon, Skill Tree, summon, or formation change.
KEY!The fastest beginner progress comes from treating each checkpoint as a test. If your army melts before the boss can clean up, you need more Population, Unit Health, better frontline units, or a stronger backline before chasing expensive rolls.
- Castle-defense loop in Be The Final Boss
- Coins, Souls, waves, and slots
- How to push from the starter army to Wave 125 in Be The Final Boss
- Early Skill Tree priorities
- Formation roles and early unit swaps
- Wave 25 to Wave 125 checkpoint plan
- Be The Final Boss code and redemption path
- Early progression mistakes that slow runs
- Frequently Asked Questions
Castle-defense loop in Be The Final Boss
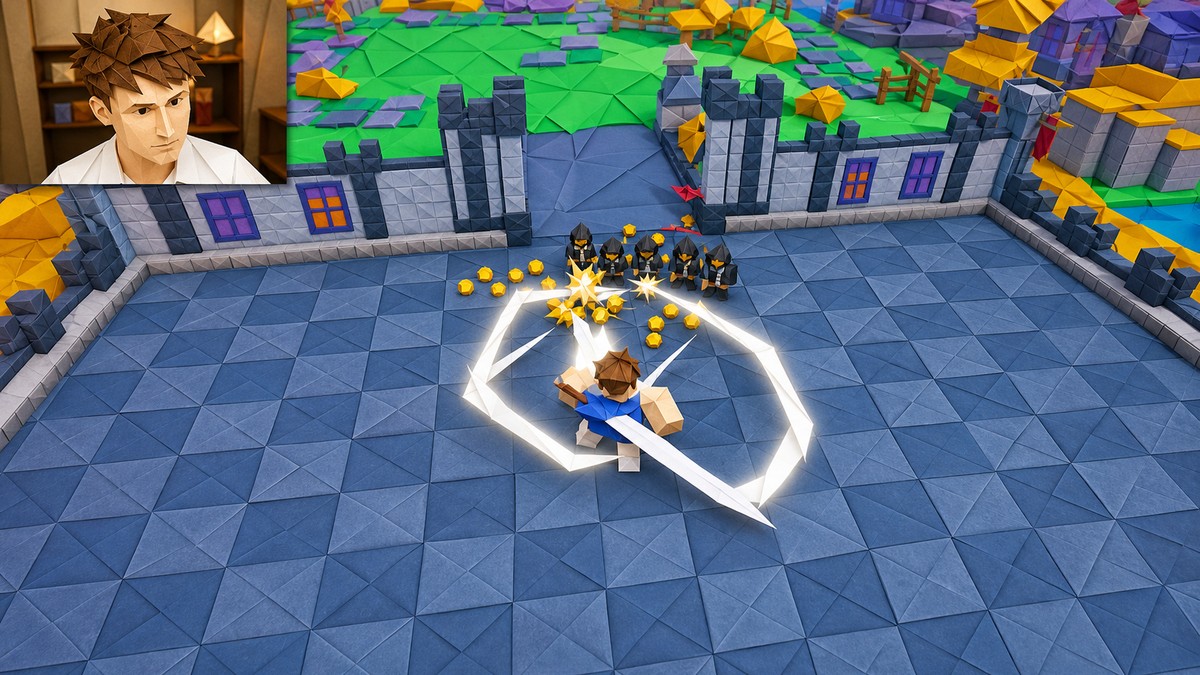
Your job is to defend the throne while incoming heroes cut through your army. Minions take the first hits, ranged and support units work from behind them, and the boss becomes the emergency backup when the formation breaks.
Runs are short progression cycles. You fight until the army cannot hold, collect what you earned, spend it, and return with better stats or stronger units. Desktop, Mobile, and Console are supported, so the main decisions stay the same even if your controls change.
Coins, Souls, waves, and slots
| System | Use |
|---|---|
| Coins | Spend on Skill Tree upgrades and stronger weapons. |
| Souls | Use to recruit stronger minions from rolls. |
| Waves | Push checkpoints such as Wave 25, 50, 75, 100, and 125. |
| Population | Limits how many units fit in your formation. |
| Skill Tree | Permanent scaling for income, army stats, boss stats, slots, luck, and support perks. |
| Weapons | Let the boss clear leaks after minions fall. |
The early game is less about one perfect unit and more about keeping every system moving. Coins make the boss and army scale, while Souls decide which minions you can actually recruit for the next push.
Population is the limiter beginners feel first. Several useful early units cost multiple slots, so a strong summon can still be awkward if you cannot fit it beside tanks, ranged damage, and support.
How to push from the starter army to Wave 125 in Be The Final Boss
This route follows the practical early progression path from a starter defense into a Wave 125-ready setup.
STEP 1/27
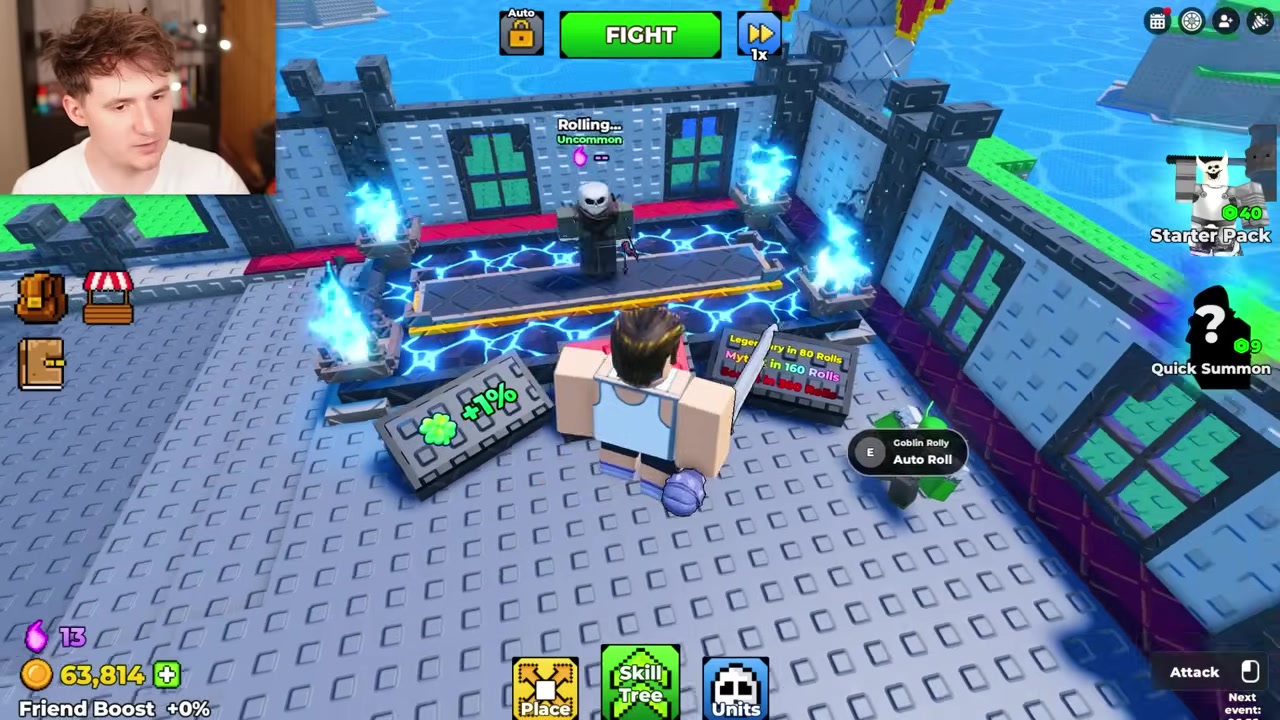
Roll the Imp Bomber
Add the Imp Bomber early and place it behind the first frontline because it costs two slots and works better as backline damage.
STEP 2/27
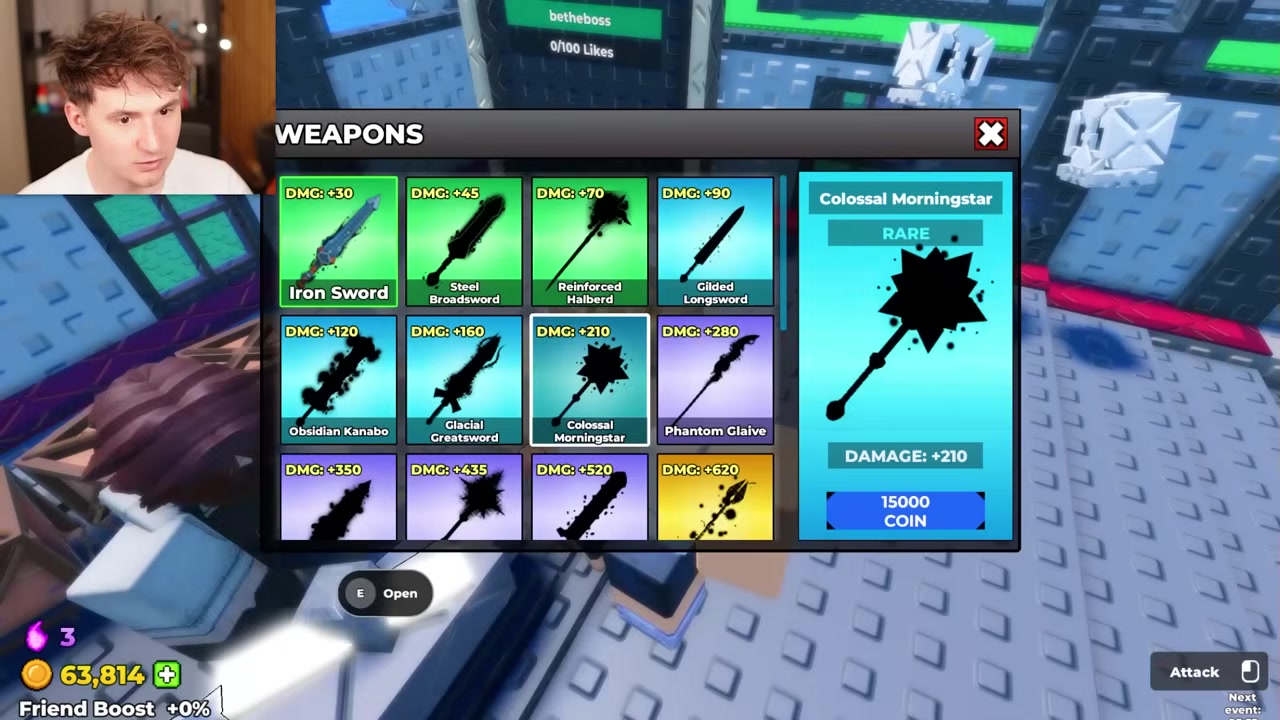
Buy your first better weapon
Upgrade into a stronger sword so the boss can help when minions collapse.
STEP 3/27
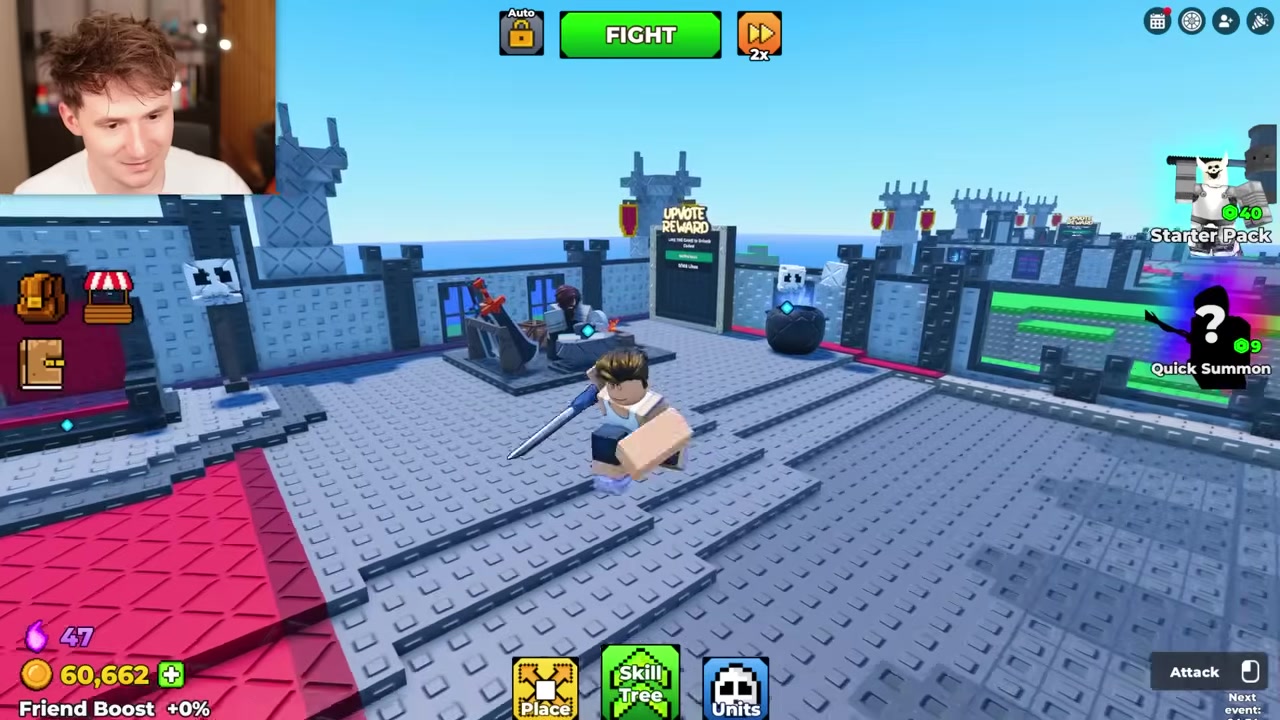
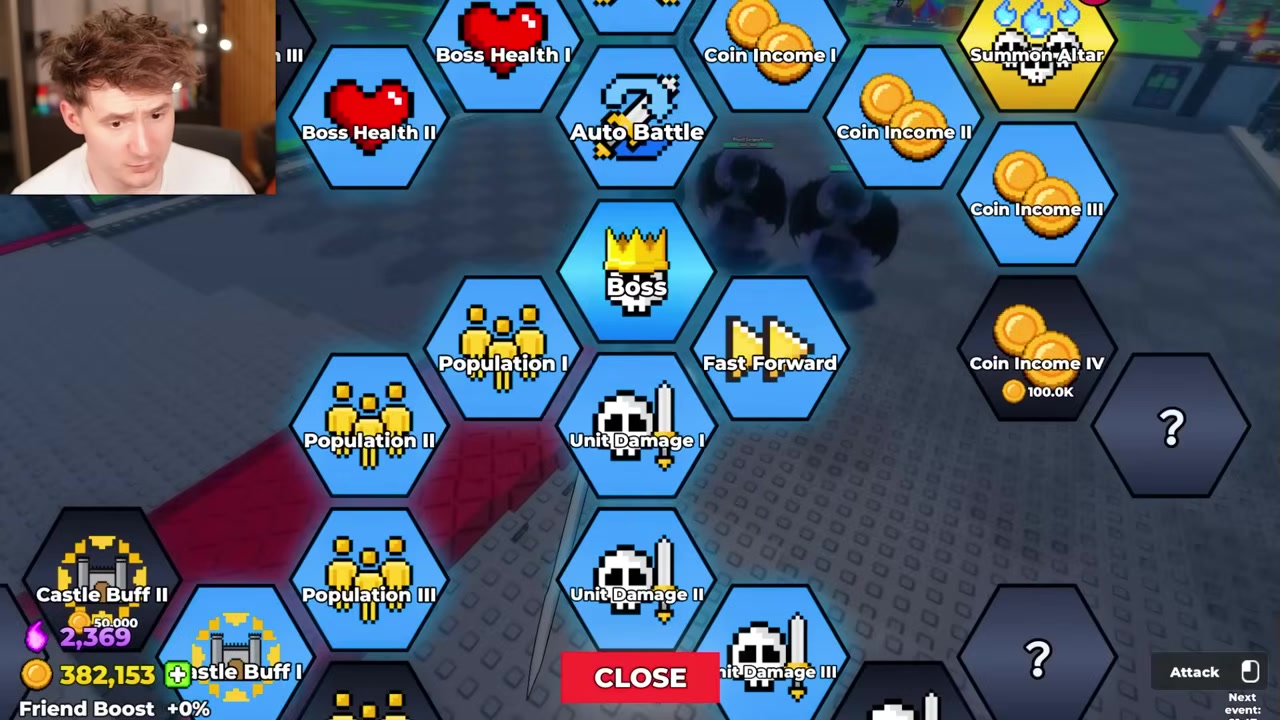
Spend the first Skill Tree points
Take Auto Battle, Coin Income, Population slots, Castle Buff, Unit Damage, Boss Health, Boss Attack, Summon Luck, and Unit Health as your first scaling package.
STEP 4/27
Add the Shiny Skeleton Archer
Use the Shiny Skeleton Archer as early ranged support while your stronger units hold the front.

STEP 5/27
Fight manually when the army falls
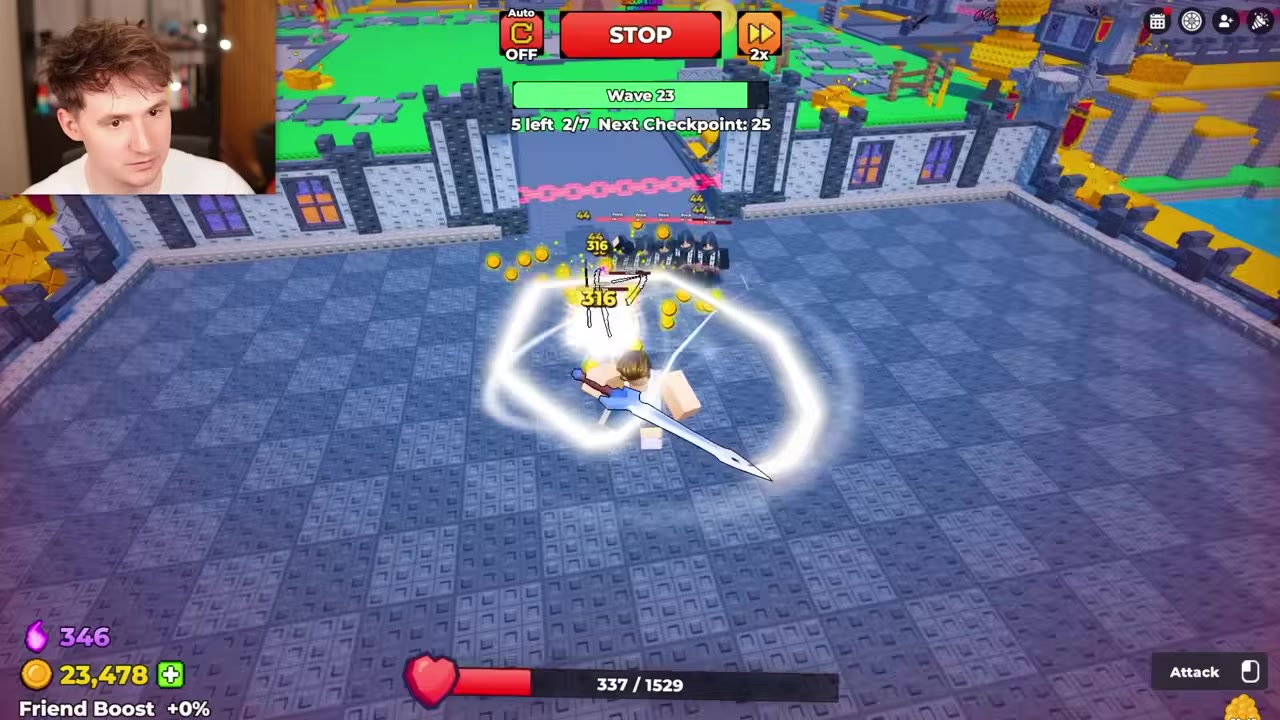
Push the last few waves yourself if the starter troops die before Wave 25.

STEP 6/27
Move troops farther back
Pull fragile units away from the front when they get erased too quickly.

STEP 7/27
Buy more Unit Health
Invest in Unit Health after failed Wave 25 attempts so your minions survive long enough to deal damage.

STEP 8/27
Force the Wave 25 checkpoint
Reach Wave 25 even if the boss has to finish the final enemies alone.
STEP 9/27
Recruit Shiny Lava Imp
Spend saved Souls on Shiny Lava Imp after Wave 25 to stabilize your backline damage.

STEP 10/27
Add Bone Guard
Use Bone Guard as stronger melee bulk, but account for its two-slot cost.

STEP 11/27
Unlock Soul Harness
Buy Soul Harness before farming for higher Soul targets like Bloody Gargoyle.
STEP 12/27
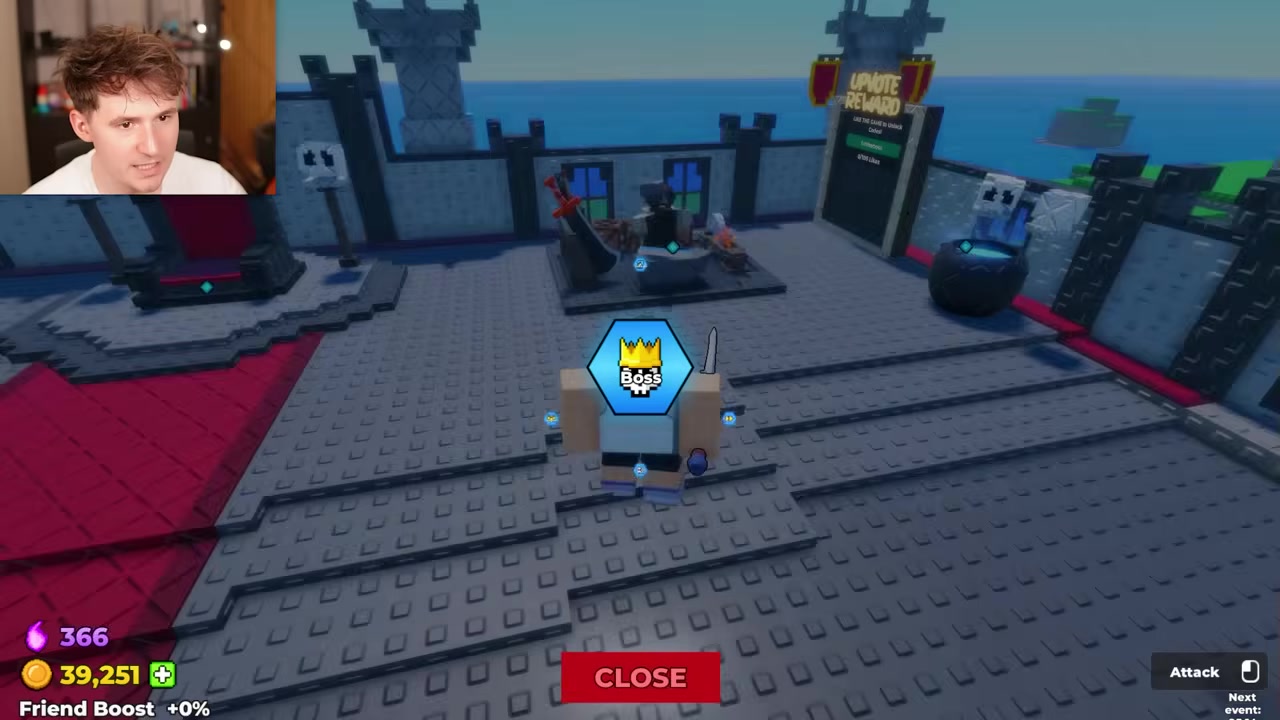
Recruit Bloody Gargoyle
After farming to around 5,000 Souls, replace weaker units with Bloody Gargoyles.

STEP 13/27
Raise Population again
Buy more Population so multiple Gargoyles, Shiny Lava Imps, and filler ranged units can fit together.
STEP 14/27
Buy Phantom Cleave
Upgrade to Phantom Cleave around the Wave 50 stretch so the boss can delete leaks faster.
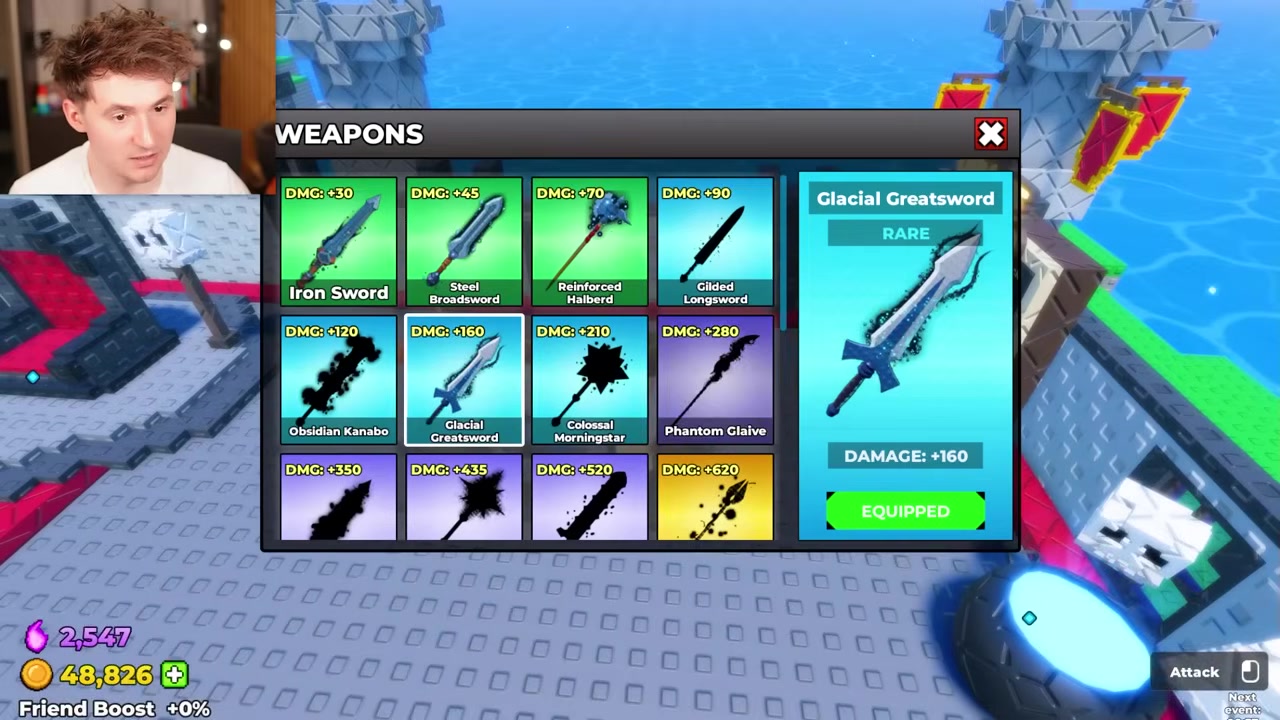
STEP 15/27
Clear Wave 75
Let the upgraded Gargoyle and Lava Imp core carry through the Wave 75 checkpoint.
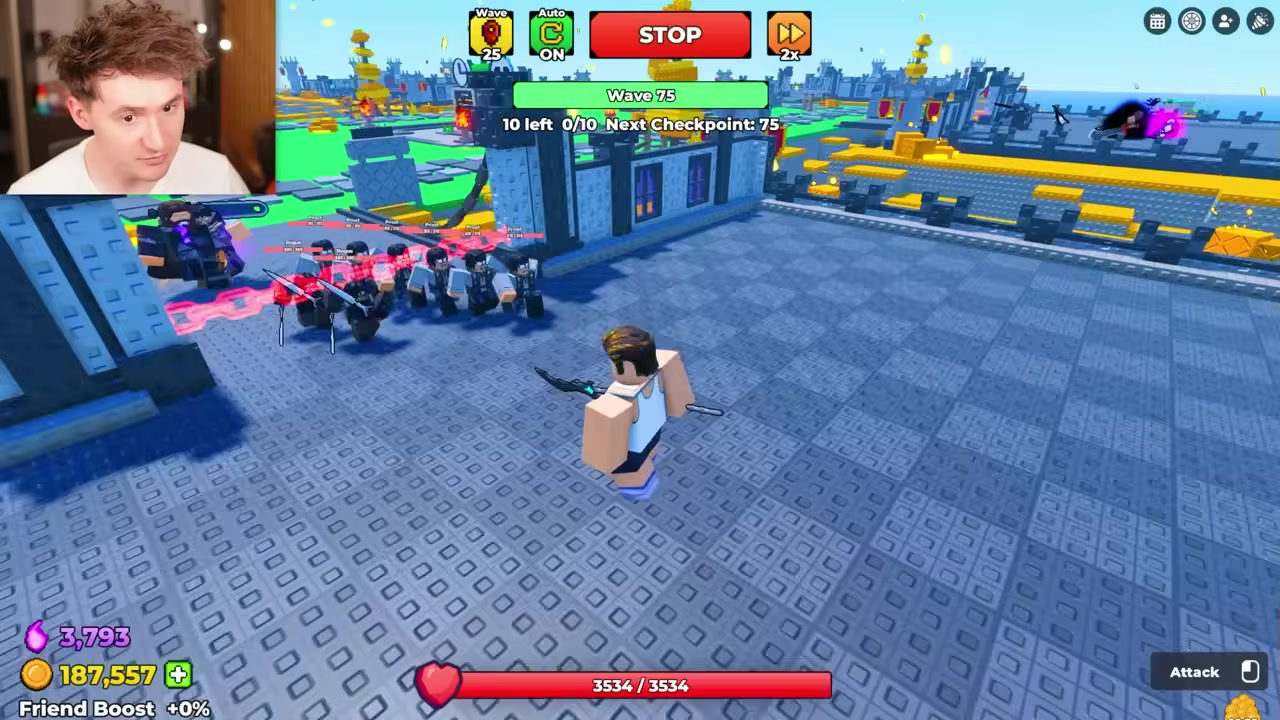
STEP 16/27
Target Shiny Barbarian
Save toward Shiny Barbarian once 9,000 Souls becomes reachable.

STEP 17/27
Add Soul Harness, Luck, and an Altar Slot
Improve Soul flow, roll quality, and roll options before the Wave 100 push.
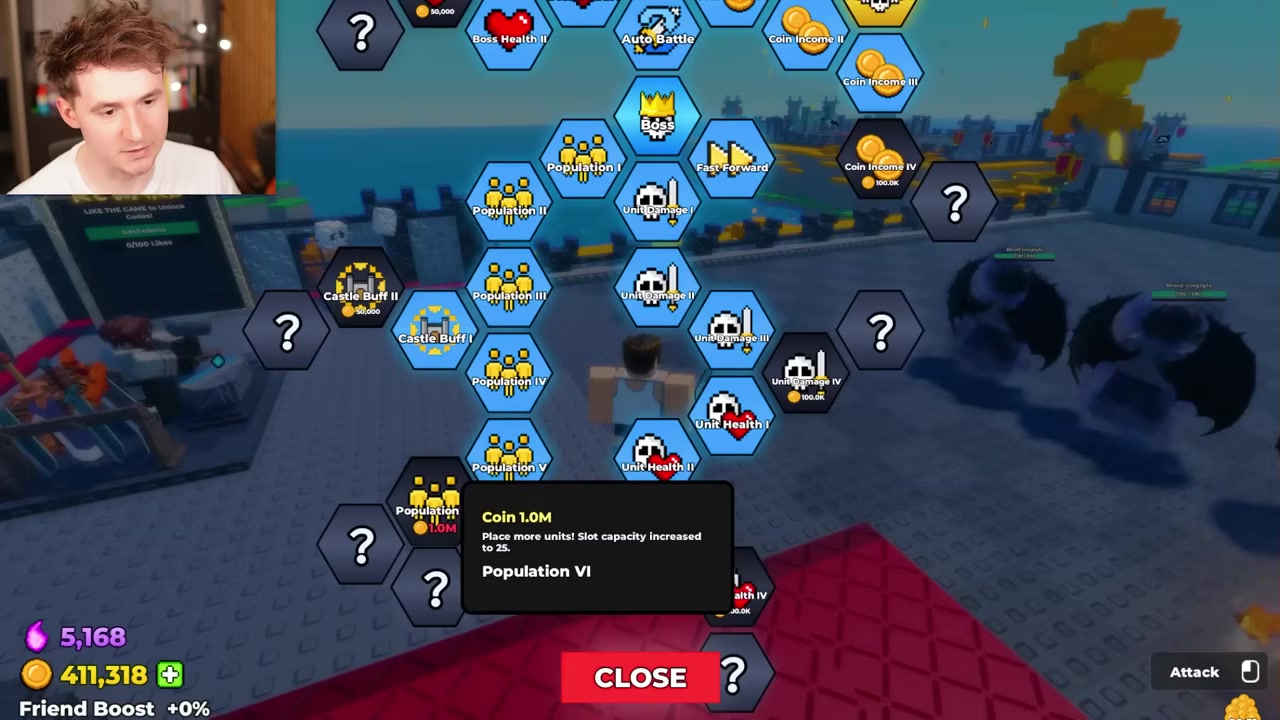
STEP 18/27
Patch damage and boss durability
Add Unit Damage and Boss Health when the army reaches late waves but leaves too much cleanup to the boss.
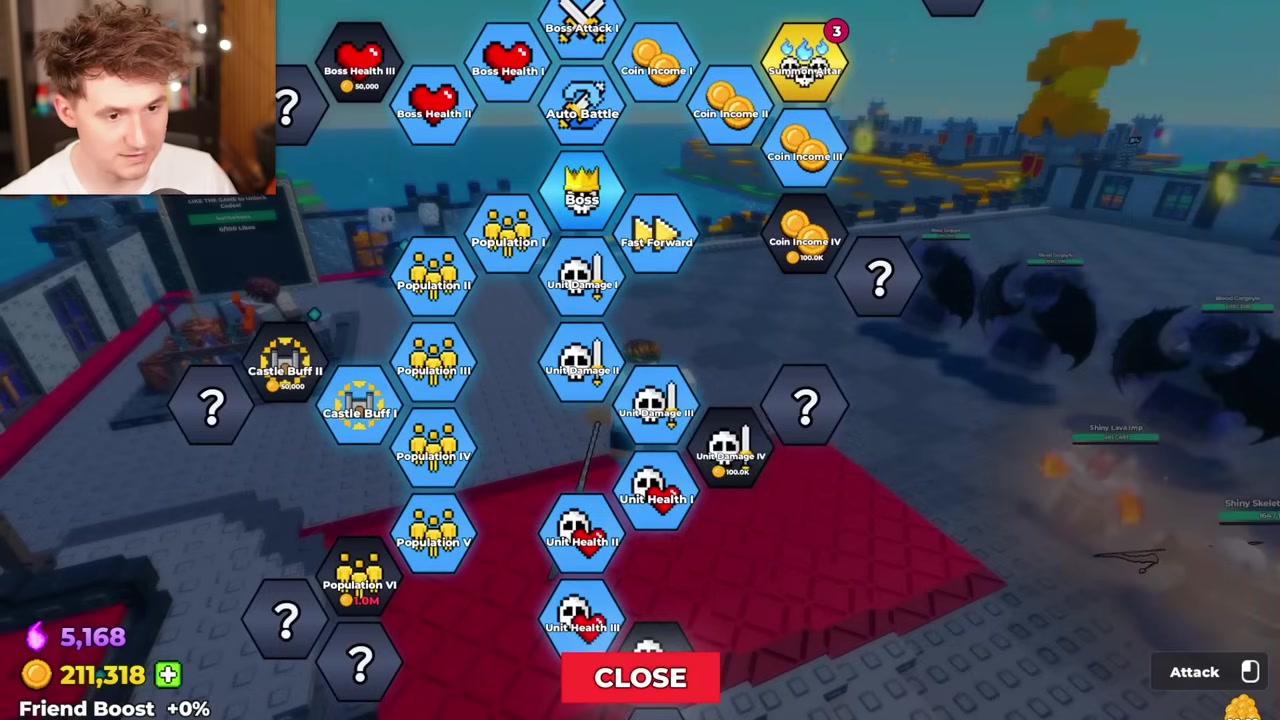
STEP 19/27
Break Wave 100
Push Wave 100 with stacked Gargoyles, Lava Imps, and boss support.
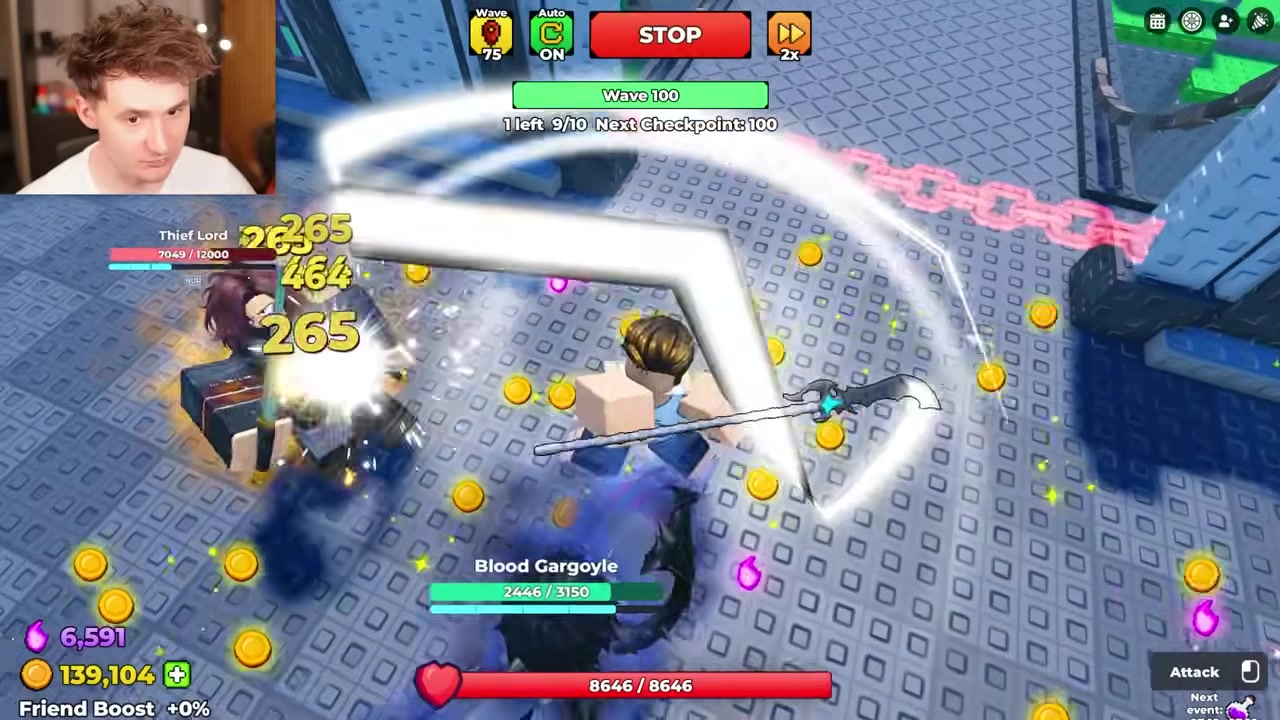
STEP 20/27
Swap into Shiny Barbarians
Replace older frontliners with Shiny Barbarians once you can afford them.

STEP 21/27
Test Soul Collector support
Try Soul Collector for its long-lasting soul mark buff on kills.
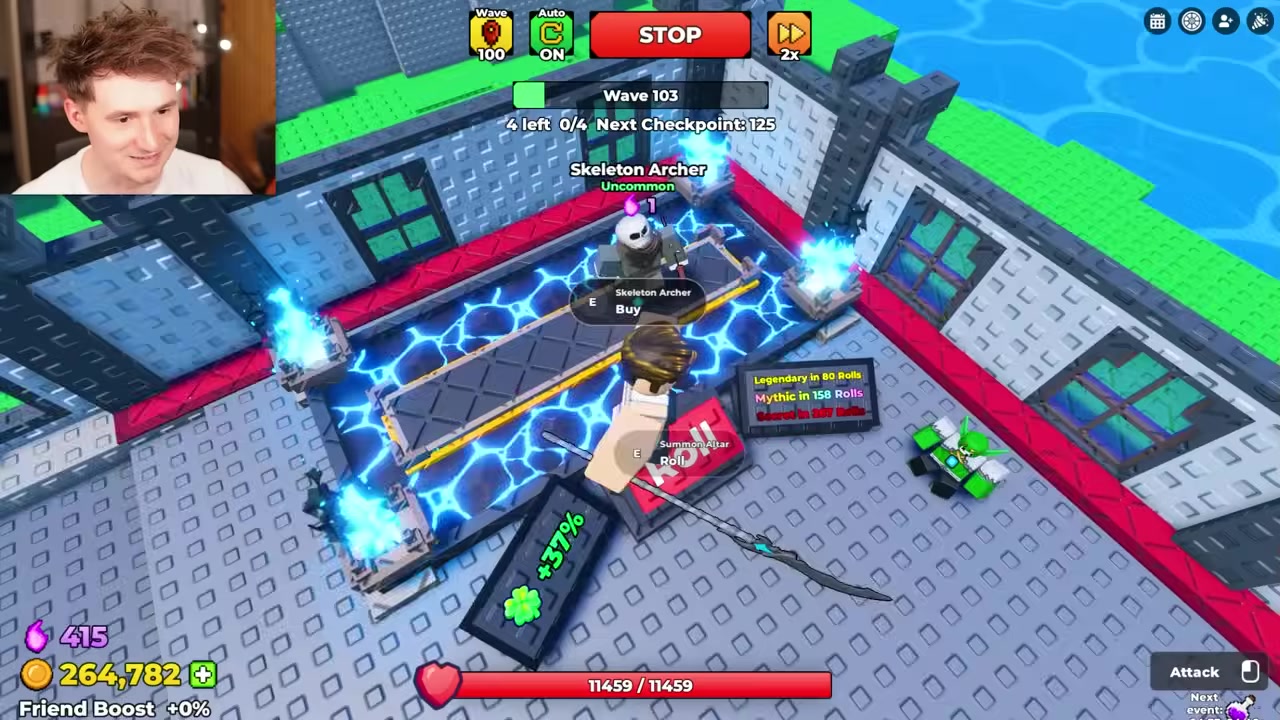
STEP 22/27
Cut weak Soul Eater-style support
Remove support units that fail to hold the line during the Wave 100-plus stretch.
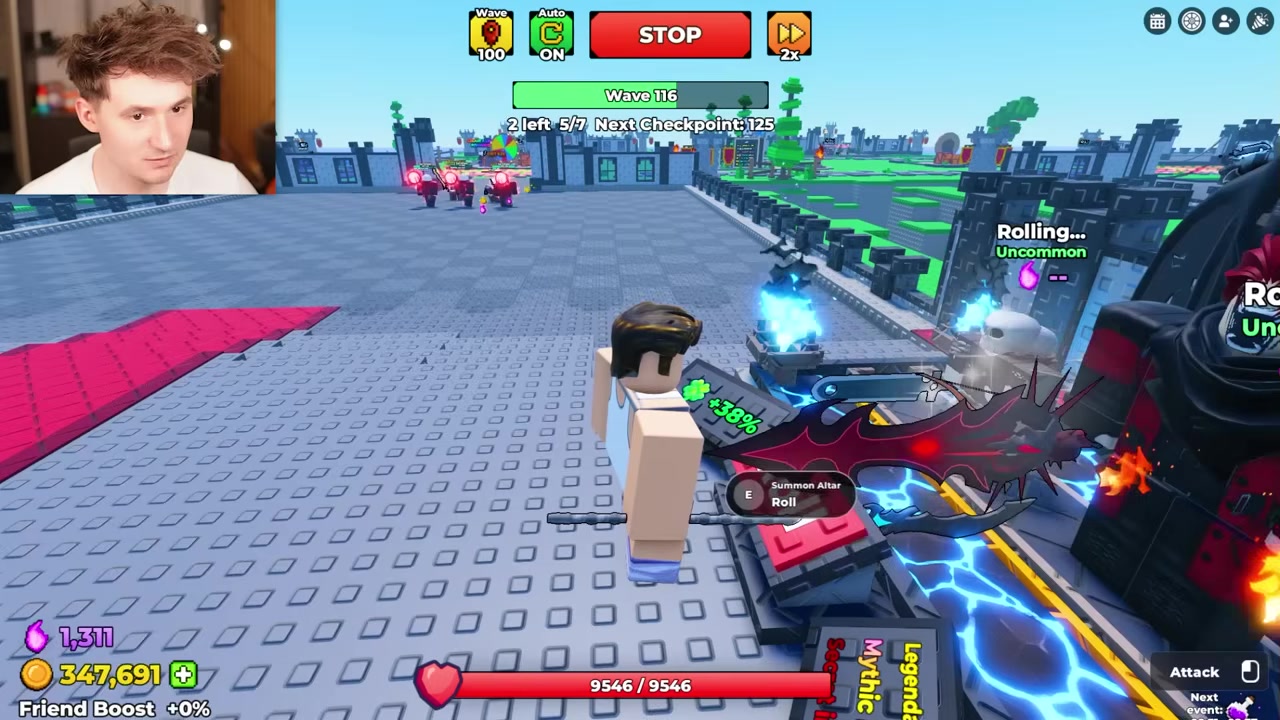
STEP 23/27
Expand rolling with another Altar Slot
Add an Altar Slot when you need more roll chances for stronger replacements.
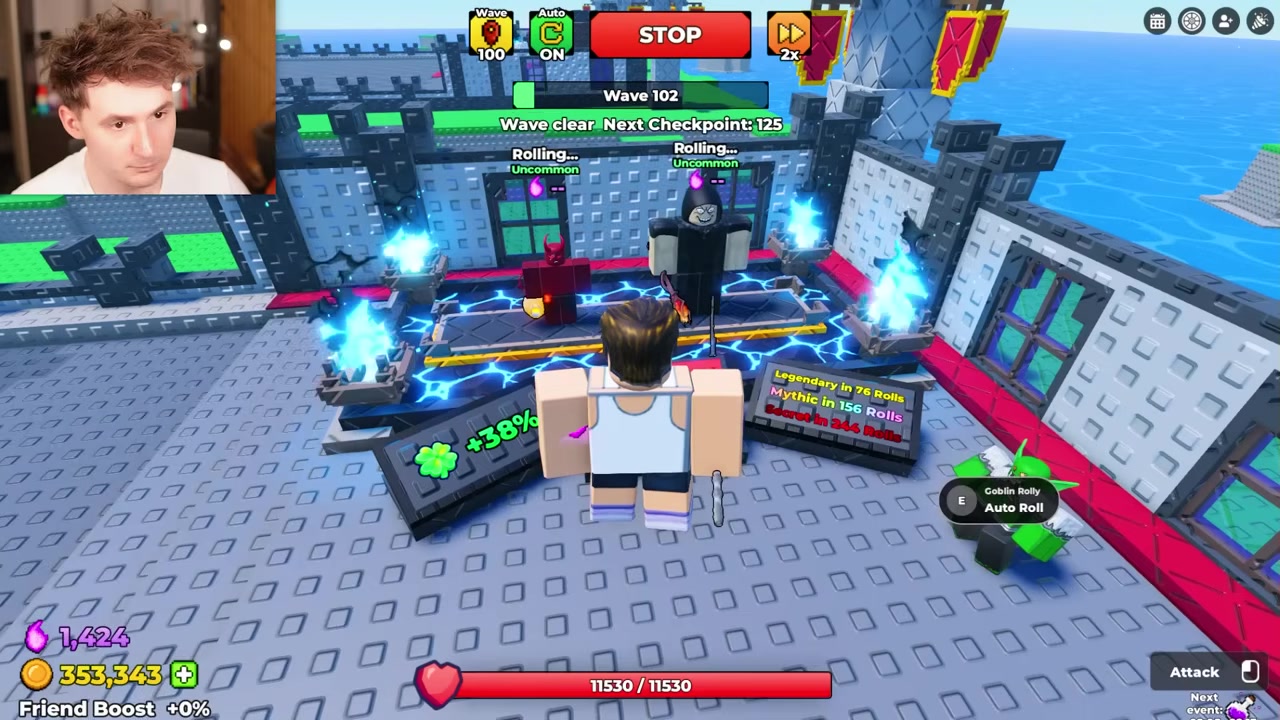
STEP 24/27
Test Shiny Deathlock carefully
Shiny Deathlock can summon skeletons, but it should not sit too far forward because it can die quickly.
STEP 25/27
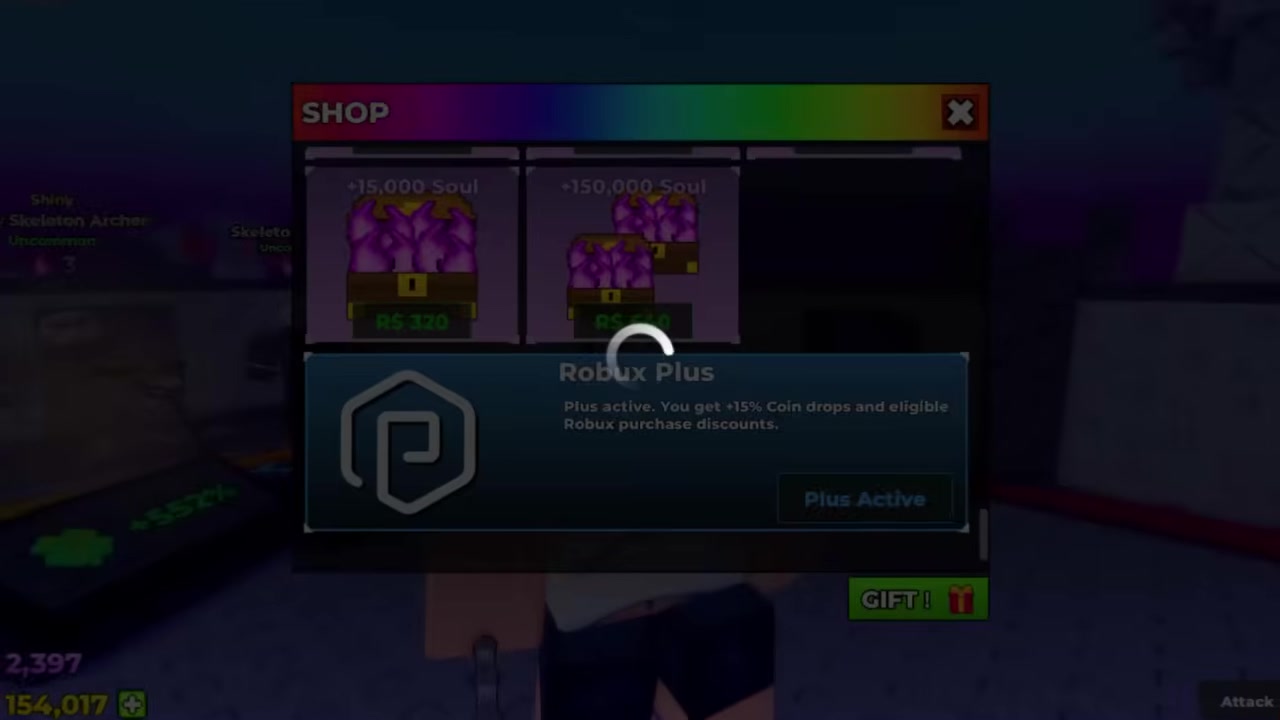
Add Realm Power and more income
Use Realm Power and income upgrades when sitting on the throne while minions clear enemies.

STEP 26/27
Replace the core with Demon Butchers
Bring in Demon Butchers as the main damage core, with support kept only if it helps the push.
STEP 27/27
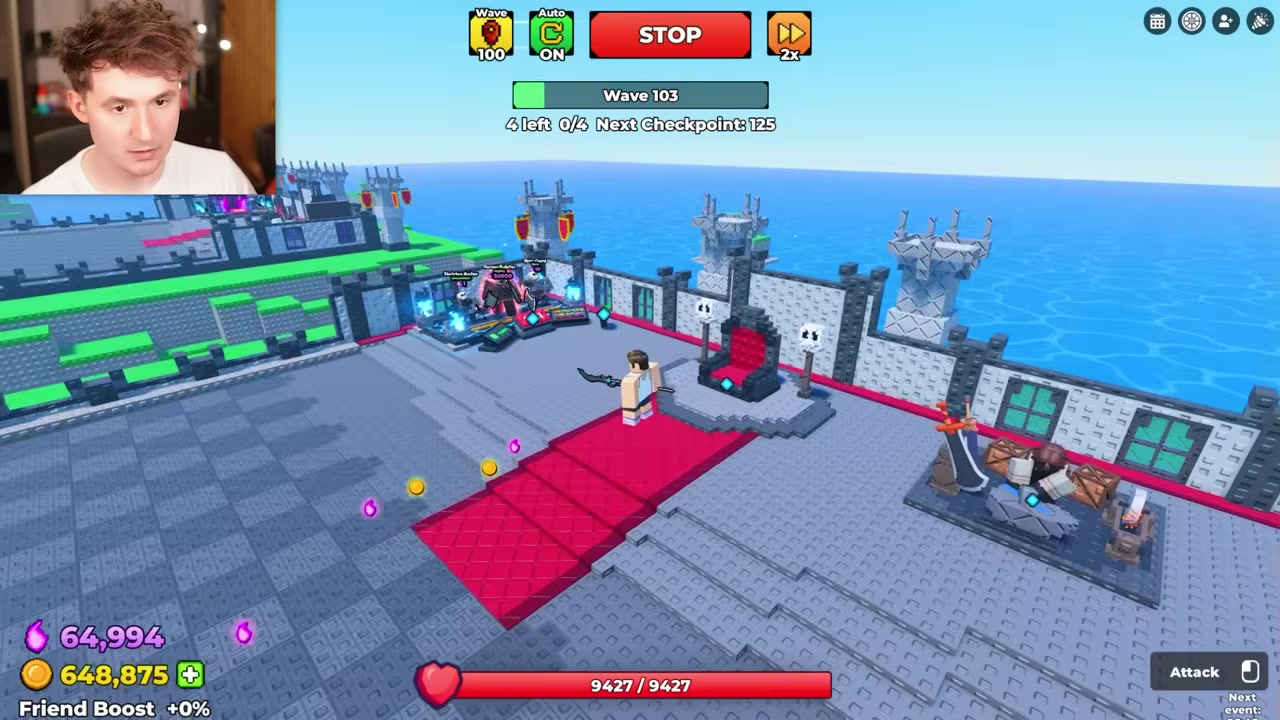
Hold Wave 125
The Demon Butcher setup reaches Wave 125 while the army is still standing.
Video help
Early Skill Tree priorities
| Upgrade | Priority |
|---|---|
| Population / slot increases | High; two-slot units make this one of the first real bottlenecks. |
| Unit Damage | High; helps minions clear before enemies reach the throne. |
| Unit Health | High; fixes early collapses before Wave 25 and Wave 100. |
| Boss Health / Boss Attack | High; turns the boss into a real backup plan. |
| Coin Income | High early; speeds every Skill Tree and weapon purchase. |
| Soul Harness | High once you start farming Gargoyles, Barbarians, and beyond. |
| Luck / Summon Luck | Medium; buy after your formation can survive long enough to use better rolls. |
| Realm Power | Medium; stronger when your minions kill while you sit on the throne. |
| Altar Slot | Situational; valuable when you can afford repeated rolling. |
| Castle Buff | Medium; useful early durability, but not a substitute for unit stats. |
The Skill Tree should answer the reason your last run failed. If enemies reach you too healthy, buy damage; if your line disappears early, buy health and slots; if every useful unit feels unaffordable, improve income and Soul gain.
Auto Battle is a convenience pickup, not your main power spike. Take it early if you want smoother repeat runs, then put your serious Coins into the upgrades that keep the formation alive.
Buy Population before expensive recruits: a strong unit stuck out of the formation does nothing, and early two-slot units make space disappear fast.
Formation roles and early unit swaps
| Unit | Role |
|---|---|
| Imp Bomber | Early backline damage; costs two slots. |
| Shiny Skeleton Archer | Ranged filler that belongs behind tougher units. |
| Shiny Lava Imp | Early carry-style backline unit with damage and support value. |
| Bone Guard | Melee bulk for the first post-Wave 25 formation. |
| Blood/Bloody Gargoyle | Stronger post-Wave 25 frontline choice after Soul farming. |
| Shiny Barbarian | High-cost melee replacement around the Wave 100 push. |
| Soul Collector | Support unit with a long-lasting soul mark buff on kills. |
| Soul Eater | Support-style test unit that gets cut if it does not carry its slot cost. |
| Shiny Deathlock | Summoner that uses energy to create skeletons, but needs protected placement. |
| Demon Butcher | Main Wave 125 push unit once Barbarians and support tests stop being enough. |
Your formation should have three jobs: melee units absorb contact, backline units deal damage from safety, and support units earn a spot only if they make the main damage dealers last longer or hit harder. When a unit stops helping you reach the next checkpoint, replace it instead of keeping it for sentiment.
Use these roles as early progression labels, not as a full roster ranking. The same unit can feel strong or weak depending on whether you have enough Population, Unit Health, and frontline cover around it.
Wave 25 to Wave 125 checkpoint plan
Wave 25 is the first major reset point because it opens the door to a better army shape. Shiny Lava Imp plus sturdier melee lets you stop leaning on starter imps, and Soul Harness turns the next farm into a real unit upgrade instead of another small stat bump.
From Wave 50 to Wave 75, the formation works best when Bloody Gargoyles hold the front and Shiny Lava Imps sit behind them. Phantom Cleave gives the boss enough damage to clean up leaks, which matters once elite enemies start surviving the first clash.
Near Wave 100, Shiny Barbarian becomes the reasonable Soul target while very expensive pulls are still out of reach. Soul Collector is worth testing for support, but the run should pivot hard into Demon Butchers when you need the raw push to reach Wave 125.
Be The Final Boss code and redemption path
| Code | Reward |
|---|---|
| betheboss | Release reward; the payout has appeared as either 500 Coins or 700 Coins and 50 Souls, so use the balance shown in-game. |
The release code is betheboss. To redeem it, load into your castle, open the Settings gear at the top-left, scroll to the bottom of the menu, enter the code in the Codes box, and press Redeem.
The Codes box is easy to miss because it sits at the bottom of Settings. Skip old extra code strings unless the in-game board shows them, because code rewards can rotate.
Early progression mistakes that slow runs
| Mistake | Fix |
|---|---|
| Under-upgrading Population | Buy slot increases before stacking expensive two-slot units. |
| Leaving fragile units too far forward | Put bombers, archers, Lava Imps, and summoners behind melee bodies. |
| Relying on starter imps too long | Replace them after Wave 25 with stronger Soul recruits. |
| Skipping Unit Health and Unit Damage | Upgrade both when troops die fast or enemies reach the boss too healthy. |
| Expecting expensive rolls too early | Farm Souls first, then target units you can actually recruit. |
| Missing the code box | Open Settings and scroll all the way to the bottom. |
Most early stalls come from trying to buy power without making room for it. A two-slot unit, a fragile backliner, or an expensive roll only helps if the rest of the formation can keep it alive.
Frequently Asked Questions
What is Be The Final Boss on Roblox?
Be The Final Boss is a Roblox experience by Apparently Champions where you play as the castle boss instead of the attacking hero.
What should I upgrade first in Be The Final Boss?
When you are stuck before the first checkpoints, favor Population, Unit Health, and Unit Damage before spending heavily on luxury rolls.
How do you redeem codes in Be The Final Boss?
Use the top-left Settings gear after loading in, scroll to the bottom, type the code exactly in the Codes field, and press Redeem.
What does the betheboss code give?
betheboss gives the launch-code payout for early progression, so redeem it before buying your first round of Skill Tree upgrades.
Which early units looked strongest in the progression run?
Shiny Lava Imp, Bloody Gargoyle, Shiny Barbarian, and Demon Butcher were the major upgrades that moved the run through later checkpoints.
More questions⤵
How do you reach Wave 25 or Wave 100 faster?
Spend failure rewards immediately, keep ranged units behind melee, upgrade the boss weapon when leaks become common, and reset once the next Soul target is affordable.






Leave a Reply