
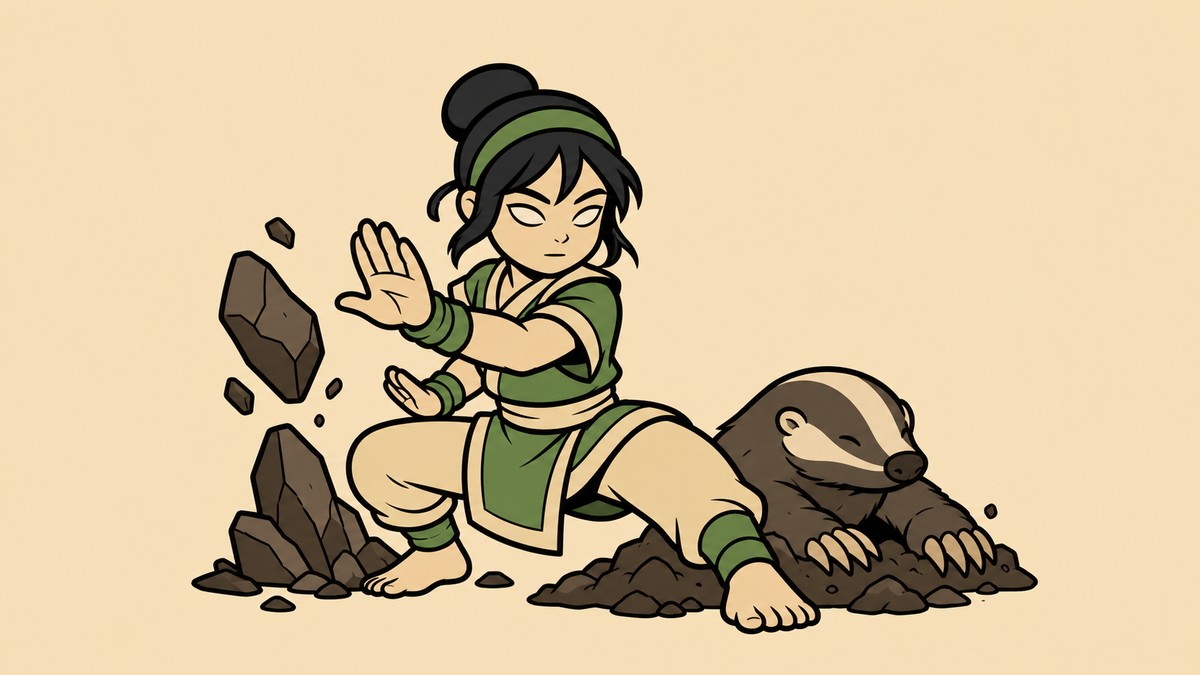
Toph is a setup-heavy space-control fighter in Avatar Legends who gets her best pressure from Badgermole’s Sight, pillar confirms, stance lows, anti-airs, and carefully timed combo extensions.
Toph is strongest when she makes the screen uncomfortable before she commits up close. Her pressure comes from forcing low blocks, jumps, and panic movement, then turning one pillar or stance touch into a full route.
Play her like a patient earthbender with a punish loaded, not like a character who wants to run point-blank offense every second. Once the opponent respects Badgermole’s Sight, her lows, anti-airs, overhead jump-ins, and throws all start pulling real weight.
Toph’s space-control gameplan
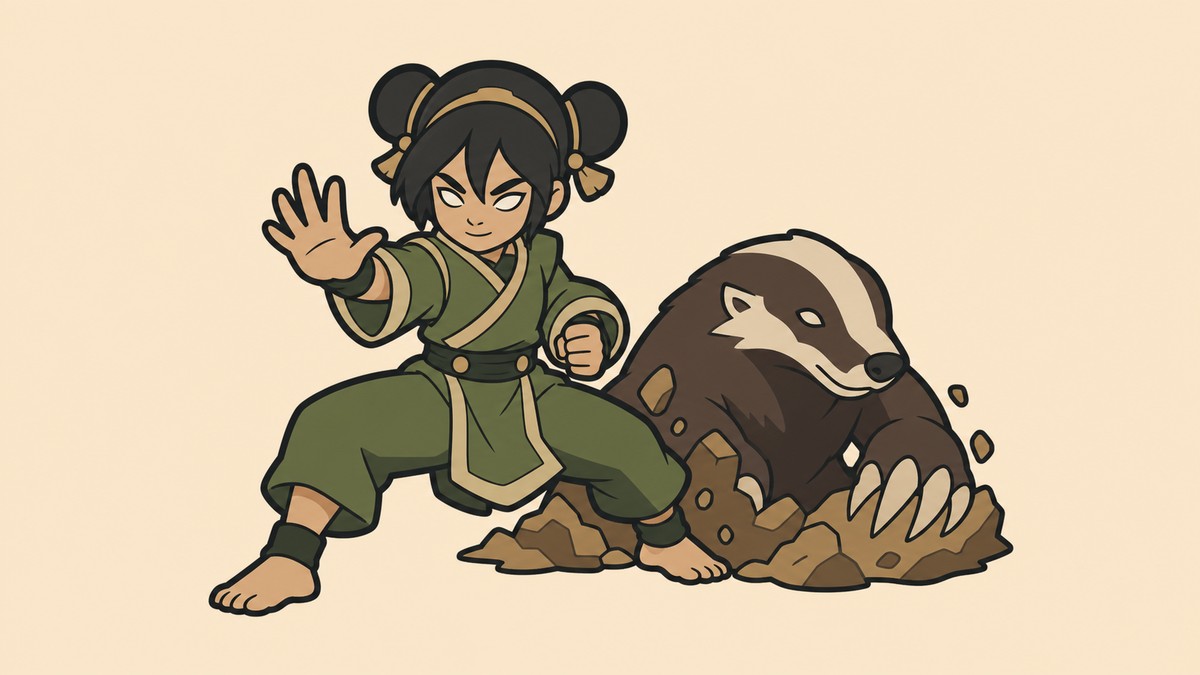
Your default plan with Toph is to hold the range where pillars, rocks, and stance pressure can start the fight on your terms. She can convert up close, but her bigger threat comes from making the opponent approach through projectiles and setups.
That range forces awkward choices. If they block late, stance lows tag them. If they jump, her anti-air coverage checks them. If they swing at the setup, you can use movement and spacing to make that swing miss.
KEY!Once a pillar catches them, commit to the route cleanly instead of mashing for a scramble. Toph rewards one correct read with a long conversion, so the goal is to make the opponent respect the setup first and punish the mistake after.
Combo notation for Toph routes
| Notation | Input |
|---|---|
| A | Attack A |
| B | Attack B |
| C | Attack C |
| F | Flow |
| J | Jump |
| SUP | A+B+C |
| Dash | B+C |
The combo strings below keep the same shorthand used for the displayed inputs. Directional inputs such as 214A, 236A, 2C, and J9 stay in fighting-game notation so you can practice the routes exactly as written.
Badgermole support and Sight movement
Badgermole support gives Toph Badgermole’s Leap, which lets her jump forward or backward during Badgermole’s Sight. Sight is her 214A stance, and that movement matters because the stance is central to her spacing game.
The listed combo routes do not strictly require Badgermole support to function. The reason to favor it is playstyle: Toph wants to threaten the ground while staying mobile enough to avoid becoming a stationary target.
That extra movement makes her stance pressure harder to challenge. Instead of sitting still after entering Sight, she can shift position, keep the opponent guessing, and reset the spacing that makes her pillars dangerous.
Combo timing rules that make the routes connect
| Timing rule | What |
|---|---|
| Zuko and Aang route check | Avoid forcing 236A into 214A routes on Zuko and Aang; their smaller hitboxes can make that transition whiff. |
| Pillar launch extension | Press 2C immediately after the Badgermole pillar launch. |
| Stance launcher input | After entering stance with 214A, release A, then hold C briefly for the launcher; after 5C, wait a small beat before 214A. |
Toph’s routes feel strange at first because several extensions depend on very specific launch height and stance timing. Learn the timing rules before trying to grind the longest routes, or the same drops will keep happening in different parts of the combo.
After a Badgermole pillar launch, press 2C immediately; waiting even a beat is the drop that breaks most Toph extensions.
Stance mixups and neutral pressure
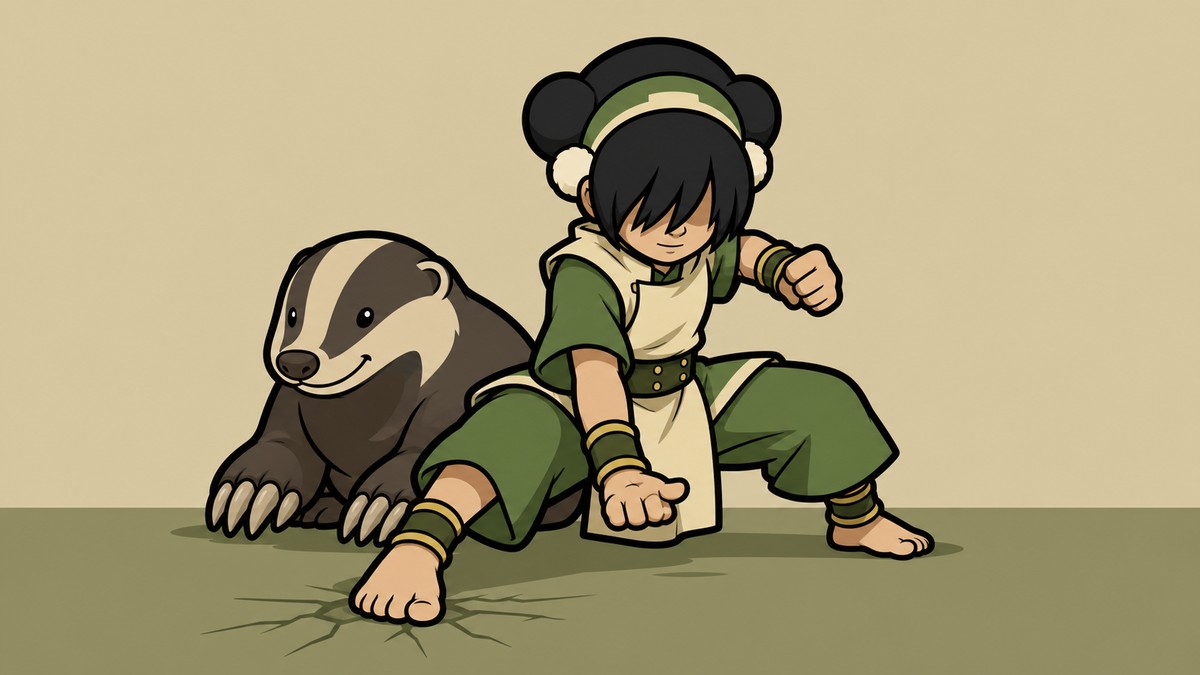
Badgermole’s Sight is the center of Toph’s mind games because it changes what the opponent has to defend before she is close. The ranged stance C option gives her a low poke from far out, which makes opponents want to crouch block or jump away from the ground threat.
Those jumps are where her stance anti-airs come in. Toph can cover jump attempts at several ranges, and once she gets closer, air C becomes an overhead pop-up threat that pairs naturally with grounded lows and throws.
She is vulnerable while setting this up, so do not freeze in stance. Use F movement to shift forward or backward when an approach is coming, then reset to the distance where rocks, pillars, and low threats force the next decision.
Toph combo routes to practice
| Combo | Input route | Timestamp |
|---|---|---|
| Combo 1 | 5B, 5C, 214B+C (EX), 6 (walk), 5B, 2C, 236A, 5B, 2C, 214B | 7:18 |
| Combo 2 | 5B, 5C, 214A, 5C (hold), 2C (quick), 236A, 2C, 236B, 236SUP | 7:45 |
| Combo 3 | 5B, 5C, 214A, 5C (hold), 2C (quick), 236A, 214A+B (EX), 5B, 2C, 236A, 5B, 2C, 236B | 8:08 |
| Combo 4 | 214A+B (EX), 66 (dash), 5B, 5C, 214A, 5B, 2C, 236B, 5B, 2C, 236A | 8:30 |
| Combo 5 | 5B, 5C, 214A, 2F 5C (hold), J9, 5B (air), 5C, 236SUP | 8:50 |
| Combo 6 | 5B, 5C, 214A, 5C (hold), 2C (quick), 236A, 214A+B (EX), 5B, 6B, 2F 5C (hold), 5B, 5C, 6F, 5C (air) | 9:12 |
| Combo 7 | 214A, 6 (walk), 5B, 5C, 214A+B (EX), 5B, 6B, 2F 5B, 5B, 2C, 236C | 9:34 |
| Combo 8 | 5B, 5C, 214A, 5C (hold), 2C (quick), 236A, 214A+B (EX), 5B, 6B, 2F 5B, 5B, 2C, 236B, 236SUP | 10:01 |
| Combo 9 | 214A+B (EX), 5B, 5C, 214A, 5B, 6B, 2F 5B, 5B, 2C, 236B, 236SUP | 10:34 |
| Combo 10 | J9, 5C (air), 214A (hold), 214A+B (EX), 5B, 6B, 2F 5C (hold), 5B, 5C, 6F (quick), 236SUP | 11:04 |
Use these as ordered practice routes: start with the shorter strings until the pillar and stance timing are stable, then move into the longer 214A+B extensions. Because live balance can change exact routing, this table leaves damage claims out; older targets such as 678 or 754 damage are not the goal for current practice.
Practice order for Toph
Stance movement
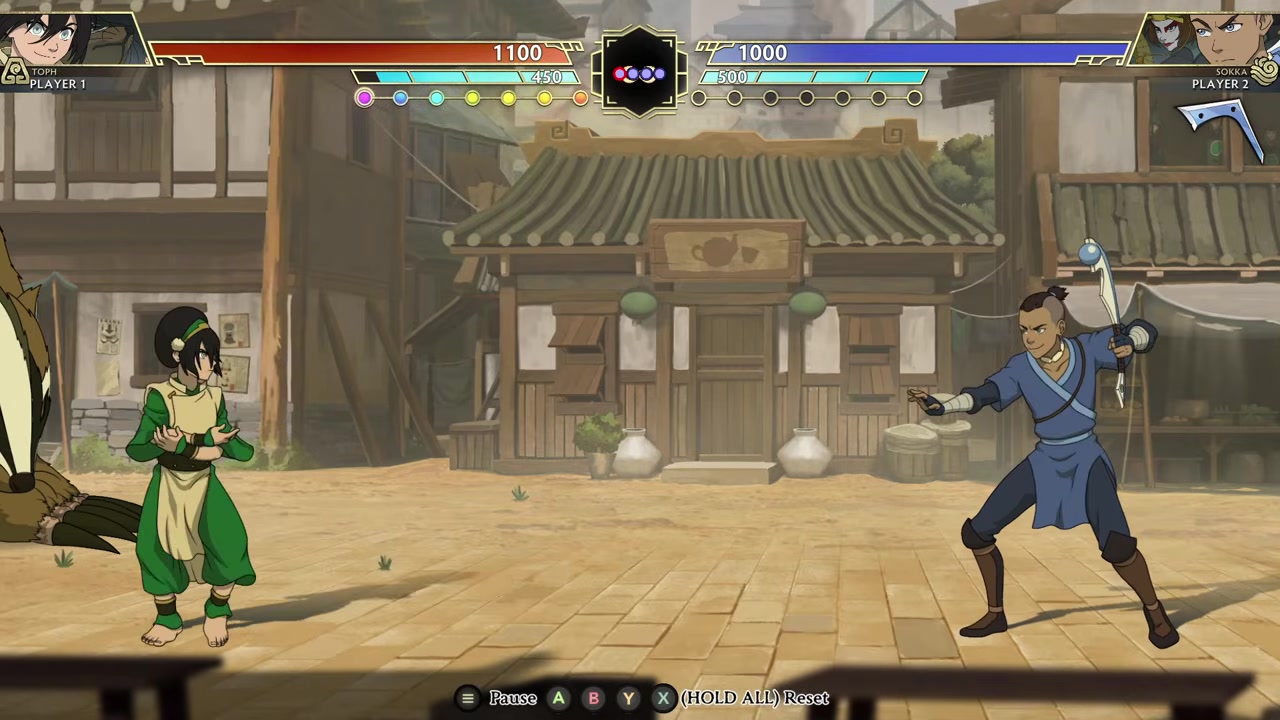
Drill Badgermole’s Sight movement until you can shift with F without panicking.
Low and anti-air reactions
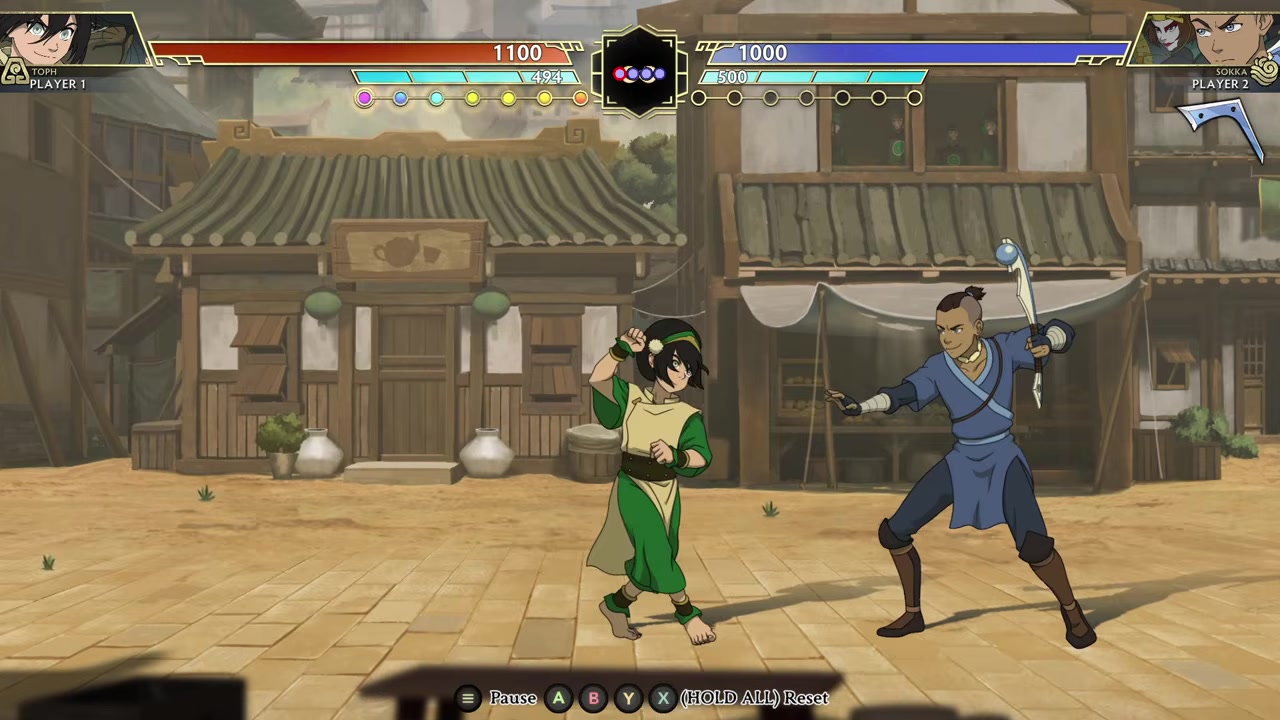
Alternate the stance low with anti-air responses so jump attempts become punishable.
Pillar conversion timing
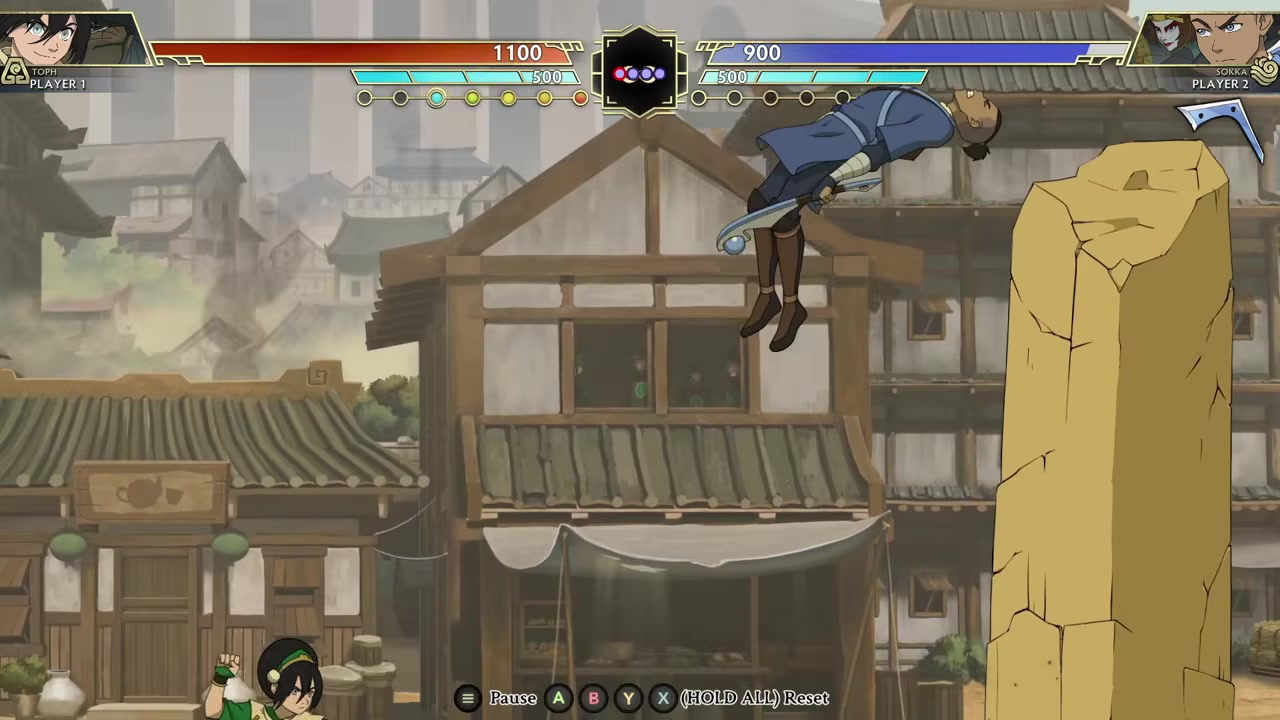
Practice converting from one pillar touch before adding long EX extensions.
Instant 2C timing
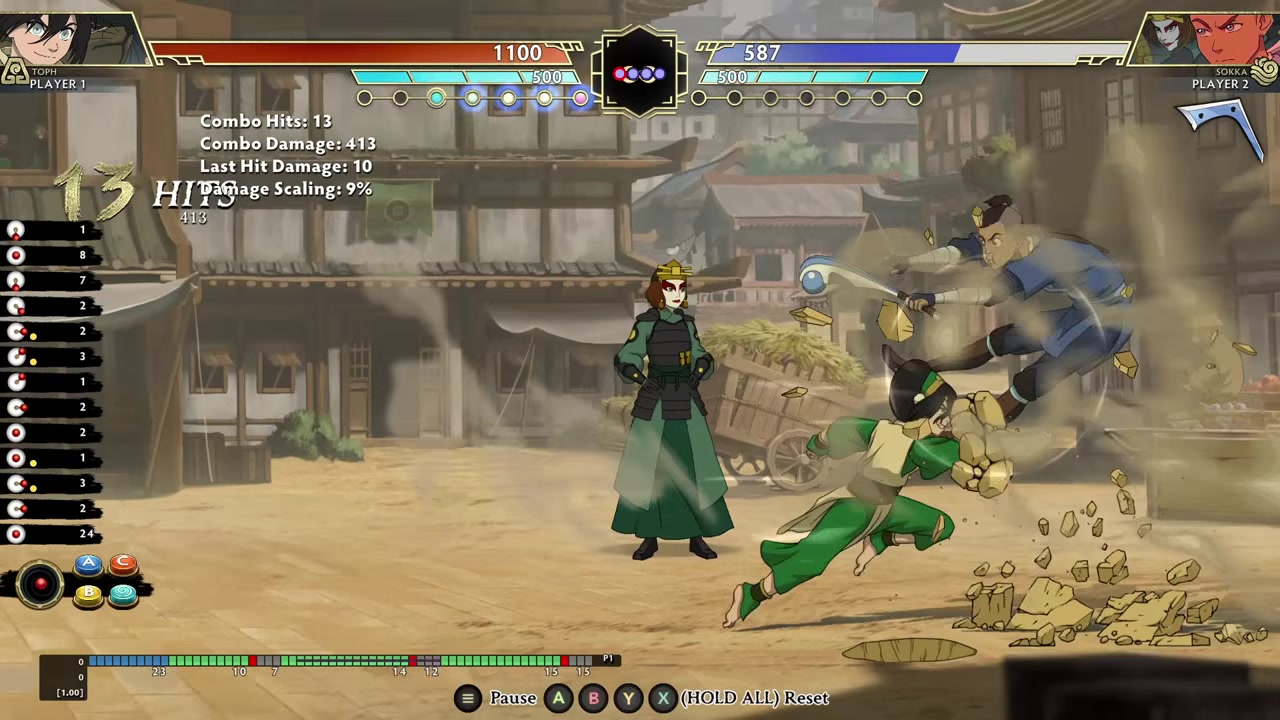
Press 2C right after the pillar launch until it stops feeling late.
Matchup route checks
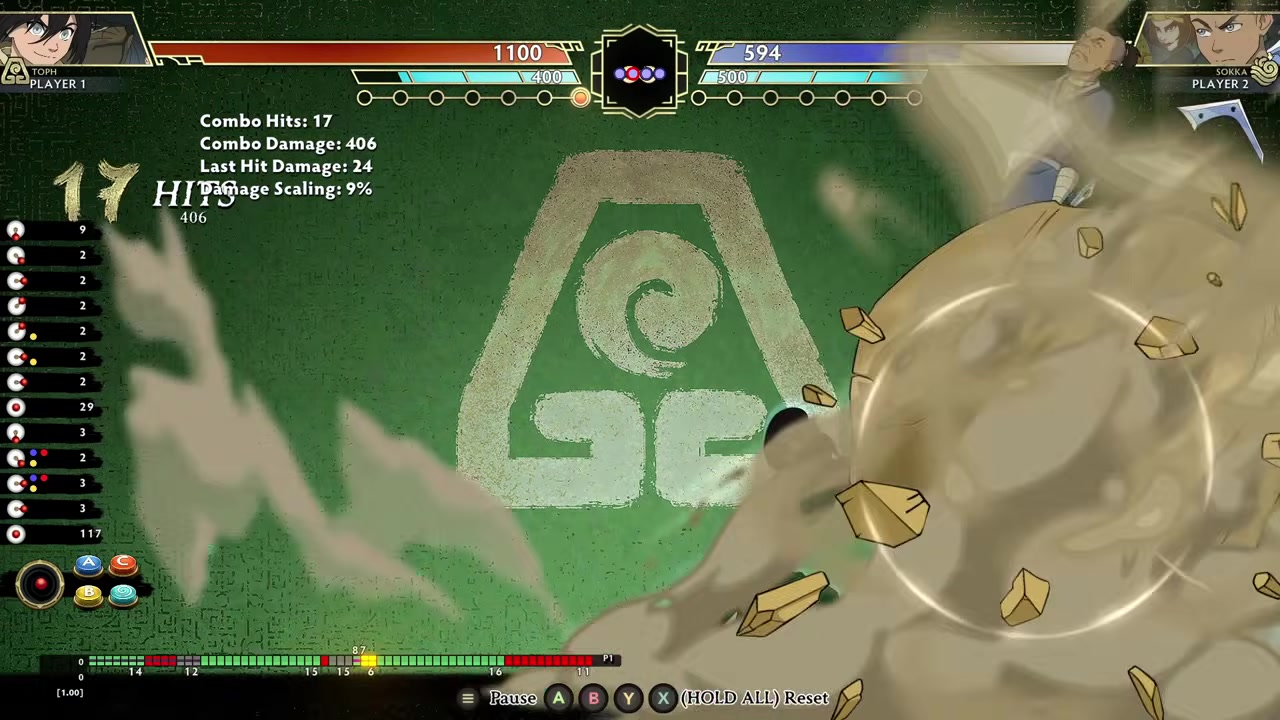
Test the 236A into 214A transition against Zuko and Aang before using that route in sets.
Toph mistakes that drop pressure
Most bad Toph rounds start when you play her like a pure rushdown character and give up the space that makes her scary. Do not autopilot armored or setup tools from ranges where the opponent can punish them before the threat is active.
The other common problem is assuming every route works on every character body. Check the Zuko and Aang hitbox issue before relying on 236A into 214A, and fix late 2C inputs before chasing harder damage.
Frequently Asked Questions
Is Badgermole support required for Toph combos?
No. The routes above are not built around Badgermole being mandatory, but Badgermole’s Leap fits Toph especially well because it adds forward and backward movement during Badgermole’s Sight.
Why do some Toph combos miss Zuko or Aang?
Zuko and Aang have smaller hitboxes, so the spacing after 236A can leave the follow-up 214A transition underneath them instead of connecting.
What is the most important timing rule for Toph combos?
The most important rule is the immediate 2C after the Badgermole pillar launch. If that input comes late, the extension falls out before the rest of the route can start.
How should Toph be played in neutral?
Keep enough space to make the opponent deal with projectiles, pillars, and Badgermole’s Sight. Your ideal neutral win is not a random scramble; it is a forced block, jump, or approach that turns into a punish.
What does SUP mean in these combo routes?
SUP means A+B+C, so 236SUP means the 236 motion into the support input.
Video help






Leave a Reply