


Quick overview
Secret Gohan (Prodigy) is obtained by completing The Scholar NPC Questline and then clearing Prodigy’s Unit Trial. The Scholar can be found in the central hub near the event and trial portals. The Scholar’s Questline requires you to complete several objectives involving enemy defeats, stage clears, and required drops.
Anime Expeditions has several progression systems that reward players for exploring content beyond the normal story stages. One of the more involved unlocks is Secret Gohan (Prodigy), which is tied to The Scholar NPC and a dedicated Unit Trial.
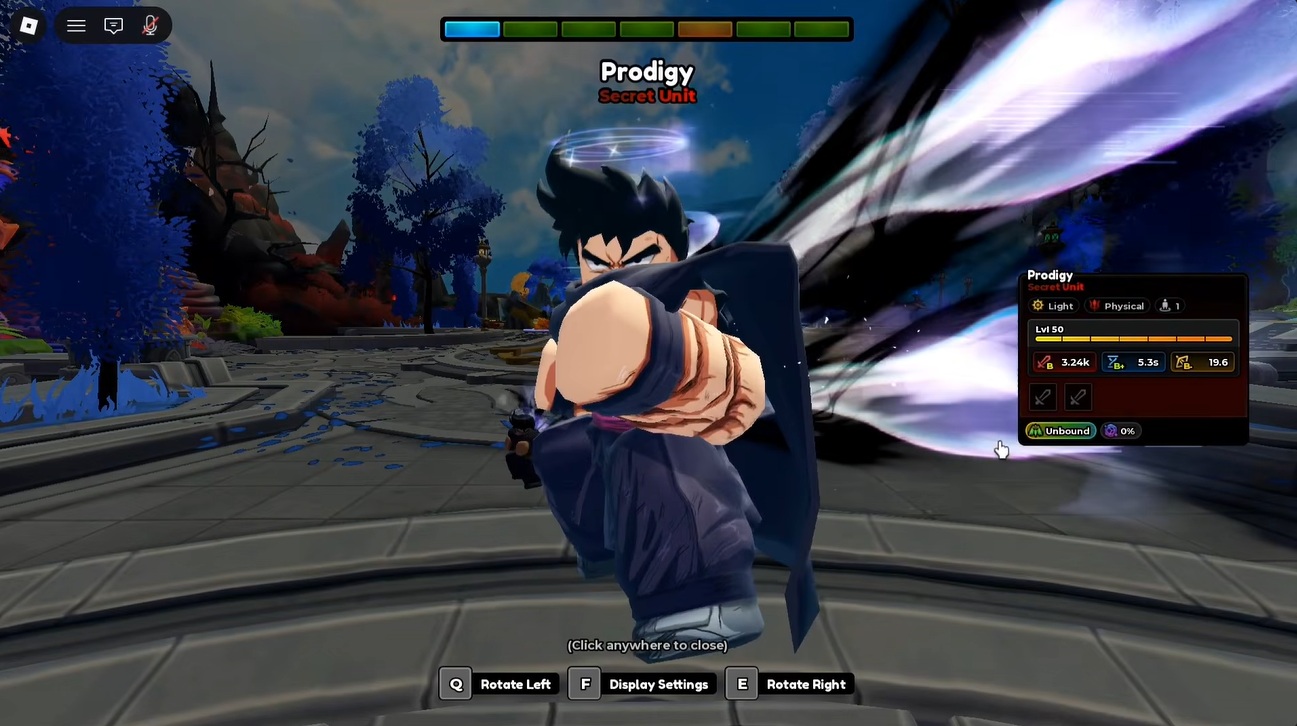
The important thing to understand is that you cannot simply walk into Prodigy’s Trial and claim the unit. You first need to find The Scholar, finish the associated questline, and then use the trial access that becomes available.
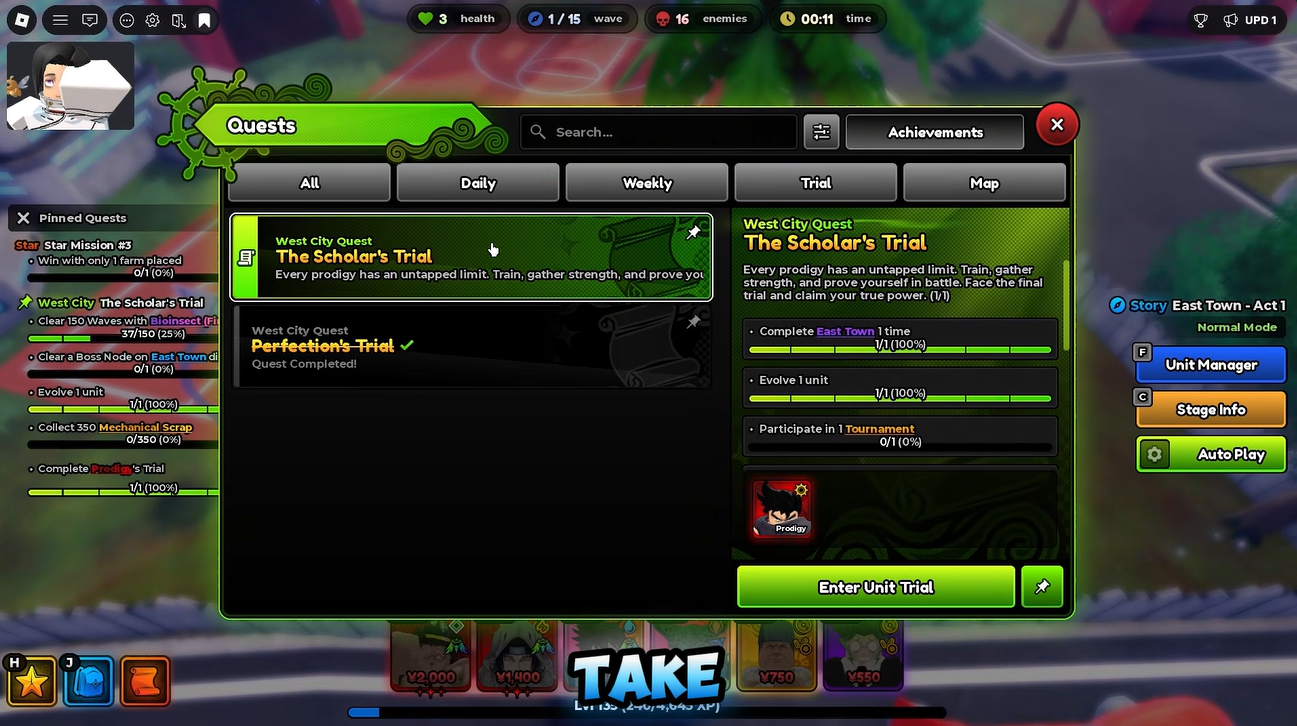
Once the trial is unlocked, you have to survive its waves and manage your placements carefully before the Secret Gohan reward becomes available.
| Requirement | Details |
|---|---|
| Game | Anime Expeditions |
| Unit | Secret Gohan (Prodigy) |
| Main NPC | The Scholar |
| First requirement | Complete The Scholar’s Questline |
| Final requirement | Clear Prodigy’s Unit Trial |
| Main reward | Secret Gohan (Prodigy) |
| Additional reward | Mechanical Wings |
| Starting location | Central hub/lobby |
| Trial access | Trial Portal |
How to complete Prodigy’s Trial and get Secret Gohan in Anime Expeditions
Step 1: Find the Prodigy NPC to start quest
Open Story Mode and progress to the final available story map, East Town.
This is where you need to begin the Gohan questline. Once you enter the East Town area, look for Gohan and interact with him to receive the Prodigy-related quest.
If you have not unlocked East Town yet, you will need to progress through the earlier Story Mode maps first.

Step 2: Complete East Town once
Your first quest objective is straightforward:
Complete East Town 1 time.
Enter East Town through Story Mode and successfully finish the stage. You only need one completion for this objective.
Once the stage is cleared, return to the quest menu and confirm that the progress has changed to 1/1.

Step 3: Participate in one Tournament
The next requirement is:
Participate in 1 Tournament.
Go to the Tournament area and enter an available Tournament. You do not need to worry about winning for this particular objective.
The objective only tracks participation. Therefore, if you are only trying to complete the Scholar questline, you can enter the Tournament and remain AFK until your run ends.
Once you have participated, the quest should register the requirement as complete.
Step 4: Evolve the required units
The questline also requires evolved units for the two wave-based objectives.
You need access to:
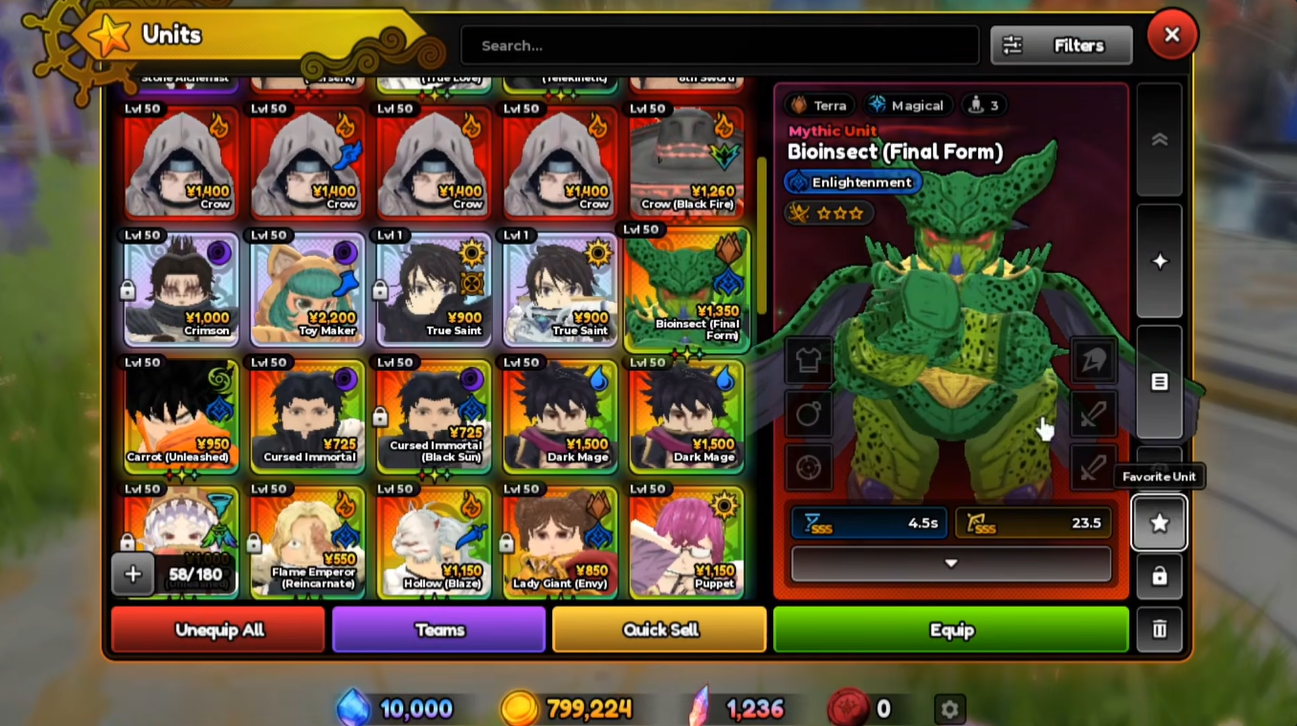
Bioinsect (Final Form)
and
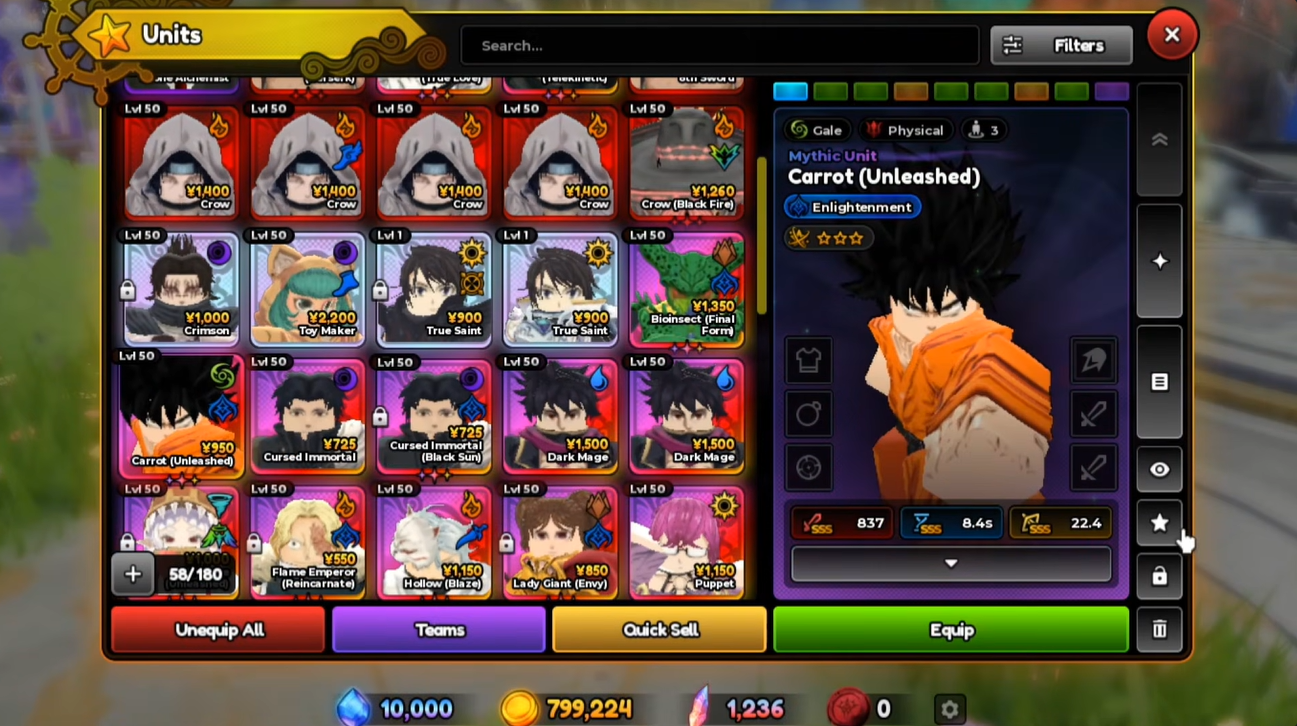
Carrot (Unleashed).
This means you should prepare their respective evolution requirements before attempting to farm the 150 waves.
The game’s current progression system includes dedicated unit trials and evolution items for transforming base units into their evolved forms, so make sure the required evolution has actually been completed before starting the wave farming.
Step 5: Unlock the required Expedition map
Now move over to Expeditions.
The quest requires you to progress through the Expedition maps far enough to access the required East Town content. According to the quest requirements, you need to complete the third Expedition map on Difficulty 3 to unlock the fourth map.
Your goal is not necessarily to complete the entire Expedition run every time.
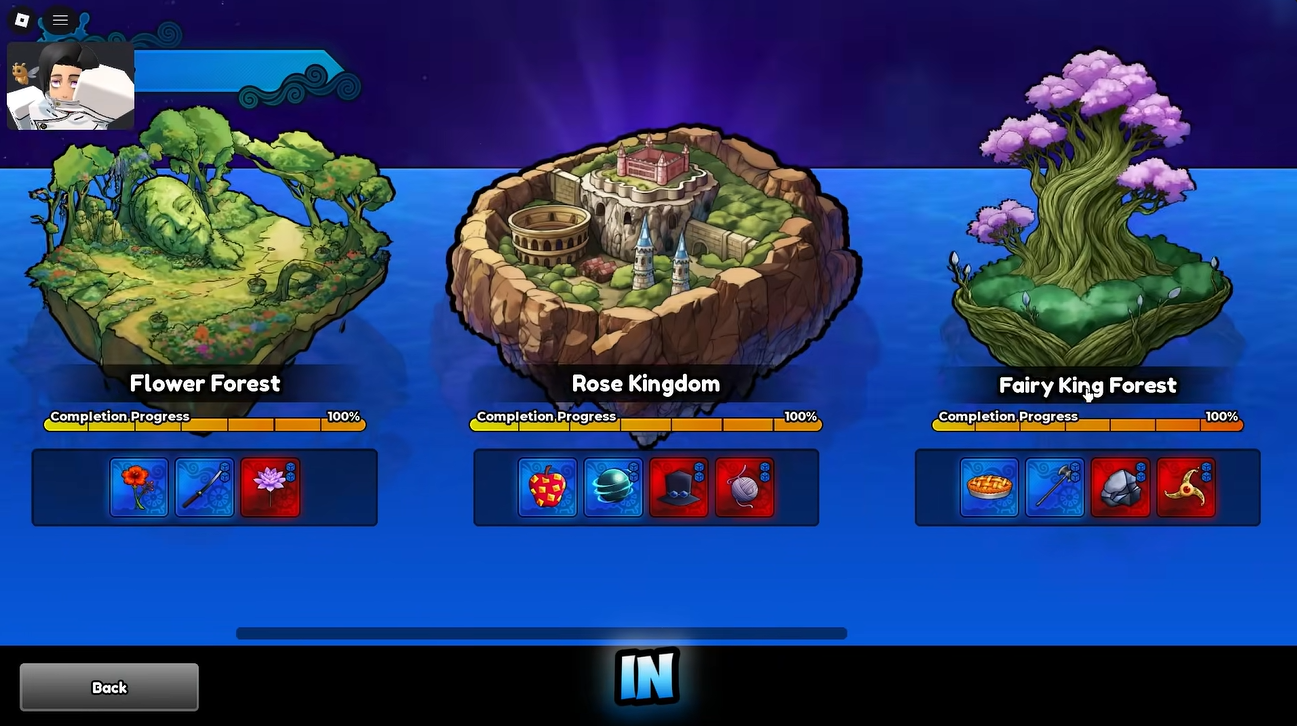
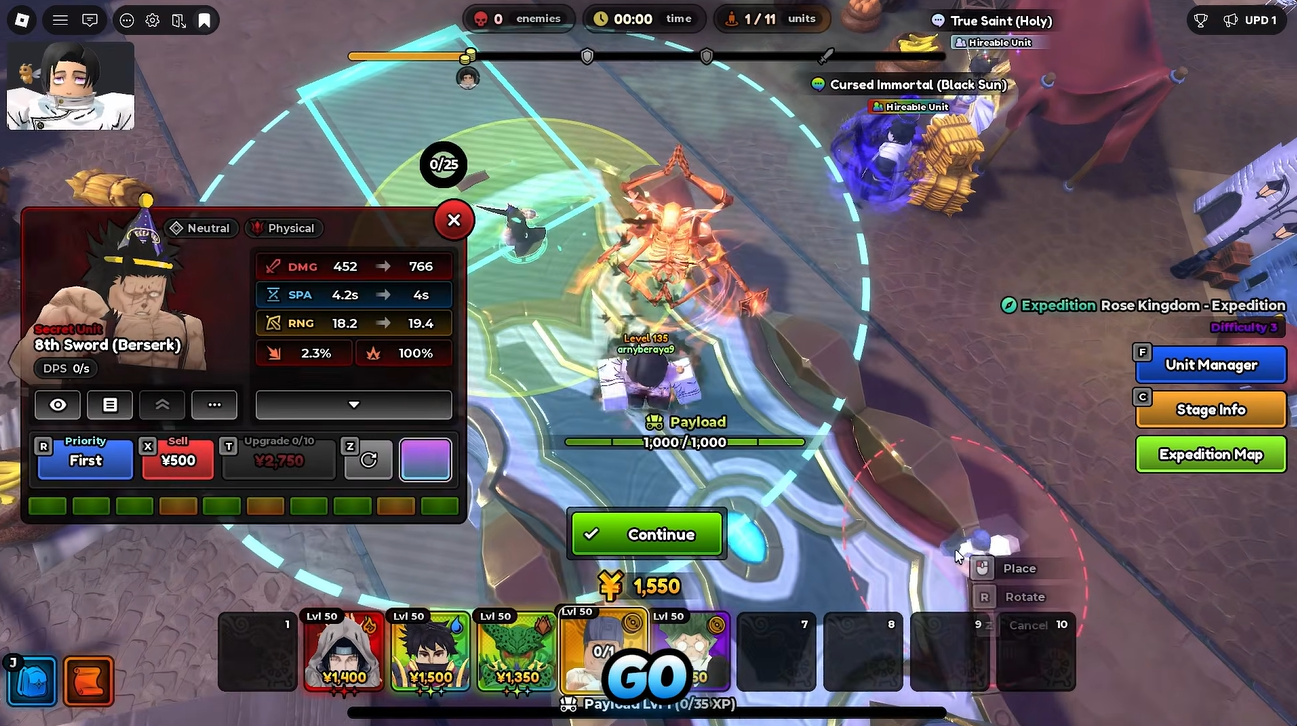
Instead, push your run as far as necessary to reach the relevant checkpoints and collect the resources you need. Once you have enough progress or resources, you can cash out rather than spending unnecessary time trying to finish the entire Expedition.
Step 6: Collect 350 Mechanical Scrap
One of the clearest objectives shown in the quest is:
Collect 350 Mechanical Scrap.
Mechanical Scrap is obtained through the Expedition system.
You do not need to collect all 350 in a single Expedition. Multiple runs can be used to reach the requirement.
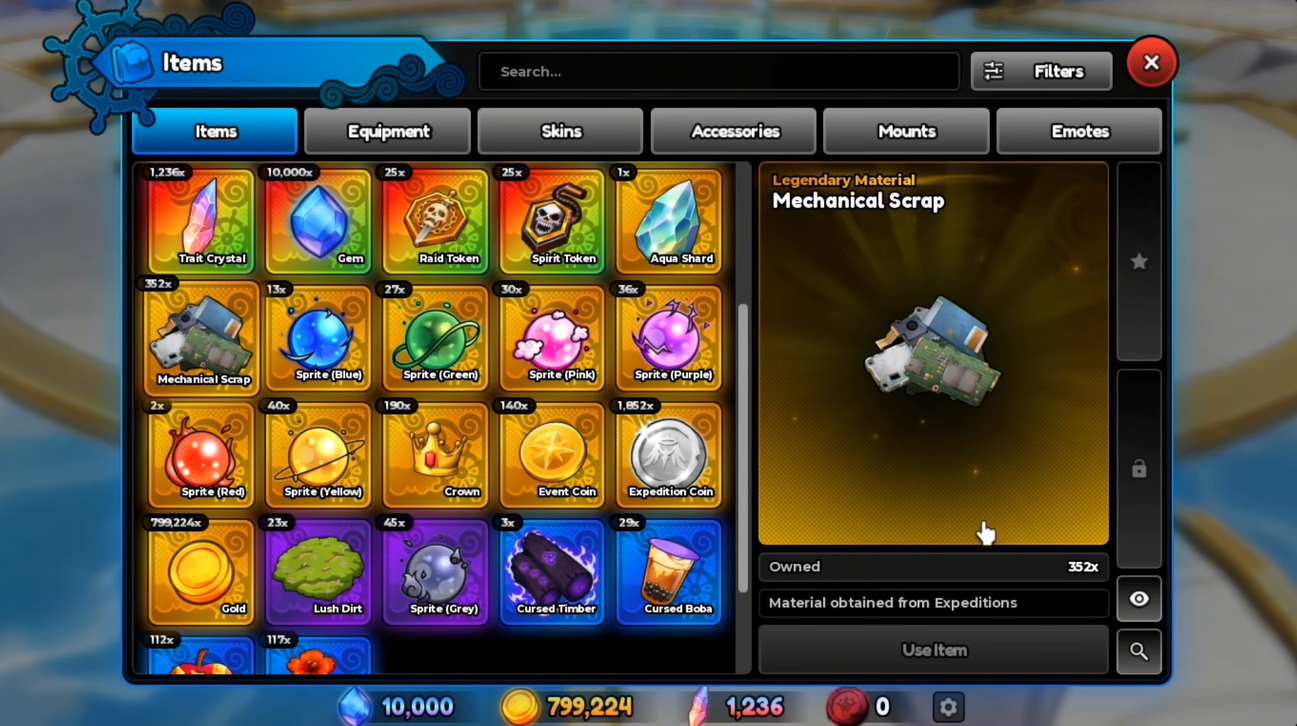
The most efficient approach is to combine this objective with the Expedition requirement rather than treating the two as completely separate tasks.
Step 7: Clear the East Town Difficulty 3 Boss Node
After progressing through Expeditions, you also need to complete:
Clear a Boss Node on East Town Difficulty 3.
This is different from simply completing East Town in Story Mode. The quest specifically checks for a Boss Node on East Town Difficulty 3.
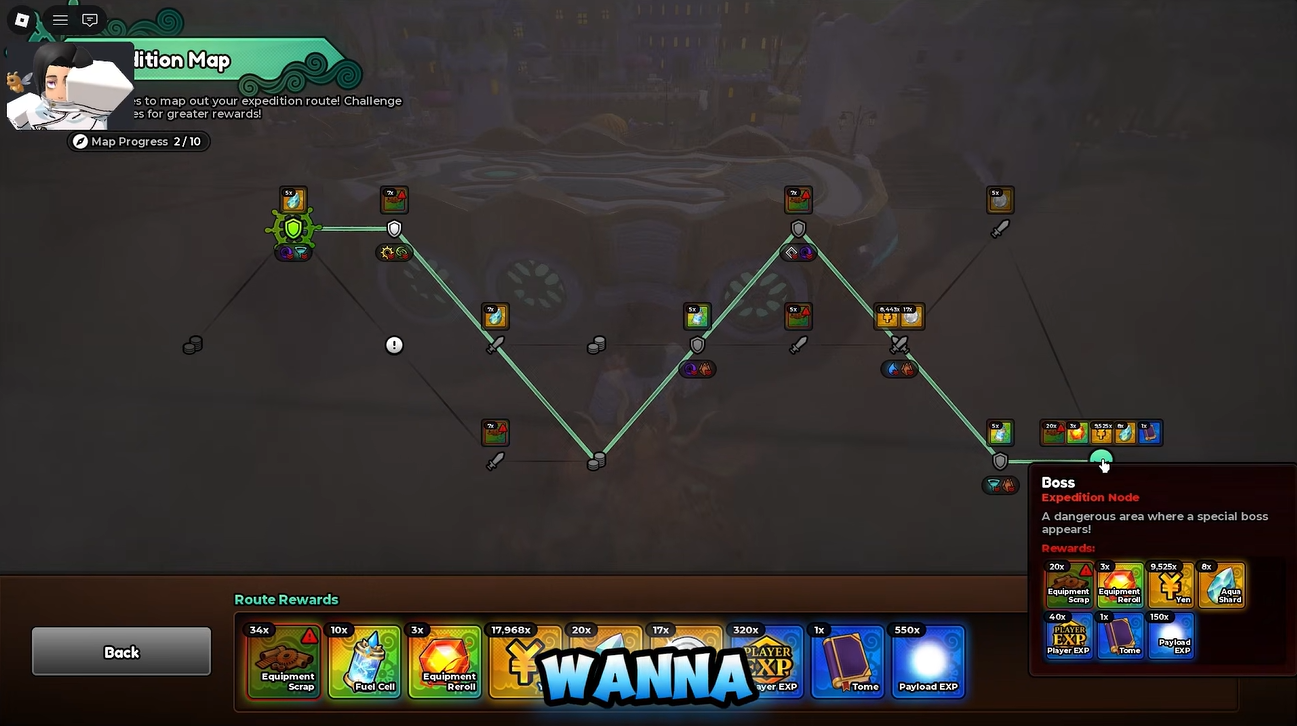
Enter the appropriate Expedition content, select East Town at Difficulty 3, and continue through the map until you reach a Boss Node.
Defeat the boss and make sure the quest counter updates.
How to clear 150 waves with Bioinsect (Final Form)
Step 8: Equip Bioinsect (Final Form)
The next objective requires:
Clear 150 Waves with Bioinsect (Final Form).
Make sure the evolved Bioinsect (Final Form) is actually in your active team before starting your wave runs.
The important part is that the waves need to count toward the unit-specific quest requirement. Check your quest counter after completing a run to make sure the progress is being recorded.
How to clear 150 waves with Carrot (Unleashed)
Step 9: Equip Carrot (Unleashed)
The second unit-specific requirement is:
Clear 150 Waves with Carrot (Unleashed).
Equip the evolved Carrot (Unleashed) in your team before beginning another wave-farming session.
As with Bioinsect, the important part is making sure the correct form of the unit is being used.
How to complete Prodigy’s Trial
Step 10: Check that the previous objectives are finished
Before attempting the final trial, check the Scholar quest screen.
You should have completed:
| Quest objective | Required progress |
|---|---|
| Complete East Town | 1/1 |
| East Town Difficulty 3 Boss Node | 1/1 |
| Tournament | 1/1 |
| Mechanical Scrap | 350/350 |
| Bioinsect (Final Form) waves | 150/150 |
| Carrot (Unleashed) waves | 150/150 |
Once these requirements are finished, you can move on to the final objective.
Step 11: Enter Prodigy’s Trial
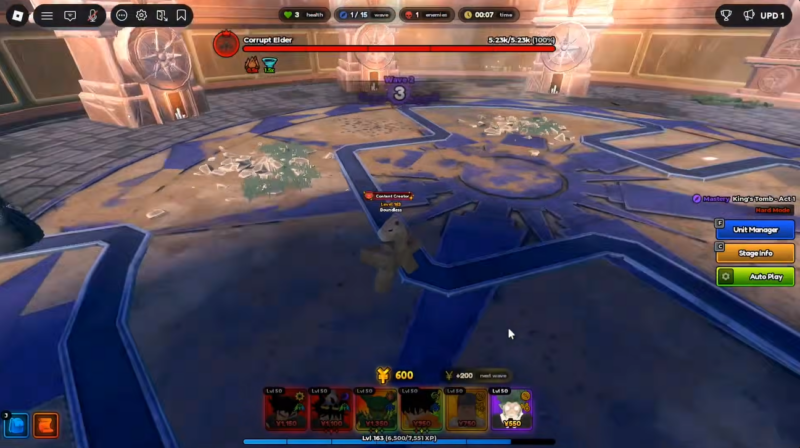
Find the Trial area and enter Prodigy’s Trial.
This is the final challenge attached to The Scholar’s questline. Unlike the farming objectives, you need to actually complete the trial for the quest to register.
Focus on efficient unit placement and upgrading rather than spending all your resources immediately. Build enough early damage to survive the opening waves, then invest into stronger damage and support options as the enemies become tougher.
Step 12: Complete Prodigy’s Trial
Finish the entire Prodigy’s Trial and wait for the completion screen.
The Scholar quest should then register:
Complete Prodigy’s Trial — 1/1.
The screenshot you provided confirms that this is the final listed objective and that the quest tracks the completion separately from the other requirements.

Step 13: Claim your Gohan reward
Once all of the objectives have been completed, return to the appropriate quest/NPC area and finish the quest progression.
You can then claim the reward associated with the Prodigy questline, unlocking Gohan (Prodigy).
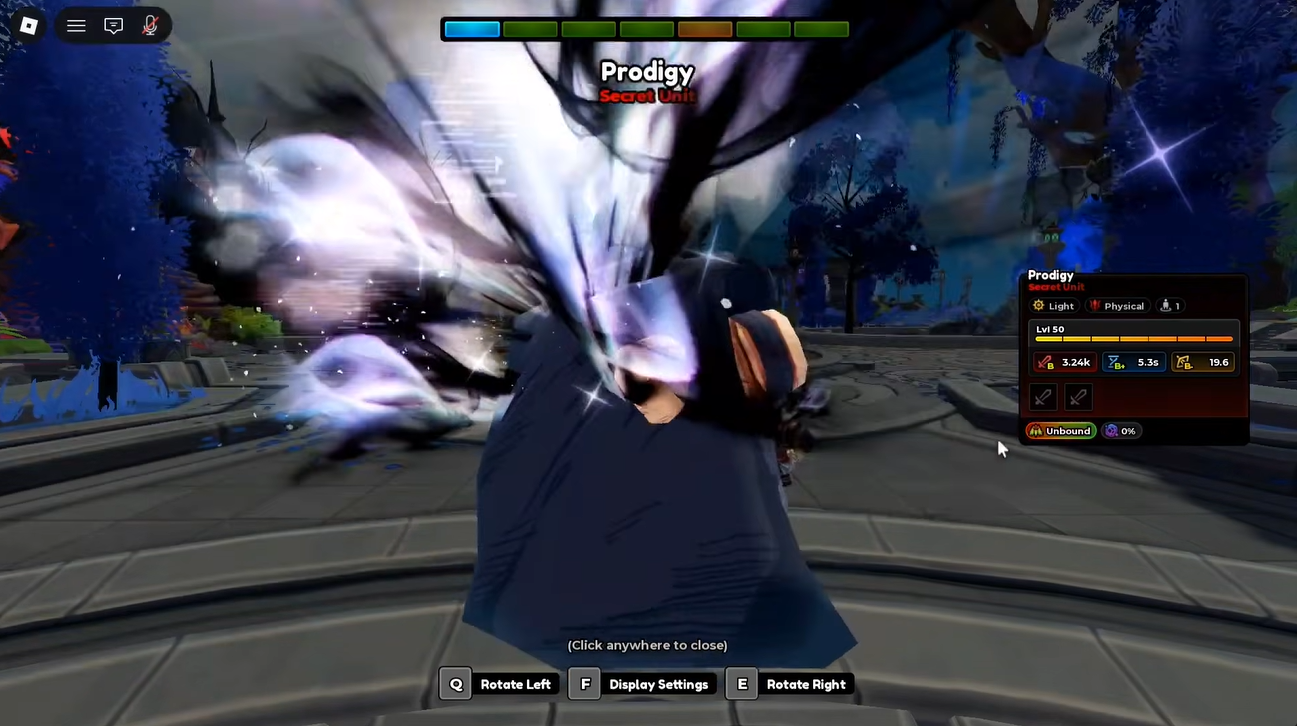
The entire route can be completed considerably faster if you combine objectives instead of doing every requirement separately. For example, work on Mechanical Scrap while progressing through the required Expedition maps, and use repeated King’s Tomb Mastery runs for both unit-specific wave counters.
How to make Prodigy’s Trial easier
Preparation is more important than simply entering the trial with your strongest units. Start by learning which placements provide the longest possible attack coverage. A good position can allow one unit to contribute damage across multiple waves without requiring constant repositioning.
During the early stages, prioritize efficient damage. During the middle stages, invest in upgrades that improve AoE coverage. For the final section, shift your attention toward boss damage and any available slow or support effects.
Most importantly, do not spend all your resources simply because you have them. Saving enough currency for the transition into the later waves can make the difference between reaching the boss comfortably and losing before the final encounter.
If a first attempt fails, pay attention to the exact wave where your defense breaks down. That tells you where your resources need to be redirected on the next attempt. A failed run can therefore be useful for identifying whether you need earlier upgrades, better positioning, or stronger boss damage.
Video Help:




Leave a Reply