
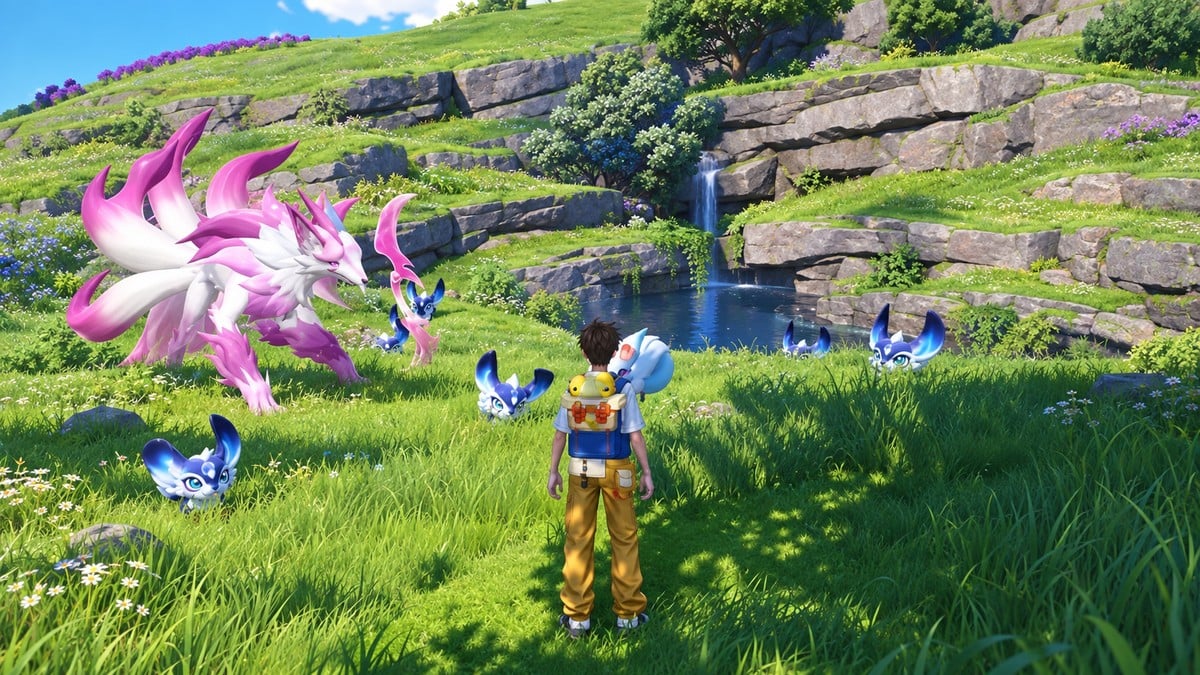
To catch Prismana Glynsera, nurture Beast Fang Ridge during Vein Abundance, build Prismatic Energy through Bloom captures, then follow its spawn beacon.
Prismana Glynsera is a limited Season 1 encounter in Aniimo, with its seasonal appearance tied to Prismana Flow. You’ll build regional energy through Wild Surges before tracking down the Nova-stage prize.
Find Vein Abundance and prepare for Nurture
The Vein Abundance: Beast Fang Ridge event’s featured Glynsera card carries the Season Limited label. Beast Fang Ridge’s Nurture ecosystem is listed at level 30–35.
Before committing to a long session, review your daily Nurture allowance. The showcased account’s interface reads “1 free chance(s)” and “Daily Nurture Chances 2/25”, so use your own displayed allowance when planning your runs. For supplies, open each item’s acquisition information and collect any completed objective rewards before buying more.
The Season 1 roadmap also schedules simultaneous appearances for Prismana Glynsera, Melloblum, Waleetle and Inferlupa during October 19–26. The regions listed for that period are Beast Fang Ridge, Rosetower Woods, Berylline Vale and Nimbus Fields.
How to nurture Beast Fang Ridge and capture Prismana Glynsera
Build the region’s Prismatic Energy through Bloom encounters, then track the light marking Glynsera’s appearance.
STEP 1/9
11%
Open the Vein Abundance event
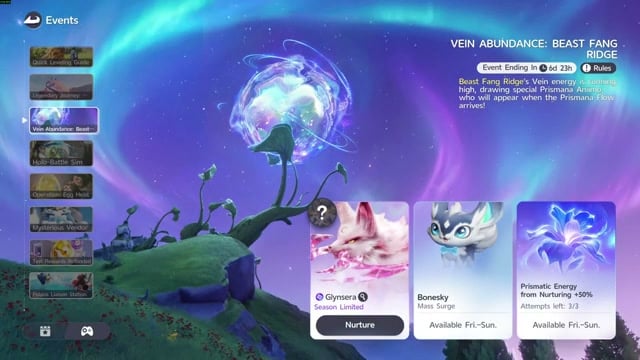
Open Events, select Vein Abundance: Beast Fang Ridge and press Nurture to bring up the regional menu.
STEP 2/9
22%
Select Beast Fang Ridge
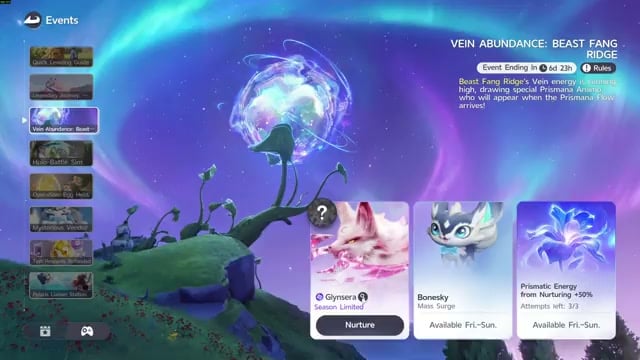
Choose Beast Fang Ridge, then press Nurture again to start nurturing that area.
STEP 3/9
33%
Activate the Bloom

Travel to the marked Bloom, recognizable as a glowing flower, and interact with Attract Animo. This starts a Wild Surge and spawns 20 Animos.
STEP 4/9
44%
Capture the Wild Surge Animos
Aim to capture all 20 spawned Animos. The sheep-shaped Tumbler Aniipod used here rolls through the group and can capture up to 10 at once.
STEP 5/9
56%
Release energy at the Bloom
Return to the Bloom and press Release Prismatic Energy. When the Wild Surge ends, BINI #9 prompts you to return and release the energy you’ve accumulated.
STEP 6/9
67%
Repeat until the gauge fills
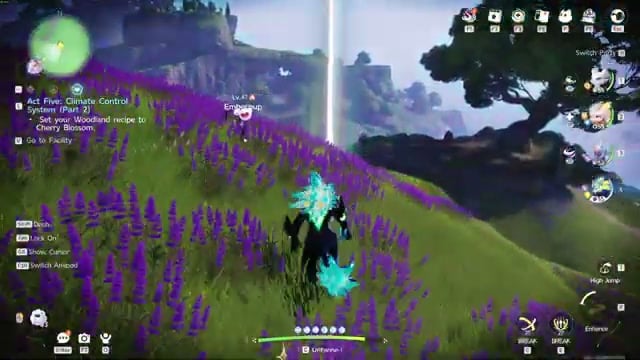
Repeat the nurture, capture and energy-release cycle, watching the area’s energy gauge. The showcased progression passes through Very Low and Slight before reaching the full Abundant state; filling it in only a few attempts is a lucky outcome, so your attempt count can vary.
STEP 7/9
78%
Watch for Glynsera’s spawn
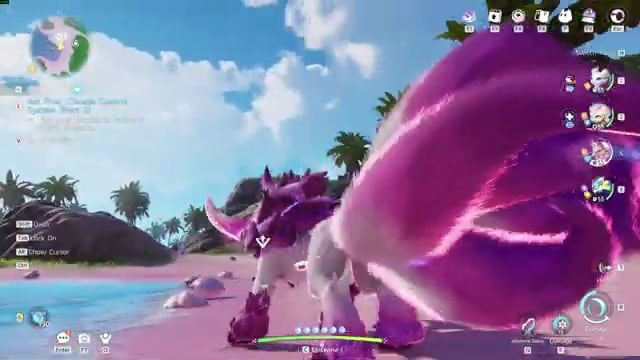
In the showcased encounter, reaching Abundant triggers Glynsera’s appearance, a spawn banner and a tall pink light pillar. That pillar marks where to go.
STEP 8/9
89%
Follow the light beacon
Follow the vertical light pillar to Prismana Glynsera‘s location in the region.
STEP 9/9
100%
Capture Prismana Glynsera
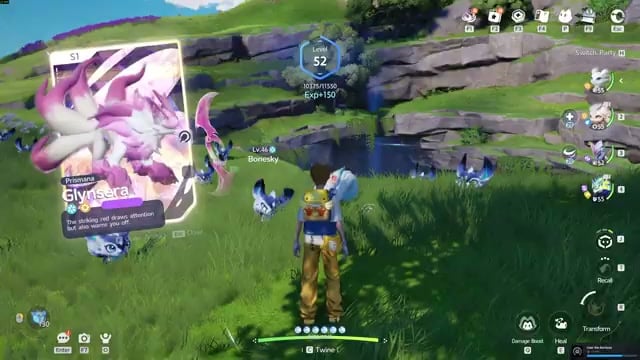
Aim your capture Aniipod at Glynsera and throw it. The showcased Sparkling Cube targeting overlay reads Guaranteed Success for that encounter, and the successful capture card identifies the result as Prismana Glynsera Nova Stage.
Understand Prismana Flow and improve capture sessions
Prismana Flow increases a region’s Prismana encounters. It can occur naturally on rare occasions, while cultivating Prismatic Energy lets you activate it through nurturing. Your Wild Surge capture total contributes to both energy gains and the chance of starting a Flow, so keep collecting creatures even if you miss part of the group.
Flow triggers and event bonuses
| Trigger or bonus | Effect |
|---|---|
| Nurture raises Prismatic Energy | Each increase has a 3% chance to activate Prismana Flow. |
| First three designated-area Nurture runs on event weekends | Increased Nova-stage appearance chances. |
| Vein Abundance nurturing bonus | +50% Prismatic Energy from nurturing. |
The Flow probabilities apply to separate qualifying triggers.
Prismana items and their acquisition requirements
Crystal and Orb acquisition options
| Item | Effect | Acquisition |
|---|---|---|
| Prismana Orb | — | Season Hub’s Stamp Shop: 900 Windborn Stamps, purchase allowance 1. Astra’s Mysterious Vendor: 7,500,000 Credits, limited to one per day when stocked. |
You’re working within the broader Prismana system here. For limited Glynsera, build your plans around its seasonal event conditions.
Related Aniimo guides
Frequently Asked Questions
Can regular Glynsera evolve into Prismana Glynsera?
No, evolution cannot produce this Prismana form. Beast Fang Ridge Wild Surges can include regular Glynsera, which is distinct from the seasonal Prismana encounter.
Can you hatch Prismana Glynsera instead?
Normal hatching cannot produce Prismana Glynsera, and Season 1 access to the historical Prismana Glynsera Egg, including a specific drop source, is uncertain. That special launch-build egg’s description guarantees a Prismana hatchling with a possible Shadow Sparkling mutation.
Can the free Prismana Pact or Promise reward give you Glynsera?
No, the free Prismana reward cannot give you Glynsera. Its six choices are Pawney, Scorchhowl, Witchin, Turbo, Thornblade and Grizbo. Don’t confuse the target with Prismana Glacy: Glacy is a healer, while Glynsera fills a DPS role.



Leave a Reply